Hi everyone,
The following two posts are for the interior lights.
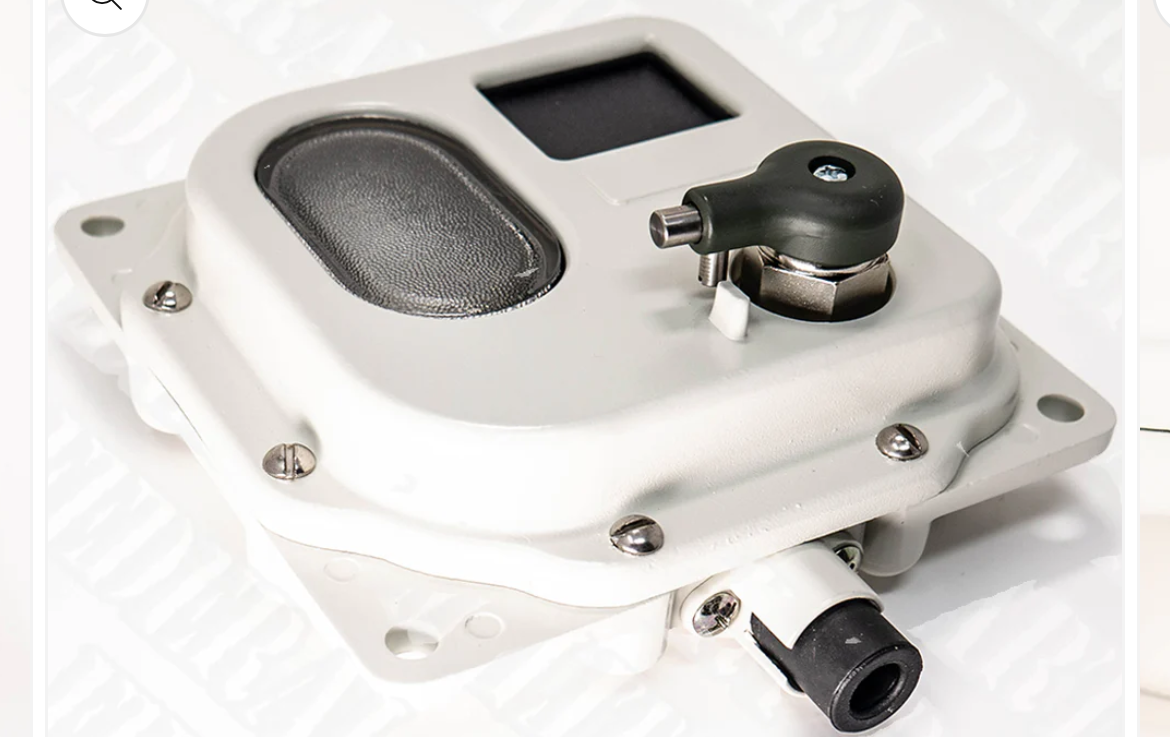
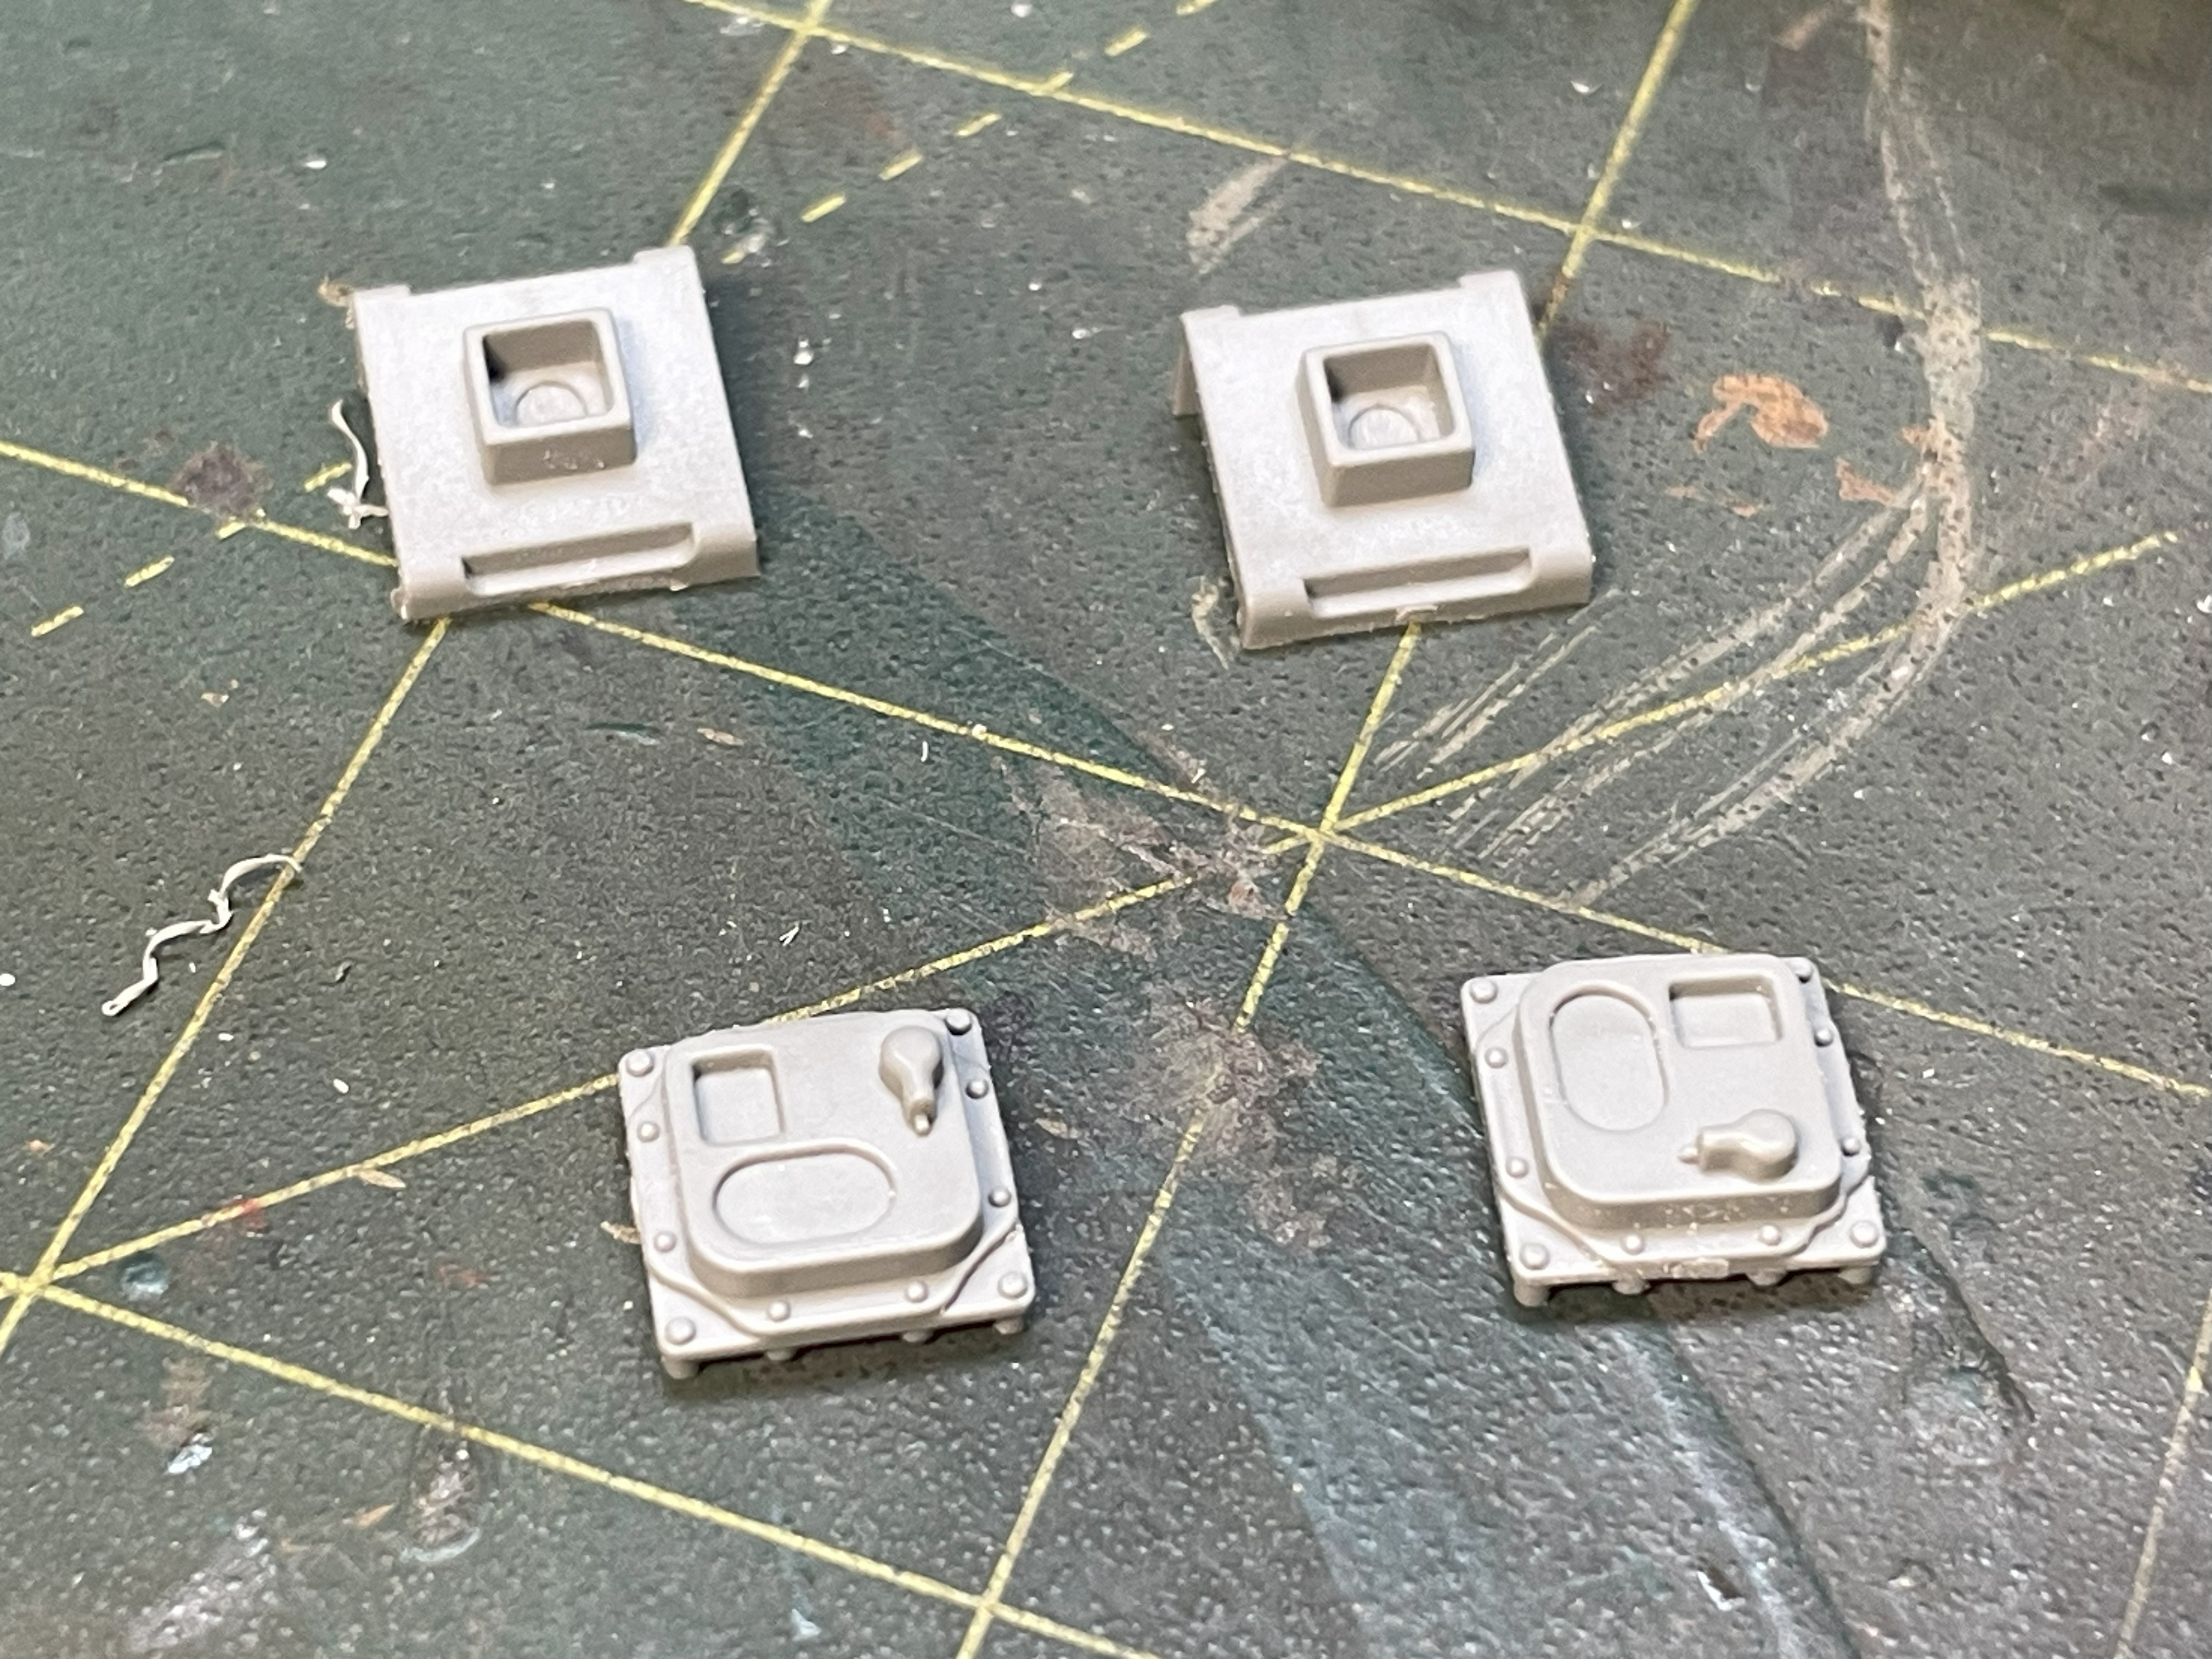
This is a MS51073-1 Military Vehicles Dome Light 24Volt, standard US tank interior lighting for a very long time.
- 1/16 RC M-113A1 ACAV - Converting the Takom/Andy's HHQ kit to RC
- 4.png (676.66 KiB) Viewed 1244 times
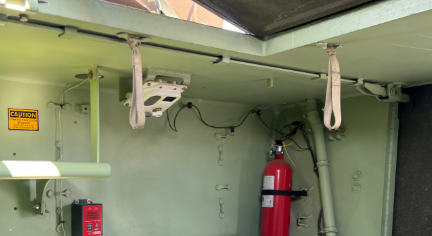
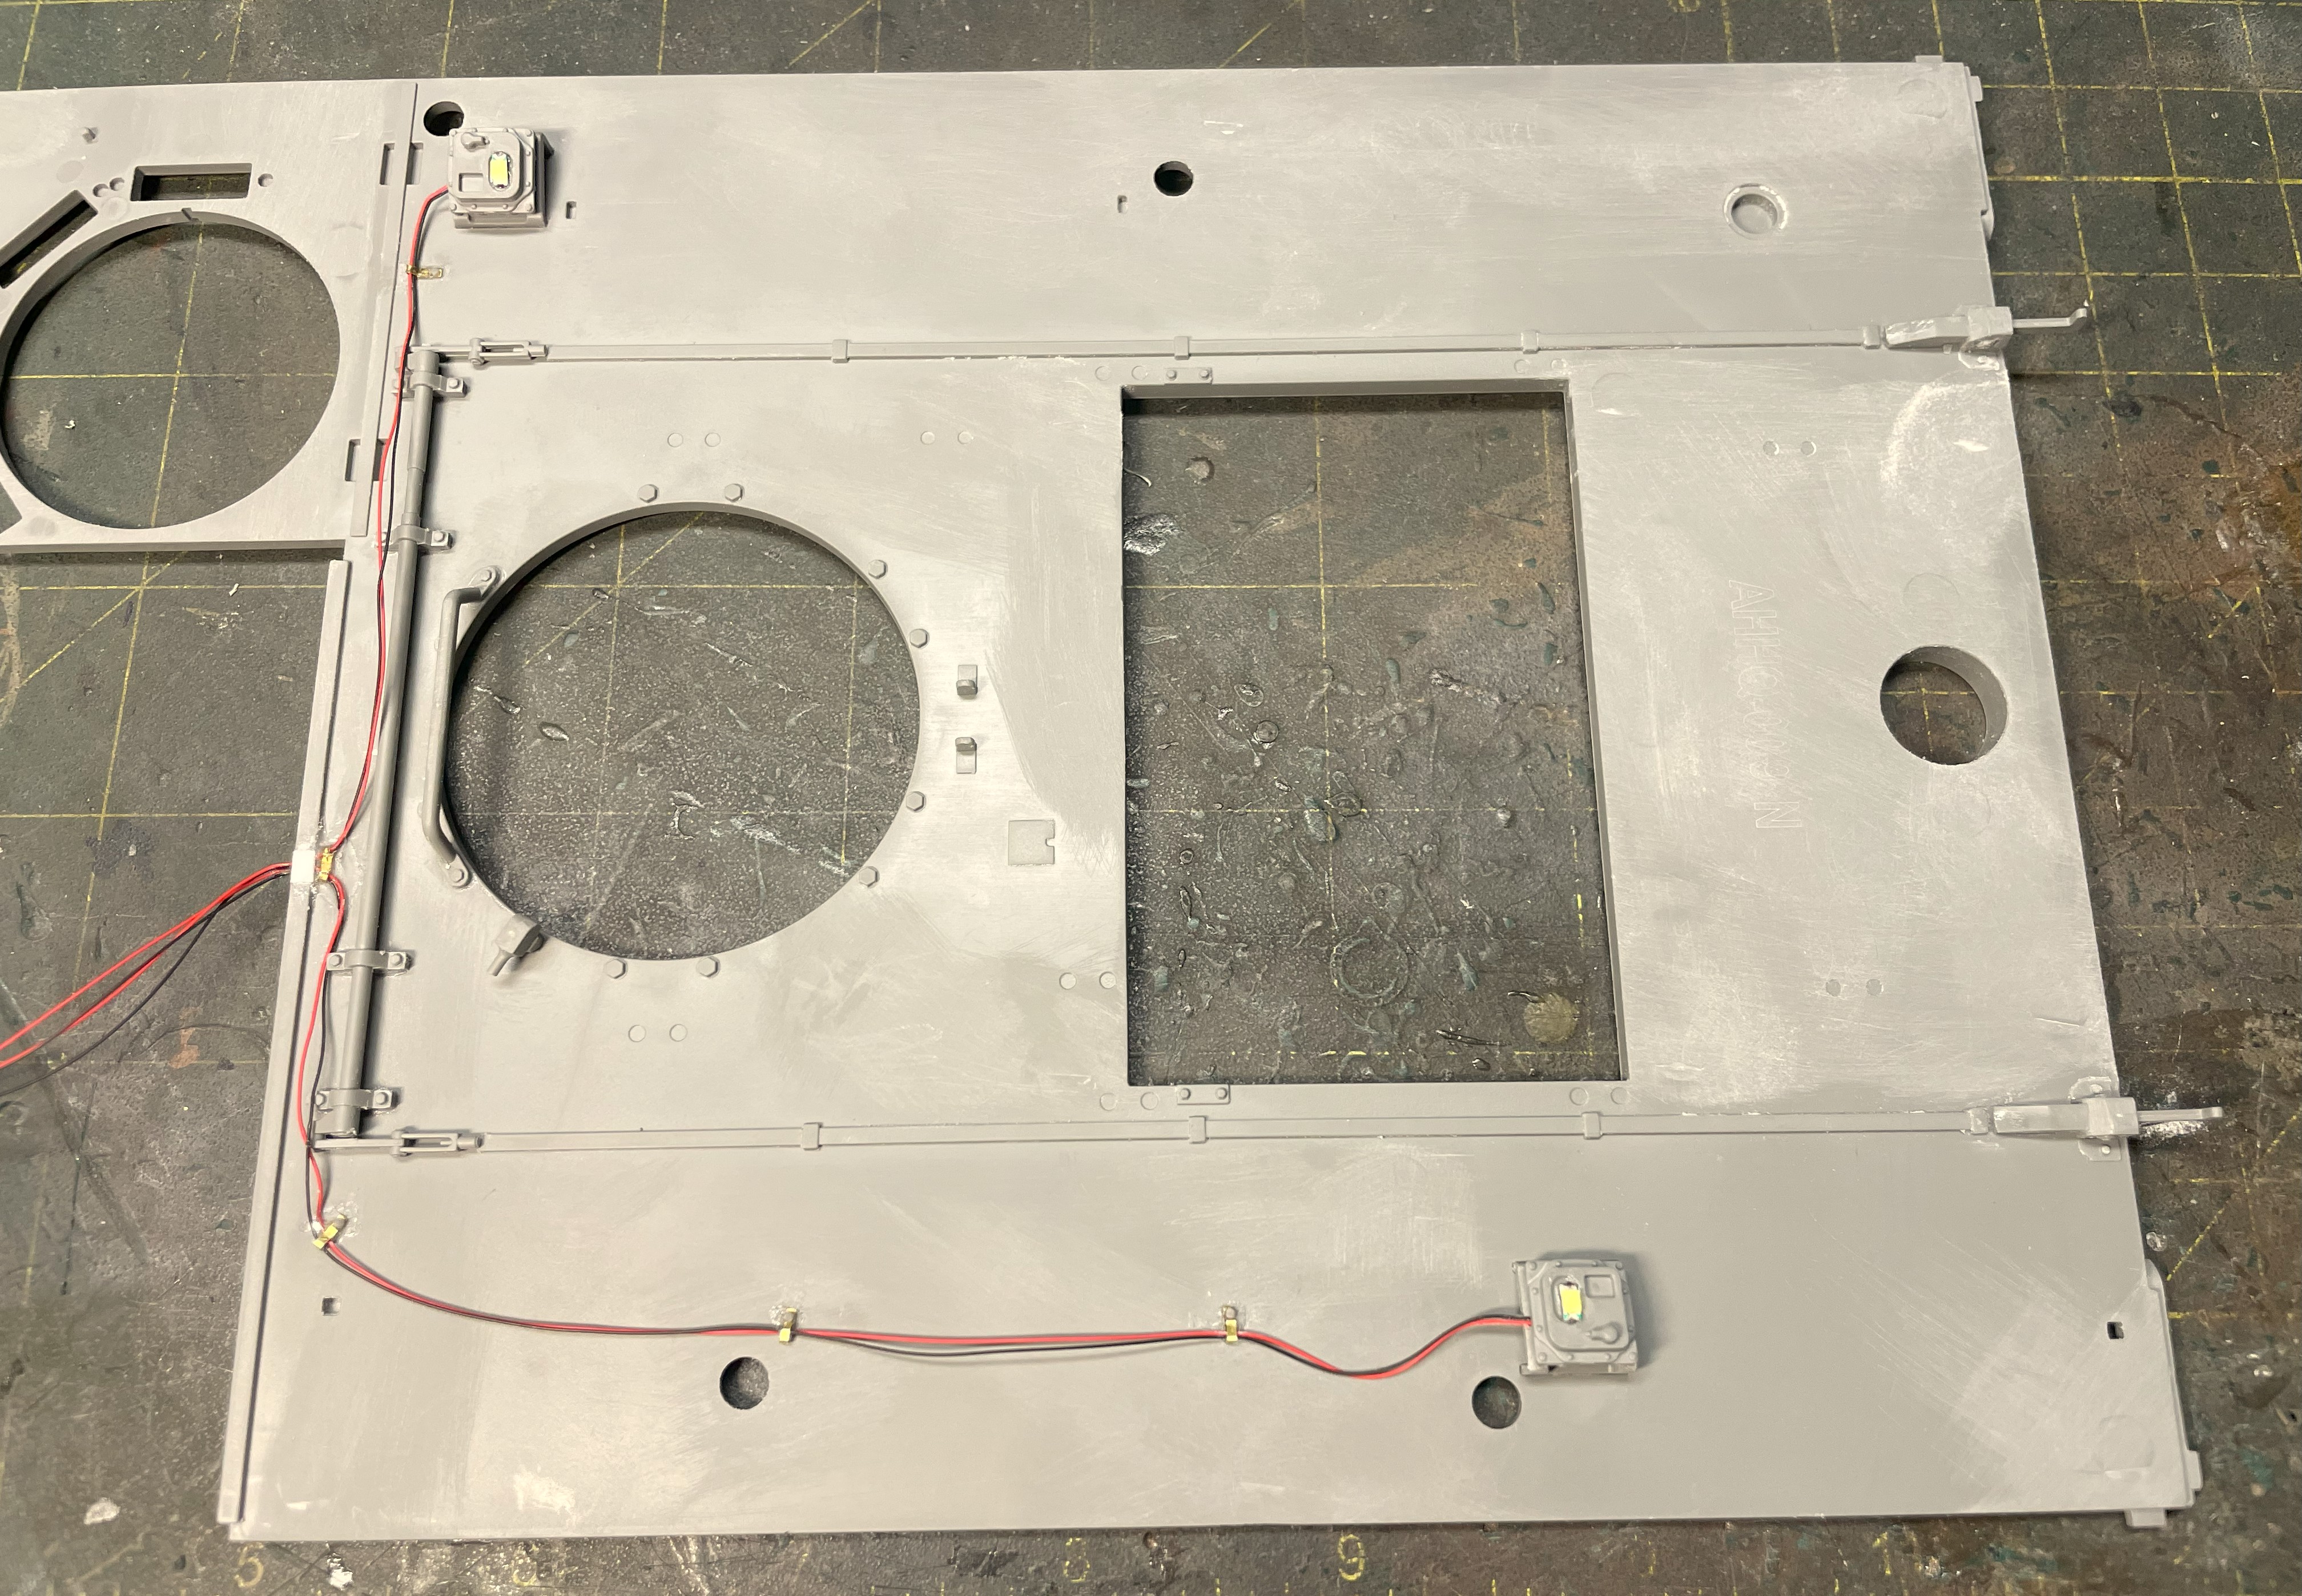
The M113 is equipped with two of them attached to the roof, one dome light is at the rear right. Notice the cabling going towards the rear, walls and bottom. I cannot do that here. In order to keep the roof removable, i need to make the wires fully attached to the roof and going towards the front instead where the control board is.
- 1/16 RC M-113A1 ACAV - Converting the Takom/Andy's HHQ kit to RC
- 1.png (154.33 KiB) Viewed 1244 times
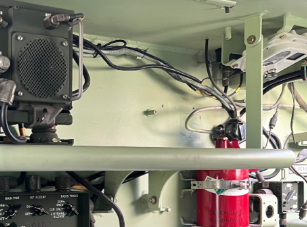
And one dome light between the driver and the radio shelf on the left.
- 1/16 RC M-113A1 ACAV - Converting the Takom/Andy's HHQ kit to RC
- 2.png (137.45 KiB) Viewed 1244 times
I am very thankful for Takom for providing them both. I am used to scratch building them on previous builds.
- 1/16 RC M-113A1 ACAV - Converting the Takom/Andy's HHQ kit to RC
- 3.jpg (1.94 MiB) Viewed 1244 times
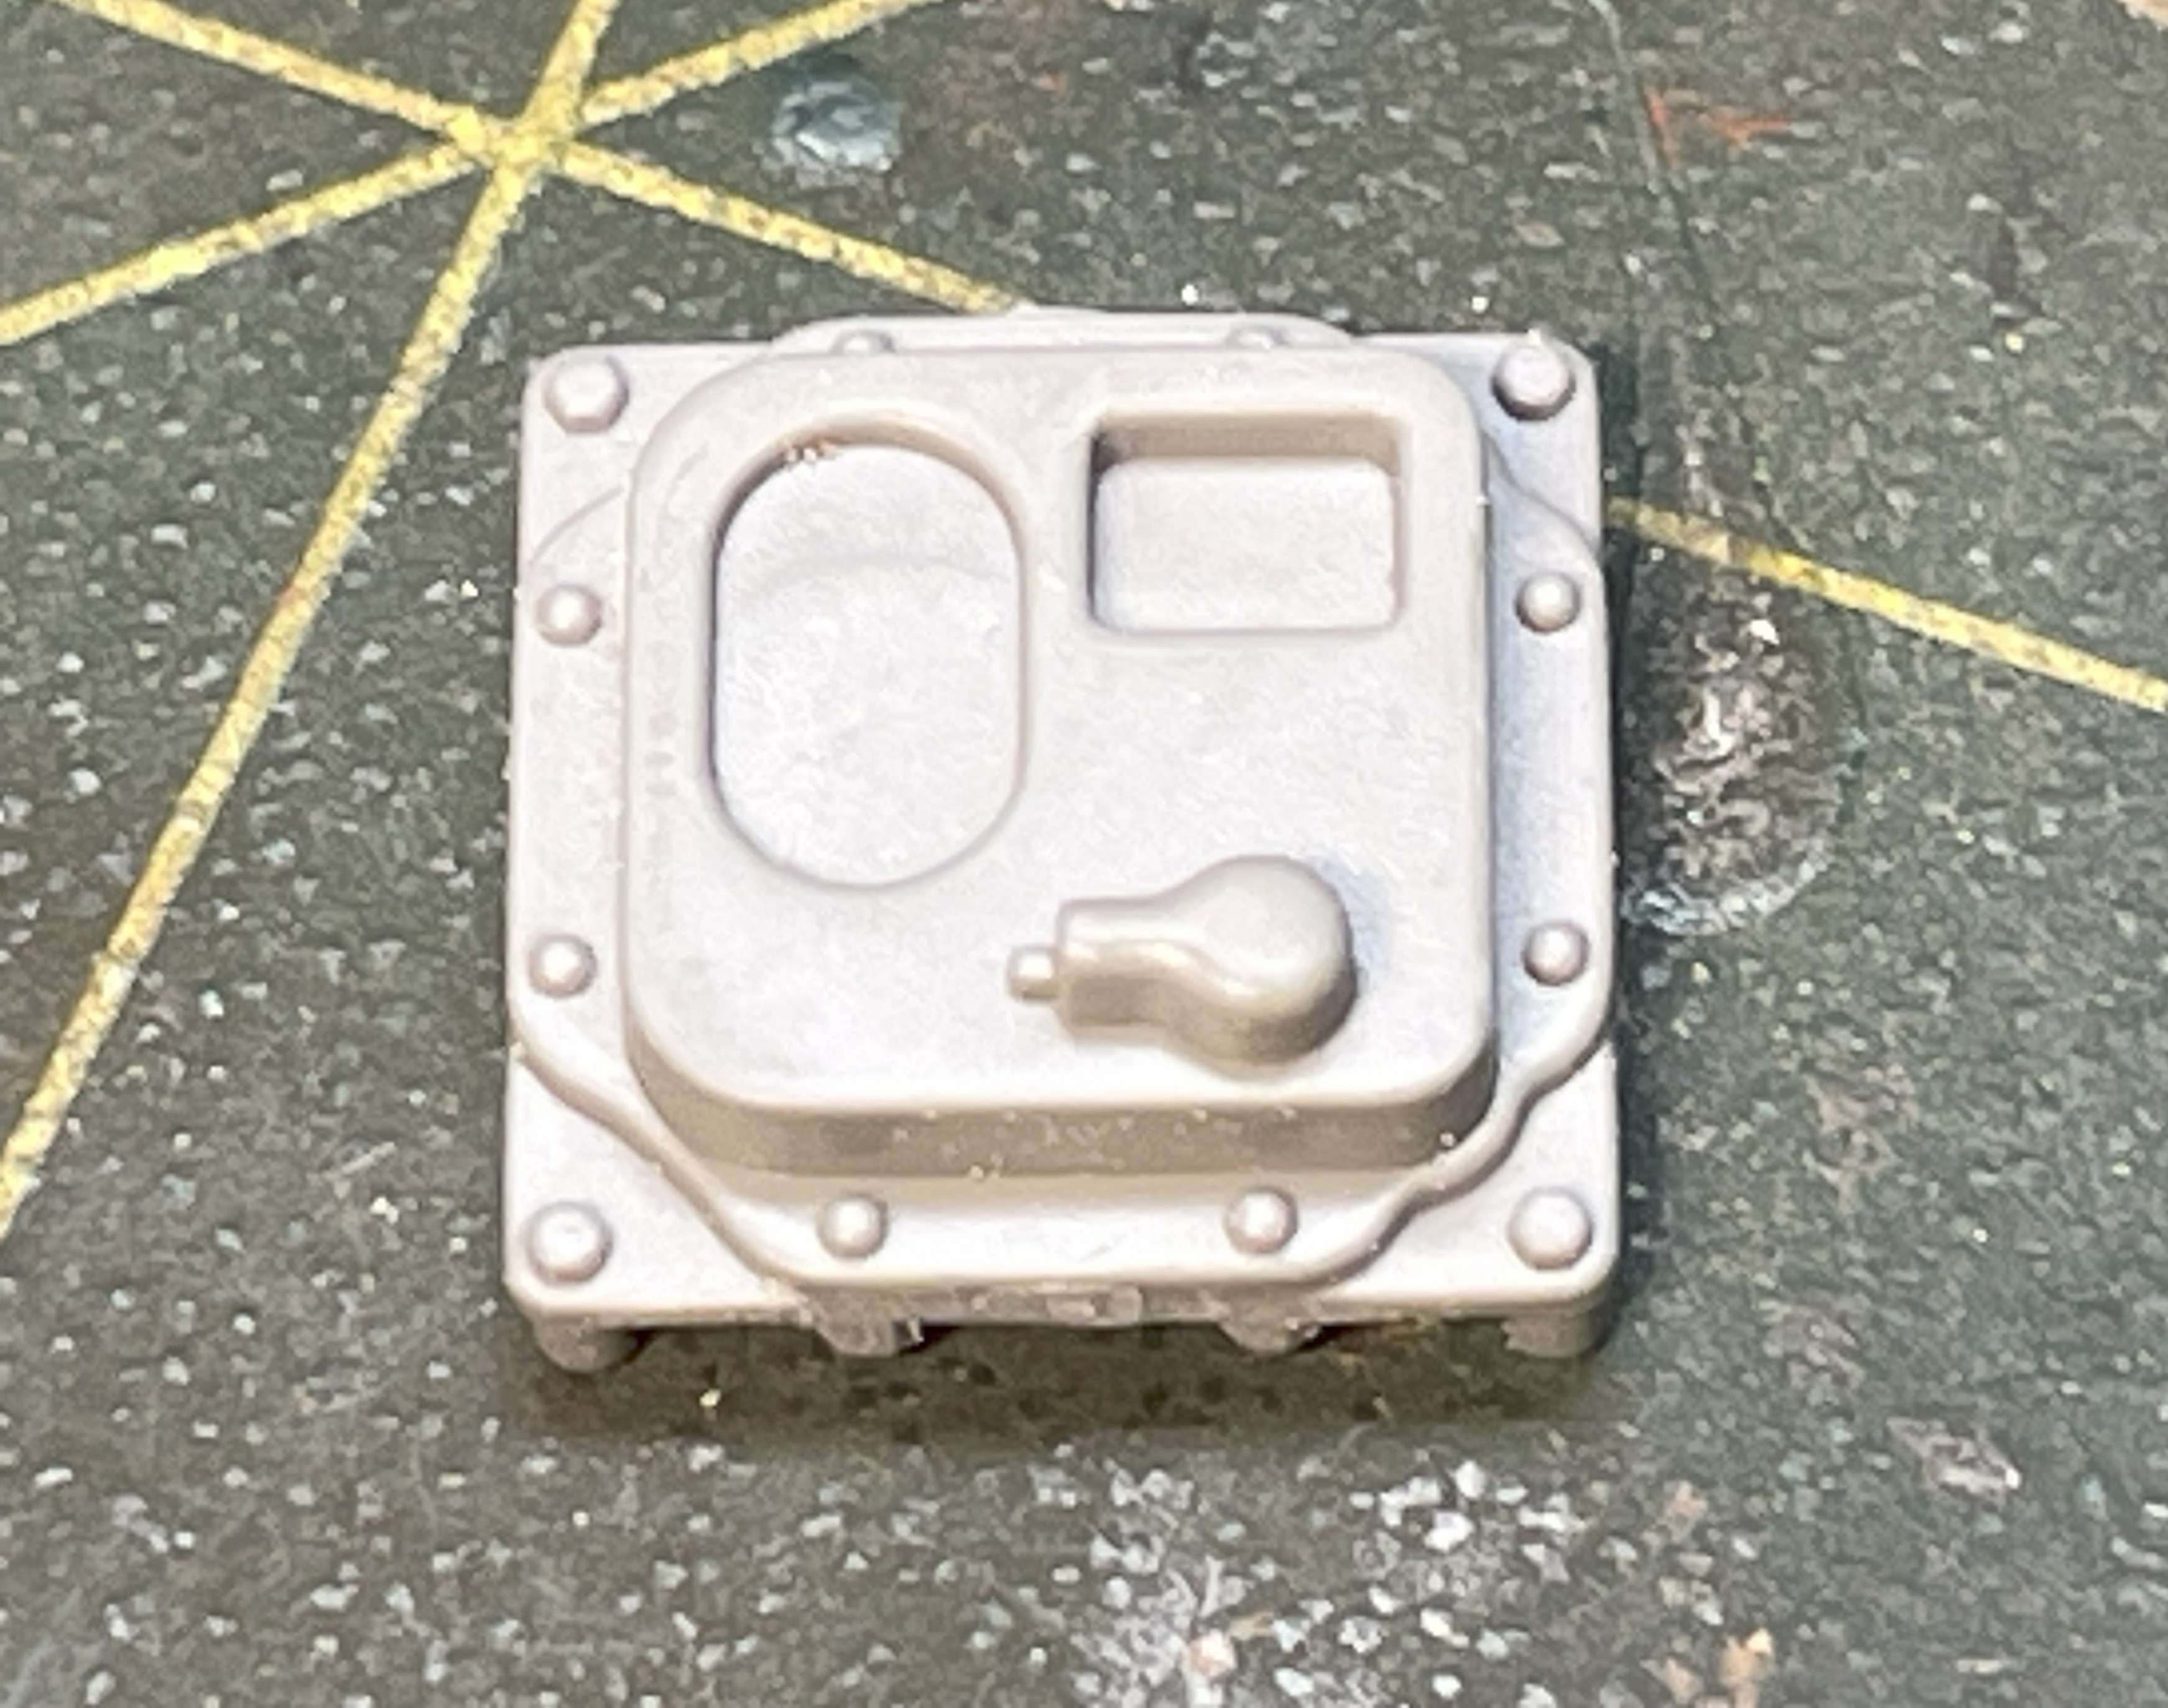
They are done very accurately compared to the real thing.
- 1/16 RC M-113A1 ACAV - Converting the Takom/Andy's HHQ kit to RC
- 5.jpg (1006.34 KiB) Viewed 1244 times
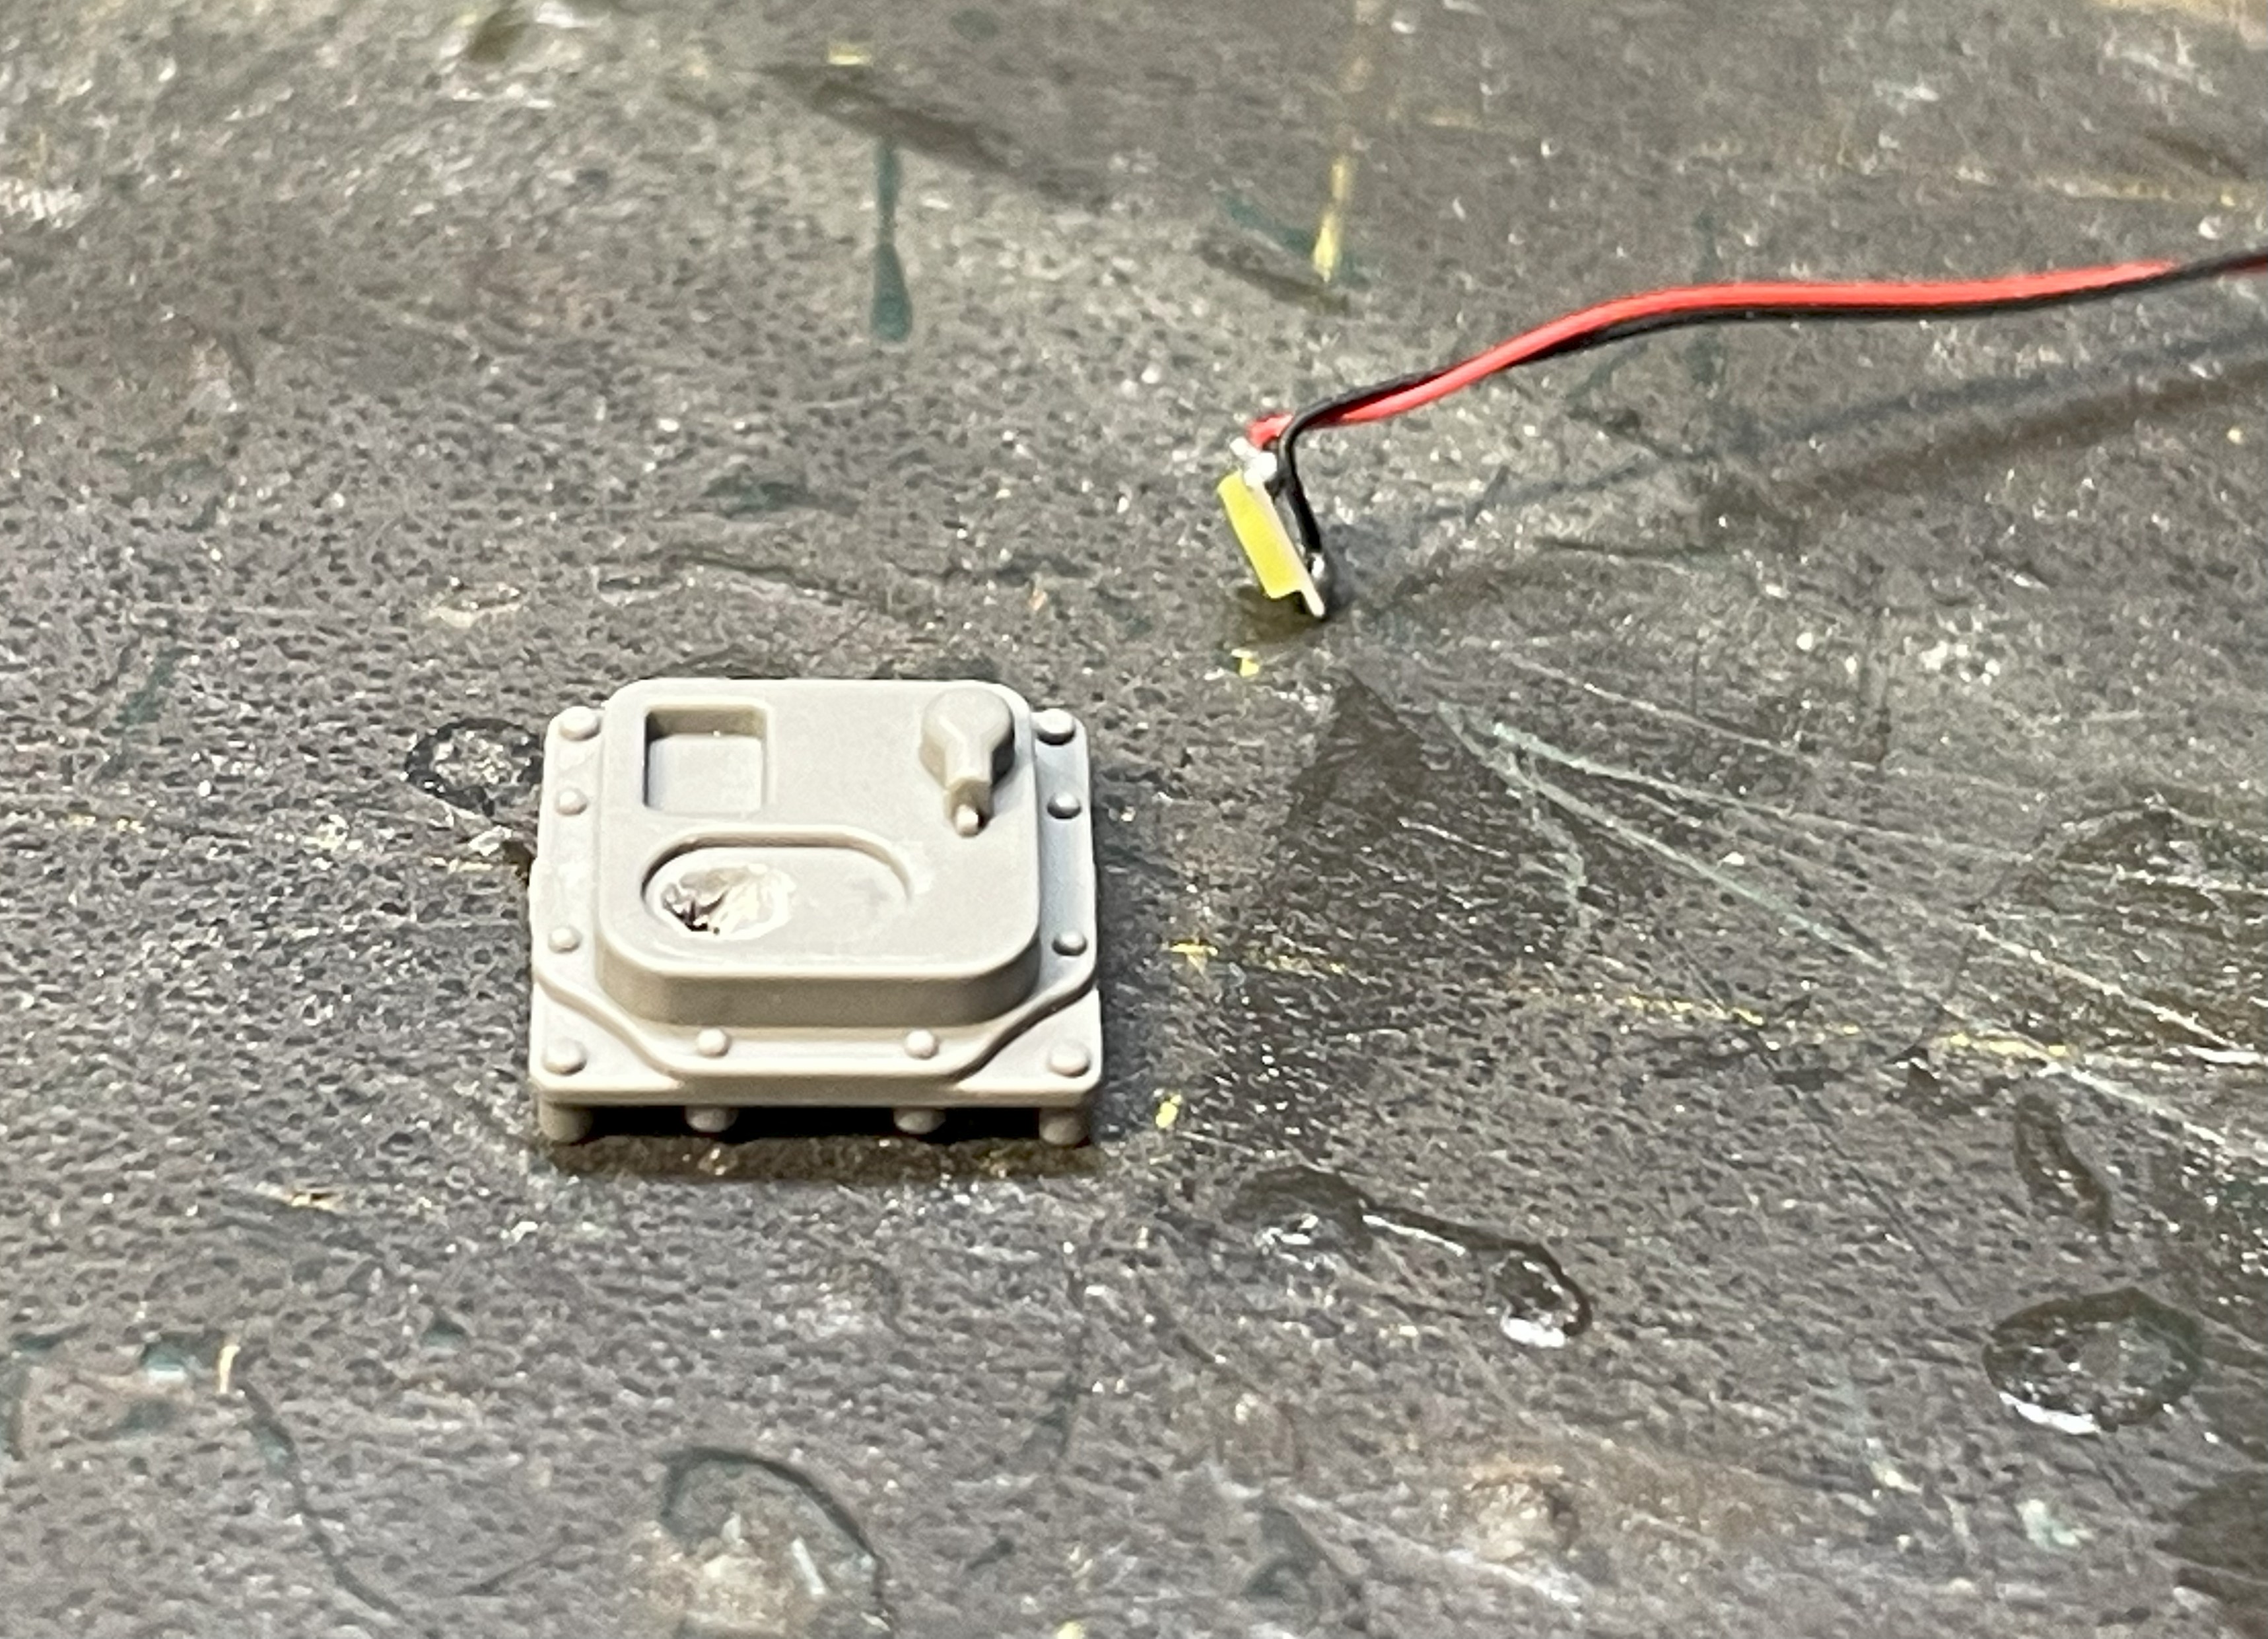
I have selected pure white LED to light up the interior. From experience, two LEDs give a very dim interior lighting. I therefore preferred to use the brightest white instead of the warm white. The surrounding color of the painted interior will be quite dark and have limited reflection. A hole is made to run the LED wires through where the LED will sit. Someone else can made the integration more complicated if they want to. The LEDs were put on and made to soak in superglue and dry overnight.
- 1/16 RC M-113A1 ACAV - Converting the Takom/Andy's HHQ kit to RC
- 6.jpg (1.4 MiB) Viewed 1244 times
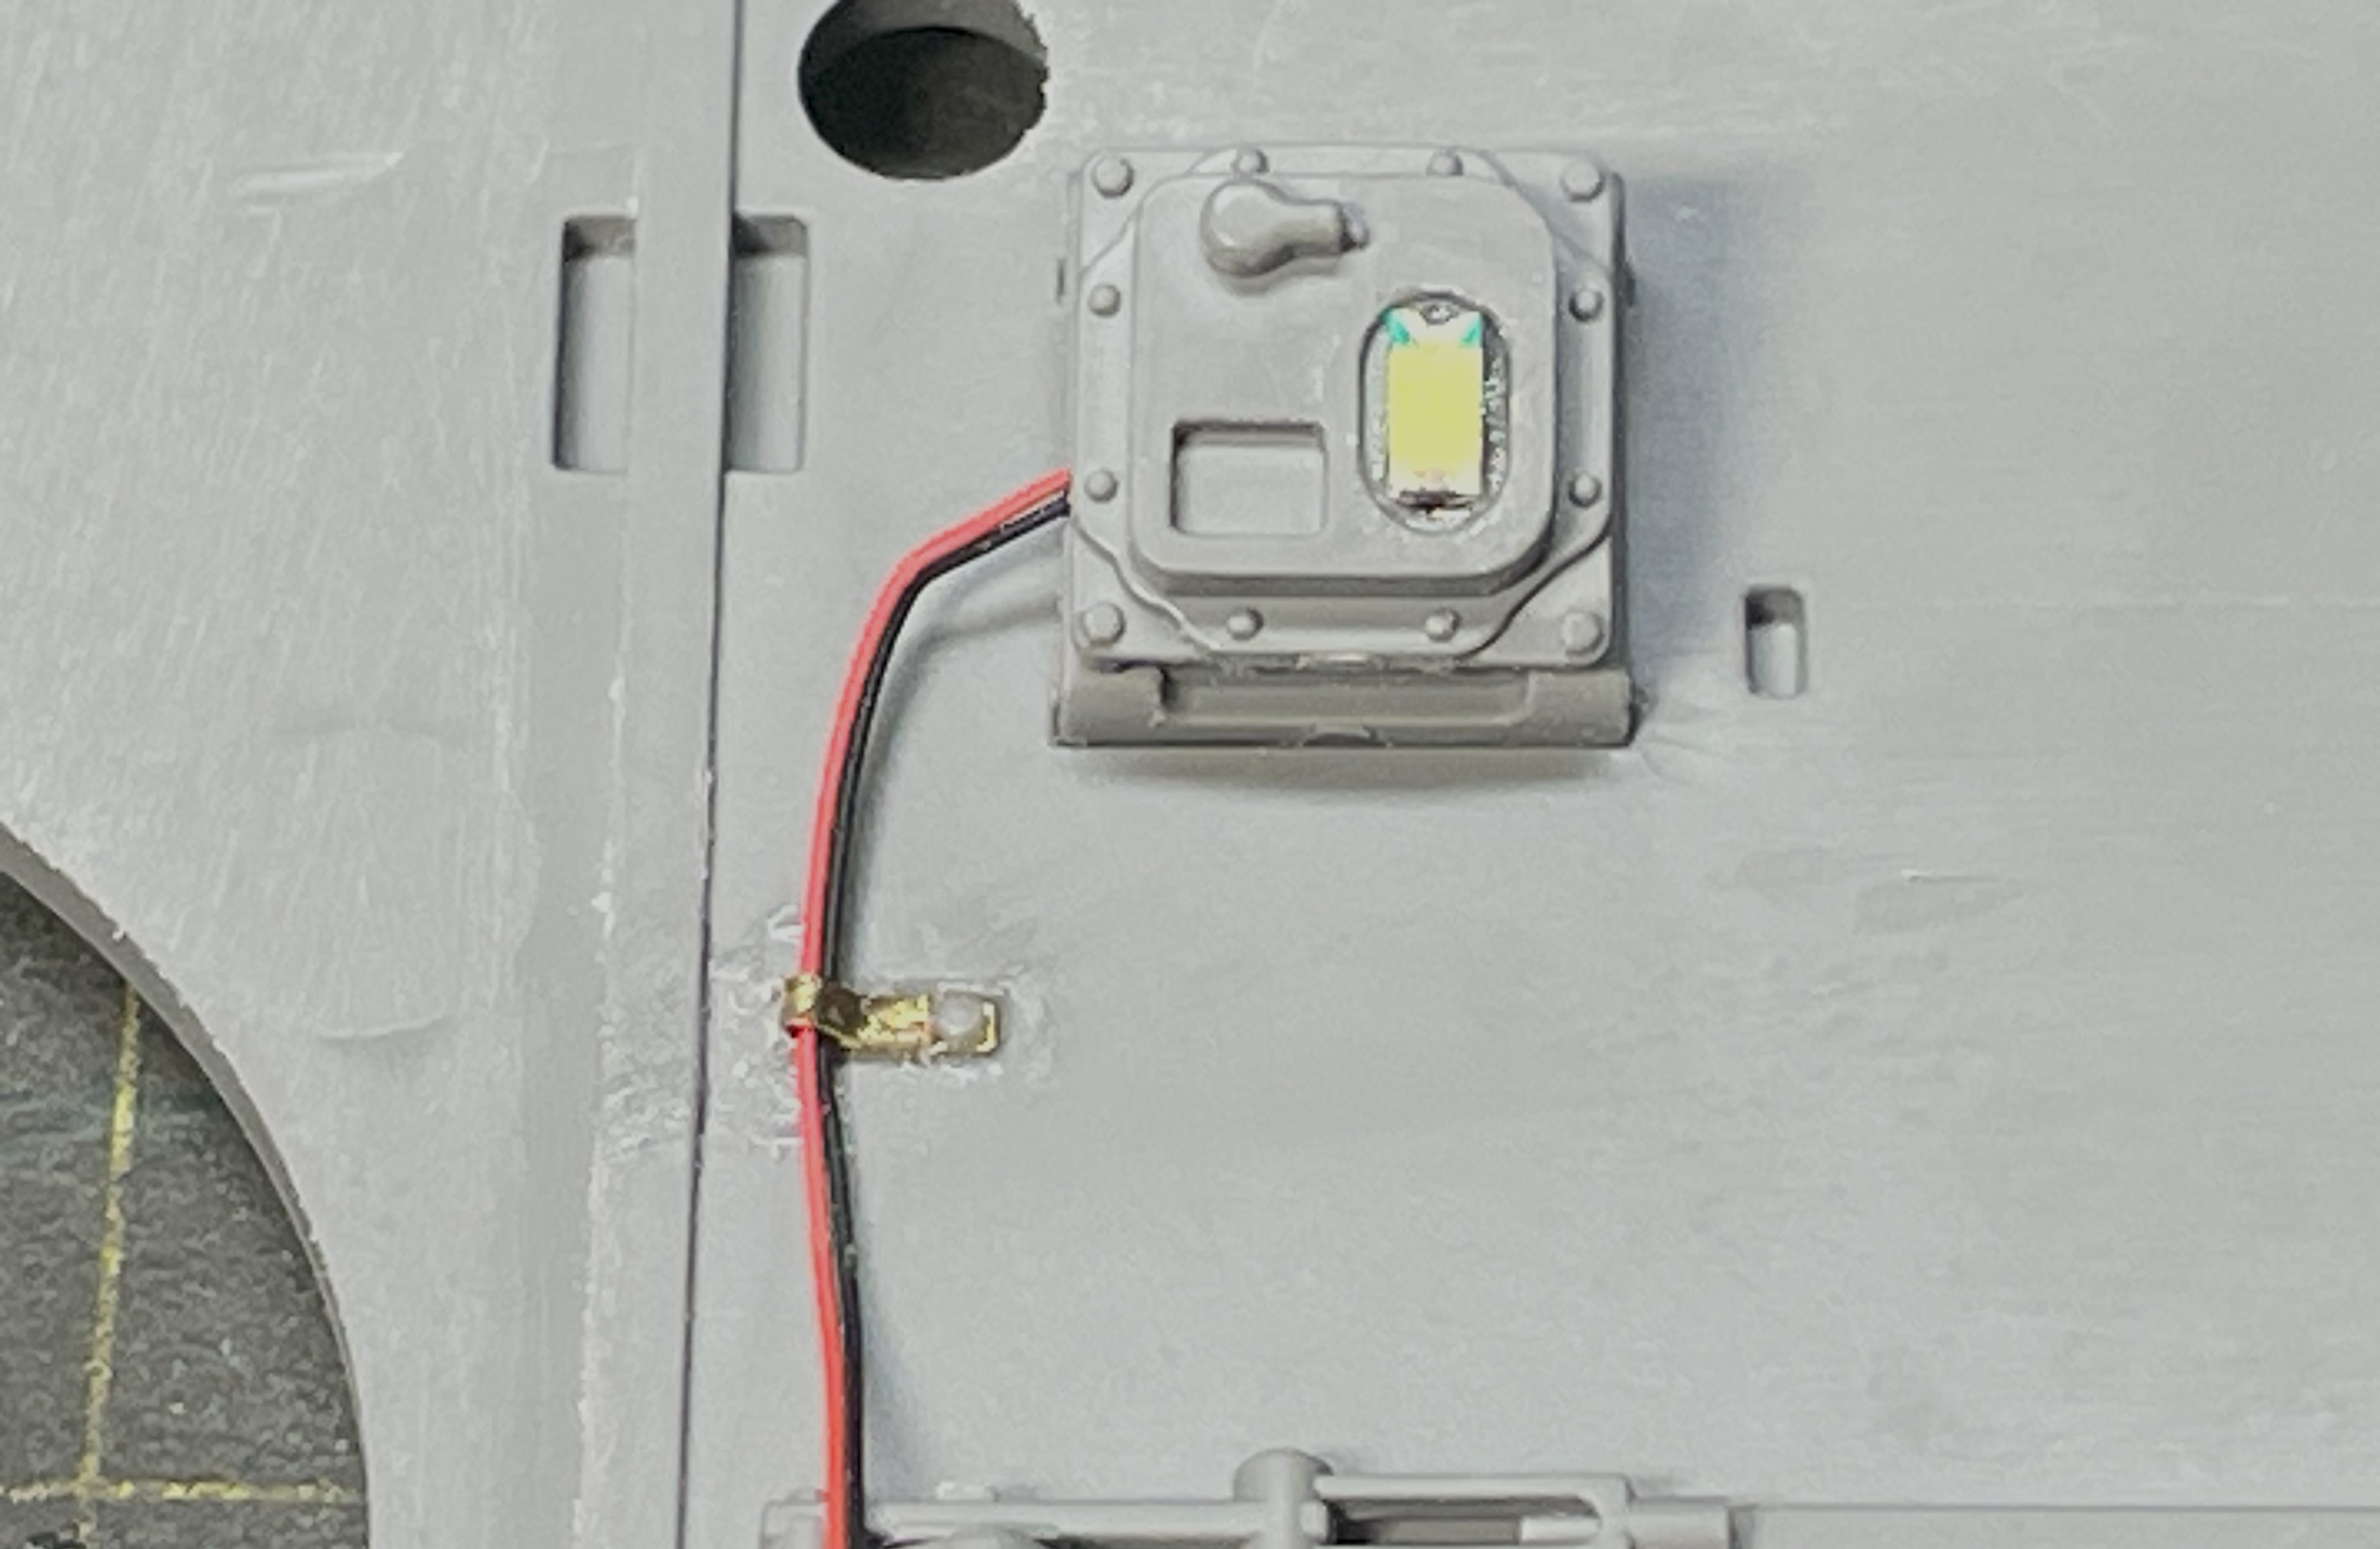
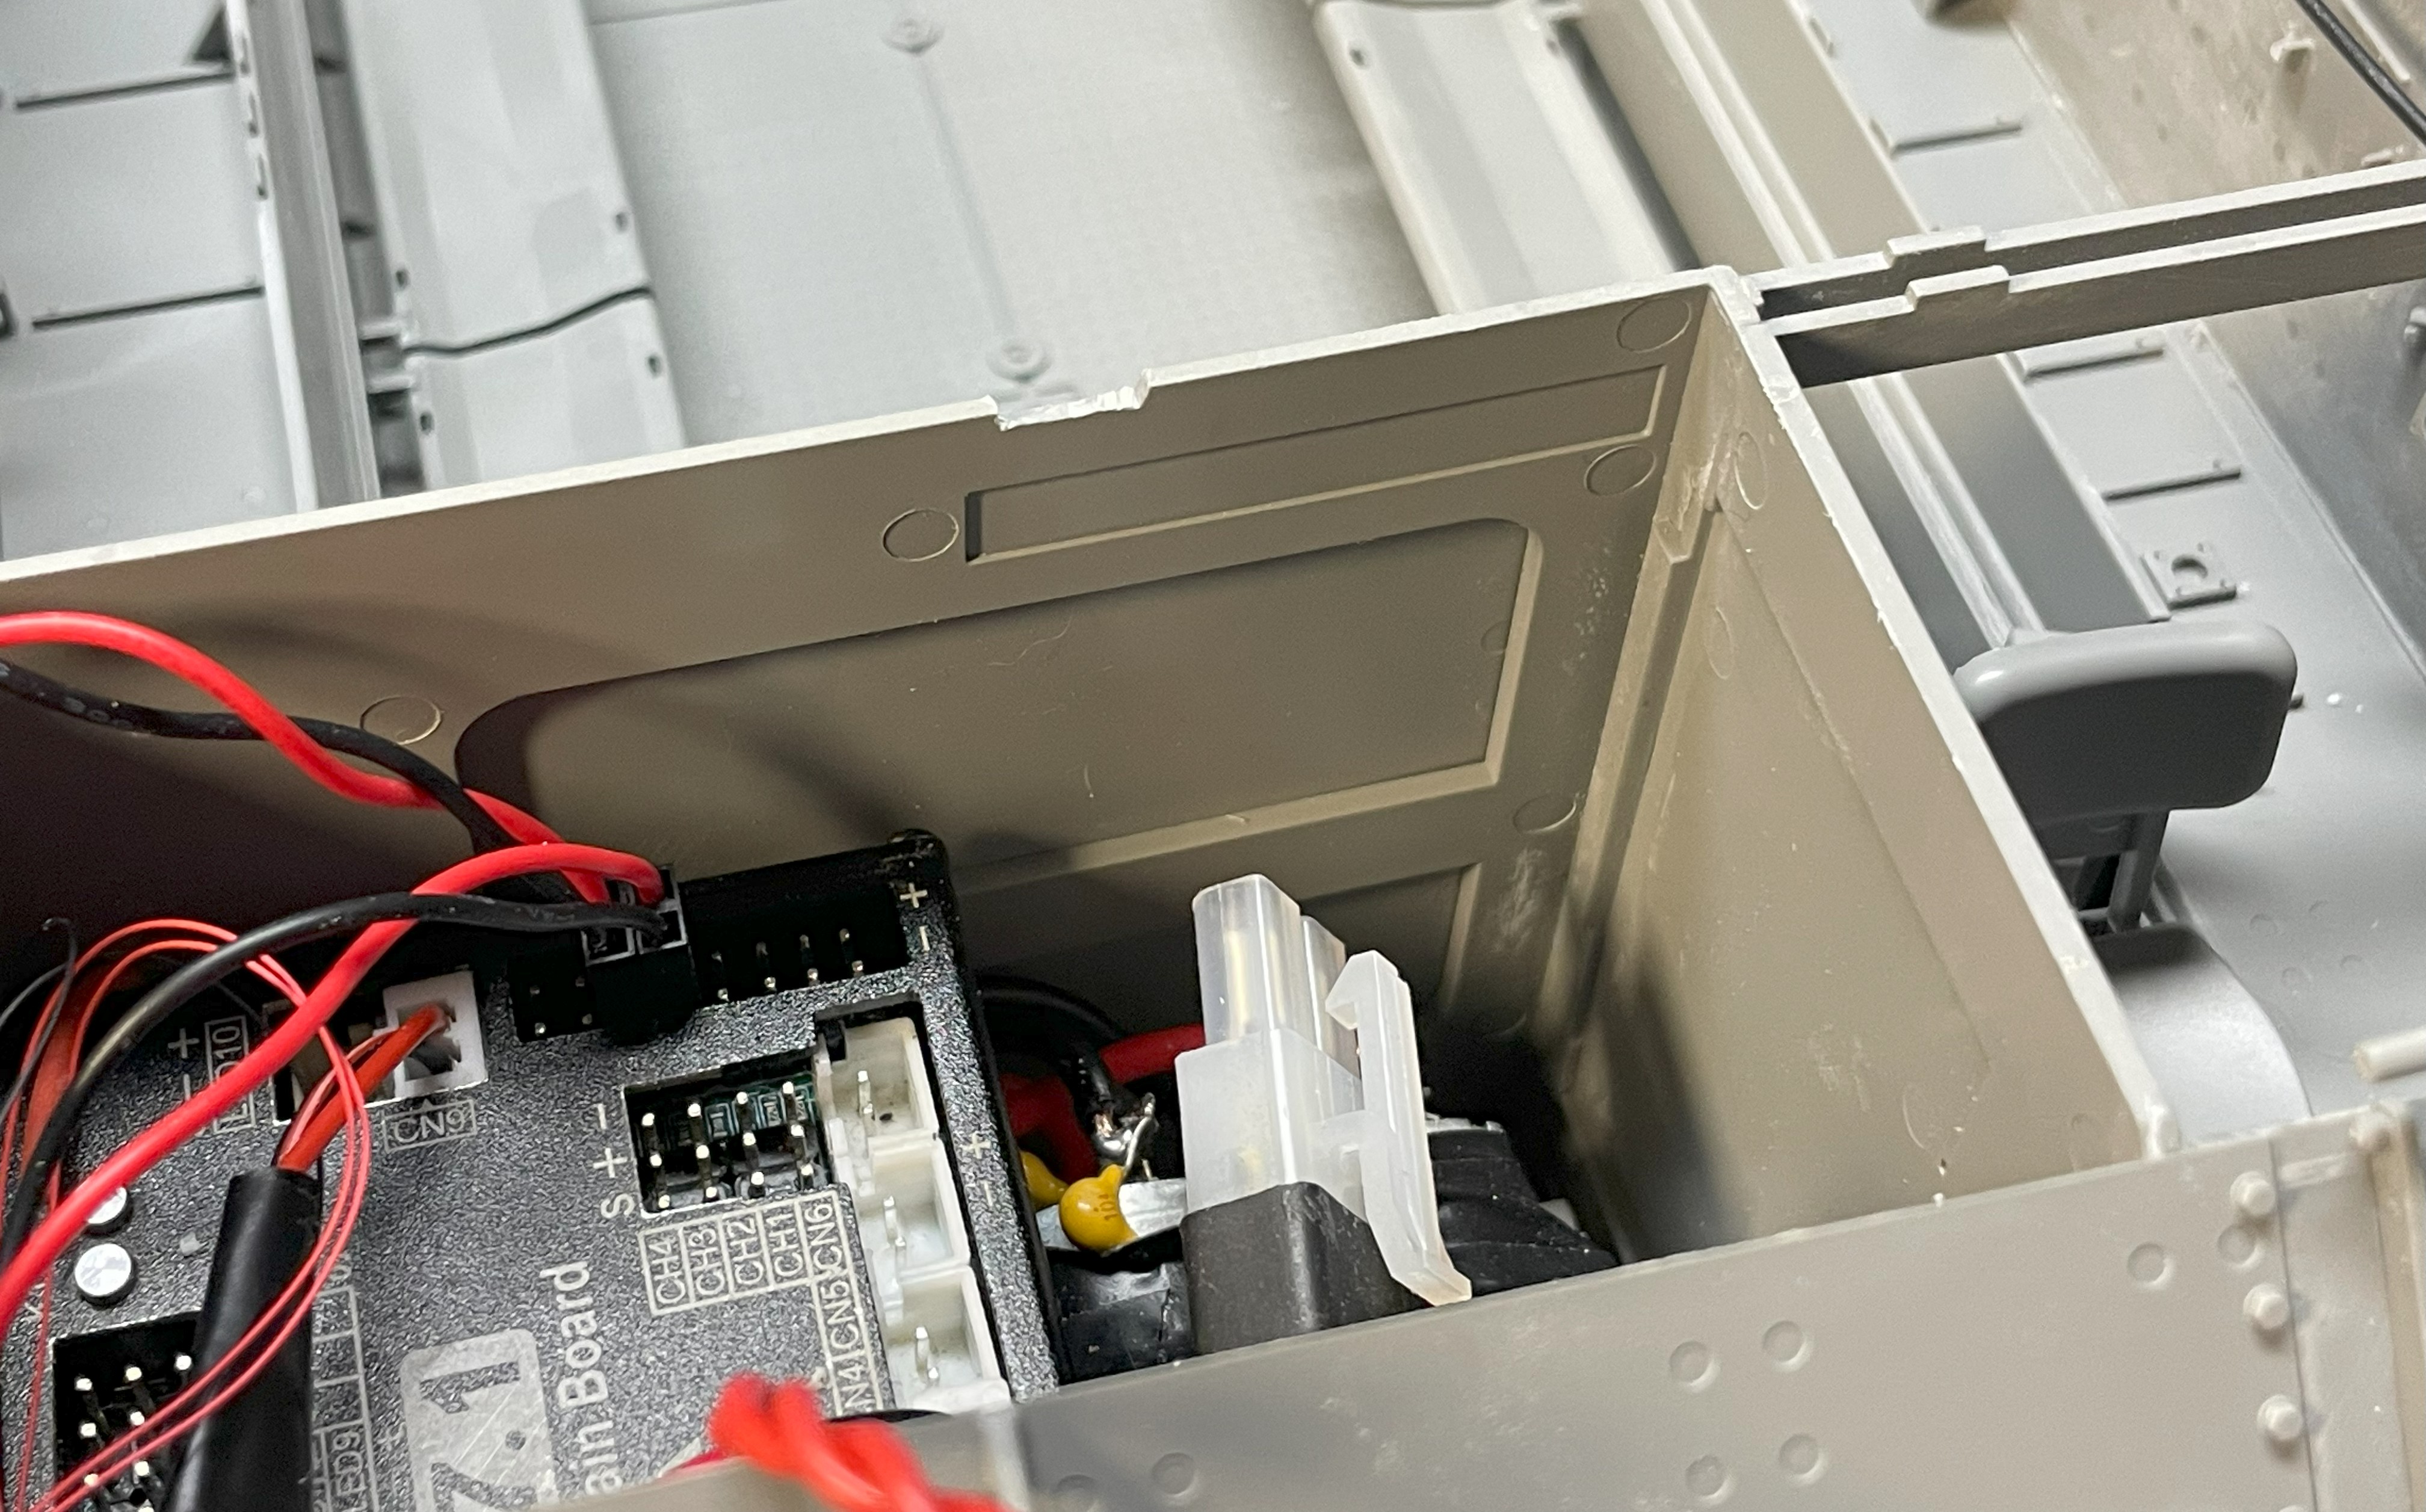
The two LEDs are installed. I have deliberately left some looseness on the wires, it seemed to be more realistic, and attached them to the roof with some anchor points made of photo-etched sprue residue with one small Meng nut. The wires are going towards the front where they need to enter the engine compartment and where they will be connected to LED3 port.
Ensure that the dome lights are not positioned upside down. It is easy to make a mistake. The switch should be at the lowest section, facing the wall.
- 1/16 RC M-113A1 ACAV - Converting the Takom/Andy's HHQ kit to RC
- 7.jpg (2.44 MiB) Viewed 1244 times
Once the LED is lit up, all you see is light so it is not really critical on a RC vehicle to encase the LED and make it beautiful and complicated. The LED can be encased like the real thing but it would provide much less light and the interior lighting could be a failure because of that. I prefer to have the LED head fully exposed in order to create peripherical lighting inside the vehicle.
- 1/16 RC M-113A1 ACAV - Converting the Takom/Andy's HHQ kit to RC
- 7a.jpg (704.29 KiB) Viewed 1244 times

- 1/16 RC M-113A1 ACAV - Converting the Takom/Andy's HHQ kit to RC
- 8.jpg (767.36 KiB) Viewed 1244 times
A small dent is made to let the wires through. This dent does not show from the interior of the vehicle.
- 1/16 RC M-113A1 ACAV - Converting the Takom/Andy's HHQ kit to RC
- 9a.jpg (1.64 MiB) Viewed 1244 times
continuing on following post.