I once created a thread here when I was detailing my HL Panther. Unfortunately all my photos were lost when my image hosting provider went to a paid service and I failed to retrieve them.
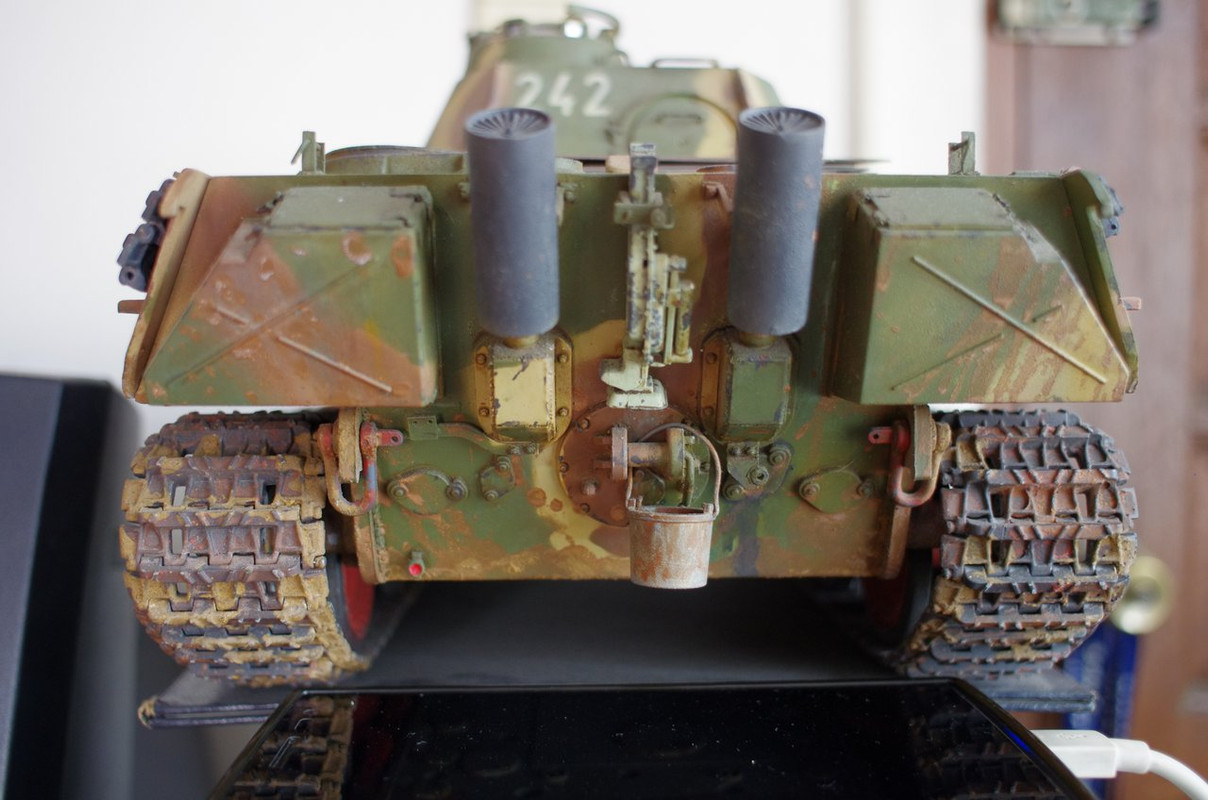
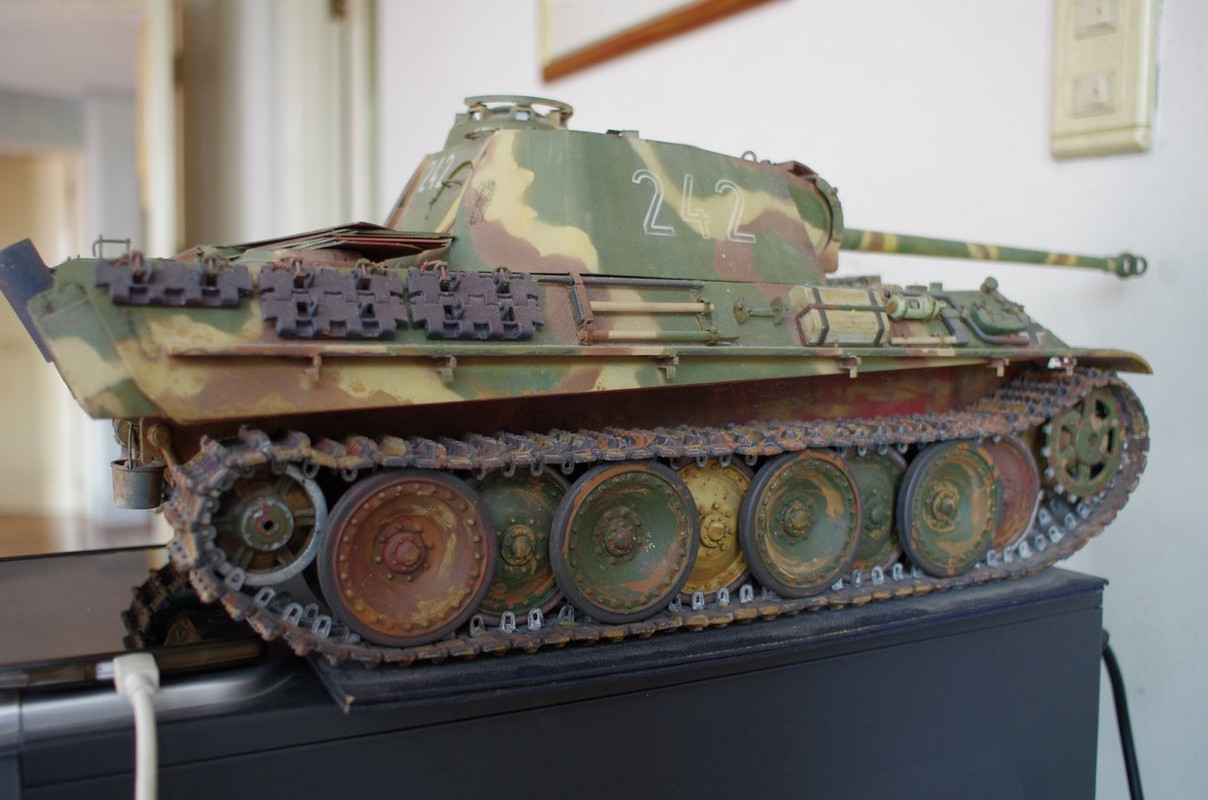
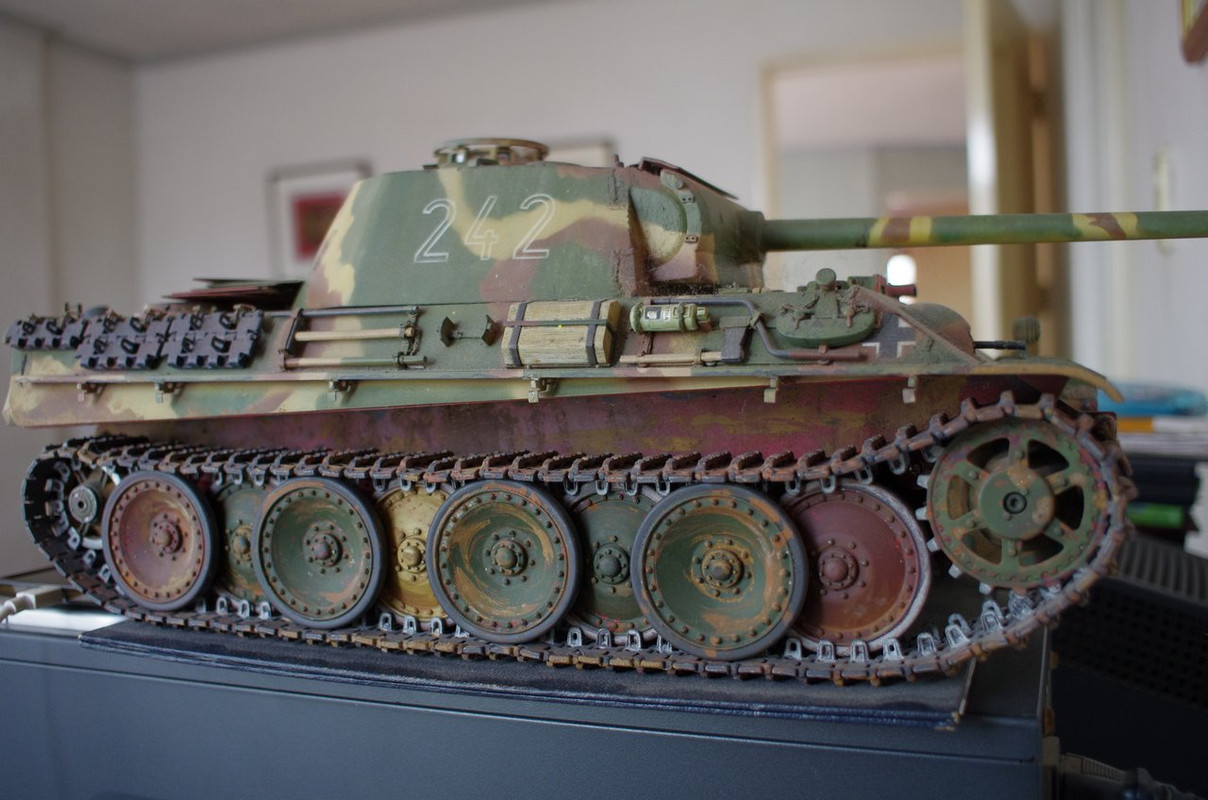
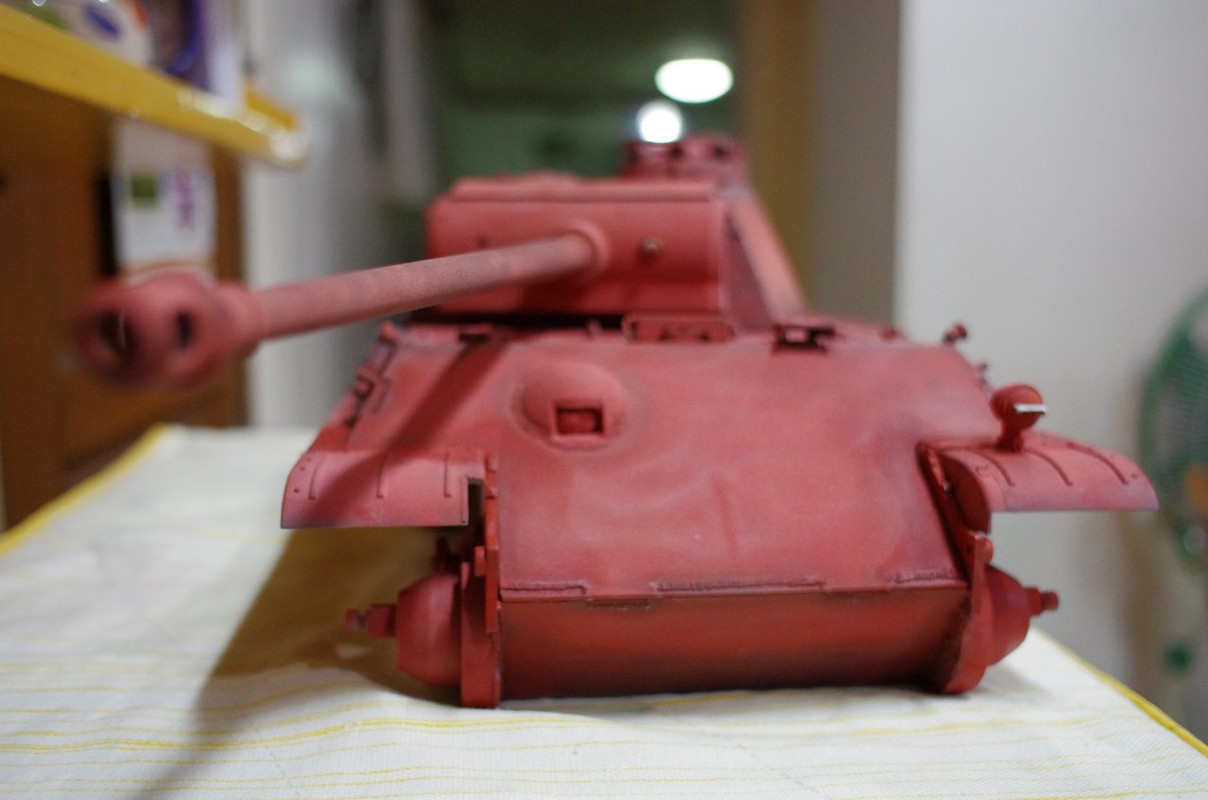
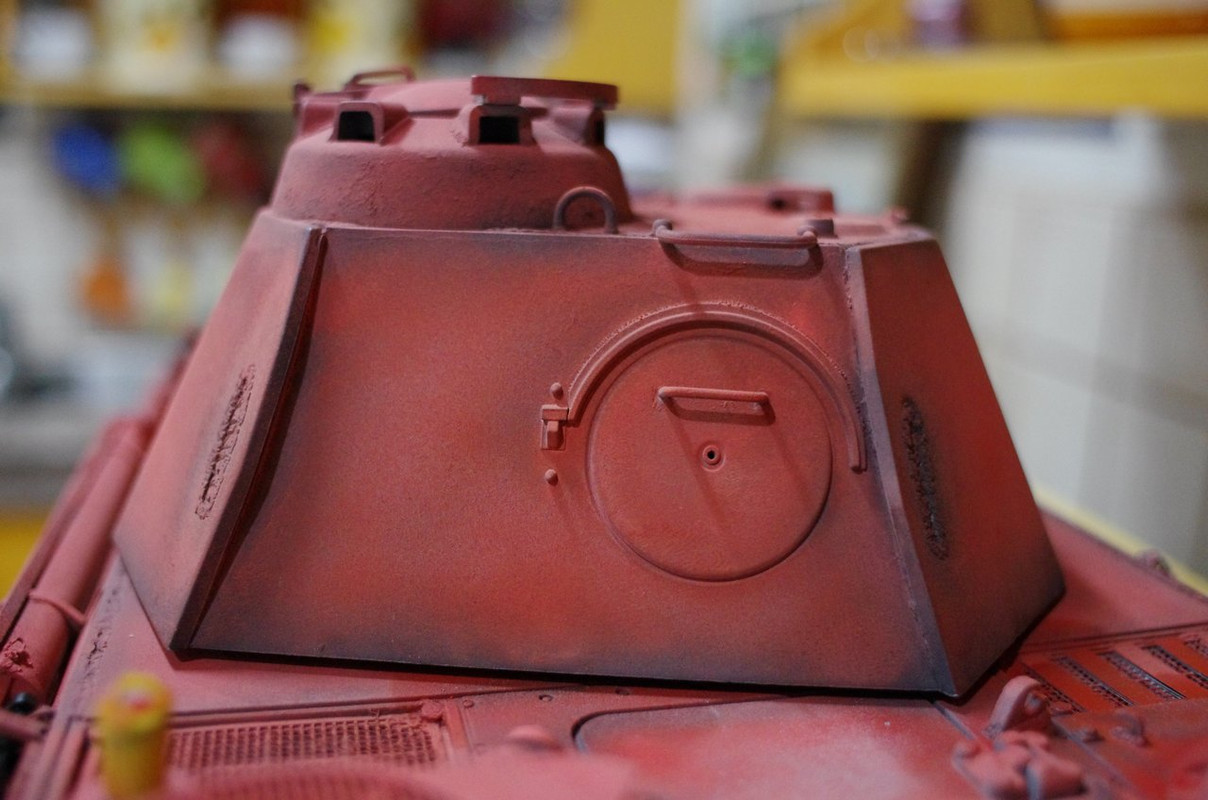
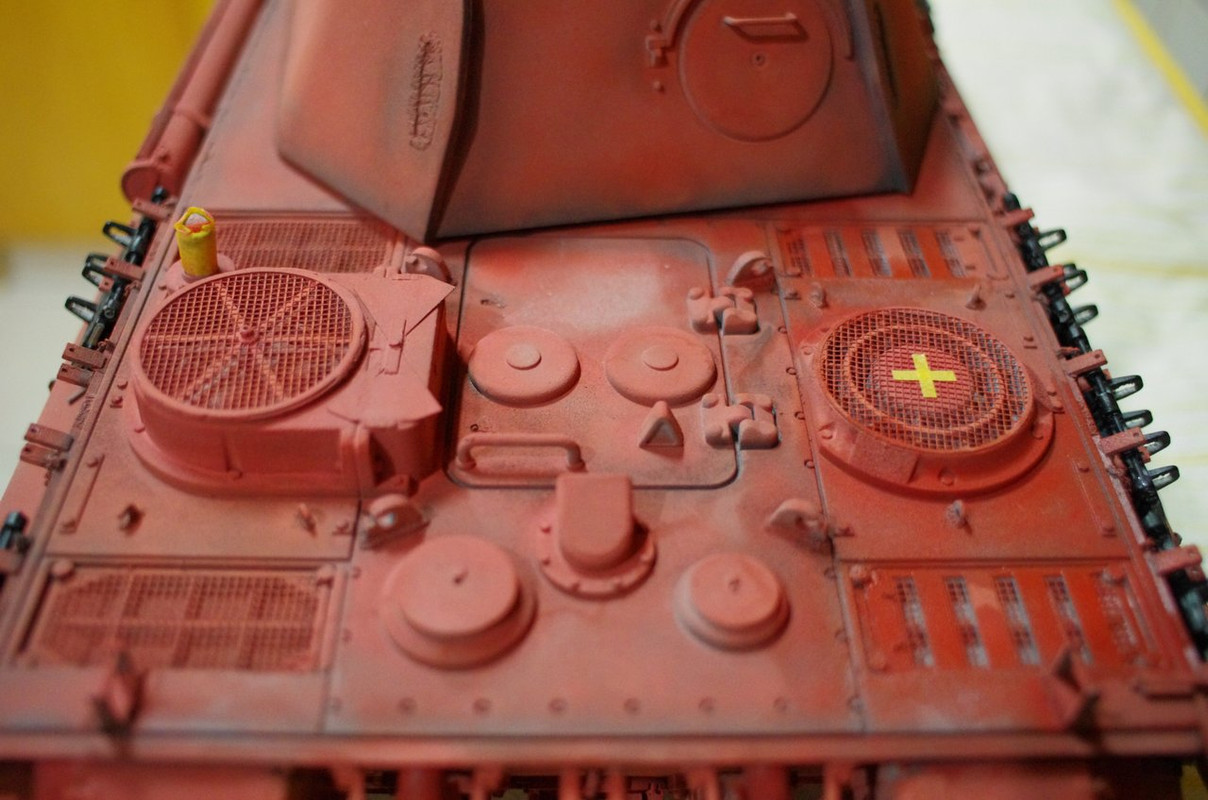
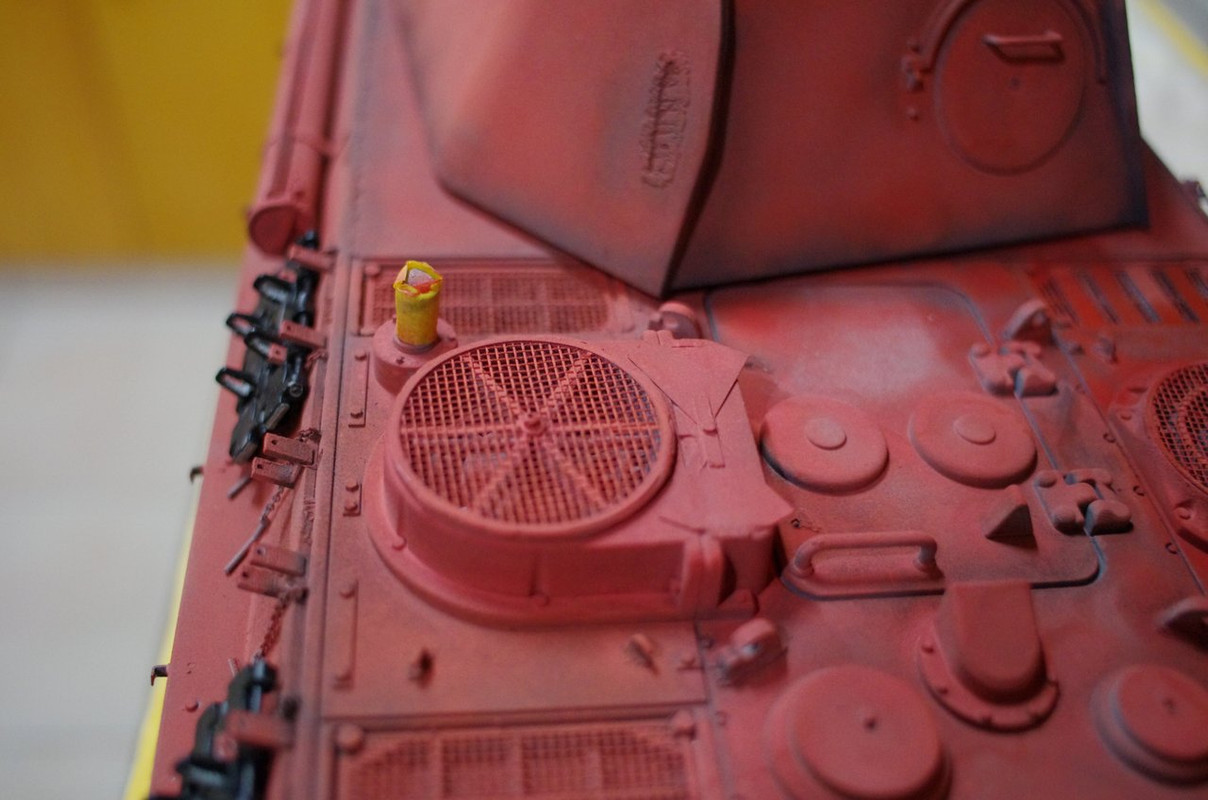
Here are profile pics of the tank currently. My final modifications were to the suspension to get the correct track droop. Enjoy.
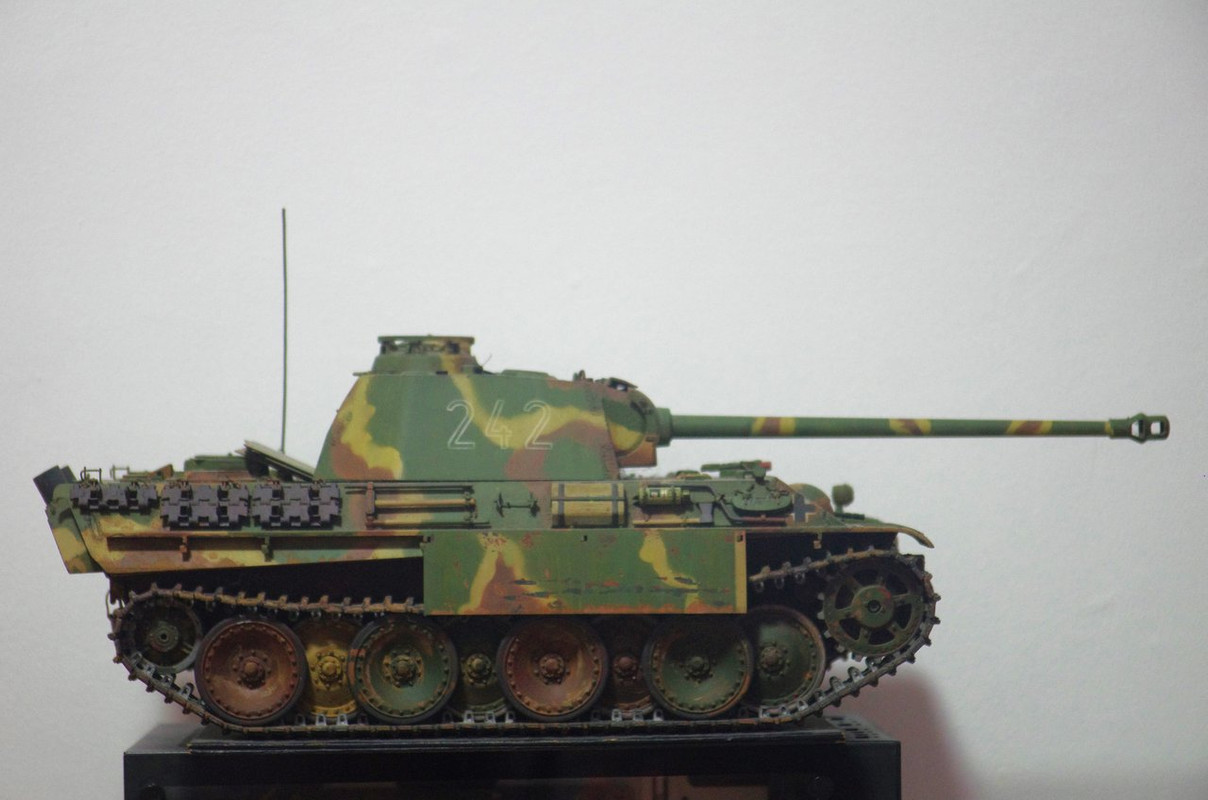
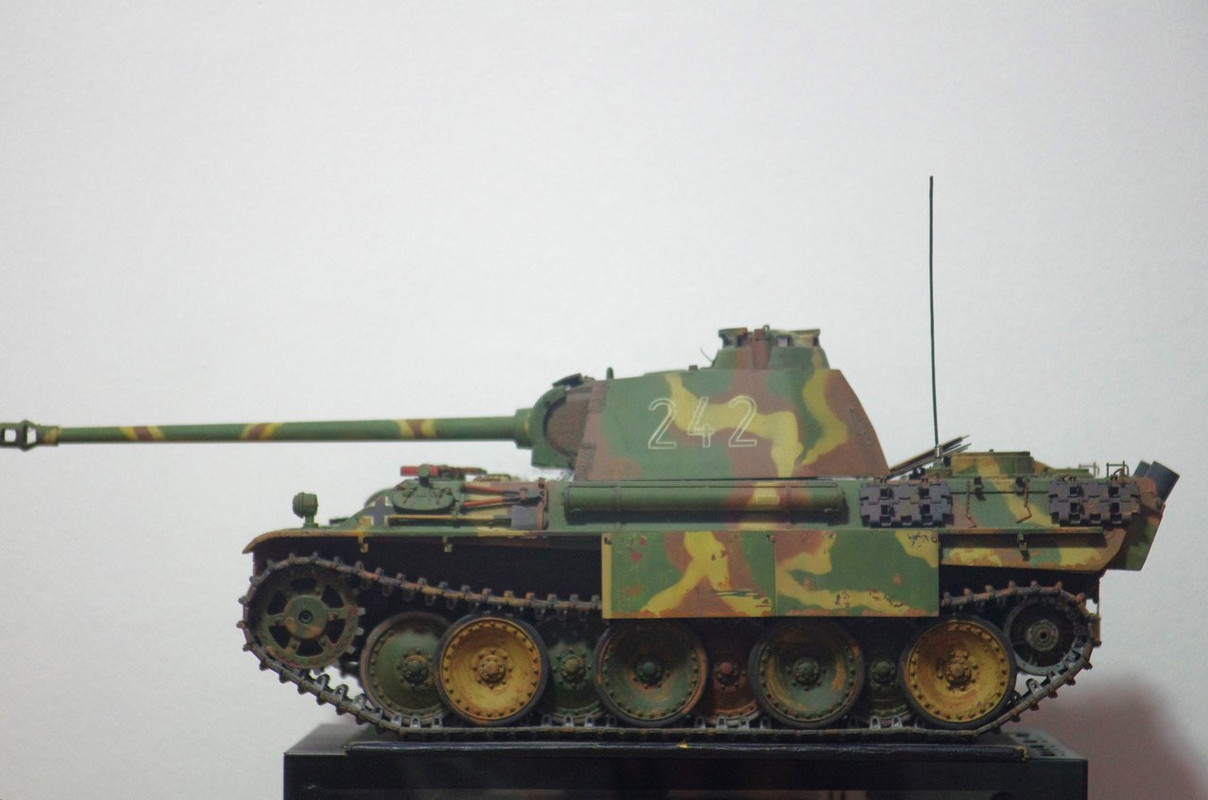
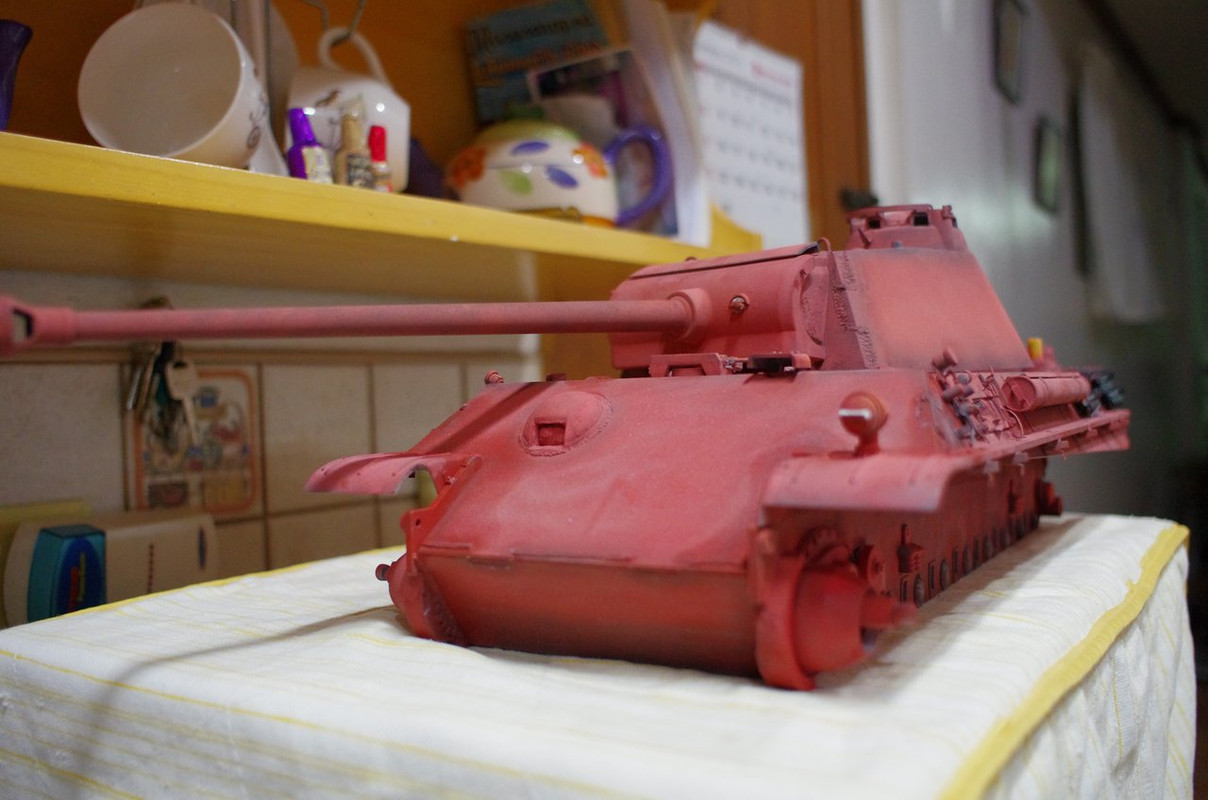
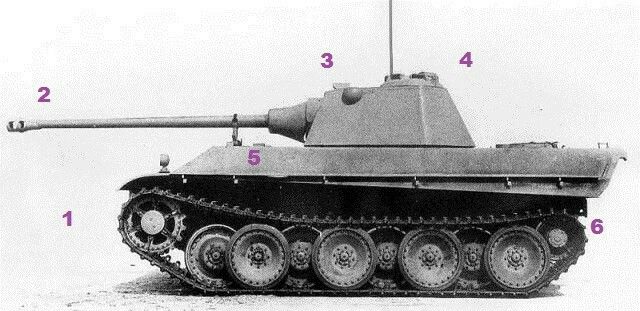
I was going for this look of a Panther fresh out of the factory production line with new torsion bars.
regards
Jeffrey