Part 7
ok final got some of the axel stuffing boxes mounted
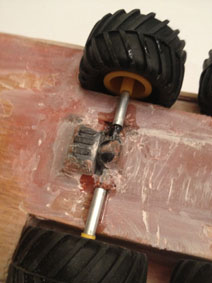
- IMG_0572.jpg (34.11 KiB) Viewed 2717 times
i tacked them in place with a bit of supper gule and went round the hole thing with epoxy resin, unfortunaly one side fell off while i was tring to pull the axel out. so on 2 on one side have been done.
and same agine on the sering front drive box
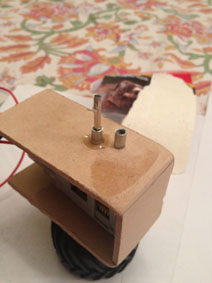
- IMG_0574.jpg (38.39 KiB) Viewed 2717 times
as you can see theas are a fair bit smaller i ground the axel down and thus the stuffing box that sits over it must be smaller
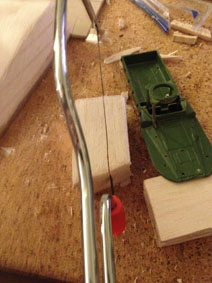
and then the epoxy

- IMG_0575.jpg (31.04 KiB) Viewed 2717 times
then a little more work on the deck
- IMG_0576.jpg (44.57 KiB) Viewed 2717 times
and a mock up
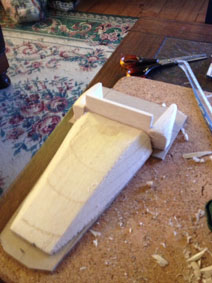
- IMG_0577.jpg (42.65 KiB) Viewed 2717 times
something like that
Finishing
I did a little R&D with what to coat it in
a bloke at the hardware store reconed i shoud coat the whole thing in PVA wood gule i thought this would not be a good idear and thout epoxi resin how ever that will take an age of sanding is very brittle and not to mention expensive.
I then remebered building balsa wood plains with my old man as a kid. We coved them with papper and then something called dope. witch looks smells and acts the balsa wood gule called c23 over here. I picked up a tin at the hobbie shop on the weekend. As well as my DUKW build i desided to do a little R&D about fishishing.
I cut 4 peces of MDF one i left raw the next i coated in 1 coat of dope 1 coat of spy paint the next one was 2 coats of dope and 1 cote of spy paint. and the next was 3 coats of dope and 1 coat of spy paint.
i sat all 4 in a tub of water of night and exsamined them before going to work this morning.
needless to say the raw bit of MDF was shagged or (rooted) as we say in australia. all the others were more or less on par
the water did not get in to any of the coated MDF
So when the time comes to coat and paint it
i will prob me going with 4 coats of dope and 2 coats of paint
stay posted for more
Will


