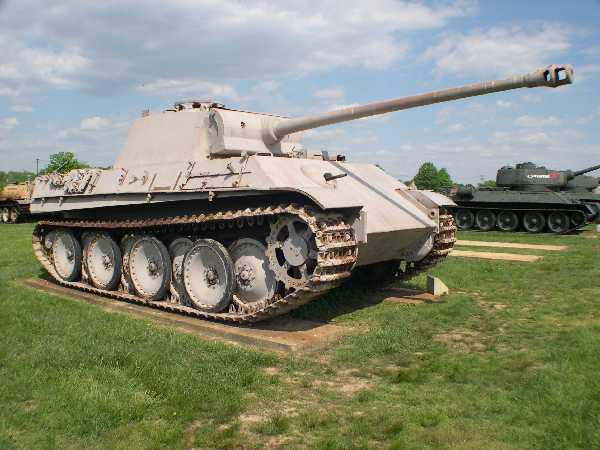
The following is a combination of about 2 week's worth of build logs:
-------------------------------------------------------------------------------------
Not quite started yet, but three more new bits join the Panther box of bits, an Orange 6 channel Spektrum compatible receiver, and Impact gun muzzle and upgraded recoil unit:

And then I finally got off my arse and breaking open plastic baggies:

The ubiquitous plastic bowls to hold screw bags A through D

Assembly of track tensioners. I've learned my lesson and am building on a towel

Attaching the suspension arm mounts. One down, fifteen to go

All done. This shows the staggered configuration of the suspension arm mounts

Track tensioner assembly and torsion bar mounts fitted. The track tensioner took me some time to figure out as the manual wasn't too clear where the bits should go and how far they had to be screwed into each part. I had to look at the later steps to get clues
I'm pretty sure I've lost some lung function after suffocating myself to get this lot painted up. The shipping box came in handy as a makeshift spray booth though. Skipped the photos of priming as I didn't use the kosher red oxide paint but Tamiya grey surface primer instead. Here's the metal bits after laying the base coat of TS-3 Dunkelgelb


Suspensions arms painted up and ready to install

Figuring out how to install the first arm

Detail of the torsion bar (actually a strip of metal). It has to key in squarely to the slot of the suspension arm so that it can fit into the torsion bar mount easily

One down, 15 more to go...

Showing the trailing and leading suspension arms on each side.

This band-aid fix has received a lot of flak, but I installed mine anyway

Installing the front sprocket guides. I might remove it again so that I can paint it properly.

Couldn't resist test fitting the upper hull
Gearbox fitment and some wheel work:

Halfway through swapping out the motors over from the stock gearboxes onto the Impact gearboxes

Slight misalignment with the mounting posts meant that I had to loosely fit all three gearbox mounting screws and tighten them simultaneously to get it to fit flat.

This took the entire evening......

I took the opportunity to fit the axle covers onto the wheels before painting them as they will stick better.

Done!

The rear hull was also assembled. I decided not to take photographs of me removing all 36 road wheel tires from their rubber sprues...

More hull parts are installed prior to painting, this time the machine gun port

I attached tool racks, hatch handles and hooks in the same operation. This is out of sequence with the instruction manual

I encountered interference beteween the idler shaft flange and the rear hull

Which resulted in an unsightly gap in the lower section

Breaking out the Dremel tool to grind out a small slot of either side allowed more clearance

Looks the same, almost, but the gap is visibly smaller now

The completed rear hull sans the exhaust stacks and jack, which have still to be painted. I don't plan to attach any of the accessories until the camouflage scheme is laid on


