KV-1 ~ Jnewboy Customs
Posted: Fri Jun 25, 2021 8:40 pm
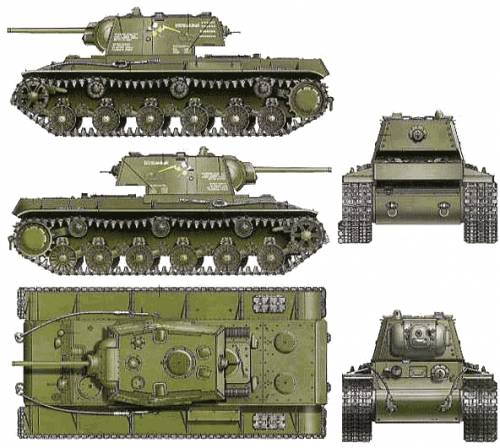
I wanted to do a KV-1 for my collection but Ive never been a fan of the up armored version, it looks so different than the classic KV-1 look it feels like a different tank. I also am not a fan of $1,250 Tamyia mostly due to the price. So I set out to transform the Henglong KV-1 into something simple, something rugged and earlier in the war. I found inspiration.
 anton-dobkes-kv1-21 by Jnewboy Customs, on Flickr
 anton-dobkes-kv1-1v4 by Jnewboy Customs, on Flickr
I like it as it has some crude up armor attempts but maintains the classic look of the KV.
I apologize for not taking more pics early on, I did not intend on a build thread but thought twice about it later.
 Untitled by Jnewboy Customs, on Flickr
By this picture I have removed the turret up armor, put in two small bolts and added weld seams to the turret, given it a spray with 4B0 spray paint and now am putting on the up armor. (please ignore the King Tiger tools below, different build/same desk/Im becoming a slob)

 Untitled by Jnewboy Customs, on Flickr
The next issue to tackle was the bolts and scope hole on the gun mantlet.
 Untitled by Jnewboy Customs, on Flickr
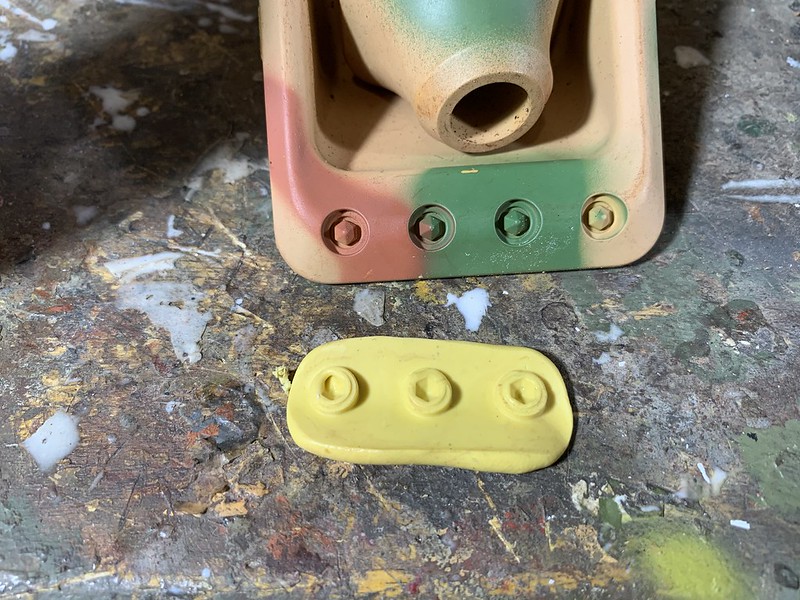
Here you can see that I have made larger holes for larger bolts, I have already put one in, that's it in white resin. I looked through my mini screw and bolt collection but found nothing I liked but then remembered the Jagdpanthers gun mantlet so after some deliberation on the ethics of mixing mortal enemies I made a small simple casting of the bolts and was happy with the look!
 Untitled by Jnewboy Customs, on Flickr
 Untitled by Jnewboy Customs, on Flickr
Next was to paint it, I reshot it in 4BO and then did a simple color modulation using two lighter shades of AK-031 (4BO) on all the raised surfaces and the top of the barrel/gun mantlet/storage boxes ect.
 Untitled by Jnewboy Customs, on Flickr
 Untitled by Jnewboy Customs, on Flickr
Also painted the dark iron for contact areas with the tracks.
 Untitled by Jnewboy Customs, on Flickr
 Untitled by Jnewboy Customs, on Flickr
Also did color modulation on the wheels.
The color modulation looks over done, to light compared to the under shades but this is actually what you want. My Magic Grime will work as a filter and a wash, it will marry the colors together and will look perfect. I use to do a very subtle modulation when I used conventional washes but with Magic Grime you need to start with more contrast to get a better result as it was designed to blend/filter camouflage.
 Untitled by Jnewboy Customs, on Flickr
Thats about as she stands right now. Next is Decals, touch ups (chipping/scuffs) then Magic Grime, then dust effects. Then the tracks and shes done!
 anton-dobkes-kv1-21 by Jnewboy Customs, on Flickr
 anton-dobkes-kv1-1v4 by Jnewboy Customs, on Flickr
I like it as it has some crude up armor attempts but maintains the classic look of the KV.
I apologize for not taking more pics early on, I did not intend on a build thread but thought twice about it later.
 Untitled by Jnewboy Customs, on Flickr
By this picture I have removed the turret up armor, put in two small bolts and added weld seams to the turret, given it a spray with 4B0 spray paint and now am putting on the up armor. (please ignore the King Tiger tools below, different build/same desk/Im becoming a slob)
 Untitled by Jnewboy Customs, on Flickr
The next issue to tackle was the bolts and scope hole on the gun mantlet.
 Untitled by Jnewboy Customs, on Flickr
Here you can see that I have made larger holes for larger bolts, I have already put one in, that's it in white resin. I looked through my mini screw and bolt collection but found nothing I liked but then remembered the Jagdpanthers gun mantlet so after some deliberation on the ethics of mixing mortal enemies
 Untitled by Jnewboy Customs, on Flickr
 Untitled by Jnewboy Customs, on Flickr
Next was to paint it, I reshot it in 4BO and then did a simple color modulation using two lighter shades of AK-031 (4BO) on all the raised surfaces and the top of the barrel/gun mantlet/storage boxes ect.
 Untitled by Jnewboy Customs, on Flickr
 Untitled by Jnewboy Customs, on Flickr
Also painted the dark iron for contact areas with the tracks.
 Untitled by Jnewboy Customs, on Flickr
 Untitled by Jnewboy Customs, on Flickr
Also did color modulation on the wheels.
The color modulation looks over done, to light compared to the under shades but this is actually what you want. My Magic Grime will work as a filter and a wash, it will marry the colors together and will look perfect. I use to do a very subtle modulation when I used conventional washes but with Magic Grime you need to start with more contrast to get a better result as it was designed to blend/filter camouflage.
 Untitled by Jnewboy Customs, on Flickr
Thats about as she stands right now. Next is Decals, touch ups (chipping/scuffs) then Magic Grime, then dust effects. Then the tracks and shes done!


