Page 2 of 5
Re: Power supply for our village…
Posted: Sat Oct 20, 2018 7:13 pm
by hotte8487
HERMAN BIX wrote:Also doubling as espionage weapons !!
Nice work Mr Hotte.............clever way to disguise James Bond assassination tools as humble but magnificent 1/6th power poles

Many thanks Mr. Bix, stay tuned...

Re: Power supply for our village…
Posted: Sat Oct 20, 2018 7:26 pm
by hotte8487
Rad_Schuhart wrote:Wonderfull job. I was planning to build the same (if someday I have hobby time again, lol) but my idea was to fit a battery inside, and to give power to those poles. Are you going to do the same?
In principle I had have the same idea. But we have a battlefield where we have to place our buildings each time new before we start and after our meetings we take the buildings back in our container.
But I think generally would it be possible...
Re: Power supply for our village…
Posted: Sun Oct 21, 2018 8:55 pm
by hotte8487
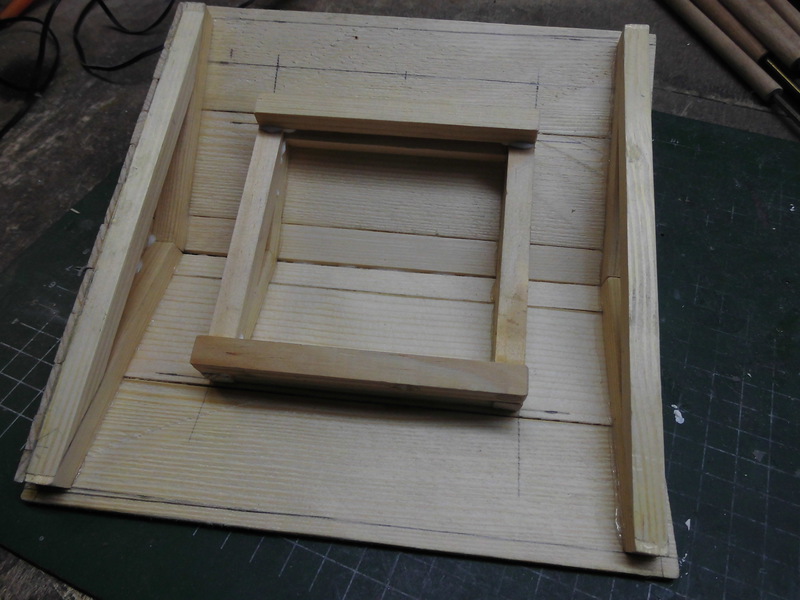
At the roof of the house it goes on; the roof skin was completed.
The gable sides were the next step, a strut was glued under the rafters.

The resulting areas were with little boards covered.

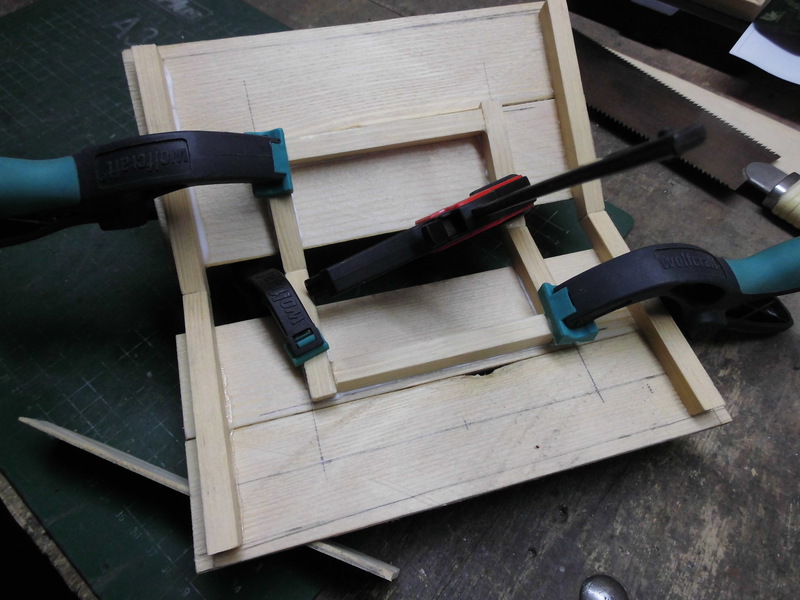
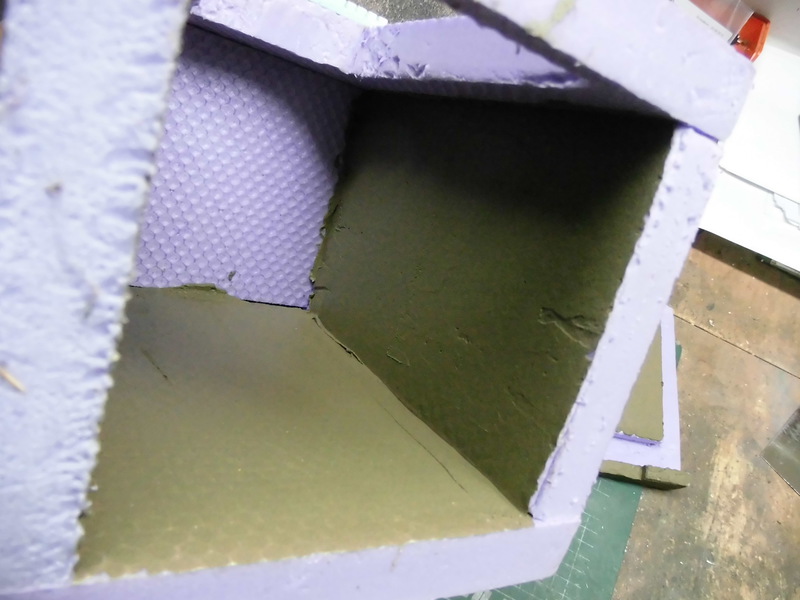
A view from inside. The inner frame was extended for a better hold of the roof.

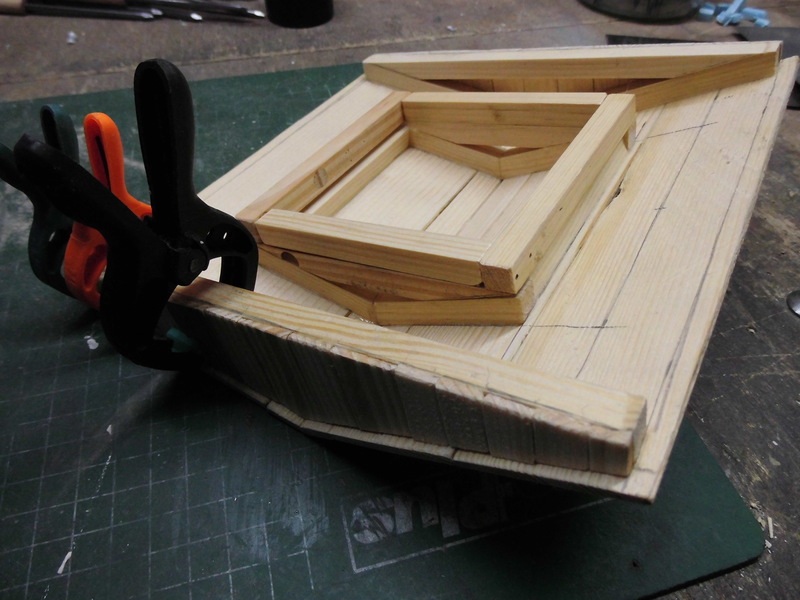
As next was my prepared cornice glued to the walls.

My selected masonry measure fits super…

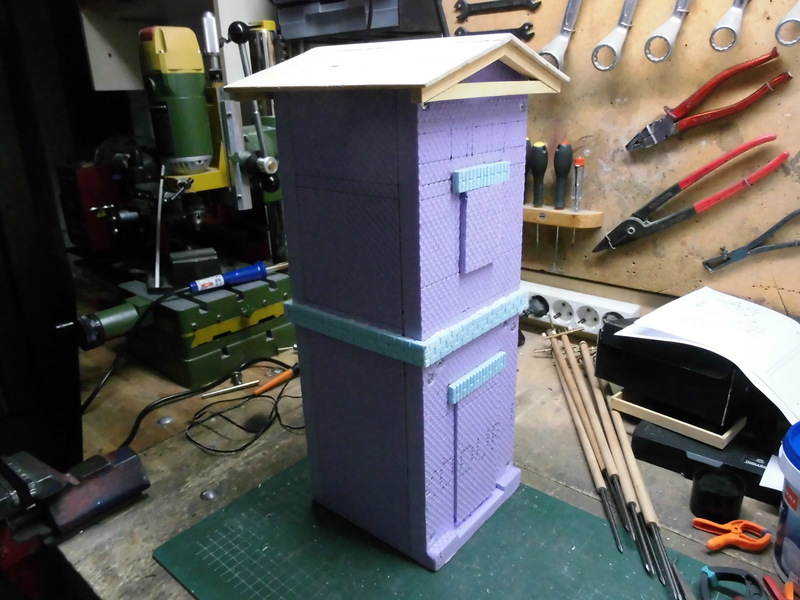
For a better rigidity receive my House a ceiling plate and…

…a bottom plate.

Soon continued…
Re: Power supply for our village…
Posted: Mon Oct 22, 2018 7:50 pm
by hotte8487
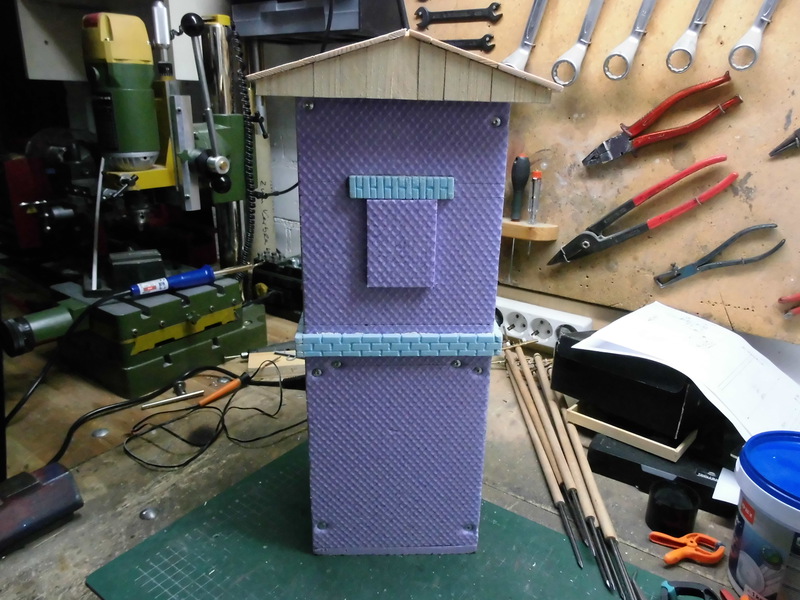
The complete building receives from in- and outside a coat of construction adhesive; here the upper floor and...

…here the basement floor.
View through both windows…

Also the bottom plate receive a coat of construction adhesive.

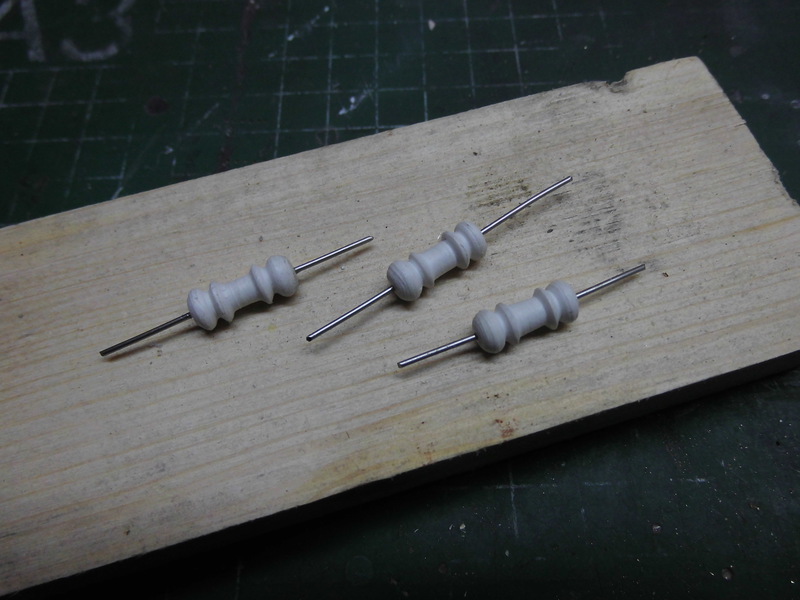
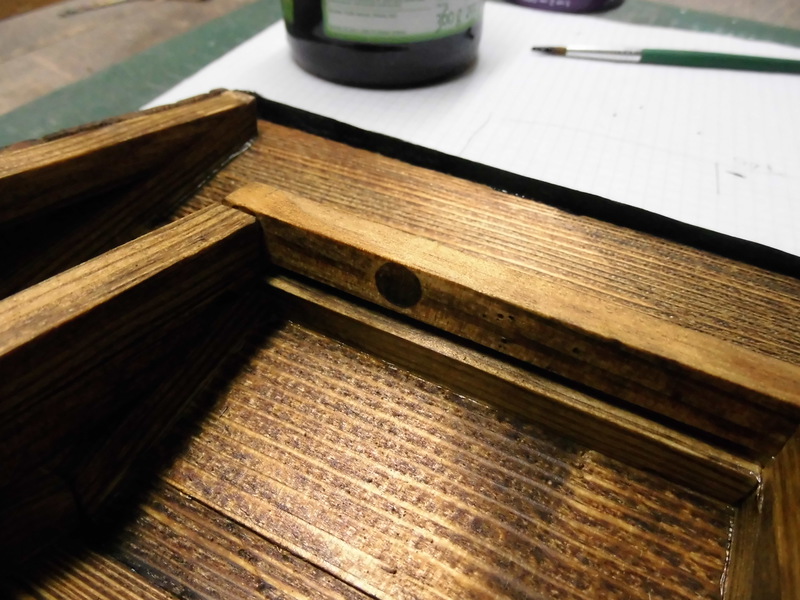
By the way were additional insulators produced…

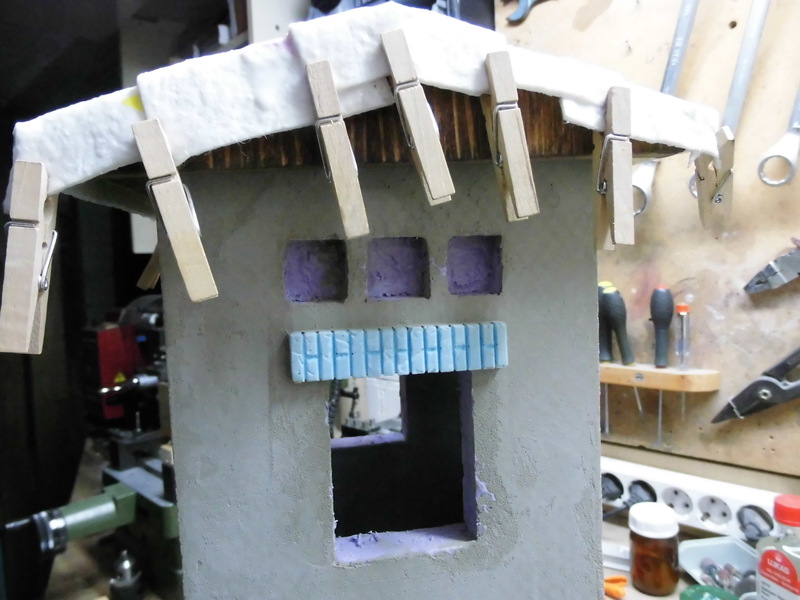
The front side of the house were prepared for the exits of the power cables.

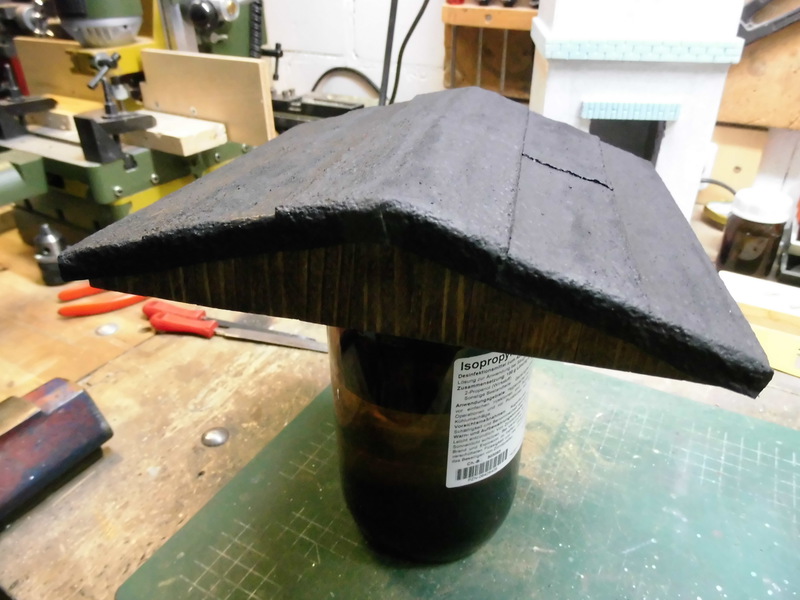
Here a view with roof; meanwhile has this also received a coat of root tar and varnish.

After drying were additional sides of the house with construction adhesive plastered.

A view from the side…

As next were the windows prepared. From polystyrene made windows receive a frame of thin wood stripes.

The stripes receive before mounting a rabbit to hold the window parts.

Thereafter receive the window frames also a coat of root tar and varnish.

Until the next time…

Re: Power supply for our village…
Posted: Wed Oct 24, 2018 8:06 pm
by hotte8487
As next I took care of my door. They will be without function but should be a decent dummy.

The door boards were glued on the prepared door frame and thereafter preserved.

By the way were other walls plastered,...
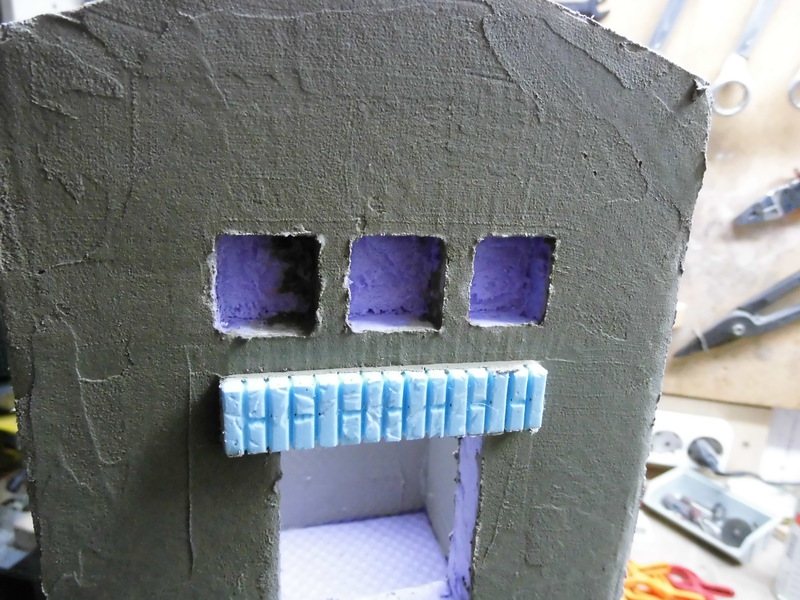
…also insides of the power exits receive a coat from construction adhesive.

After drying were the walls with white acrylic painted; first inside.

The finished inner frame of my roof
The roof receives again a cover from roof cardboard - as at my barn roof. This has proven itself well in the meantime.

Little clamps hold the tracks together and by the way guaranteed this hang down at the sides.

And – by the way were further insulators produced.

For today that’s all.
Re: Power supply for our village…
Posted: Thu Oct 25, 2018 11:16 am
by Rad_Schuhart
This is very interesting. What did you put in the building walls? Concrete? I mean, that thing that is placed between bricks in the buildings?
Re: Power supply for our village…
Posted: Fri Oct 26, 2018 9:57 pm
by hotte8487
Rad_Schuhart wrote:This is very interesting. What did you put in the building walls? Concrete? I mean, that thing that is placed between bricks in the buildings?
I don't know what you mean concrete. The coat on the wall is made of tile glue; between the bricks comes later nothing else as paint.
Re: Power supply for our village…
Posted: Fri Oct 26, 2018 10:06 pm
by hotte8487
Re: Power supply for our village…
Posted: Sun Oct 28, 2018 7:57 am
by hotte8487
Finishing of my roof is the next step on my plan; again were black acrylic paint used.


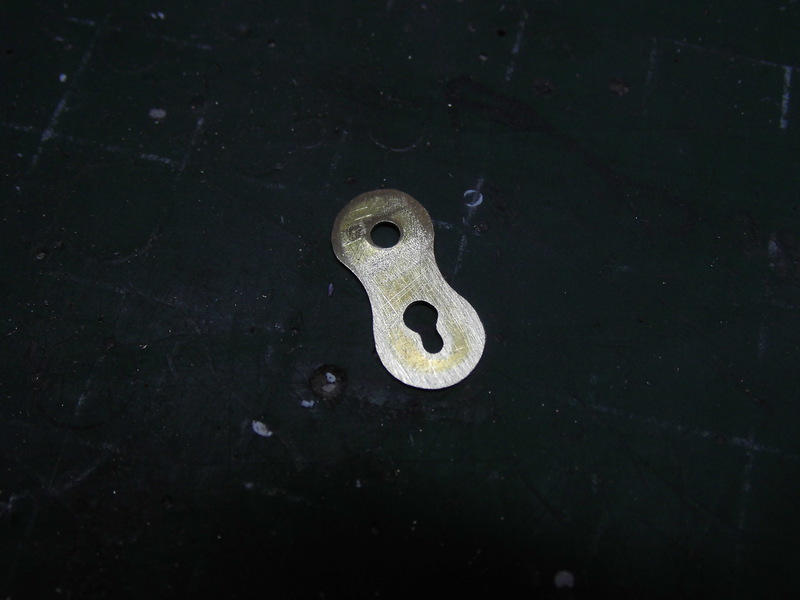
Further at the door and the door handle set. A door handle from brass was sold to a piece thread rod M2.

The blende was glued, the handle with thread rod with two nuts out- and inside fixed.
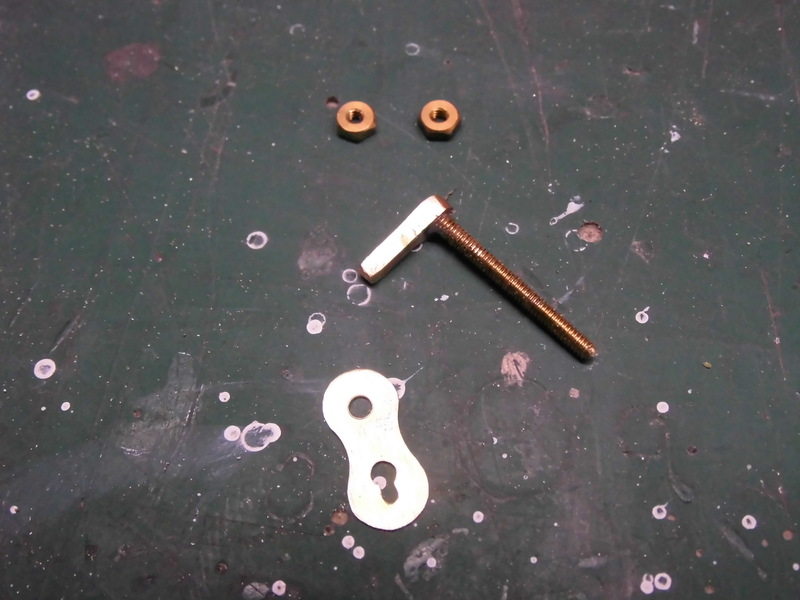
Okay for a dummy,…
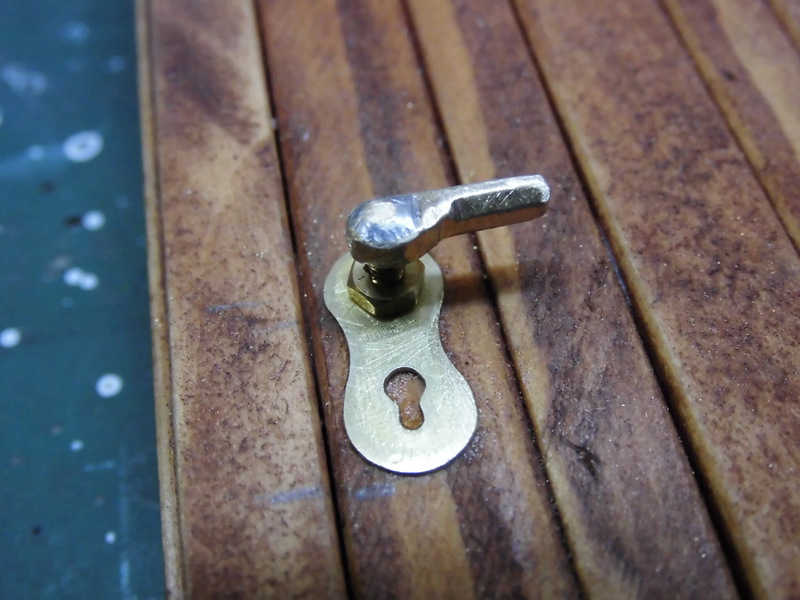
…but the key hole was still drilled out.

As last were door bands produced; again were rests from etched parts used. The counterparts were bend from steel wire.
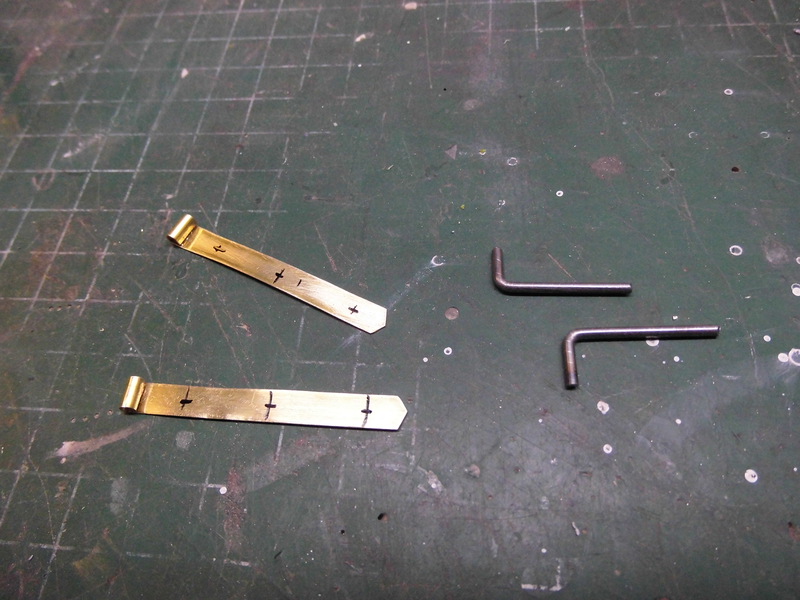
As next were all parts mounted…

Here a closer view to the door handle set.

Bottom receive the house a grey socket.

Further in the next part…
Re: Power supply for our village…
Posted: Sun Oct 28, 2018 9:51 am
by hotte8487
In the next step receive the windows their glasses from transparent plastic film,…

…here always glued.

Thereafter were the windows permanent mounted; glued with transparent Latex. The equal work at the door.


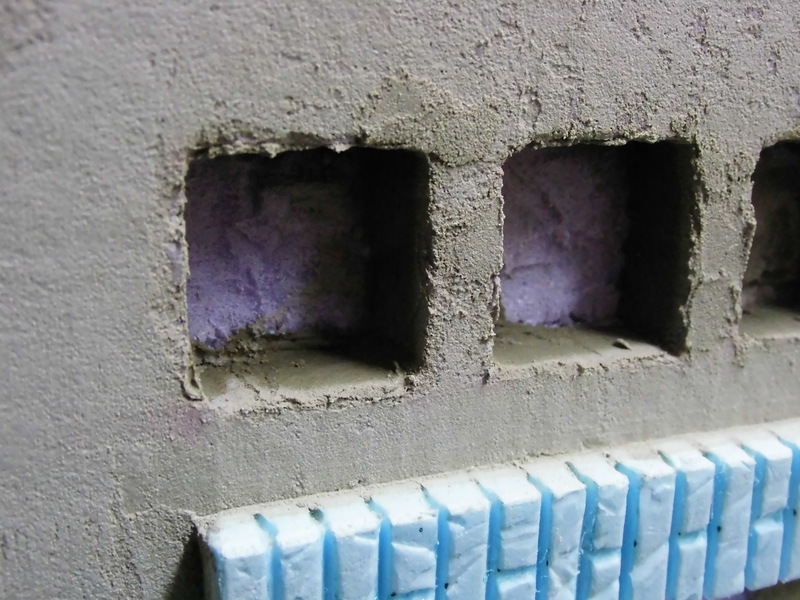
A bit work at my bricks is still remaining; they receive a dark red colour.

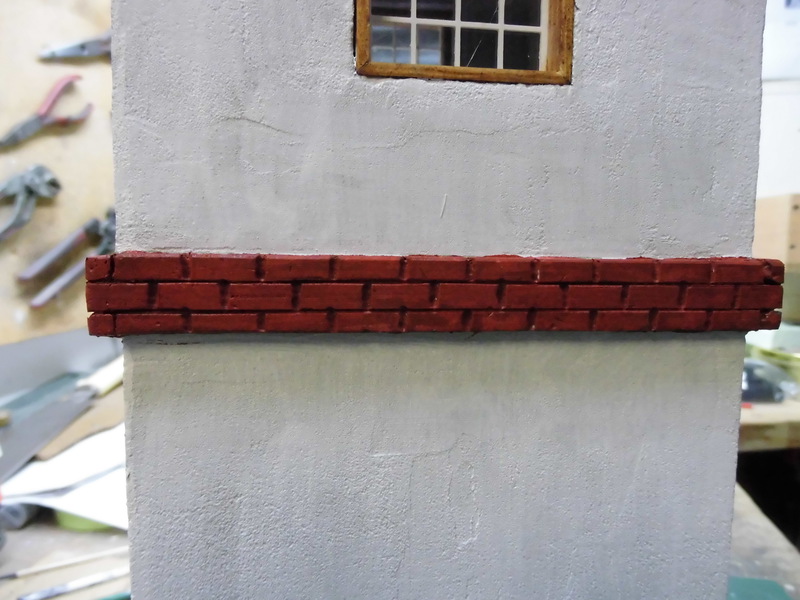
The big insulators were mounted into the niches. As last were the masonry joints in grey coloured.

In the process I've made the experience, that the fugues don't have to be so deep, a little fugue is okay – for the next time.


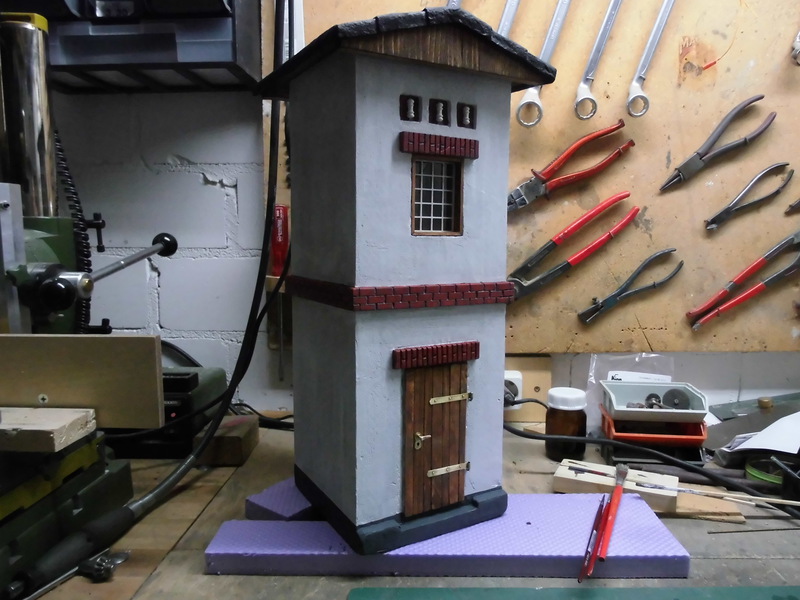
In conclusion still two views …

Next part soon…