Ok here we go, first of all I washed the sprues down with a very mild soapy water dip, then left them to dry, (did think this was interesting to warrant a piccie lol), I then patted the sprue dry and left it for a couple of hours to make sure, I then took it outside and sprayed it with grey undercoat, (matt grey car primer from a pound shop).
I then took of the parts I needed, (obviously when it was nice and dry), got rid of the mold lines with a scalpel and wet & dry paper, and gave them a wipe with a damp tissue to get rid of any dust.
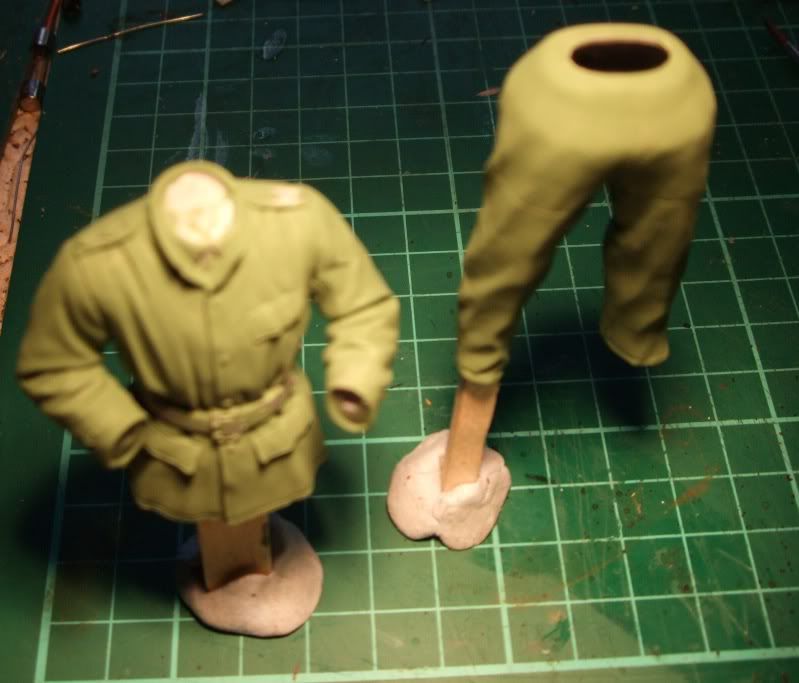
I then glued the legs together using superglue gel and used an elastic band to hold the parts tightly together and left whilst I cleaned up and glued the hands together and the upper torso halves together, these I also put to one side whilst I got the head arms and cap cleaned up.
the hands and head I glued to balsa wood, and stood upright using blue tac, ( the balsa gives a good area to grip and hold the piece whilst it is painted, I also did the same with the hat, upper to so and legs.
I then checked for gaps in the joints, which were then filled with "green stuff", a sculpting/modelling 2 part putty which I use instead of milliput. once I was happy with the filling and it had dried and been sanded where needed I again wiped the parts down with a damp tissue, (don't want any nasty dust clagging the paint).
ok it was then out with the paint and brushes...
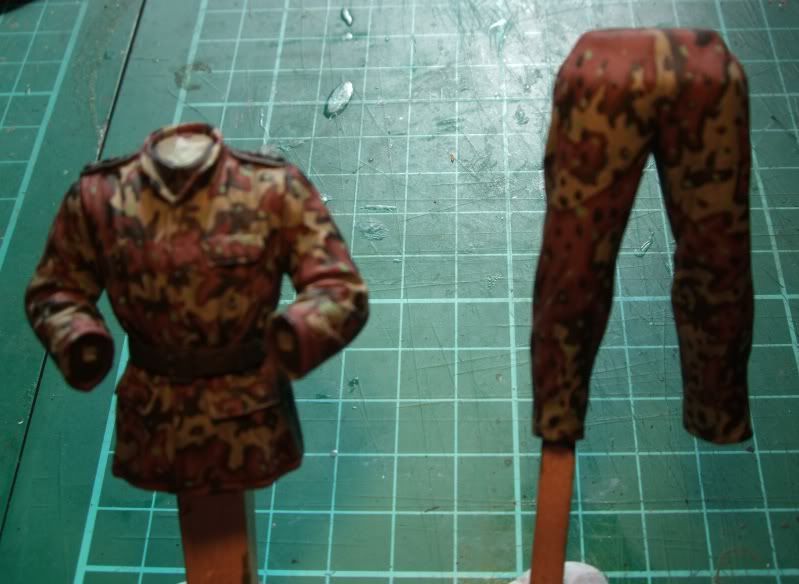
I mixed up a nice shadow shade of Khaki Green painted this onto the jacket and trousers this would be the darkest shade for the shadows, (i work from shadow to light as I find I can adjust the highlights better going from dark to light with blending rather than going from light to dark.
once I was happy with the overall coverage I then mixed in a lighter shade of brown to up the highlights, this was done by painting the higher portions of the jacket and trousers, and was done a total of three shades to the highlight, (this is the bit where I got carried Away and did not take any piccies till the next stage ::) ),
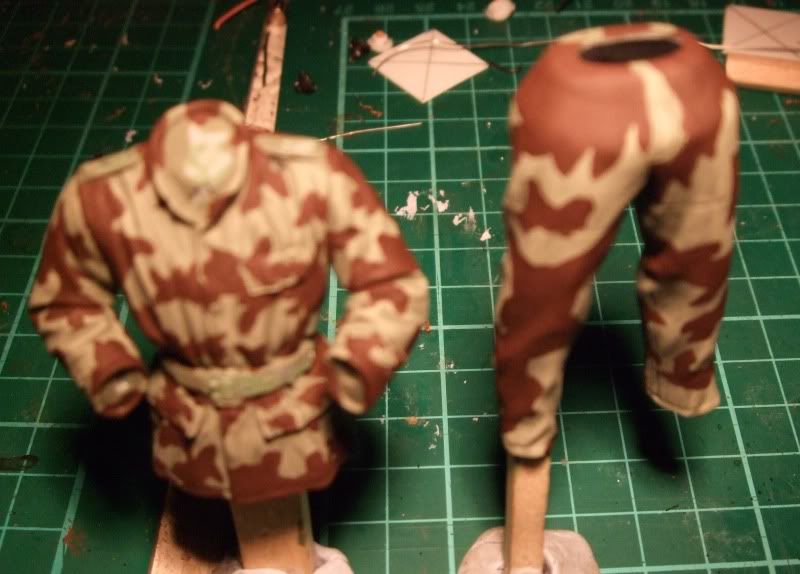
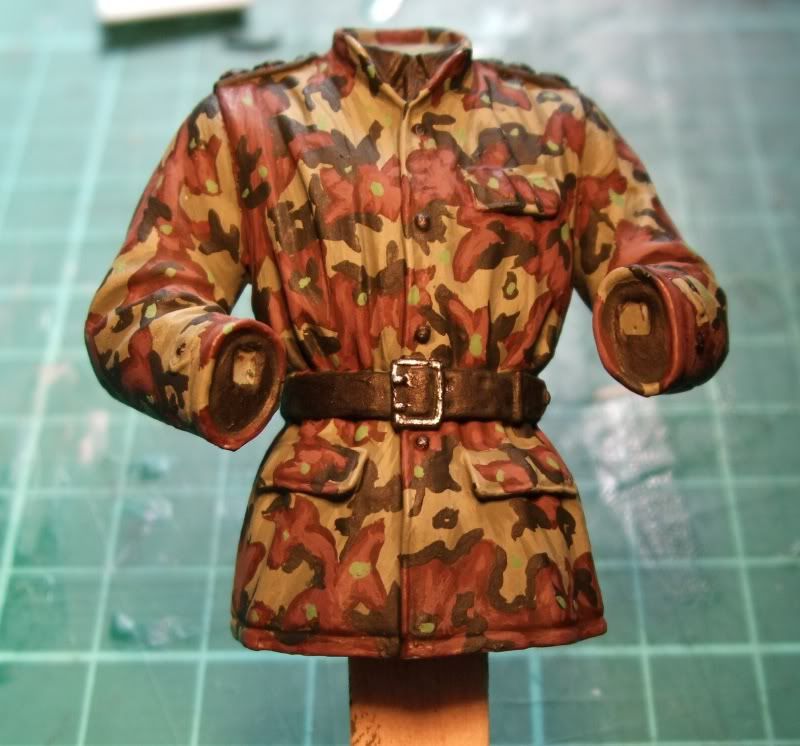
The next stage was the starting of the actual camo patterns, this was a challenge as the reference pic I was using showed two different patterns for the trousers and jacket, so it wouldn’t be a simple task of repeating what I had done on one to the other.
I started off with a brick red/brown for the shadow and started following the the type of patterns for each camo as can be seen in the picture below.
A second and third highlight was added in the same way as I did on the green, again using a light brown, (nubby Linen), in small additions to lighten the shades, (I dont ever use white on colours as this gives a "wrong" look to me so I tend to find a very light colour of the one I’m using for mixing up highlights or a primary colour that is lightest of the mix to lighten.
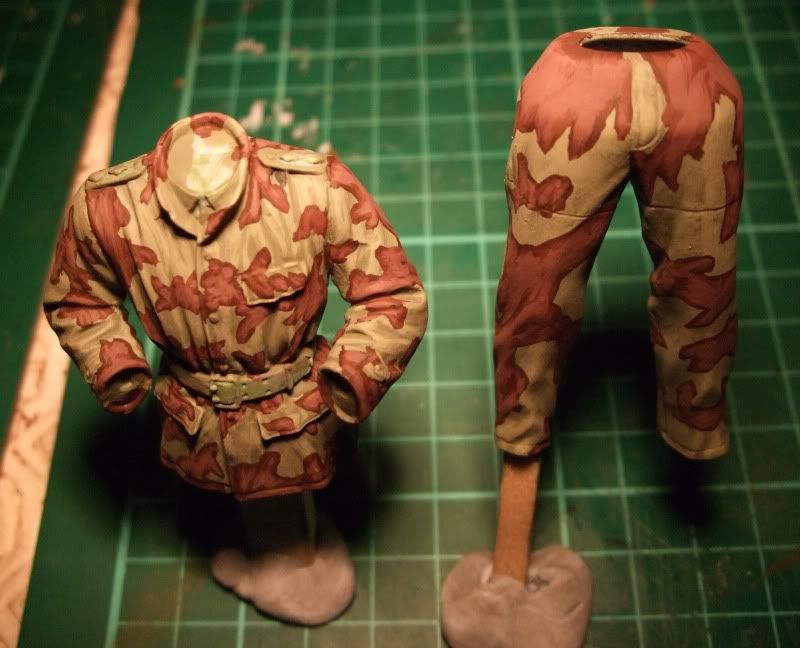
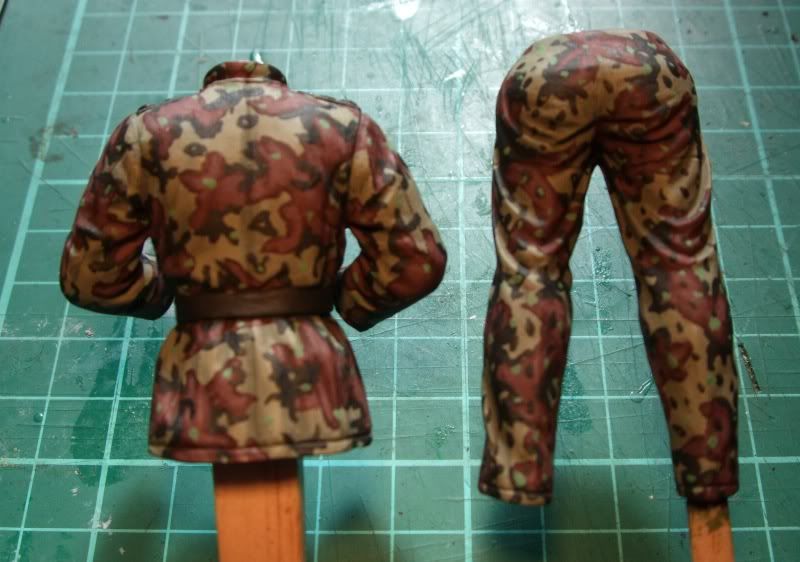
Next was the black green, I again followed the camo pattern and carefully painted the shapes, this would only be the one colour with a very subtle highlight on the highest points as I find that the black green tends to high and lowlight itself.
I also painted the belt, shirt and shoulder boards with this as their under tone, and also of not I painted the inner cuff sleeves where the hands fit, this colour rather than black as black is too dark in my opinion

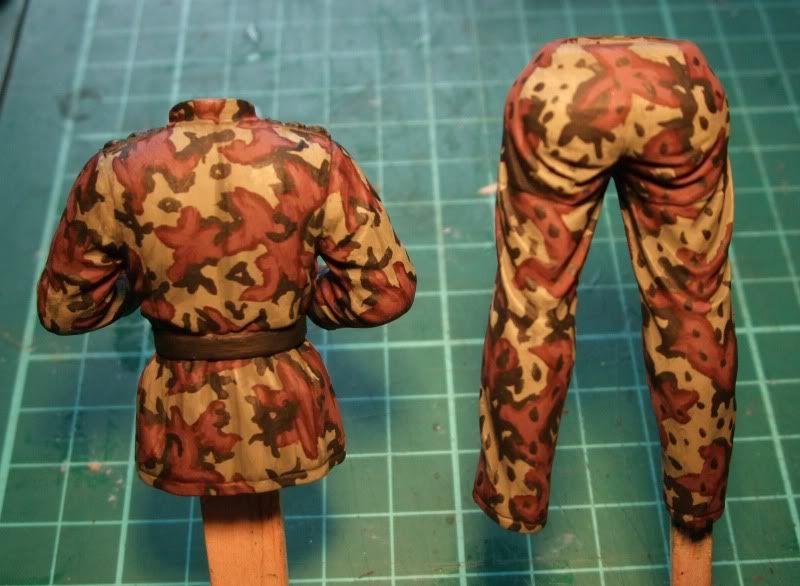
The final stage of the camo was the light green pea dots/splodges, these were painted as a single colour rather than going through a highlight as they are too small to get a good effect and the colours around them tend to do the work anyhow.
Next to do was the buckle on the belt and the buttons, these I did with a very dark metallic gun metal, one I mixed myself a few years ago, as it makes a very nice shade to metallic objects such as gun barrels and buttons ect
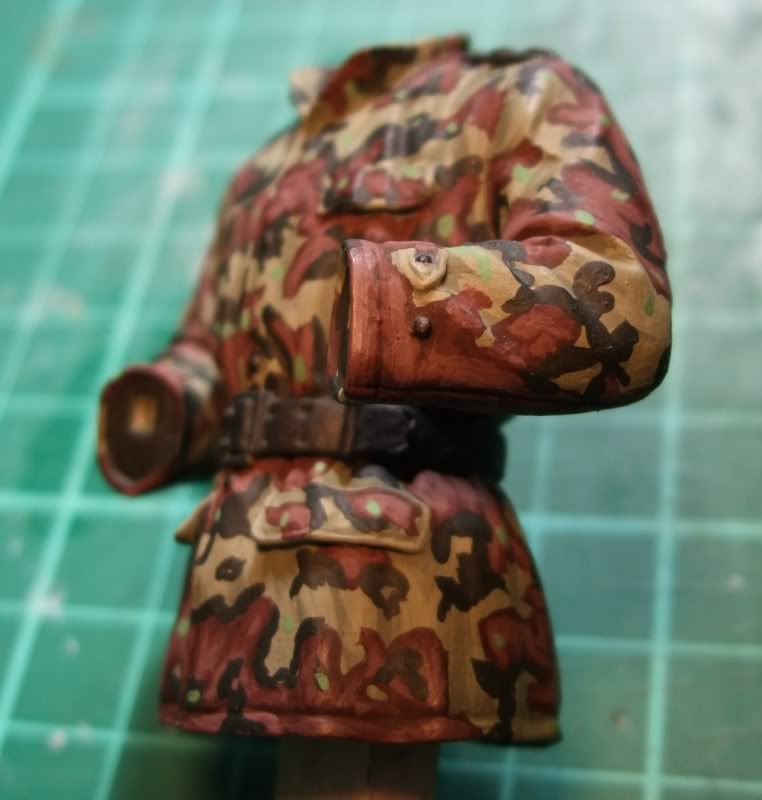
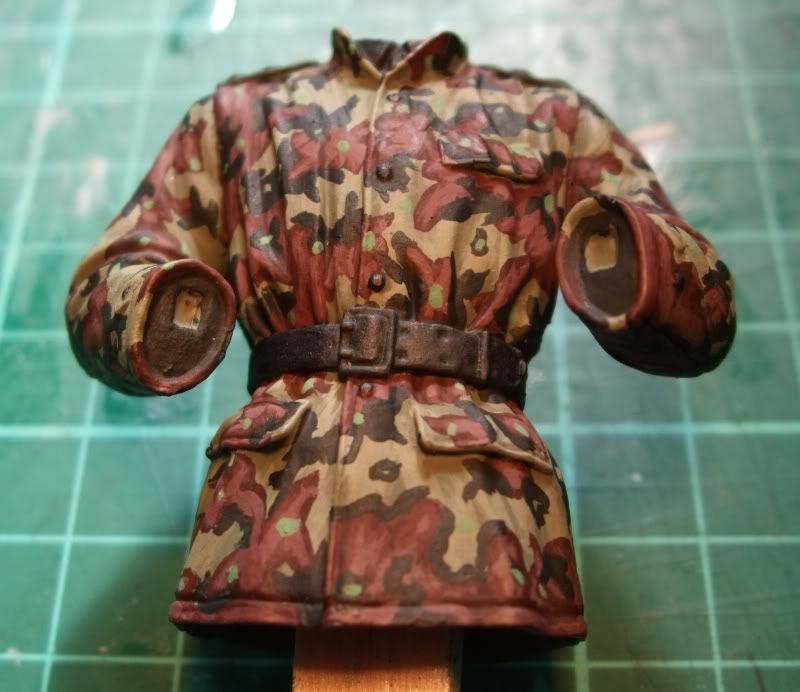
The buttons I left this colour, but the belt buckle was highlighted with a very nice titanium silver
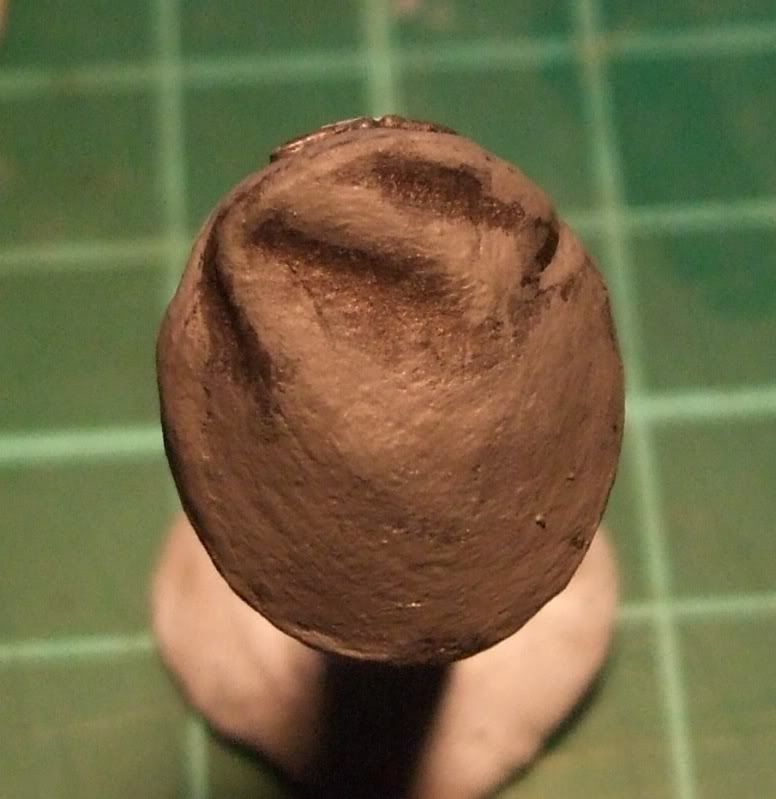
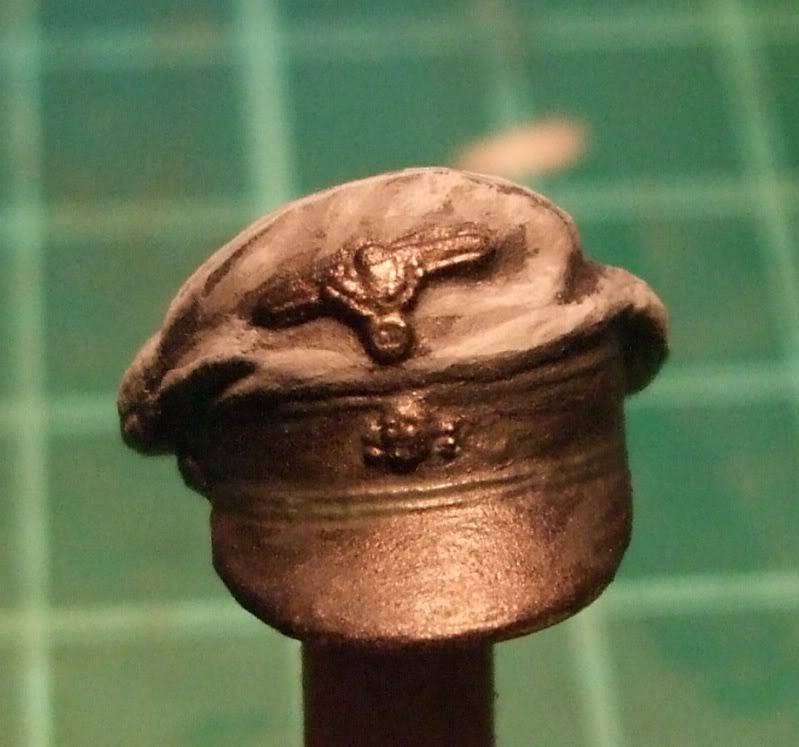
Next to paint would be the hat, and as this would be more distinguishable from the other parts of the uniform, quick brush work and some blending of colours would be needed whilst the paint coat before the next had dried.
I started with a graphite grey for the undercoat.
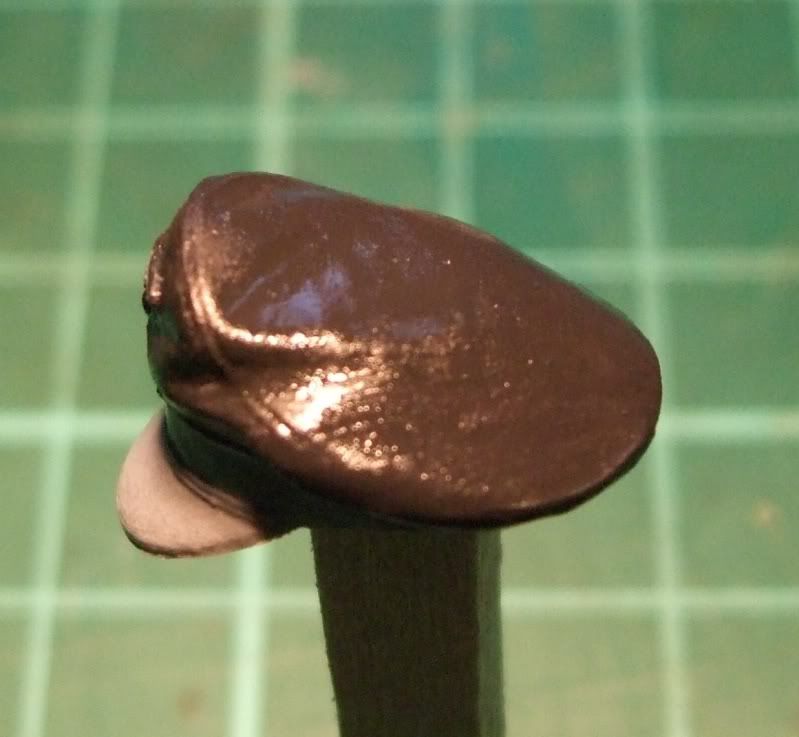
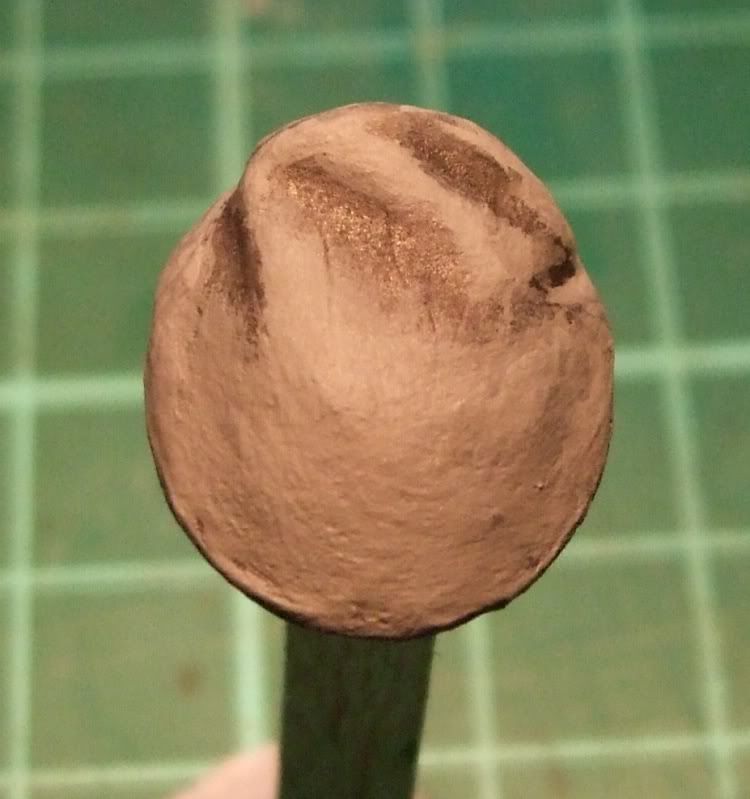
Then a charcoal grey mixed in and painted as I said before onto the graphite on the higher points and blended into the lower whilst the graphite grey was still wet
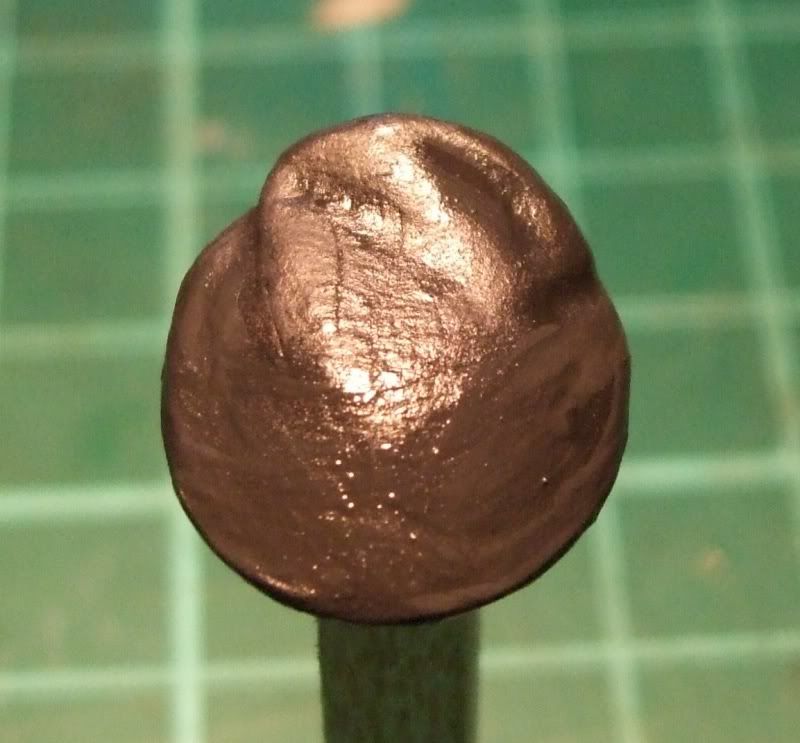
A pure charcoal grey was then used and again blended into the previous paint colour
And again but this time using a charcoal/light grey mix
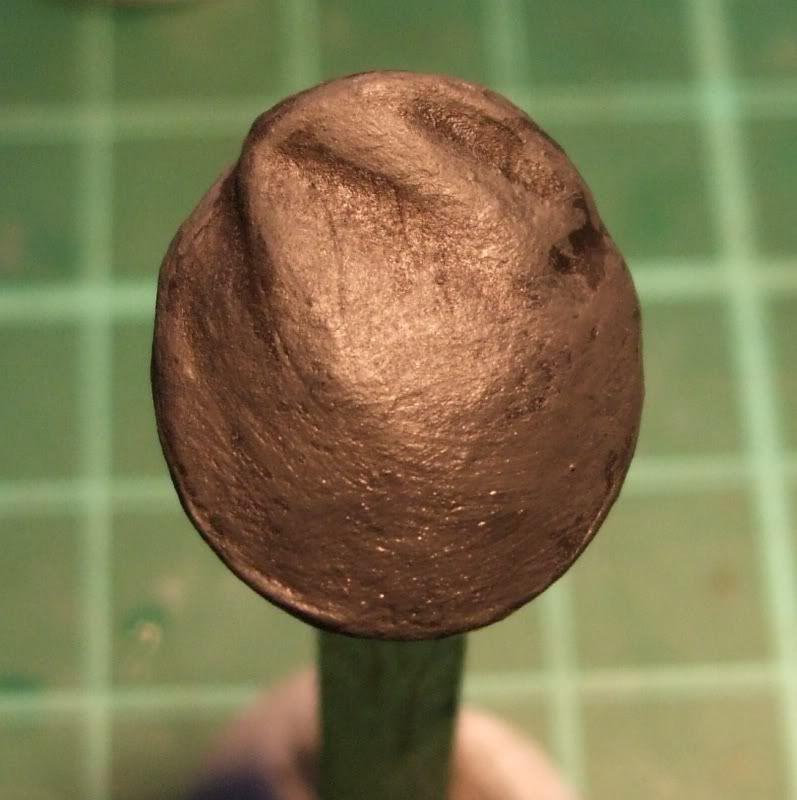
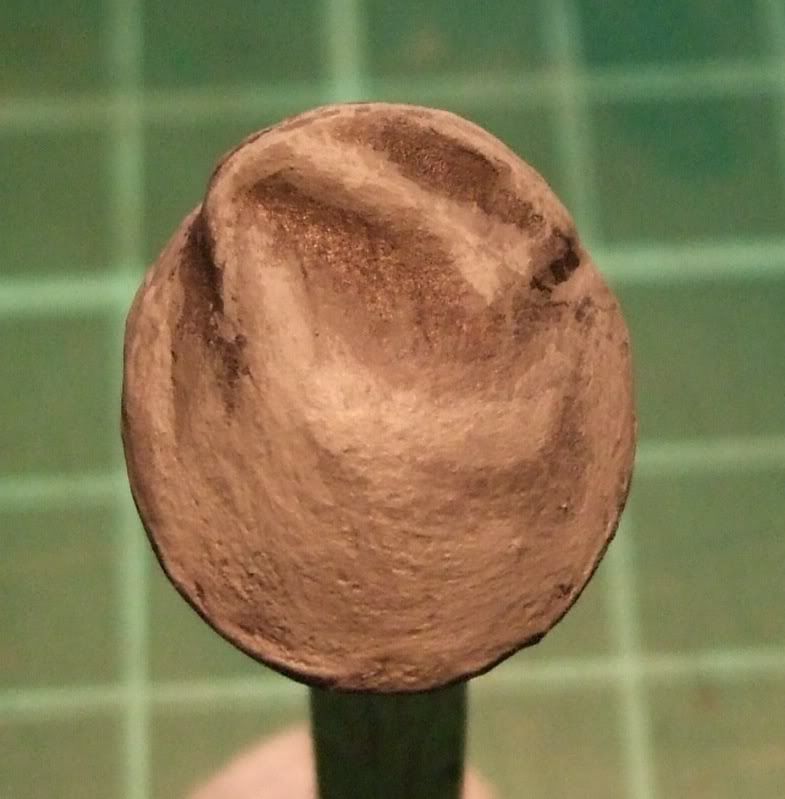
More light grey was added to the mix for a lighter shade
And then the final highlight using more light grey in the mix
The cap badge band and peak were then painted in black.
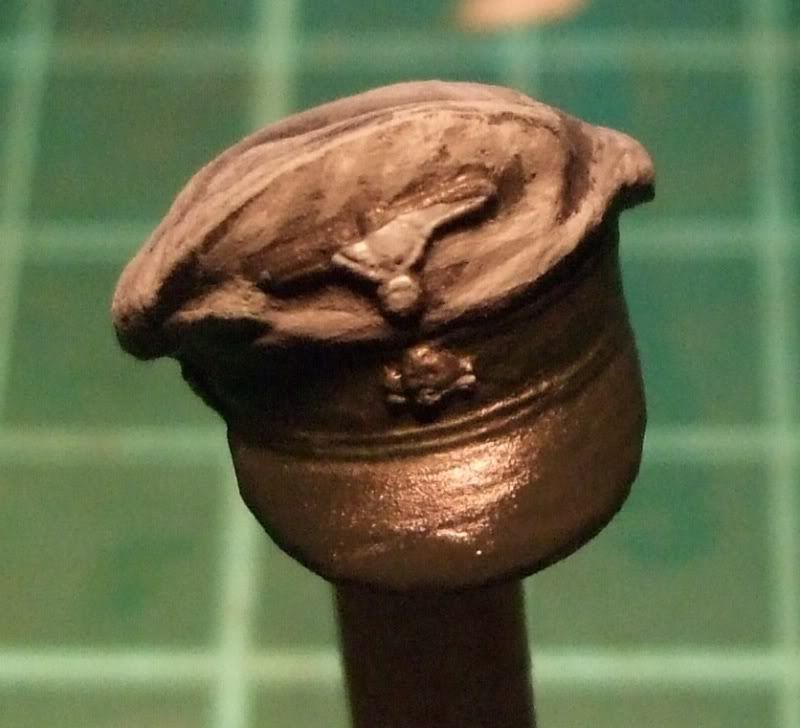
And then the eagle on the cap and the skull & Crossbones were painted using my metallic shadow.
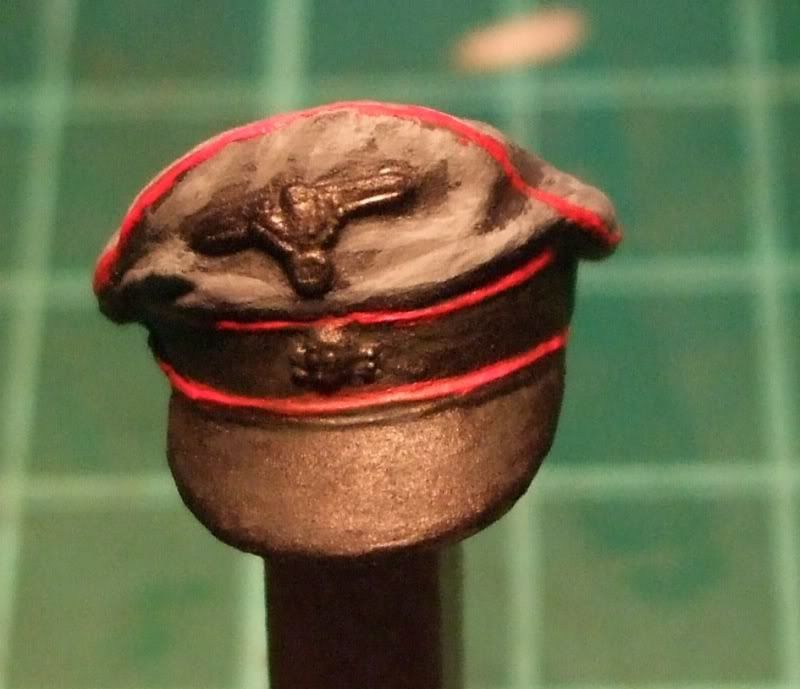
Next I painted the true red piping, this would be the shadow colour for the pink, this took some time as it is a very thin band line that needs to be done.
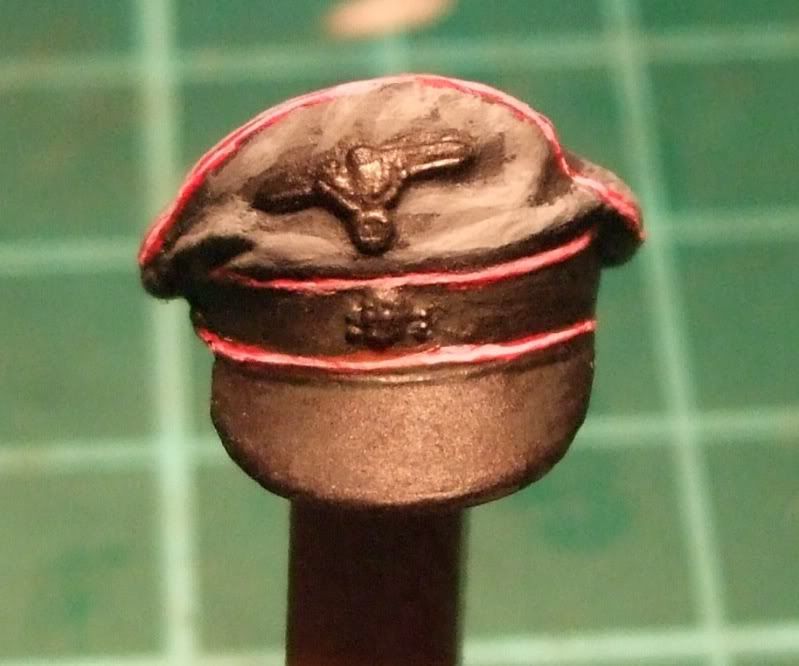
Then the pink highlight was done
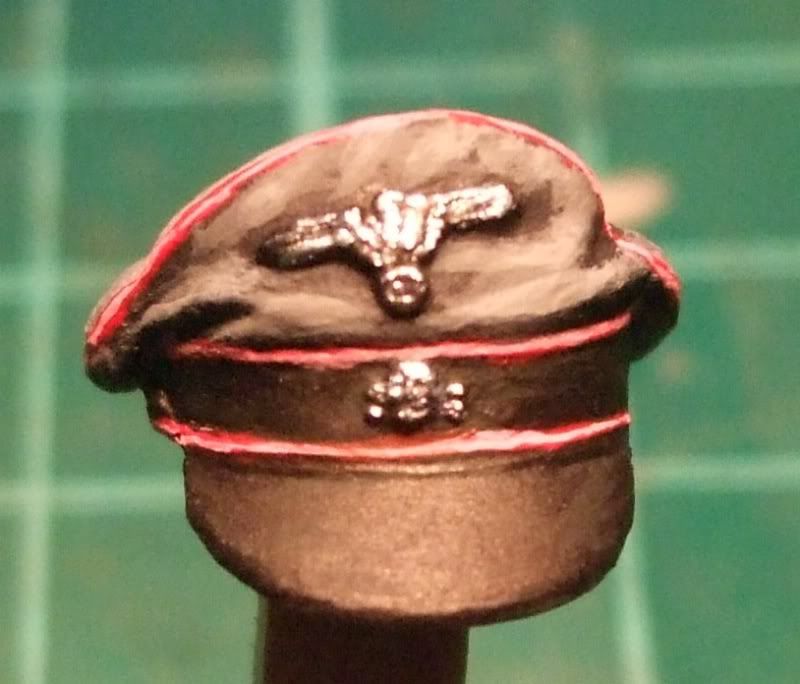
Finally the highlight for the cap badges was done using titanium silver.
to be continued.....


