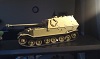
just thought it was about time i popped up here to start my build thread.
a matilda 2.
a bit adventurous for a first build but hey, how hard can it be?
i have a tamiya 1:35 static kit that i built a few years ago & used that as a template.

i bought a bulldog for parts & decided to use the susspension as it's all hidden behind the track guards
a few weeks later & hey presto!

ten seconds later &

bugger it!
after much head scratching, i bought a book to help me out.
with only one reference to the layout

hmm, this was beyond my tiny brain to work out.
so luckily i got some help from dietrich ( thanks mate! )
& came up with this

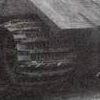
now, onto the hull.

ok the radius piece at the front is wrong but the rest is good right?
nooooooooooo!
its 35mm too short
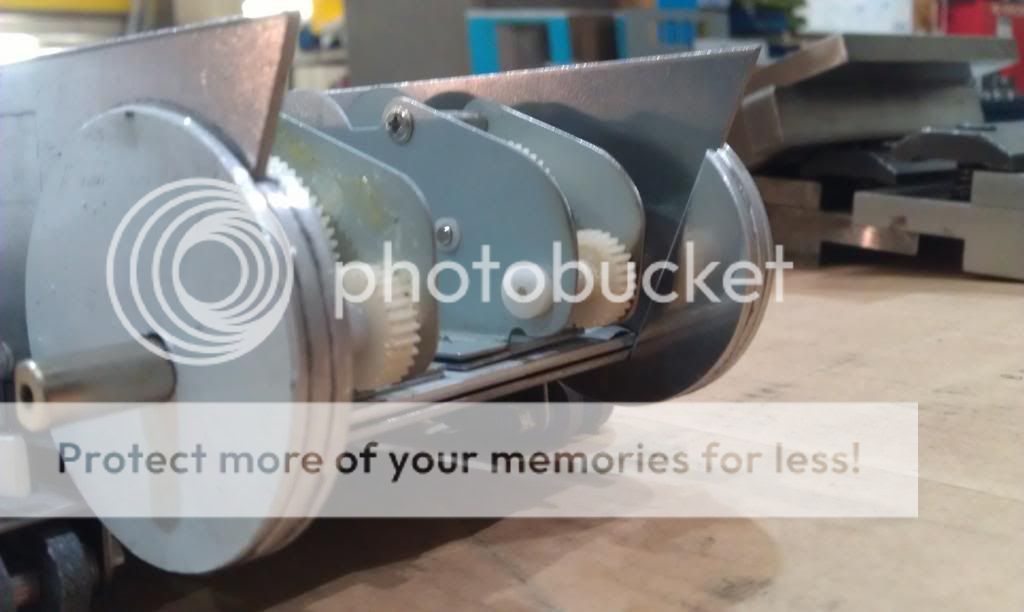
after a few weeks to calm down & get motivated again, came up with this.....

the keen eyed amongst you will notice that
the susspension springs are in front now.
i diddn't have enough standoffs so had to make the top hat brackets
which foul on the springs, grrr
i hope i haven't sent you all to sleep with this very long post
cheers
lister