1/72 LVT(A)2

Got any static model tanks? If so post them here.
Post Reply
User avatar
Cpl O
Recruit
Posts: 17
Joined: Sat Jul 21, 2012 12:43 am
Location: Florida, USA

1/72 LVT(A)2

Post by Cpl O »

Well I have been putting this off long enough.
First I removed the 3 screw pegs in the bottom.
Image

Then I placed a floor in it.
Image

Then I took one of my casts of the LVT(A)1 and cut off the cab,
here it is placed for fit.
Image

I then made the rear and front Bulkheads.
Image

Image

Next I'll start the Port and Starboard bulkheads, and start detailing the insides.
User avatar
Cpl O
Recruit
Posts: 17
Joined: Sat Jul 21, 2012 12:43 am
Location: Florida, USA

Re: 1/72 LVT(A)2

Post by Cpl O »

Well I started off first thing this morning.
Now due to the small size,
small details will omitted,
while others will need to be exaggerated
So here are a couple more pic's.
Image

Image
User avatar
Cpl O
Recruit
Posts: 17
Joined: Sat Jul 21, 2012 12:43 am
Location: Florida, USA

Re: 1/72 LVT(A)2

Post by Cpl O »

Well I've gotten a little farther since yesterday.
The tuffest part is doing the slats in the back,
but I got the rivet detail (at least some of it)done.
Dont let the gaps turn your heads,
Once through, they'll be gone.
When I'm done this will be a "drop in" tub for converting the Dragon LVT.
Image

Image

Image

Forgot to mention, started to putty over the front Gun Port.
This model didn't have them yet.
Also thinking of doing the earlier version of the LVT2 as well.
I'll see once this one is finished.
User avatar
Cpl O
Recruit
Posts: 17
Joined: Sat Jul 21, 2012 12:43 am
Location: Florida, USA

Re: 1/72 LVT(A)2

Post by Cpl O »

Well again since this "early" morning I have been hard at work.
I have finished the vents at the back,
and did the drive shaft "housing".
Image

Image

Image

Once I glue this in place I'll glue the 4 bulkheads together.
User avatar
Cpl O
Recruit
Posts: 17
Joined: Sat Jul 21, 2012 12:43 am
Location: Florida, USA

Re: 1/72 LVT(A)2

Post by Cpl O »

Ok here is the progress for today.
Here I filled in the front Gun Port, and Fabbed a new hatch.
Image

Here is the tub "dropped" down into the LVT hull.
Image

Here is the "tub" outside the hull:
Image

Tub facing from the back:
Image

Tub facing from the front:
Image

I still have some inside details to work out, things like the skate rail, Gunner's platforms, etc.
And I still have some other little bits to finish as well, IE.... Hatches.
But it will soon be ready for the rubber.
User avatar
Cpl O
Recruit
Posts: 17
Joined: Sat Jul 21, 2012 12:43 am
Location: Florida, USA

Re: 1/72 LVT(A)2

Post by Cpl O »

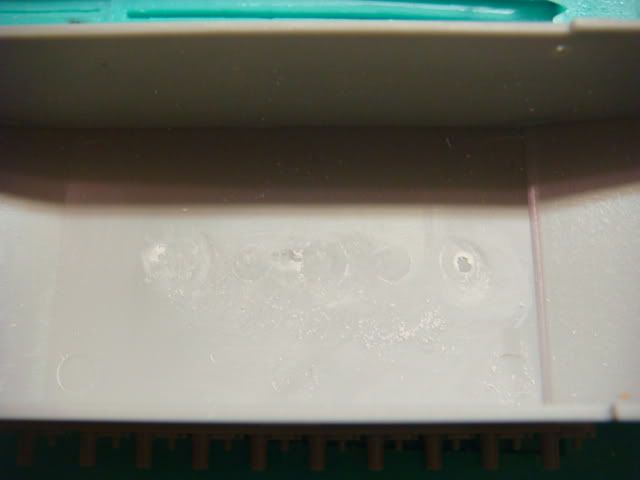
Well....ran into small trouble....
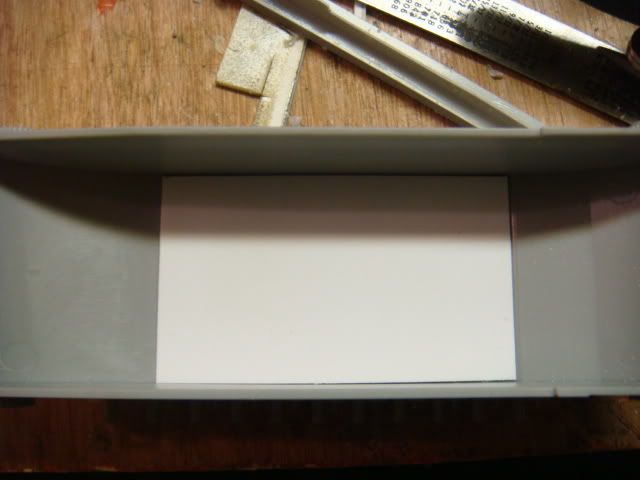
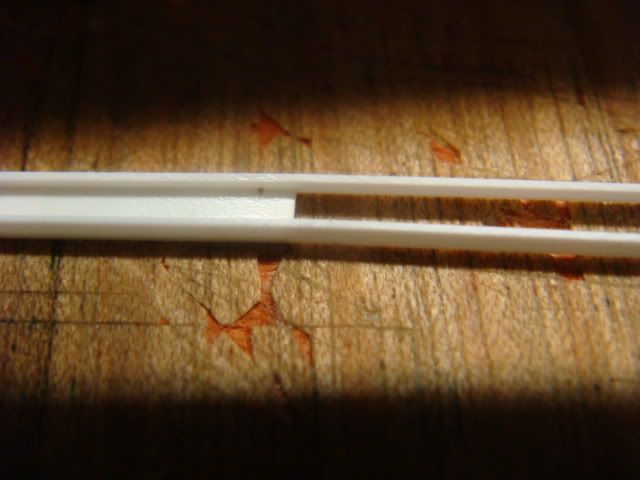
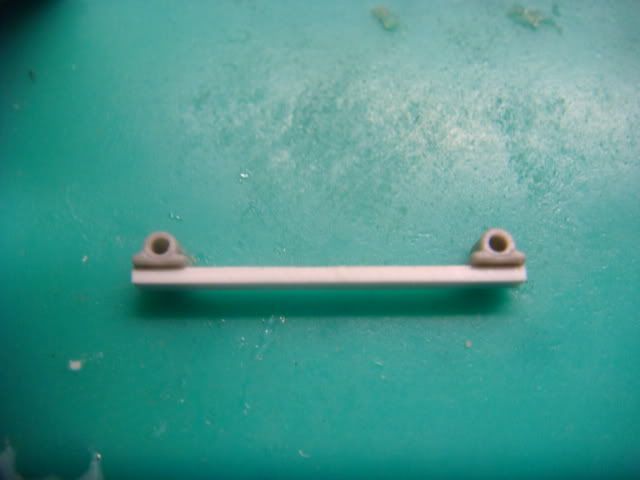
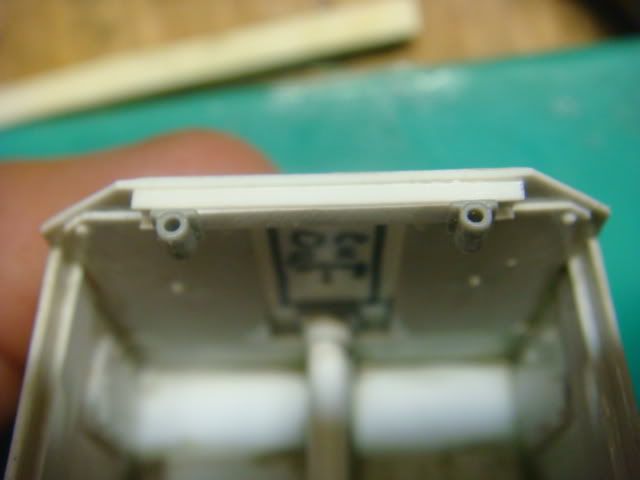
Needed "channel" to do the skate rail....didn't have any....
so I "made" it.
Image

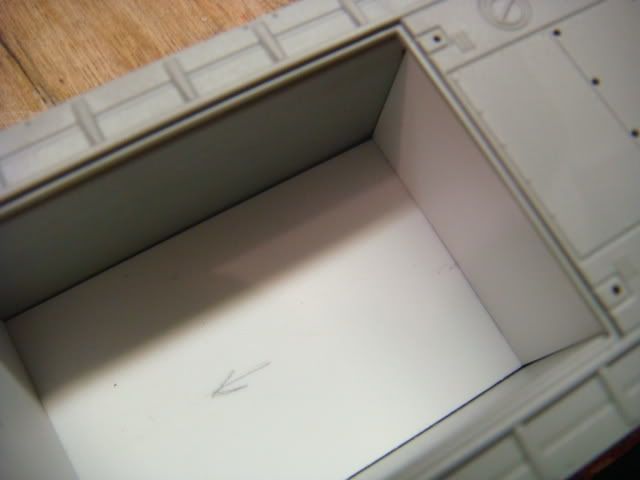
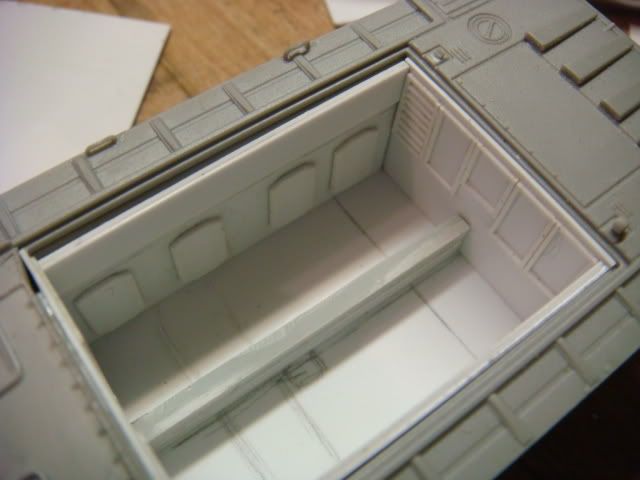
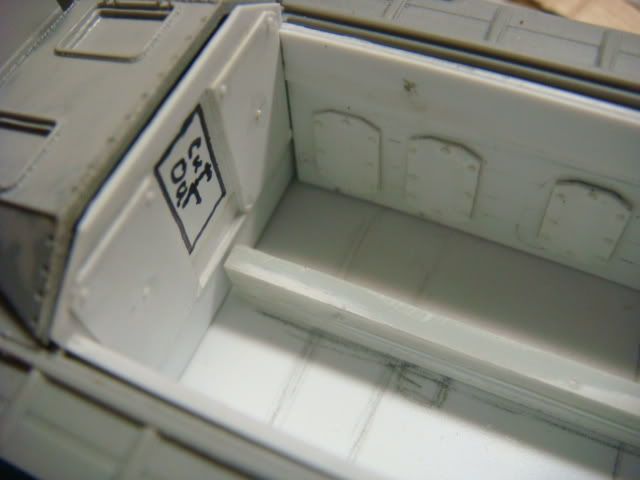
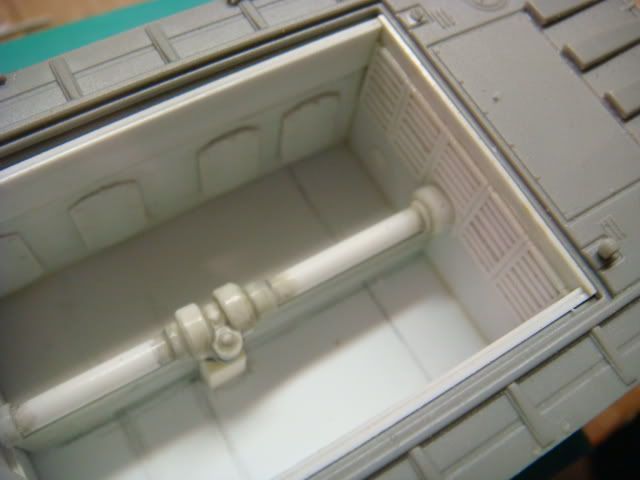
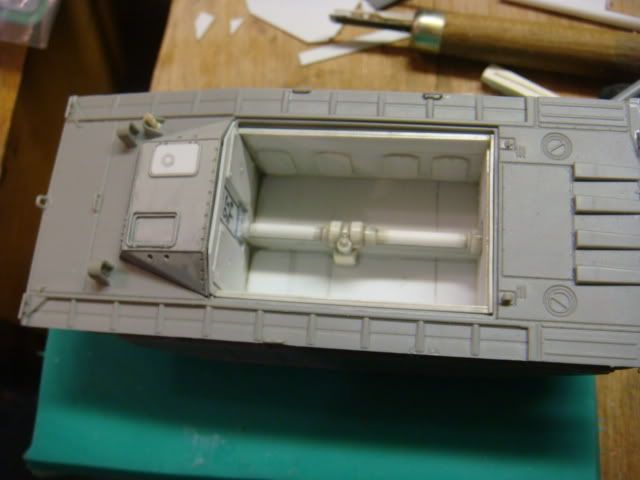
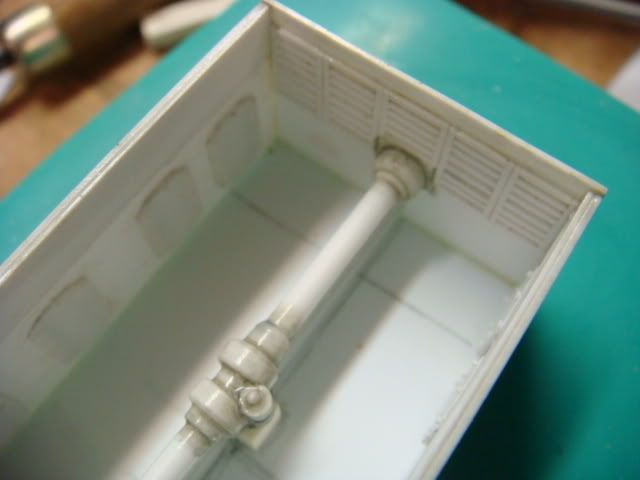
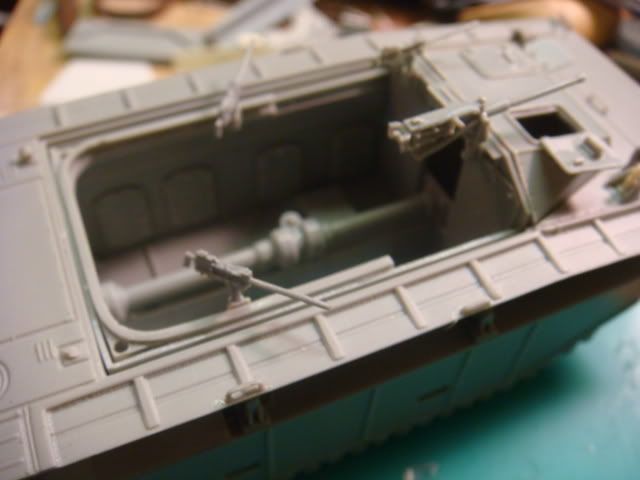
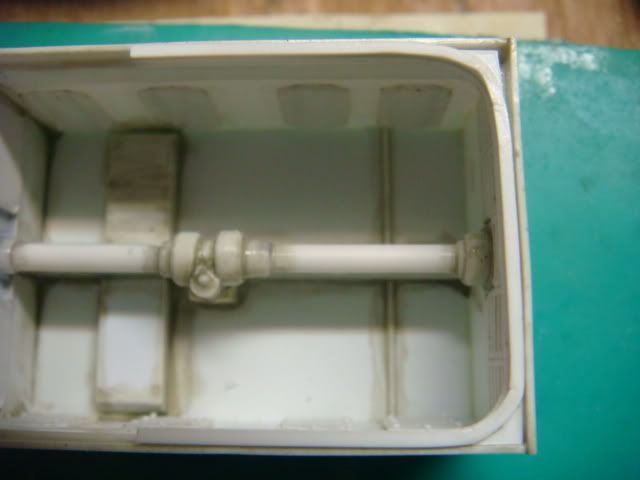
While that dried I did some more floor details,
IE the gunners platforms and a rib towards the rear.
Image

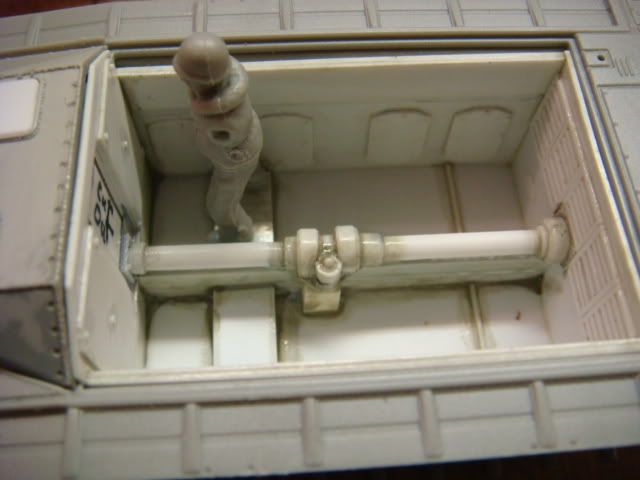
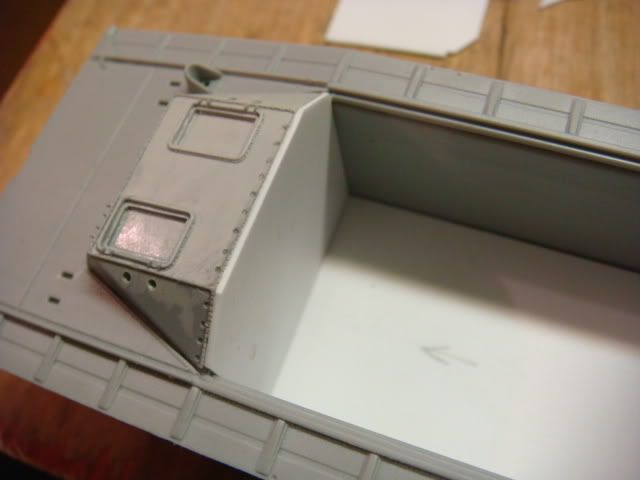
I checked it for the gunner's hieght.
Image

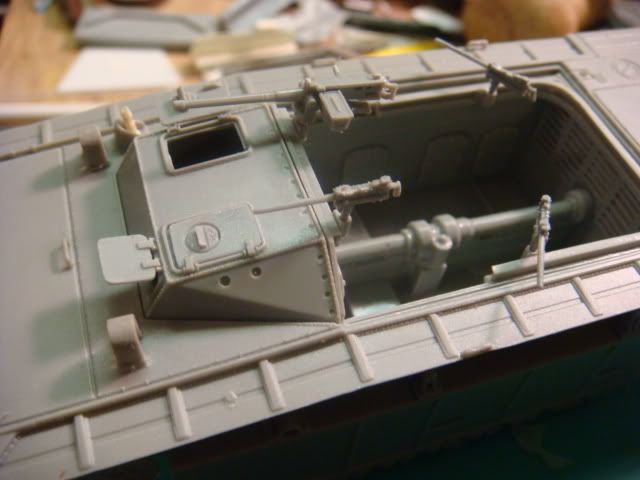
Then I mounted the foward skate rail,added the gun mounts,
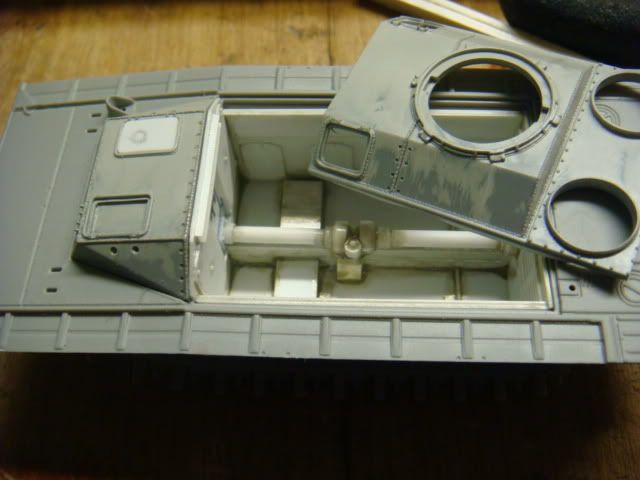
and "test" fitted the rear skate rail.
Image

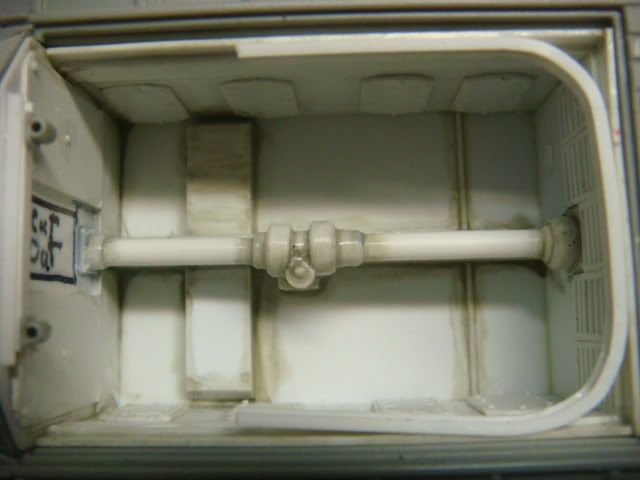
Then I double checked the gun mount posisions with the crew.
Image

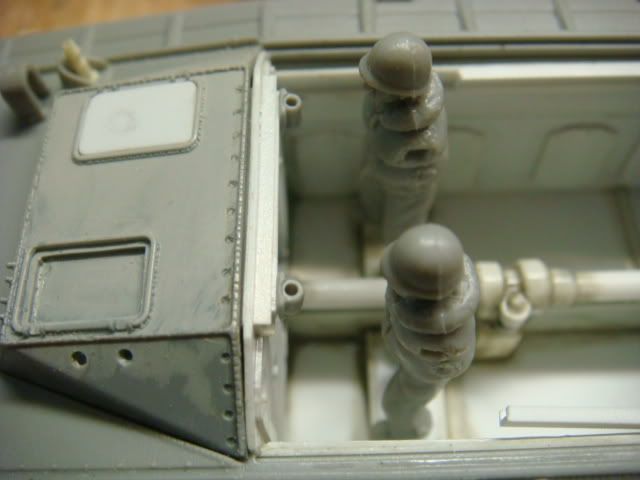
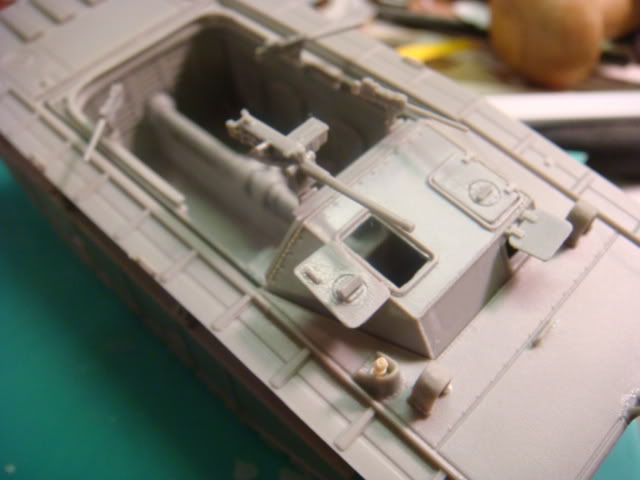
Due to "casting" issues, the foward gun mounts will be a seprate piece.
Image

Image

Image

I also did a little more fiddling with the rear skate rail.
Image

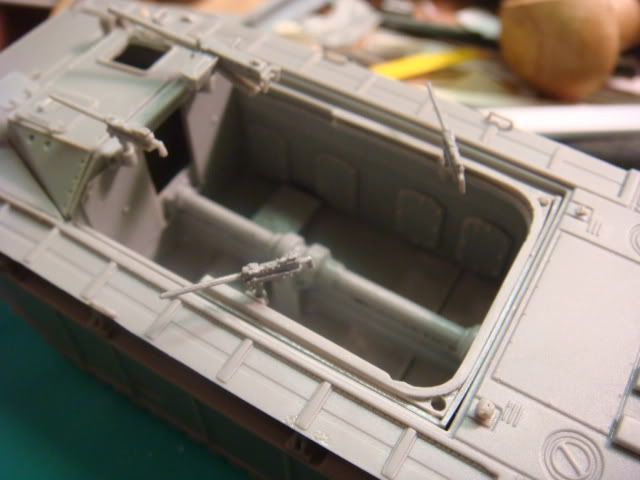
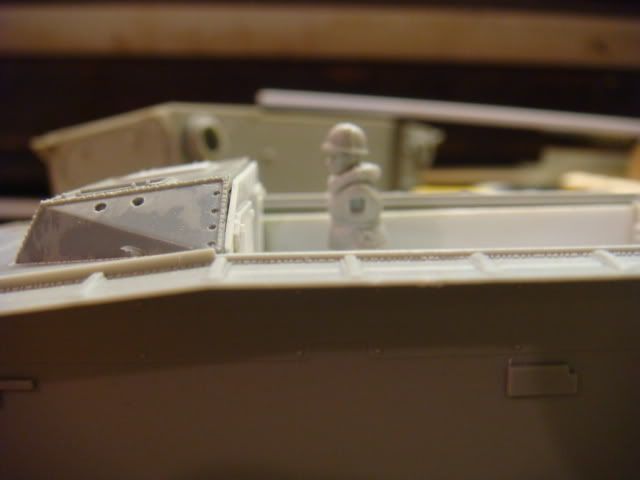
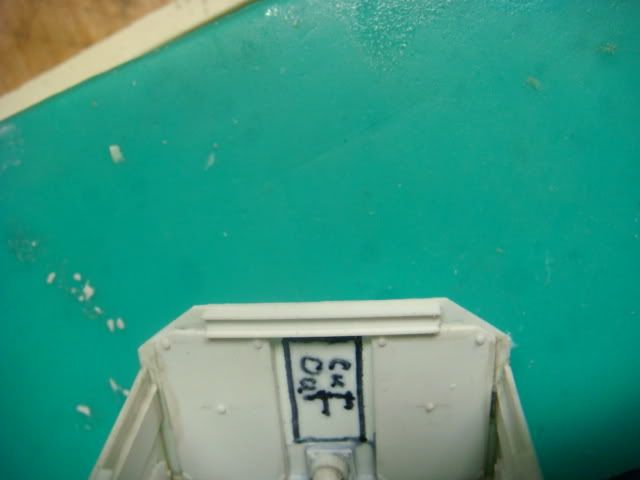
After all this I was looking at the rest of the LVT(A)-1 that I had cut for the foward cab.
Image

I thought hmmmmmmmm....and tried this.
Image

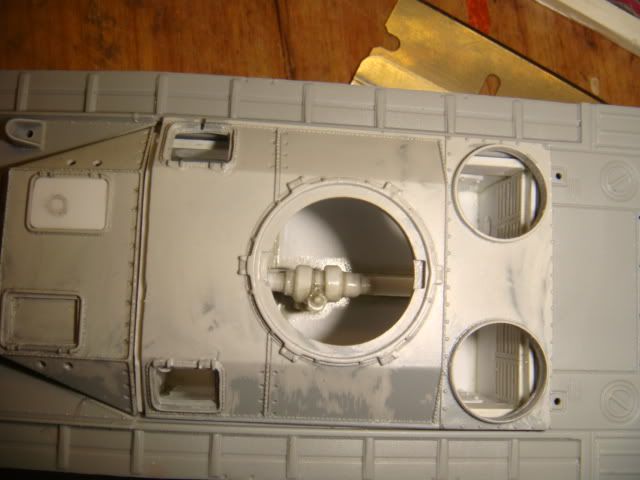
This might work for future projects.
User avatar
Cpl O
Recruit
Posts: 17
Joined: Sat Jul 21, 2012 12:43 am
Location: Florida, USA

Re: 1/72 LVT(A)2

Post by Cpl O »

well at last this is done.....
I worked day and night.
But here it is!!!
Image

Image

Image

Image

Unfortunatly the resin is the same shade as the plastic kit,
so it's a little hard to see.
I put a lot of work into this,
tis a shame no body cared for it.
Post Reply

Return to “Tanks”