Thank you everyone for your interest,
Here is the progress on the painting, with a good photoshoot that i use to capture details that i cannot see with the eye for purpose of validation and correction if required. I really want a good job on this one.
First, the tracks.
I must admit that the biggest factor that made me buy metal tracks for this build was to avoid having to paint plastic tracks and see them with chipped paint after one run.
Since the Tongde M60 and Centurion re-builds, i now look forward to use the same gun bluing solution on any metal tracks. It really creates a fantastic and realistic finish that can match the quality of the model for a consistent look and feel. The Tamiya plastic tracks that come pre-built with the Sherman chassis run perfectly but were not well cleaned up and have a plastic look on close ups.
These Kenny Kong T84 metal tracks were specifically hard, shiny and polished, so it was a bit more difficult than the Tongde tracks to apply the bluing.
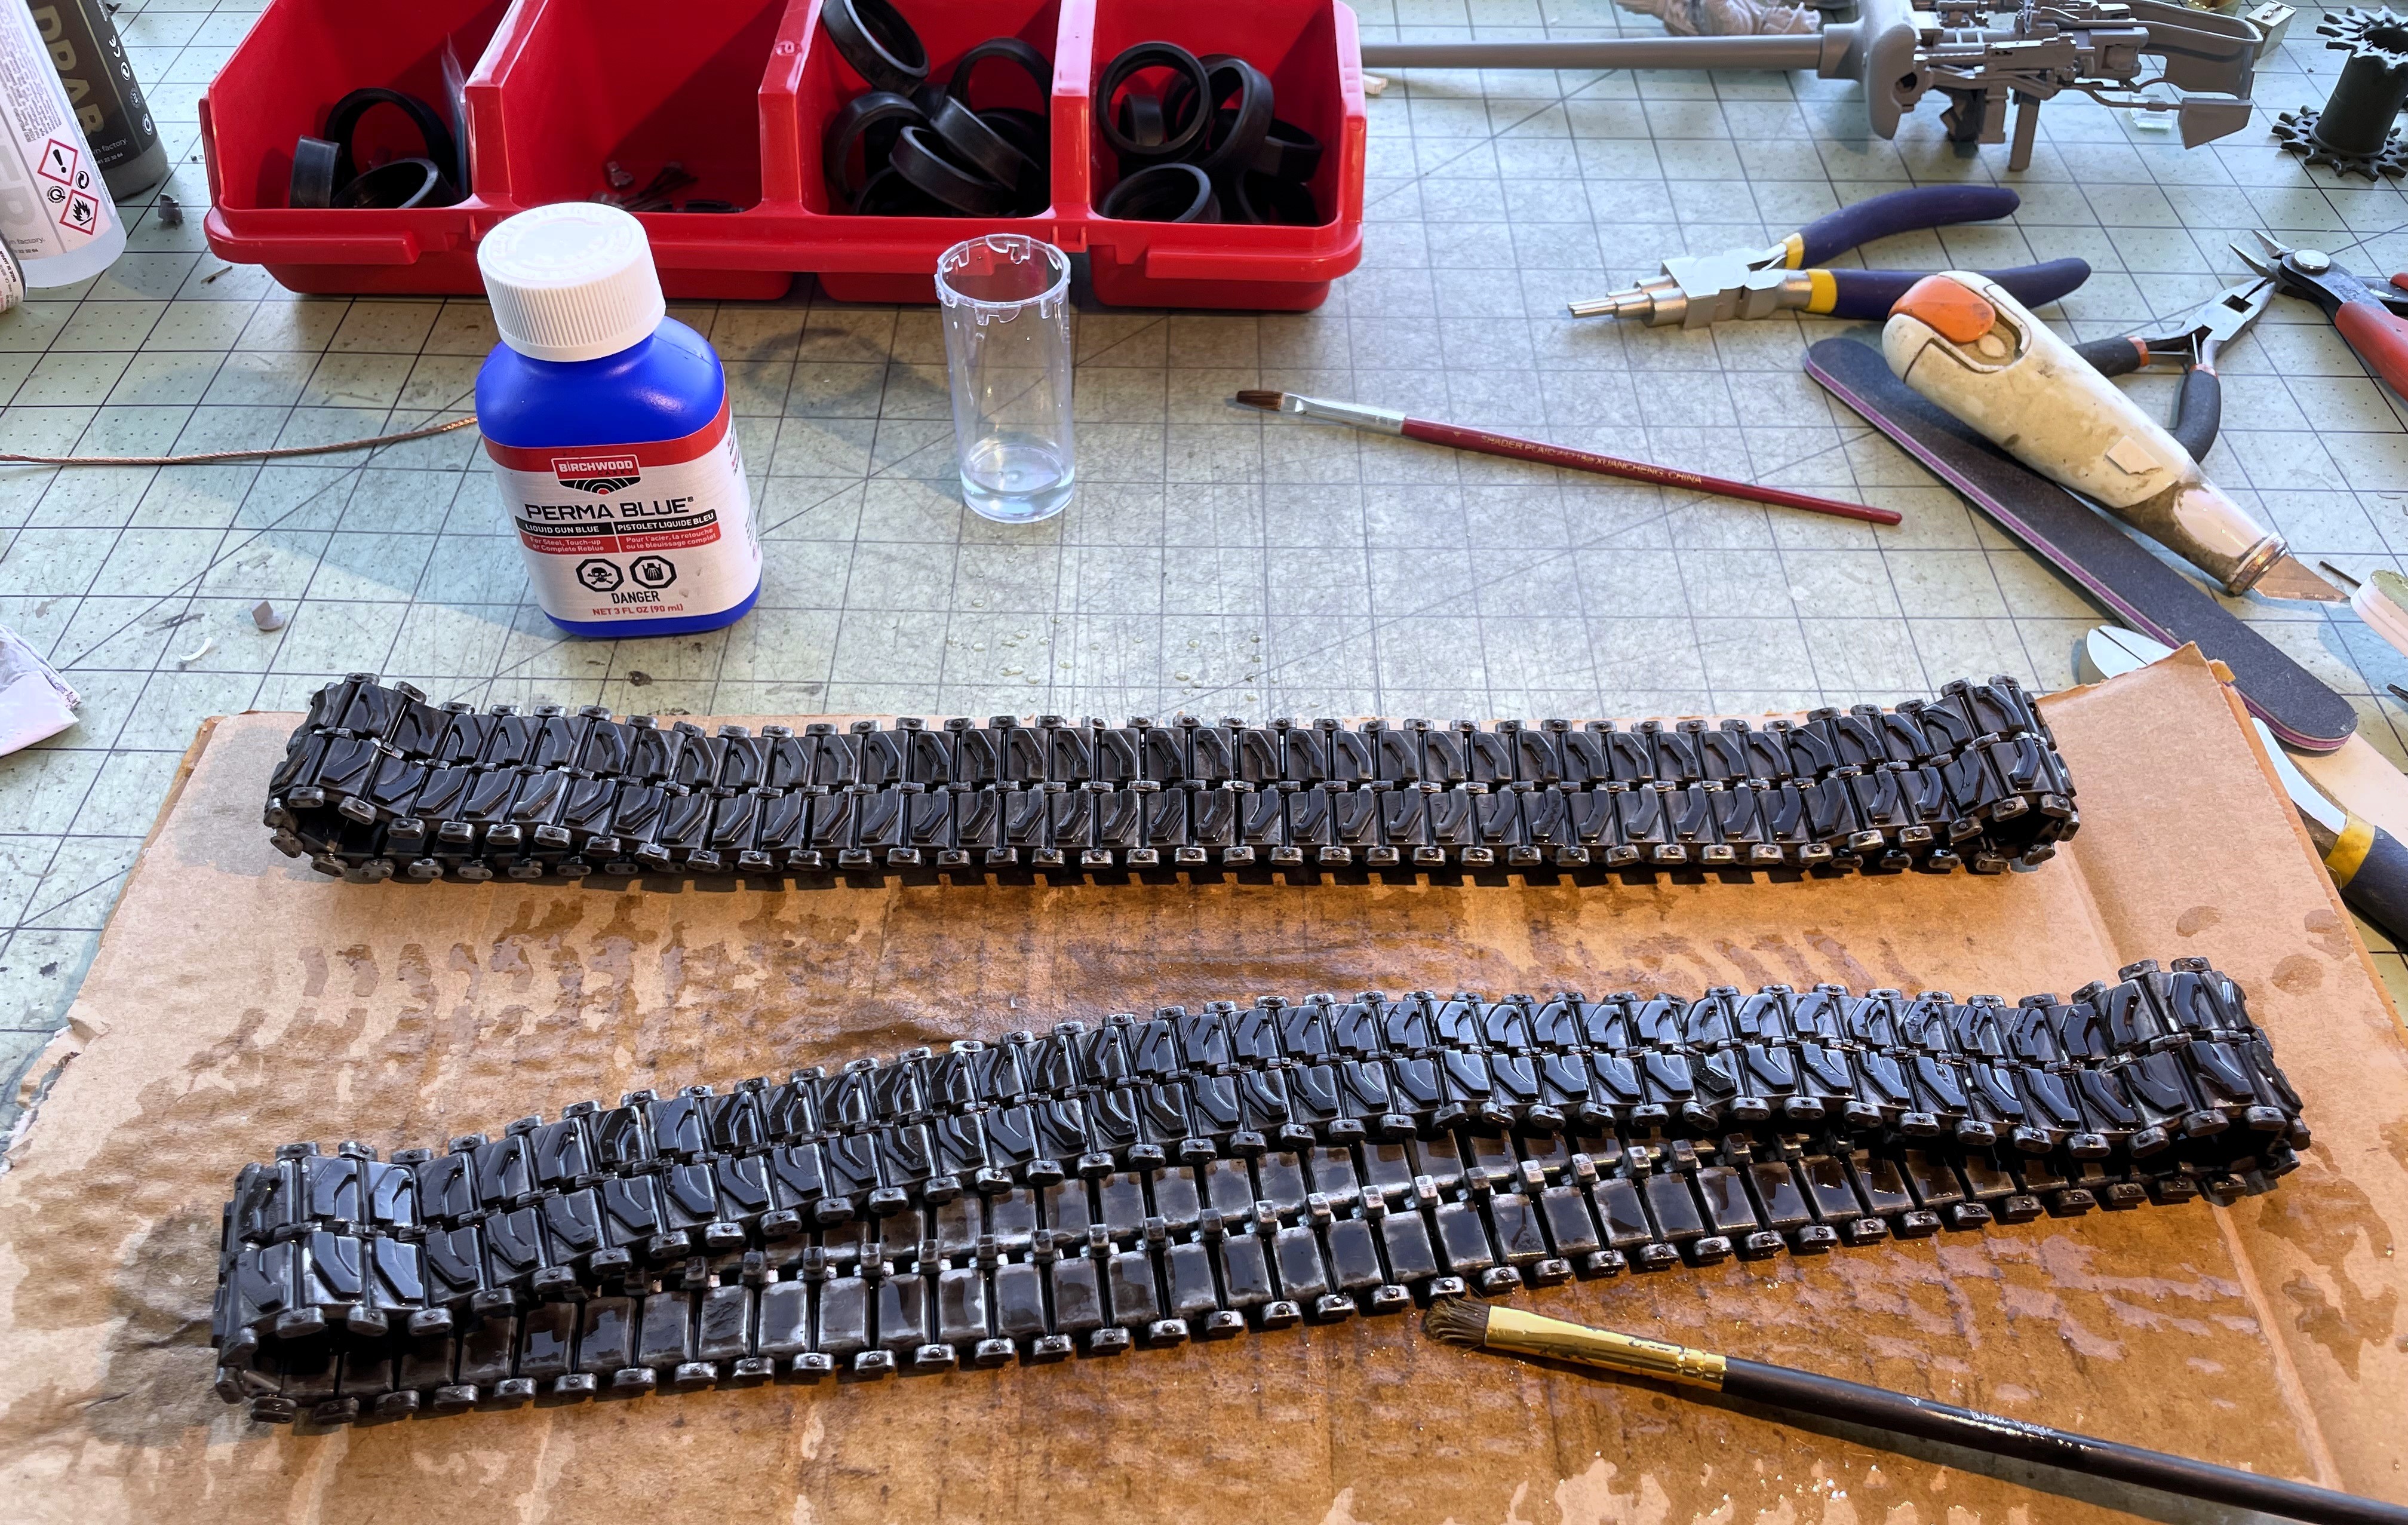
Seen here after the second application of gun bluing. Instead of using a tooth brush, i am now using a large brush. There is no real secret here. The solution works on contact and is then spent. It's the acid that somehow decides what to blue... and then the acid becomes like water, so there is no purposes to keep on brushing spent liquid on tracks. I use one fresh brush stroke with solution per track link.
- 1/16 RC M4A3E8 Korean war - Restoring Tamiya M4 with Takom kit - build
- 1.JPG (2.8 MiB) Viewed 5367 times
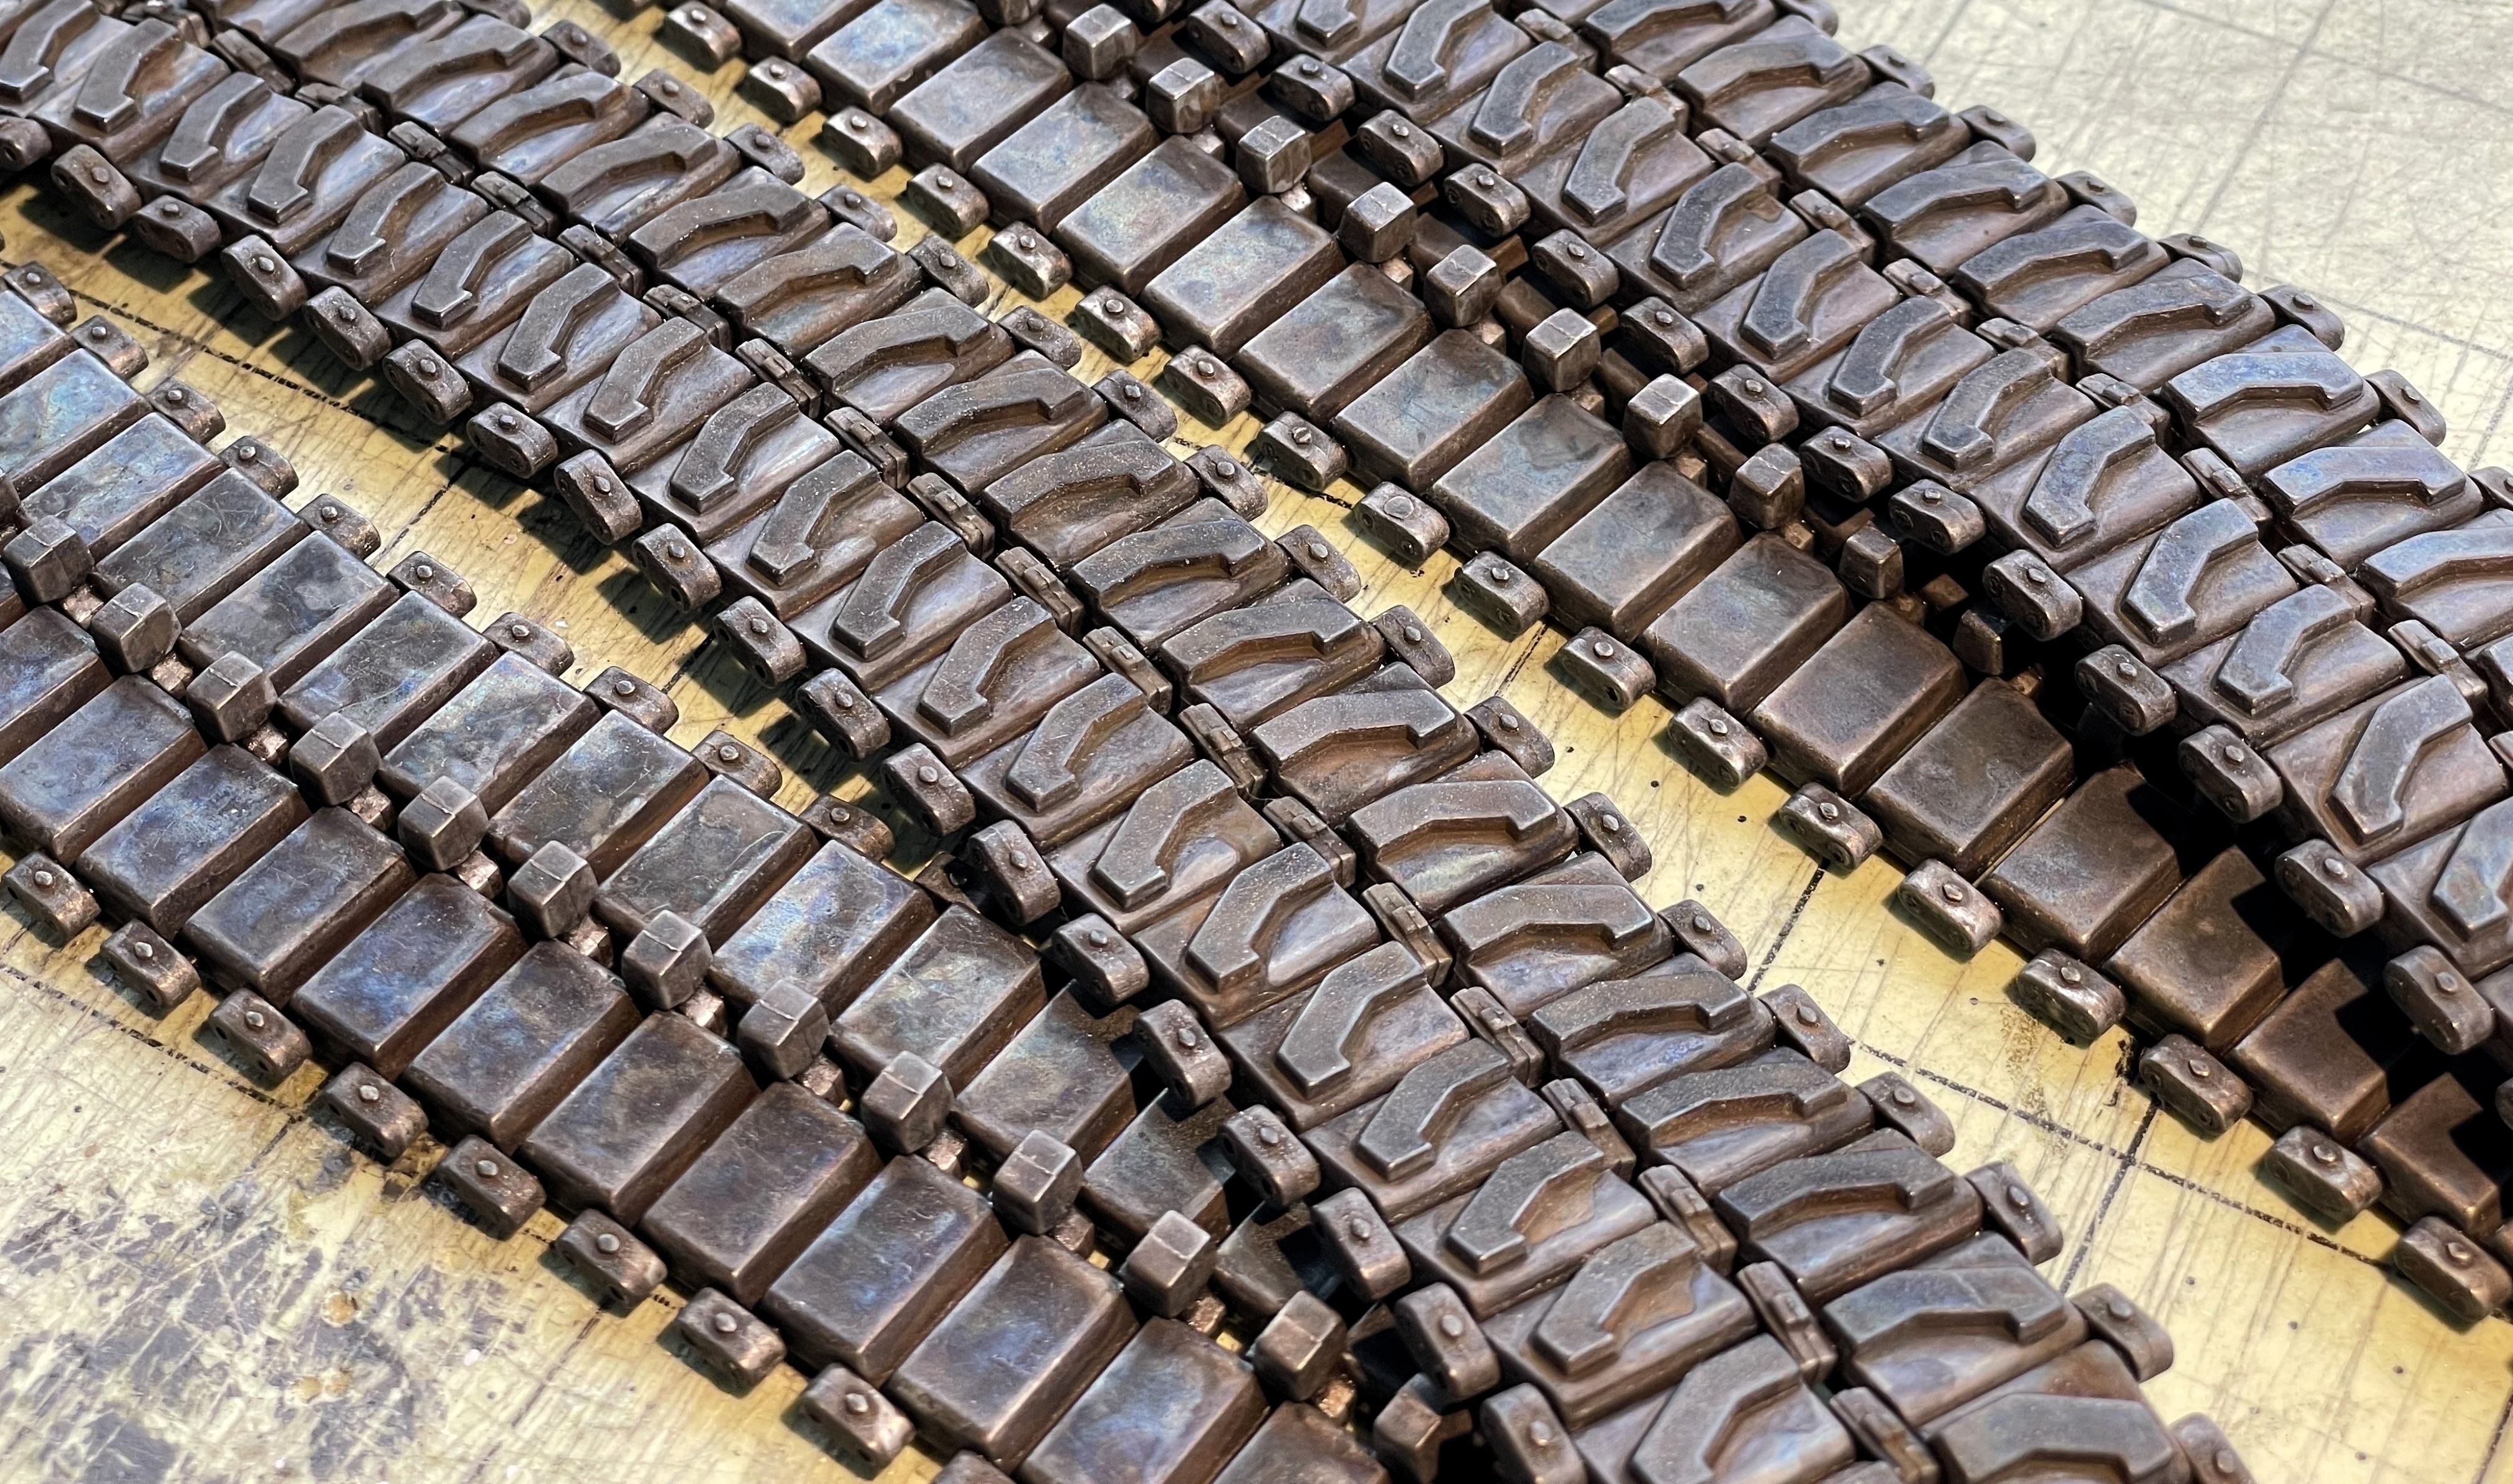
It took a total of 4 applications to gun blue all the areas of the tracks and have the finish i was looking for. The last application is only targetting areas that need it. It takes something like 20 minutes per application. The bluing of the tracks took the whole bottle, with barely enough left for the spare tracks so i recommend buying two bottles.

- 1/16 RC M4A3E8 Korean war - Restoring Tamiya M4 with Takom kit - build
- 2.JPG (1.84 MiB) Viewed 5367 times
They can be polished with a fine cloth if someone wants a smoother finish, but i did not. It's a tank. The bluing is part of the weathering.
- 1/16 RC M4A3E8 Korean war - Restoring Tamiya M4 with Takom kit - build
- 2a.JPG (2.61 MiB) Viewed 5367 times
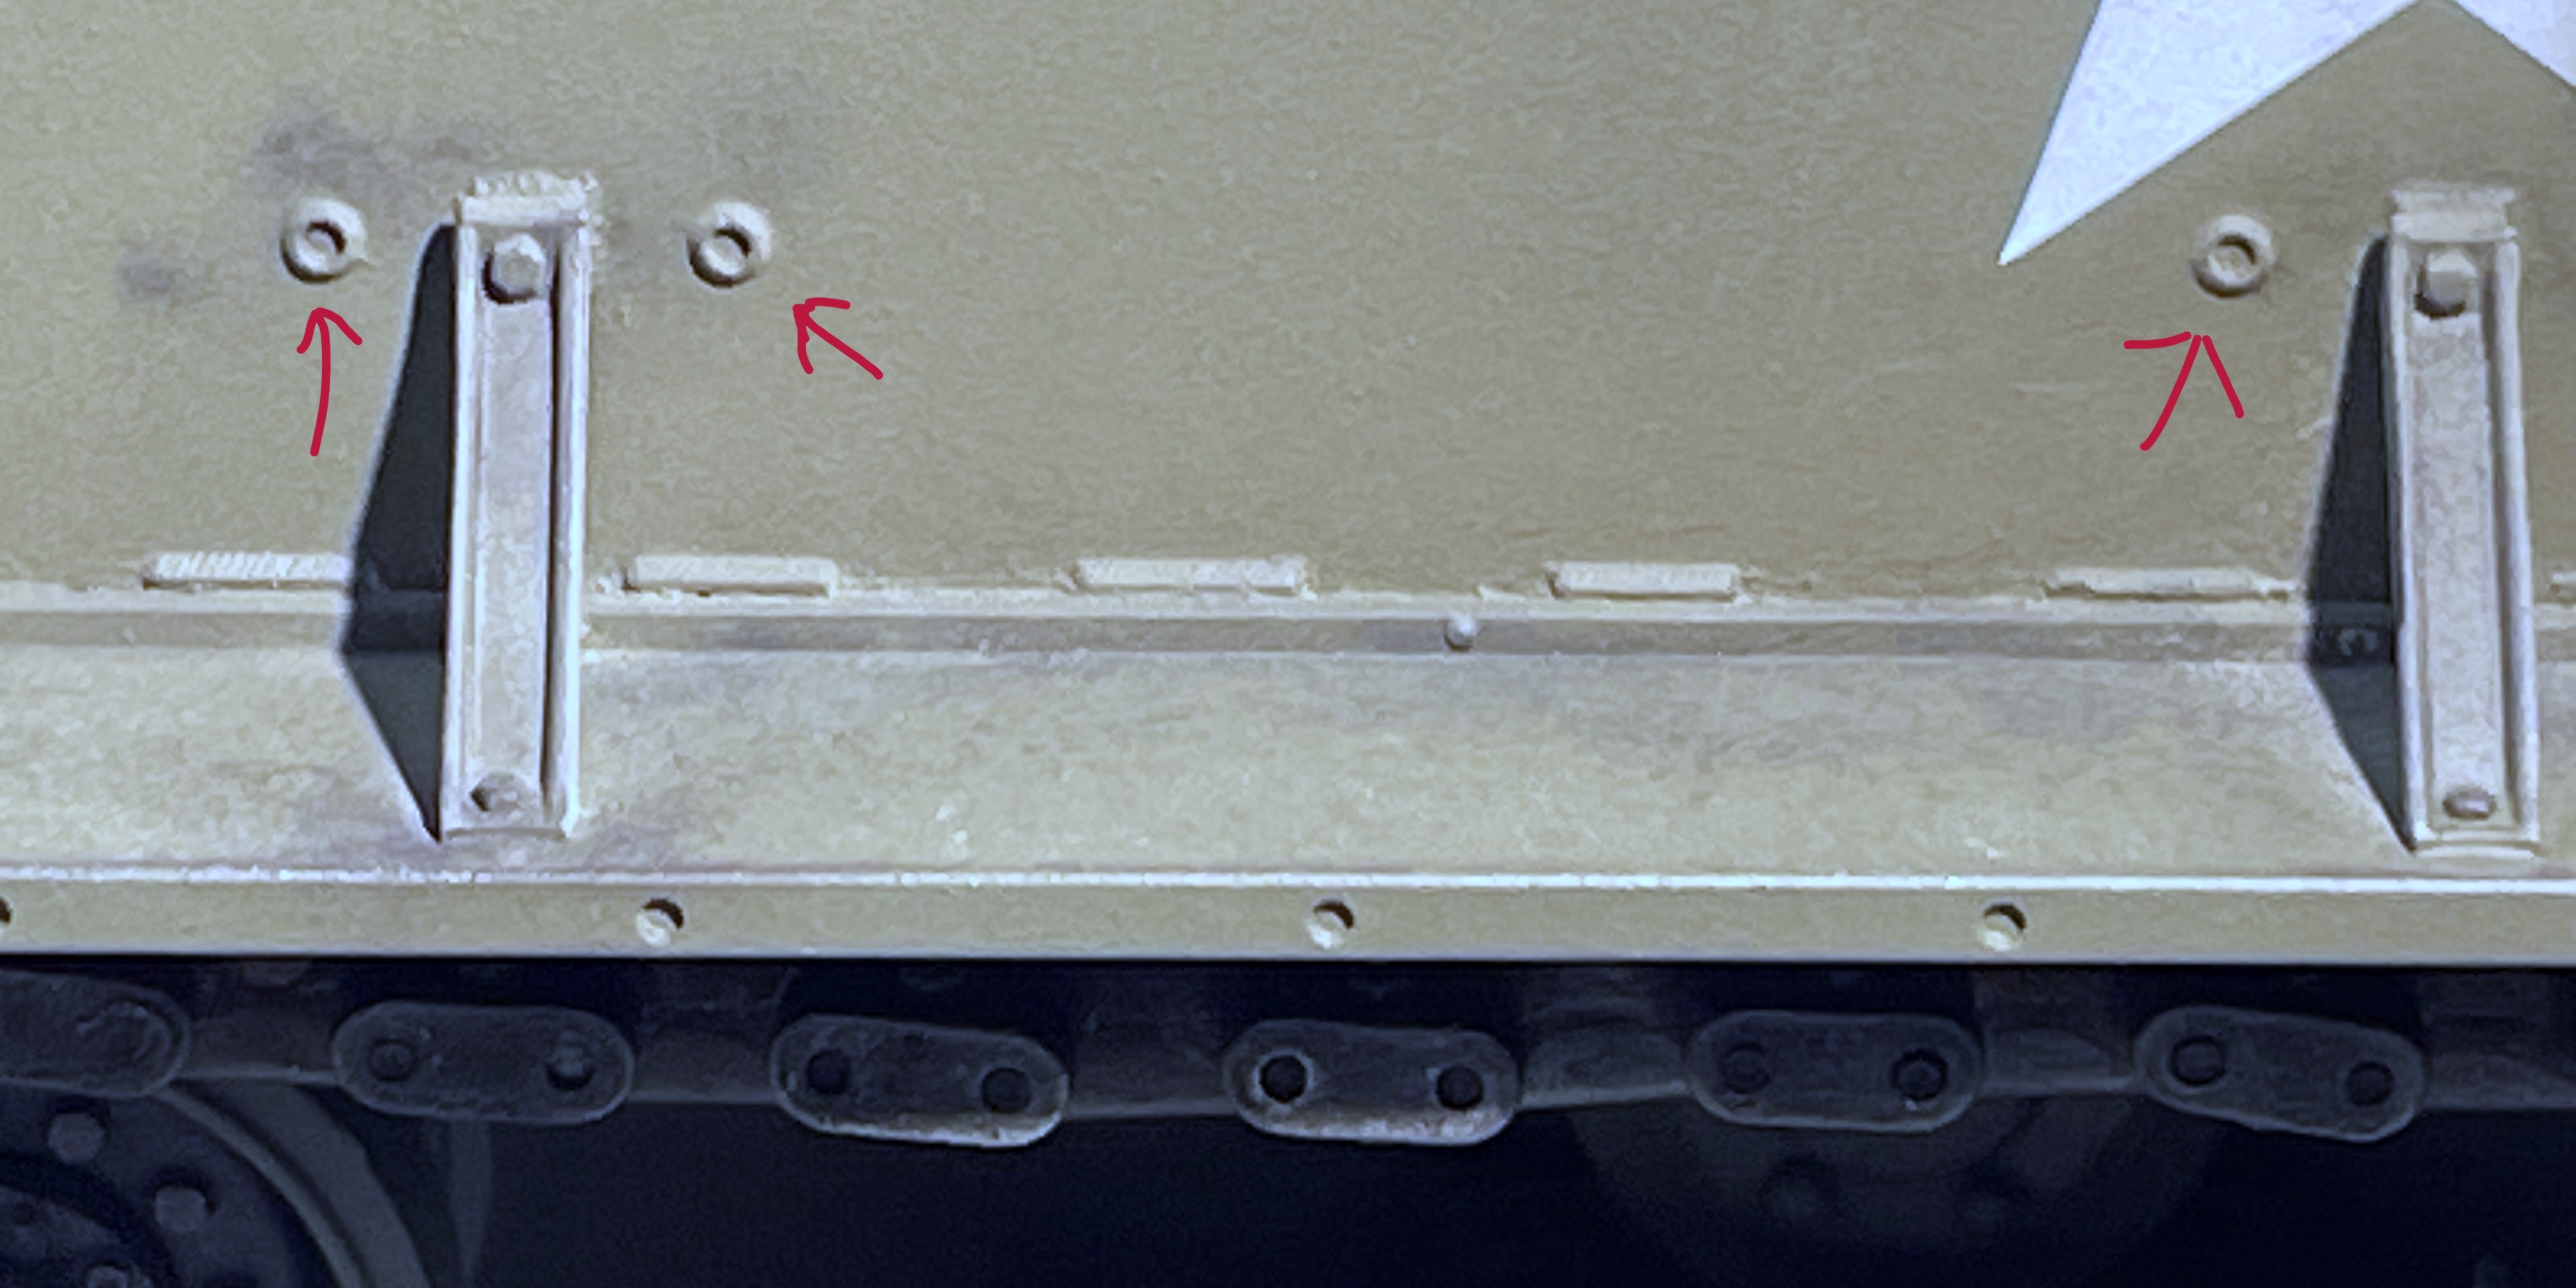
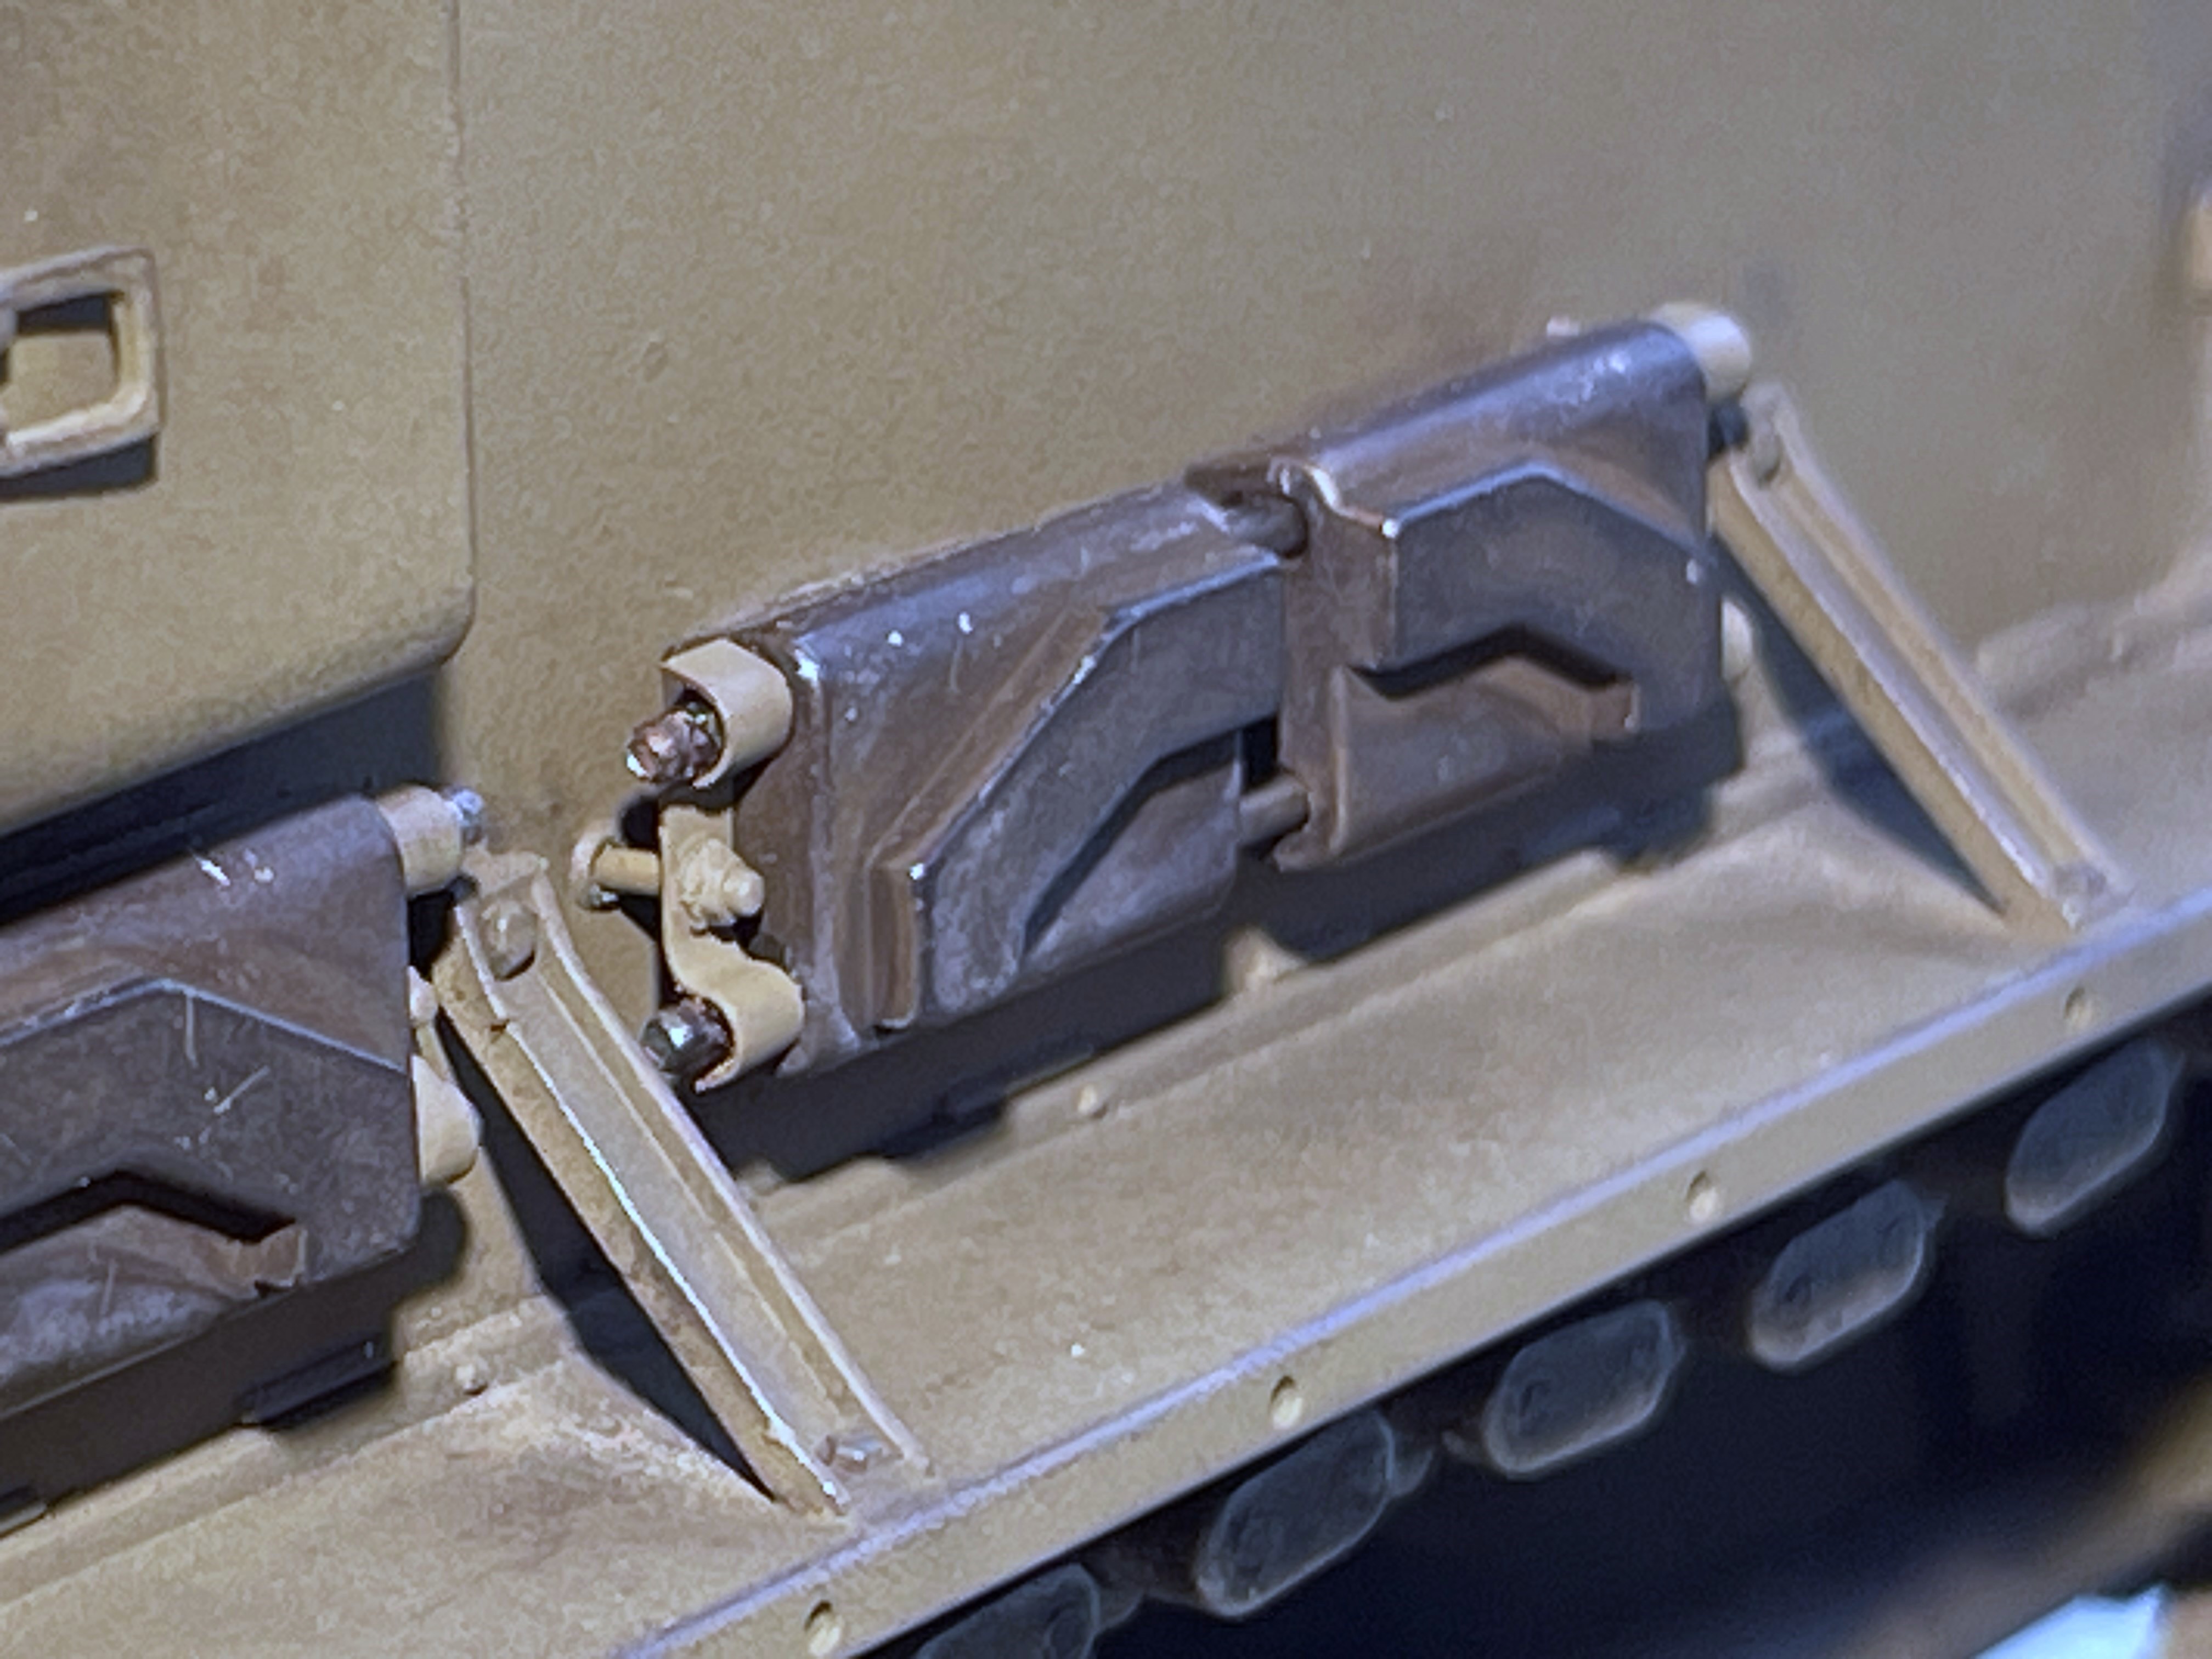
Throughout the build, i was looking at these holes on the sides and wondering what they were. It's only now that i realise these are the mount points for the spare tracks, 3 on each sides.
- 1/16 RC M4A3E8 Korean war - Restoring Tamiya M4 with Takom kit - build
- 4.JPG (727.34 KiB) Viewed 5367 times
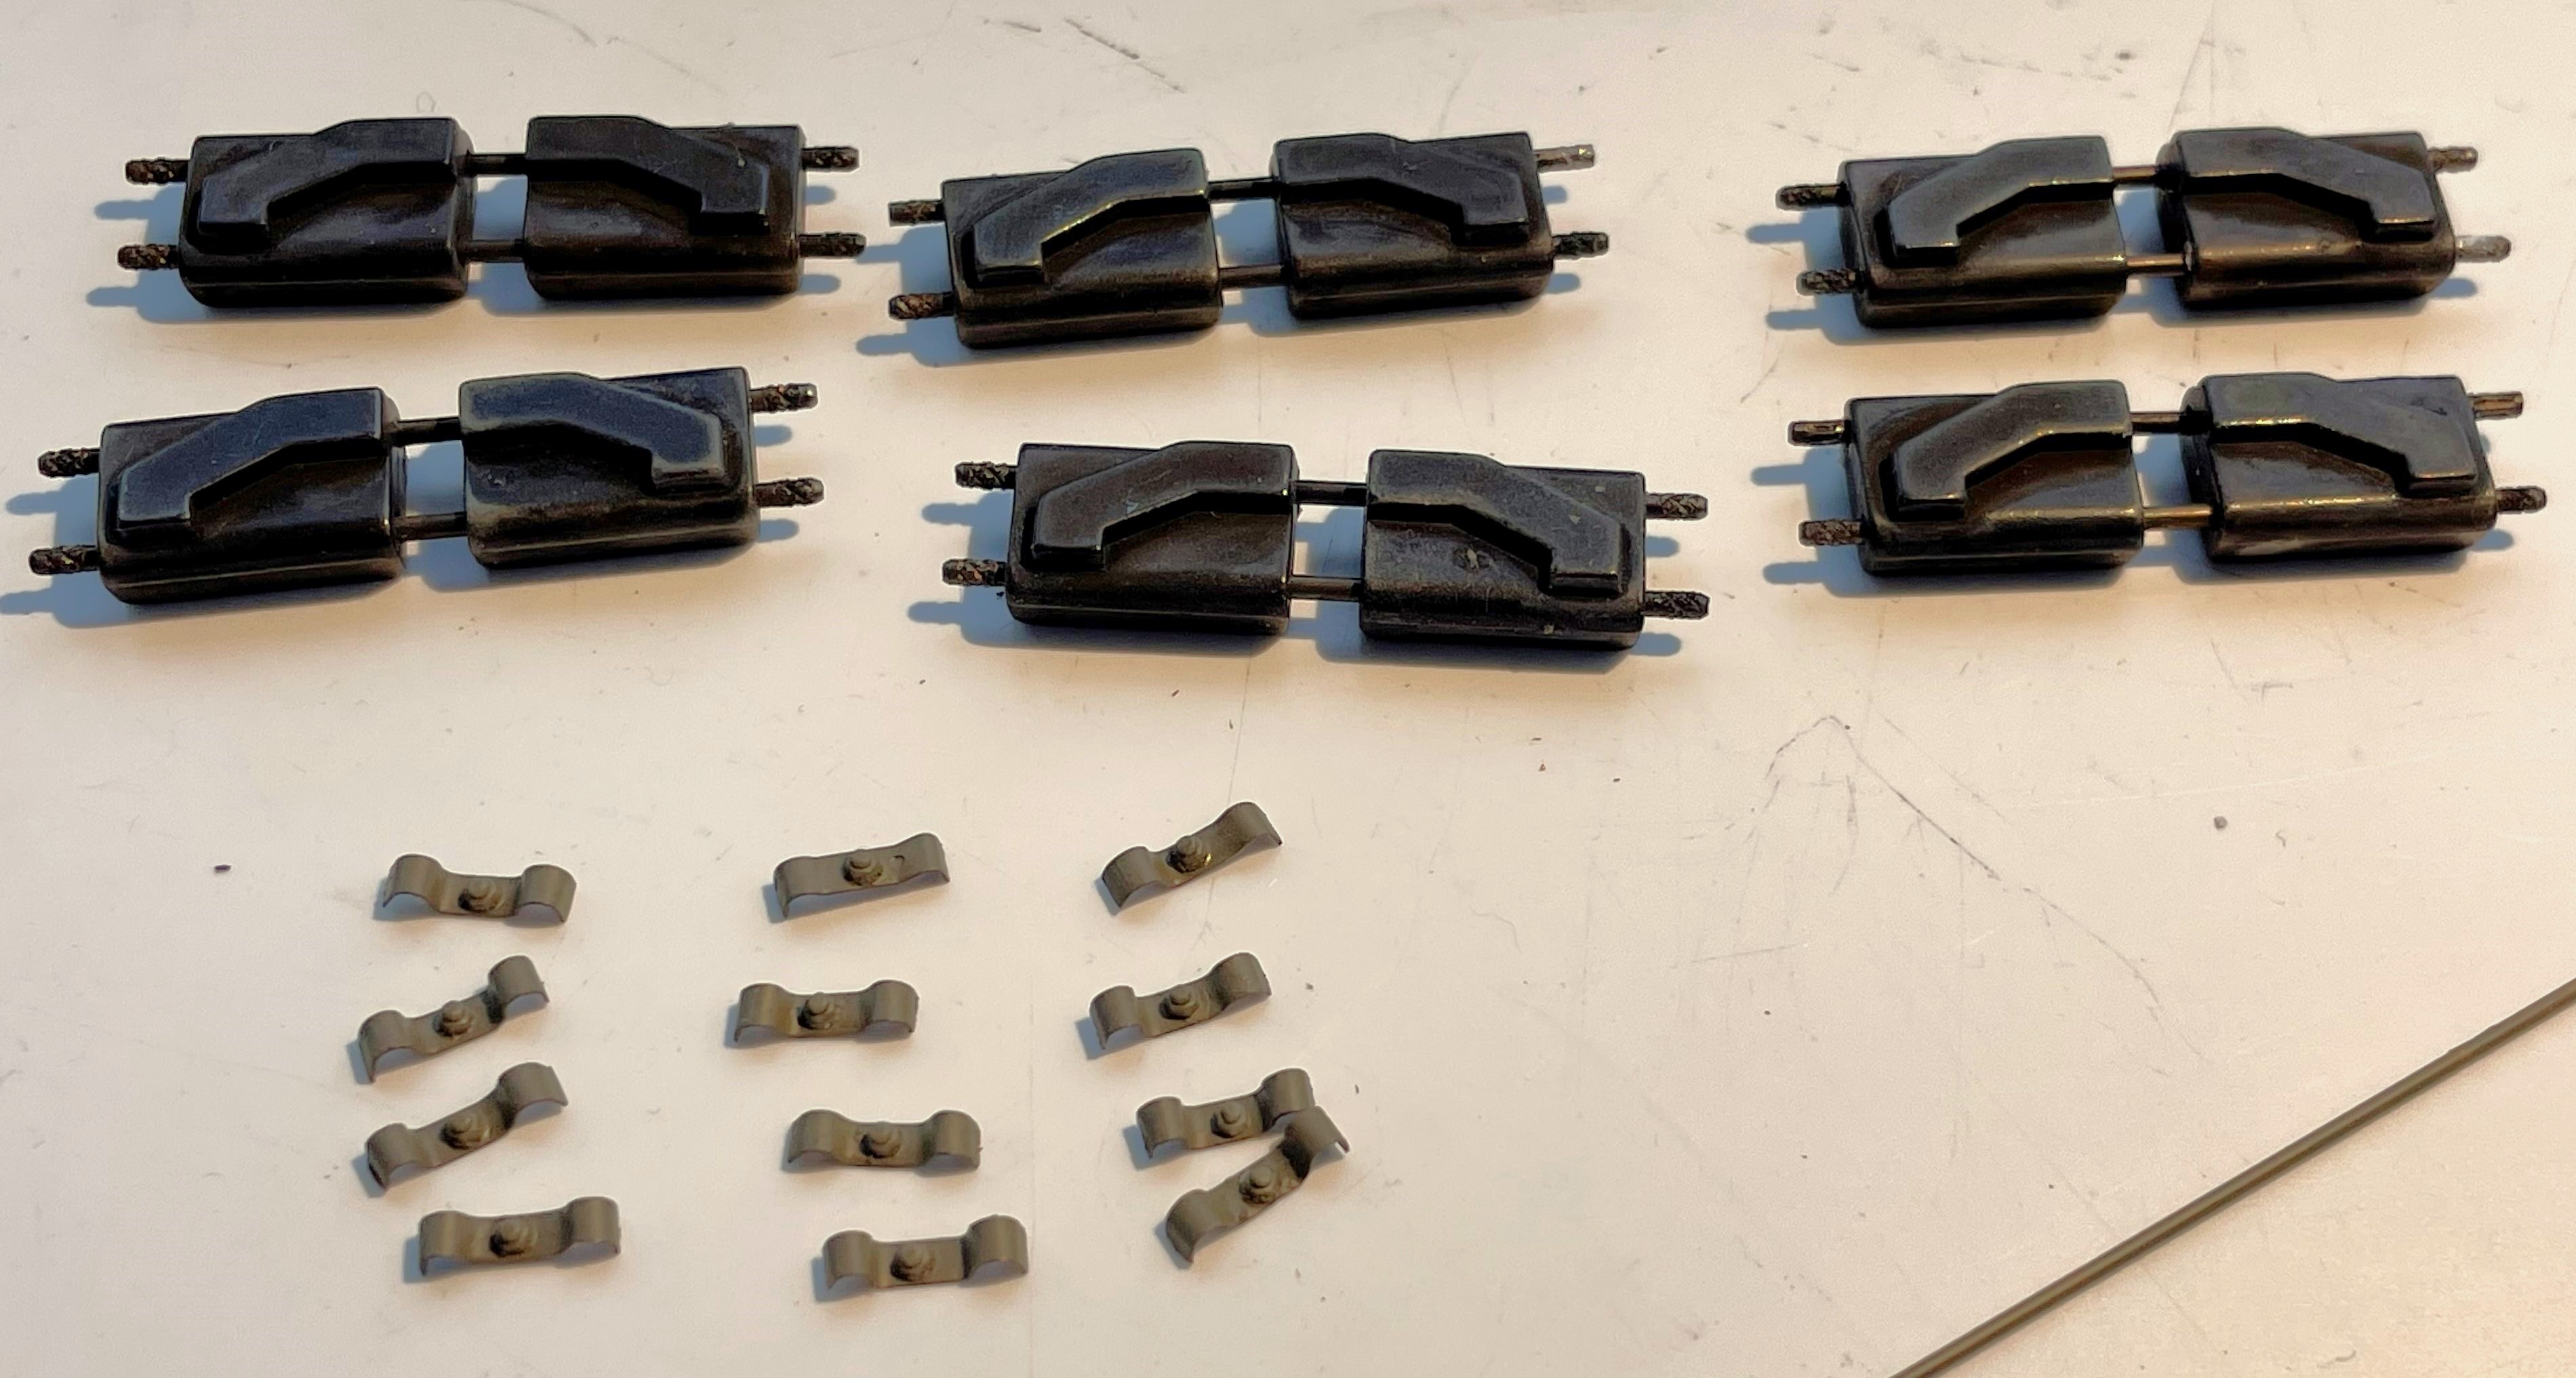
Because I changed the T80 tracks coming with the Takom kit by metal T-84. The spare tracks need to be the same to remain consistent. Anyway, i was certainly not going to put painted plastic spare tracks on the tank. I therefore used most of the spare metal tracks to create new ones to display on the tank, thankfully it had just enough, and i also created the brackets in copper with Meng nuts to hold them in place.
- 1/16 RC M4A3E8 Korean war - Restoring Tamiya M4 with Takom kit - build
- 5.JPG (1.02 MiB) Viewed 5367 times
The six new T-84 spare tracks are ready, below them is a T-80 spare track with mount coming with the Takom kit, used as a model.

- 1/16 RC M4A3E8 Korean war - Restoring Tamiya M4 with Takom kit - build
- 6.JPG (839.03 KiB) Viewed 5367 times
The spare tracks were mounted on the Sherman. It's the first time a do something so detailed with my Sherman spare tracks. Normally, people would just glue them strait on the mud guards. The actual position is higher. The mount rod was inserted from the inside after the holes were drilled, tracks positioned and glued in place.

- 1/16 RC M4A3E8 Korean war - Restoring Tamiya M4 with Takom kit - build
- 7.JPG (1.18 MiB) Viewed 5367 times
- 1/16 RC M4A3E8 Korean war - Restoring Tamiya M4 with Takom kit - build
- 8.jpg (1004.32 KiB) Viewed 5367 times
Painting instructions provided by Takom are very limited. Just some overall views, very small, mainly for decal placement, nothing on the details.
Other than the M2 .50 cal machine gun, the Takom kit is wonderful, but the instructions are also really poor. AHHQ should look into this and make them better.
For the paint job, this is the material i used.
- Tamiya Olive drab enamel spray as primer, mostly for the metal parts and chassis.
- Overall AK Olive drab acrylic primer coat. First time i use this, beware it takes an eternity to dry, 24hours. Very happy about it, very resistant once fully dried and having a primer in the right base color helps the painting process.
- Overall Mig ammo Olive drab light base 0927. The regular olive drab 0926 is quite dark. Because the tank is sun weathered and will have shadows, i used one tone lighter than the 0926.
- Application of Takom decals. They worked great but they should normally have provided decals for the ammo boxes and interior gun breech. So, in a way, the decal sheet is incomplete.
- Mig Ammo Light Olive drab Shader. First time i use this after seeing an advertisement. It's some kind of smoke colored liquid. It's useless. I did an application of it on key areas of the Olive drab primer to see what it would do, i did not get a single shade or undulation, nada. I guess i did not know how to use it, or maybe i selected the wrong color. I do not recommend using this shader unless you know exactly what you are doing, and tested it first.
- Shades were therefore done with black pigments applied with a dry brush, then smoothed with a light application of airbrushed olive drab paint where there was too much shadow.
- Application of african dust pigments to create ondulations on the Olive drab and weathering on lower hull, road wheels.
- Dry brushed dark steel pigments to create paint wear on edges, and for the bluing of the machine guns. By the way, the gun bluing solution does not work on M2 Aber barrel but worked on the PE ammo belt links.
- No wash.
- Ammo boxes with Tamiya Olive drab to create a difference in olive drab weathering with the tank.
- Overall Tamiya flat clear to seal everything.

- 1/16 RC M4A3E8 Korean war - Restoring Tamiya M4 with Takom kit - build
- 3a.JPG (1.55 MiB) Viewed 5367 times
Continuing on following post