Page 7 of 9
Re: Old Tamiya King Tiger Re-build
Posted: Mon Apr 27, 2015 8:12 pm
by riggy15
Thanks fellas, appreciate it.
One comment though, I believe the cupola was bolted on and not welded. It drops into a ring inside the top of the hull so it could be replaced if it took damage. They were a favourite target of Soviet AT rifles.
Yep I kinow, I have seen a few builds were that was mentioned, trouble is I went and melted in plastic rod to simulate the welding before I did any checking, and to its gonna be a right ba*$ard to shift, so I think i'm gonna live with it for now. hey hoooooo lesson learned, check before you melt plastic

Later
Martyn.
Re: Old Tamiya King Tiger Re-build
Posted: Mon Apr 27, 2015 8:13 pm
by billpe
As long as you're happy with it, that is what matters!
Re: Old Tamiya King Tiger Re-build
Posted: Thu Apr 30, 2015 11:30 am
by riggy15
Morning,
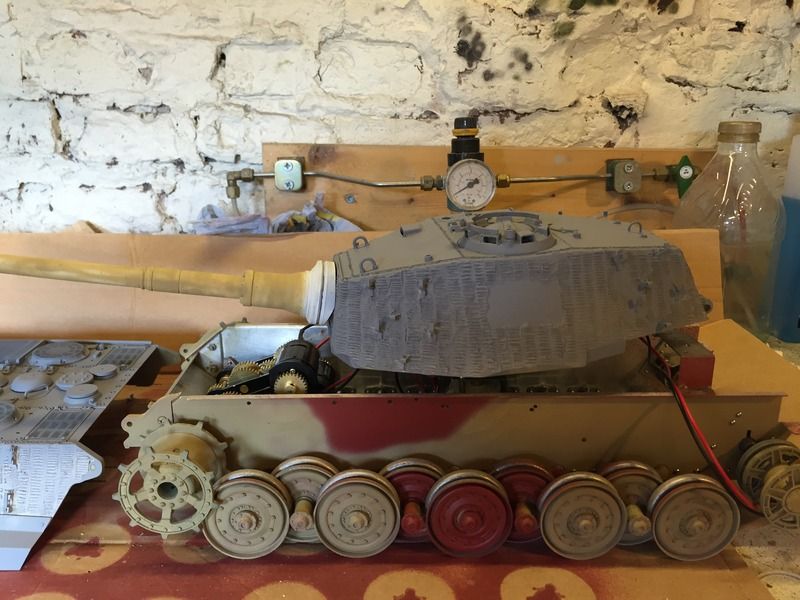
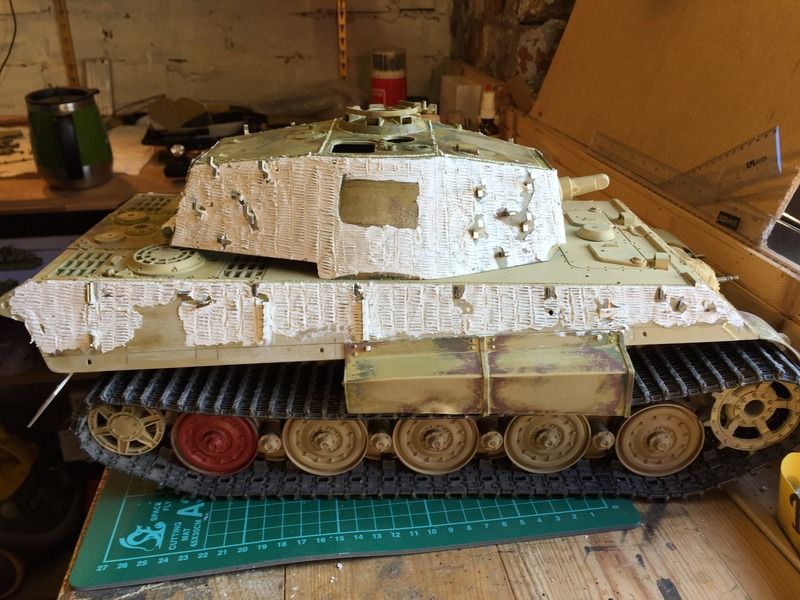
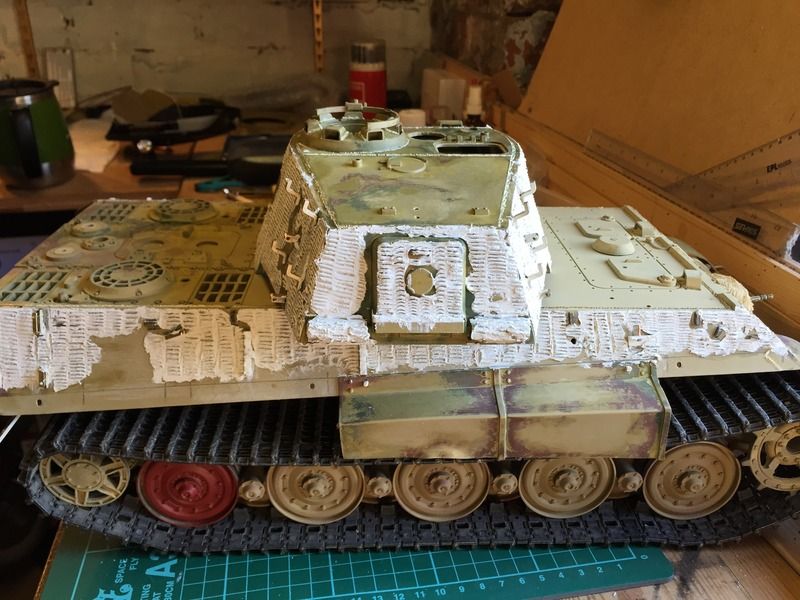
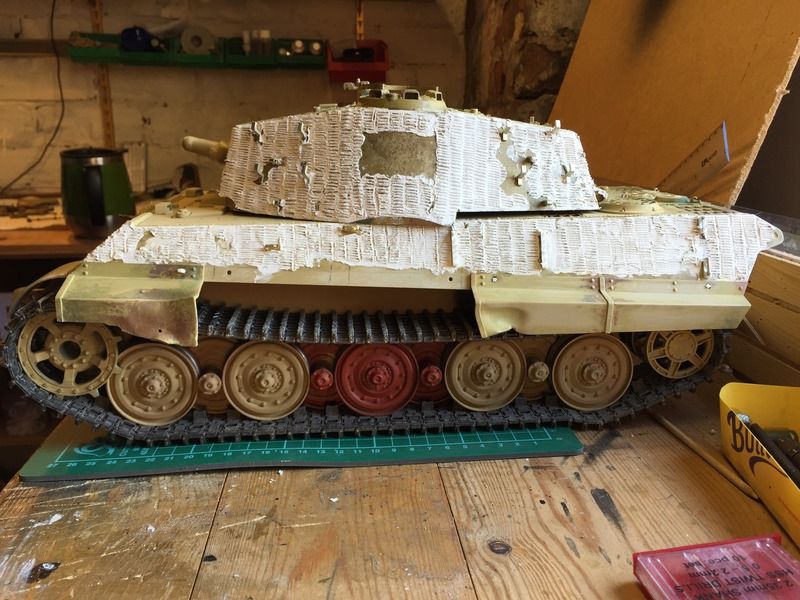
Finished of the zim last night, aiming for the well and truly battered look, hopefully it will look a lot better when I have her 'painted' up. (I am gonna have to get the gun fitted, she looks kinda stupid with just that little sprout sticking out)
The squares that have being left out on the turret is for the "charging knight emblam" ---------------- Still have to work out how to paint that on !!
Anyhoooooo heres some pics.
Next step is to take her to bits again and start to fit the control units, I am using some old equipment that I have to just 'try it out' before I think of splashing out on some new RC equipment, so I am gonna have to build some form of mounting traywork inside the hull.
More some (I hope)
Martyn.
Re: Old Tamiya King Tiger Re-build
Posted: Sat May 02, 2015 9:21 pm
by riggy15
Good Evening.
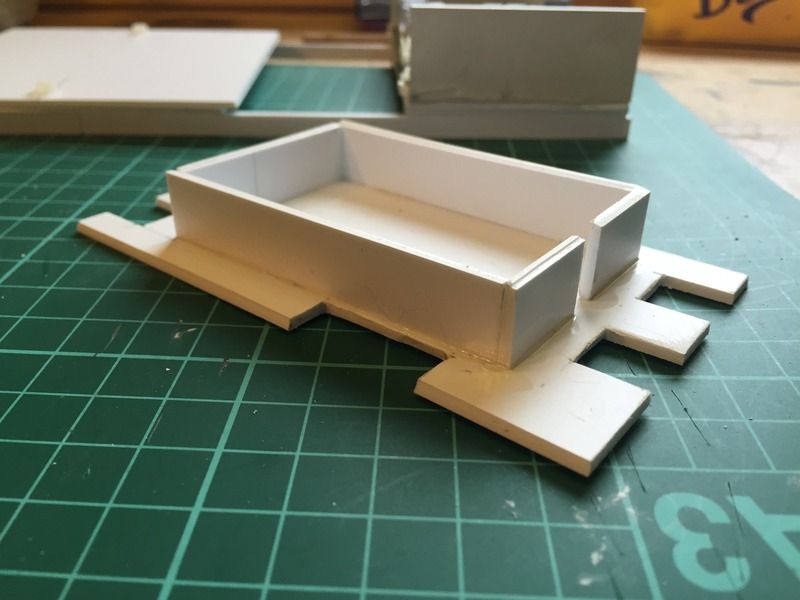
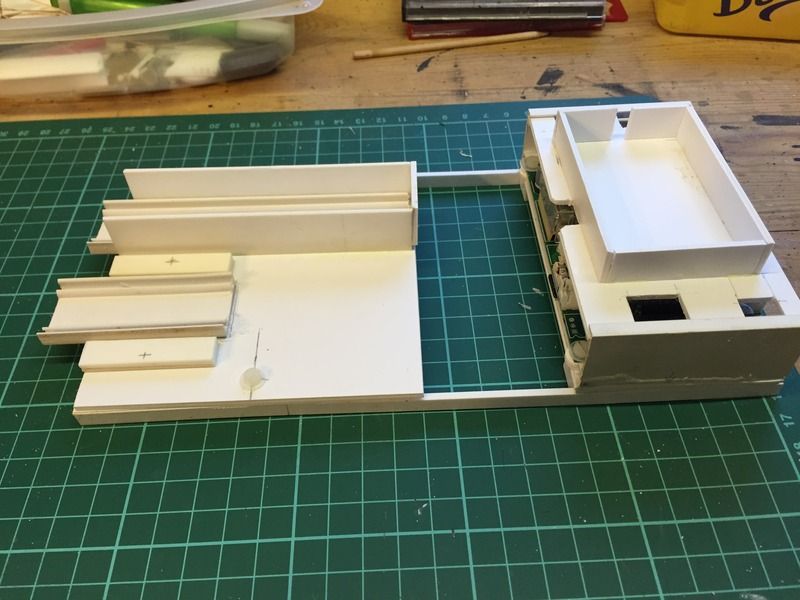
Got most of the internal mounting trays made, mostly from plastic strut and some old pieces of square cable conduit that I had kicking about.
First pic is of the IBU2 fitted on to the tray.
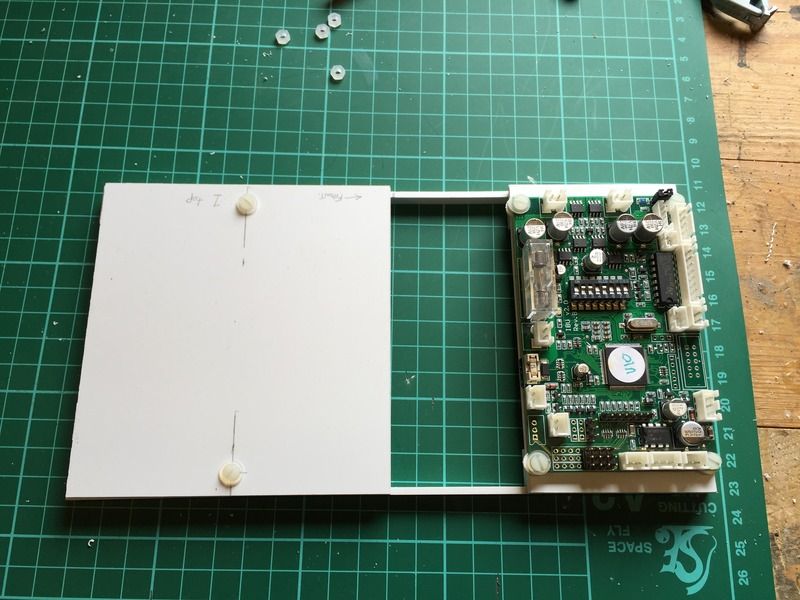
Next is a view of the underside where I have cut out the area that will get hot from the electronics that are under the circuit board.
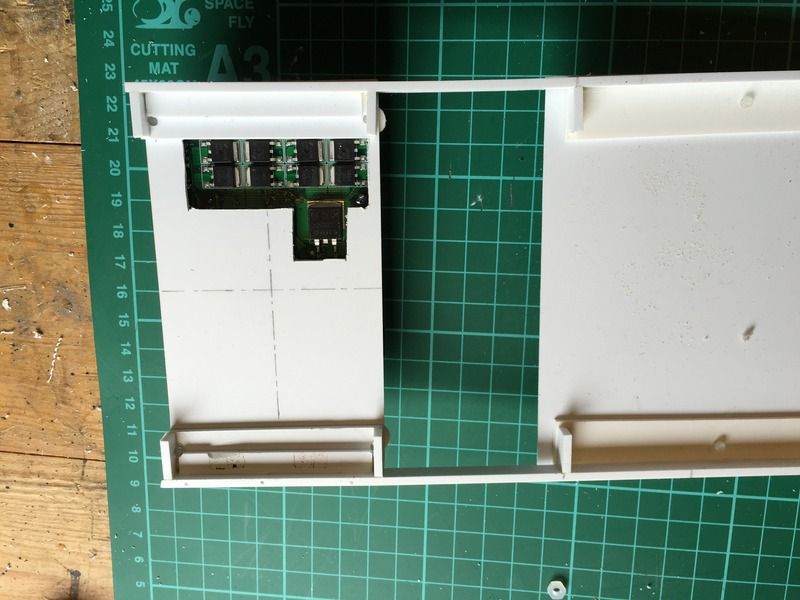
Spacers fitted to also lift circuit board from the main mounting tray

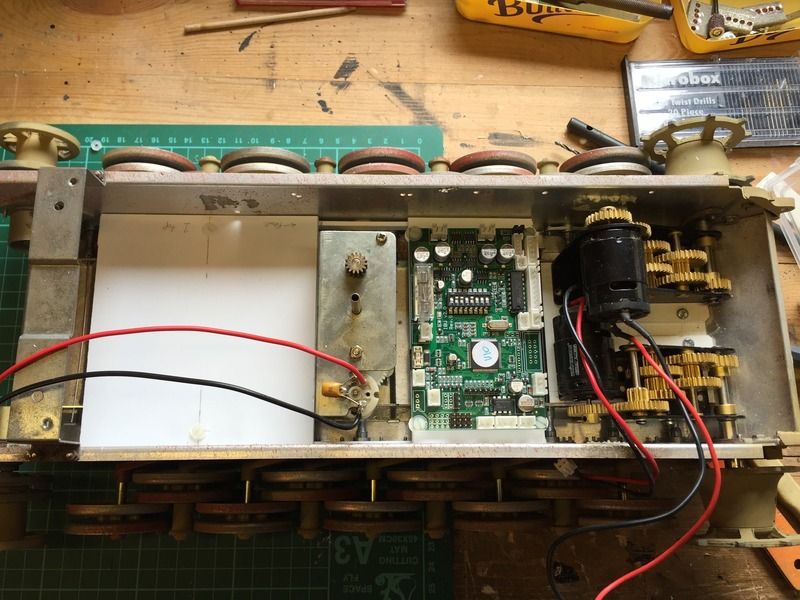
Test fit inside the tank
Re: Old Tamiya King Tiger Re-build
Posted: Sat May 02, 2015 9:36 pm
by riggy15
I next used the covers of the old pieces of square conduit to make a 'riser' to allow another mounting tray to be inserted above the speed control unit.

Top tray made with cut outs for the cabling
Fitted

Unit fitted
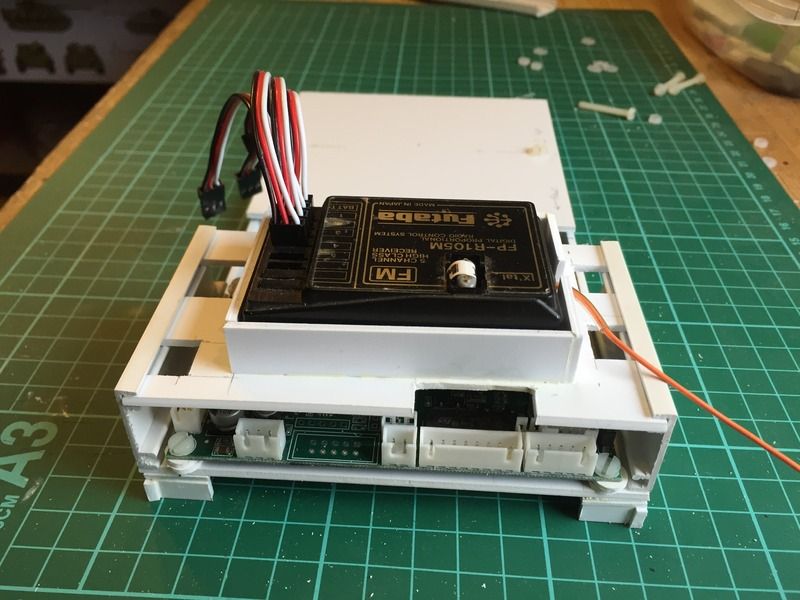
Battery holder and receiver battery holder fitted.
Re: Old Tamiya King Tiger Re-build
Posted: Sat May 02, 2015 9:42 pm
by riggy15
Batteries fitted

and finally, test fitted inside her.
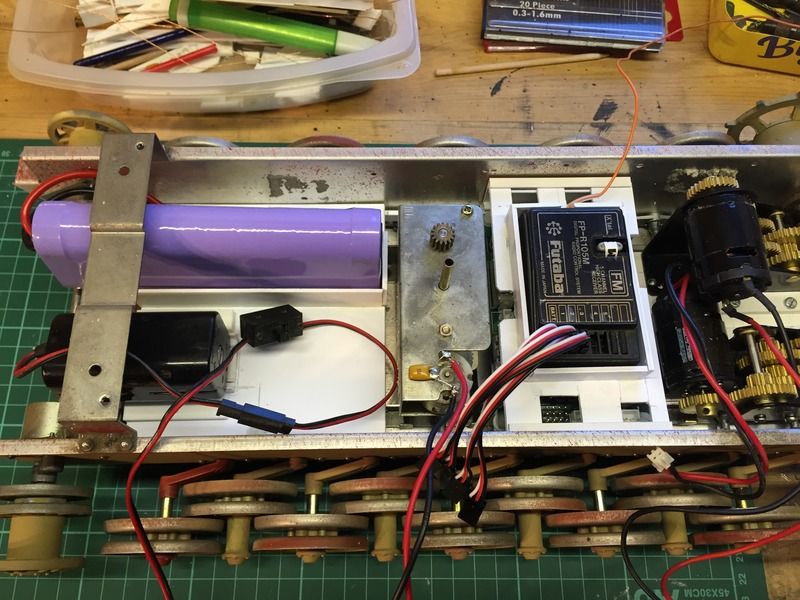
That's it for now, just gotta wire them up, and hopefully she will be ready for a test run.
I can now carry on with the outside work. More later,
cheers
Martyn.
Re: Old Tamiya King Tiger Re-build
Posted: Sun May 03, 2015 2:15 pm
by mikef350
Wow great work and lots of insperation for my vintage Tamiya kin tiger I am about to start
Re: Old Tamiya King Tiger Re-build
Posted: Tue May 05, 2015 2:28 pm
by riggy15
Thanks Mike, good luck with the one your about to start.
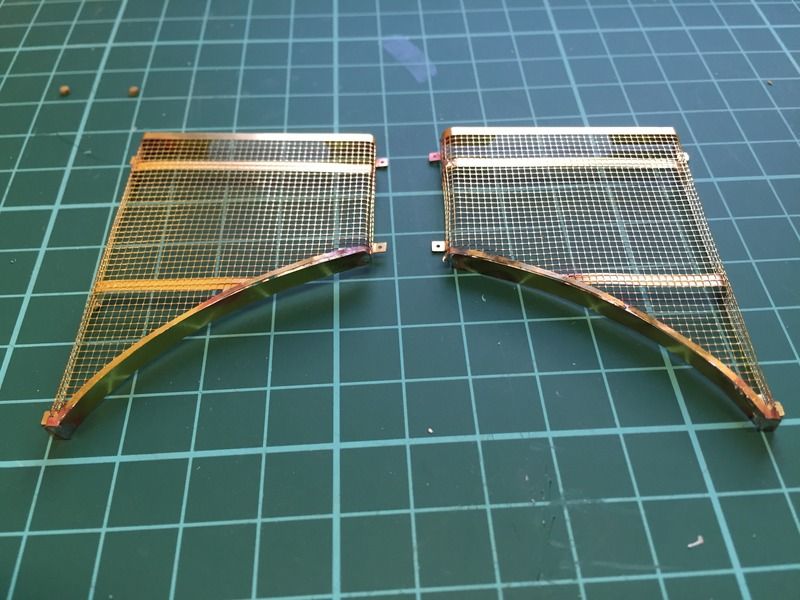
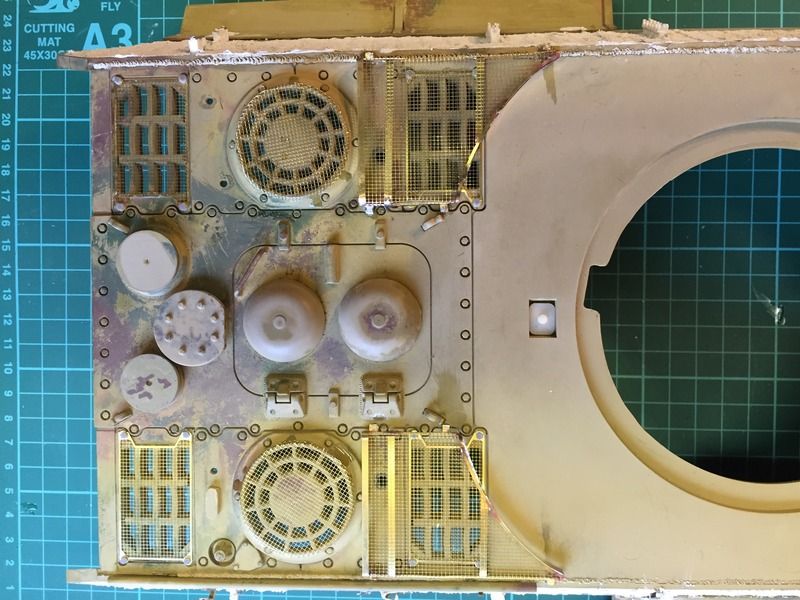
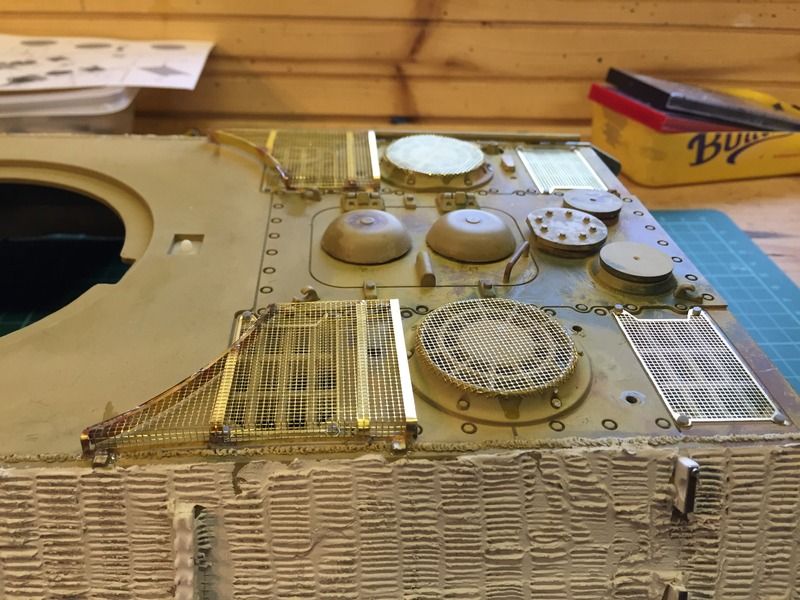
Okay, onwards, next bits to fit on the decking is the mesh that was placed over the vents and fans, these little bueaties were sourced from EBay.
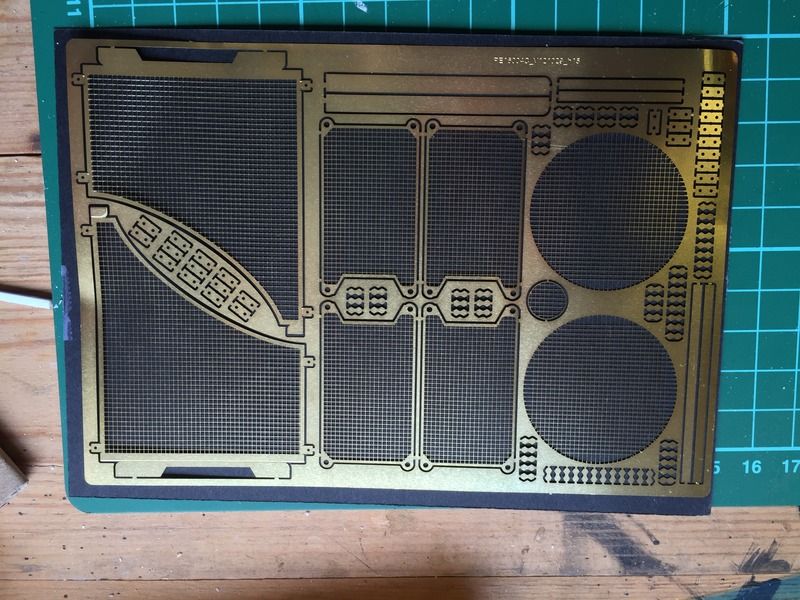
and after much cursing and solder splashing this is the result.
and a couple of pics of them fitted
Next up are the viewing slits.
More later
Martyn.
Re: Old Tamiya King Tiger Re-build
Posted: Tue May 05, 2015 3:12 pm
by PainlessWolf
Good Morning,
Beautiful job on the mesh! The details are really coming along.
regards,
Painless
Re: Old Tamiya King Tiger Re-build
Posted: Sat May 09, 2015 8:36 pm
by riggy15
Beautiful job on the mesh! The details are really coming along.
Cheers Painless
Waiting for some replacement parts for the RC setup, so cracked on with finishing the outside -------
Mounting points made from plastic strip for the track guards, and the 'aiming rod' stuck on to the turret roof. Halfords grey primer sprayed on, and high lighted some areas with red primer.
Here's the pics.