Hi everyone,
The following posts are for the M2 Browning and commander's cupola.
I would normally have discarded the more or less satisfactory Takom M2 and used a Tamiya M2 from the M26 Pershing, like i usually do, but i decided to use the Takom on this build and see if i could improve it. I comes with an optional barrel with flash suppressor that i decided to use.
For the Browning to have gun flash, i used a 1mm bit to drill through both ends of the barrel, meeting in the middle. I had to cut the barrel a bit on the inside section because it was too long for the normal drill bit to reach the middle point. Drilling through a barrel is tricky to do as the hole has to be perfectly centered. Any deviation and the barrel is wasted.
- 1/16 RC M-113A1 ACAV - Converting the Takom/Andy's HHQ kit to RC
- 1b.jpg (1.02 MiB) Viewed 1130 times
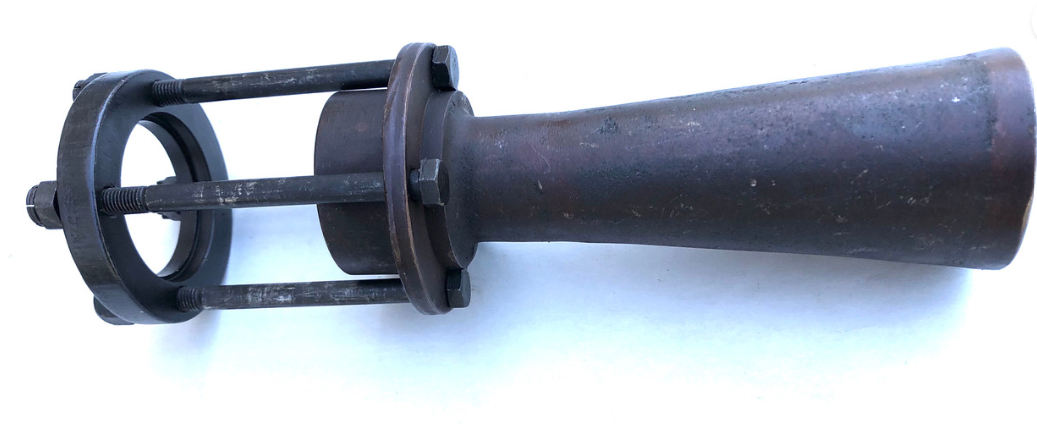
This is how the barrel flash suppressor should look like, attached to the muzzle.
- 1/16 RC M-113A1 ACAV - Converting the Takom/Andy's HHQ kit to RC
- 1f.png (430.87 KiB) Viewed 1130 times
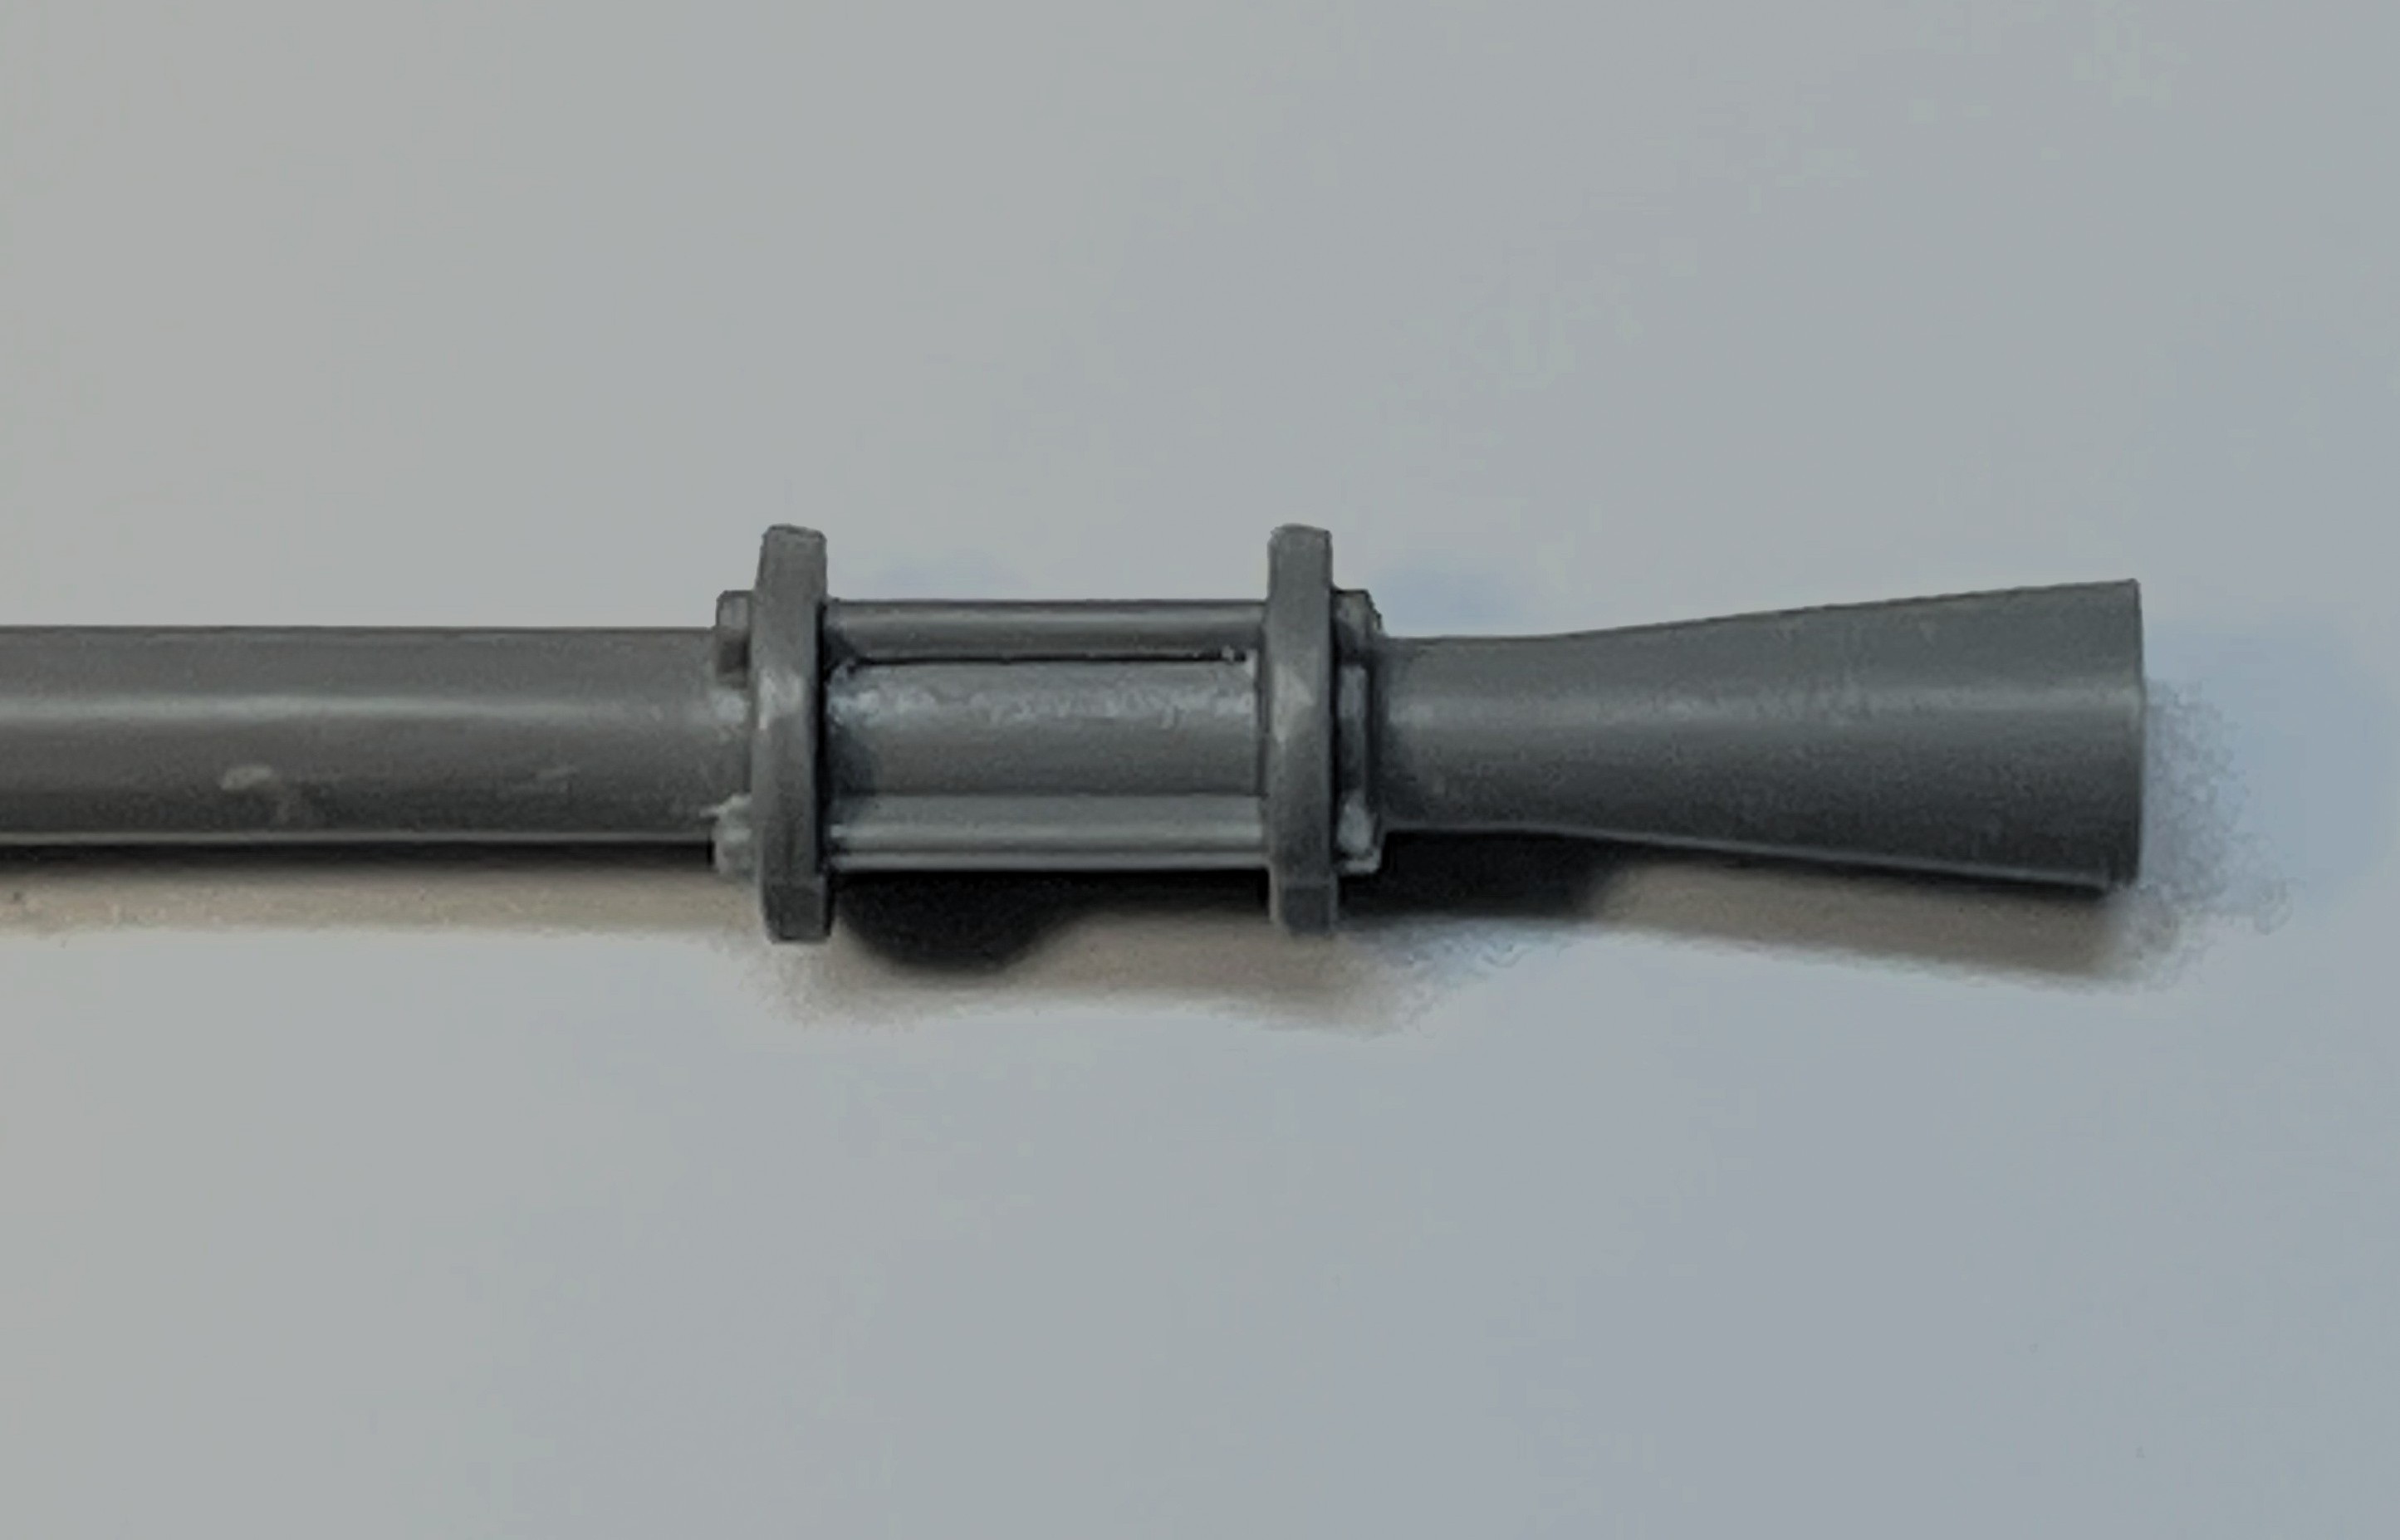
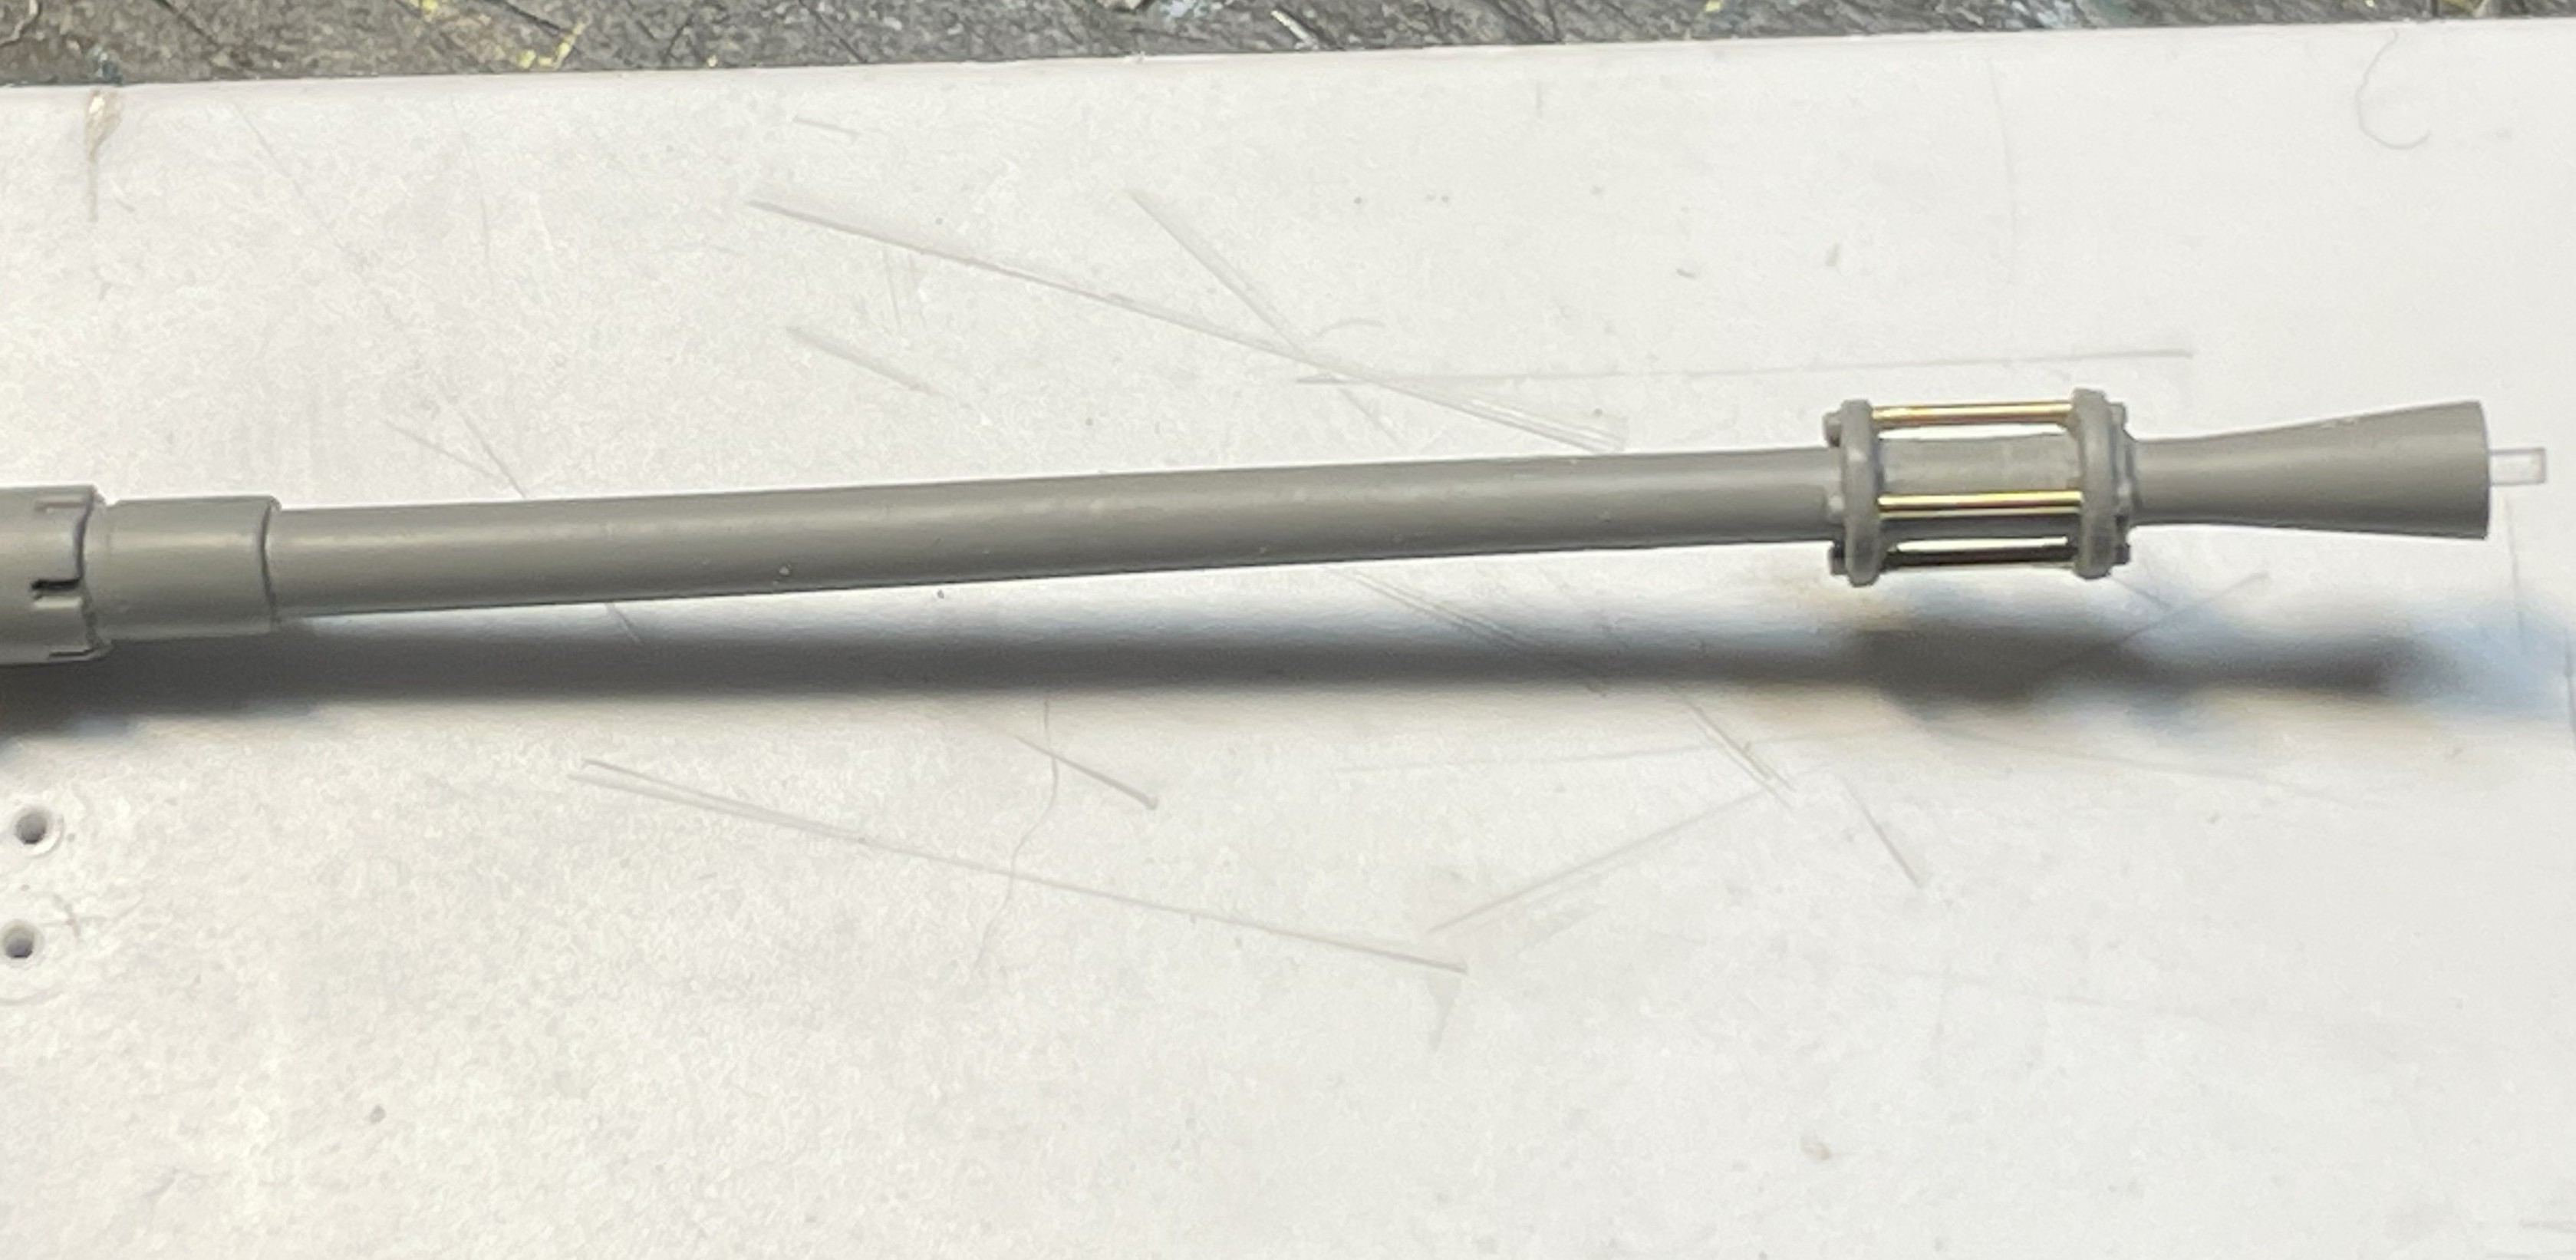
I tried to improve the bolts by scribing the lines on both side but it did not make it better. I really wanted to see the spacing and separation between the barrel and the bolts as seen in reference pictures. In the end, i completely removed the molded on inside bolts, to be replaced by brass.
- 1/16 RC M-113A1 ACAV - Converting the Takom/Andy's HHQ kit to RC
- 2.jpg (232.56 KiB) Viewed 1130 times
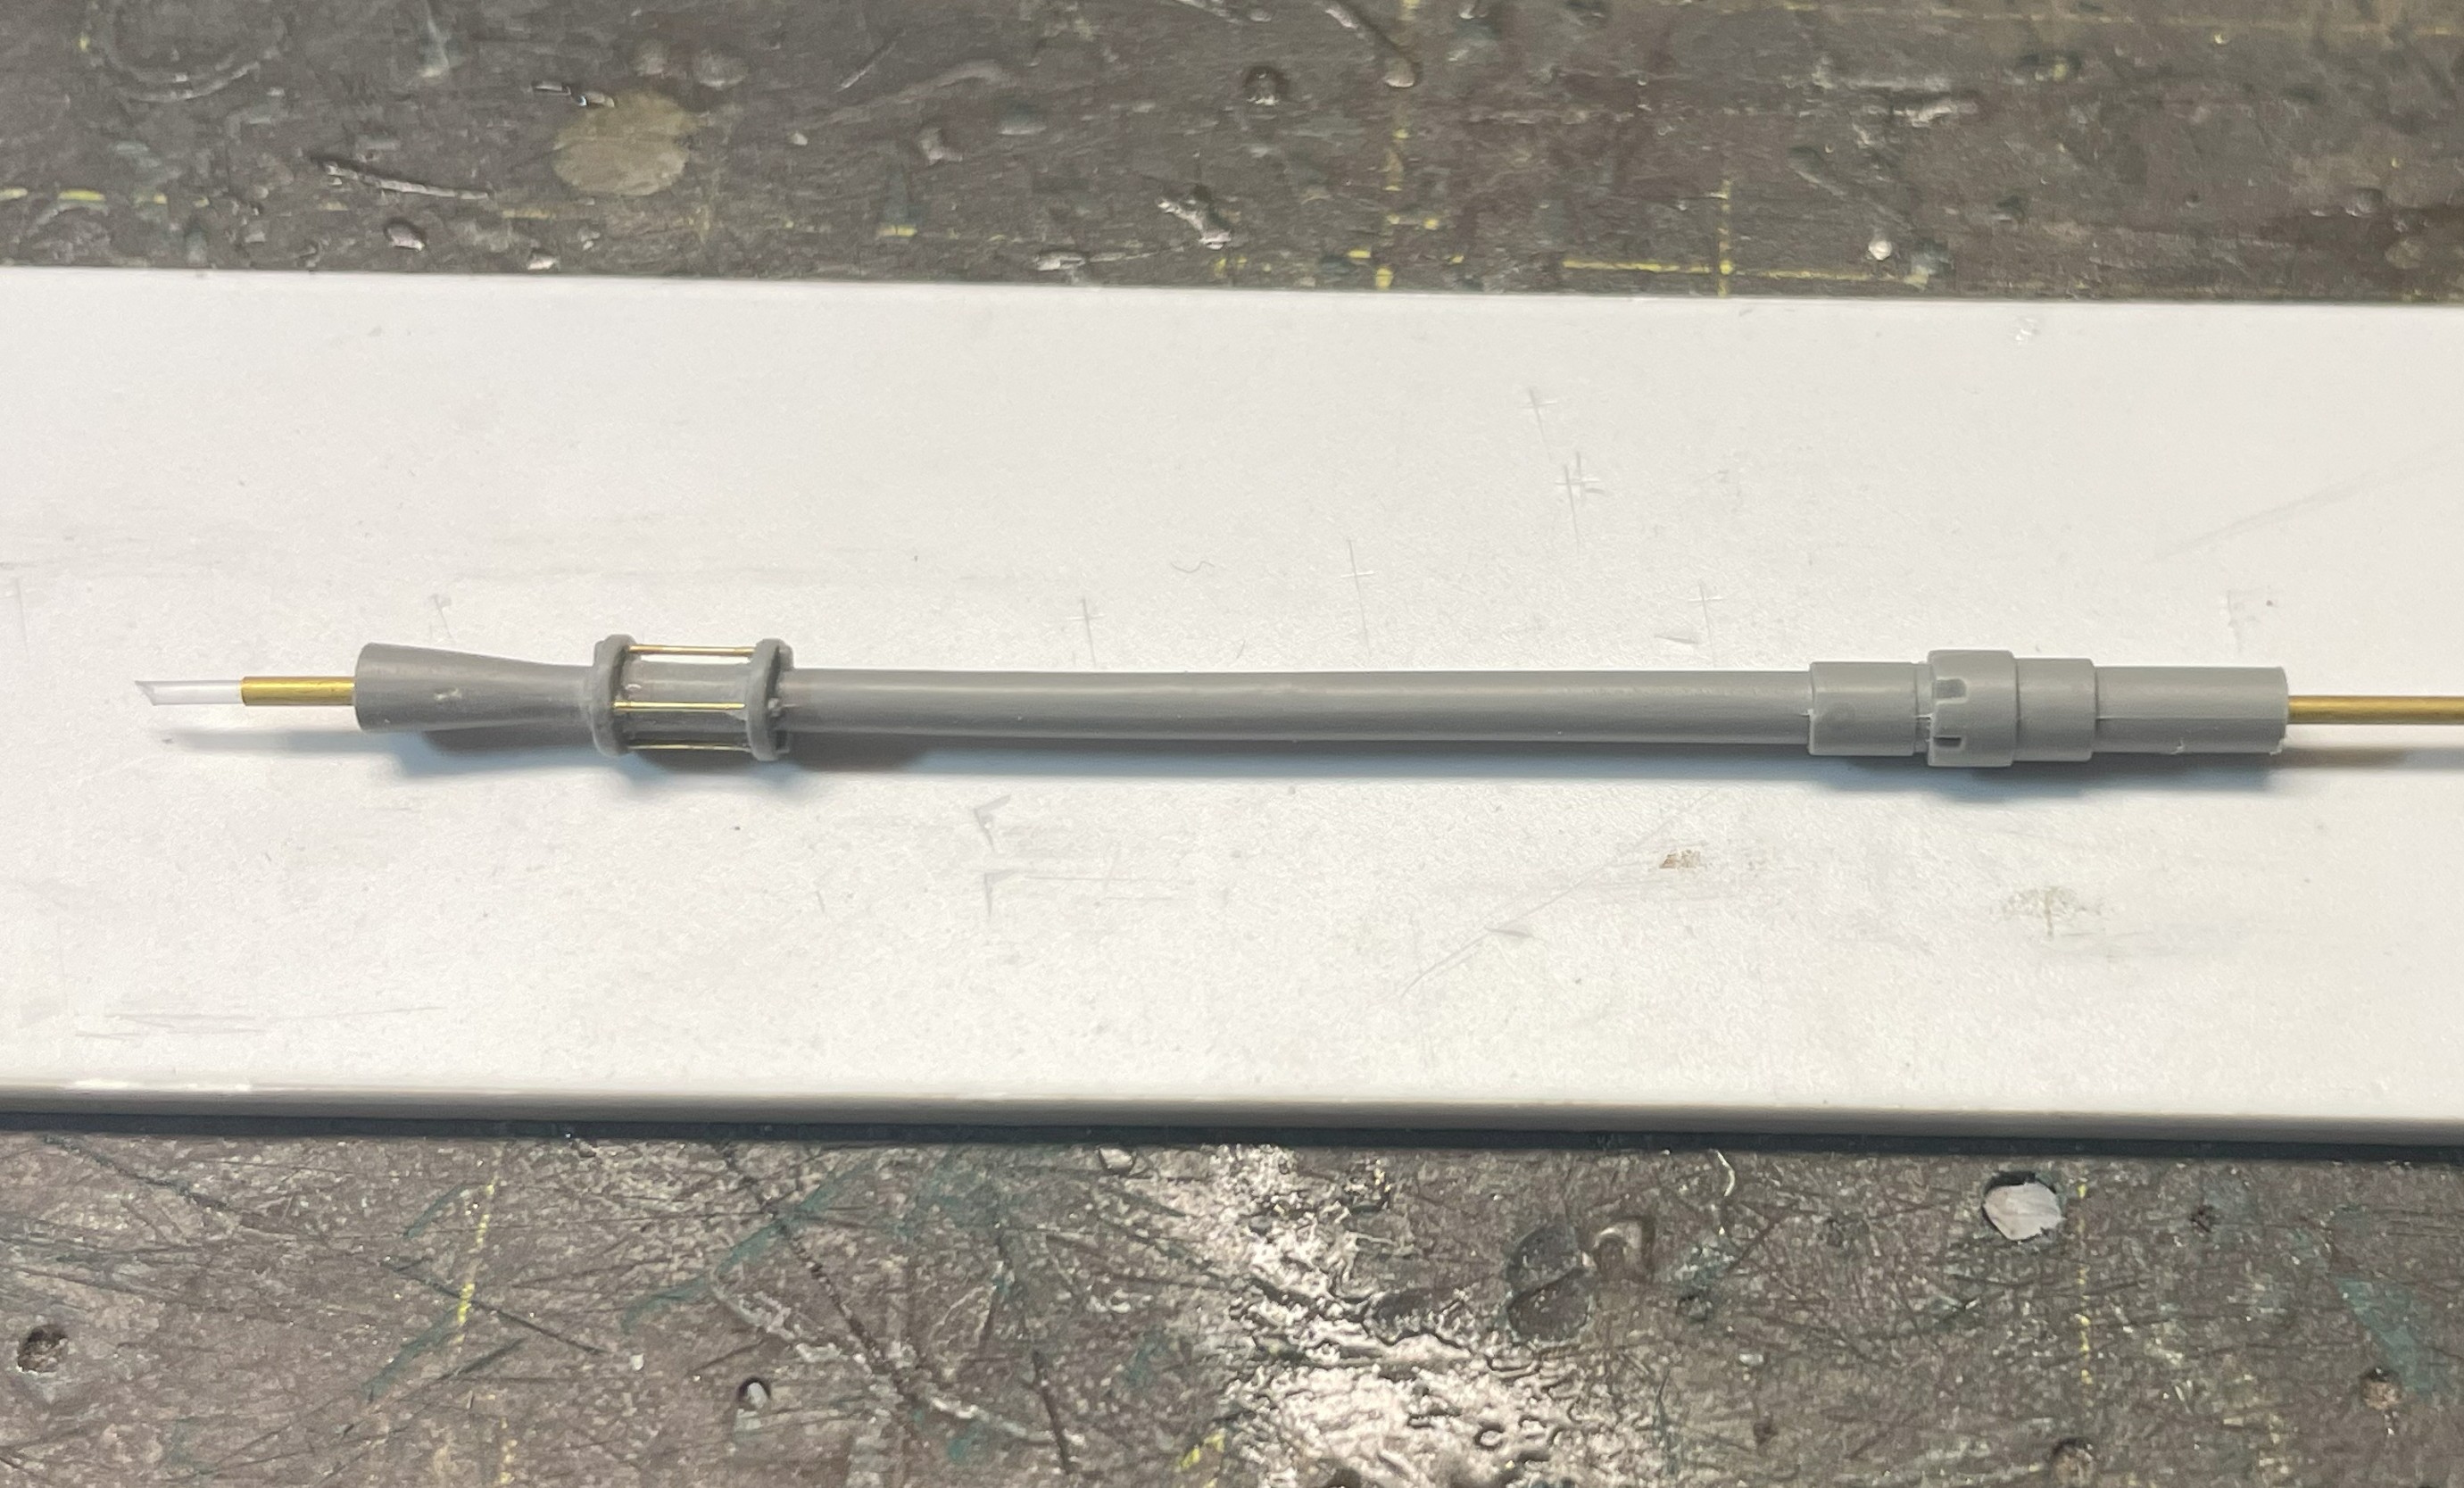
At first, i used Albion 0.3mm brass tube from their assortment kit on the flash suppressor. It looked good most of the time but maybe a bit too thin. Depending on the angle in which i looked at it, it somehow did not look right, sometimes ok, other times way too thin. I decided to redo it. Be aware that the bolts are really tiny and much patience was required.
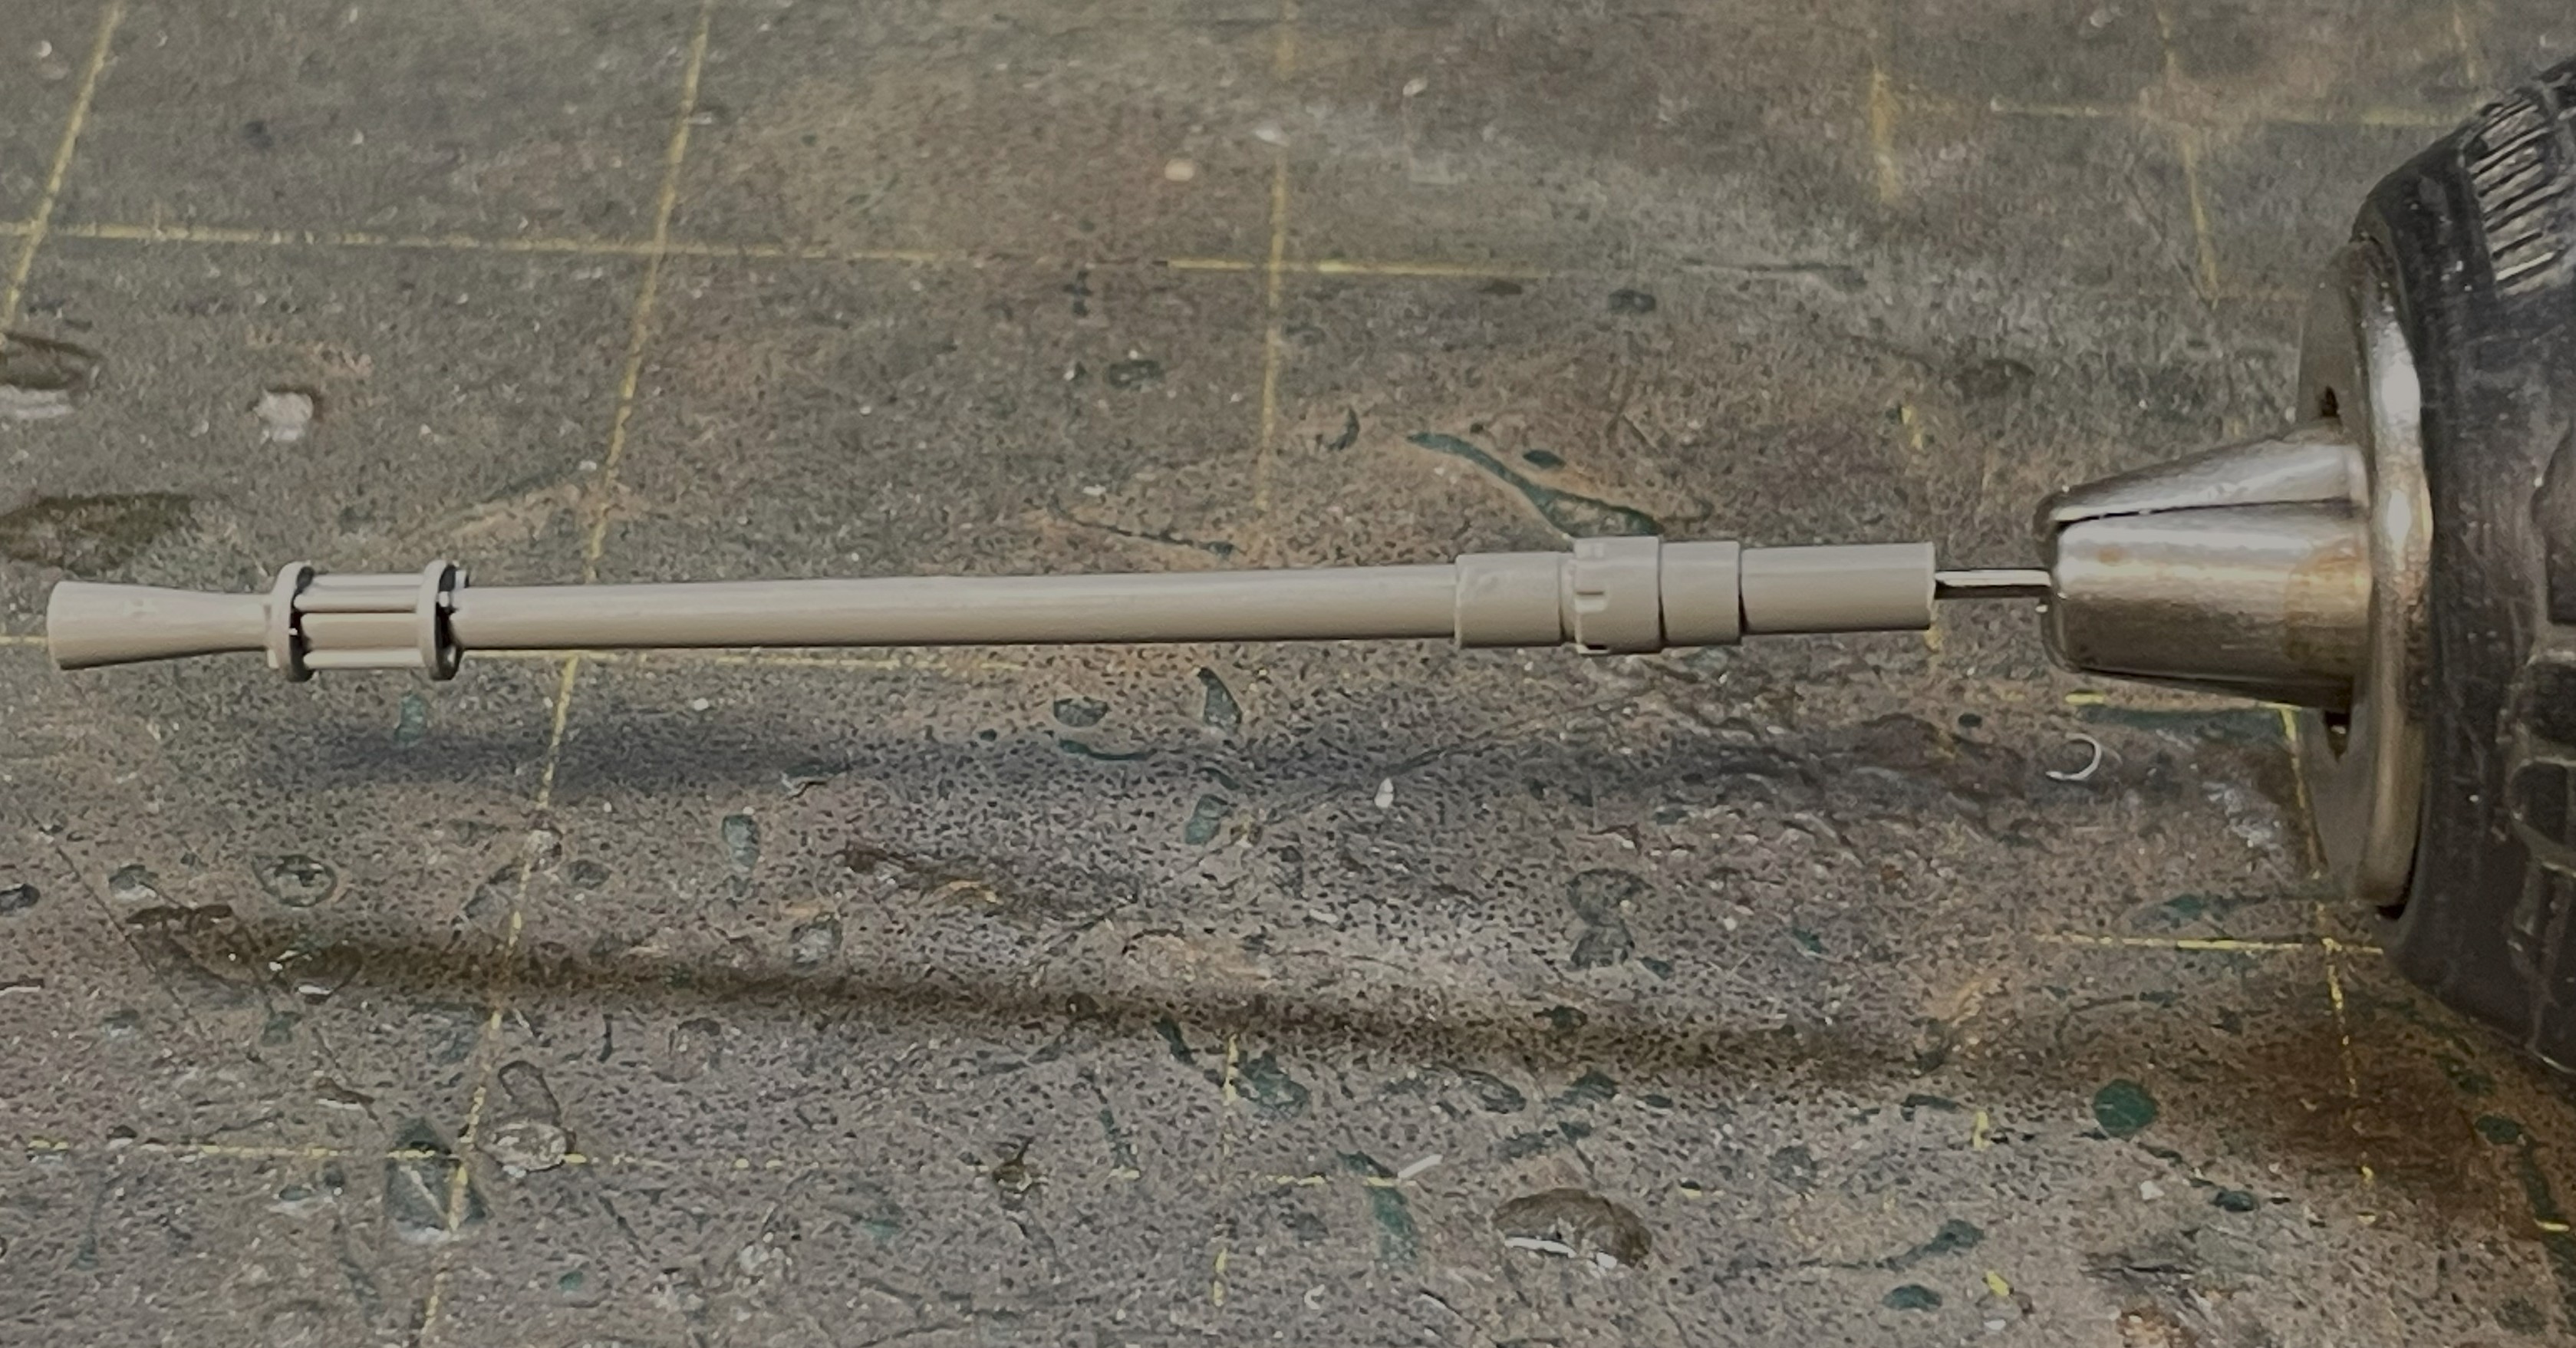
Take note that i inserted a 1mm brass tube throughout the barrel with a 0.80mm fiber optic in it, later cut, positioned correctly and glued. It solidified and gave the barrel some more structure, and allowed me to make the barrel strait with some light manipulations as i could see the drilling did not help it keeping strait.
- 1/16 RC M-113A1 ACAV - Converting the Takom/Andy's HHQ kit to RC
- 2a.jpg (831.35 KiB) Viewed 1130 times
The flash suppressor was redone with 0.5mm brass rods.
- 1/16 RC M-113A1 ACAV - Converting the Takom/Andy's HHQ kit to RC
- 3.jpg (572.01 KiB) Viewed 1130 times
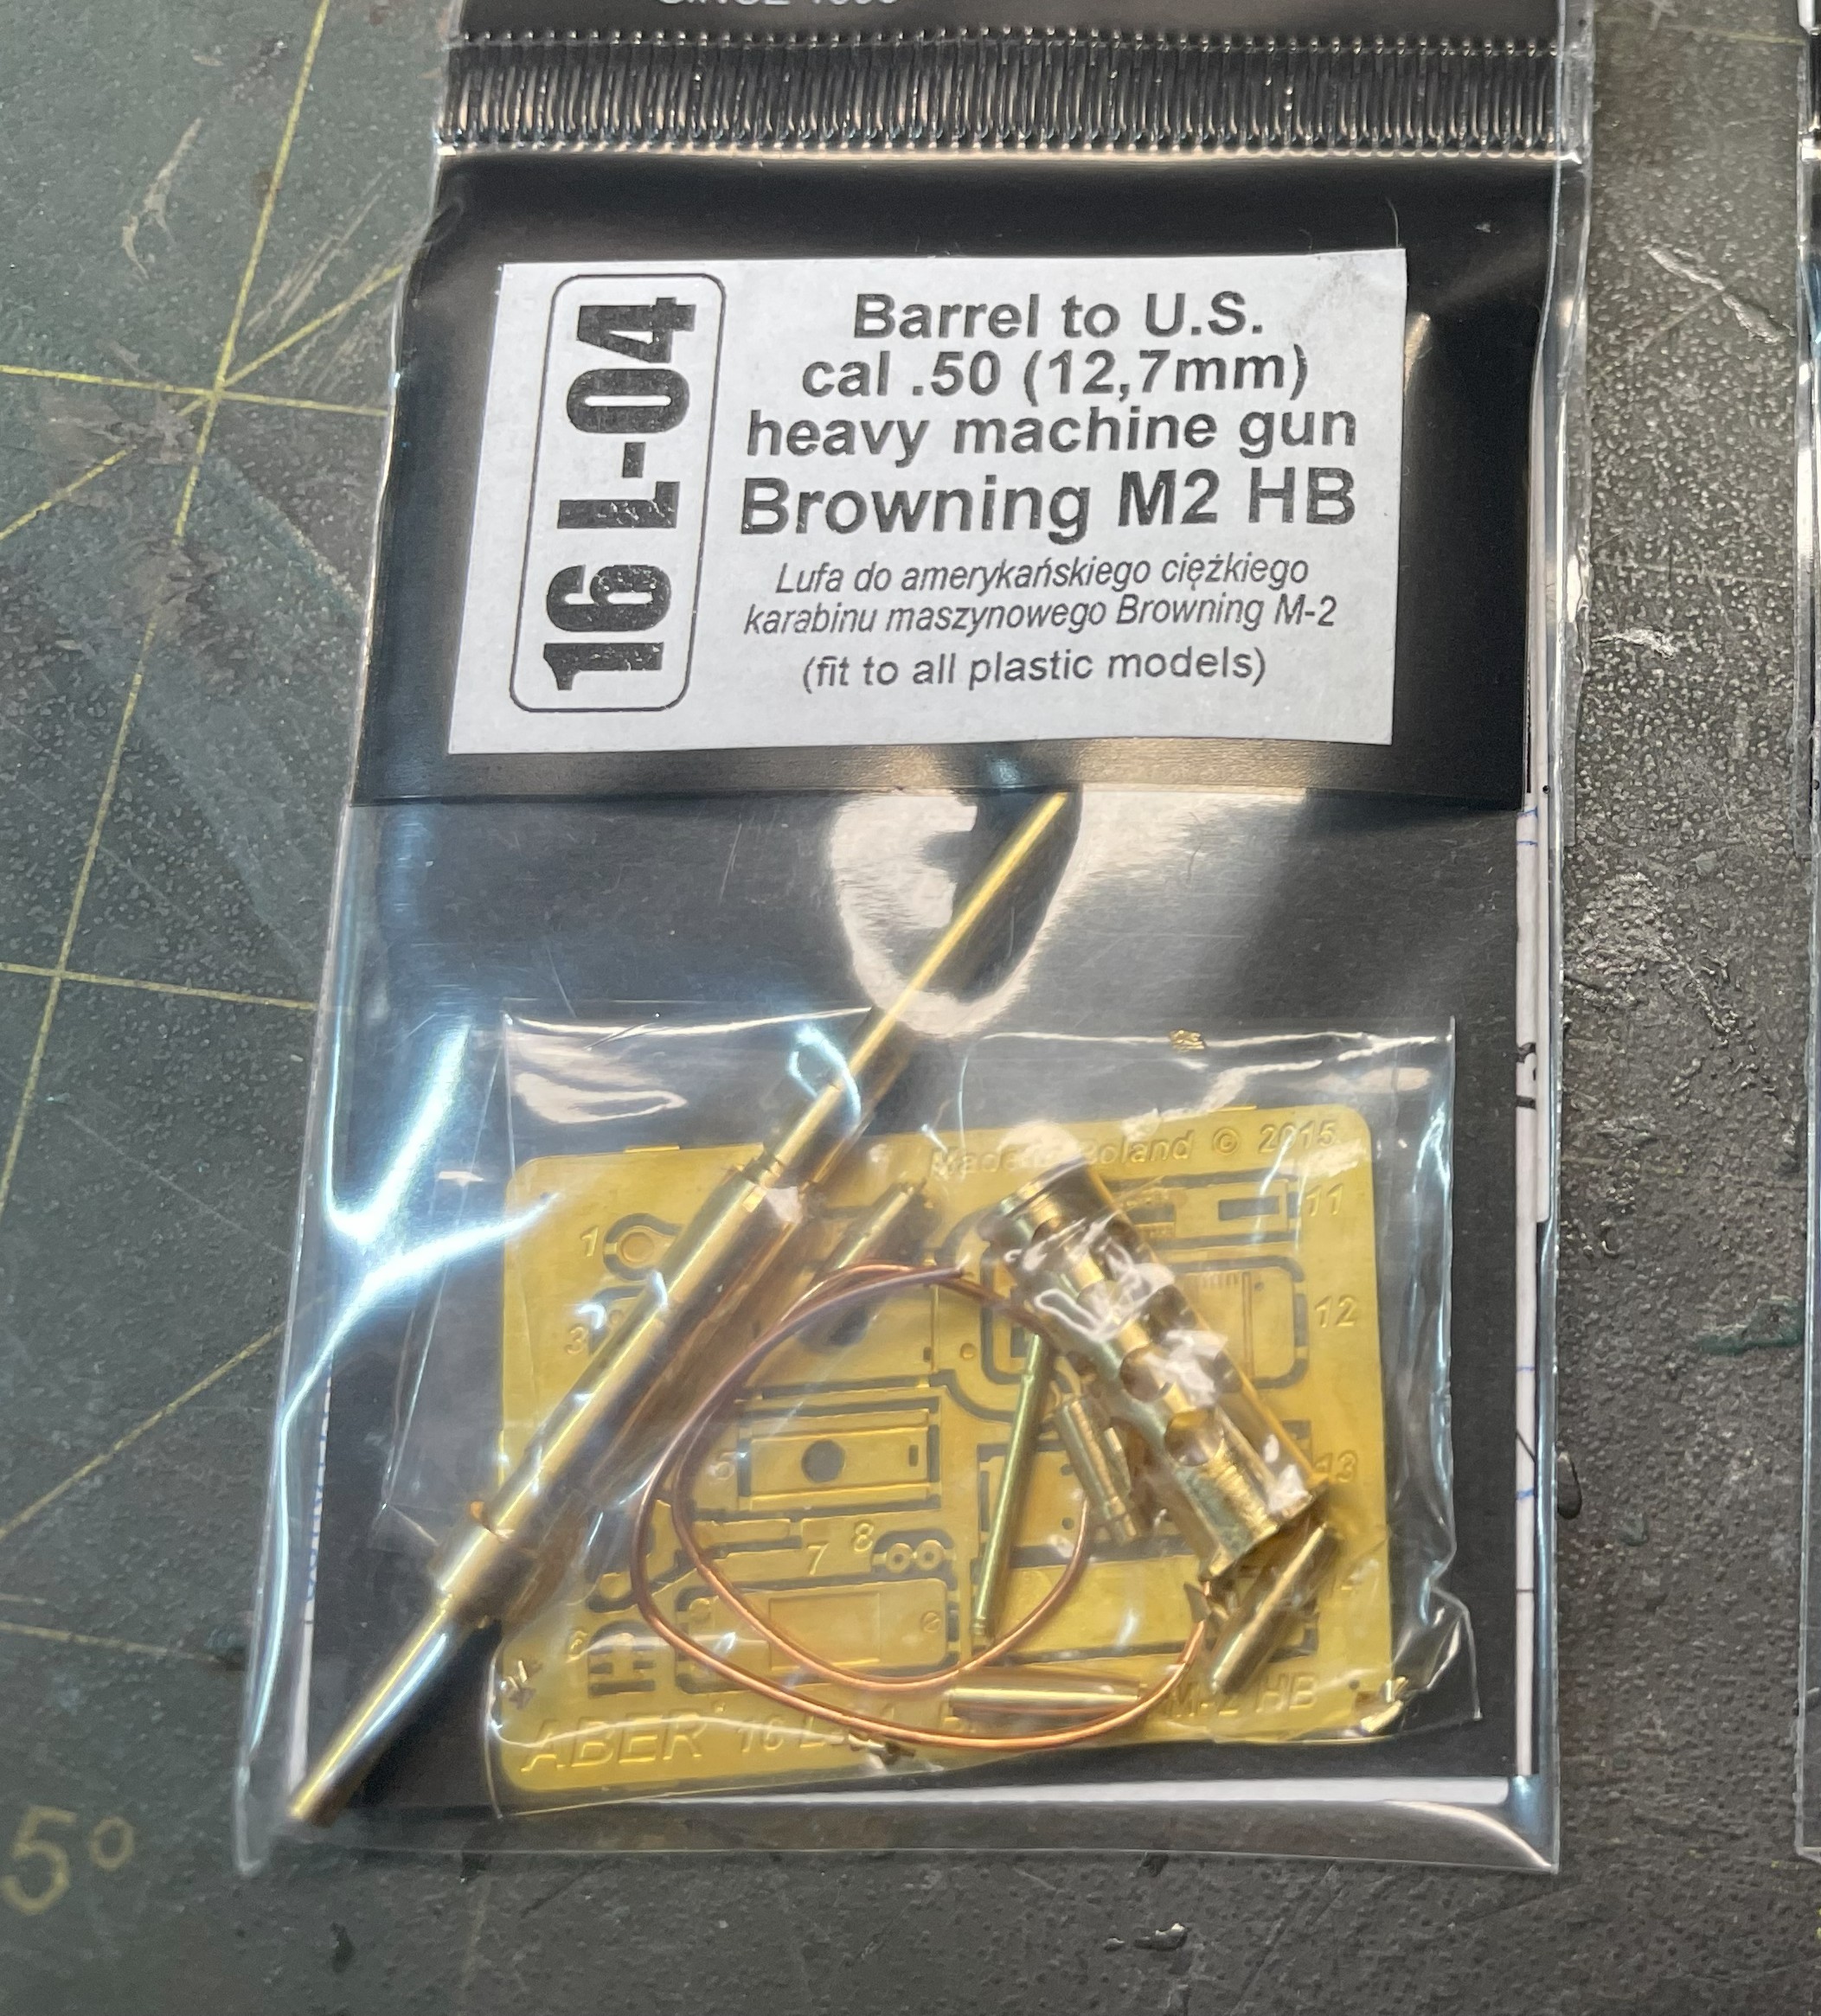
Although designed for the Tamiya M2, the Aber improvement set can be adapted to the Takom M2, with some difficulty. It is cheaper than purchasing one of those super fragile 3D printed M2 replacement.
- 1/16 RC M-113A1 ACAV - Converting the Takom/Andy's HHQ kit to RC
- 4g.jpg (1.06 MiB) Viewed 1130 times
Both sights need improvement, it depends on your tolerance level.
- 1/16 RC M-113A1 ACAV - Converting the Takom/Andy's HHQ kit to RC
- 5a.jpg (1013.35 KiB) Viewed 1130 times
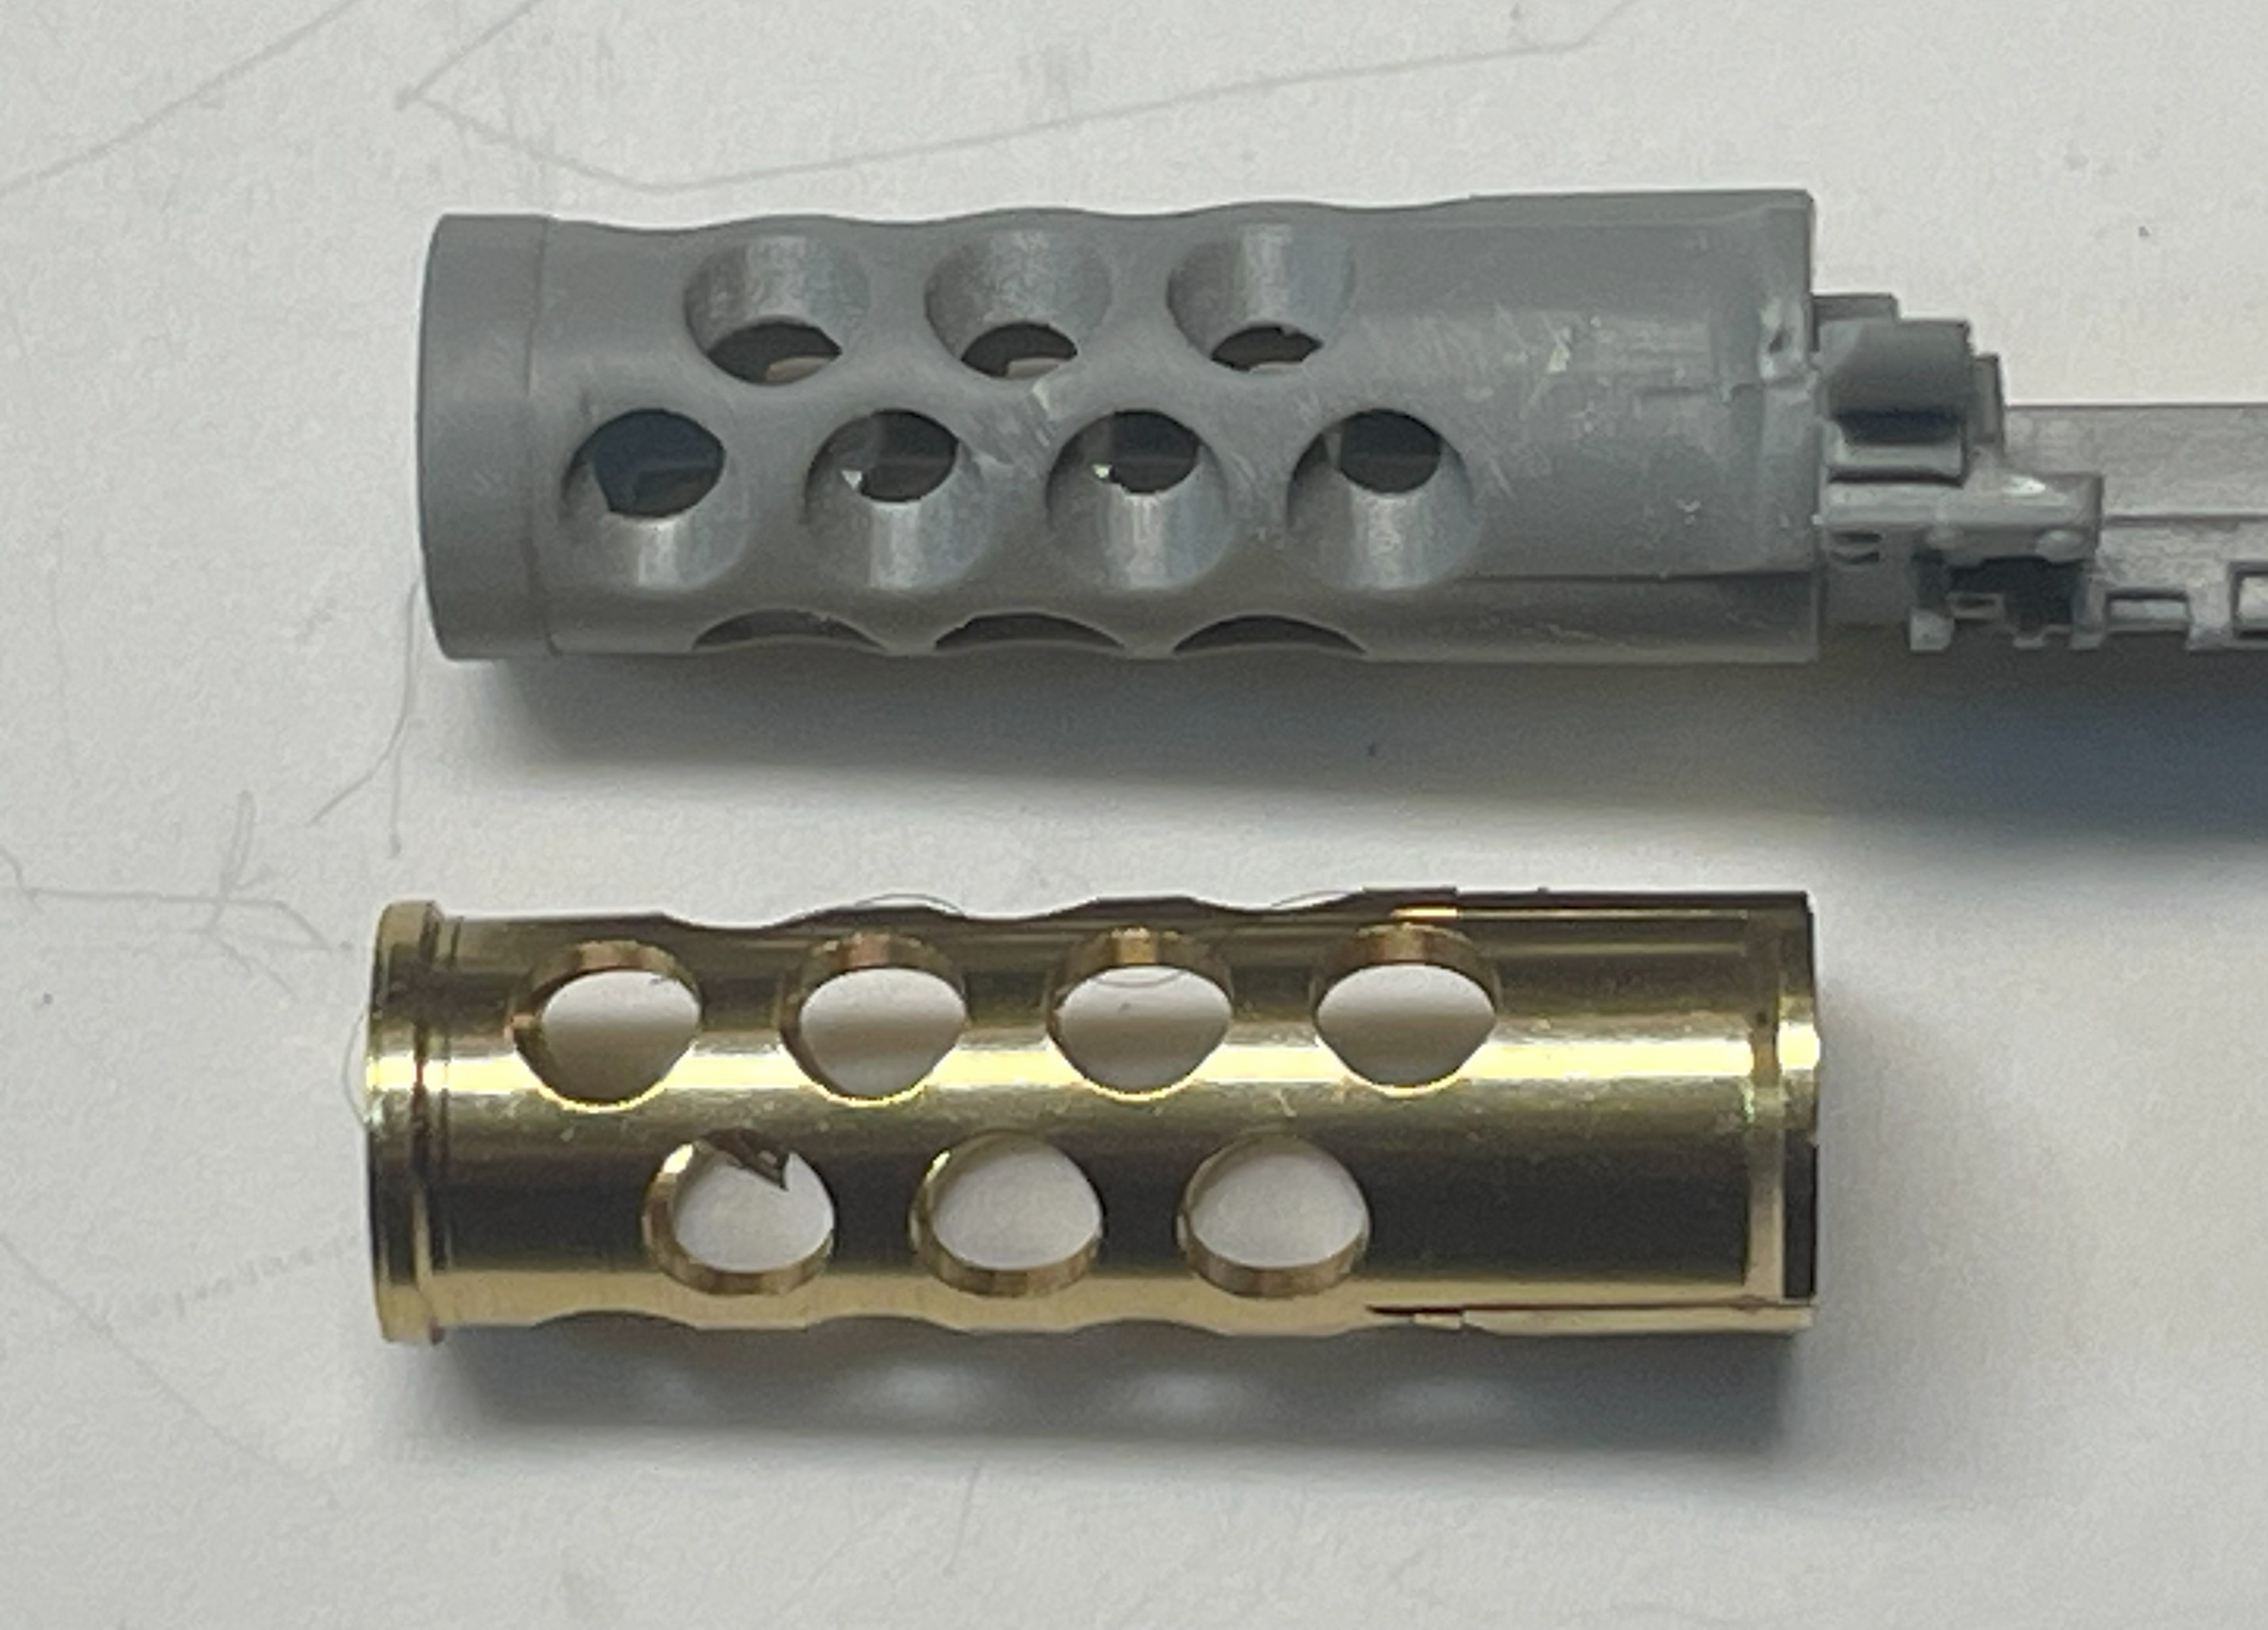
The Takom barrel support is badly designed and looks real bad with those holes going sideways instead of towards the center. There are obvious molding limitation in attempting to create this part in one piece. Tamiya had a better solution by splitting it in two halves. As the M2 is sitting on top of the model, such error is highly visible. The superb Aber brass barrel support part can be adapted to replace it. If not, then a Tamiya M2 available from Axel's Modellbau (the V/W sprues) without any improvement would look better than the Takom M2.
- 1/16 RC M-113A1 ACAV - Converting the Takom/Andy's HHQ kit to RC
- 5b.jpg (721.56 KiB) Viewed 1130 times
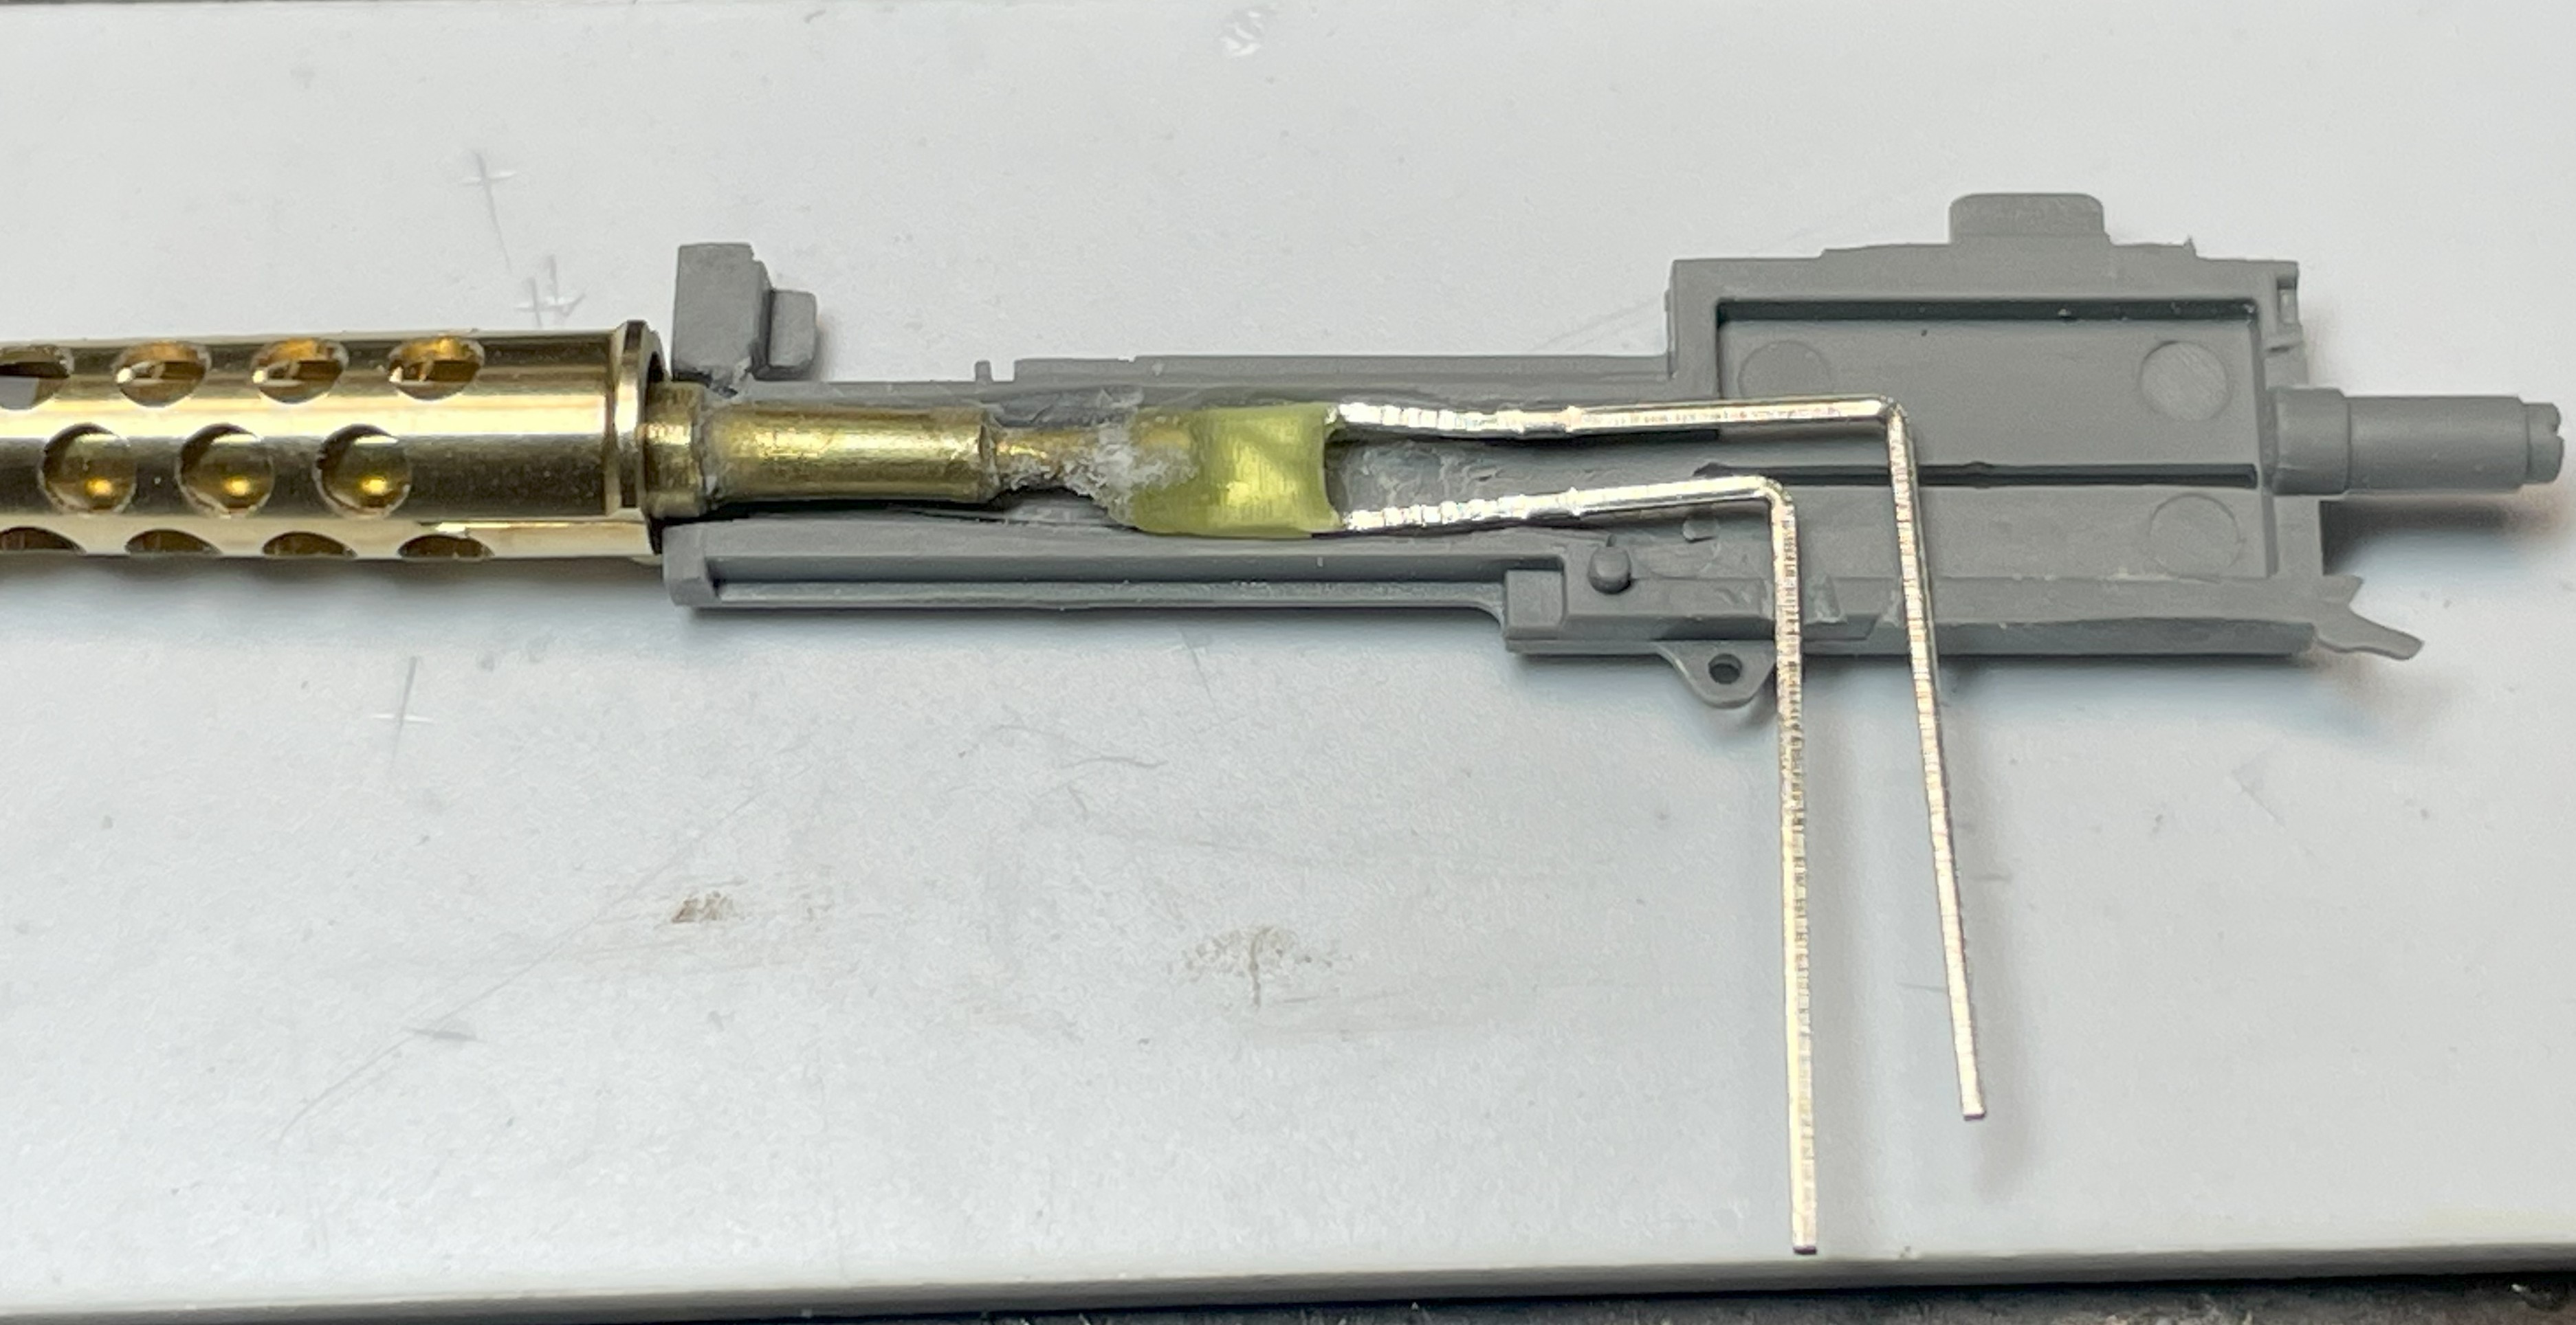
I had to rebuild the connection between the Takom barrel and the receiver using 3 layers of brass tubing. There is the smaller 1mm containing the fiber optic that is connected to a 3mm yellow LED that was trimmed to bare bone with a nail file to fit inside the machine gun, which also had its interior trimmed. The outer brass tube is for the barrel that shows through the barrel support from the outside. The tube in the middle is just to bridge the two into a solid barrel. The LED was tested and everything was then soaked in superglue before closing the receiver halves.
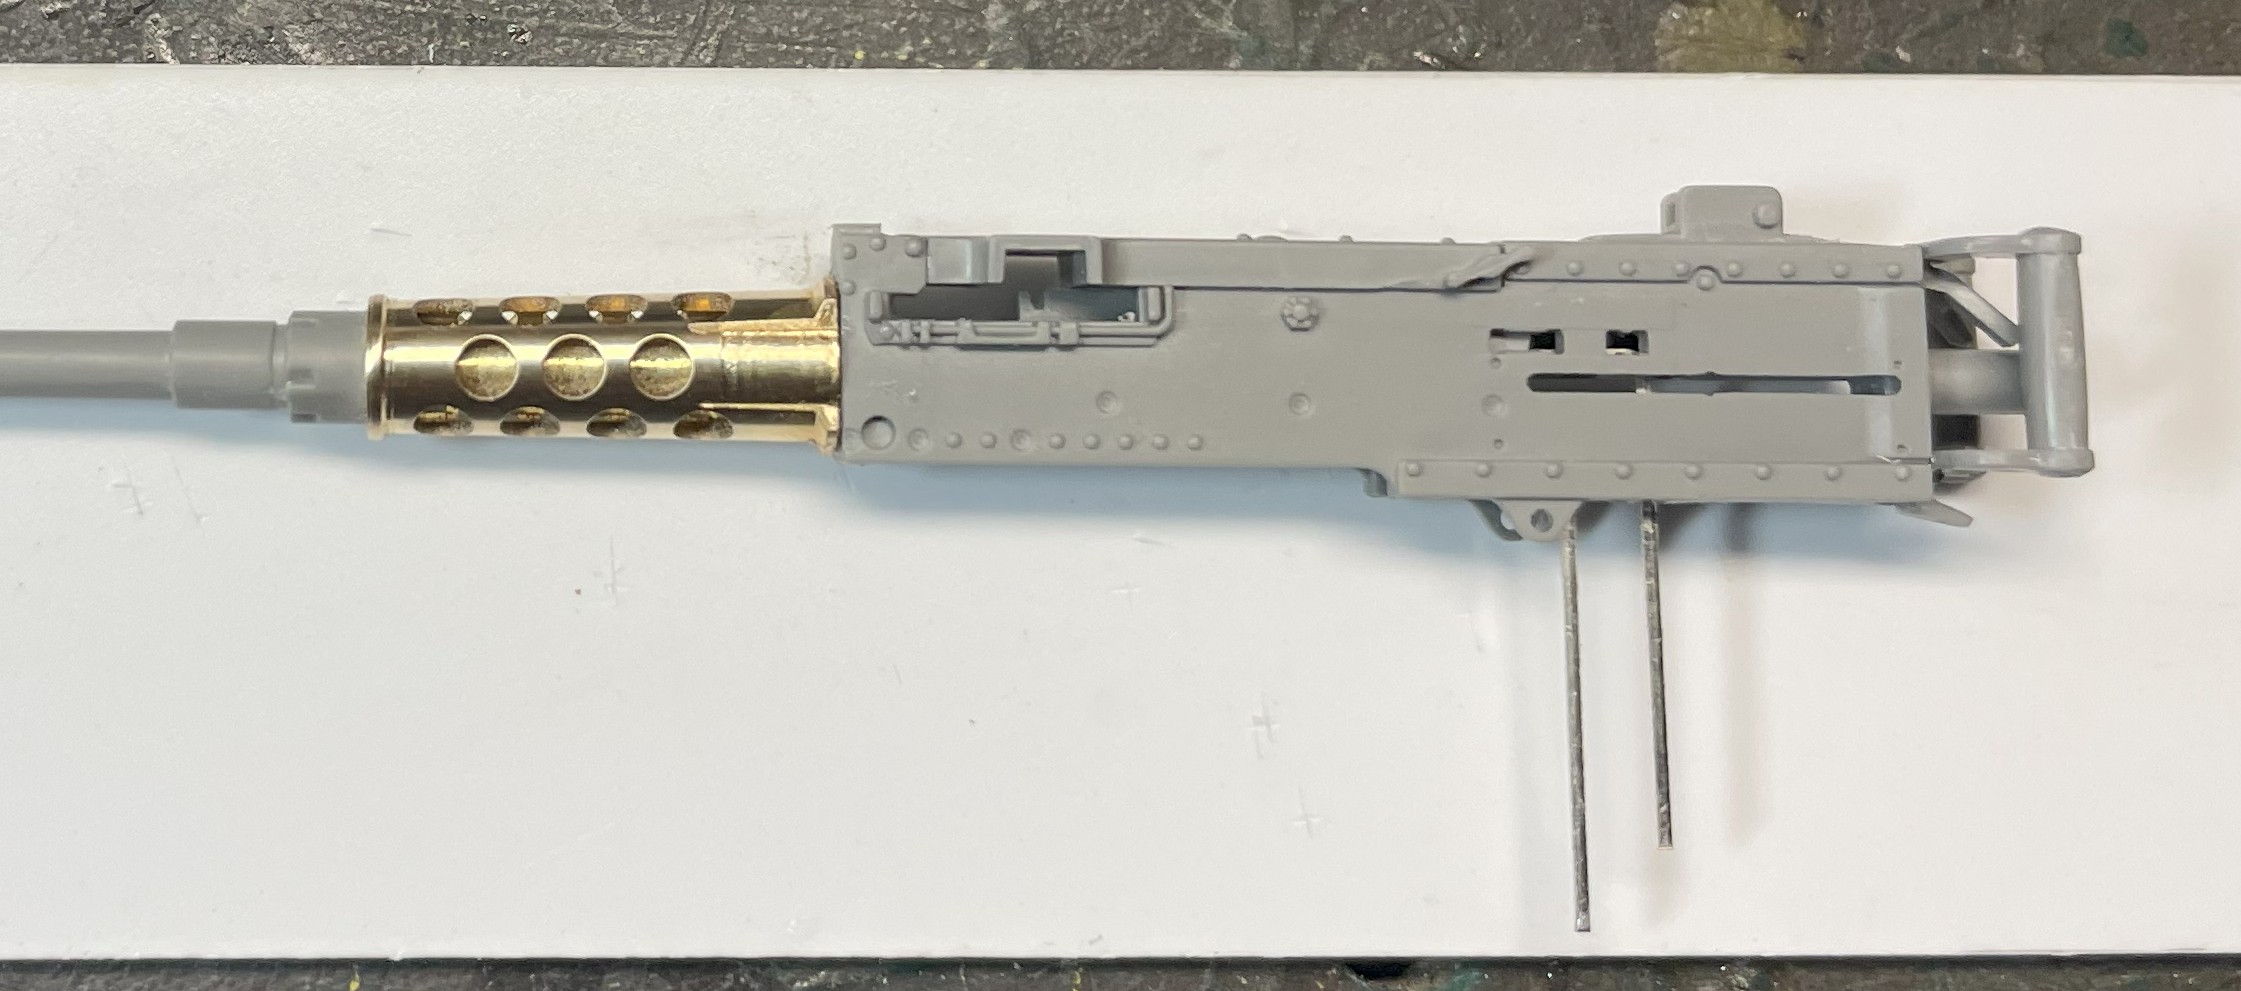
Wires were soldered to the LED metal connectors and the they were bended towards the front. The connections are hidden under the machine gun mount.
- 1/16 RC M-113A1 ACAV - Converting the Takom/Andy's HHQ kit to RC
- 6b.jpg (770.97 KiB) Viewed 1130 times
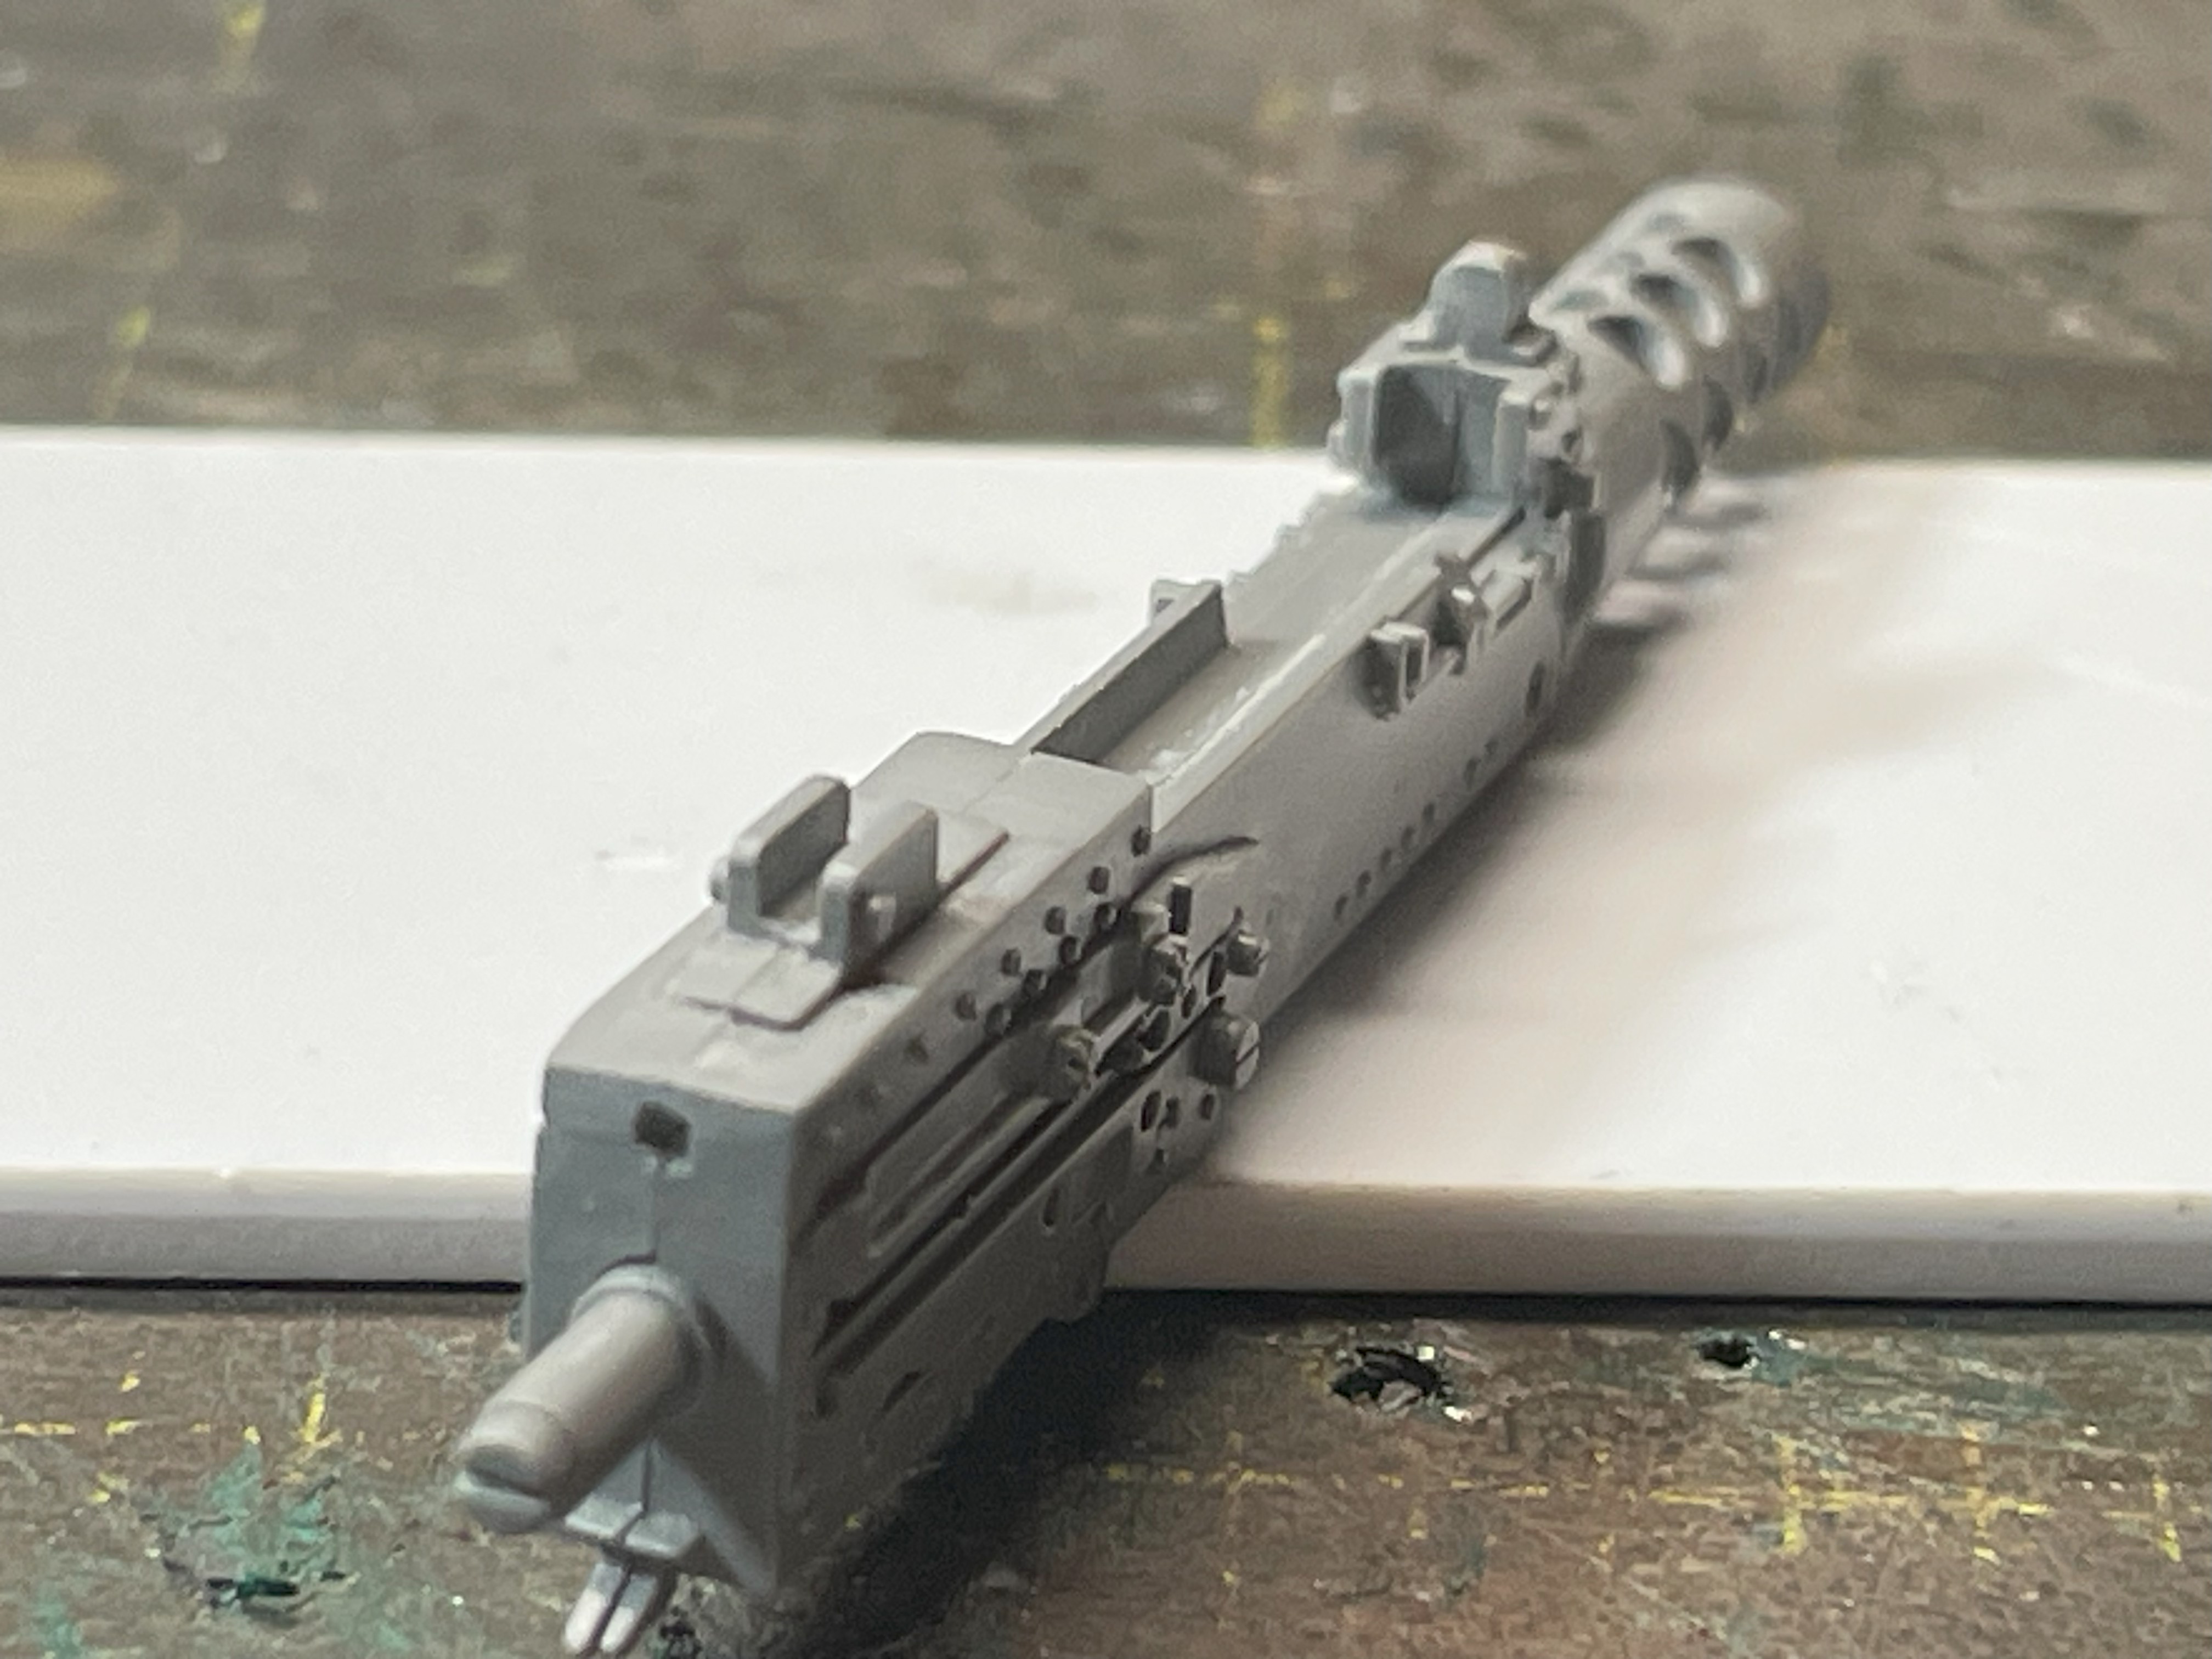
I was curious how the Takom handles, trigger and rear sight would look like. I was not impressed. The trigger is too thick, the handles are positioned too high. There is a pin at the bottom that i don't know what it is. Everything lacks finesse. I decided to remove the rear detail and i used the Aber parts instead. The rest looks good.
- 1/16 RC M-113A1 ACAV - Converting the Takom/Andy's HHQ kit to RC
- 7.jpg (320.25 KiB) Viewed 1130 times
continuing on following post