Page 5 of 9
Re: Old Tamiya King Tiger Re-build
Posted: Tue Feb 24, 2015 8:24 am
by ruben2005
Re: Old Tamiya King Tiger Re-build
Posted: Wed Feb 25, 2015 7:50 am
by riggy15
puramo wrote:"I am gonna have to decide which tank to base this on"

less wheels to paint
Theres no zim on it fella

ruben2005 ----- cheers ------ appreciate it.
Re: Old Tamiya King Tiger Re-build
Posted: Thu Feb 26, 2015 1:04 am
by puramo
This one has a good colour scheme, not overly challenging

Re: Old Tamiya King Tiger Re-build
Posted: Fri Feb 27, 2015 7:43 pm
by riggy15
puramo wrote:This one has a good colour scheme, not overly challenging
Gonna struggle with that .
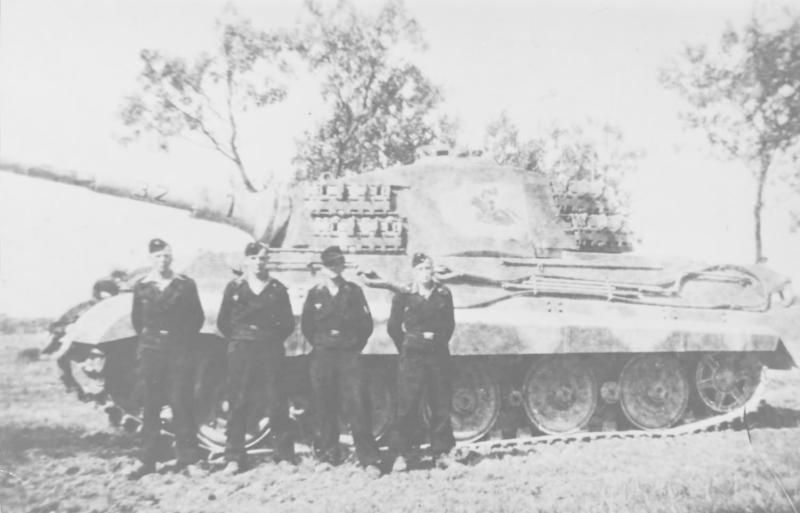
Anyhooooo decided to base her on this pic of one of ABT-505's early replacements --------- sooooo that means I can fit the jack ----- and of course it means I have to attempt to apply zimmerit, never done it before, but it can't be that hard can it

The original kit had no gun elevation mechanism, it was simply a 'ball' that was screwed into some side supports and you set the gun elevation to a position that you wanted at that moment in time.
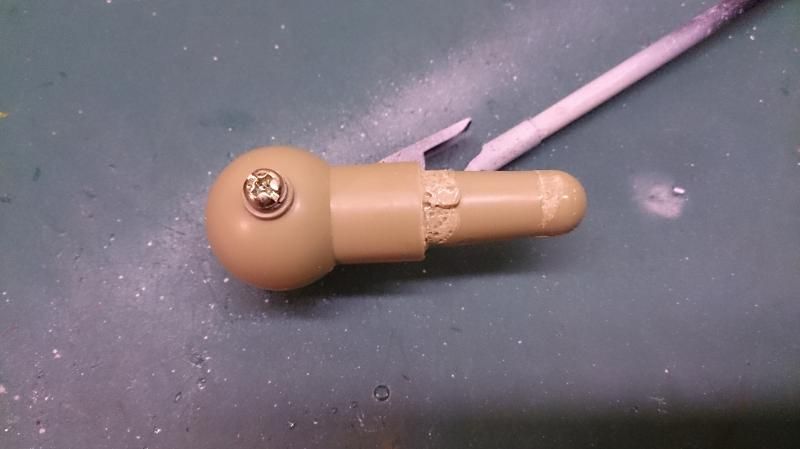
That's gonna change.
Re: Old Tamiya King Tiger Re-build
Posted: Fri Feb 27, 2015 8:00 pm
by riggy15
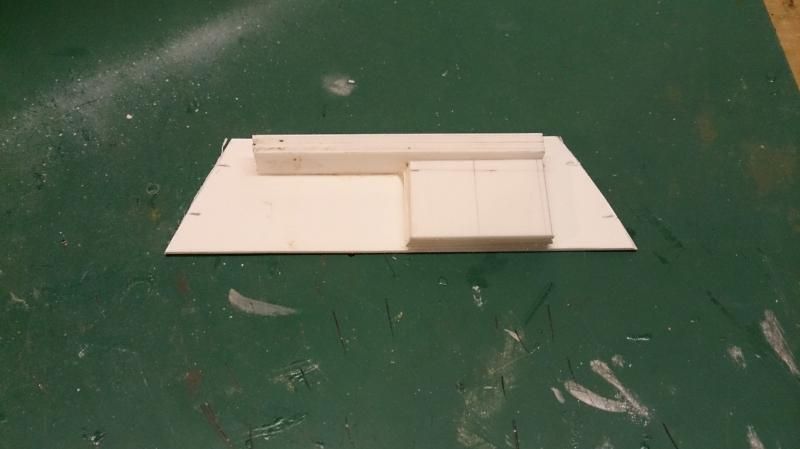
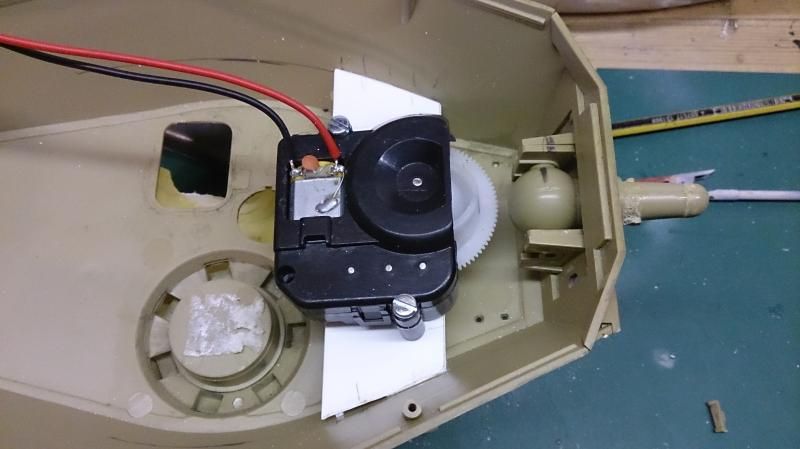
First step was to make a platform to support and fit a gun elevation motor purchased rather cheaply from E-Bay. Two mounting holes drilled out and tapped to recieve 3mm bolts.
Next, fit the motor and measure the distance required where the elevation tab will require fitting to the ball socket to give the gun barrel slightly upward elevation (Elevation motor set at 50% of its travel).
Next, epoxy the elevation tab to the gun 'ball socket'
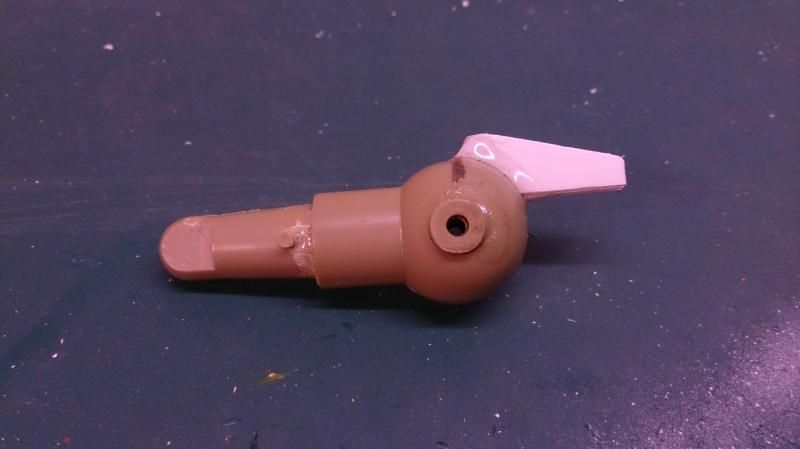
fitted
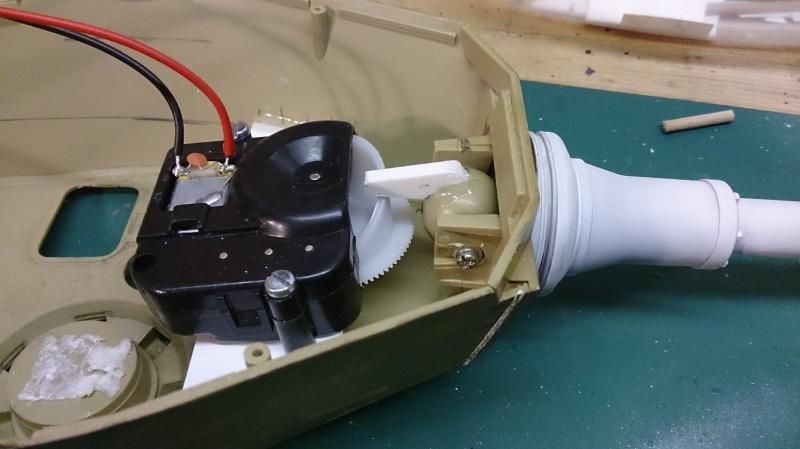
and finally (Not something I would have wanted pointing at me)
Martyn
Re: Old Tamiya King Tiger Re-build
Posted: Sat Feb 28, 2015 12:01 pm
by puramo
Looks impressive

Re: Old Tamiya King Tiger Re-build
Posted: Thu Mar 05, 2015 7:41 pm
by riggy15
puramo wrote:Looks impressive
Cheers fella
Quick update, after lots of searching about on the net for the electronic brains for this thing, I have finally decided on the IBU2 ---- being in touch with Ian, and one ordered and its on its way
.
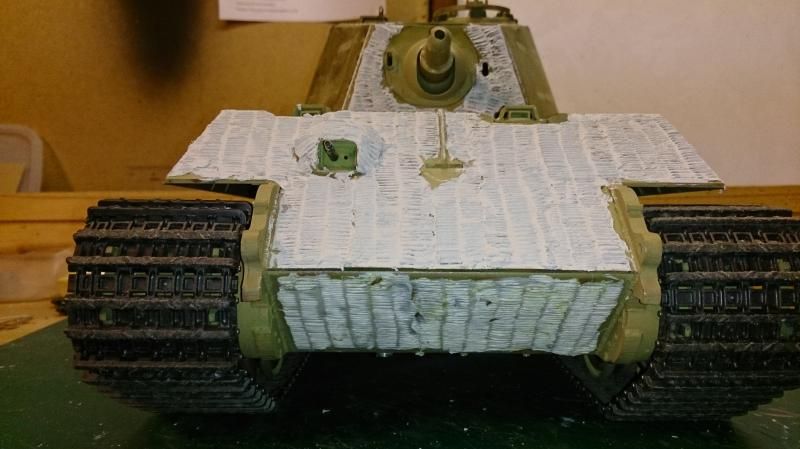
First attempt at applying zimmerit on the back end, all I did was spread some 'Mr White Putty', on with a piece of scrap thin plastic card, and used a old screwdriver to press into the paste to give the ripple effect, going for the well worn look, and I am quite chuffed how it turned out.
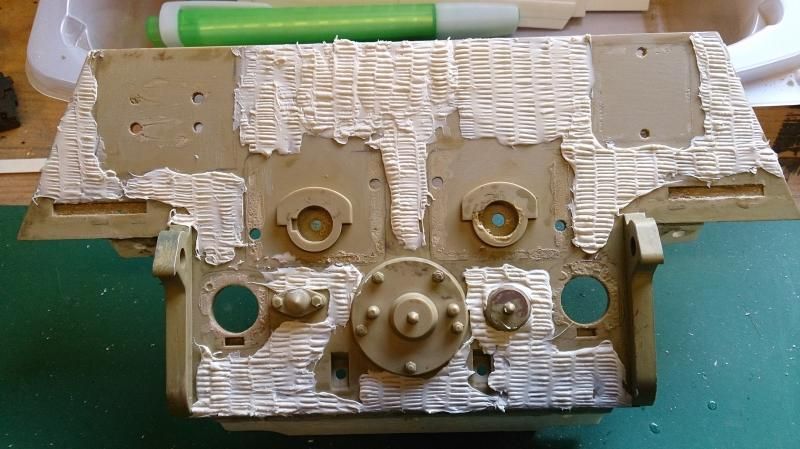
Just needs painting and weathering now.
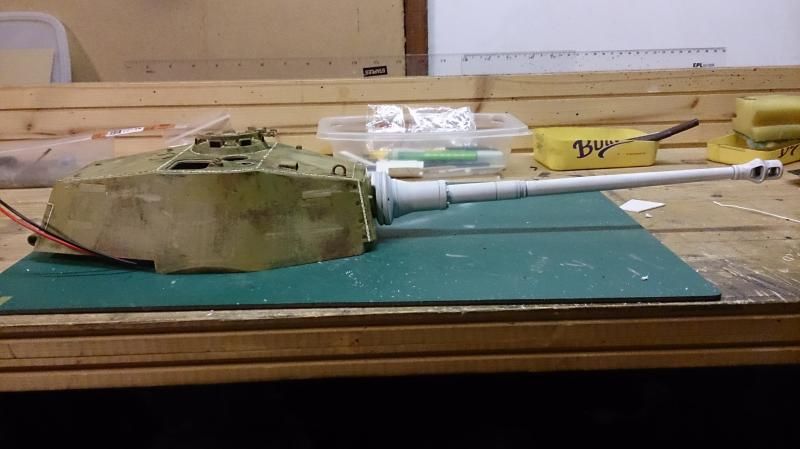
Could'nt resist putting the bits together, just to see whats she is gonna look like.
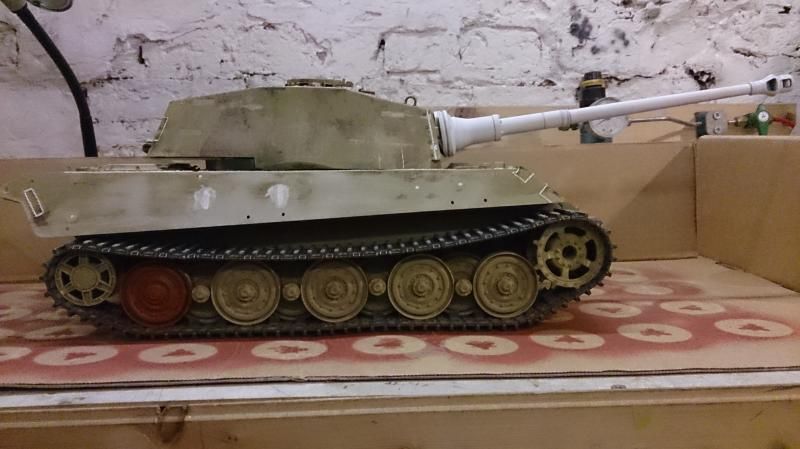
I can't remember it being this bloody big, ah well, more later.
Martyn.
Re: Old Tamiya King Tiger Re-build
Posted: Sat Mar 07, 2015 10:06 pm
by riggy15
Evening folks,
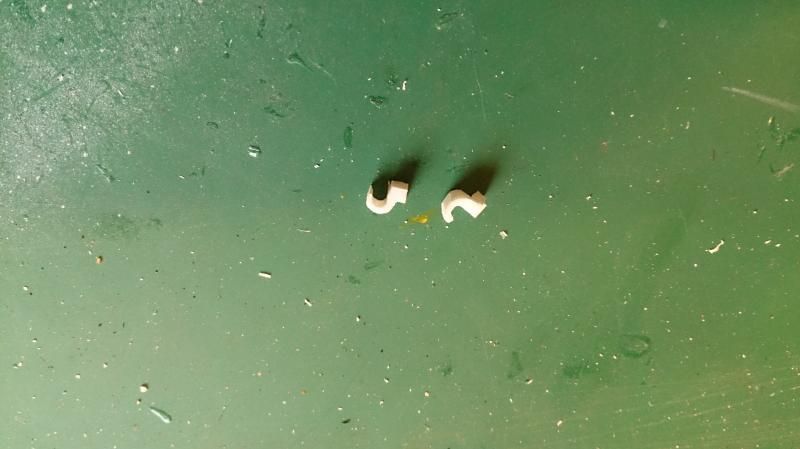
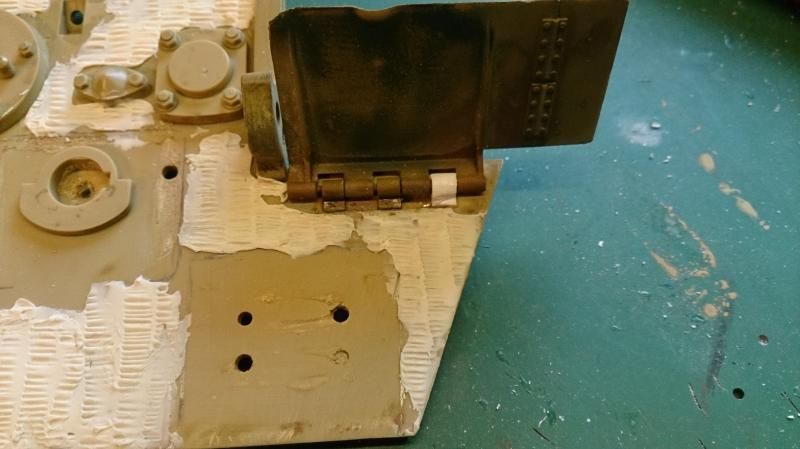
Bit more progress, more repair work done, again during my ham fisted dismantling at the start of this rebuild, I broke the clamps on the rear mud flaps. New ones made from some stock plastic sheet.
and fitted
Front end now covered in 'zimmerit' (taking longer than I expected) and still got the sides to do ------------- hey ho -------
Cheers for now.
Martyn
Re: Old Tamiya King Tiger Re-build
Posted: Sat Mar 07, 2015 11:30 pm
by Gillaspy2005
Sterling work with the Zimm, took me ages when I did it, I mean ages, milliput and a screwdriver but it just gives the non uniform look better than the kits. Loving the ingenuity on show here.
Re: Old Tamiya King Tiger Re-build
Posted: Sun Mar 08, 2015 7:36 am
by AlwynTurner
Hi Martyn, thanks for the pics. I want to zim my Tiger 1 and pondered using a kit, but your work has inspired me to have a go with milliput and a screwdriver! Love the modelling work - it's very artistic especially the work on the back end. Well done.


Alwyn
hi riggy, good to see new ideas and mixing old and new parts its builds like this that help so many build a model with a budget and all the fiddly bits done so they can just get on with their build well done mate.