Page 5 of 5

Re: First, just as a test if I succeed

Posted: Thu Feb 13, 2014 7:39 pm
by Edwin
By the way I bring it to me, too just 3D CAD with and just created a caster in 3D for it to be able to create master.

It's times as one half of a roller in 1/6

Image

Re: First, just as a test if I succeed

Posted: Sat Feb 15, 2014 3:32 pm
by Edwin
I am still on the accumulation of experience , but as a little I get on.

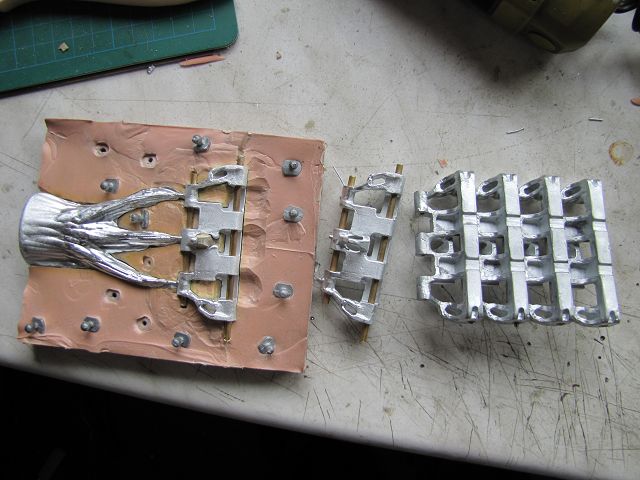
Having trouble by default and surface in rotational molding I have by the shape and size of the chain links , but I learned a lot again, I 'm working around a bit on my last microframe form. Since I will build such a form anyway also my past experience again, I can I still edit these a little and see what happens and lo and behold ....

With the reworked form I was able to immediately resolve 90 % of the remaining problems. Delay and poor surface I had not at this silicone anyway. Just filling out the form I had not yet under control.

Now only two places that I also already have almost the handle is missing .

Image

Image

Image

I'll be there now try around a little and then build a new form of the current experience .

Re: First, just as a test if I succeed

Posted: Mon Feb 17, 2014 6:51 pm
by Edwin
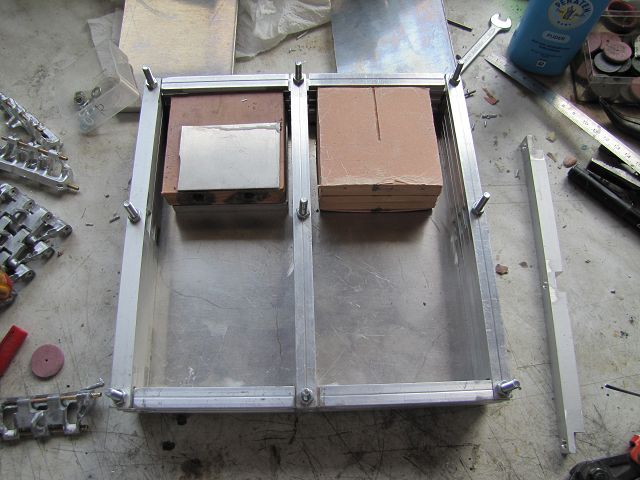
Before I can build a new form with which I can implement my previous experience I will create a larger and more flexible molded frame.

This I 'm from 11.5 mm Alunminium
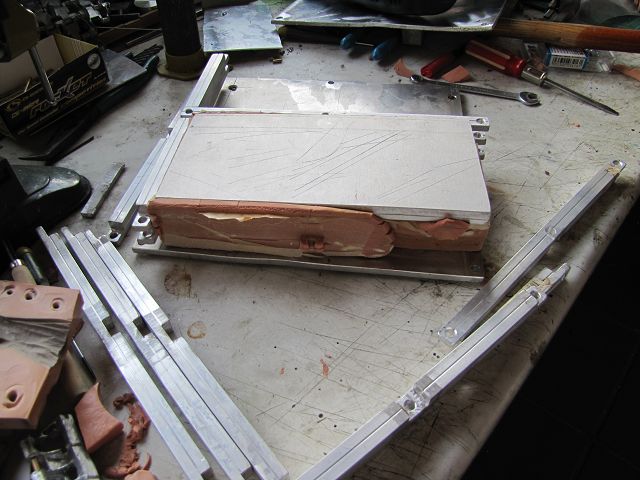
rods which I abfräse at the ends and in the middle , and thrust . So I can put together any bars like a log cabin .
Because the whole is built of nothing but remnants , it does not look professional, but serves its purpose. So I can now shapes in different sizes presses. The framework I have made ??it so big that it still fits well in my small oven.

Image

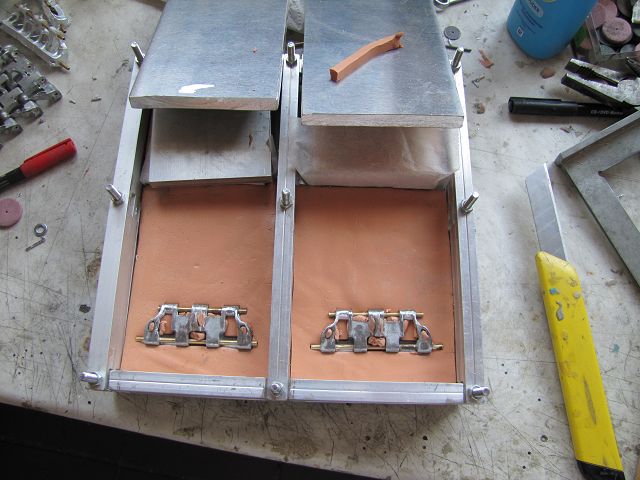
After the frame is ready , I can the new form, which is slightly larger than my old frame zulies .
Thus, the silicone not verklezt with the frame I Dress him first with baking paper . Since I do not need the whole form I use old silicone molds as filling klotz

Image

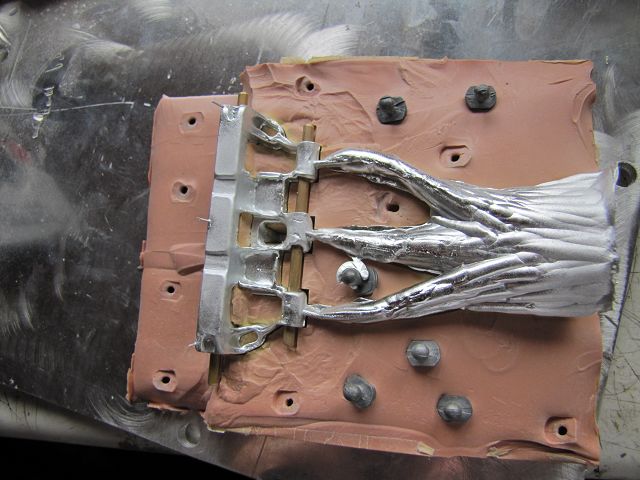
So , I offer two silicon plates and press the Master in the silicone.

Image

As Trennmttel I dove all a with talc and as a connector I use self- cast knobs .

[ mg] ttp://up.picr.de/17396627av.jpg[/img]

So I can then rebuild the shape of three parts in one whole ..

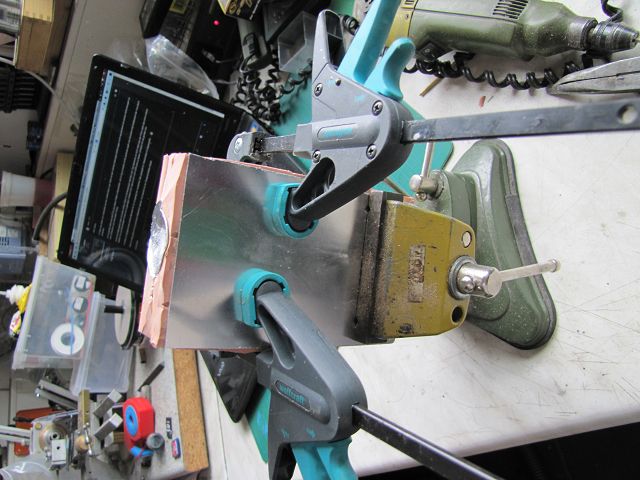
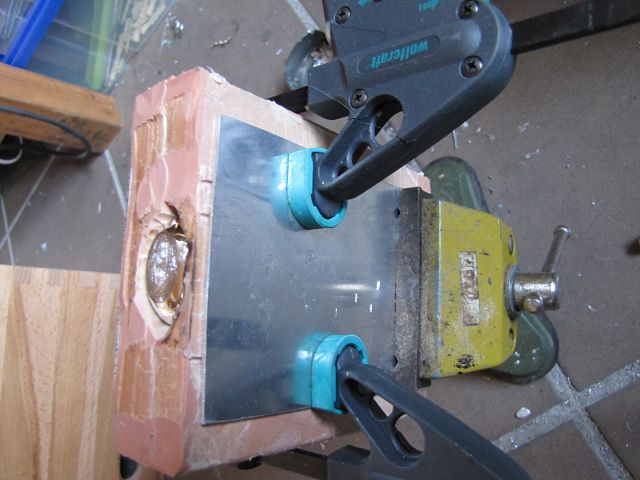
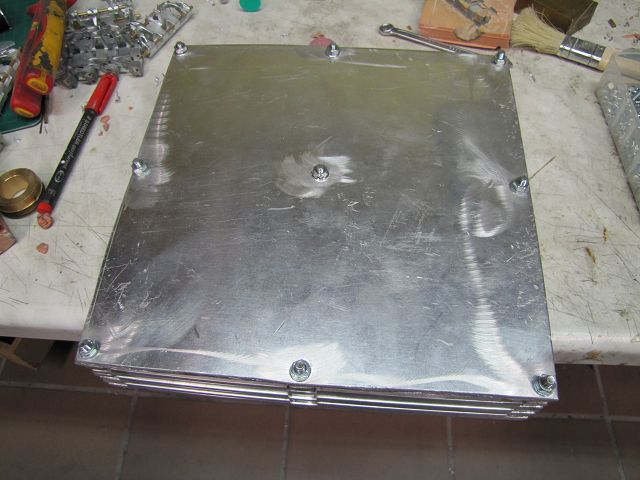
After all silicone is processed I 'm still a chunk of aluminum to press it and screw the cover plate of the mold .
This I will still be a few minutes and put the screws again somewhat, because the silicone deforms as a viscous mass .
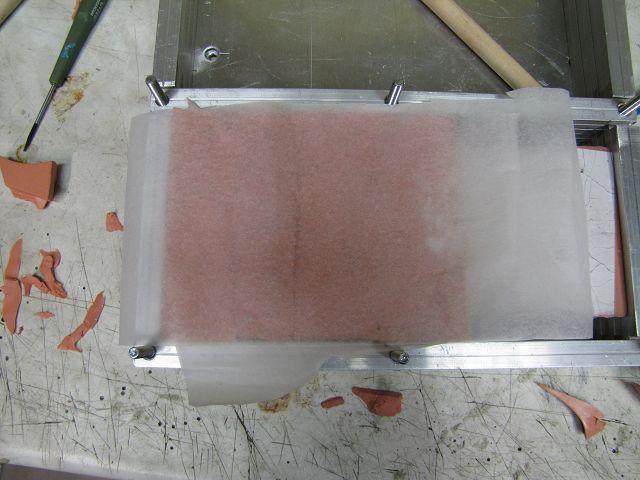
Image

Image

I put the oven on the terrace , because the smell in enclosed spaces is not exactly edifying , and make the form now by 1.5 hours.

Image

Then I just have to cut the sprues and can use the form immediately.
Re: First, just as a test if I succeed

Posted: Tue Feb 18, 2014 3:53 pm
by Edwin
After the mold was allowed to cool overnight, unpacking was first time announced.

Image

After I had the shape plastered around something . It has pushed the silicone into each hole . I had to separate the mold , which is not easy. But if you have found the beginning , it is no longer a problem .

Image

The next step was to cut the sprues with a carving knife into the silicone. This works simply because it is quite stable and stiff.

Image

After I had installed a couple of vent holes and the shape well dusted with talc , it went to the first casting.

Image

Image

But a little rework was required.
But now I have the alues ??form come from the useful links and that I can use .

Image

The rework is almost consuming than the preparation and casting itself so you have to grind a lot , including the little hand belt sander proven once again very good.

Image

After cutting out the Messingröchen I could start the first chain links with a 2mm spring steel bolts to connect.

Image

Image

What I notice when casting to my surprise is that the cold mold works best. If this is too warm arise all of a sudden again cavities and the cast is not usable.

Now I 'm going to make these chain links two new master and from two new forms that will be even better. So then the production of the chains begin for the prototypes.

Re: First, just as a test if I succeed

Posted: Tue Feb 18, 2014 9:28 pm
by doombar
nice work it give me a headache thinking about all of the stuff you do to make the tracks

Re: First, just as a test if I succeed

Posted: Sat Mar 01, 2014 5:08 pm
by Edwin
Thus , very slowly , there is next to a lot of other work here too progress .

Now I have the same time my new press frame fully utilized and created two forms in it.

Image

Image

Image

Image

And so I now have three forms for casting the tracks , which is still significantly speed things up .

Image

So I started with the drive wheel . For this I must first find the perfect teeth and that I make from my experiences with pattern discs . The first I took over after a dimension of an original drawing and milled aluminum disc as such . On the side is for size comparison , the drive wheel of a tiger in 1 / 16th

Image

And immediately encounter each theory and practice. An error of only 0.3 mm per tooth in the width and the toothing does not fit , although located in the Tolerance of the drawing.

Image

I know however, to what extent I can not rely on these drawings and for what tracks ( 360mmm , or 400mm width) was thought the ring gear . There was quite small differences .
But as there is no great effort to mill a new disk and try until it fits snugly and can be applied to the Master of the drive wheel .

Re: First, just as a test if I succeed

Posted: Sun Mar 02, 2014 1:43 pm
by Edwin
Slightly revised to correct the pitch and the intervention in the chain.

Image

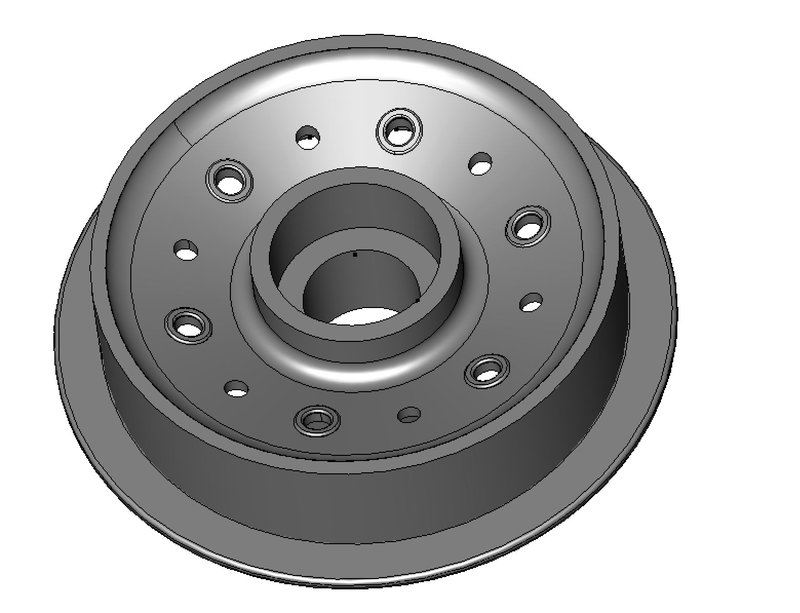
So I can now begin the drive to draw in 3D.