Page 3 of 5
Re: Panzer 111 build
Posted: Fri Nov 05, 2010 9:16 am
by Johnf
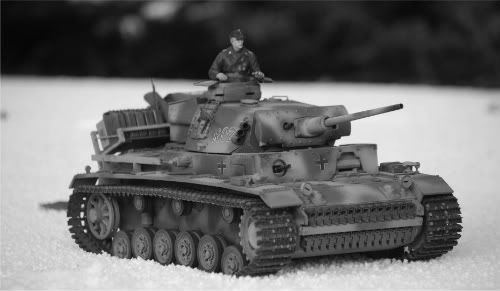
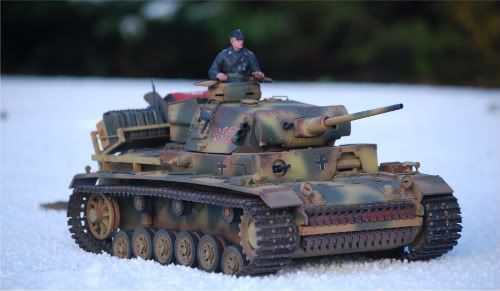
The exhaust really came out well. Painted an overall rust colour then used pastels, first dark brown with a little rust added but to apply the pastel, I used one of the famous weathering pastes.the one I used was the light grey. Coloured the past with the pastels then just apply with an old brush. Then made up another past mix in rust pastel and grey paste mix. Airbrushed the blackened areas. I had some of the tamiya weathering powders also so drybrushed with some of the rust from this. The texture from the tamiya past is really good and dries hard and holds the pigments. They sell this in lots of colours but the light grey can be tinted with any pastel. I also used this stuff around the mudguards as mud splatters. The tracks were first sprayed with etch primer. Then black primer, airbrushed with browns from very dark up to mud brownspme rust added also in patches. Also added some rust pastels and browns. Sealed over with matt primer. I have found the best mud colour to be gamesworkshop graveyard earth well thinned and applied with an airbrush.
Do you think it's maybe over weathered. I will post more pictures of the tank at the weekend. It has progressedquite a bit.
Re: Panzer 111 build
Posted: Fri Nov 05, 2010 2:28 pm
by oldfeller
Hi John
Great work great pic's Mate, its the likes of you and guys like you that make this a great forum
to be a member of

.
Gerwyn

Re: Panzer 111 build
Posted: Fri Nov 05, 2010 3:00 pm
by Johnf
Thanks Gerwyn. Been working all week. messing with tanks at 2am and getting up for work at 6am is not a good idea. I will post some Panzer 111 pics at the weekend. Also did some pics on making Tank Recognition flags. Some posts to start.
Re: Panzer 111 build
Posted: Fri Nov 05, 2010 6:12 pm
by tankman
Nice Panzer III you've built there. Very impressive.
Alan
Re: Panzer 111 build
Posted: Sun Nov 07, 2010 7:13 pm
by Johnf
Re: Panzer 111 build
Posted: Sun Dec 05, 2010 2:48 pm
by Johnf
Re: Panzer 111 build
Posted: Tue Nov 29, 2011 12:28 pm
by philipat
The tank looks great. I have the same hull and exhaust and need some help. How did you attach the exhaust so that it stays firmly in place? Did you make any kind of a bracket?
Mine only seems to glue to the provided resin piece and it doesn't seem very secure. Maybe I'm just paranoid? Thanks.
Re: Panzer 111 build
Posted: Tue Nov 29, 2011 3:56 pm
by Johnf
I think mine was the same but has not fallen apart yet. If you want to make it more secure you could secure with some milliput inside the hull.
Re: Panzer 111 build
Posted: Tue Nov 29, 2011 7:01 pm
by philipat
okay...thanks.
What did you glue it with?
Milliput? didn't know that could hold stuff in place. How would it work?
Re: Panzer 111 build
Posted: Tue Nov 29, 2011 11:10 pm
by Johnf
Glue with superglue. Milliput will be as solid a stone when hard. Just mix some milliput. Takes a couple of minutes to mex. Then just work it into the joint and let it set.