Page 3 of 4
Re: A new job remodeling a Stug
Posted: Fri Jul 25, 2014 4:23 pm
by ALPHA

Very Nice Edwin....I've always appreciated the nimbleness of the Panzer IIIs ...I still can't believe how well all your electronics fit under the hull...and I really like the sounds you have programed into her... great build

ALPHA
Re: A new job remodeling a Stug
Posted: Fri Jul 25, 2014 5:30 pm
by PainlessWolf
Good Morning, Edwin,
Wonderful work with everything. The sounds are particularly impressive! Kudos!
regards,
Painless
Re: A new job remodeling a Stug
Posted: Sat Jul 26, 2014 4:28 pm
by Edwin
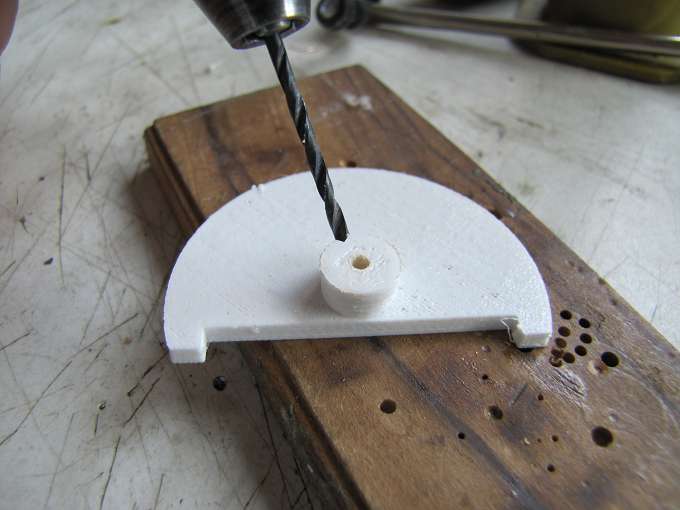
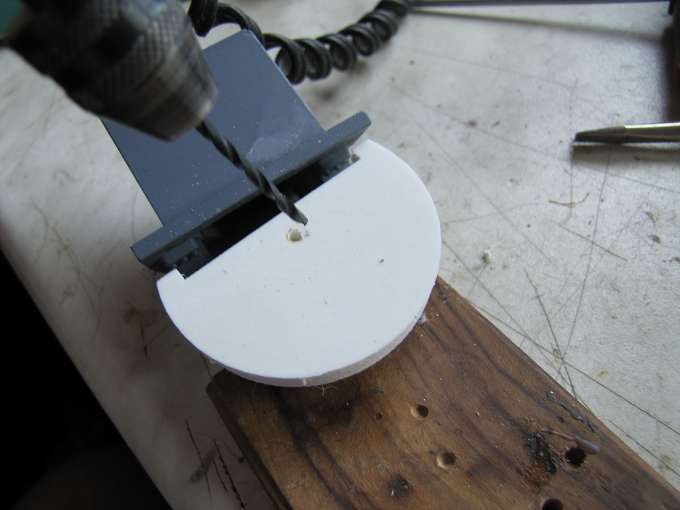
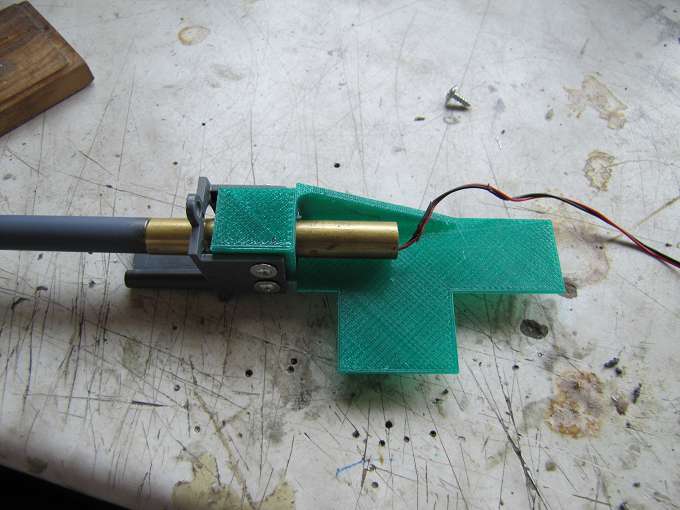
Currently I only had the time to construct a pivot for the carriage of Stugs.
However, the G-code for printing is also ready and maybe I can still make overnight.
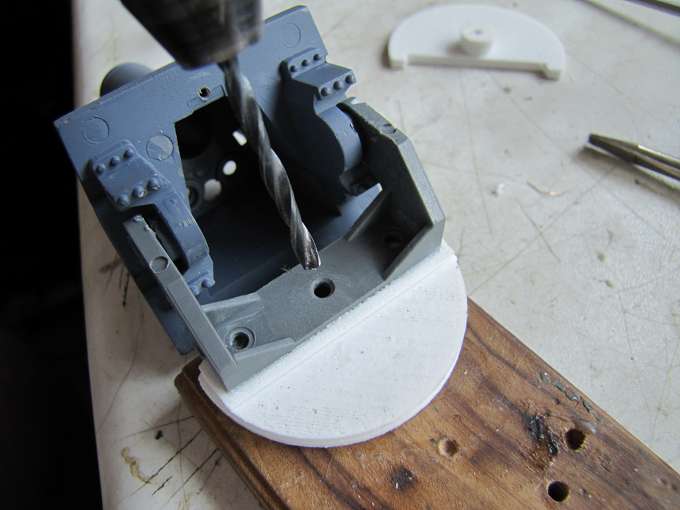
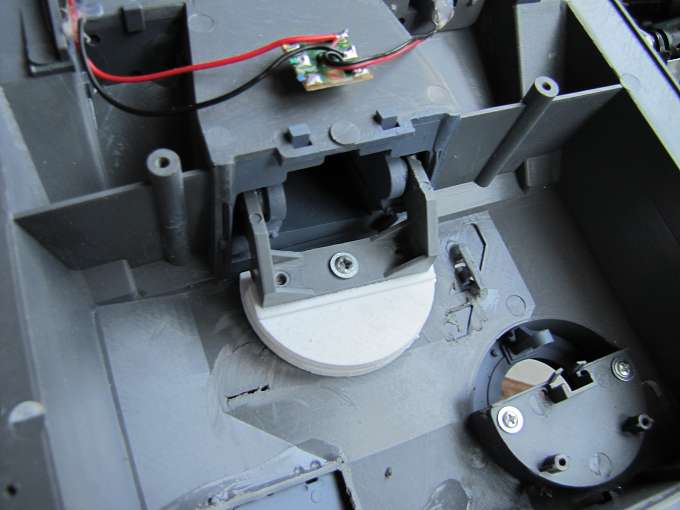
There is now separated to Page Align the Stug the rocker and the pivot bearing can now be both, or just the rocker rebuild.
Re: A new job remodeling a Stug
Posted: Sat Jul 26, 2014 4:50 pm
by ALPHA
That printer sure beats what I'm doing for the L70...doing all the gun supports in aluminum

ALPHA
Re: A new job remodeling a Stug
Posted: Sat Jul 26, 2014 9:50 pm
by GreenAmphibian
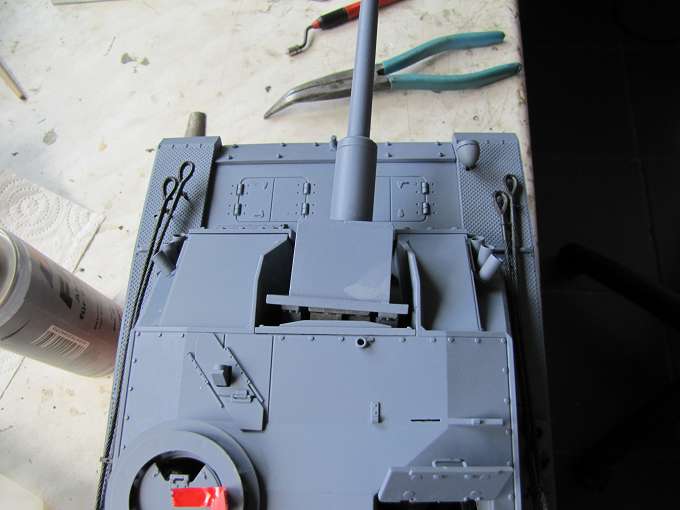
Excellent work. I am more than a little interested in how you will mount the barrel. I need something like this for my own StuG.
Herman
Re: A new job remodeling a Stug
Posted: Sun Jul 27, 2014 4:27 pm
by Edwin
Re: A new job remodeling a Stug
Posted: Sun Jul 27, 2014 9:21 pm
by GreenAmphibian
Excellent tutorial on how to do this.
Herman
Re: A new job remodeling a Stug
Posted: Sun Jul 27, 2014 11:03 pm
by Lert
Edwin, you are doing a remarkably excellent job, both at remodeling your StuG and making me feel inadequate. o7
Re: A new job remodeling a Stug
Posted: Mon Jul 28, 2014 2:30 am
by ALPHA
Edwin...you are making this look too easy

maybe you have to take some selfies to show that there is some sweating involved
ALPHA
Re: A new job remodeling a Stug
Posted: Sat Aug 02, 2014 4:19 pm
by Edwin
And again it is coming to a piece, none of completion.
Today I installed the three servos and also still the same program the Align to Page on the transmitter. So you can align with a knob at the side the gun now.

The Evolation and the RCC, I must still be programmed directly at Beier sound module, but before that I have the veritable camouflage headlight and the excess flash.
So I'm going to the Stug then can pass its owner in Derbach 23.
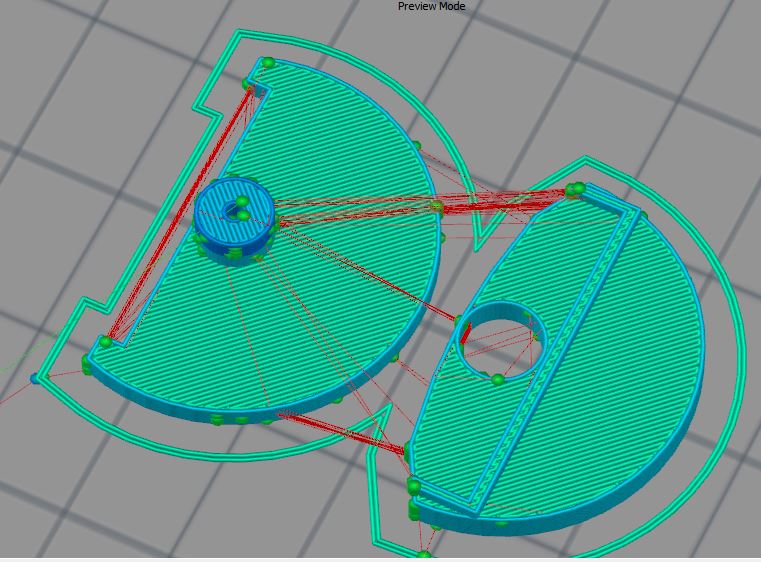
By the way I now also have the parts to Page Align optimized and started a few to print them for printing the canon and the rocker bearings somewhat.