Thanks everyone,
I cannot take any credit for that bluing process, i took it from an much older post on RCTW, obviously metal tracks coloring are not a recent problem, but it works with the TONGDE tracks.
PershingLover wrote: ↑Sun Sep 03, 2023 9:13 am
Have the 3D printed parts gotten better? They look much better than they have been
I thick the DKLM prints are much improved compared to some horror stories i went through in the past. However, some specific areas of very few parts need to be carefully filed as you will see in a following post for the painting.
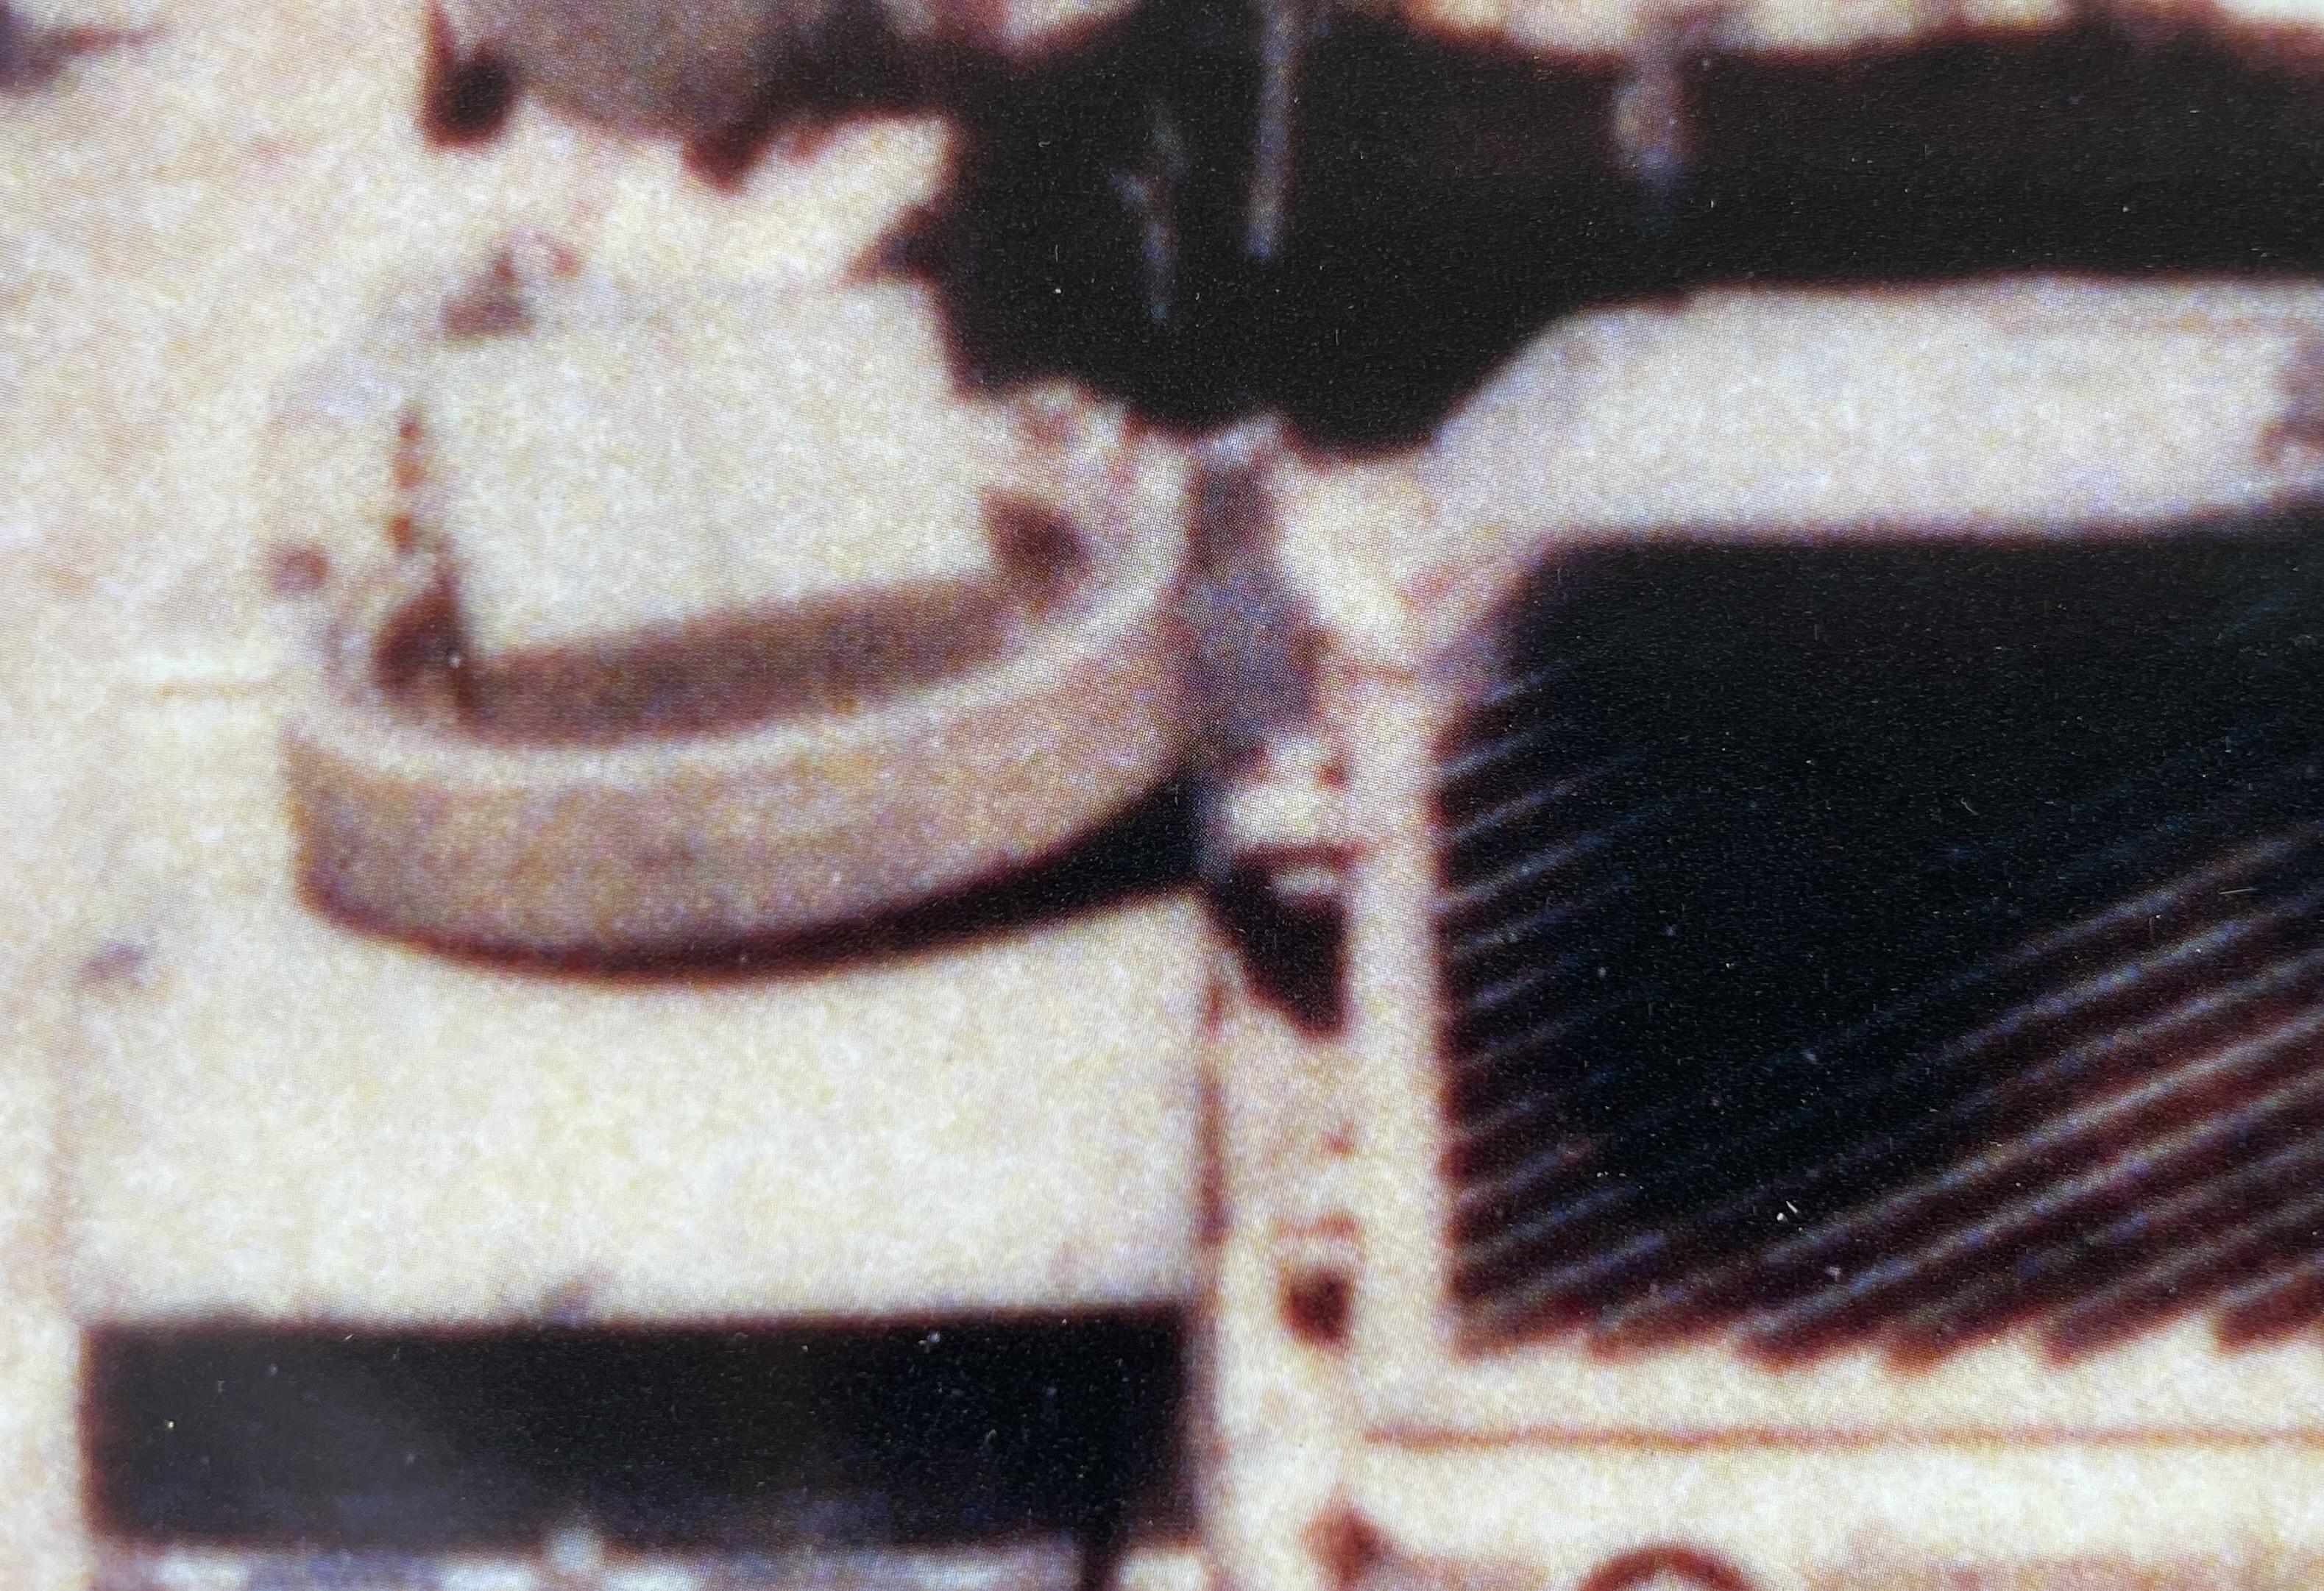
Thanks Ad Lav, very interesting picture.
Continuing with the build
This post is for the spare roadwheel.
As seen in references, most spare road wheels on USMC M-60A1 were carried on the left rear fender.
- 1/16 RC USMC M-60A1 US tank with ERA - Build
- 1.JPG (2.09 MiB) Viewed 3576 times
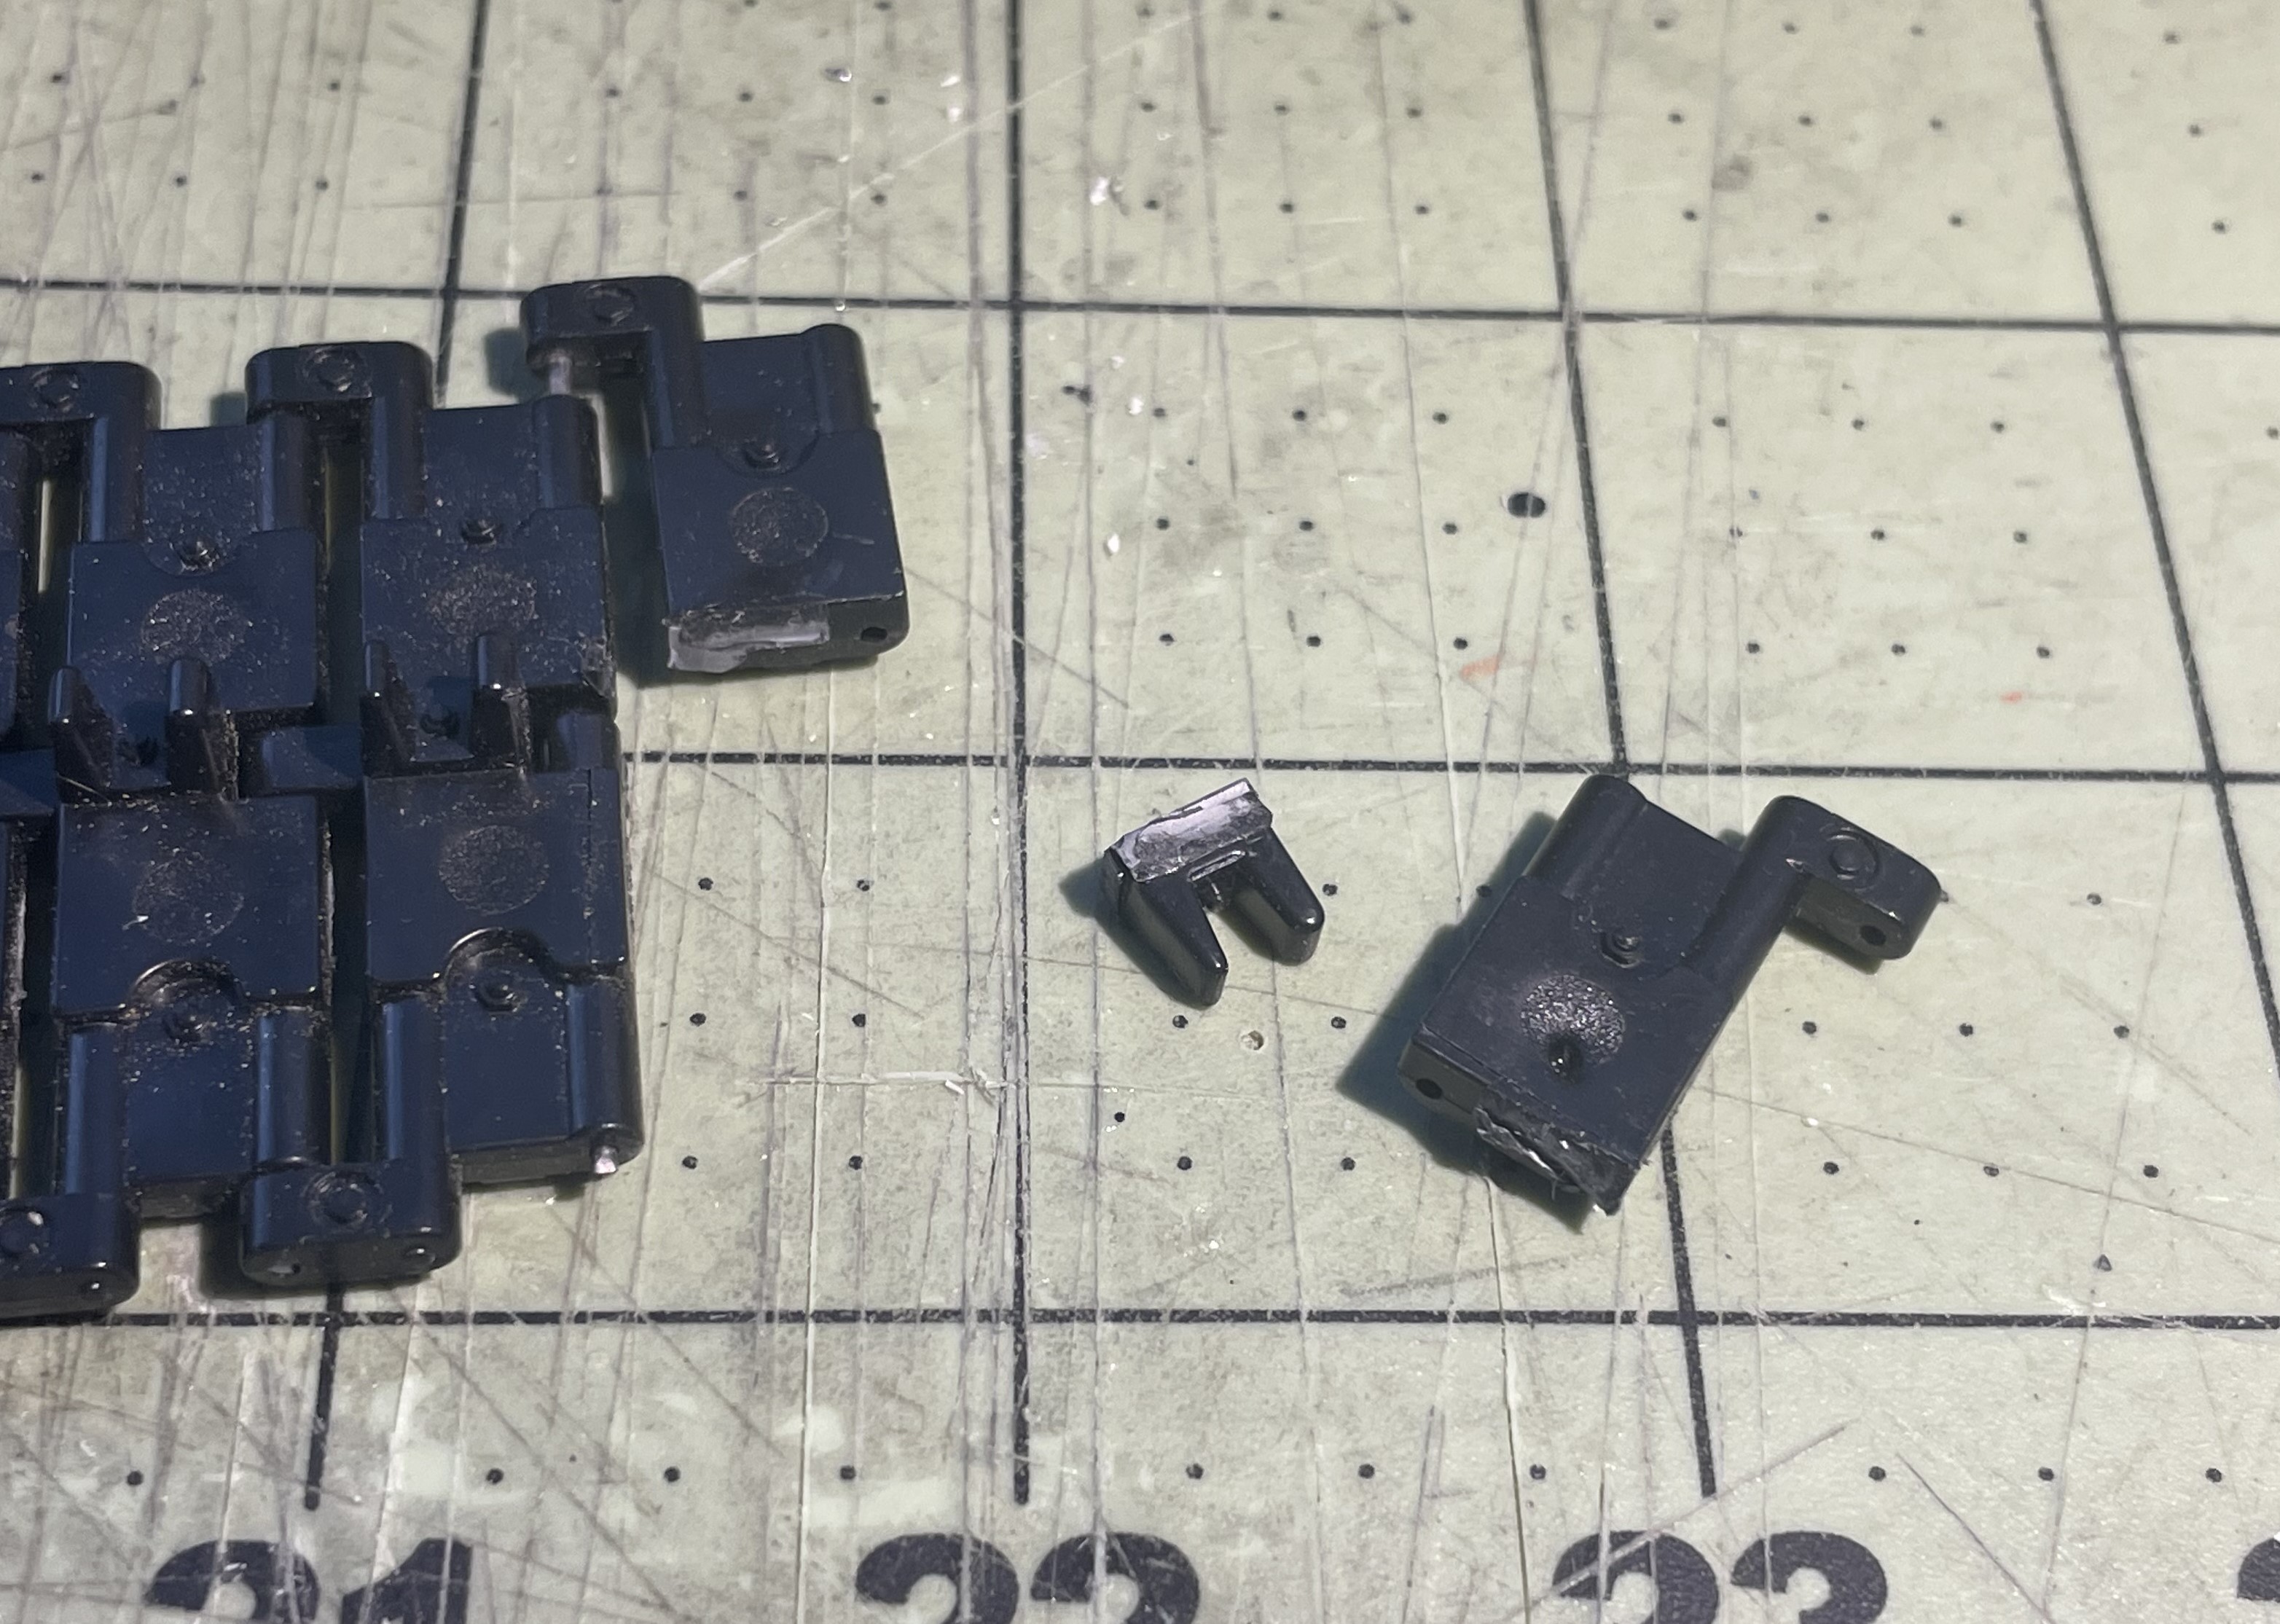
However, some others, including the one i want to represent, carried the roadwheel attached to the turret rear bin using a track connector pin through one of the screw hole. There is likely a little bracket on the other side to hold it against the first bar, we can see a metal strip going down. Let's do that.

- 1/16 RC USMC M-60A1 US tank with ERA - Build
- 2.png (1.05 MiB) Viewed 3576 times
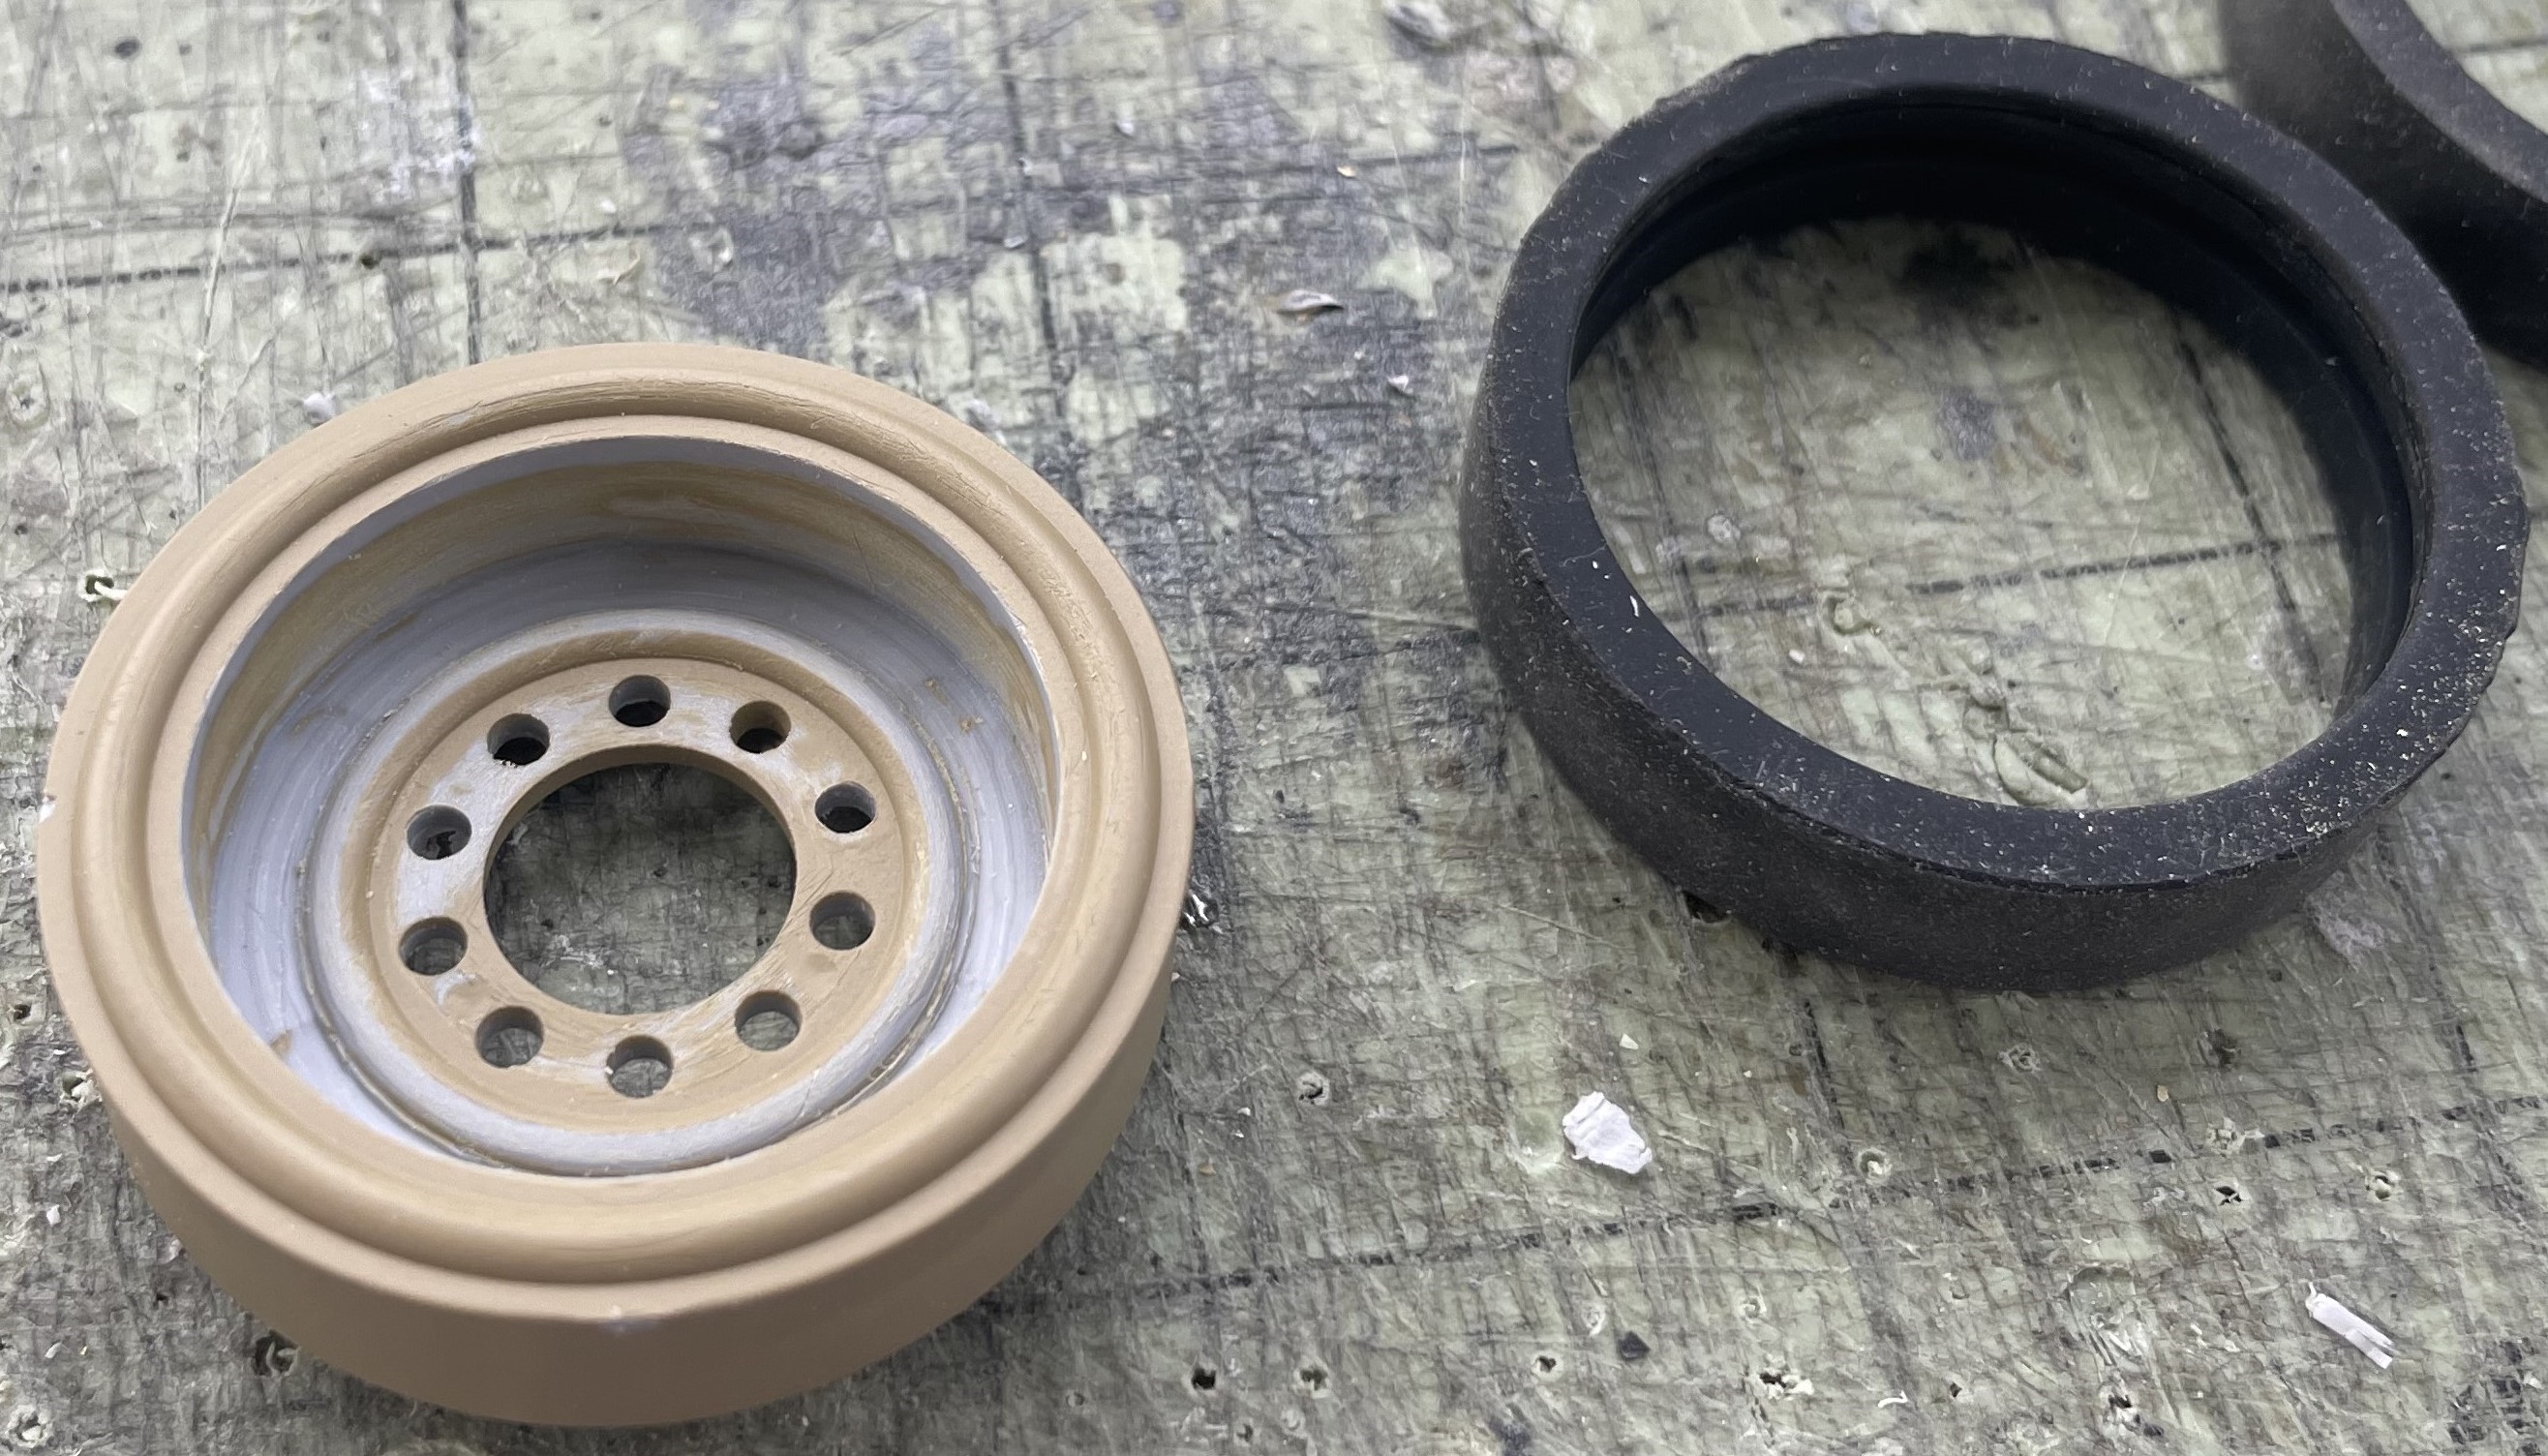
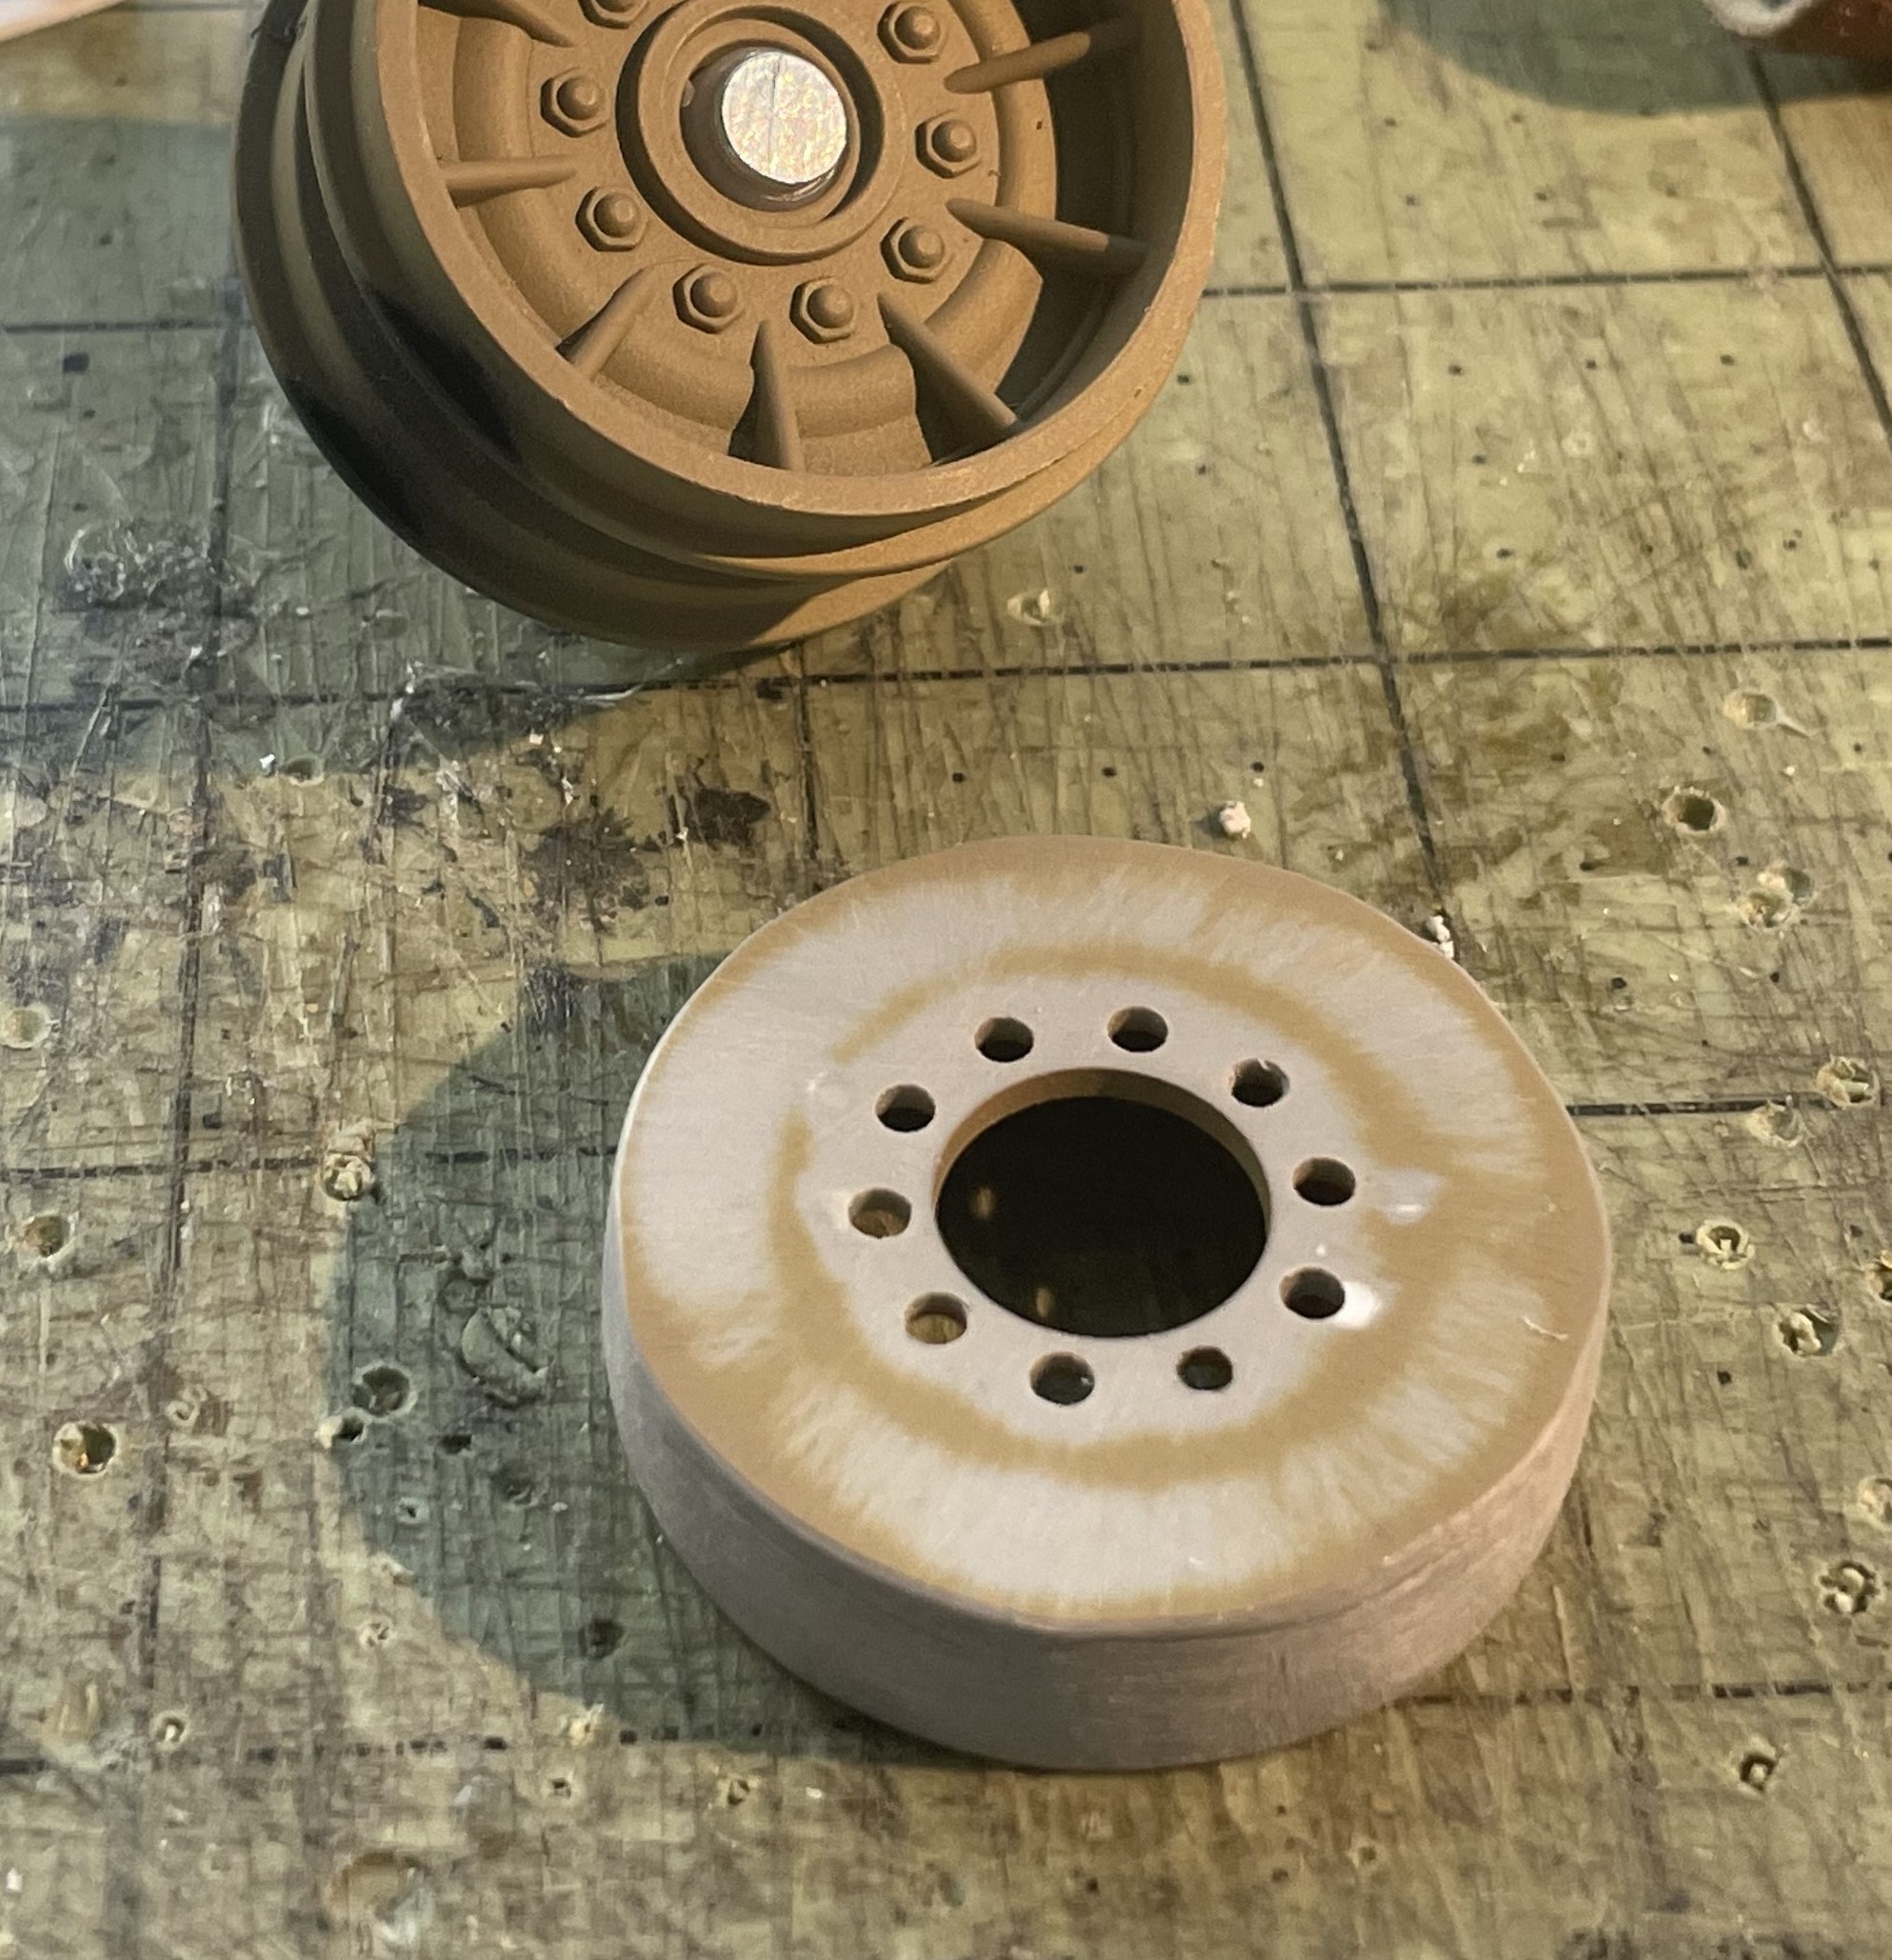
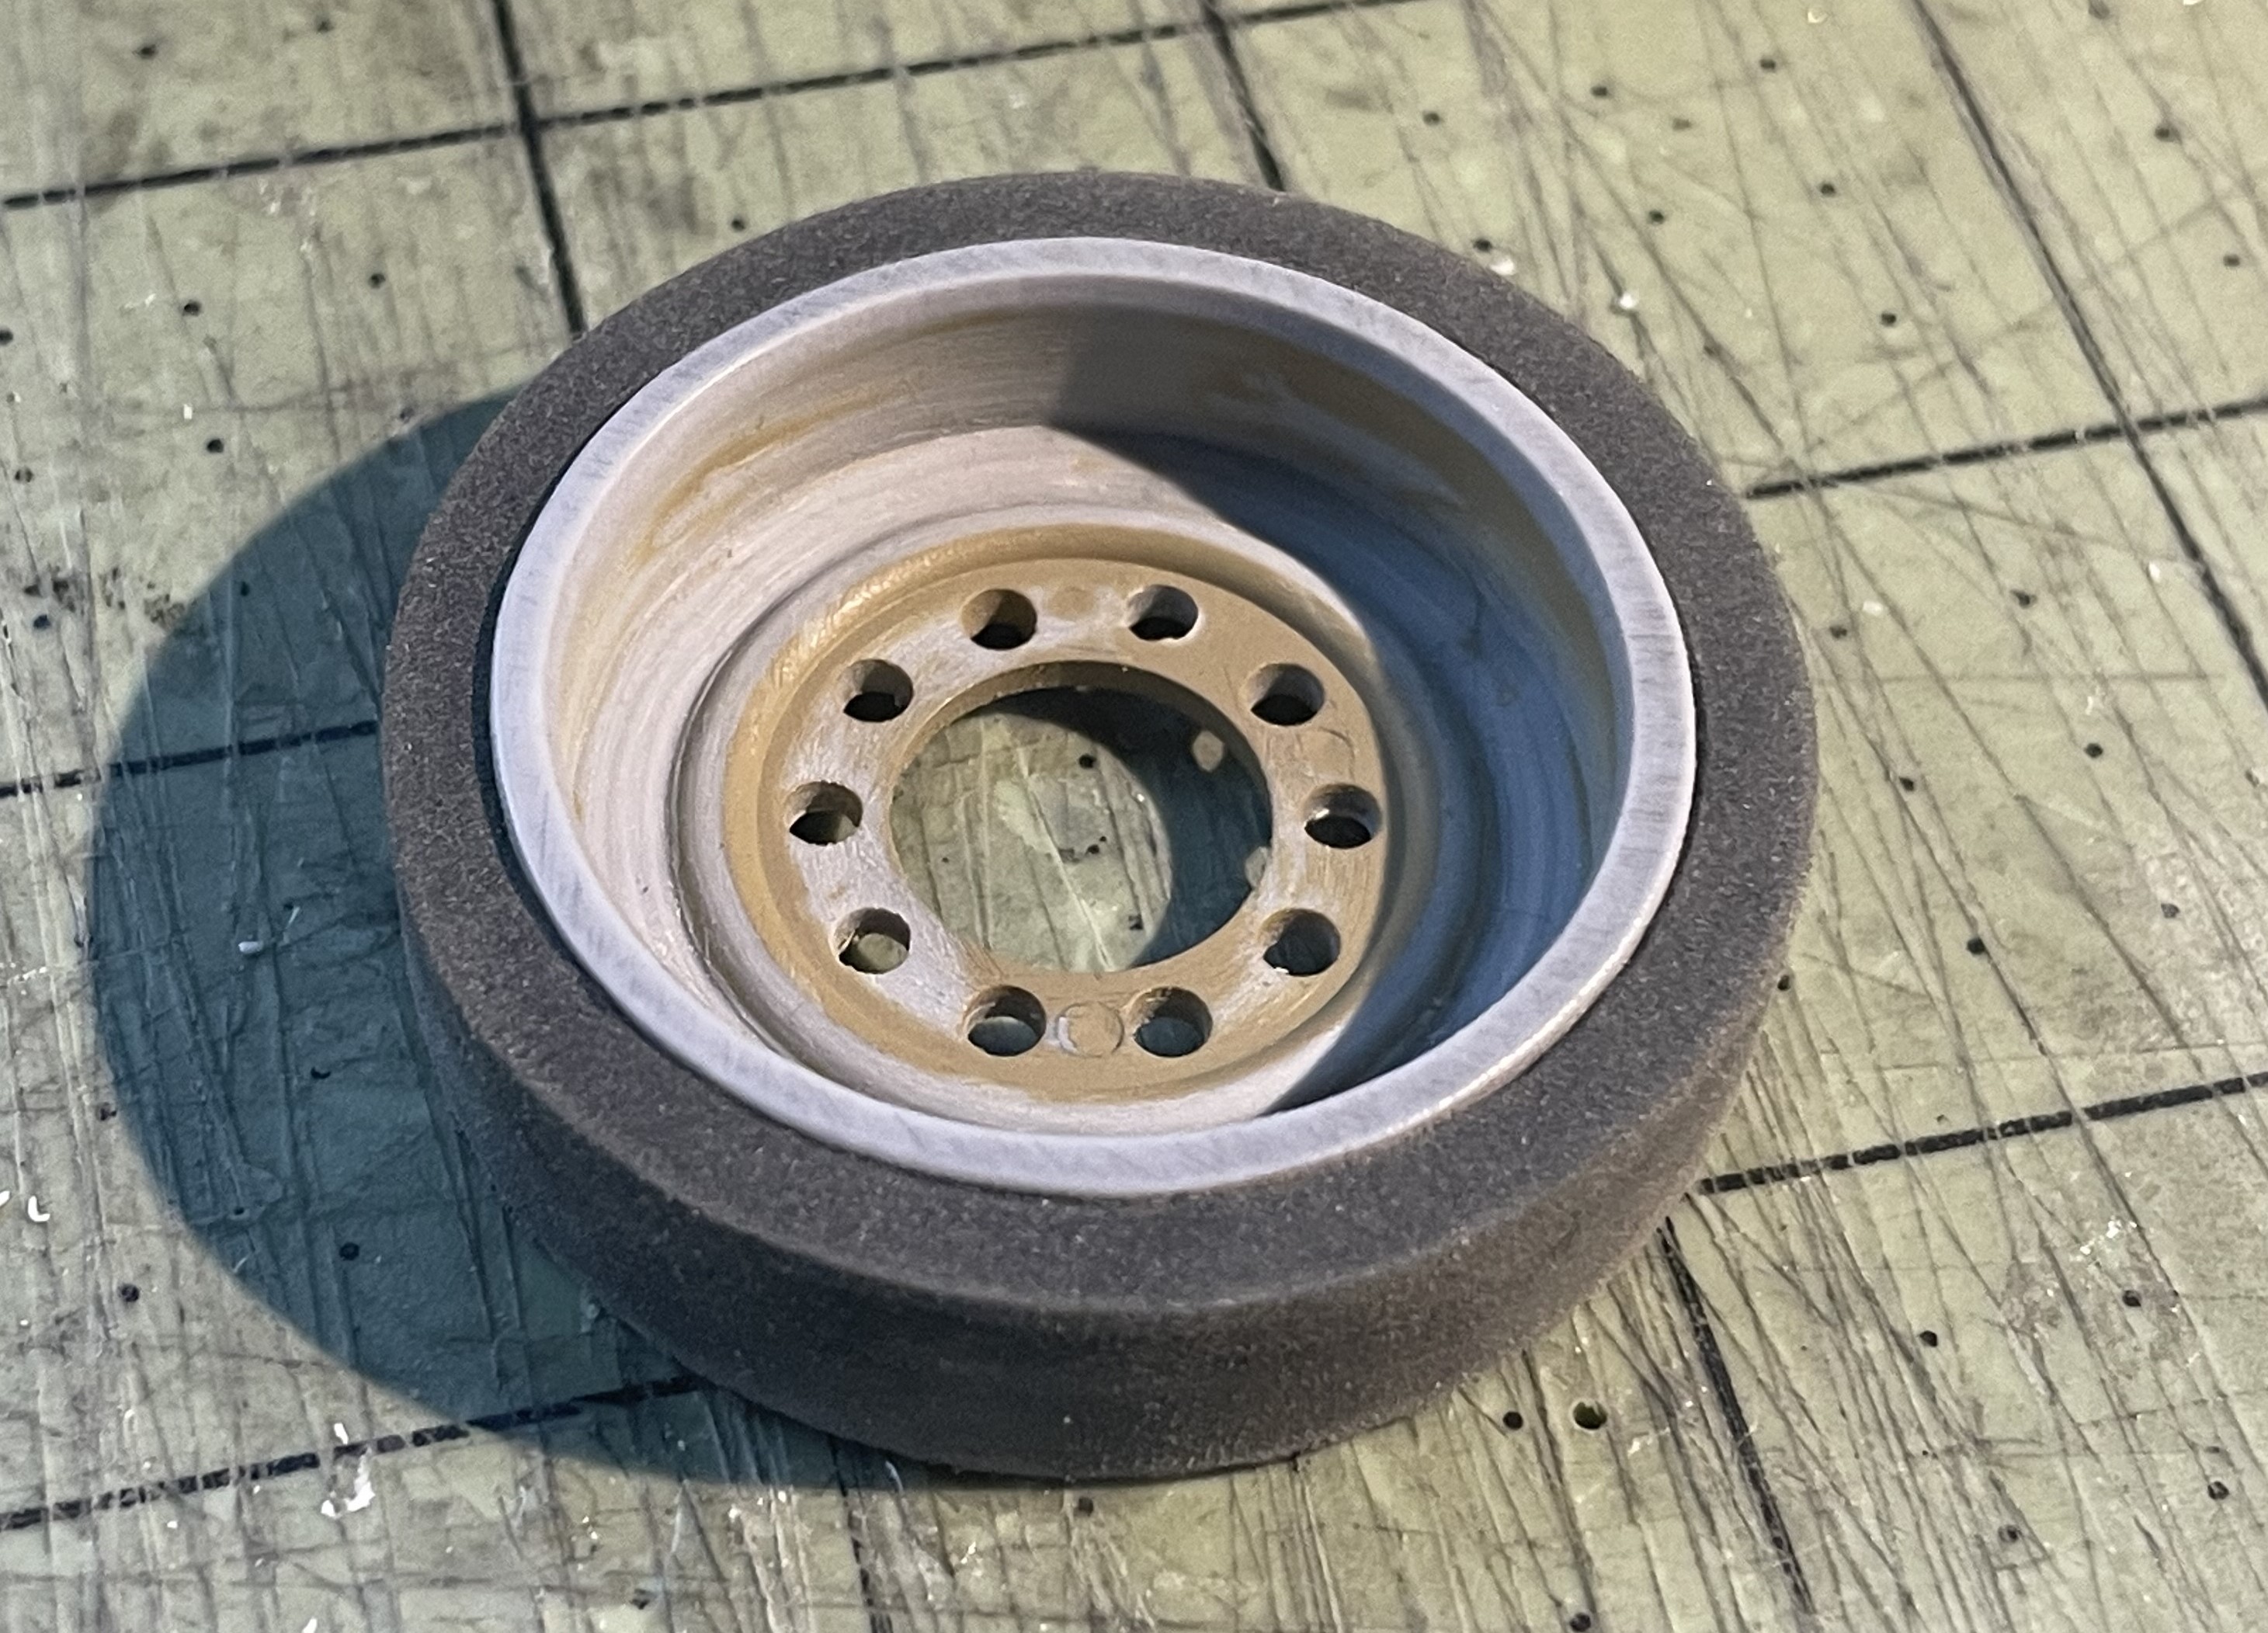
The spare road wheel coming with the model really sucks. It has a plastic tire, the exterior rim is badly represented, the screw holes are too large and the interior is full of ejection pin holes difficult to remove or fill. I did my best to scratch most of them, and also drilled two of the missing screw holes. I could have used one of the plastic road wheel that were replaced by the metal ones as a base, but the plastic ones are of the aluminum type and it would look weird. But i can use its rubber tire.
- 1/16 RC USMC M-60A1 US tank with ERA - Build
- 3.JPG (913.17 KiB) Viewed 3576 times
First task is to remove the plastic rubber tire with the Dremel, and make the rim similar to the thickness and style of the other roadwheels.

- 1/16 RC USMC M-60A1 US tank with ERA - Build
- 4.JPG (769.07 KiB) Viewed 3576 times
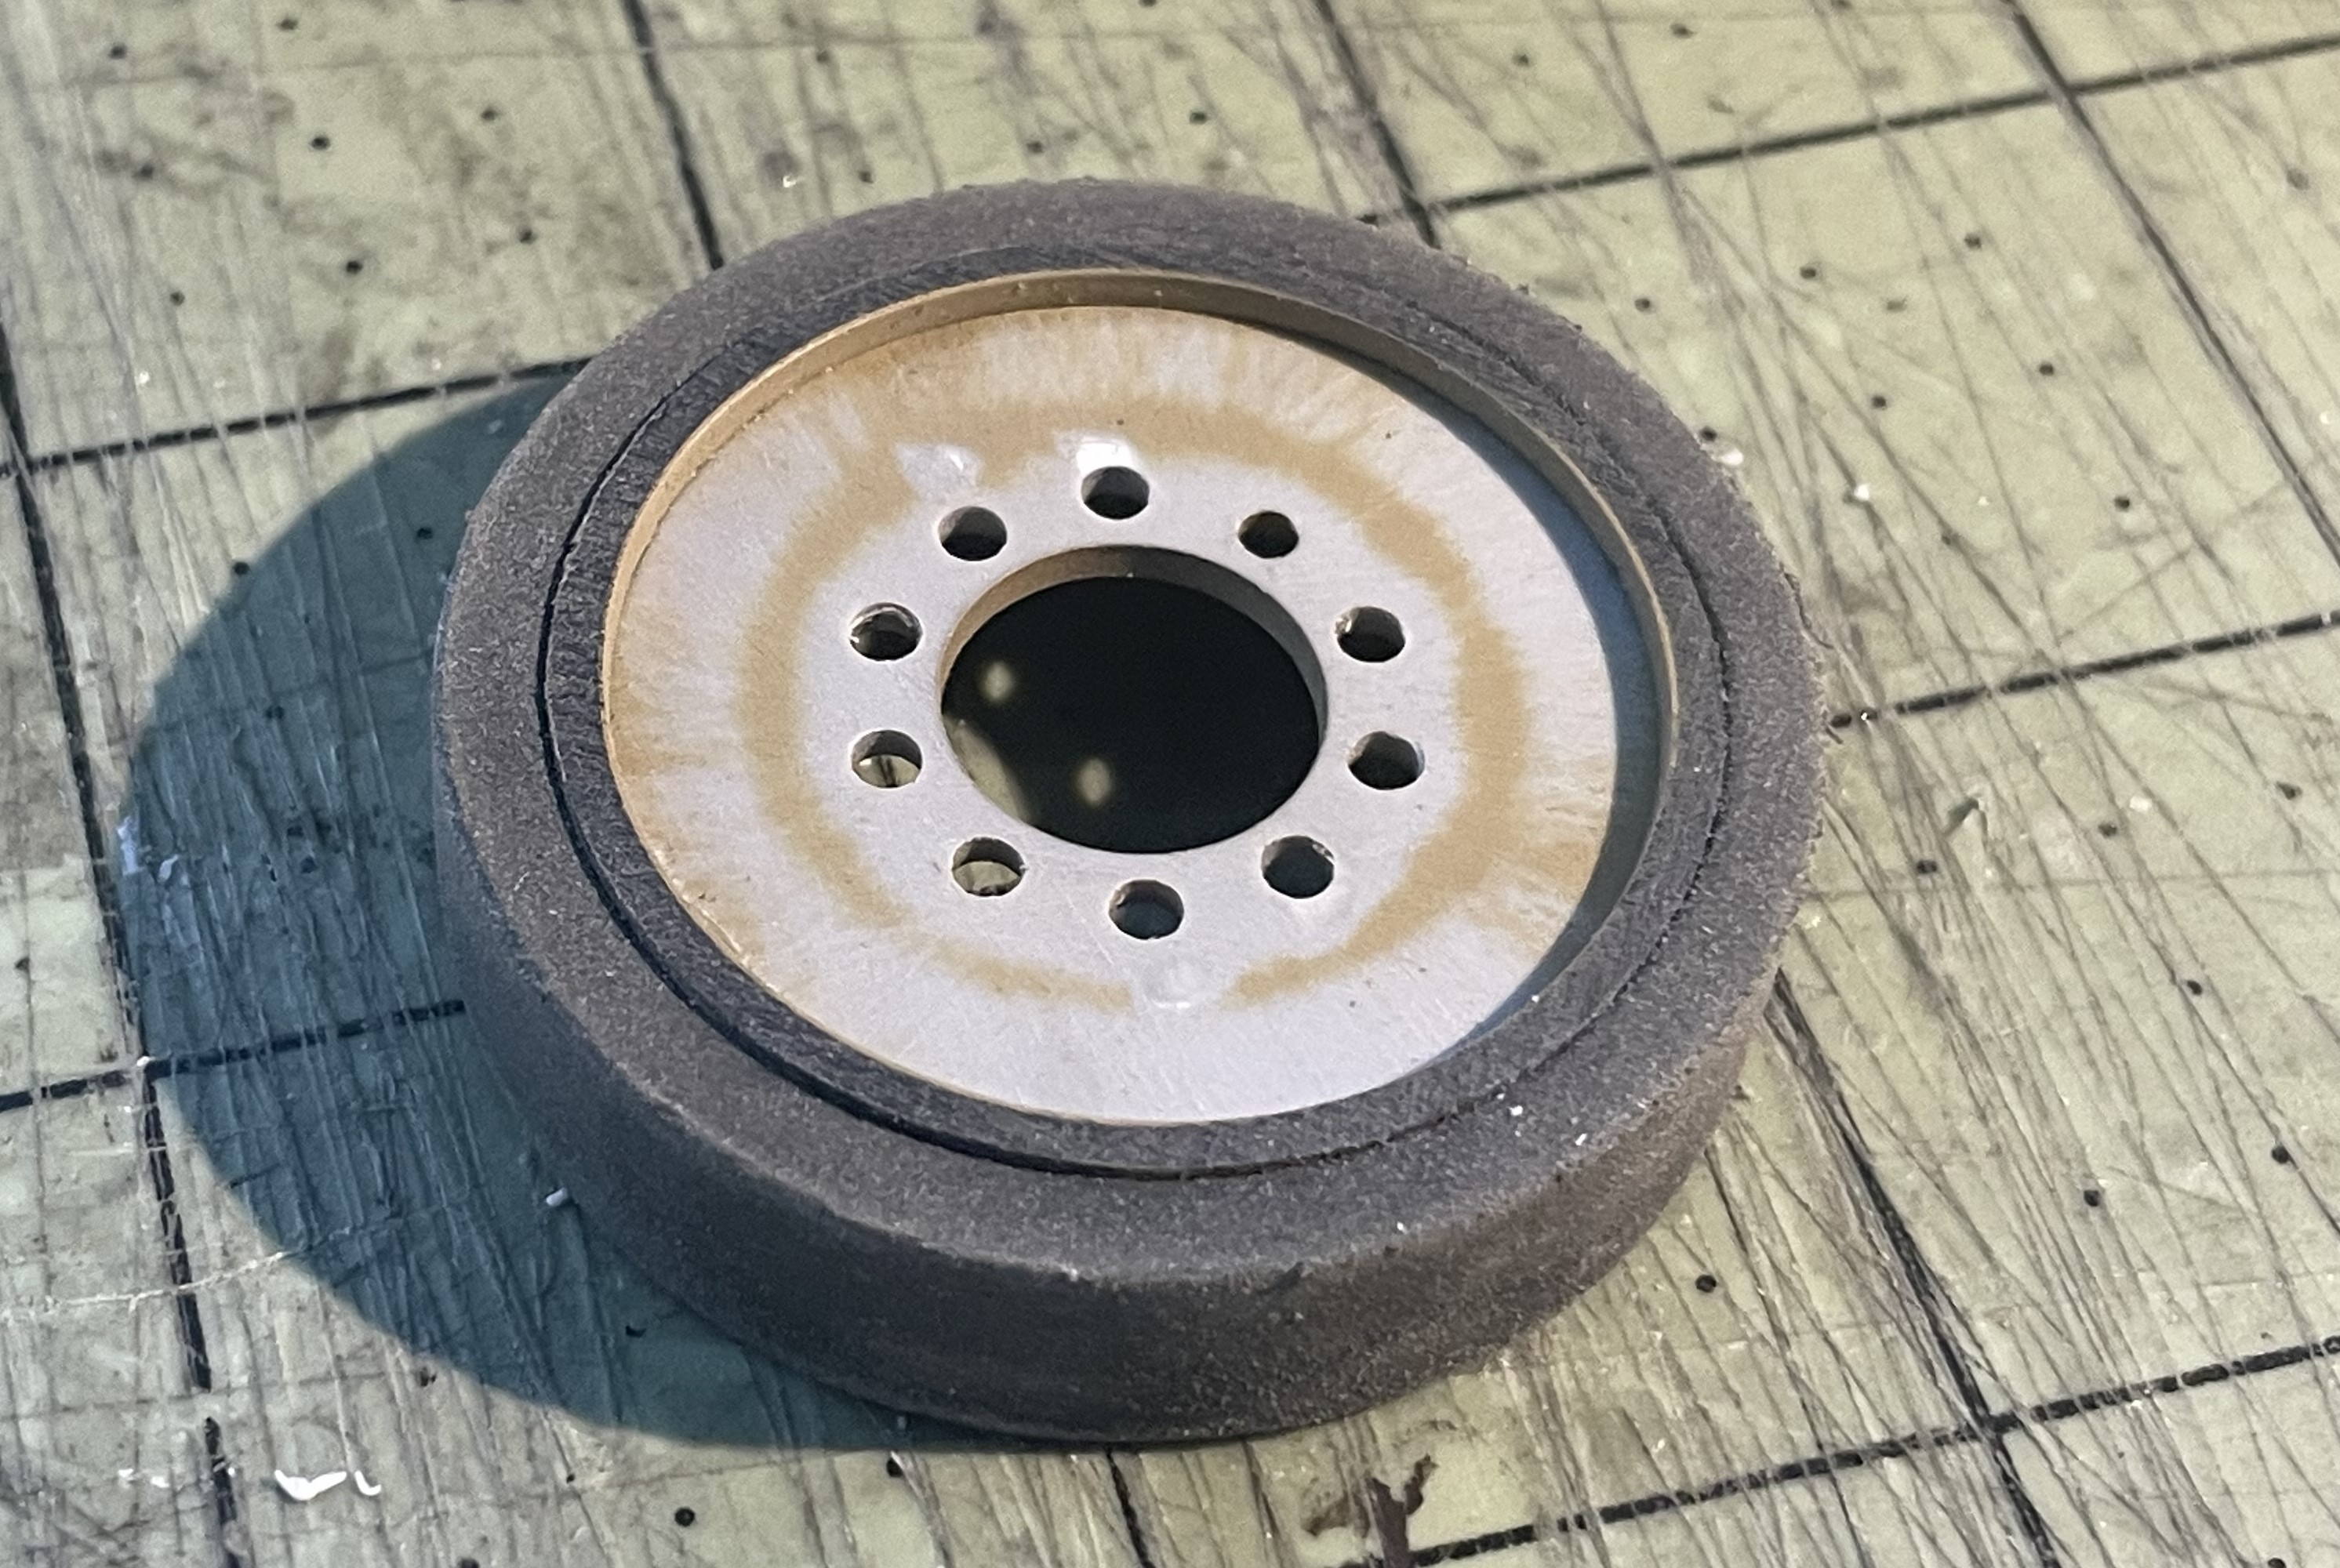
It's missing thickness to fit the rubber tire. I will borrow the exterior rim of one of the discarded plastic roadwheel.
- 1/16 RC USMC M-60A1 US tank with ERA - Build
- 5.JPG (814.36 KiB) Viewed 3576 times
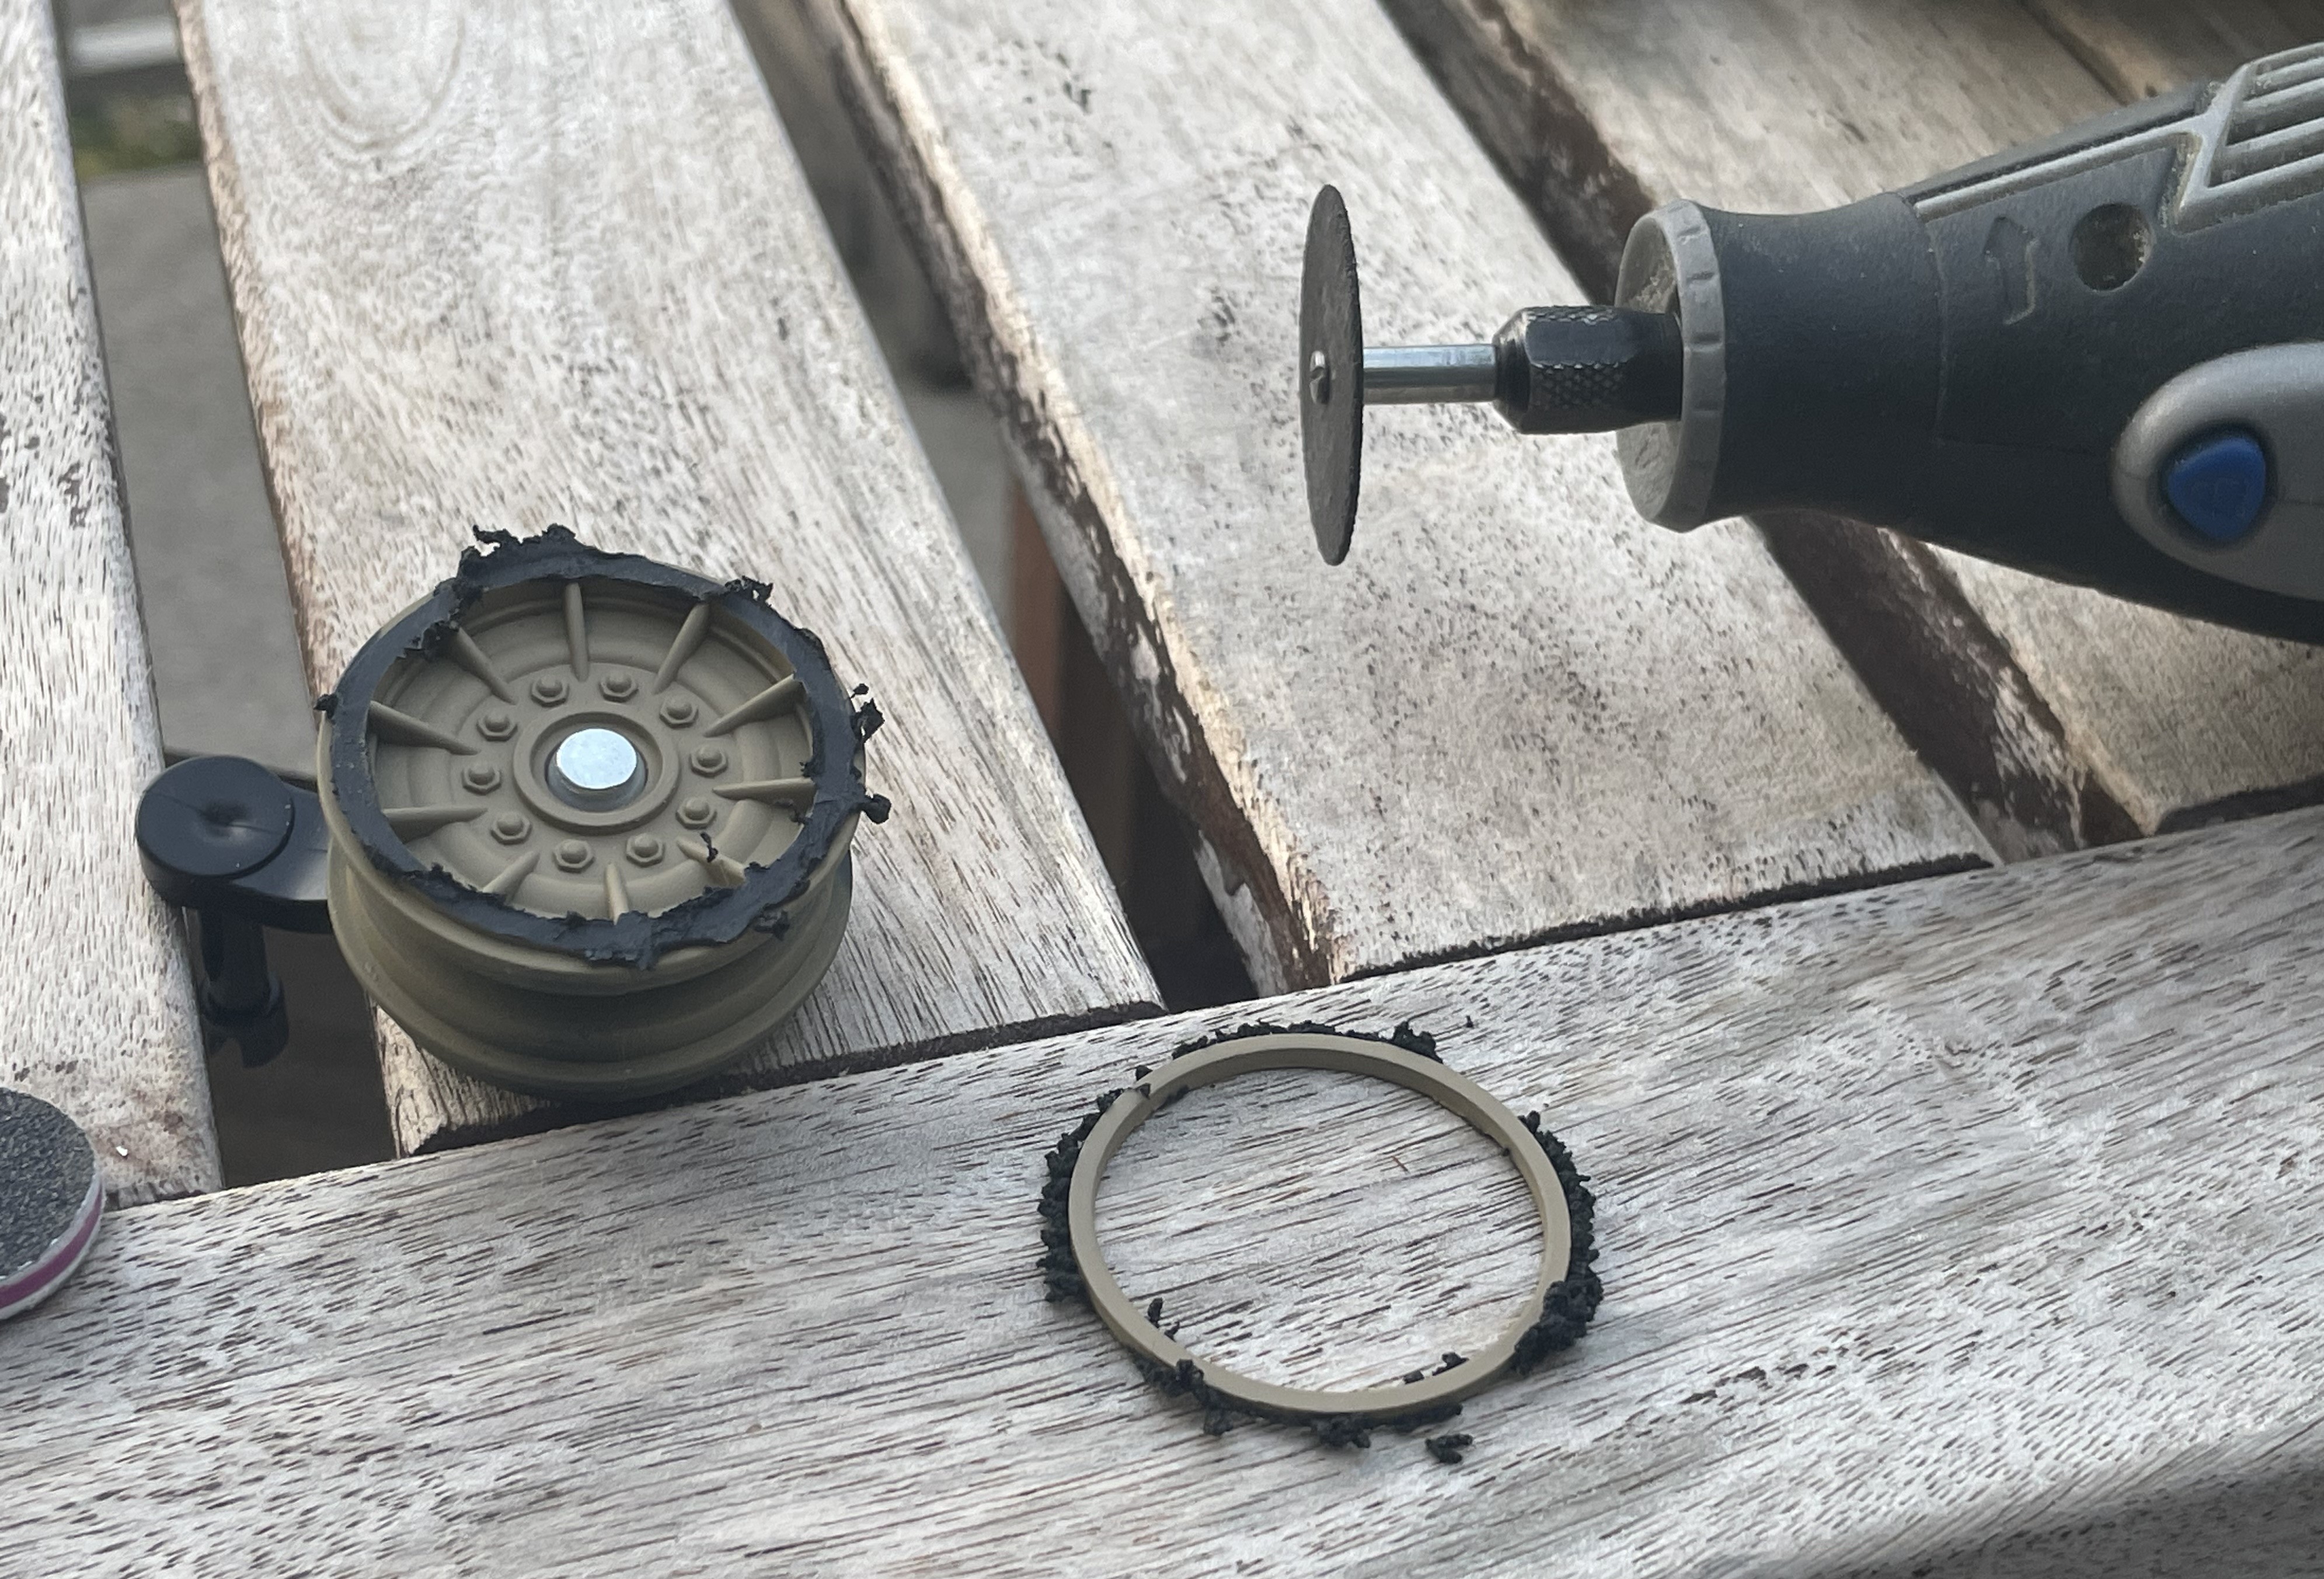
It takes a few seconds with the Dremel, and then to polish.
- 1/16 RC USMC M-60A1 US tank with ERA - Build
- 6.JPG (2.08 MiB) Viewed 3576 times
Back rim installed on the spare roadwheel.

- 1/16 RC USMC M-60A1 US tank with ERA - Build
- 7.JPG (948.42 KiB) Viewed 3576 times
Looking good with the rubber tire.
- 1/16 RC USMC M-60A1 US tank with ERA - Build
- 8.JPG (1.14 MiB) Viewed 3576 times
- 1/16 RC USMC M-60A1 US tank with ERA - Build
- 9.JPG (1.11 MiB) Viewed 3576 times
For the mount and as seen in the above reference picture, i took a track link pin from the discarded plastic tracks.
- 1/16 RC USMC M-60A1 US tank with ERA - Build
- 10.JPG (1.09 MiB) Viewed 3576 times
Continuing on following post


