Page 17 of 18
Re: Tiger I late version
Posted: Sun Mar 11, 2018 4:00 pm
by hotte8487
Soeren wrote:Took my time to look through the hole topic. Great, especially the turret ring. Well also the different details. Bravo!

Glad to hear that from you Soeren. It is every time again nice to see, how other modellers appraise my own model...
Thanks again.

Re: Tiger I late version
Posted: Sun Mar 11, 2018 4:07 pm
by c.rainford73
Simply amazing

Re: Tiger I late version
Posted: Sun Mar 11, 2018 4:11 pm
by Burger_Patrol1
Wow, you did a great job on this build!!!

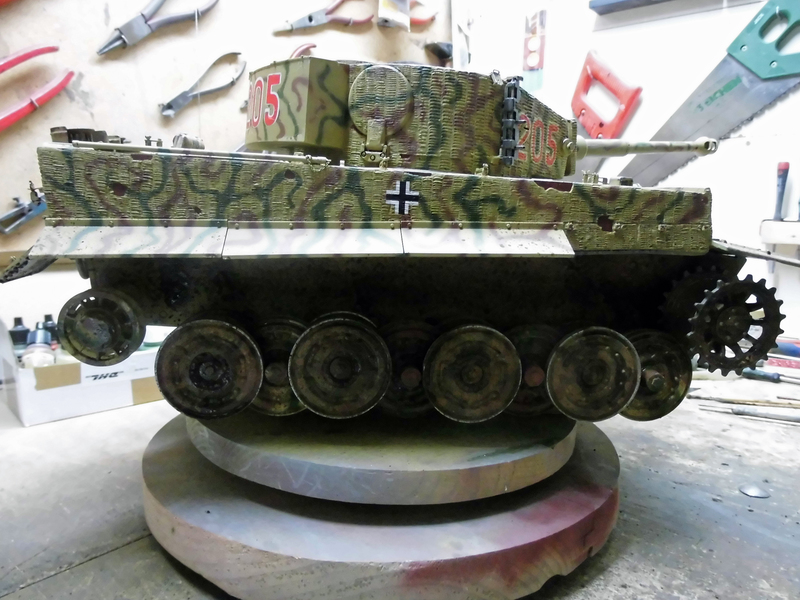
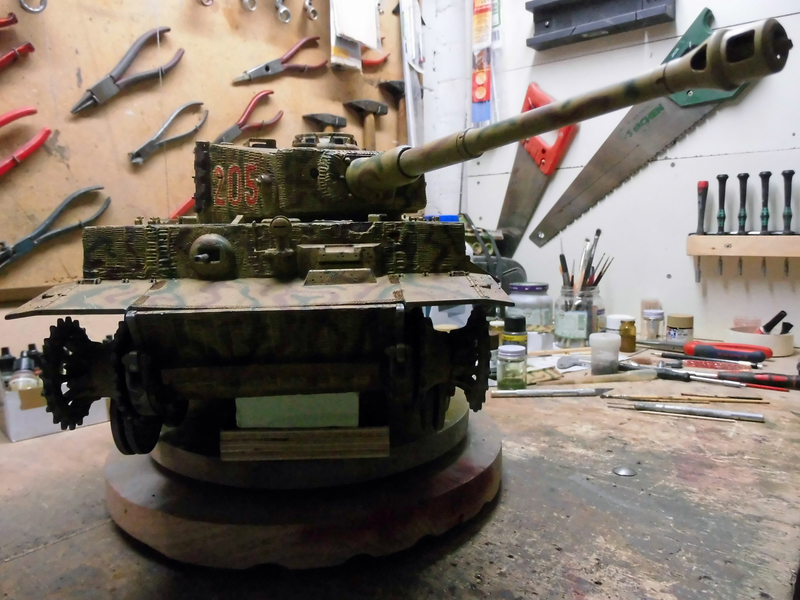
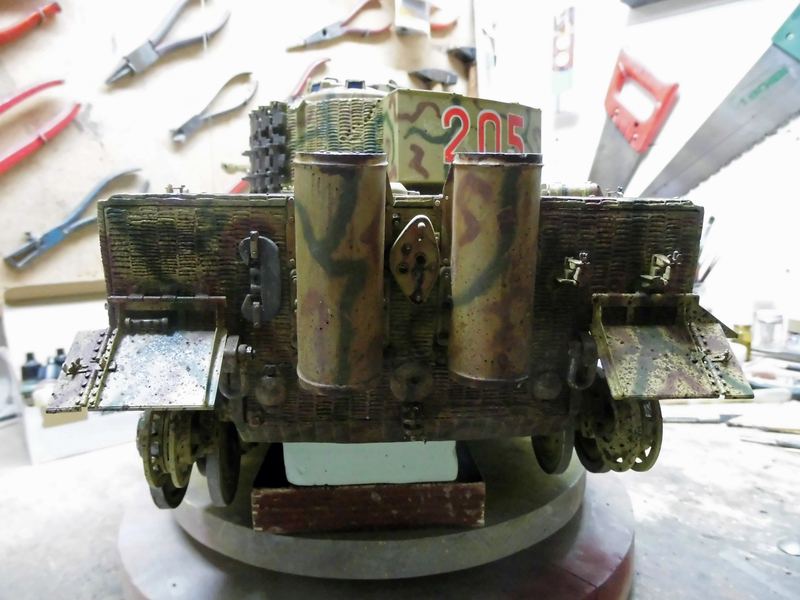
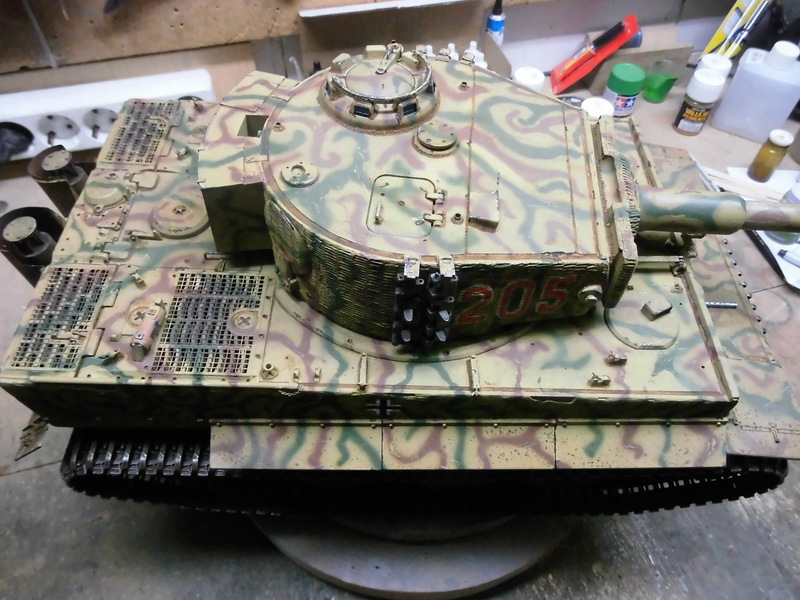
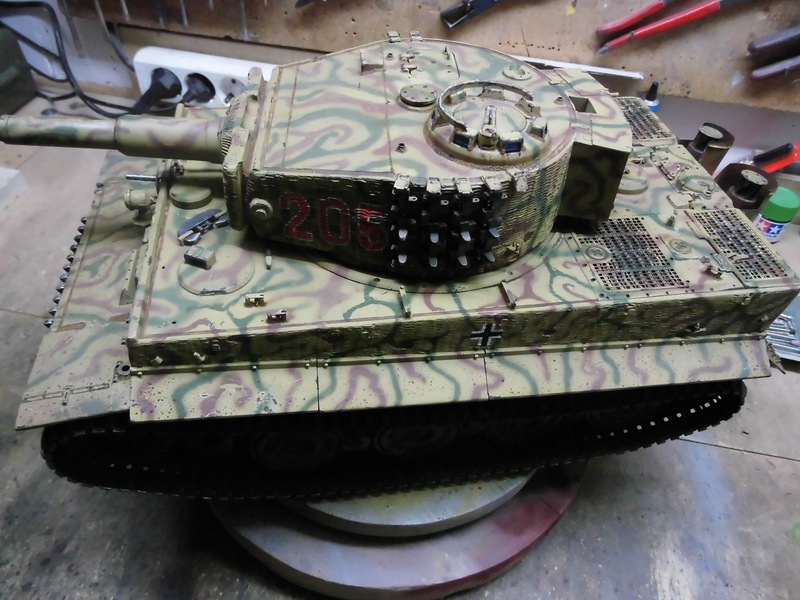
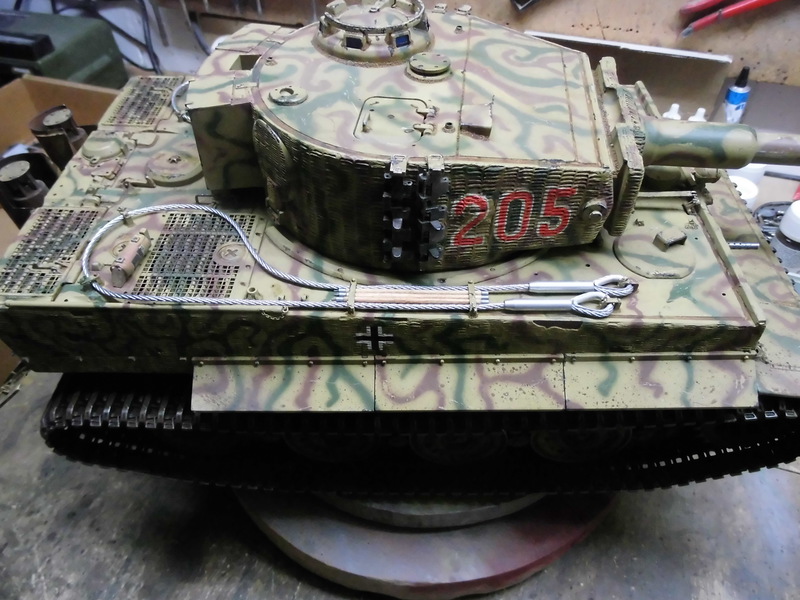
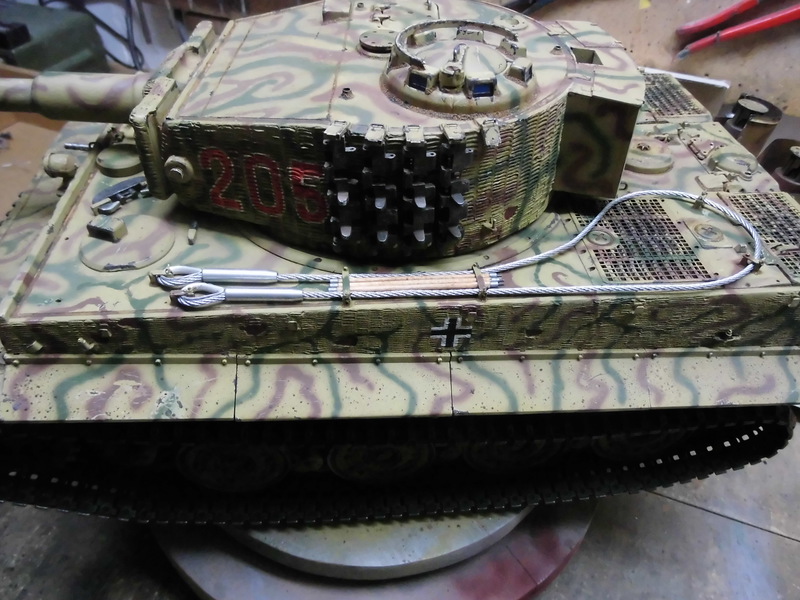
I really like your camo paint job, number stenciling, and damaged Zimmrit work.
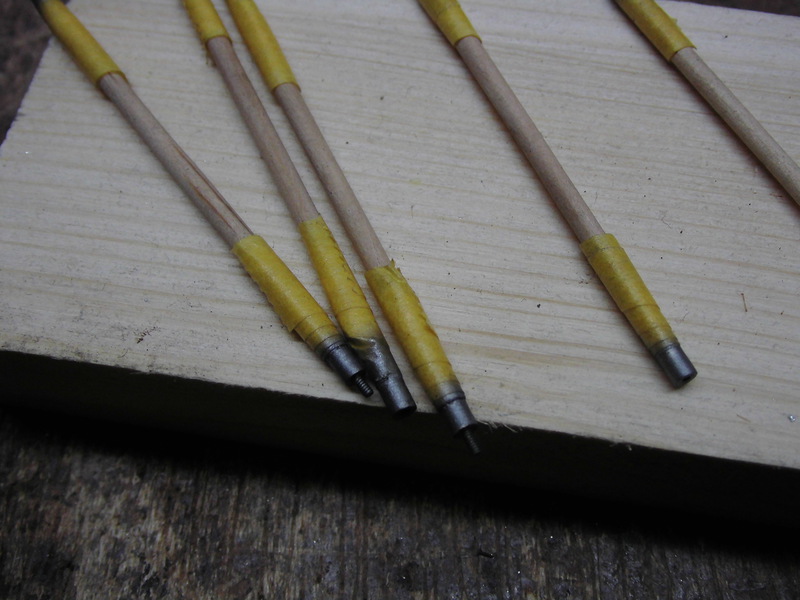
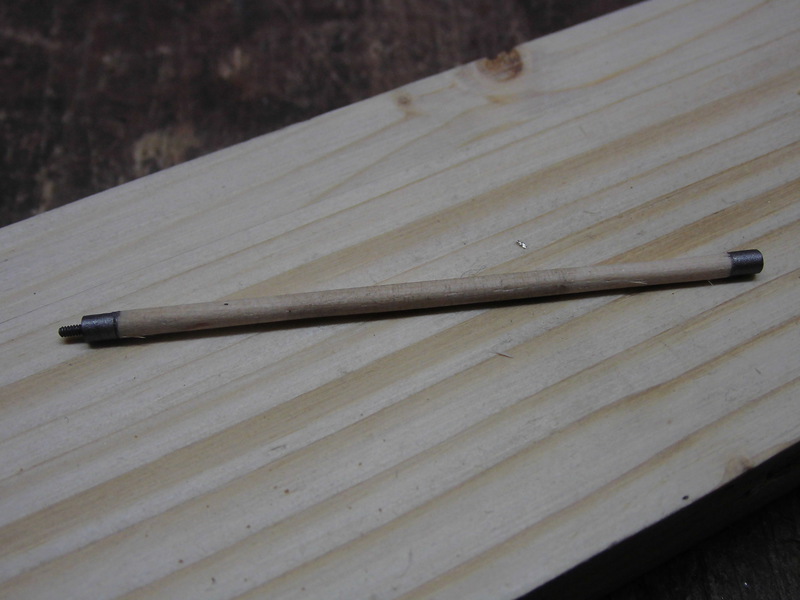
Bravo on the scratch built starter hand crank,, very nice detail work!! Your work is very inspirational to others trying to achieve an awesome looking Tiger.
Re: Tiger I late version
Posted: Sun Mar 11, 2018 5:28 pm
by PainlessWolf
Good afternoon,
Hotte is our Man on Tigers around here, especially with this Beauty. Look up his late Panther G Build sometime for more eye popping authenticity.
regards,
Painless
Re: Tiger I late version
Posted: Fri Mar 16, 2018 10:53 pm
by hotte8487
Burger_Patrol1 wrote:...Your work is very inspirational to others trying to achieve an awesome looking Tiger.
That's how it should be.
Re: Tiger I late version
Posted: Fri Mar 16, 2018 11:03 pm
by hotte8487
Re: Tiger I late version
Posted: Sat Mar 17, 2018 2:04 pm
by Burger_Patrol1
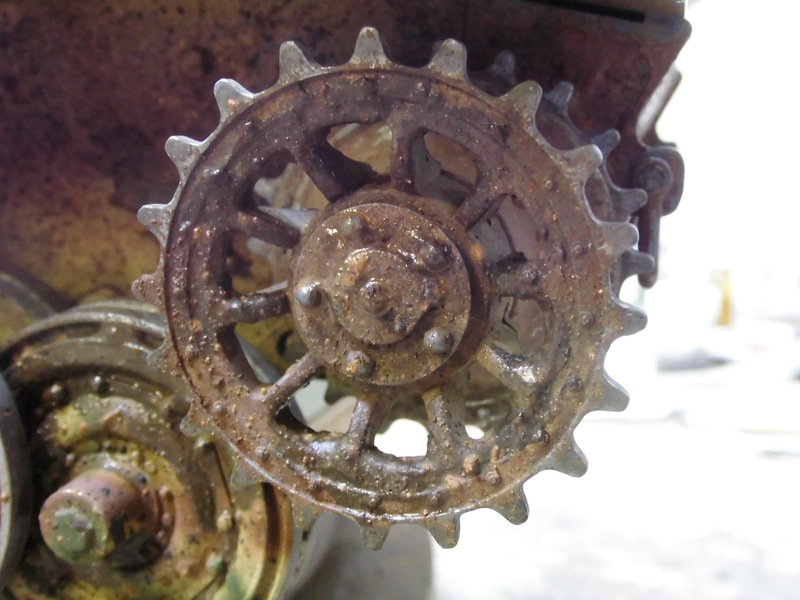
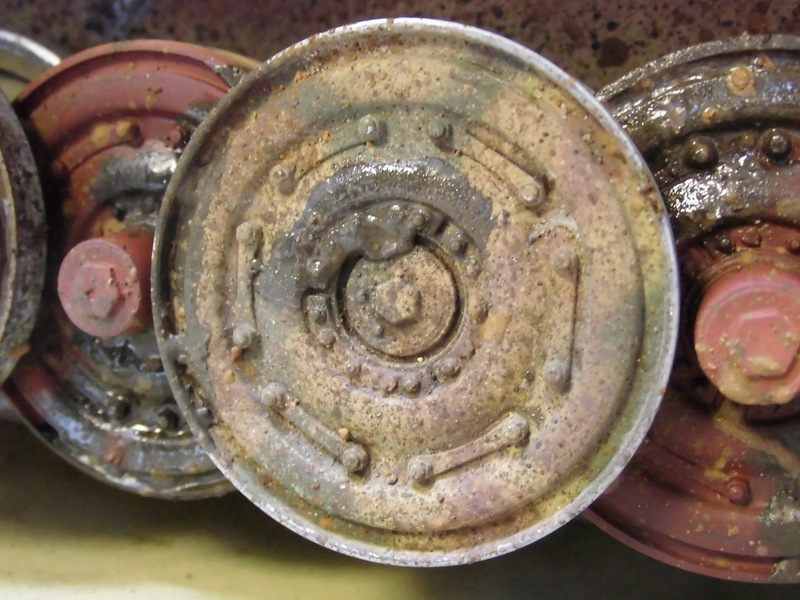
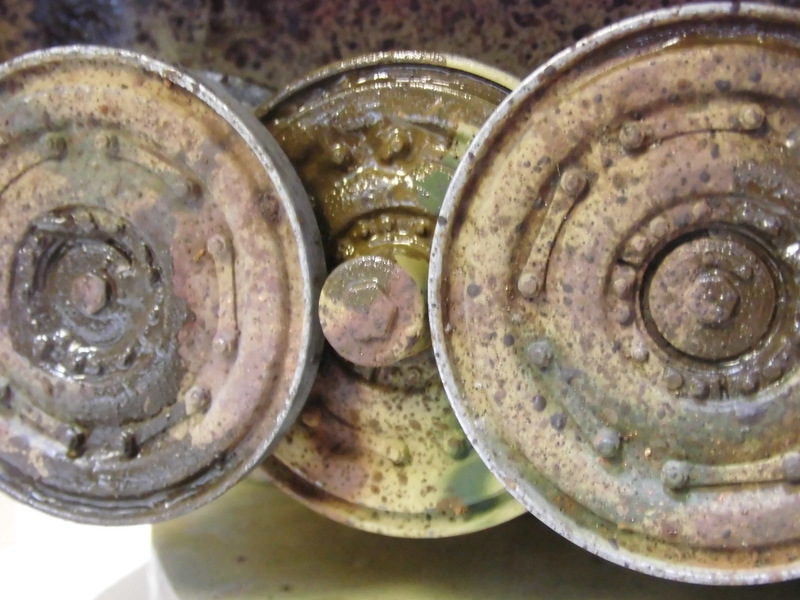
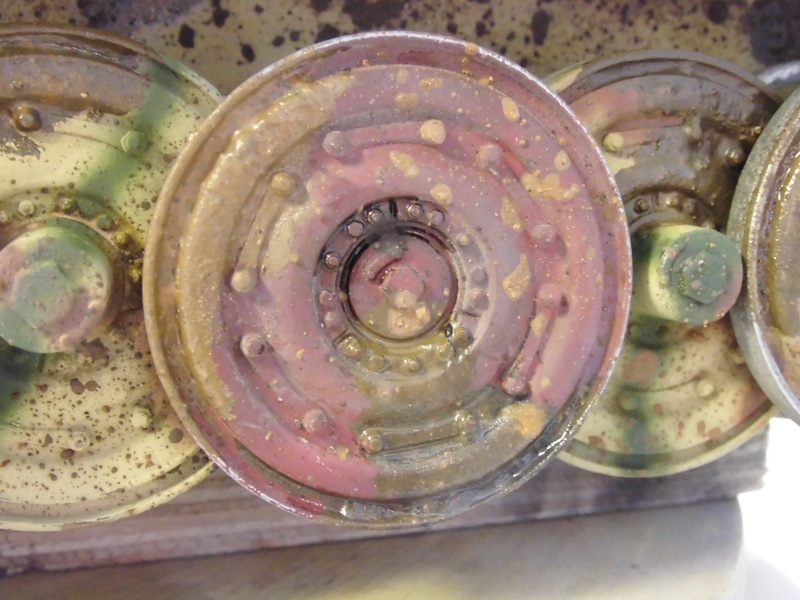
Nice job on the weathering process for the lower hull and running gear!!
Did you use any specific products for these affects?
Re: Tiger I late version
Posted: Sun Mar 18, 2018 6:20 am
by hotte8487
Hello Burger_Patrol1,
as I wrote. As first the desired camouflage pattern with acrylic paints. Thereafter a filtering with turpentine oil and little drop oil paints in each base colour. The dirt splashes are made from pigments, linseed oil and turpentine oil. Applied with a brush and my airbrush gun, using only air to blow it against the lower hull. The thick mud splashes are a mixture of pigments and linseed oil, applied with a tooth picker.
Oil paints and linseed oil neeeds more time to dry; this can be shortened in a warm environment.
Re: Tiger I late version
Posted: Sun Mar 18, 2018 8:59 am
by Ad Lav
Good work! Weathering turned out well.
Re: Tiger I late version
Posted: Mon Mar 19, 2018 9:07 pm
by Burger_Patrol1
hotte8487 wrote:Hello Burger_Patrol1,
as I wrote. As first the desired camouflage pattern with acrylic paints. Thereafter a filtering with turpentine oil and little drop oil paints in each base colour. The dirt splashes are made from pigments, linseed oil and turpentine oil. Applied with a brush and my airbrush gun, using only air to blow it against the lower hull. The thick mud splashes are a mixture of pigments and linseed oil, applied with a tooth picker.
Oil paints and linseed oil neeeds more time to dry; this can be shortened in a warm environment.
Very nice work sir...I enjoy following your build!!!
BRAVO