Page 14 of 18

Re: Tiger I late version

Posted: Sun Jan 28, 2018 7:48 pm
by hotte8487
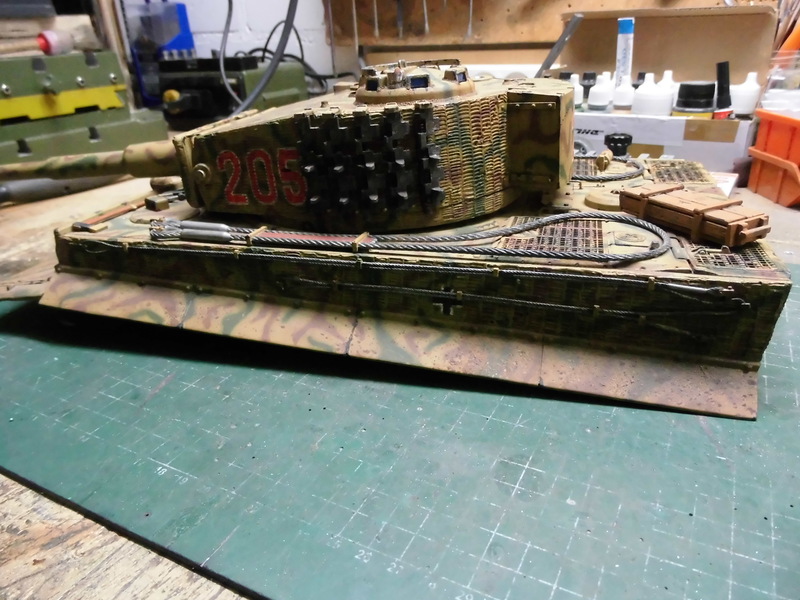
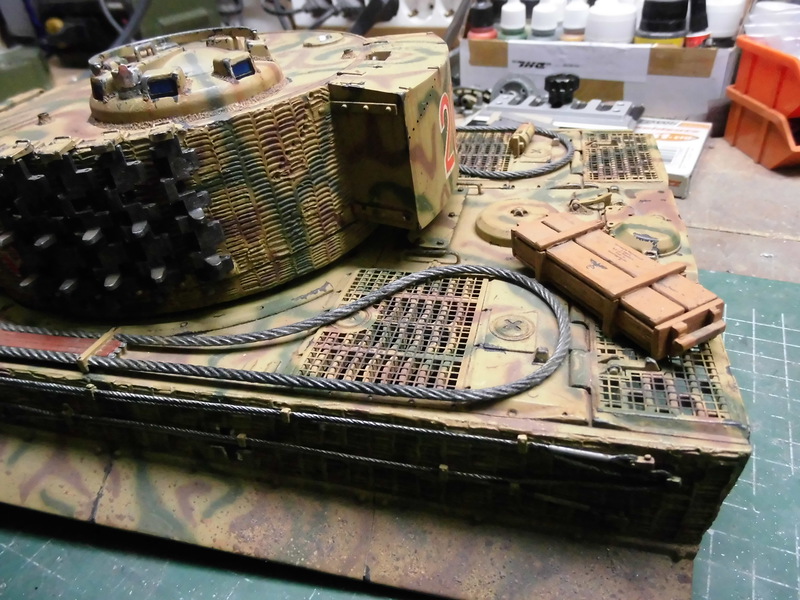
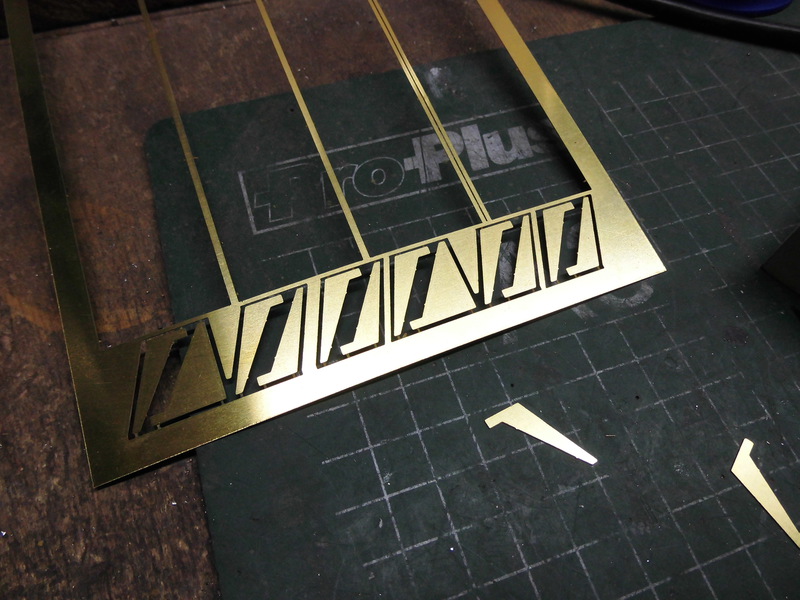
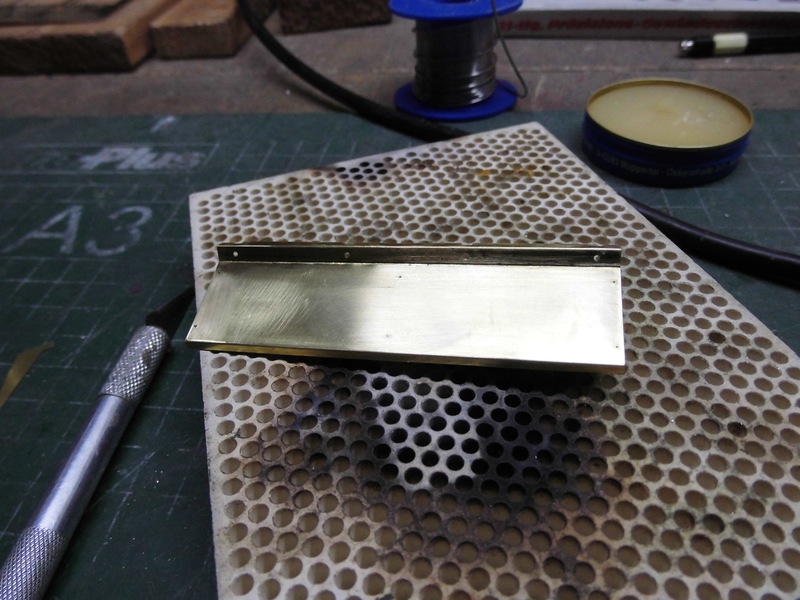
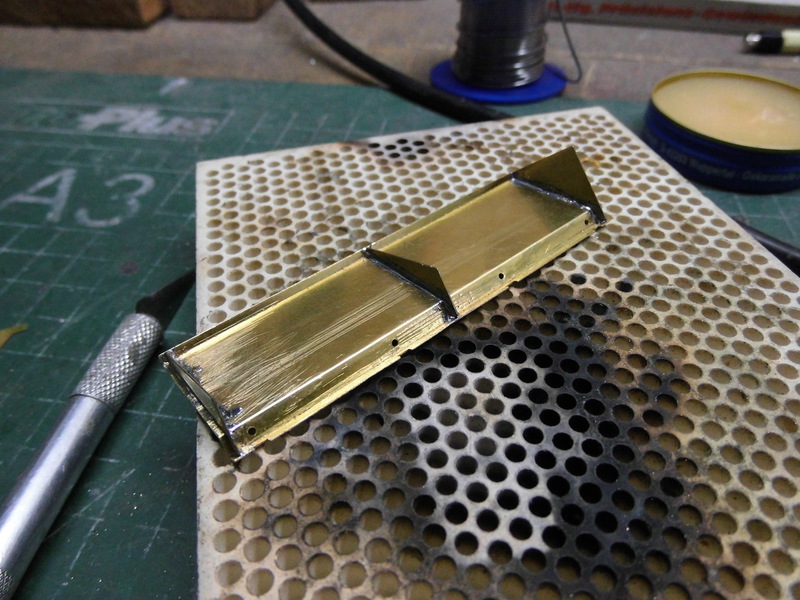
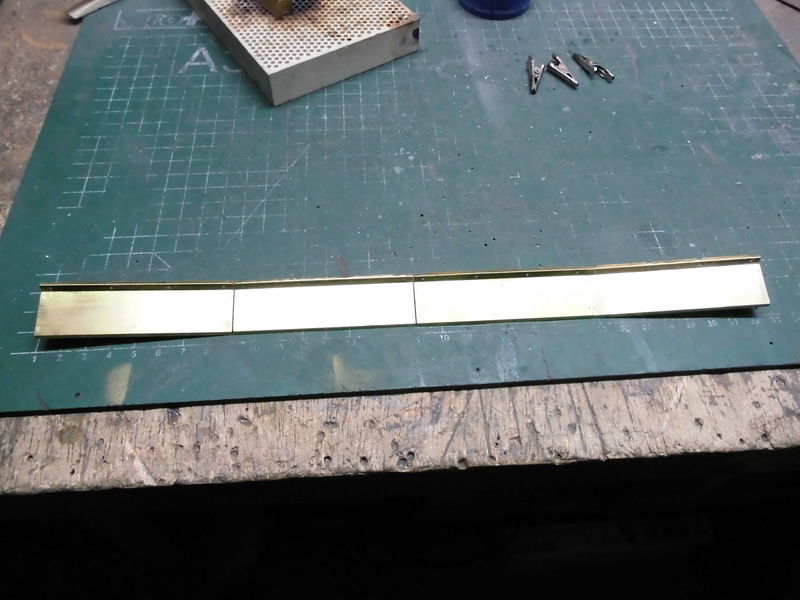
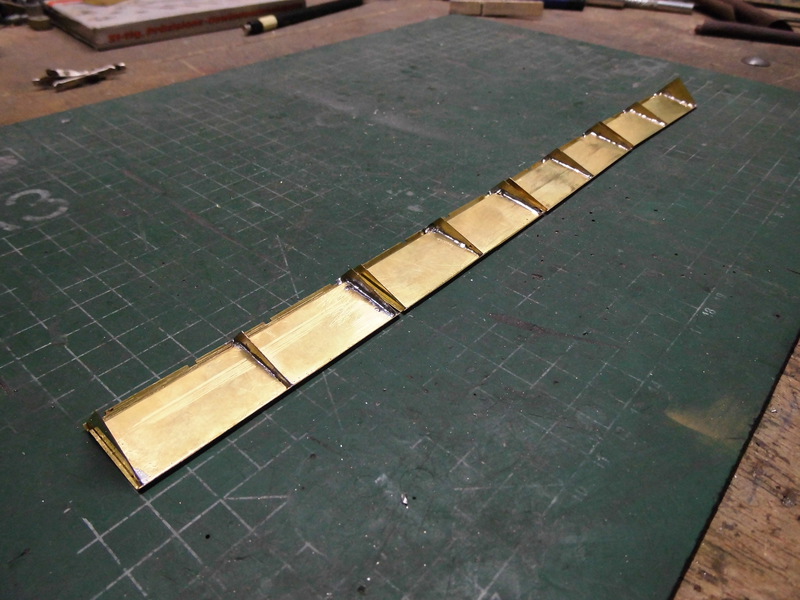
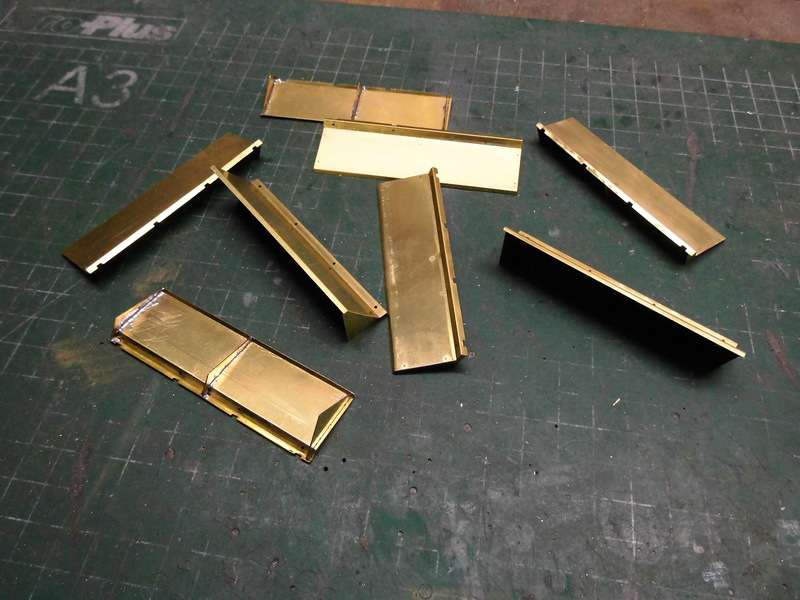
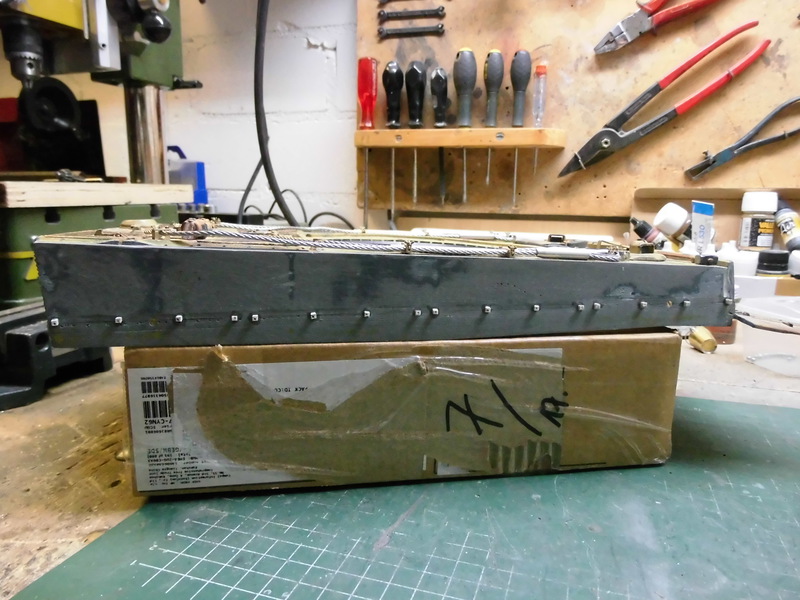
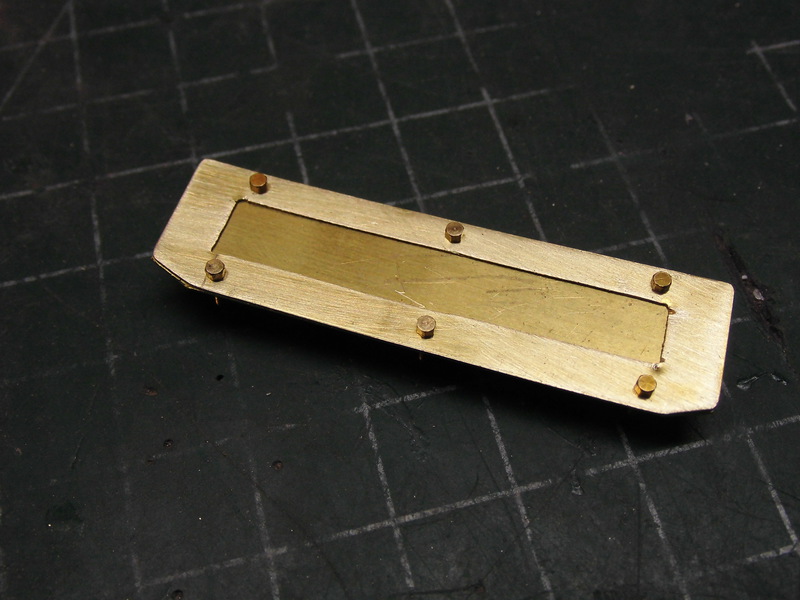
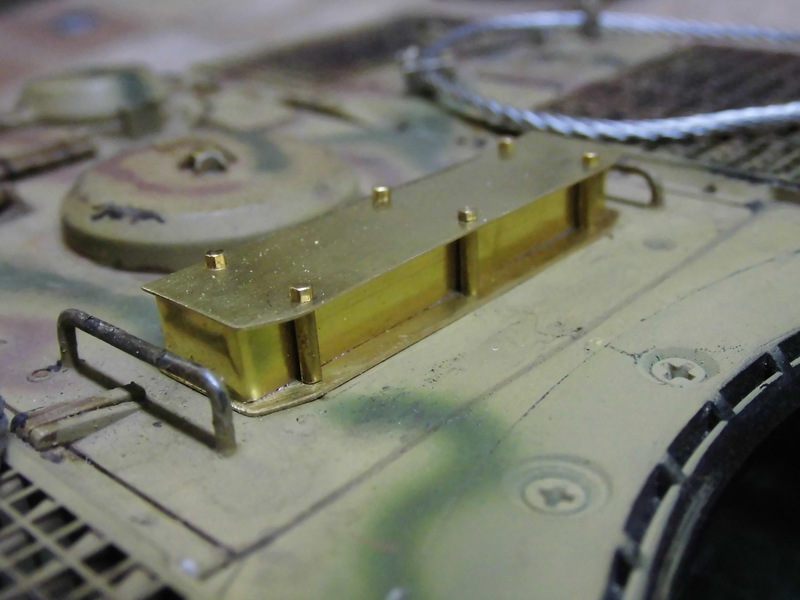
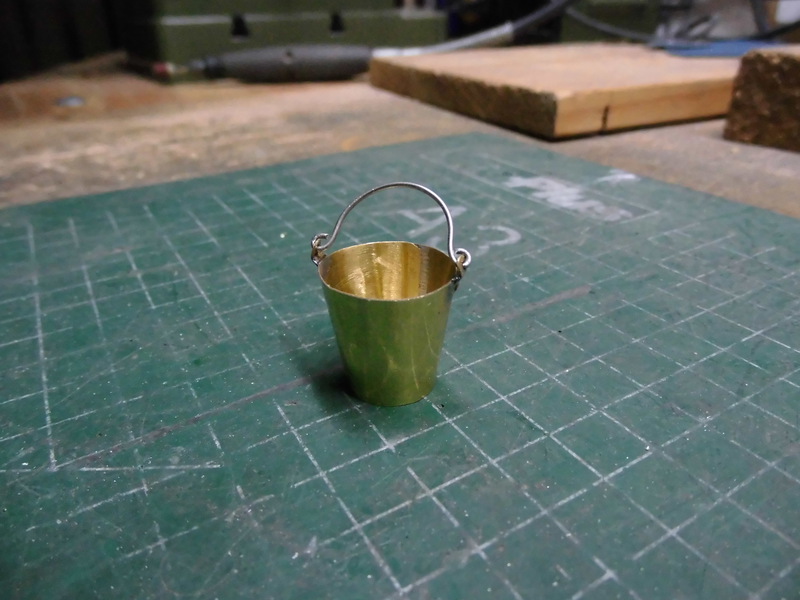
In my etch part order were also some etch parts for buckets included; here is the first bucket finished.

Image

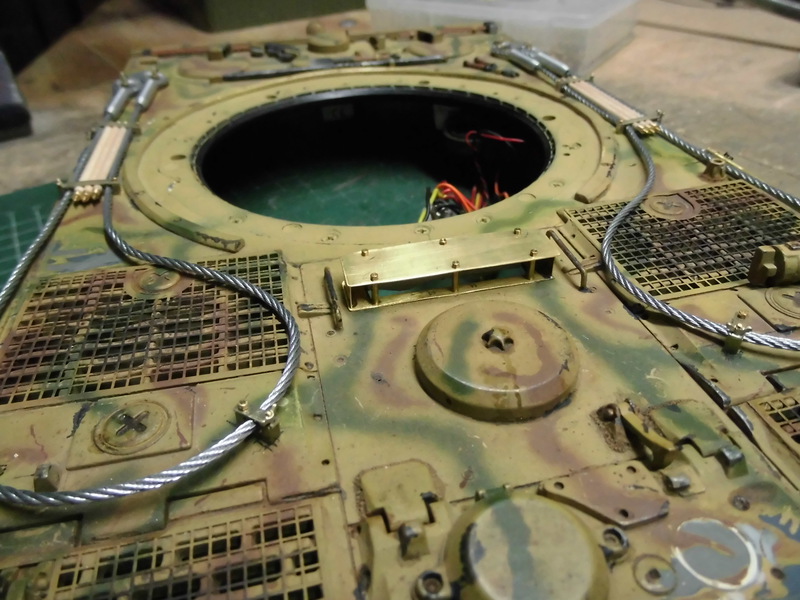
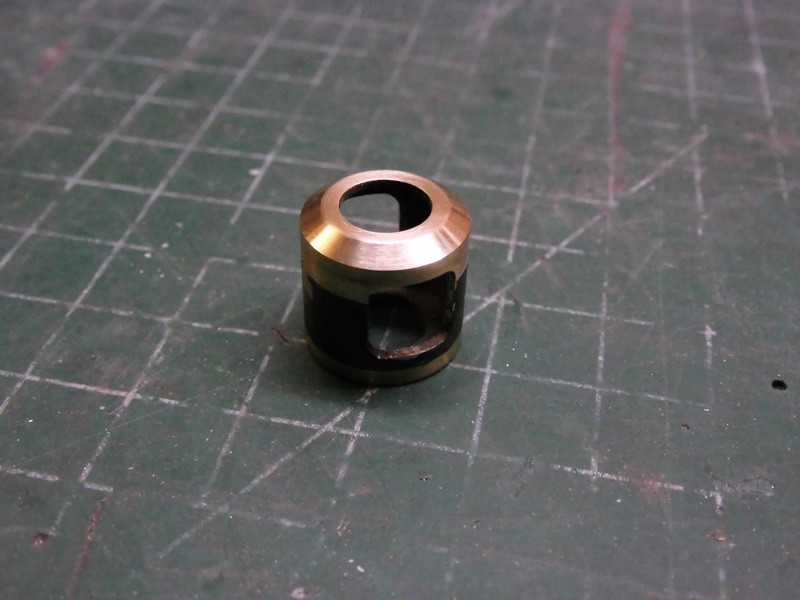
It goes on with some changes at the turret. The commander hatch has in open state no interlock system, the hatch moved while driving back and forth. Furthermore was the position in open state too low; in this position were nothing to see through the periscopes. The same troubleshooting as at my Kingtiger; a shell turned, adjusted and mounted.

Image

Image

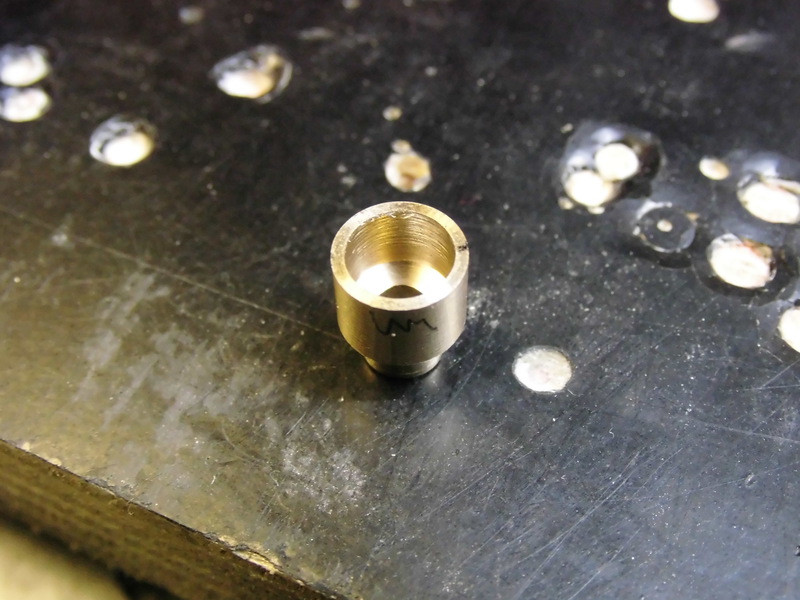
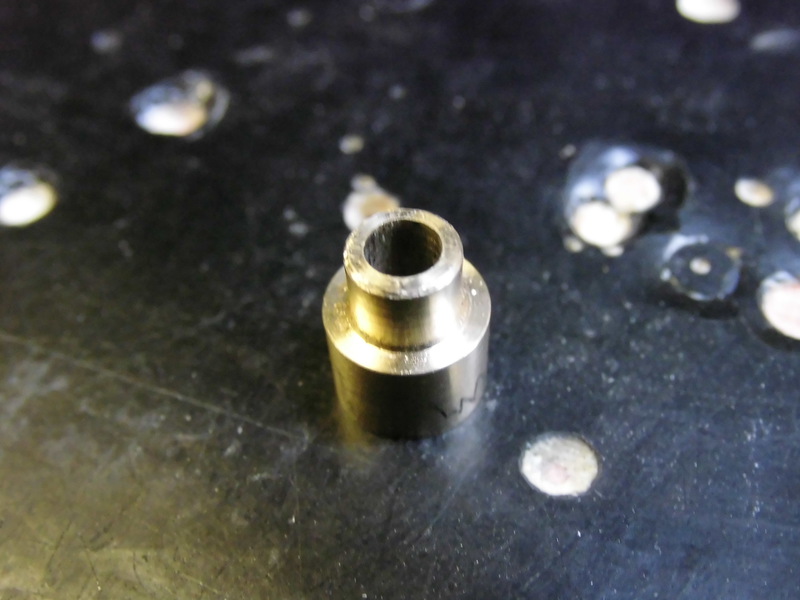
The shell was at the upper part to a half opened and receive a thorn to lock the hatch arm. At commander cupola was the counterpart suitable shortened,…

Image

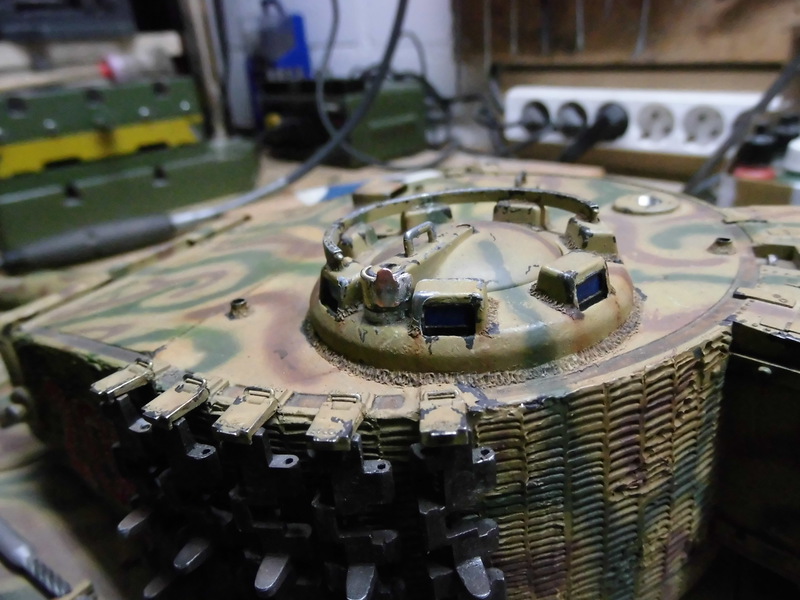
…there was the shell glued in and the hatch again mounted.

Image

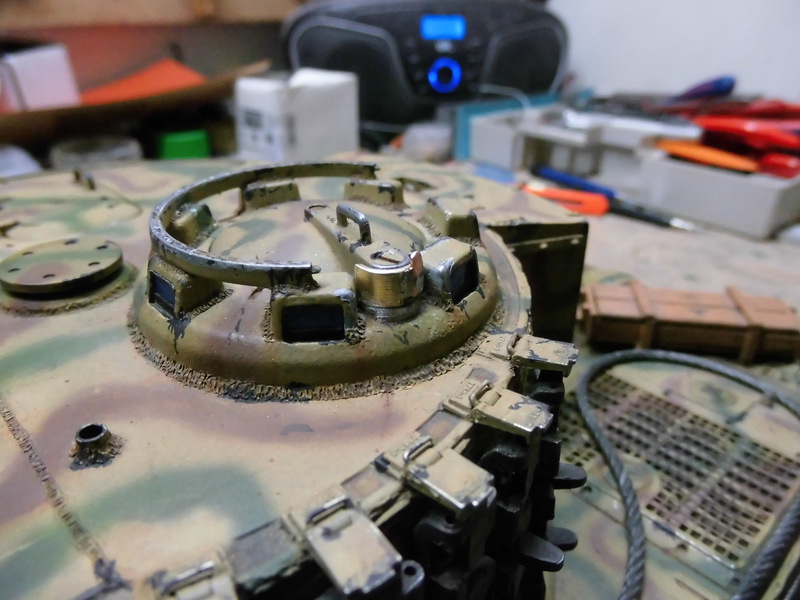
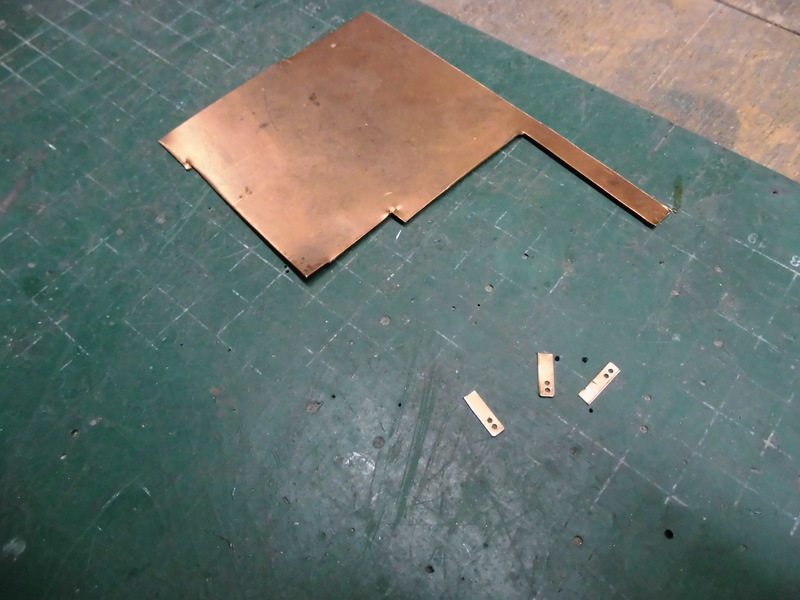
Good to see; the soldered copper plate holds the hatch in open state in position.

Image

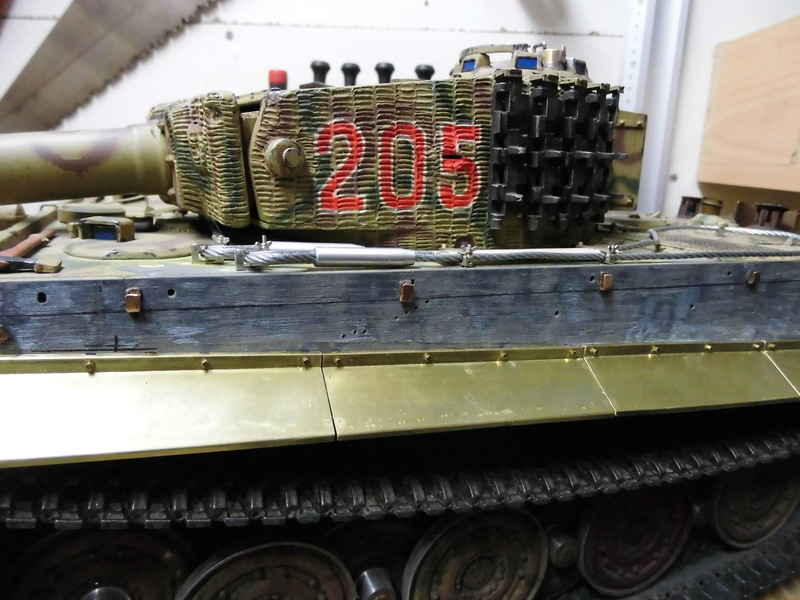
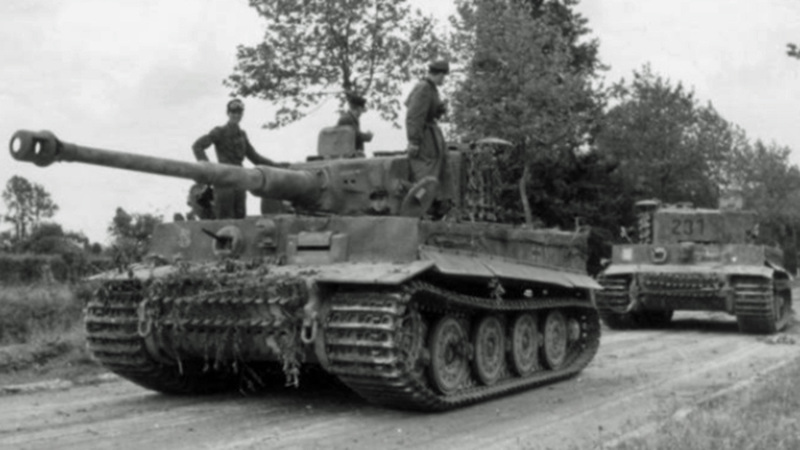
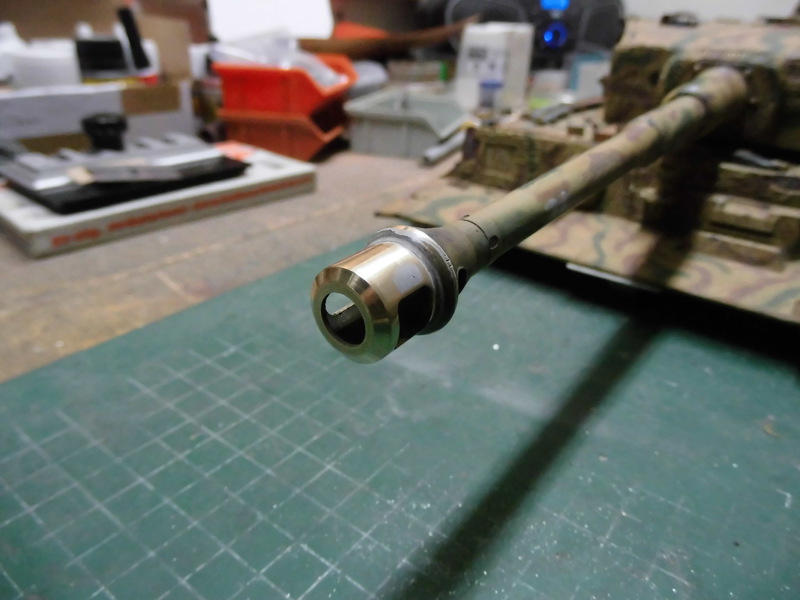
The second change at the muzzle break – an adjustment more in direction late.

Image

Image

That’s all for today.

Re: Tiger I late version

Posted: Mon Jan 29, 2018 8:51 pm
by hotte8487
Many things are to do if you want to have a scale late version; from the mistakes by HL apart times. Many things I’ve already done; but also some new mistakes – to this later. After my decision to keep my Tiger (my re-entry in modelling), now a further modification.

Image

The HL Tiger is an early version and so he has also the early version of the track ropes and their holders (both ends behind). The front holders for the tow ropes are at a late model located behind the drivers and radios hatch. The little metal stripes, were at early model the fog cups were mounted, must be removed.

Image

The laterally holders at the rear stowage box „Rommelkiste“ are at a late version also not included; the “Rommelkiste” herself is also not scale.

Image

I’ve started with the side skirts; all parts again drew and as etch parts ordered. This was the base material for the skirts. Cut and sand,…

Image

…bend,…

Image

Image

…and sold are the work steps.

Image

Then they were ready – here the side skirts for on side from top…

Image

…and here from underneath.

Image

The solder points were still a bit sanded – that’s all.

Image

Thereafter were the old skirts removed.

Image

Image

The old edge I’ve used to place the new skirts and specially to drill the new mounting holes. Screwed with M1; at the inner side is a 1 mm thick brass stripe as counterpart with the threads.

Image

Image

Image

Image

The skirts were again dismantled and the rests of the Zimmerit coat was removed. Good to recognize both screws to hold the brass stripe; these is in the background at the counter side to see.

Image

At the corresponding positions were then the metal plates from polystyrene for the skirts glued.

Image

It goes on with the holders for the tow ropes – next time…

Re: Tiger I late version

Posted: Tue Jan 30, 2018 7:15 pm
by hotte8487
Today to the tow ropes and their holders; as first were all old holders removed and the holes closed.

Image

Image

Image

Image

Used were tow ropes and holders from Schumo Kits, these were a bit adjusted. The rear holders receive in both drills a thread M1, through one hole were a bolt from underneath screwed. At the other hole comes a bolt from top and holds the strike plate. These must be build new, because the slit is now at the side.

Image

The front holders were corresponding to a late version offset to the rear behind driver and radio operator hatches; the locking screw is moveable – to that later.

Image

The middle holders were at the same way adjusted; here is the tow rope already inlaid.

Image

Image

Adjusted were the holders as follow. One side receive a slit and horizontal a 0,8 mm drill. There were an adjusted M1 eye bolt fitted.

Image

First were all holders with normal M1 nuts screwed.

Image

Image

Image

Image

At last were all strike plates with M1 wing nuts screwed. For that were the attached wing nuts used; the threaded rod removed, a hole drilled and an M1 thread cut.

Image

The eye bolts were at finish suitable shortened.

Image

The barrel cleaning rods are still lack; therewith it goes on next time.

Re: Tiger I late version

Posted: Tue Jan 30, 2018 7:23 pm
by Kostyanchik
admire the work of aimed at fine detail model.

Re: Tiger I late version

Posted: Wed Jan 31, 2018 6:27 am
by hotte8487
Kostyanchik wrote:admire the work of aimed at fine detail model.
Thank you very much. I'm glad that you like my "hard" work. ;)

Re: Tiger I late version

Posted: Tue Feb 06, 2018 7:07 am
by hotte8487
The barrel cleaning rods were also newly built.

Image

Two little brass parts for each rod; the wooden part is again made from a shashlik skewer.

Image

Both metal parts were thereafter in the wooden part glued.

Image

Image

At finish were the completed cleaning rods sanded.

Image

Image

Three cleaning rods were for each side made and in the middle part of the tow rope holder mounted.

Image

A few views…

Image

Image

Now to the chain rope and the holders. While an early version has both ends at the rear, are at a late version one end in front and the other end at the rear mounted, the rope tensioner is also at the rear. Also the rope holders are at a late version changed, at first I’ve cut and bend the holders.

Image

These were at the corresponding points glued, supported from a little leading pin.

Image

Image

Before I make my chain rope I’ve concern me to the late air intake. This part is not to all sides open, but to both sides and the front closed and – also a bit higher. The single parts were cut from a piece brass sheet and modified.

Image

The air intake consists of a base plate with a slit, a three sides frame, a cover plate and pipe sleeves as support between both plates. Base and cover plate were together modified, so that both parts were congruently.

Image

Thereafter mounting at the tank, again a few views. Ahead...

Image

…and from behind.

Image

Image

So much for today, next time it goes further with a new antenna container.

Re: Tiger I late version

Posted: Tue Feb 06, 2018 11:34 am
by HERMAN BIX
Extraordinary work Sir...........
I will take much of your good work and try as best I can to emulate it on my F05 build once I fulfill my duties to a man I respect and have been tasked with carrying out some project work on his machines.

Are you going to change the entire paint scheme or just match it up ?

Re: Tiger I late version

Posted: Tue Feb 06, 2018 5:13 pm
by hotte8487
Thank you very much Mr. Bix. :thumbup:

While the last years in use I've found some mistakes and some things to change to give him more real look. This was the reason for the re operation. A few changes are left; so I think he has had still the binocular gunsight; at many pictures from the batallion to see.

Image

Image

Image

I think my camouflage pattern was almost real, but my Zimmerit coat isn't completely correct.

Image

Image

Image

Actually I only want to do supplement at my camouflage pattern, but this work is still to do and so we will see, how I will decide me.

Re: Tiger I late version

Posted: Wed Feb 07, 2018 9:19 pm
by Tiggr
Another fine rendition of the Tiger 1 :clap: :thumbup:
Looking forward to the end results Mr Hotte

Re: Tiger I late version

Posted: Wed Feb 07, 2018 11:43 pm
by c.rainford73
Mr Hotte really well done :clap: