Building a Tiger 1

User avatar
Bigwheels_inc
Private
Posts: 75
Joined: Thu May 13, 2010 11:58 pm

Re: Building a Tiger 1

Post by Bigwheels_inc »

Thanks for the help guys :)

Blimp thats a great site

Tank man Thank you for the pics there great and show quite a few diffrences, looks like there's a 1/4 inch diffrence in the lenth of the turrets but now just to work out where
you know what they say in for a penny in for a pound so anything that needs modding to be right or look right has to be done,
The turret seems to be the main issue with most 1/16 Tiger 1's ive seen not including Tamiya's
should of kept my Tamiya tiger 1 and finished it, but with the cost of the tamiya I could'nt bring myself to modd it LOL

as for spares I always have a few laying around and more comming in so thats not a problem ;)
lets hope I can make this one something special and document it on here for anyone else who needs the info
User avatar
The Tank Man
Staff Sergeant
Posts: 971
Joined: Sat Jul 16, 2011 9:06 am
Location: England UK Bolton Manchester

Re: Building a Tiger 1

Post by The Tank Man »

If all else fails you could allways buy the turret there on eBay JRRC has then in stock there about £15 but you only get the turret not the top lid but I'm sure you could get the henglong parts to fit :thumbup:
I love the smell of napalm in the morning!
User avatar
Bigwheels_inc
Private
Posts: 75
Joined: Thu May 13, 2010 11:58 pm

Re: Building a Tiger 1

Post by Bigwheels_inc »

Hi guys,
Just a quick update on the Tiger 1
Decided its going to be an eaarly Tiger 1 just because its cheaper to build for now,
heres some pic's of the work so far, let me know what ou think.

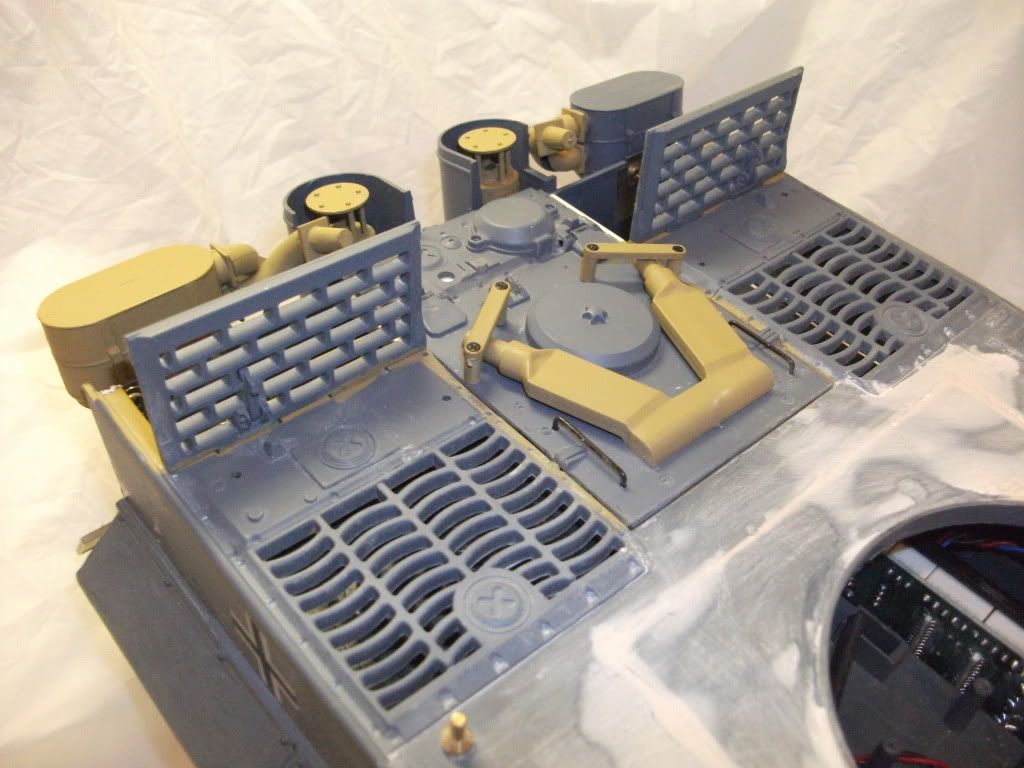
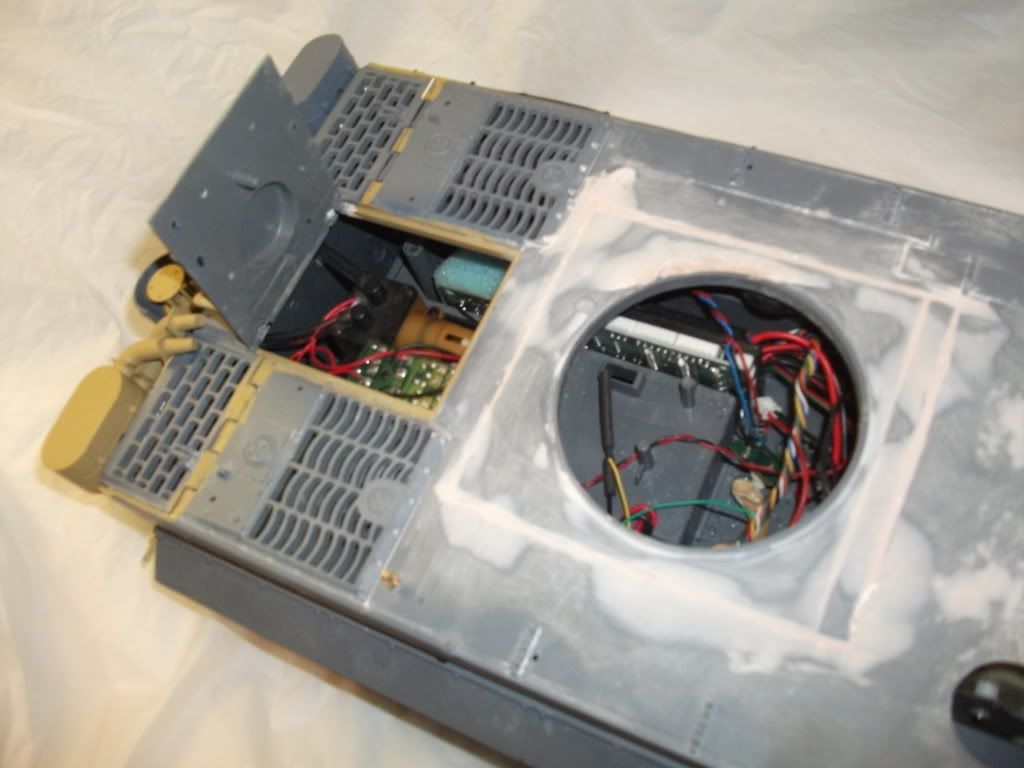
Opened the ehgine bay cover up and hinged it.
Image

Image

Also opened and hinged the Radiator covers
Image

Image

Moved the turret hole back 10mm (still got sanding to finish etc)

Image

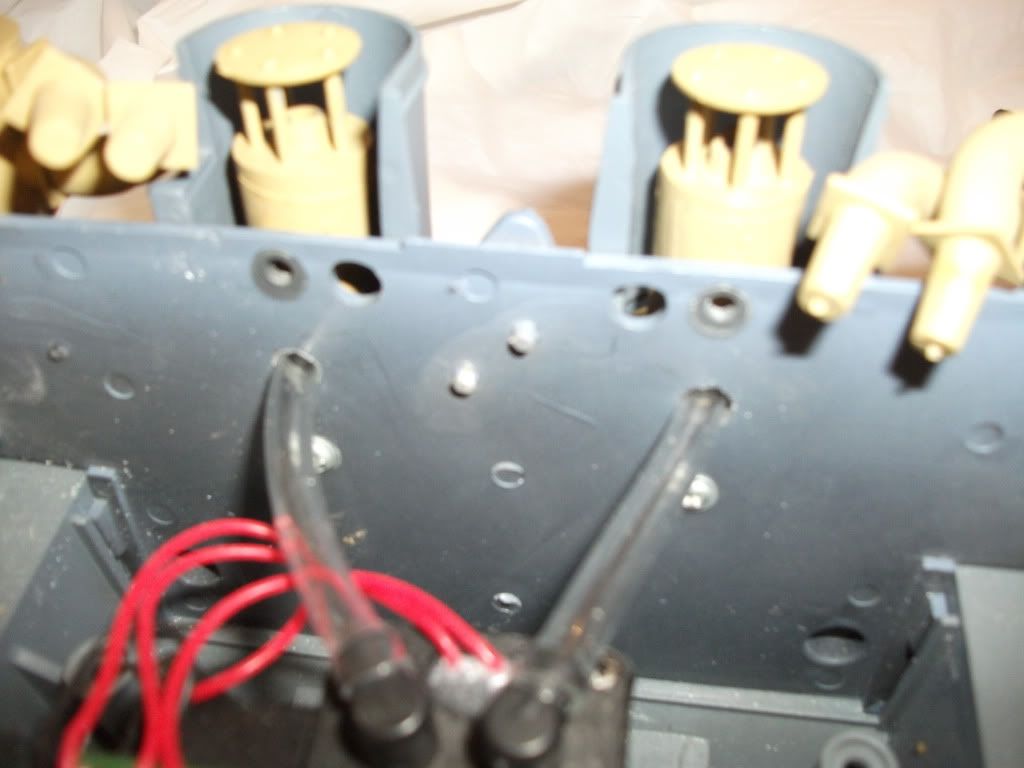
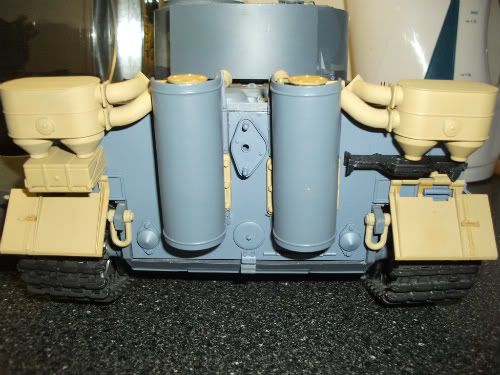
& got the exhausts working properly

Image

Now to sort the rear panel out and make it the right height and do a few other little bits
will update soon
User avatar
Herr Fritz
Lance Corporal
Posts: 159
Joined: Sun Oct 02, 2011 7:28 am

Re: Building a Tiger 1

Post by Herr Fritz »

I really enjoy seeing work like this. Sir you are doing some creative mods there! :thumbup:

Thanks for sharing.
I can't wait to see more and I wait get my shop set up and get back to mien early Tiger project.
"Don't let schooling interfere with your education" Mark Twain.
User avatar
The Tank Man
Staff Sergeant
Posts: 971
Joined: Sat Jul 16, 2011 9:06 am
Location: England UK Bolton Manchester

Re: Building a Tiger 1

Post by The Tank Man »

Brilliant work so far keep it up!! :thumbup:
I love the smell of napalm in the morning!
caddyshack
Sergeant
Posts: 501
Joined: Wed Jun 15, 2011 8:31 pm
Location: Uk

Re: Building a Tiger 1

Post by caddyshack »

Looks like your off to a great start. Keep up the good work.
Man will occasionally stumble over the truth, but most of the time he will pick himself up and continue on.

~~~Winston Churchill~~~
User avatar
Bigwheels_inc
Private
Posts: 75
Joined: Thu May 13, 2010 11:58 pm

Re: Building a Tiger 1

Post by Bigwheels_inc »

Thanks for the comments guys, But its still going to need allot of filler, LMAO
and its built out of the parts that I deemed unsellable, the turret had the barrel snapped off and the cupola broken and the upper hull electrics where shot, and the chassis has a massive crack in it,
But all hope is not lost, we have the power to rebuild :haha: :haha:
and now for something completely diffrent :)


Pete's Tip of the week ;)
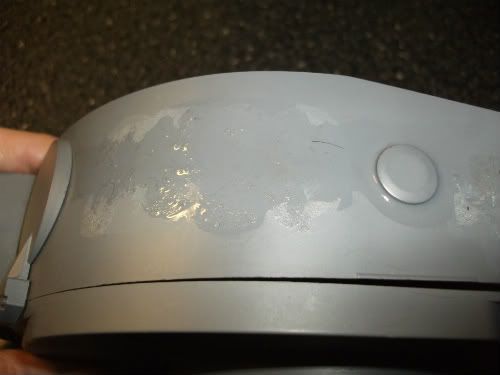
Ok so we all get sticky bits like where stickers or double sided tape has been removed from the back of your RX18,
So this is how I remove it quickly :)

1) remove offending item (in this case stickers)
Image

2) Get out the lighter fluid
Image

3)Apply lighter fluid to sticky stuff/patch
Image


4)wait for 8 - 10 seconds (unlike photobucket which is taking 5 minutes just to resize this pic)
Image

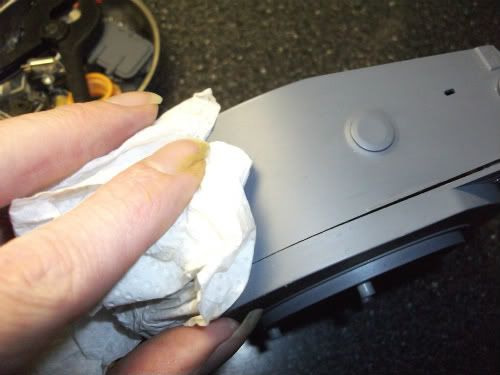
5)Wipe with some Kitchen towl
Image

6)Hey Presto no more sticky stuff/Patch
Image
you may need to do steps 1-5 two to three times depending on how sticky the stuff is but it works every time :)
Last edited by Bigwheels_inc on Mon Feb 06, 2012 10:26 pm, edited 2 times in total.
User avatar
Bigwheels_inc
Private
Posts: 75
Joined: Thu May 13, 2010 11:58 pm

Re: Building a Tiger 1

Post by Bigwheels_inc »

Started on the rear panel
still got to fill & sand it but its getting there :)
Image

Image

Image
User avatar
littletankman
Warrant Officer 1st Class
Posts: 1762
Joined: Mon Jan 12, 2009 1:15 pm
Location: Peterborough , Cambs , UK

Re: Building a Tiger 1

Post by littletankman »

Theres a load of issues with the HL Tiger but its all fun
Last edited by littletankman on Mon Feb 06, 2012 11:32 pm, edited 1 time in total.
User avatar
littletankman
Warrant Officer 1st Class
Posts: 1762
Joined: Mon Jan 12, 2009 1:15 pm
Location: Peterborough , Cambs , UK

Re: Building a Tiger 1

Post by littletankman »

littletankman wrote:Hi I moved my turret back 10mm and centerlised the ring on the turret base so I could fit the turret protection ring .

andy
Post Reply

Return to “Tiger I”