Hi everyone, thank you for your interest.
Excellent Dongskie, that's what i had in mind.
Continuing the build with the suspension and roadwheels
Following the successful prototype, i am setting up a small assembly chain. Preparing the outer tubes for holding the suspension arms on the chassis. These are made of 4mm brass tubes, inner 3mm. I did cut the brass tubes using a hobby knike new blade rolled around the tubes while flat on a surface instead of using a tube cutter. I found that tube cutters are not sharp enough and usually crush the tube a bit, creating problems when overlapping tubes are required. This process ruins the blade of course but i usually purchase 100 of them for about $25 online so this is not a real problem and it saves a lot of trouble trying to fit the tubing.

- 1/16 RC M-113A1 ACAV - Converting the Takom/Andy's HHQ kit to RC
- 1.jpg (2.74 MiB) Viewed 1419 times
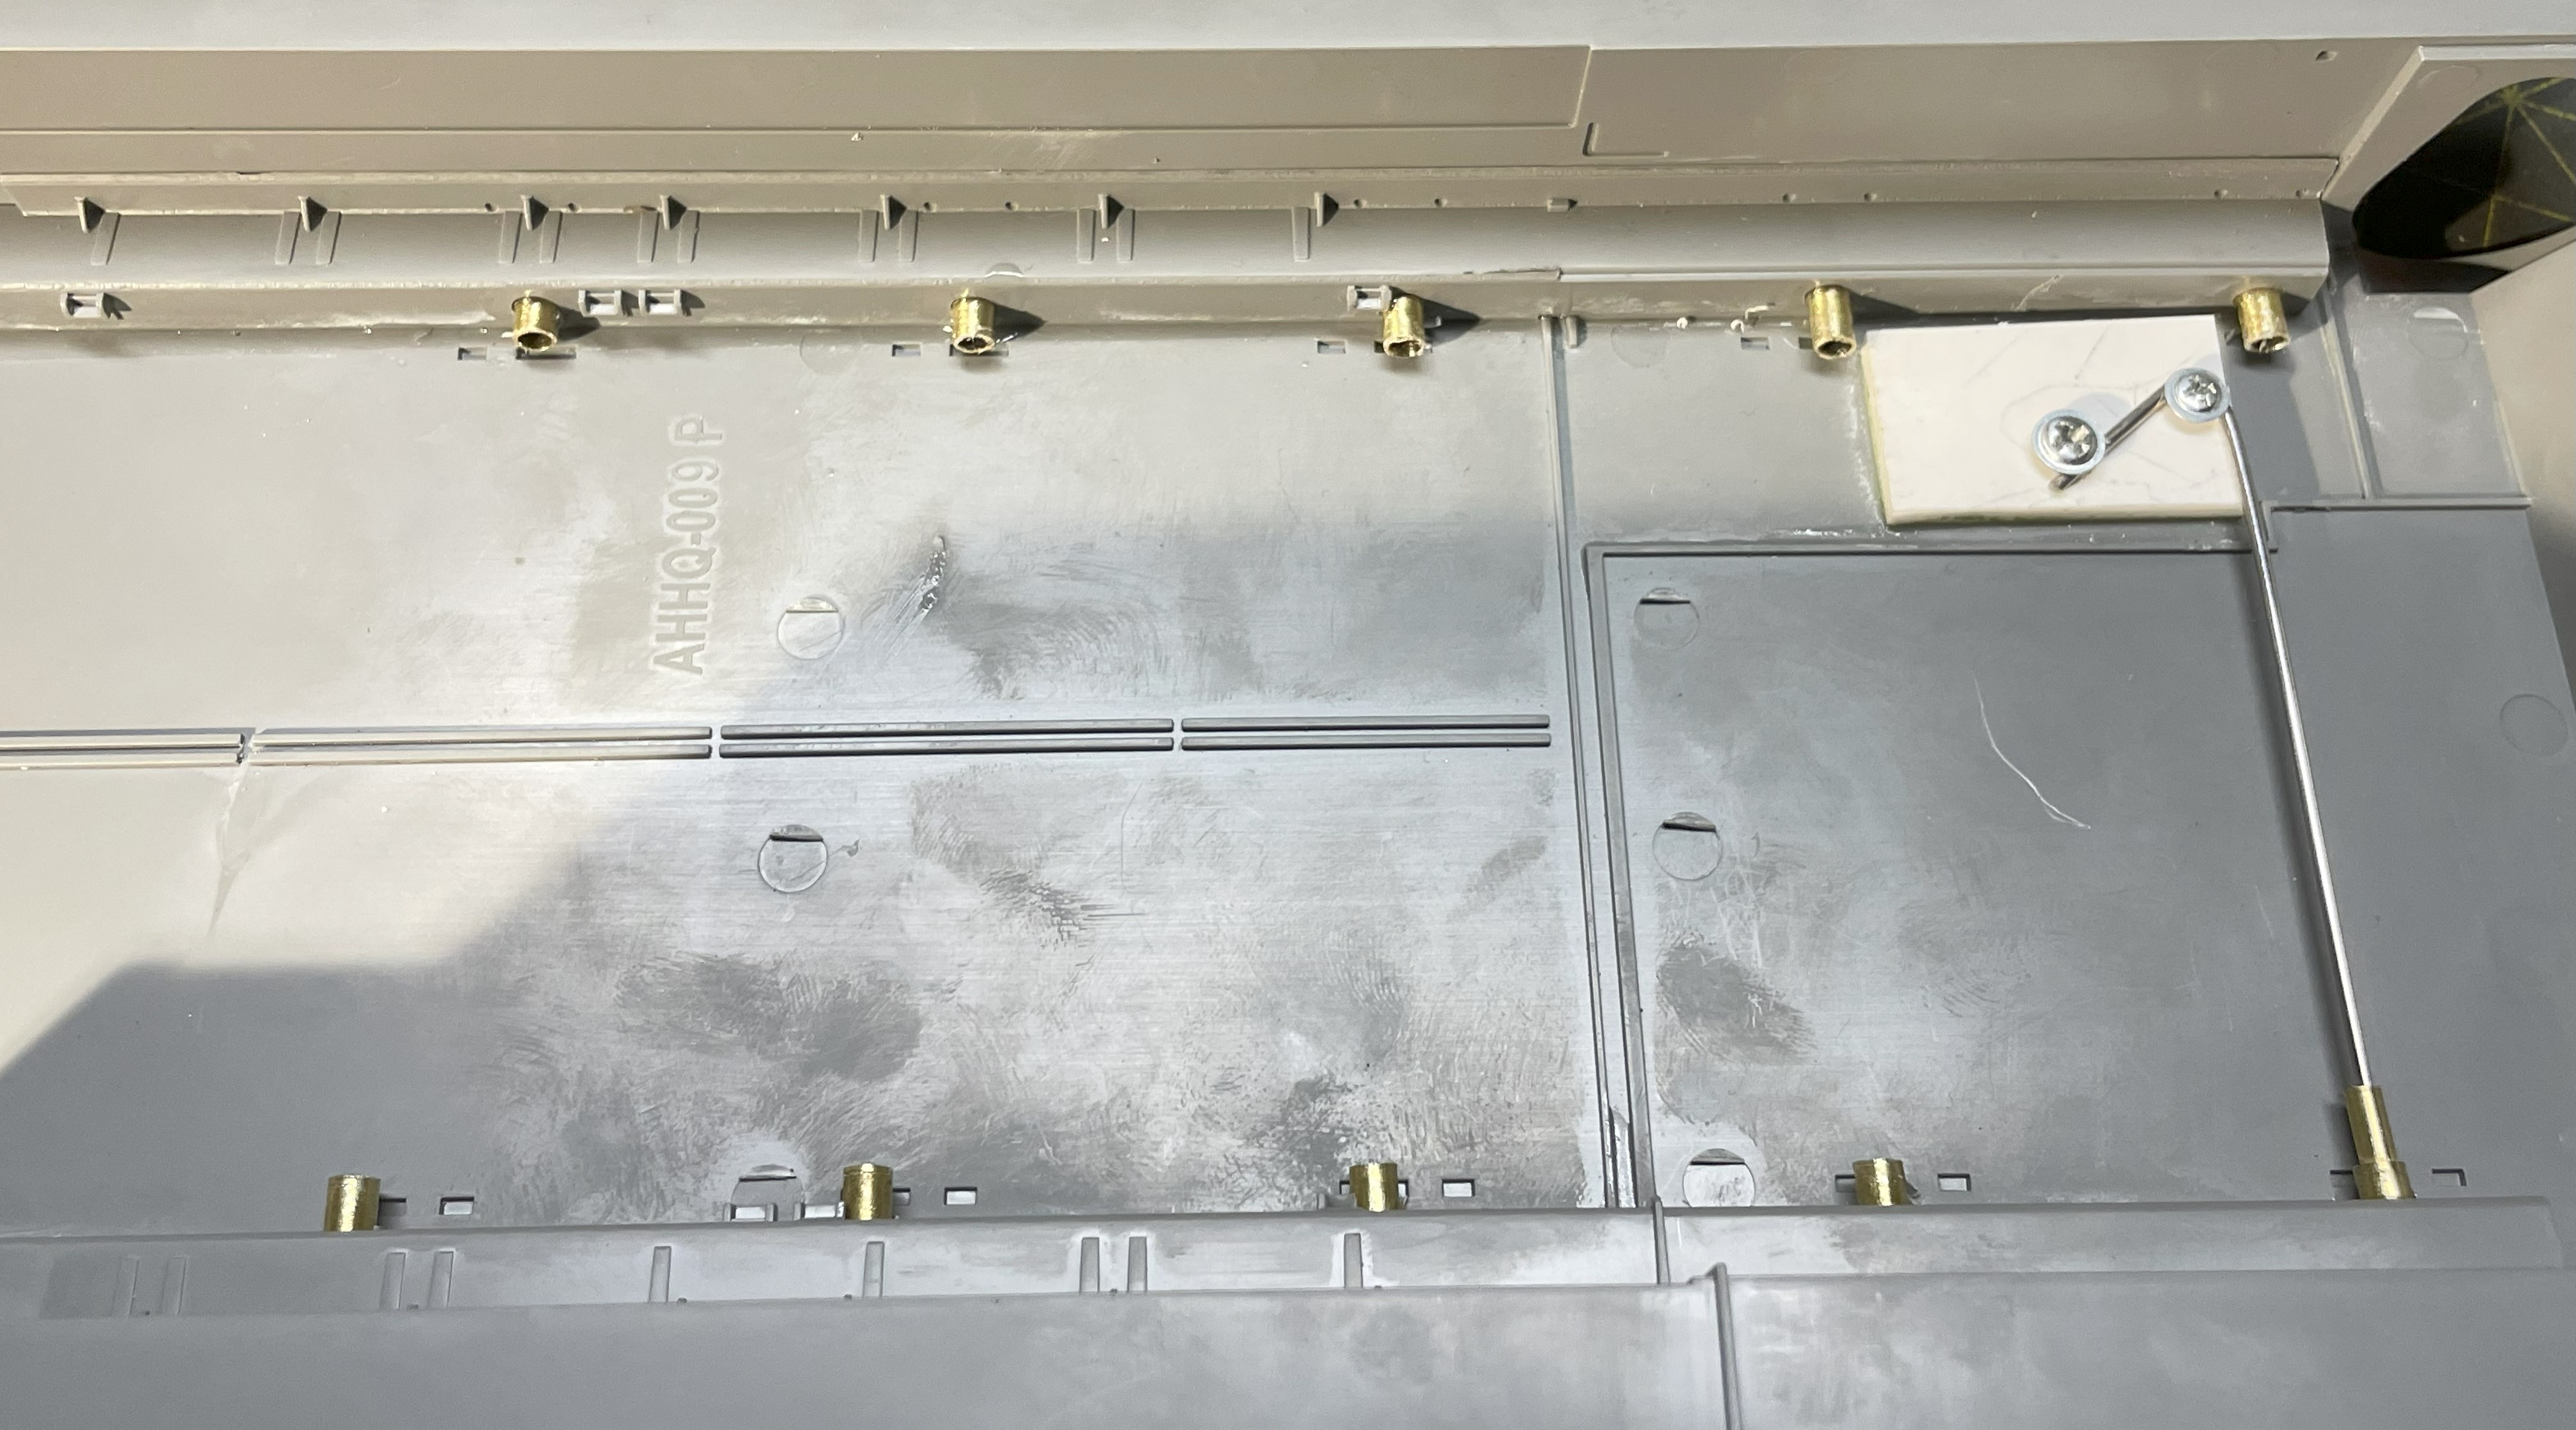
The holes for the torsion bars on the chassis are enlarged with a new drill bit and the outer tubes are installed, permanently glued in place. It is critical that these holes are enlarged correctly, they must be strait and horizontal with the surface. Otherwise, the suspension will not be strait.
- 1/16 RC M-113A1 ACAV - Converting the Takom/Andy's HHQ kit to RC
- 2.jpg (1.33 MiB) Viewed 1419 times
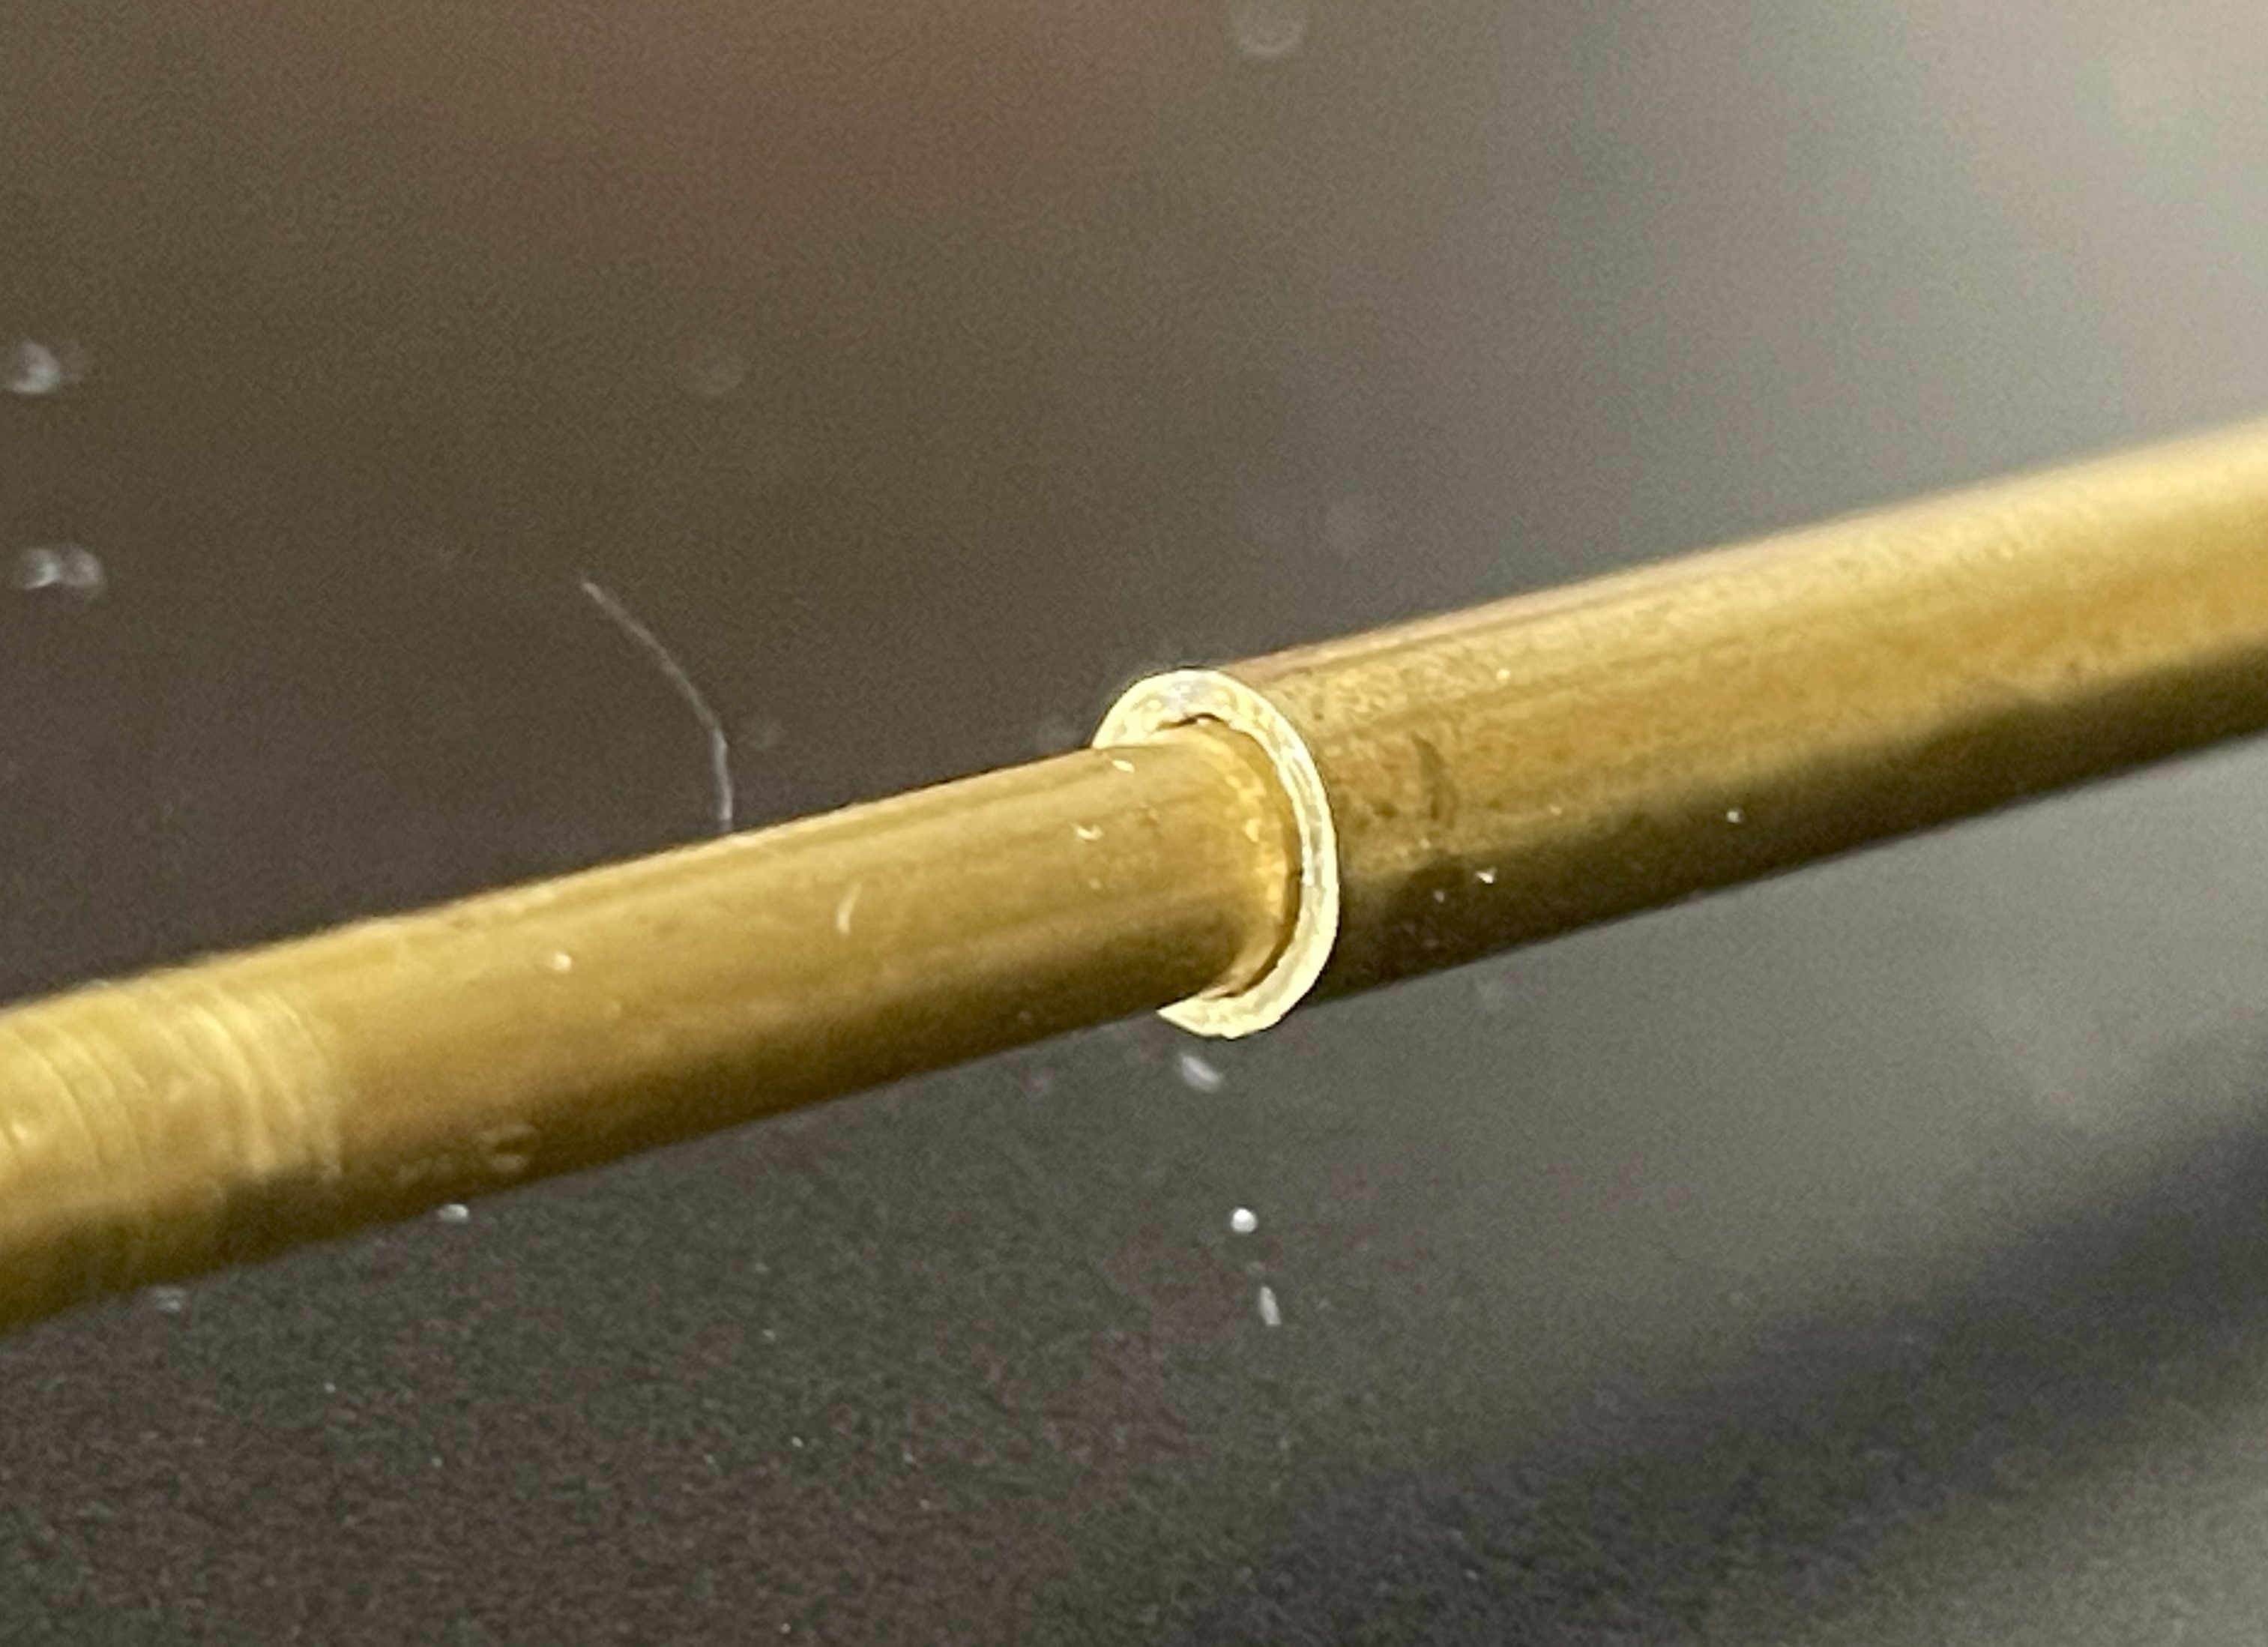
The mount for the suspension arms are 3mm tubes. There are many different wall thickness and brands of tubes. It is important to ensure that the ones selected are overlapping with a tight fit, while still being loose. A lot of cleanup and sanding are usually required at the both ends following the cut.
- 1/16 RC M-113A1 ACAV - Converting the Takom/Andy's HHQ kit to RC
- 2A.jpg (671.58 KiB) Viewed 1419 times
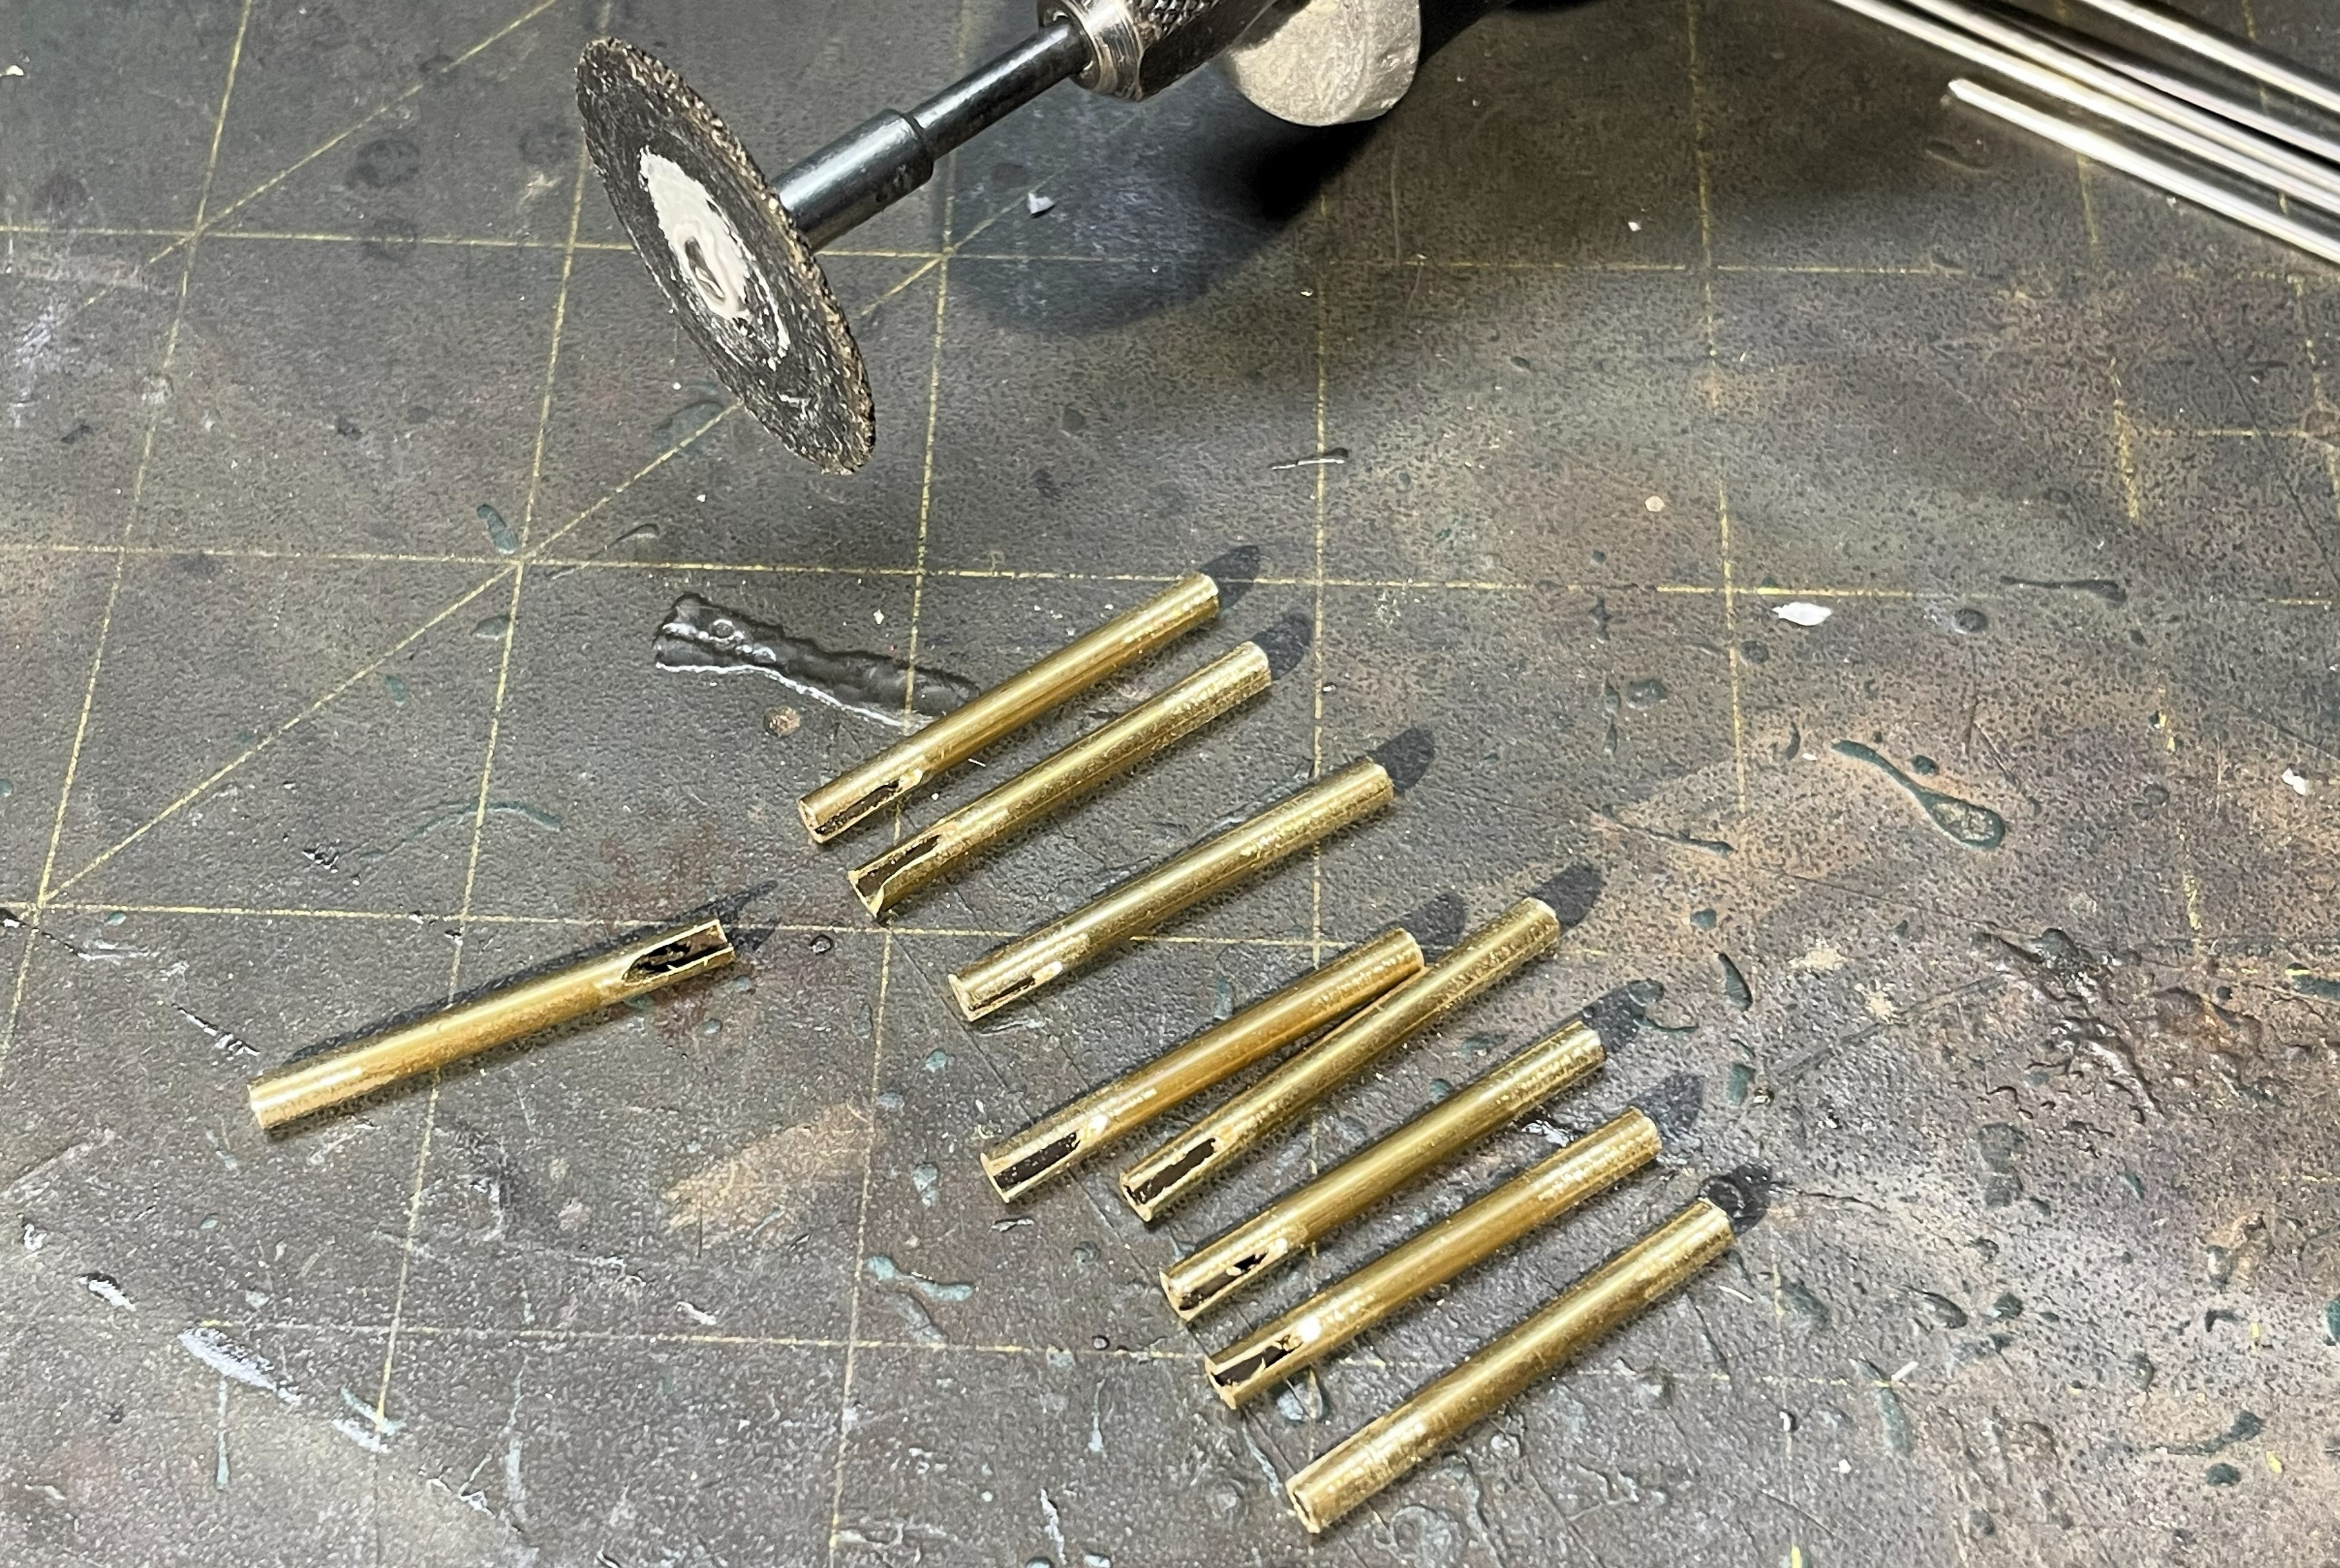
The suspension arm mounts are made and a slot for the torsion bar anchor to stick out at the tip is made using a Dremel cutting disk. The slots are made in 2 minutes and do not require perfection, these will soak in epoxy anyway.
- 1/16 RC M-113A1 ACAV - Converting the Takom/Andy's HHQ kit to RC
- 3.jpg (2.4 MiB) Viewed 1419 times
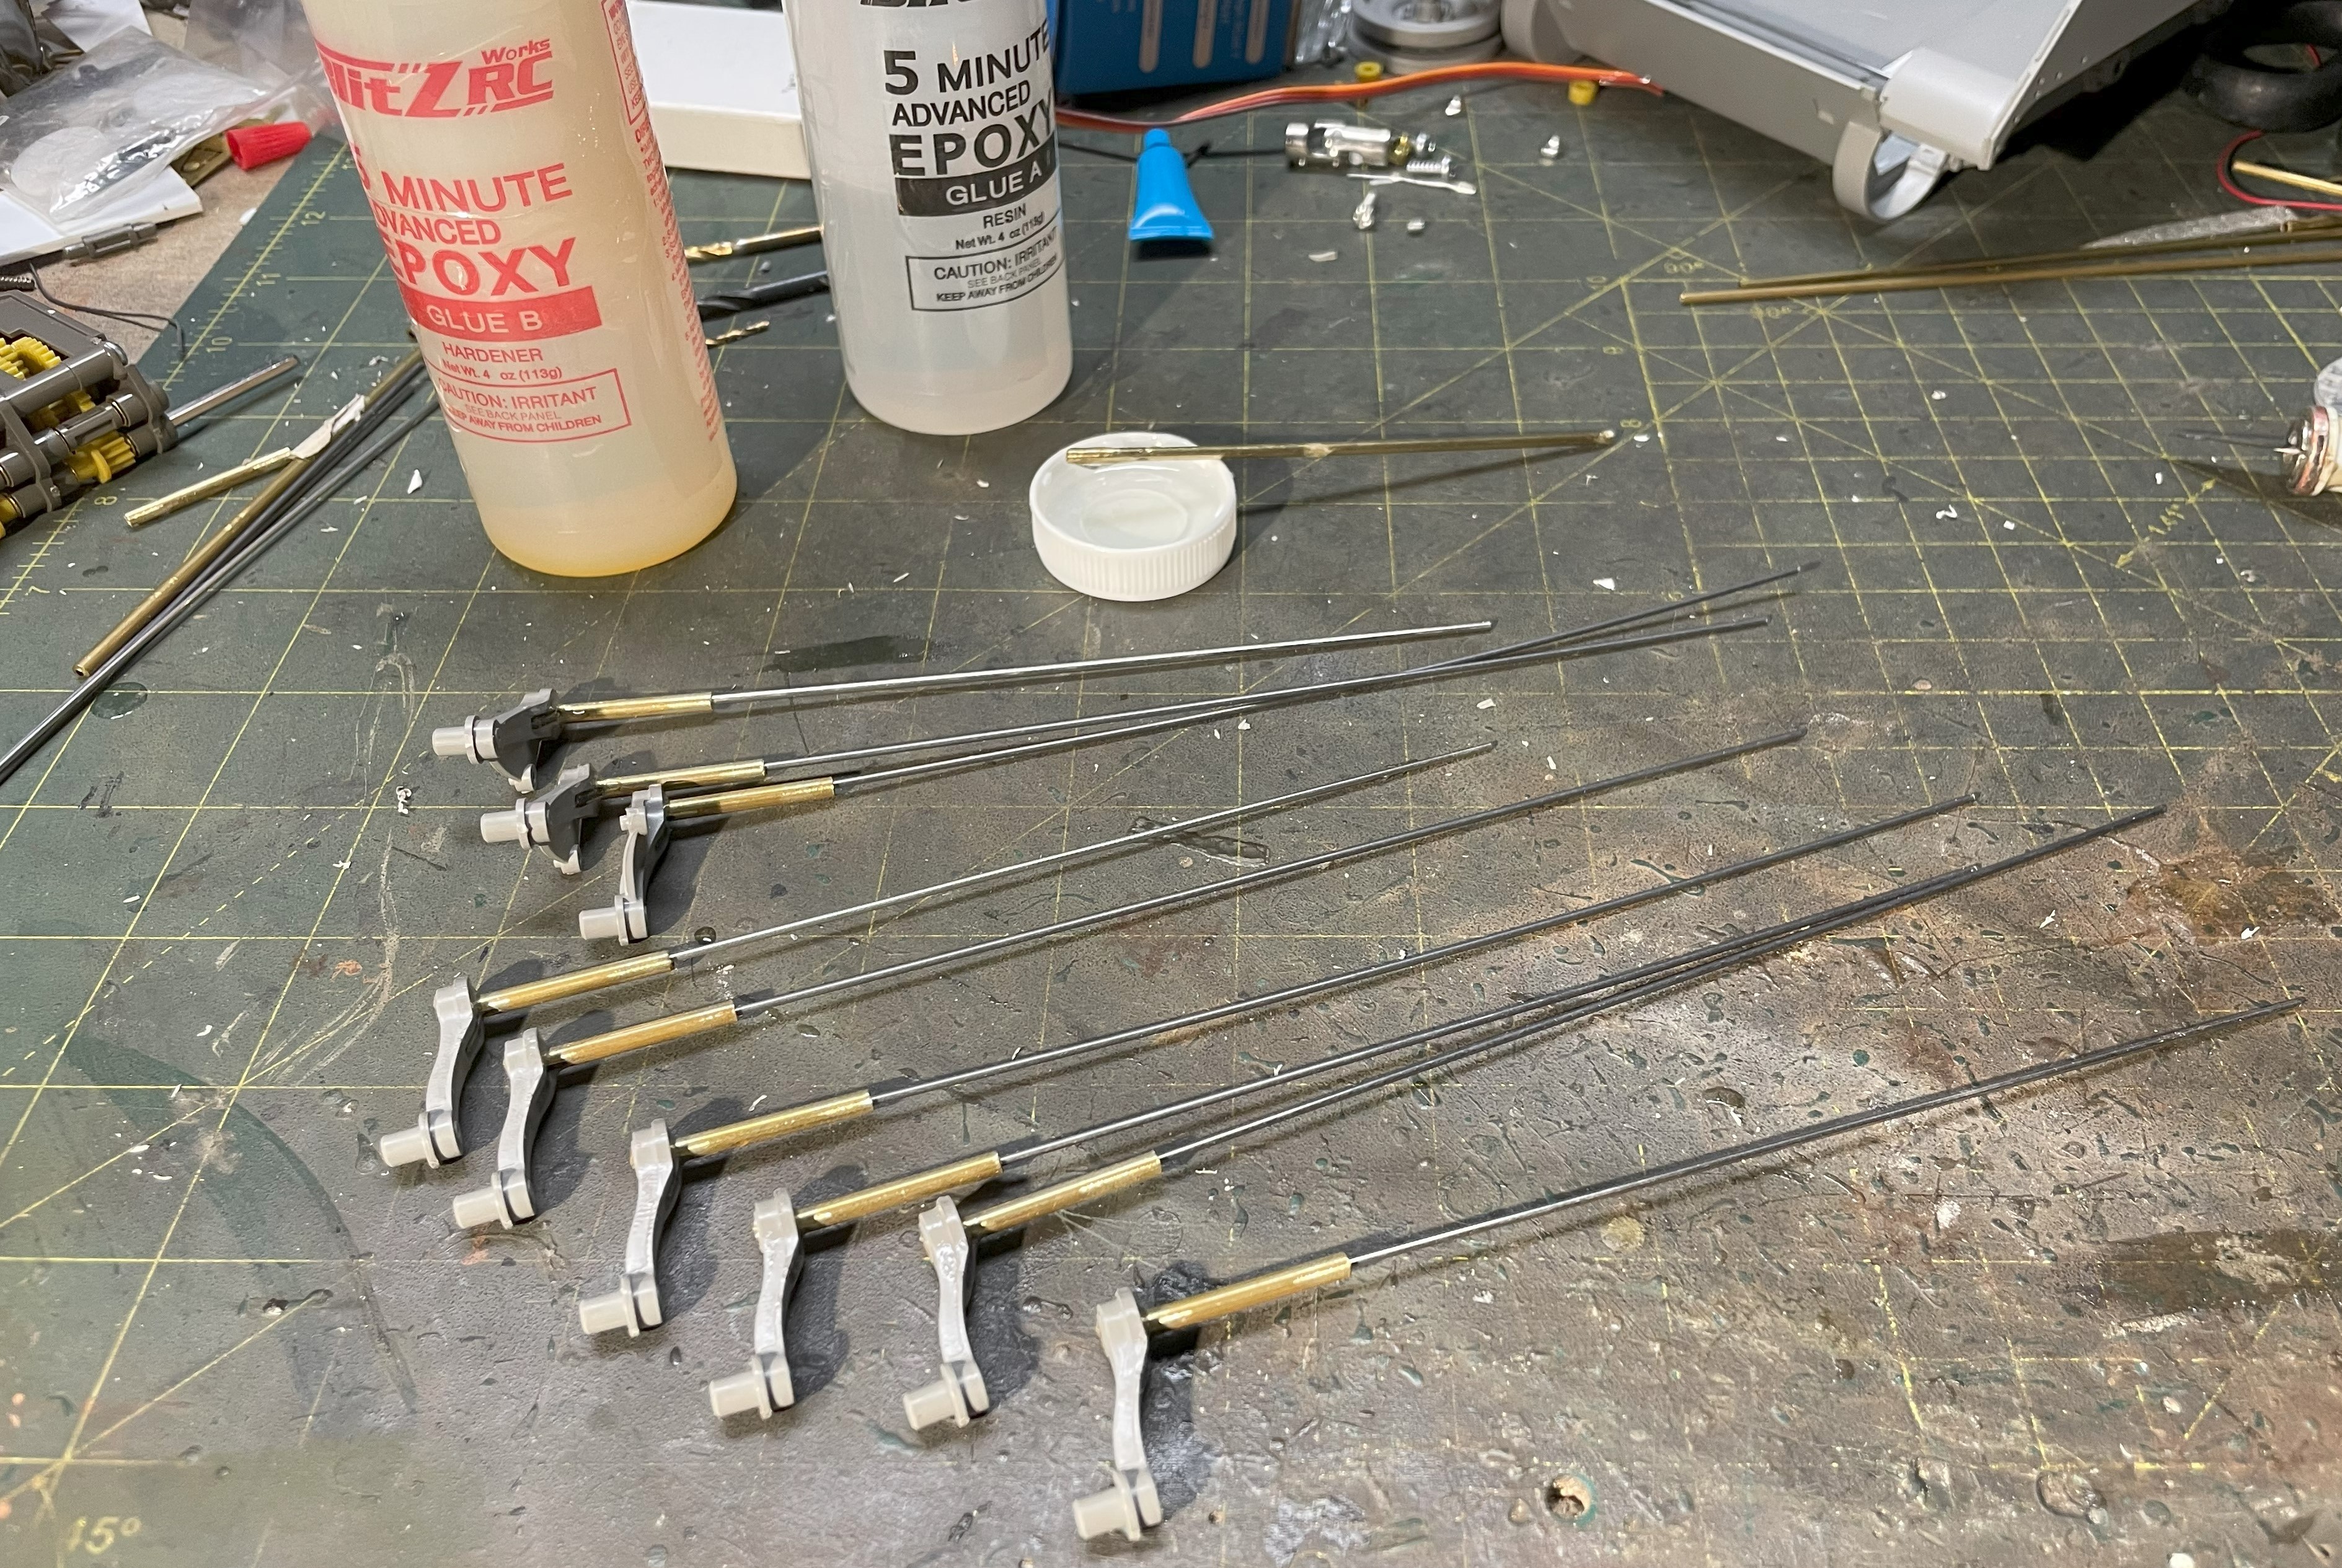
I am installing a 1.5mm thick torsion bar on the two frontal suspension arms under the gearbox. This is to ensure the weight of the gearbox, battery and control board will not give the suspension any issue.
However, the rest of the vehicle will be very light so i am installing smaller and more flexible 1.2mm thick torsion bars under the other 8 suspension arms. These are also made from metal tie/push rods available on eBay for a few dollars, available in different sizes and length.

- 1/16 RC M-113A1 ACAV - Converting the Takom/Andy's HHQ kit to RC
- 4.jpg (1.23 MiB) Viewed 1419 times
The Takom plastic torsion bars are glued to the suspension arms and then cut at the base. It fills the hole at the base of the suspension arm for the next step. Then, a 3mm hole is carefully drilled in each suspension arm. Use a new drill bit for that. Again, it is critical that the holes are drilled strait and in the center, as much as possible.

- 1/16 RC M-113A1 ACAV - Converting the Takom/Andy's HHQ kit to RC
- 5.jpg (2.88 MiB) Viewed 1419 times
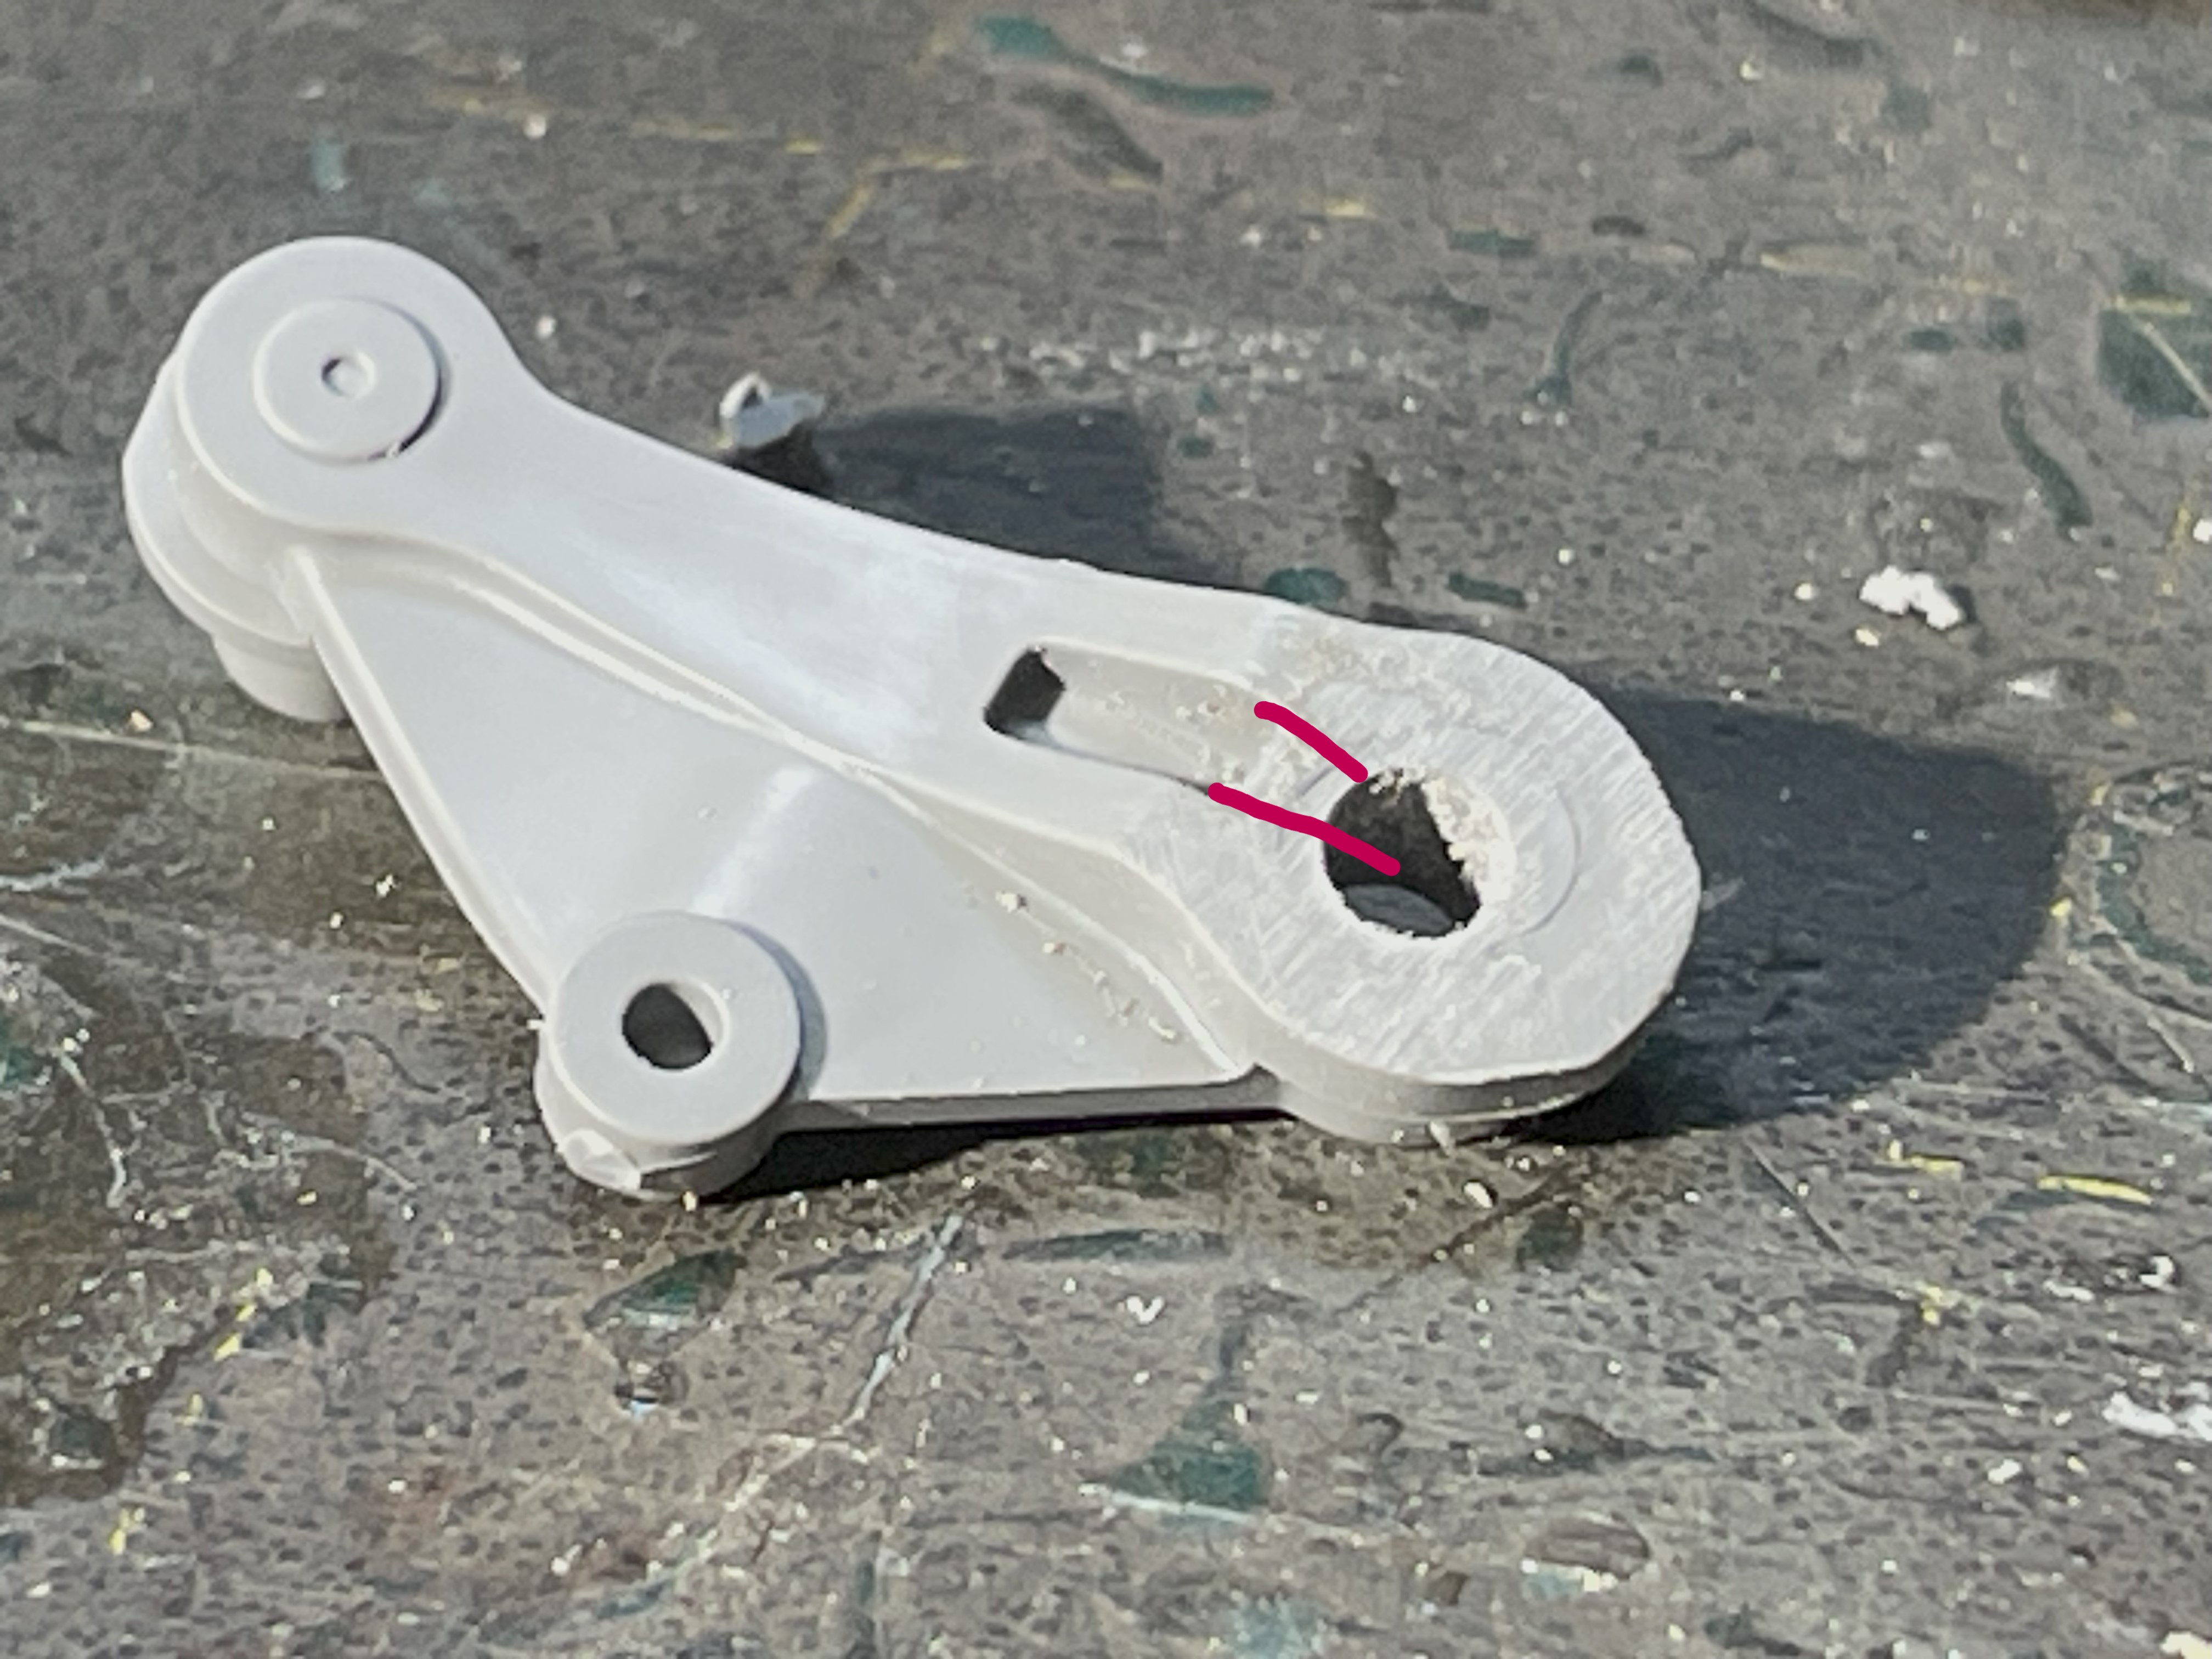
A small groove needs to be made for the torsion bar anchor to link it to the other groove.
- 1/16 RC M-113A1 ACAV - Converting the Takom/Andy's HHQ kit to RC
- 6.jpg (1.13 MiB) Viewed 1419 times
The tips of the mounts are dipped in 5 minutes epoxy and inserted into each suspension arms to ensure optimal solidity because the torsion bars are also what is holding the suspension arm in place.
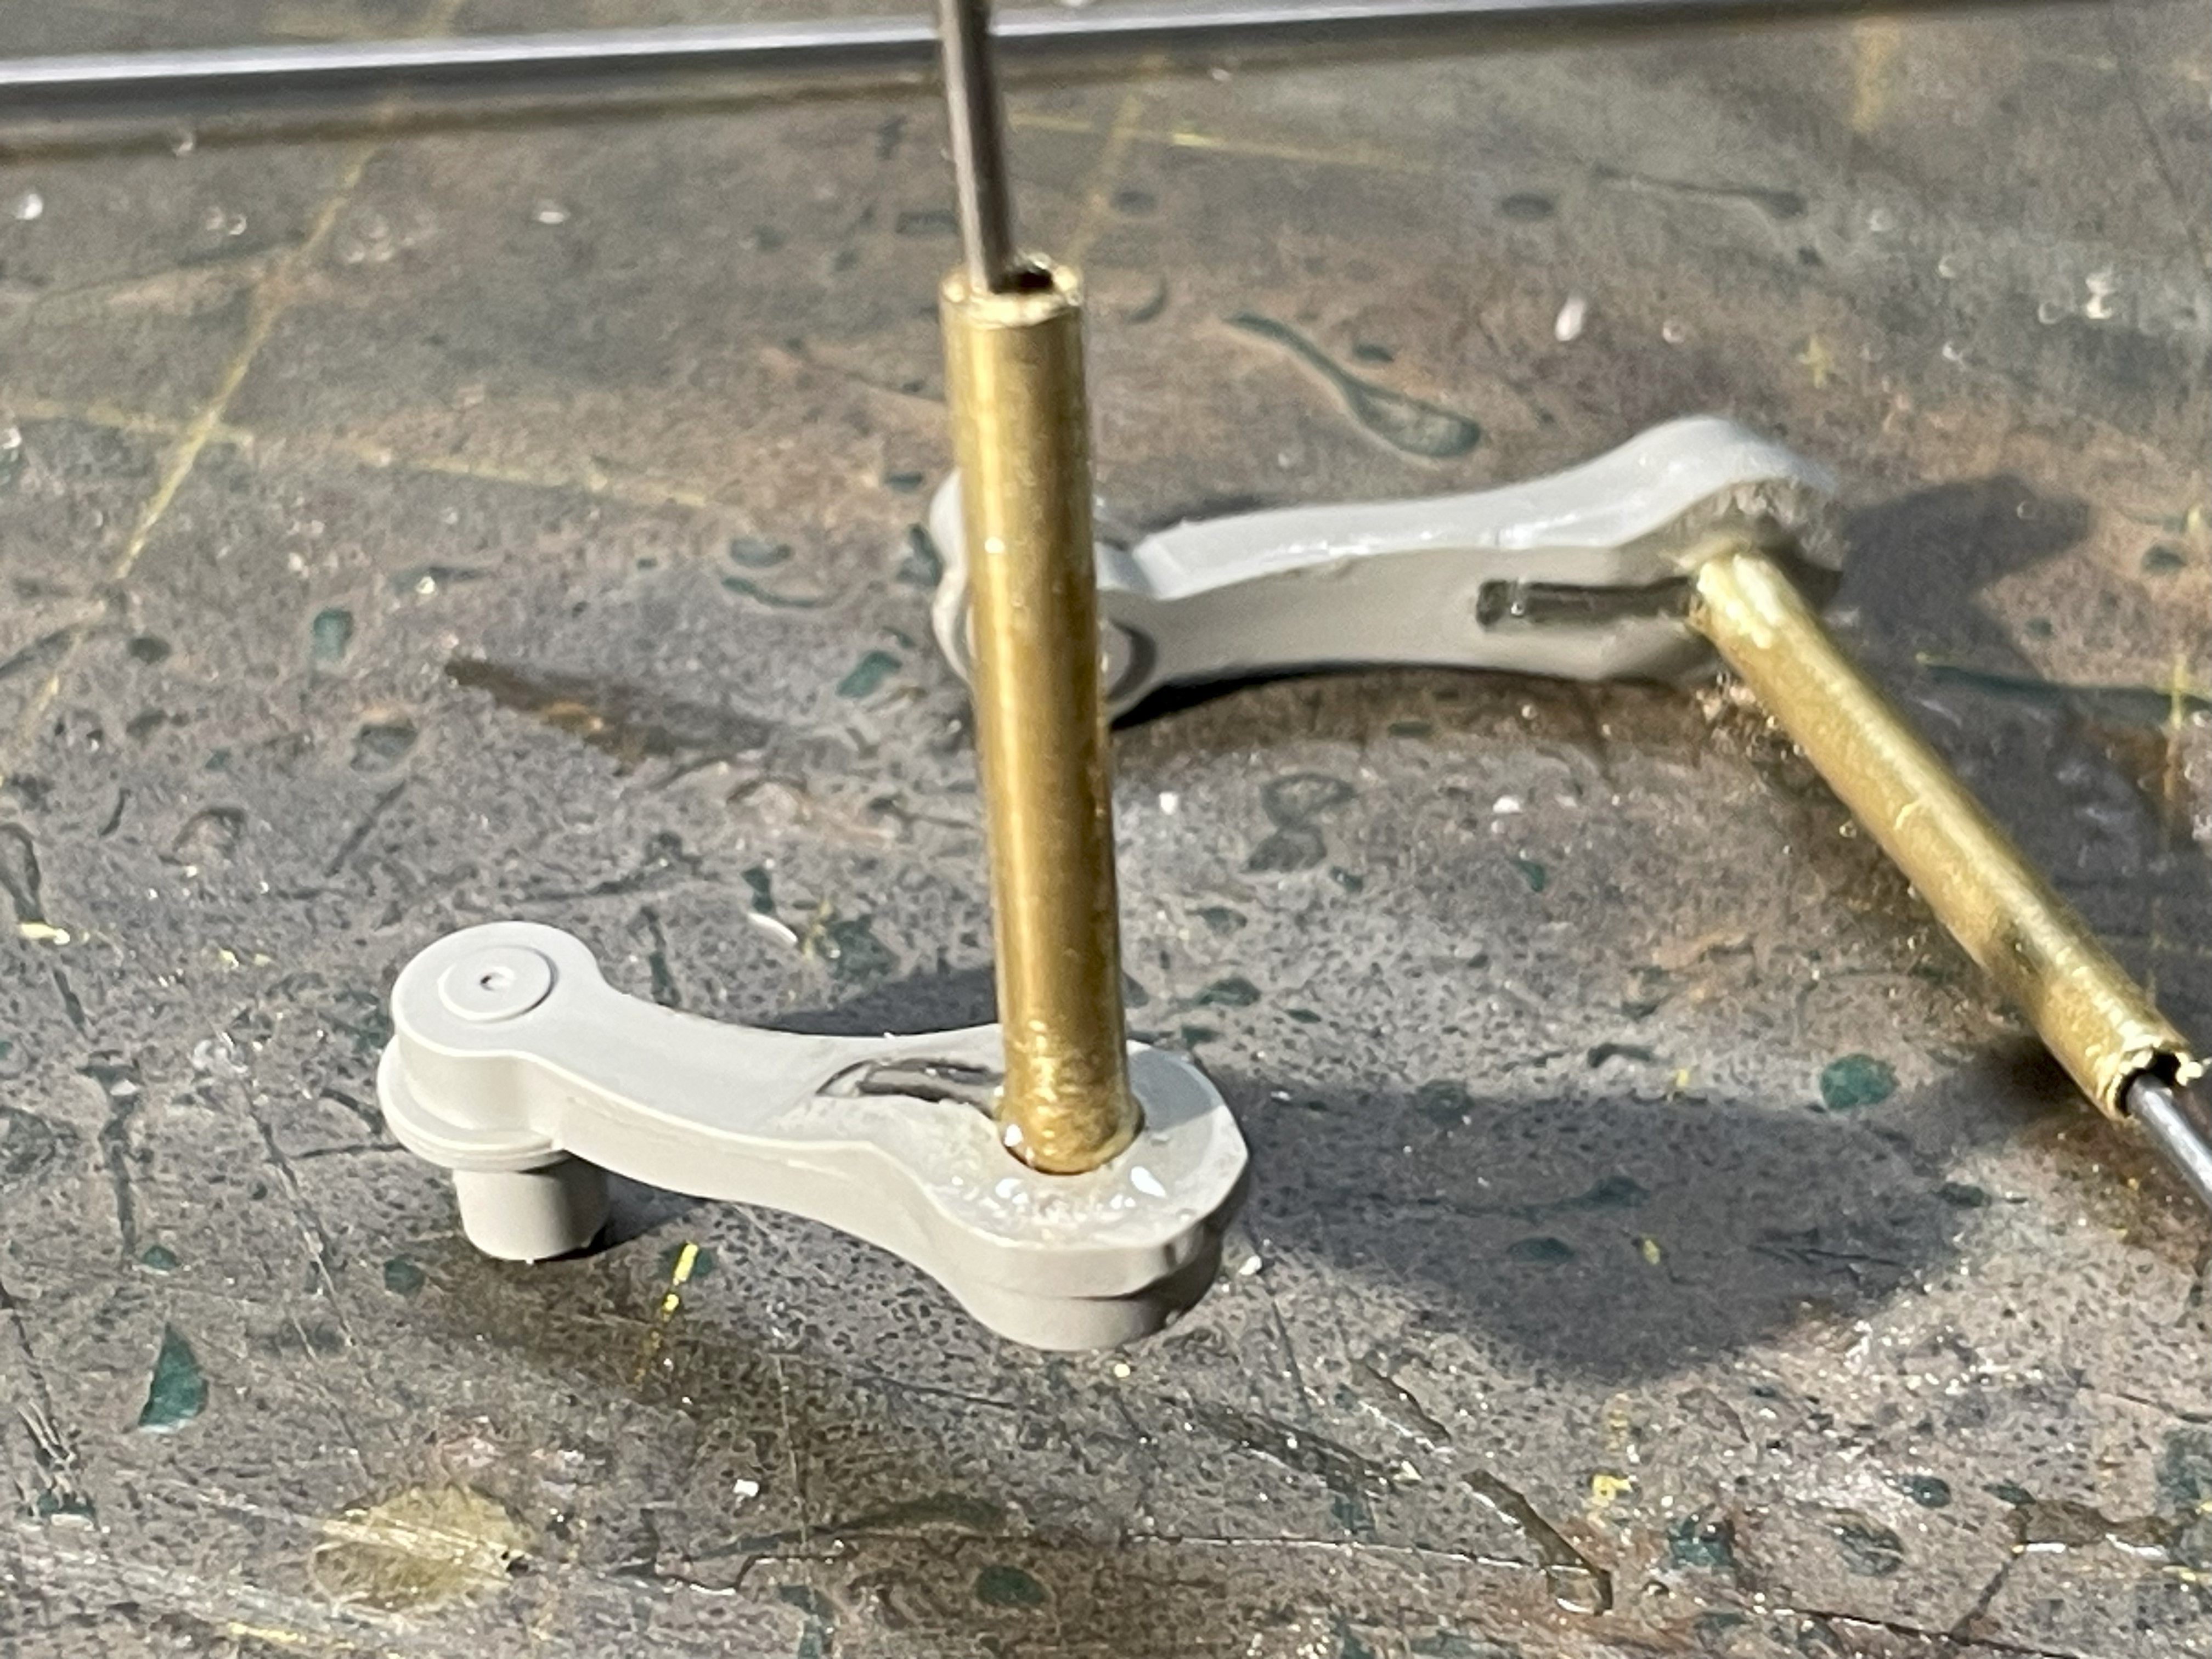
- 1/16 RC M-113A1 ACAV - Converting the Takom/Andy's HHQ kit to RC
- 7.jpg (1.61 MiB) Viewed 1419 times
Before the epoxy glue is completely set, the metal tubes are cleaned up of any residue using a blade, also creating square corners for a perfect fit against the chassis. They are then let to dry overnight.
- 1/16 RC M-113A1 ACAV - Converting the Takom/Andy's HHQ kit to RC
- 8.jpg (2.63 MiB) Viewed 1419 times
While the torsion bars are drying, the roadwheels are prepared. It would have been really nice to have rubber band tires on these roadwheels, it would have simplfied painting as well. Instead, we have to glue the two plastic halves with a lot of sanding required for a smooth finish. I know i will have to do a lot of corrections on the seams later.
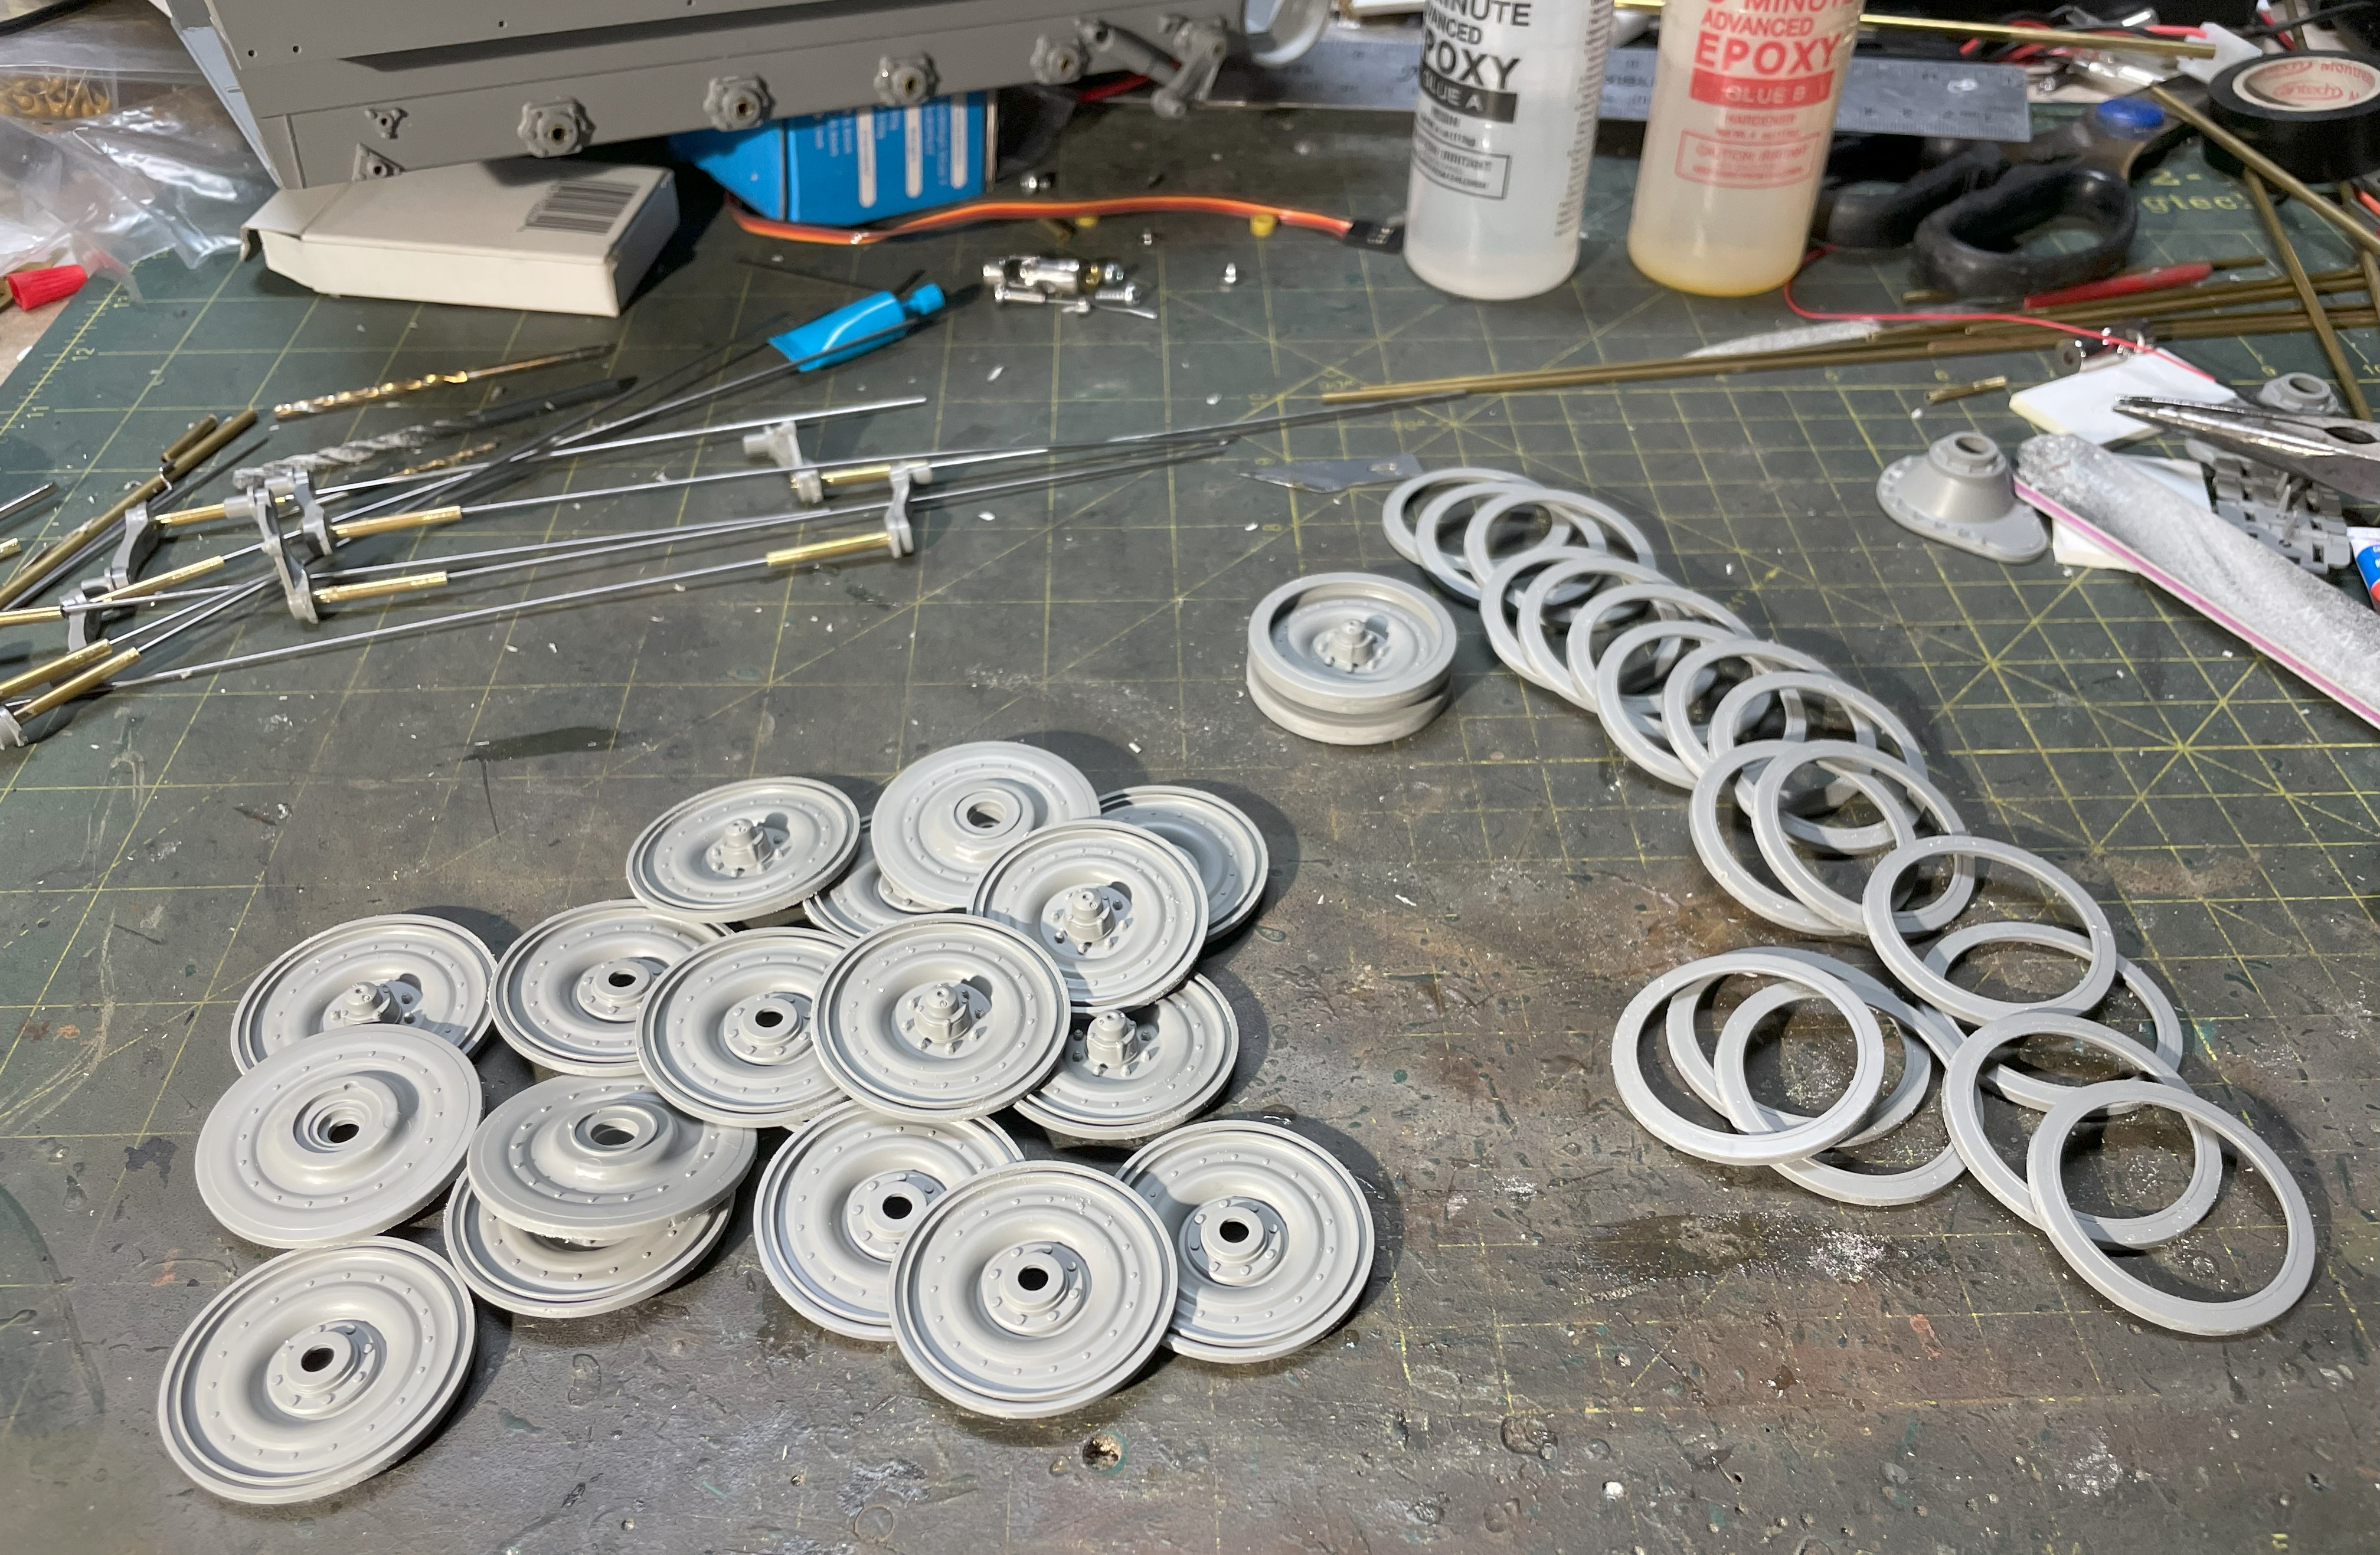
- 1/16 RC M-113A1 ACAV - Converting the Takom/Andy's HHQ kit to RC
- 9.jpg (2.31 MiB) Viewed 1419 times
Continuing on following post