Page 2 of 11
Re: Scratchbuilt Churchill Mk.IV AVRE
Posted: Tue Feb 14, 2023 10:15 pm
by tankme
Seems like you are off to a good start.
Derek
Re: Scratchbuilt Churchill Mk.IV AVRE
Posted: Wed Feb 15, 2023 8:23 am
by RiskyR
Very cool project, nice to see it coming together!
Re: Scratchbuilt Churchill Mk.IV AVRE
Posted: Sat Mar 11, 2023 9:20 pm
by MonsieurTox
Hello guys ! Thank you very much for your support and interest, it keeps me going on !

I haven't posted much but I made a lot of progress. The chassis is now done and the tank is running fine ! It's probably the most agile tank I have so far. Very impressed by it.
So lets go with some pics !
This is how I made the suspension, I used diam 12mm springs. The diameter is correct at the scale but the wire should be a tad thicker. I wasnt able to source more accurate ones and they would have been too hard anyway. They do the job fine.
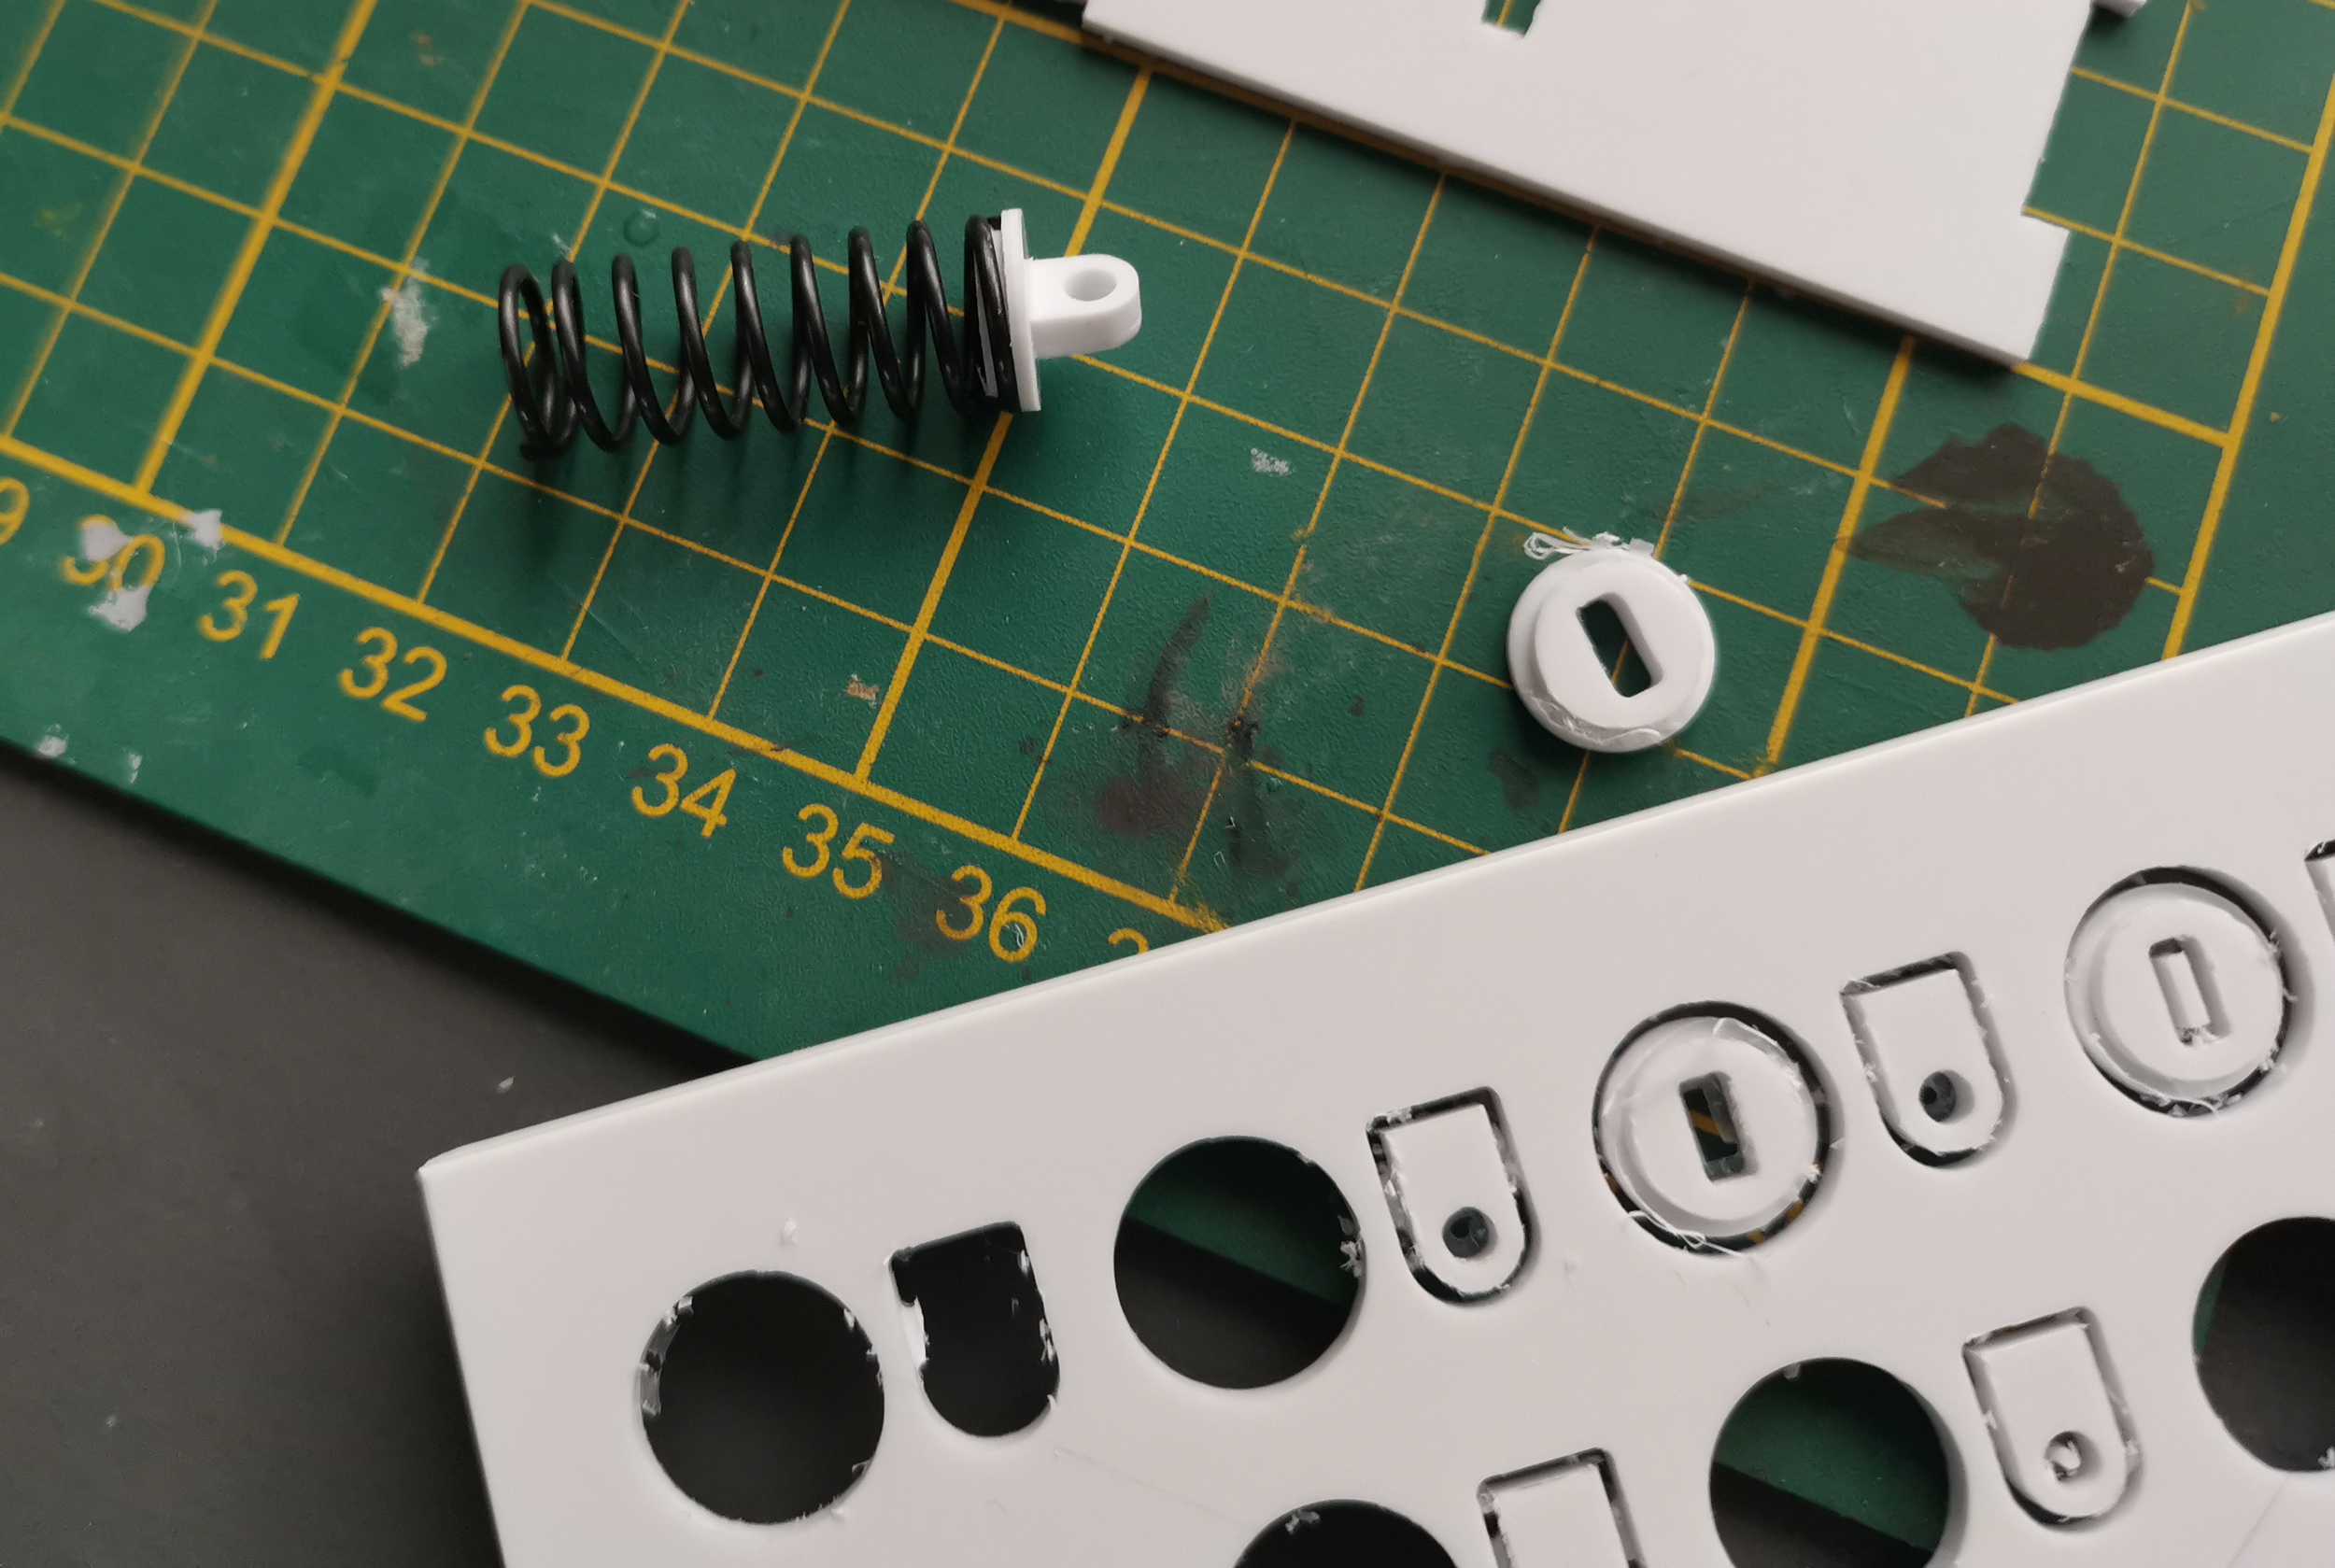
- churchill30.jpg (2.07 MiB) Viewed 1375 times
I milled from aluminium the parts that support the track adjuster screws.
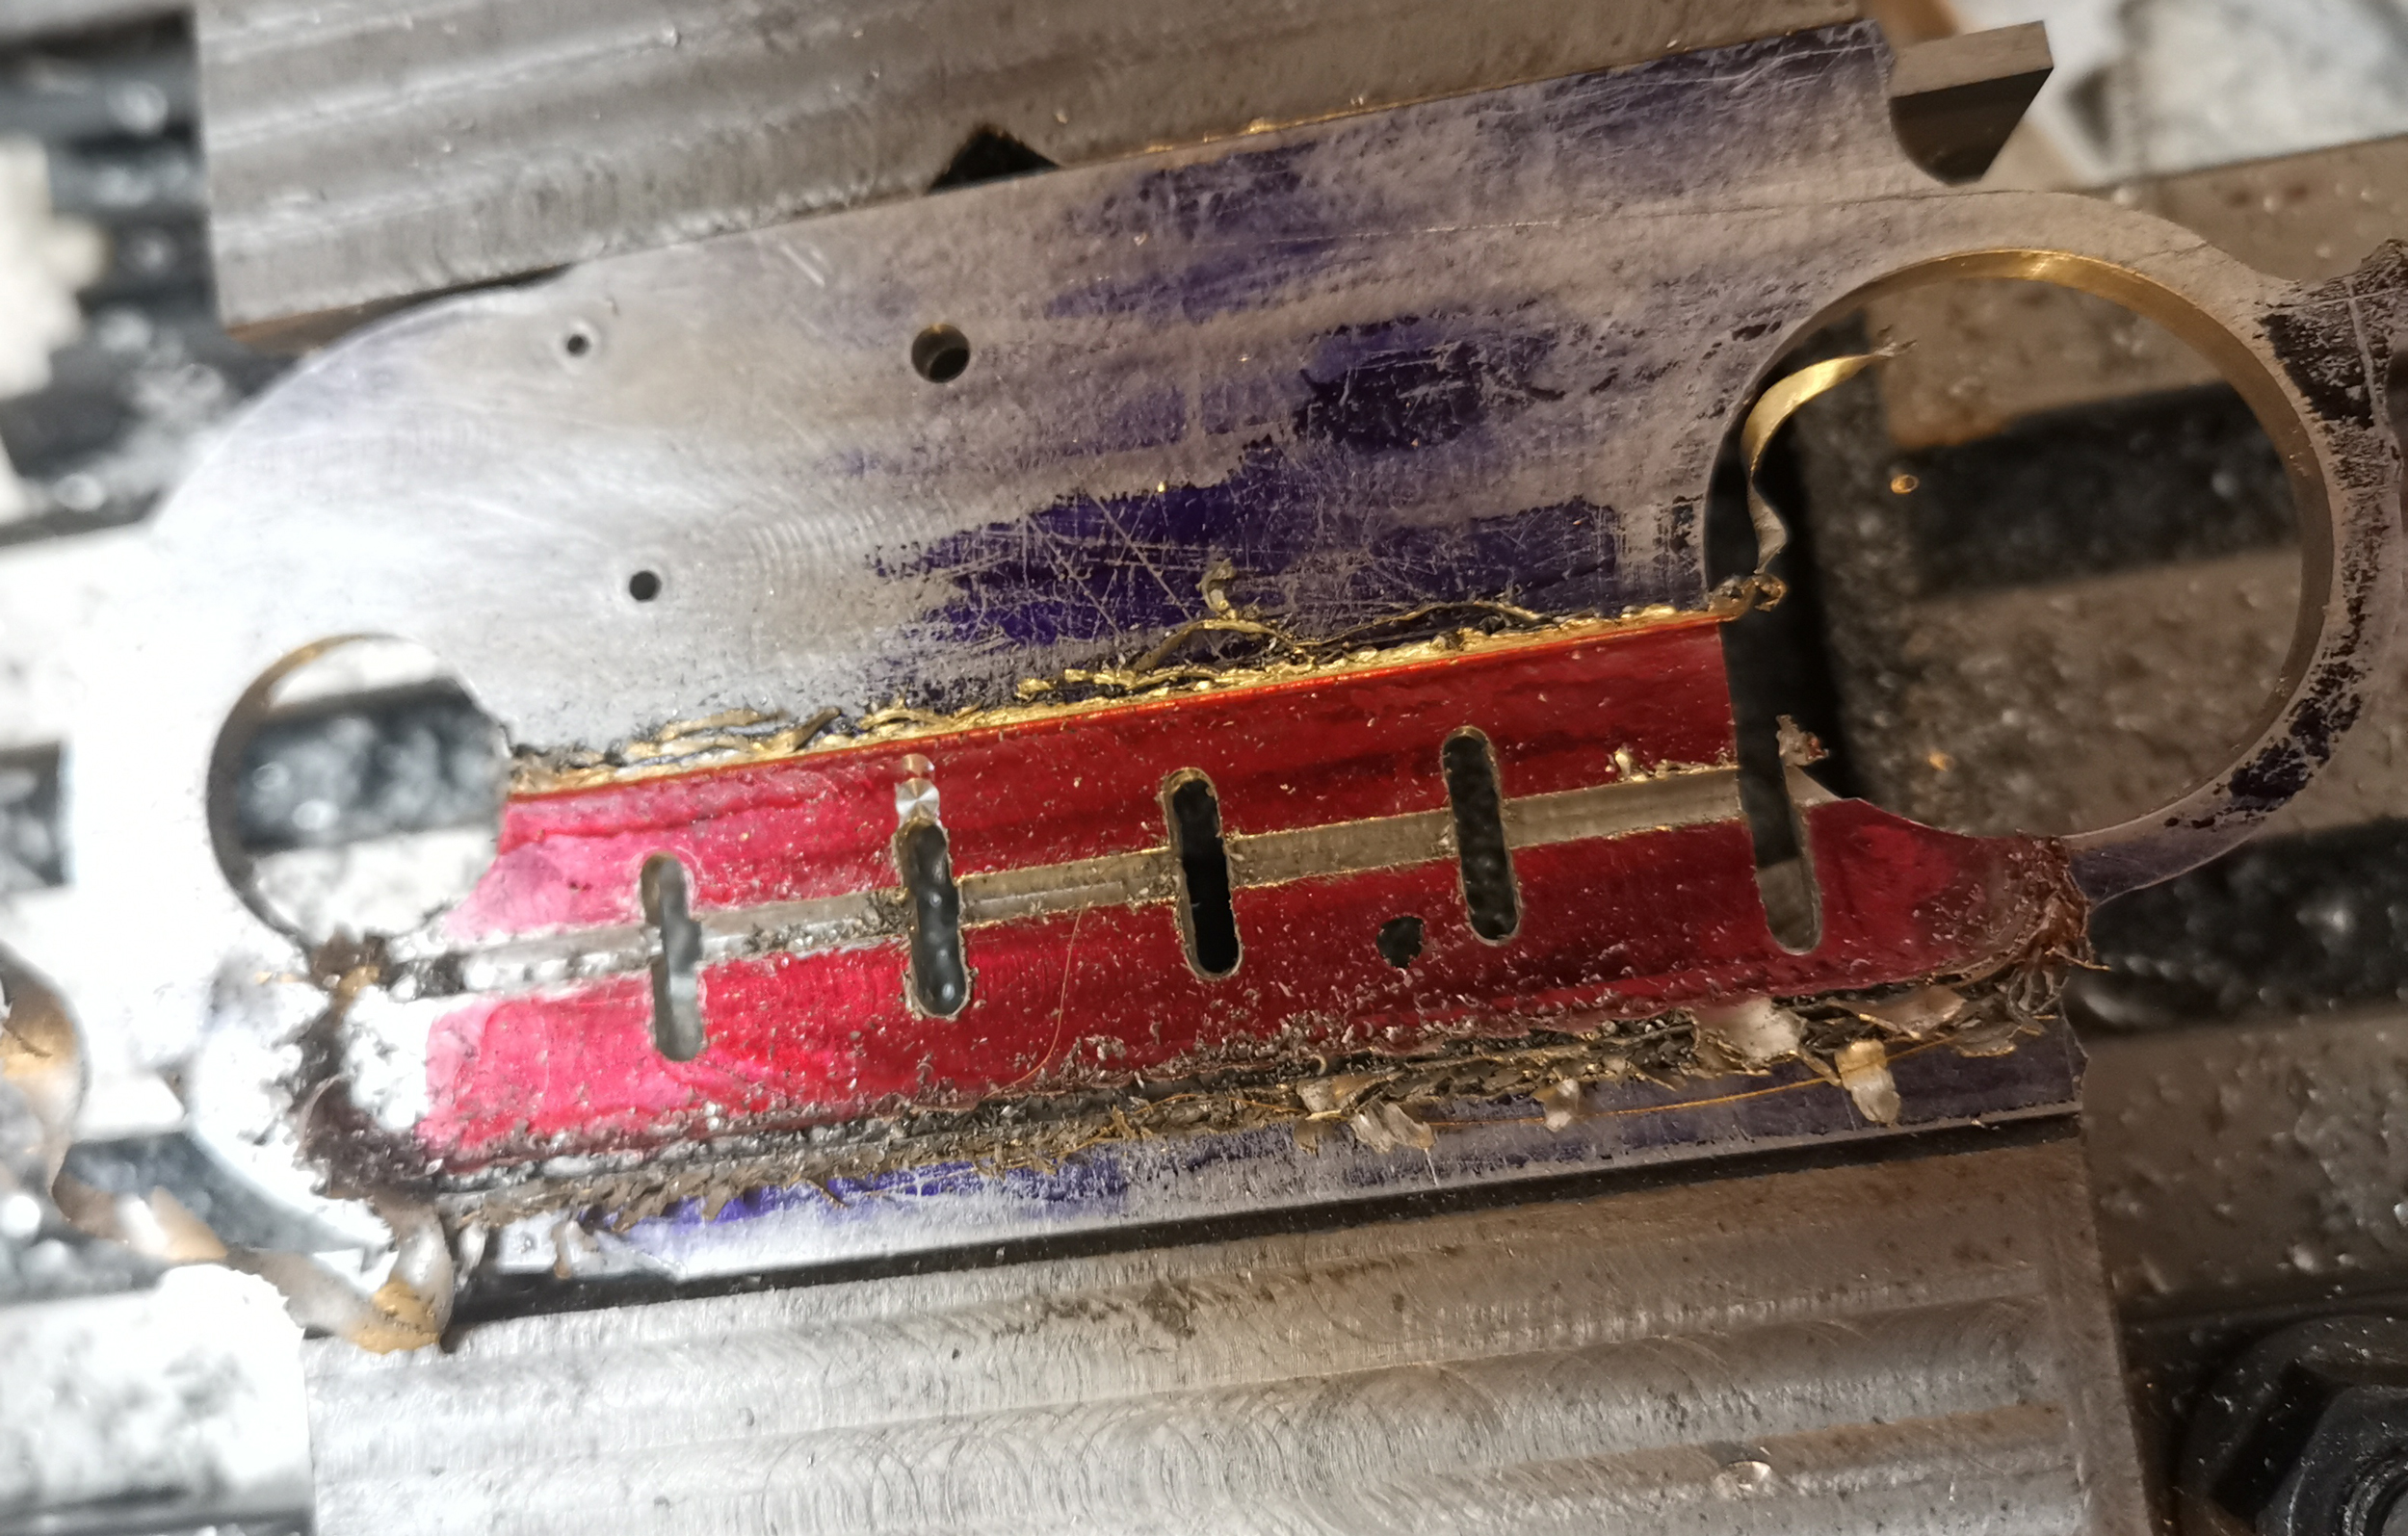
- churchill31.jpg (2.16 MiB) Viewed 1375 times
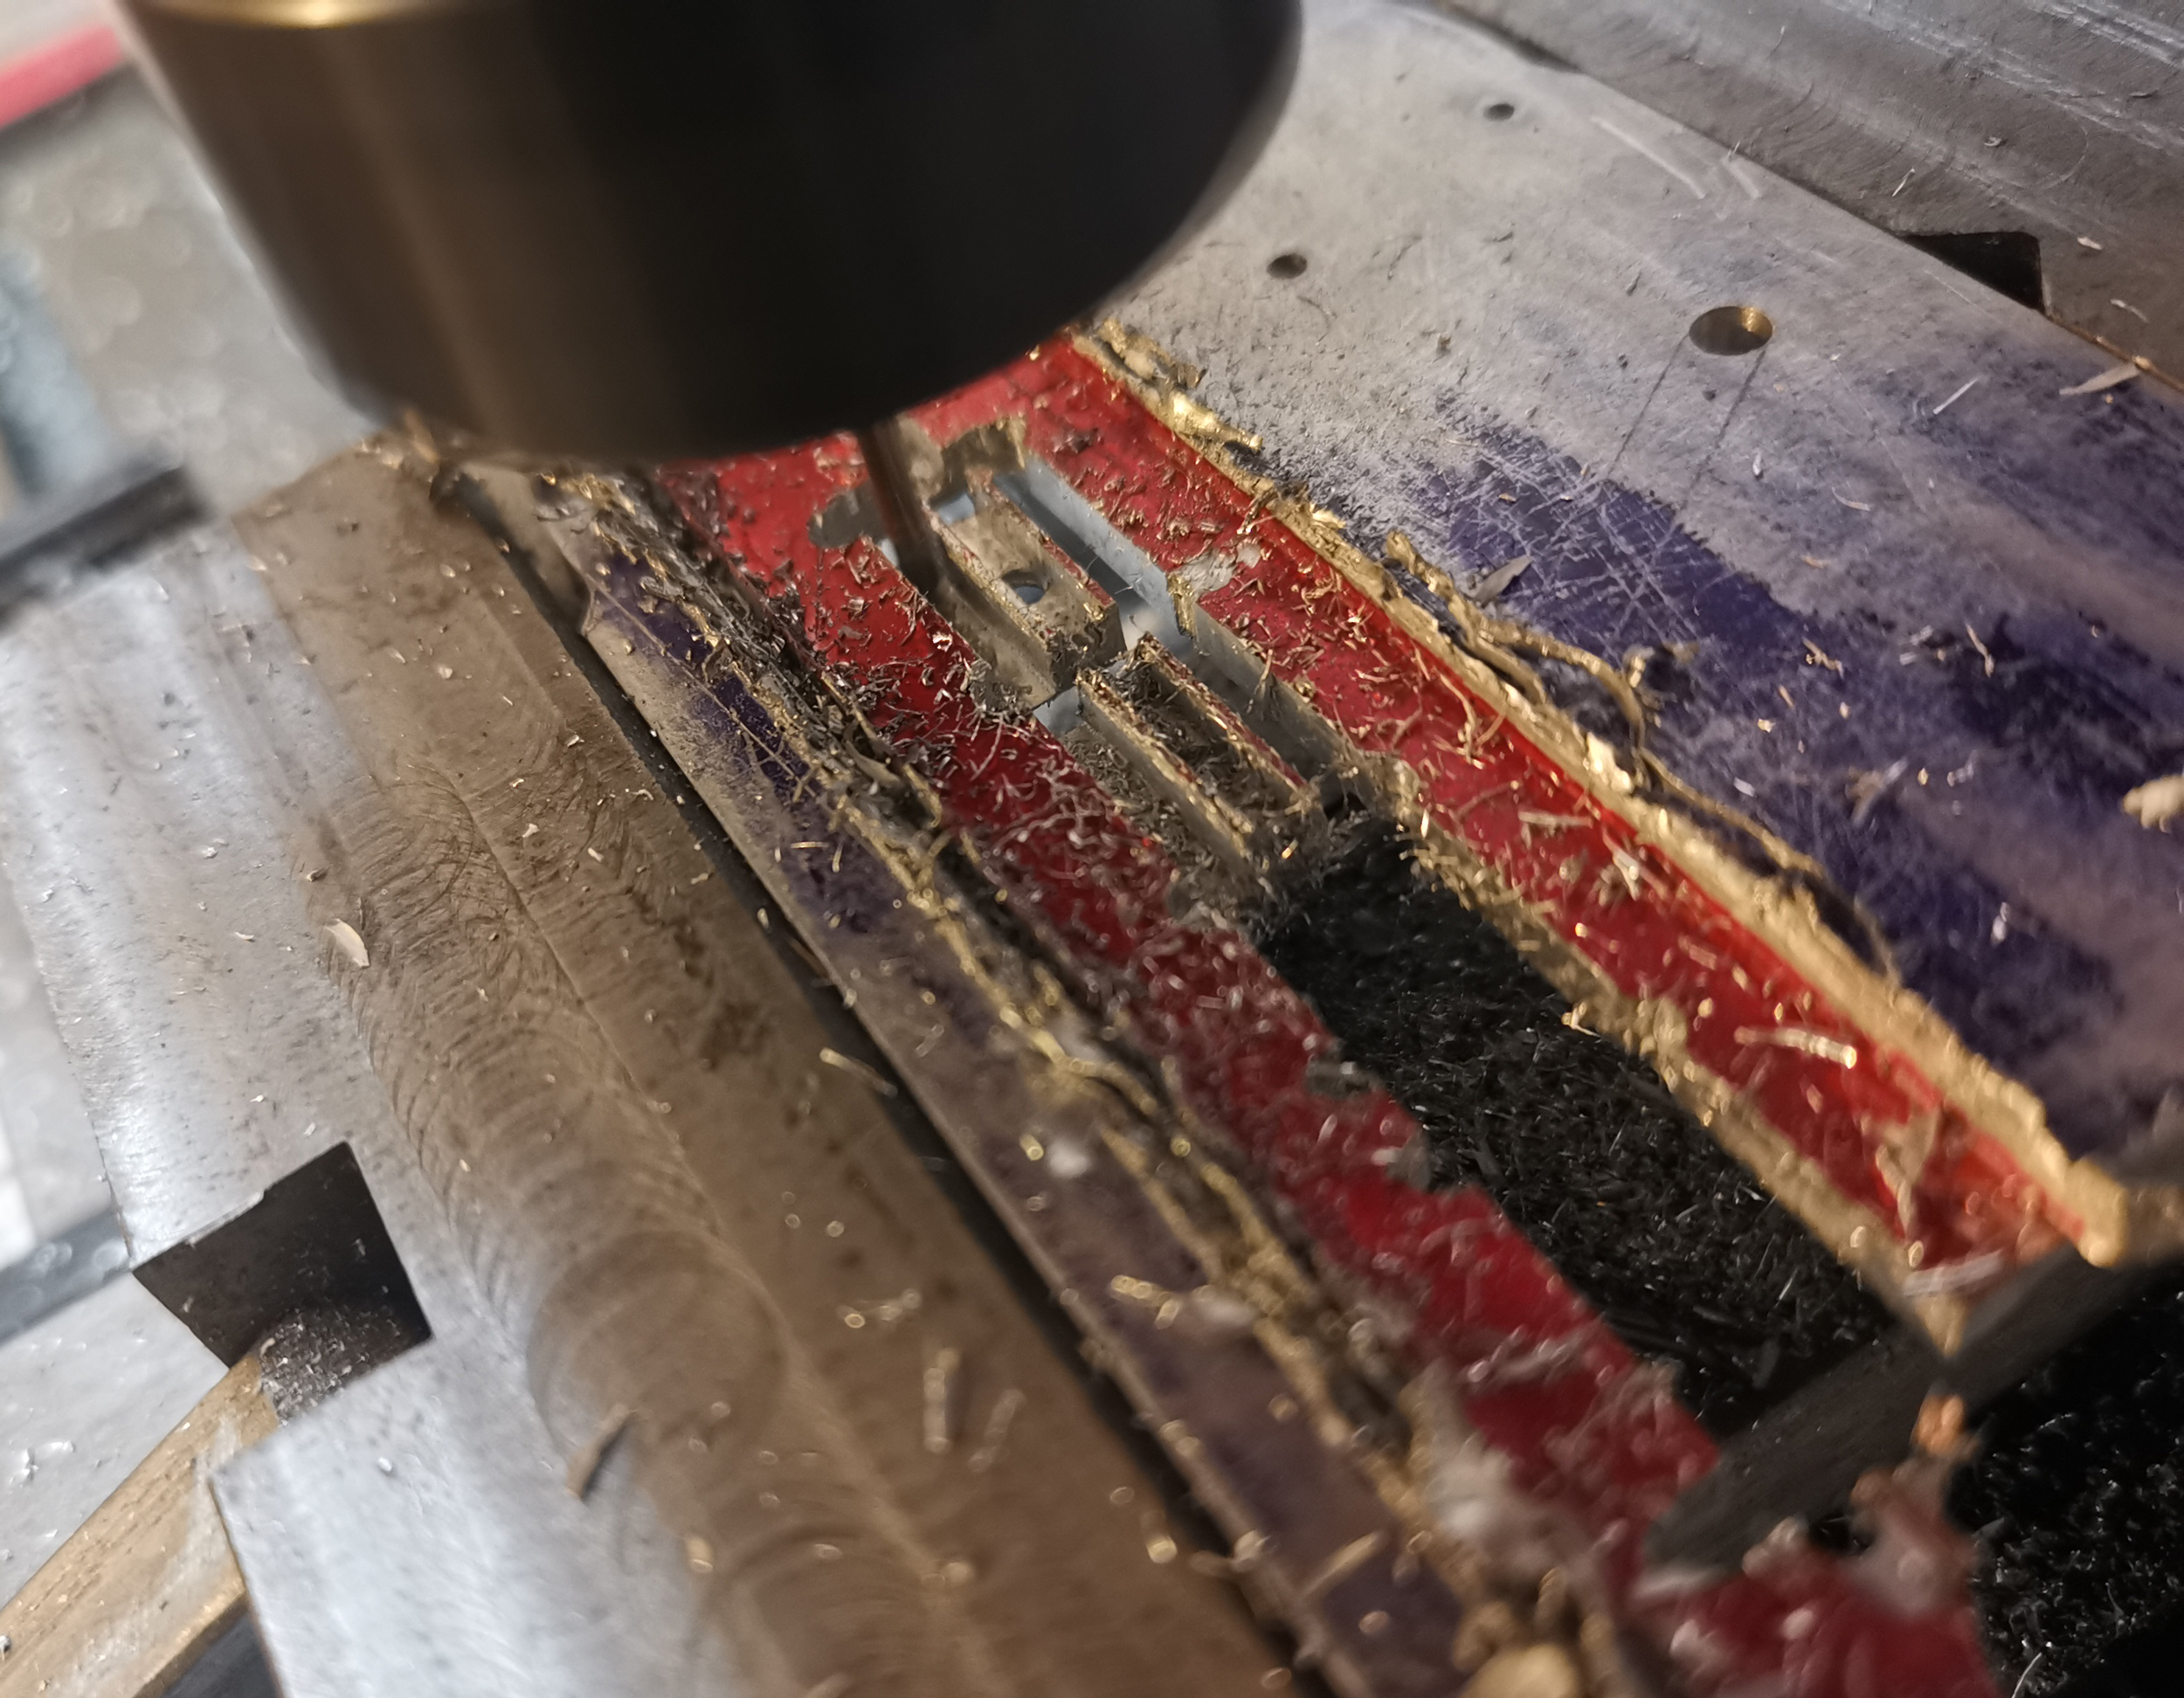
- churchill32.jpg (2.22 MiB) Viewed 1375 times
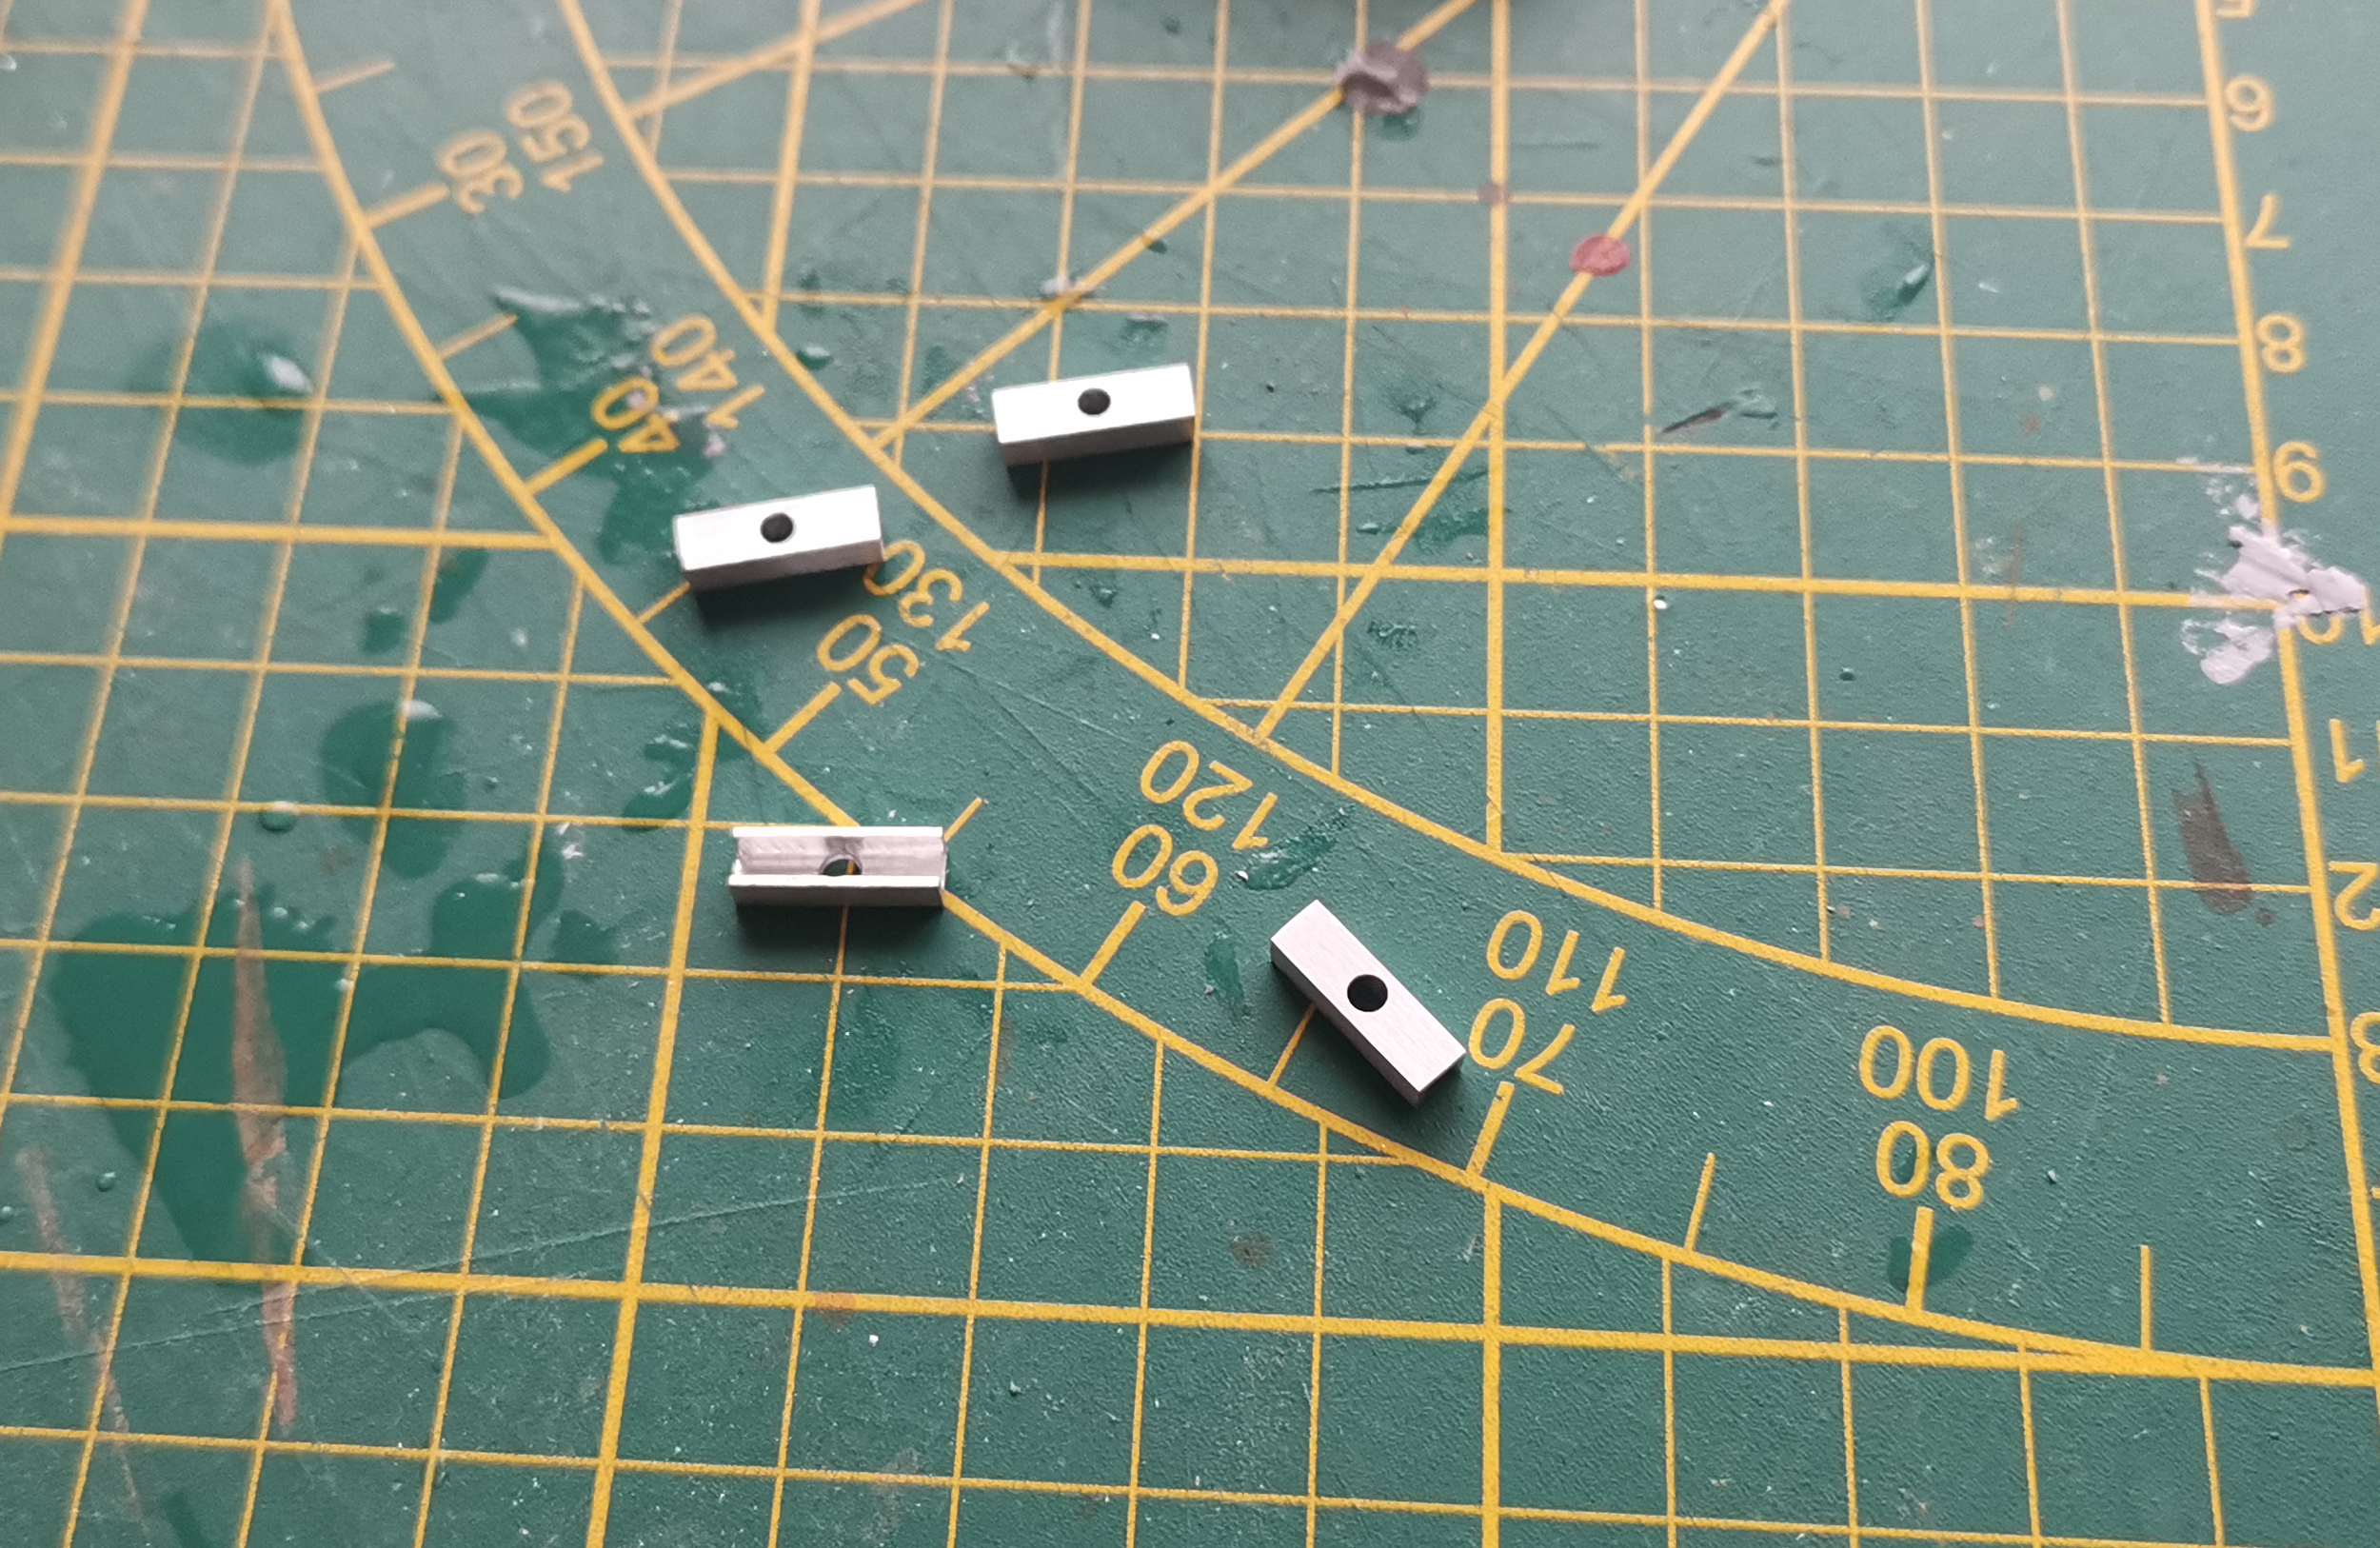
- churchill33.jpg (2.61 MiB) Viewed 1375 times
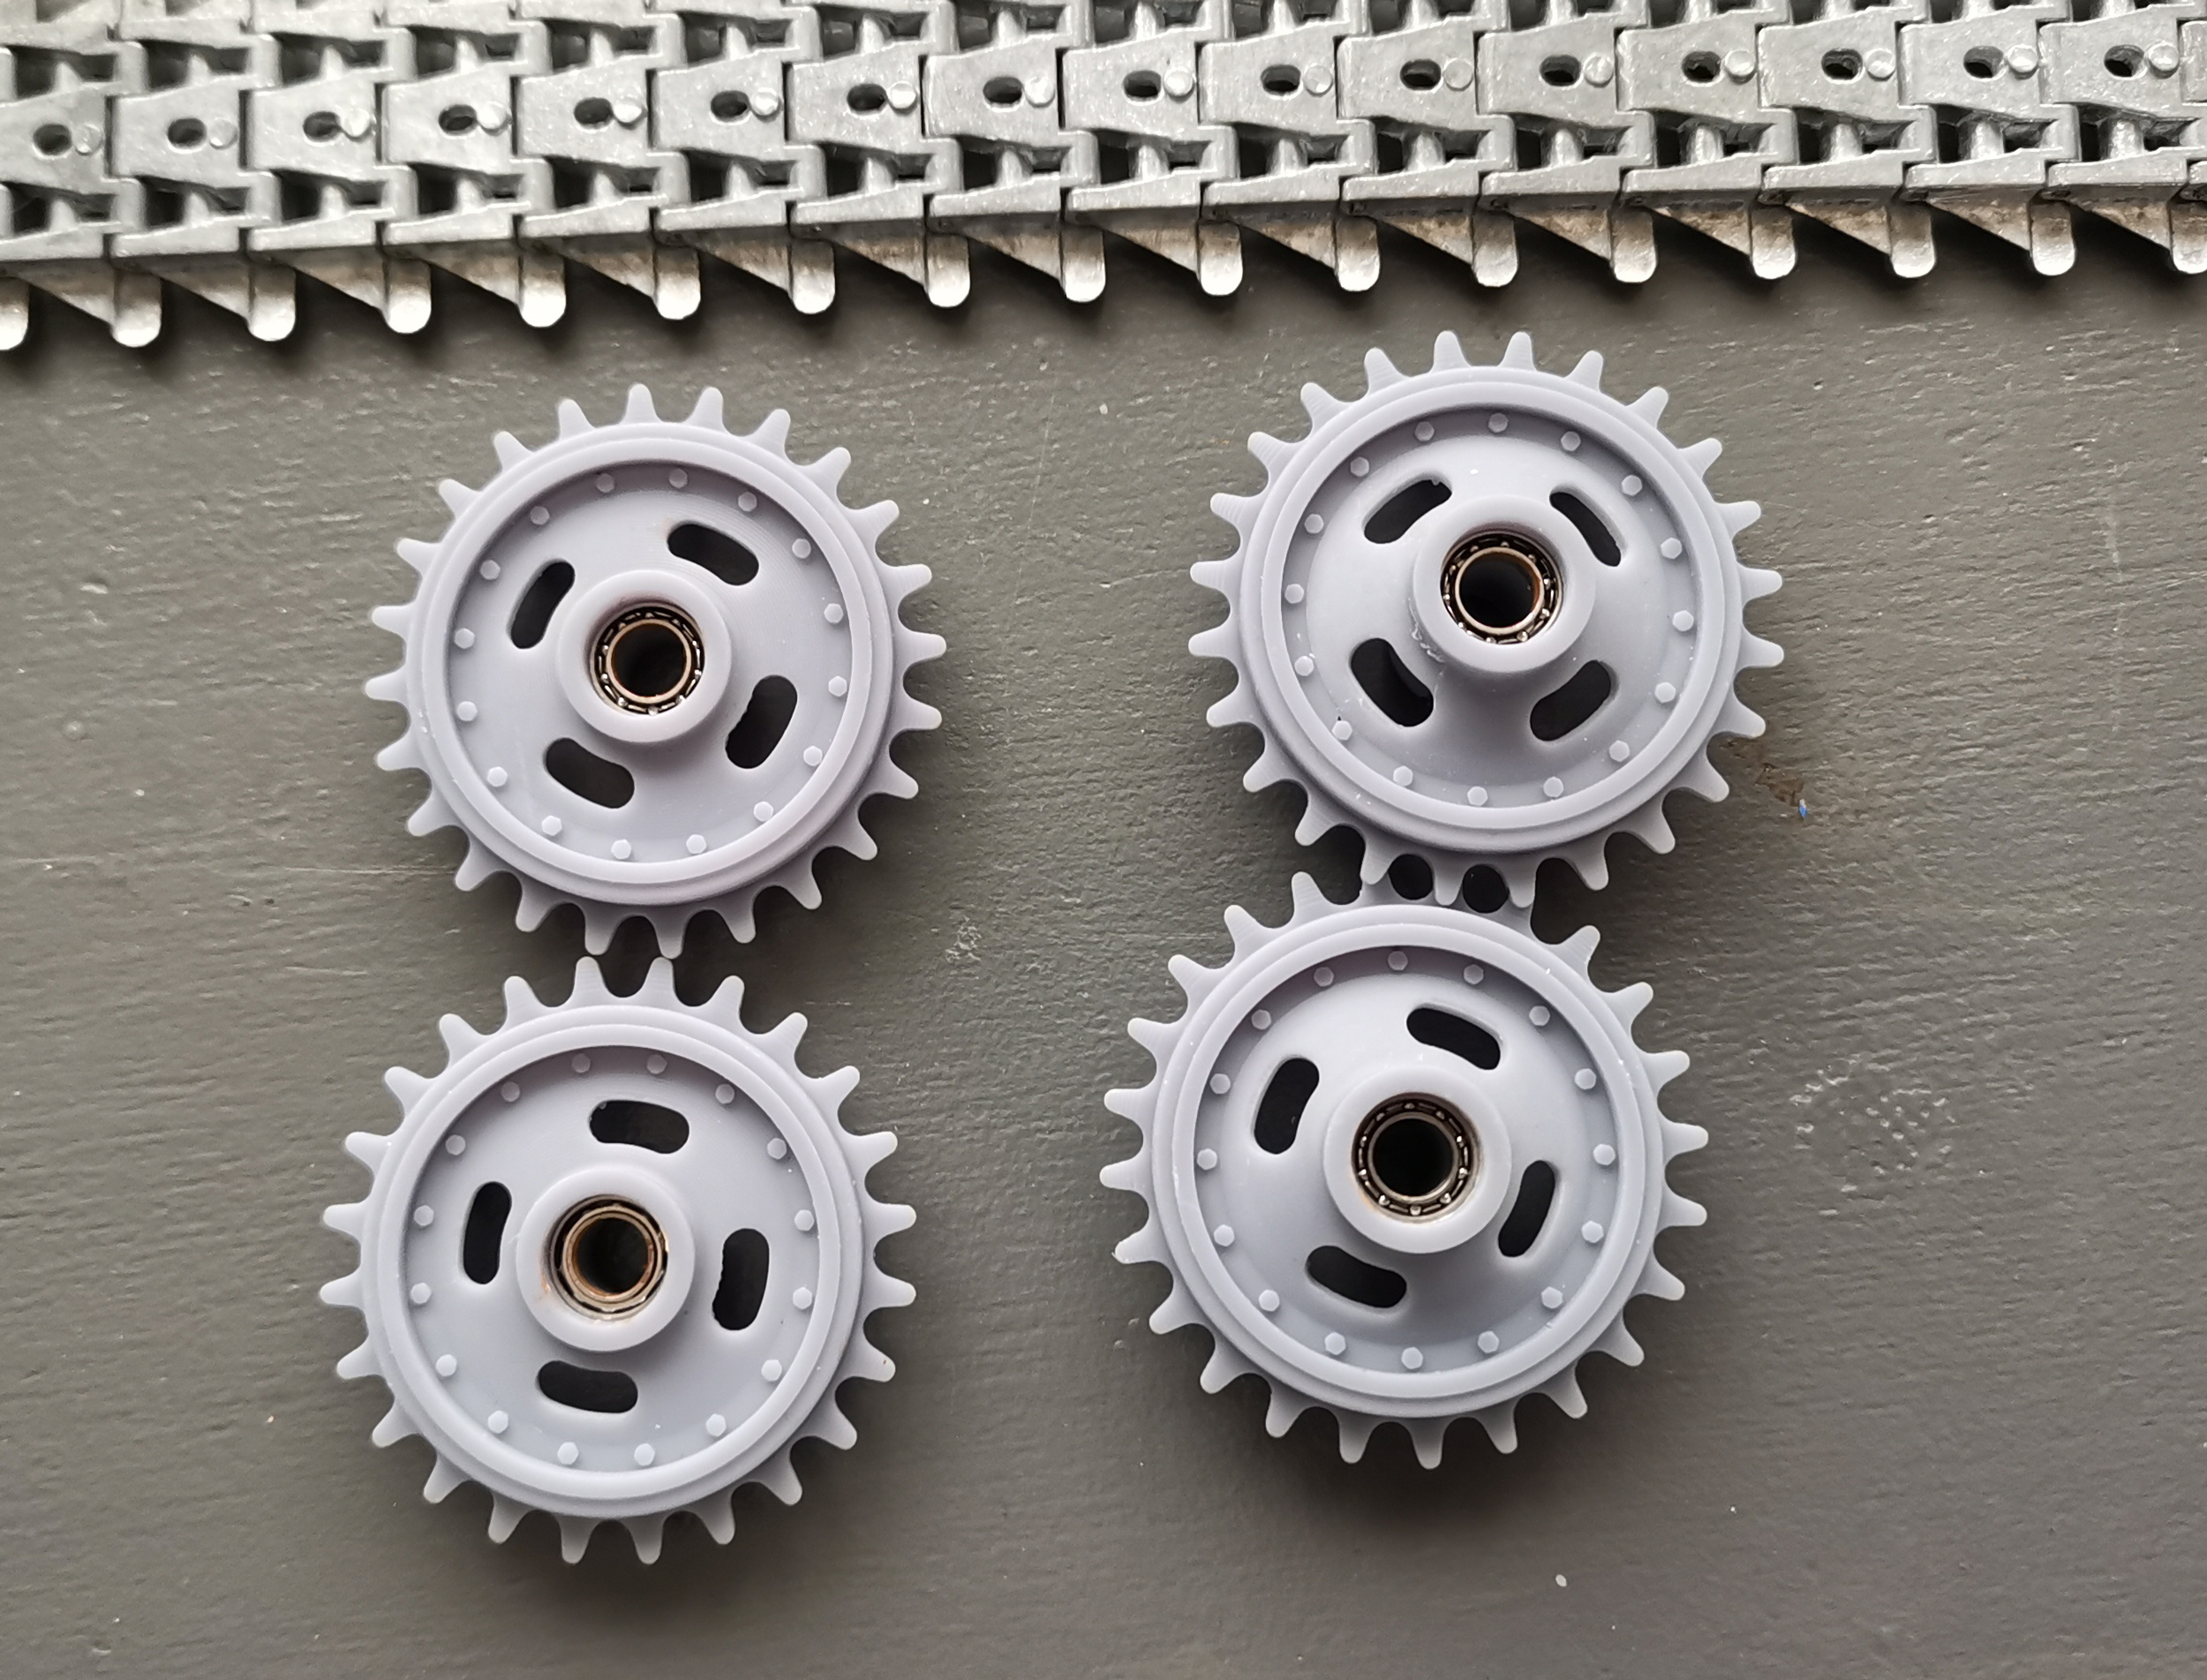
The idler are full 3D printed resin parts as the teeth don't need to be that strong.
They both are made of 2 parts and got 2 ball bearings.
- churchill34.jpg (2.43 MiB) Viewed 1375 times
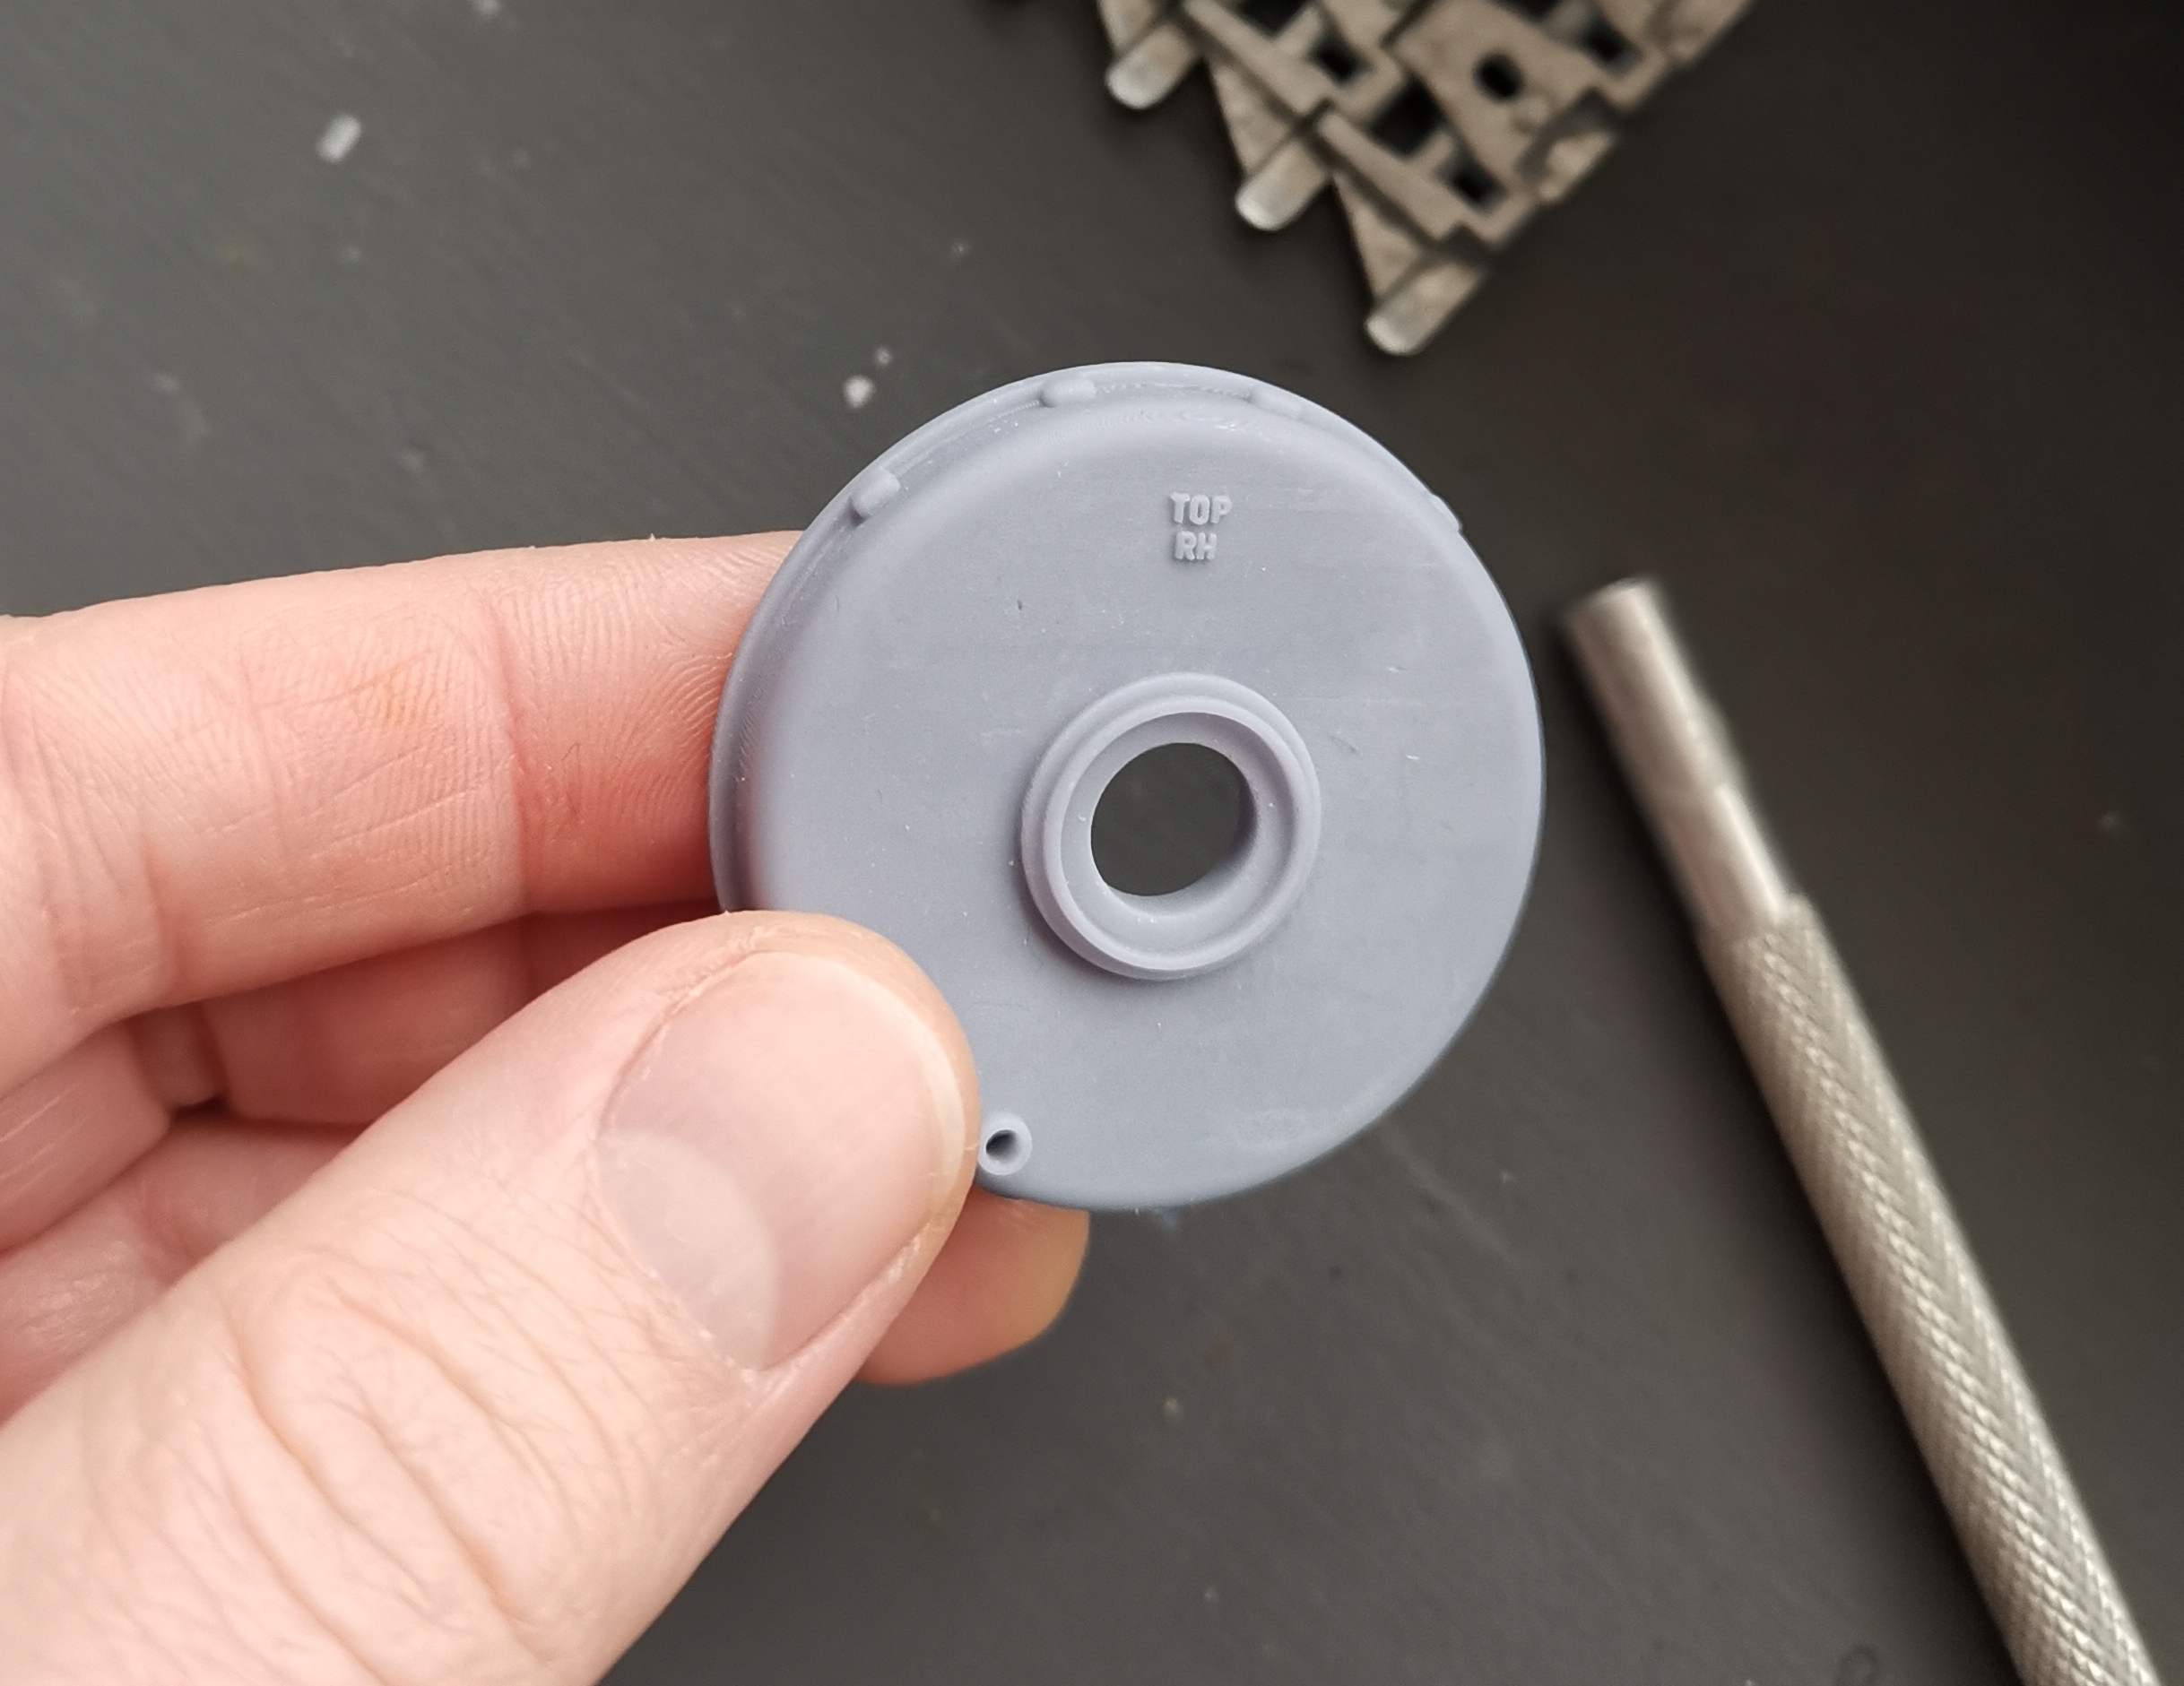
Transmission cover parts :
- churchill35.jpg (1.83 MiB) Viewed 1375 times
The "RH" molded text is a pure guess. I had pics of an original parts that were going on the left of the tank and it reads "LH", I assume it stands for "left hand" so I guess the counter part reads "RH" for right hand.
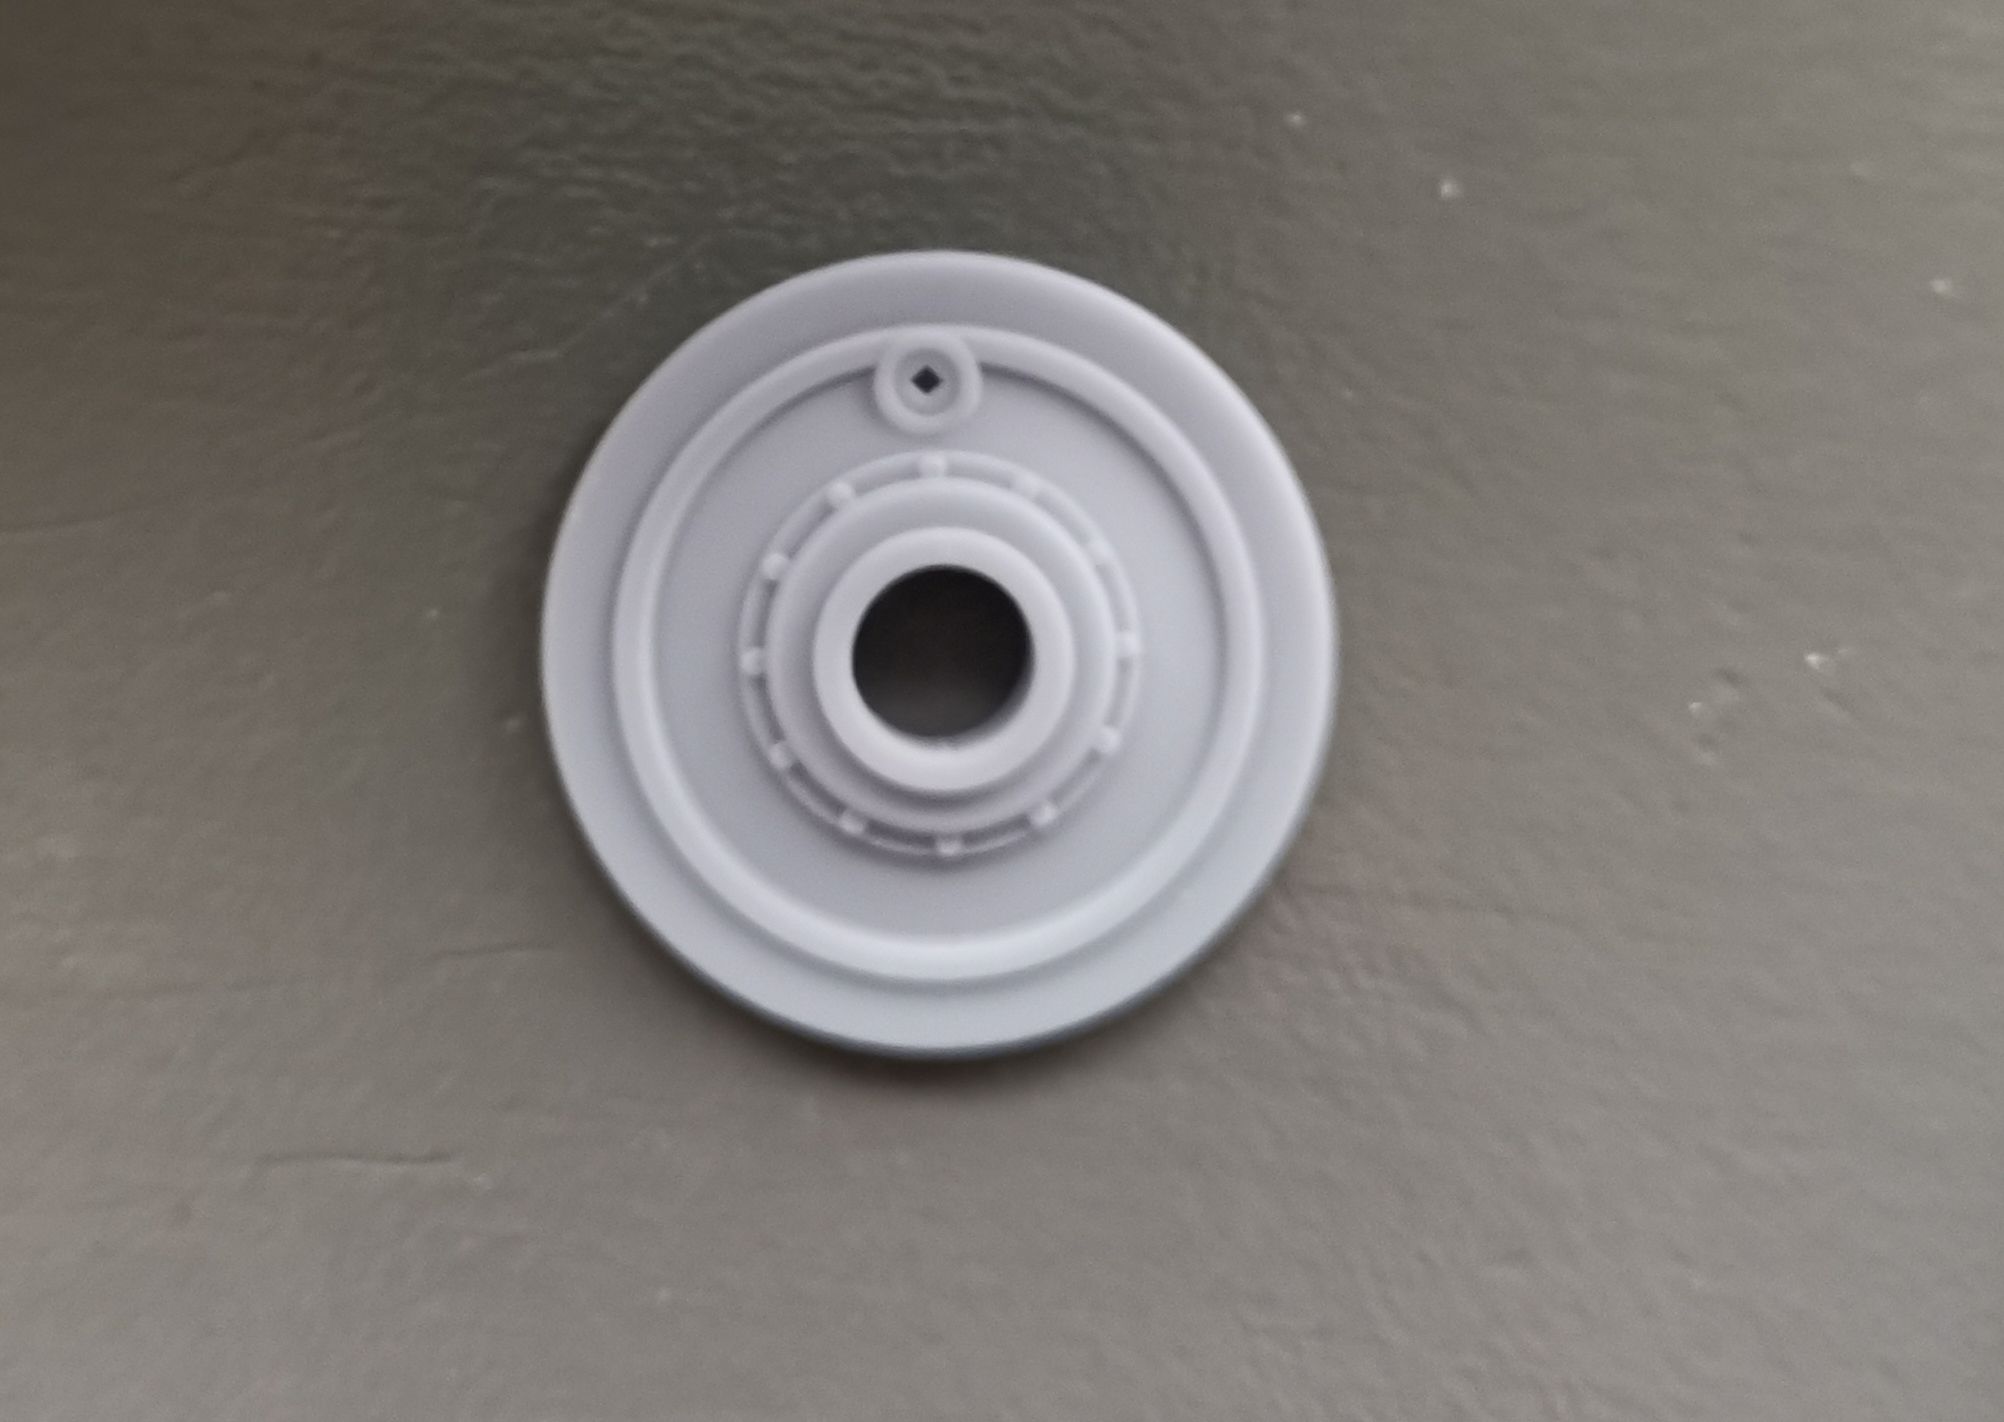
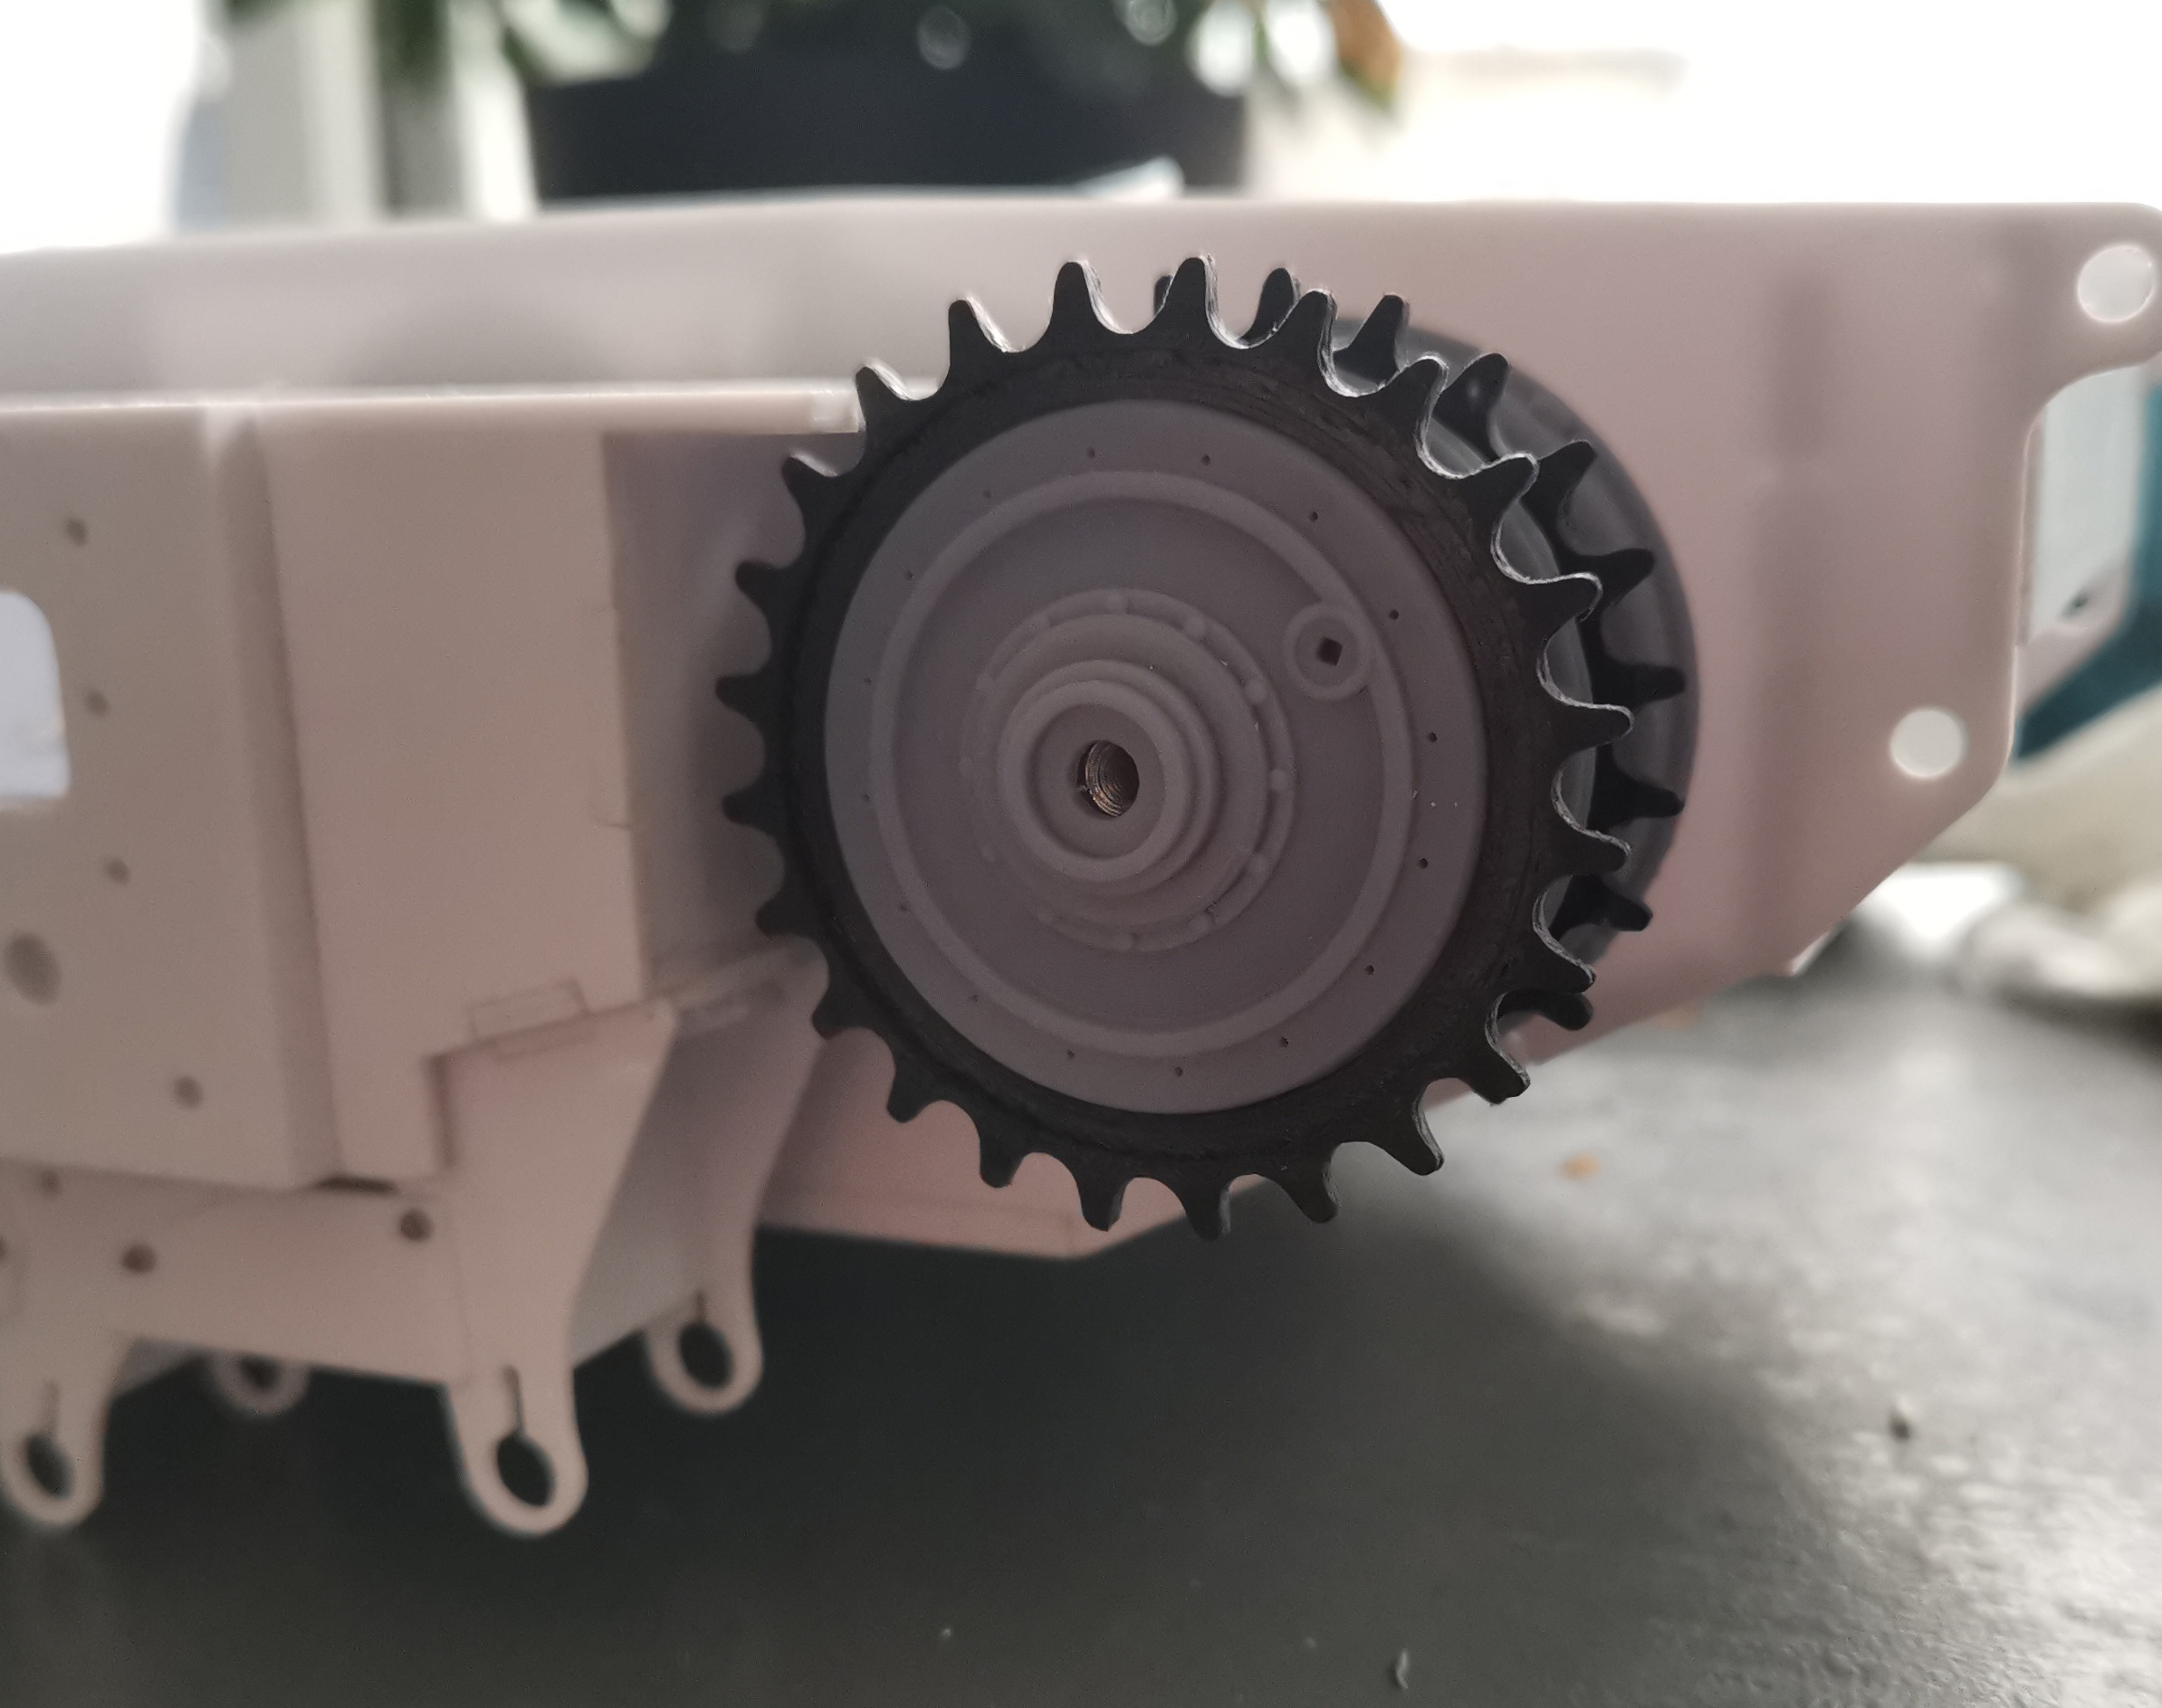
The sprocket is made from a 3D printed resin hub with FDM PETG crown for durability. I probably made too much details as those parts are completely unseen, that's why I didnt bother cleaning the black PETG part furthermore.
- churchill36.jpg (1.08 MiB) Viewed 1375 times
- churchill37.jpg (1.2 MiB) Viewed 1375 times
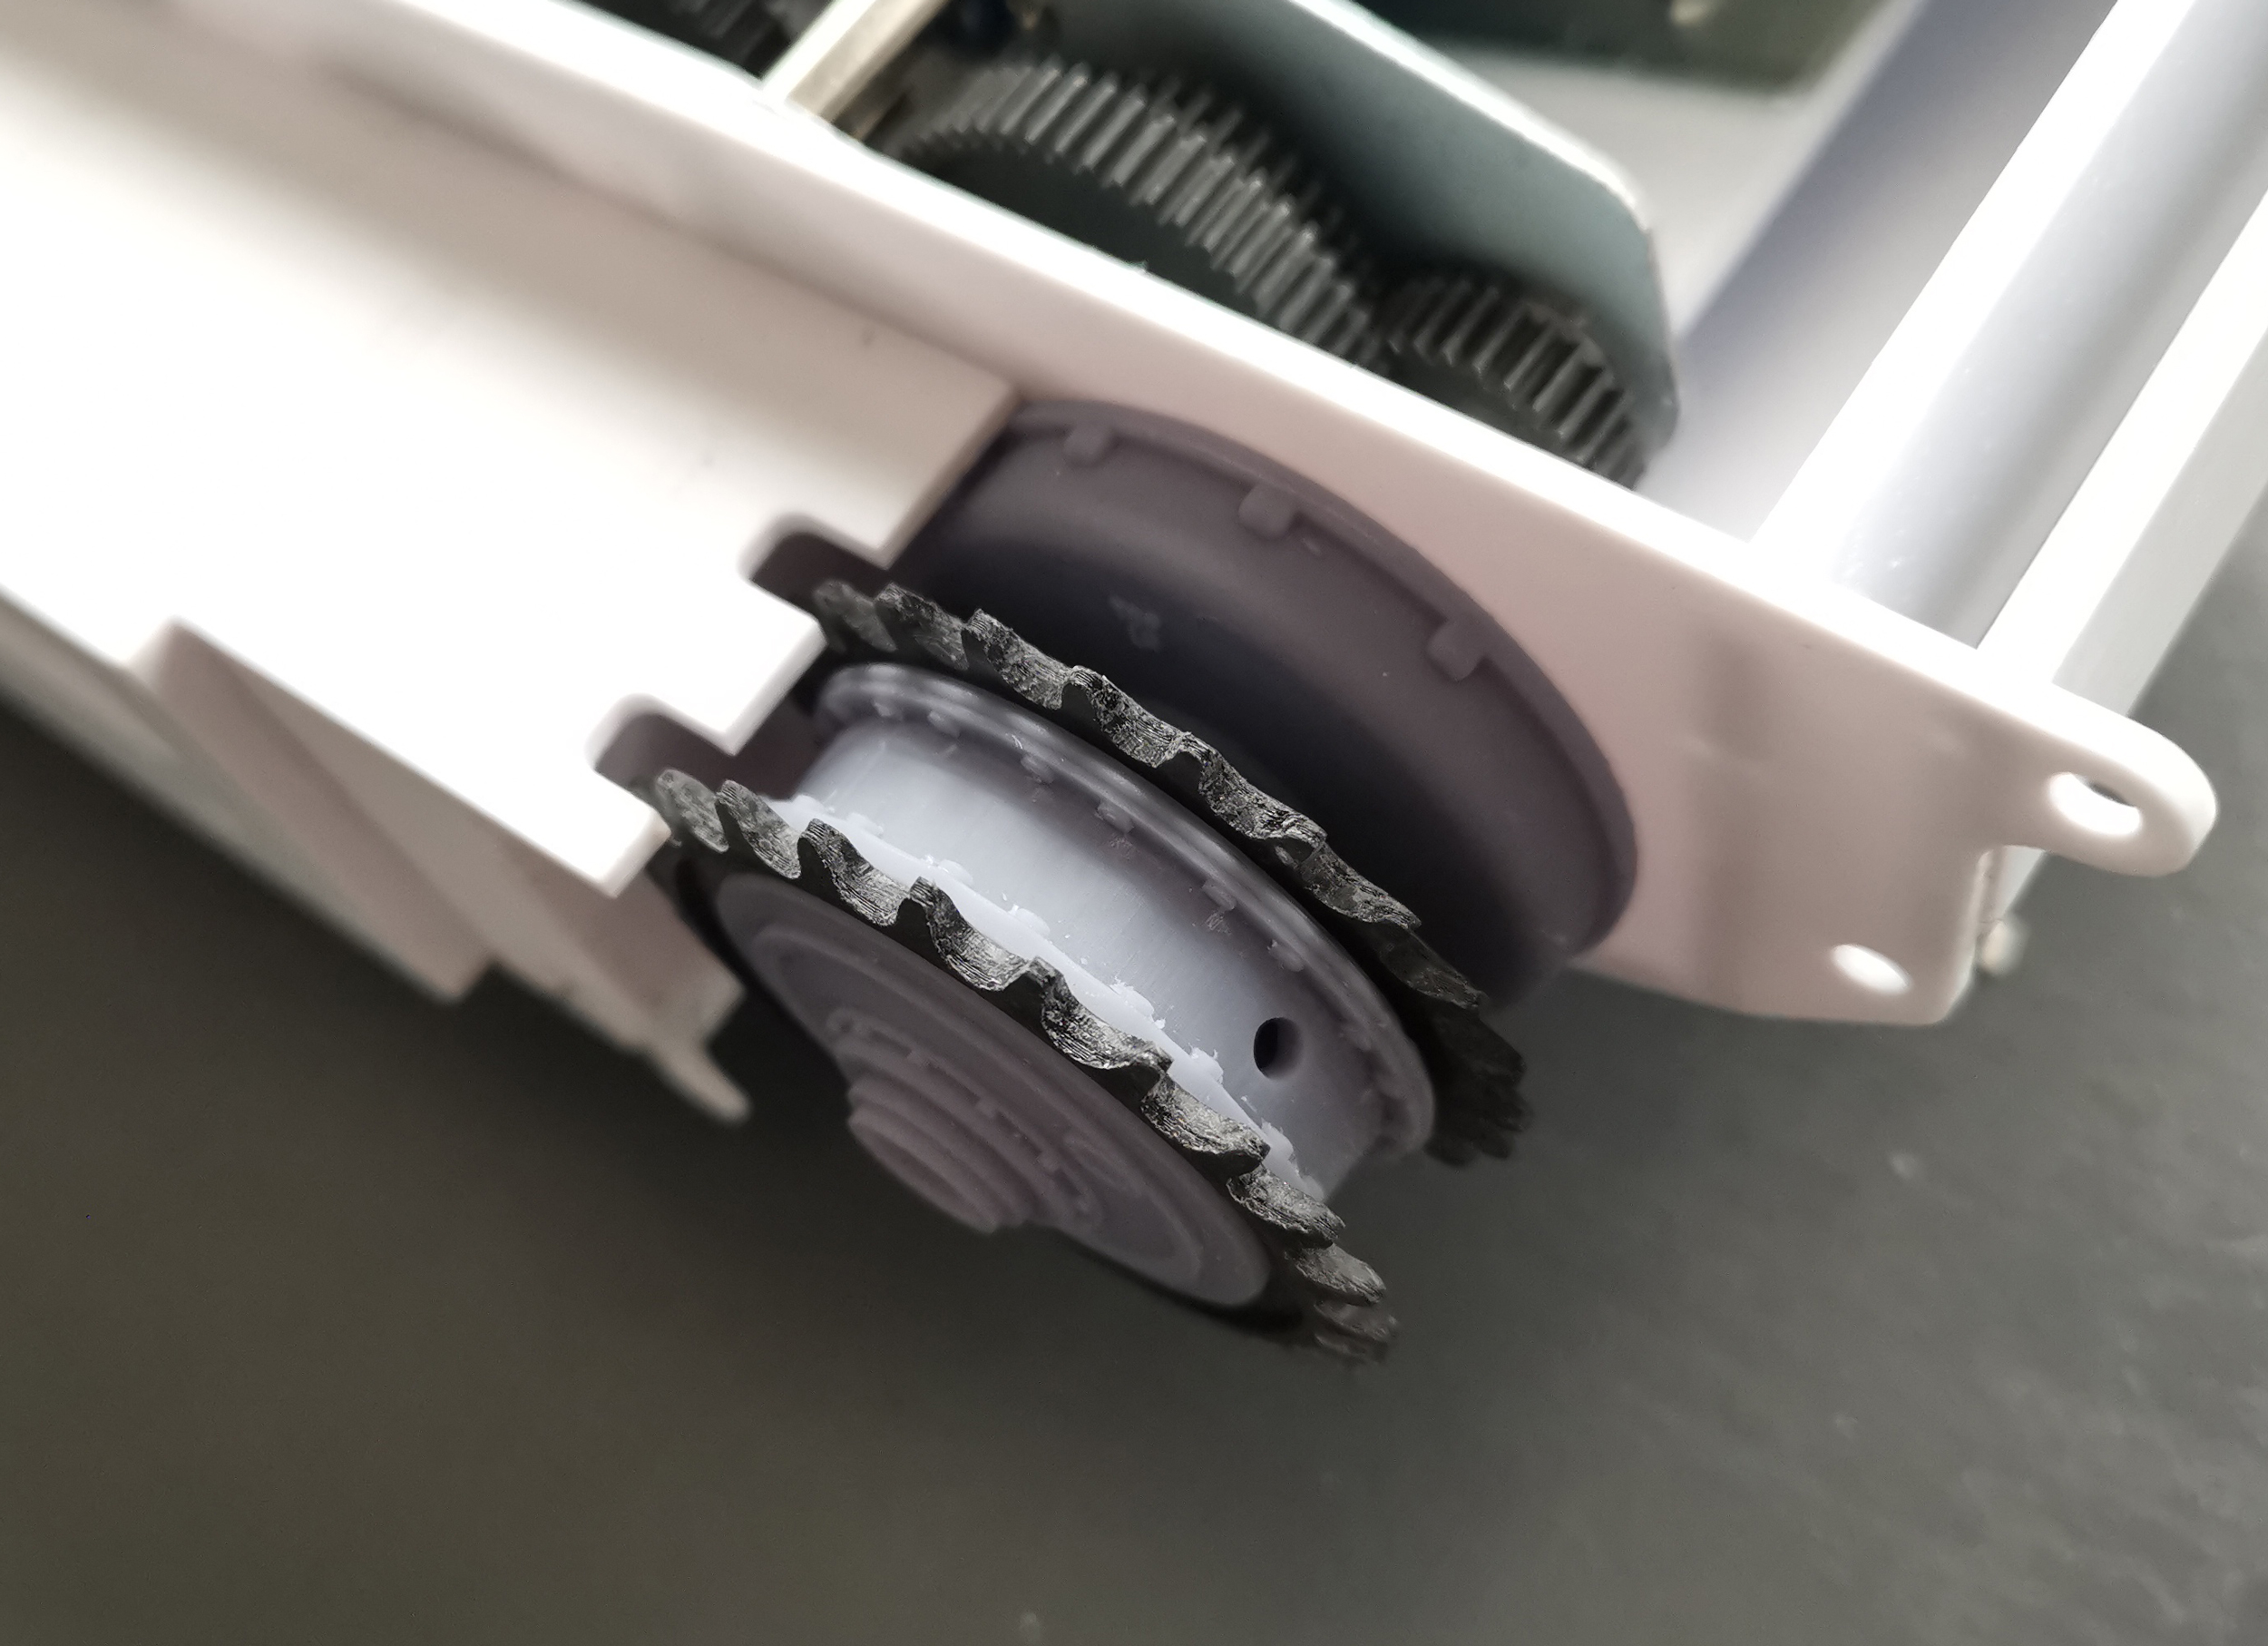
- churchill38.jpg (1.48 MiB) Viewed 1375 times
Re: Scratchbuilt Churchill Mk.IV AVRE
Posted: Sat Mar 11, 2023 9:28 pm
by MonsieurTox
The boring thing with the Churchill is the amount of suspensions/wheels.
Those are the shafts that link the swinging boggey arm to the chassis frame.
Of course they are 2 different lengths, otherwise it would be too easy ! I cut them on the lathe.
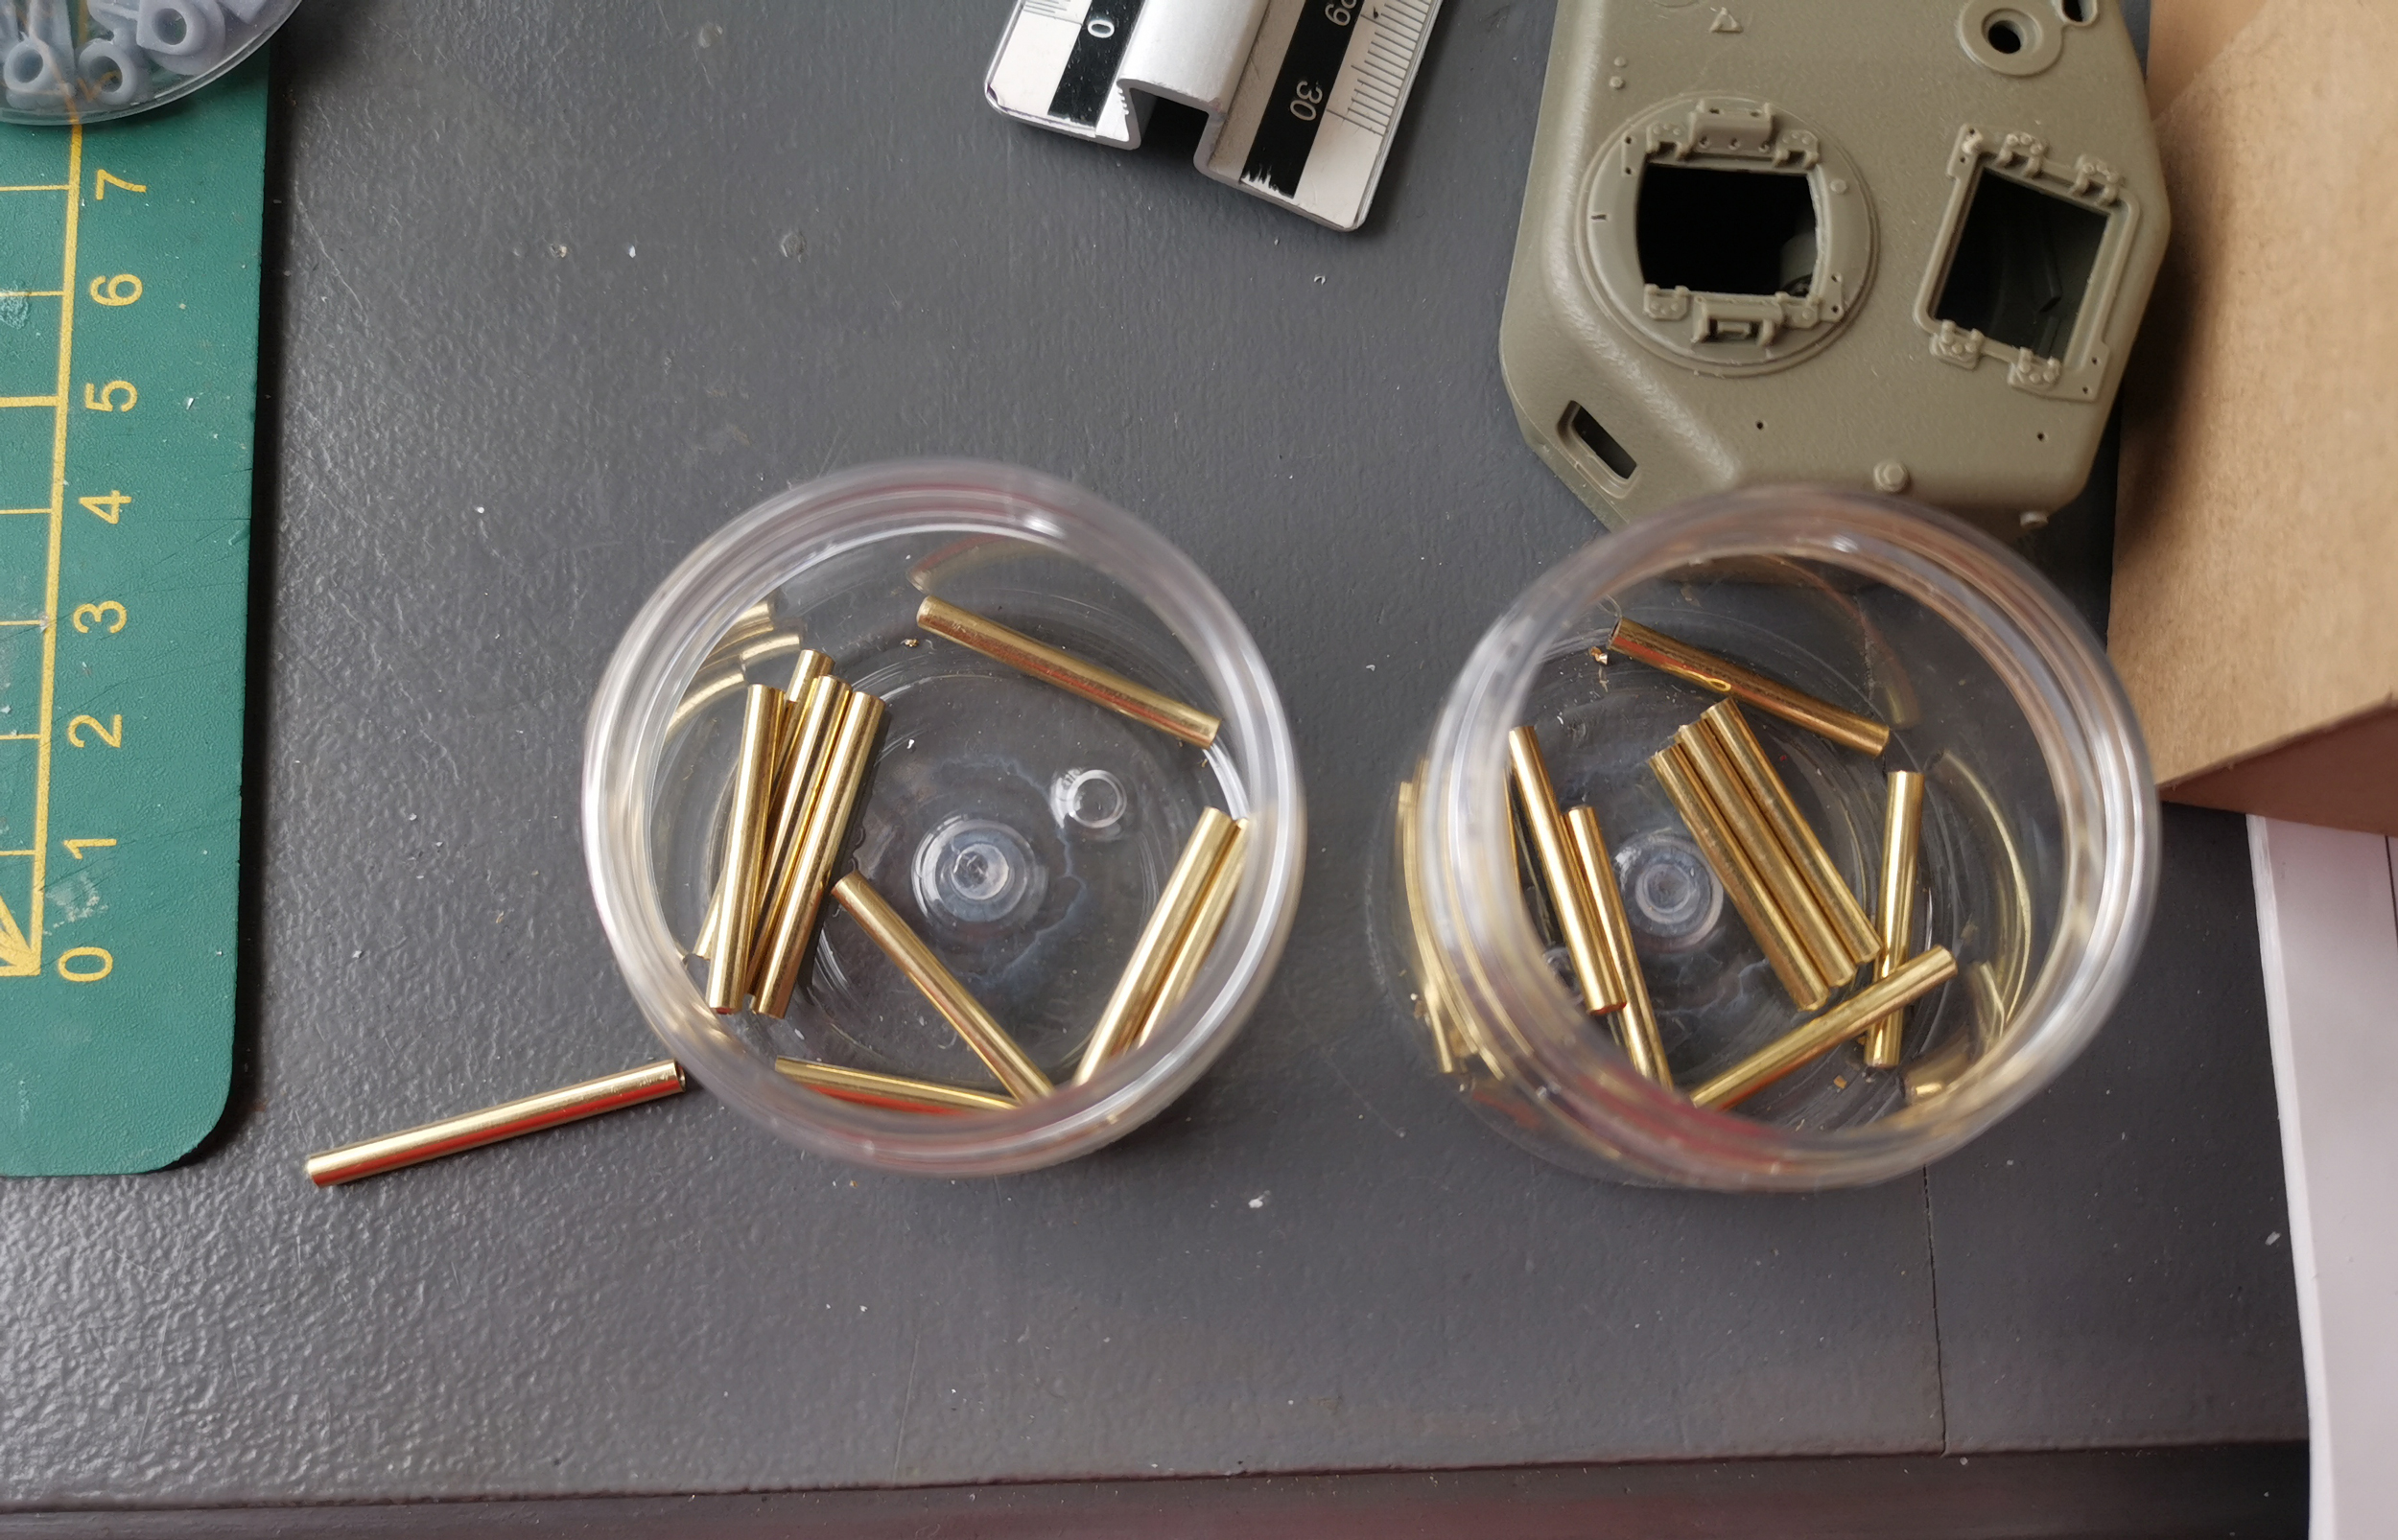
- churchill39.jpg (2.16 MiB) Viewed 1375 times
Assembly done :
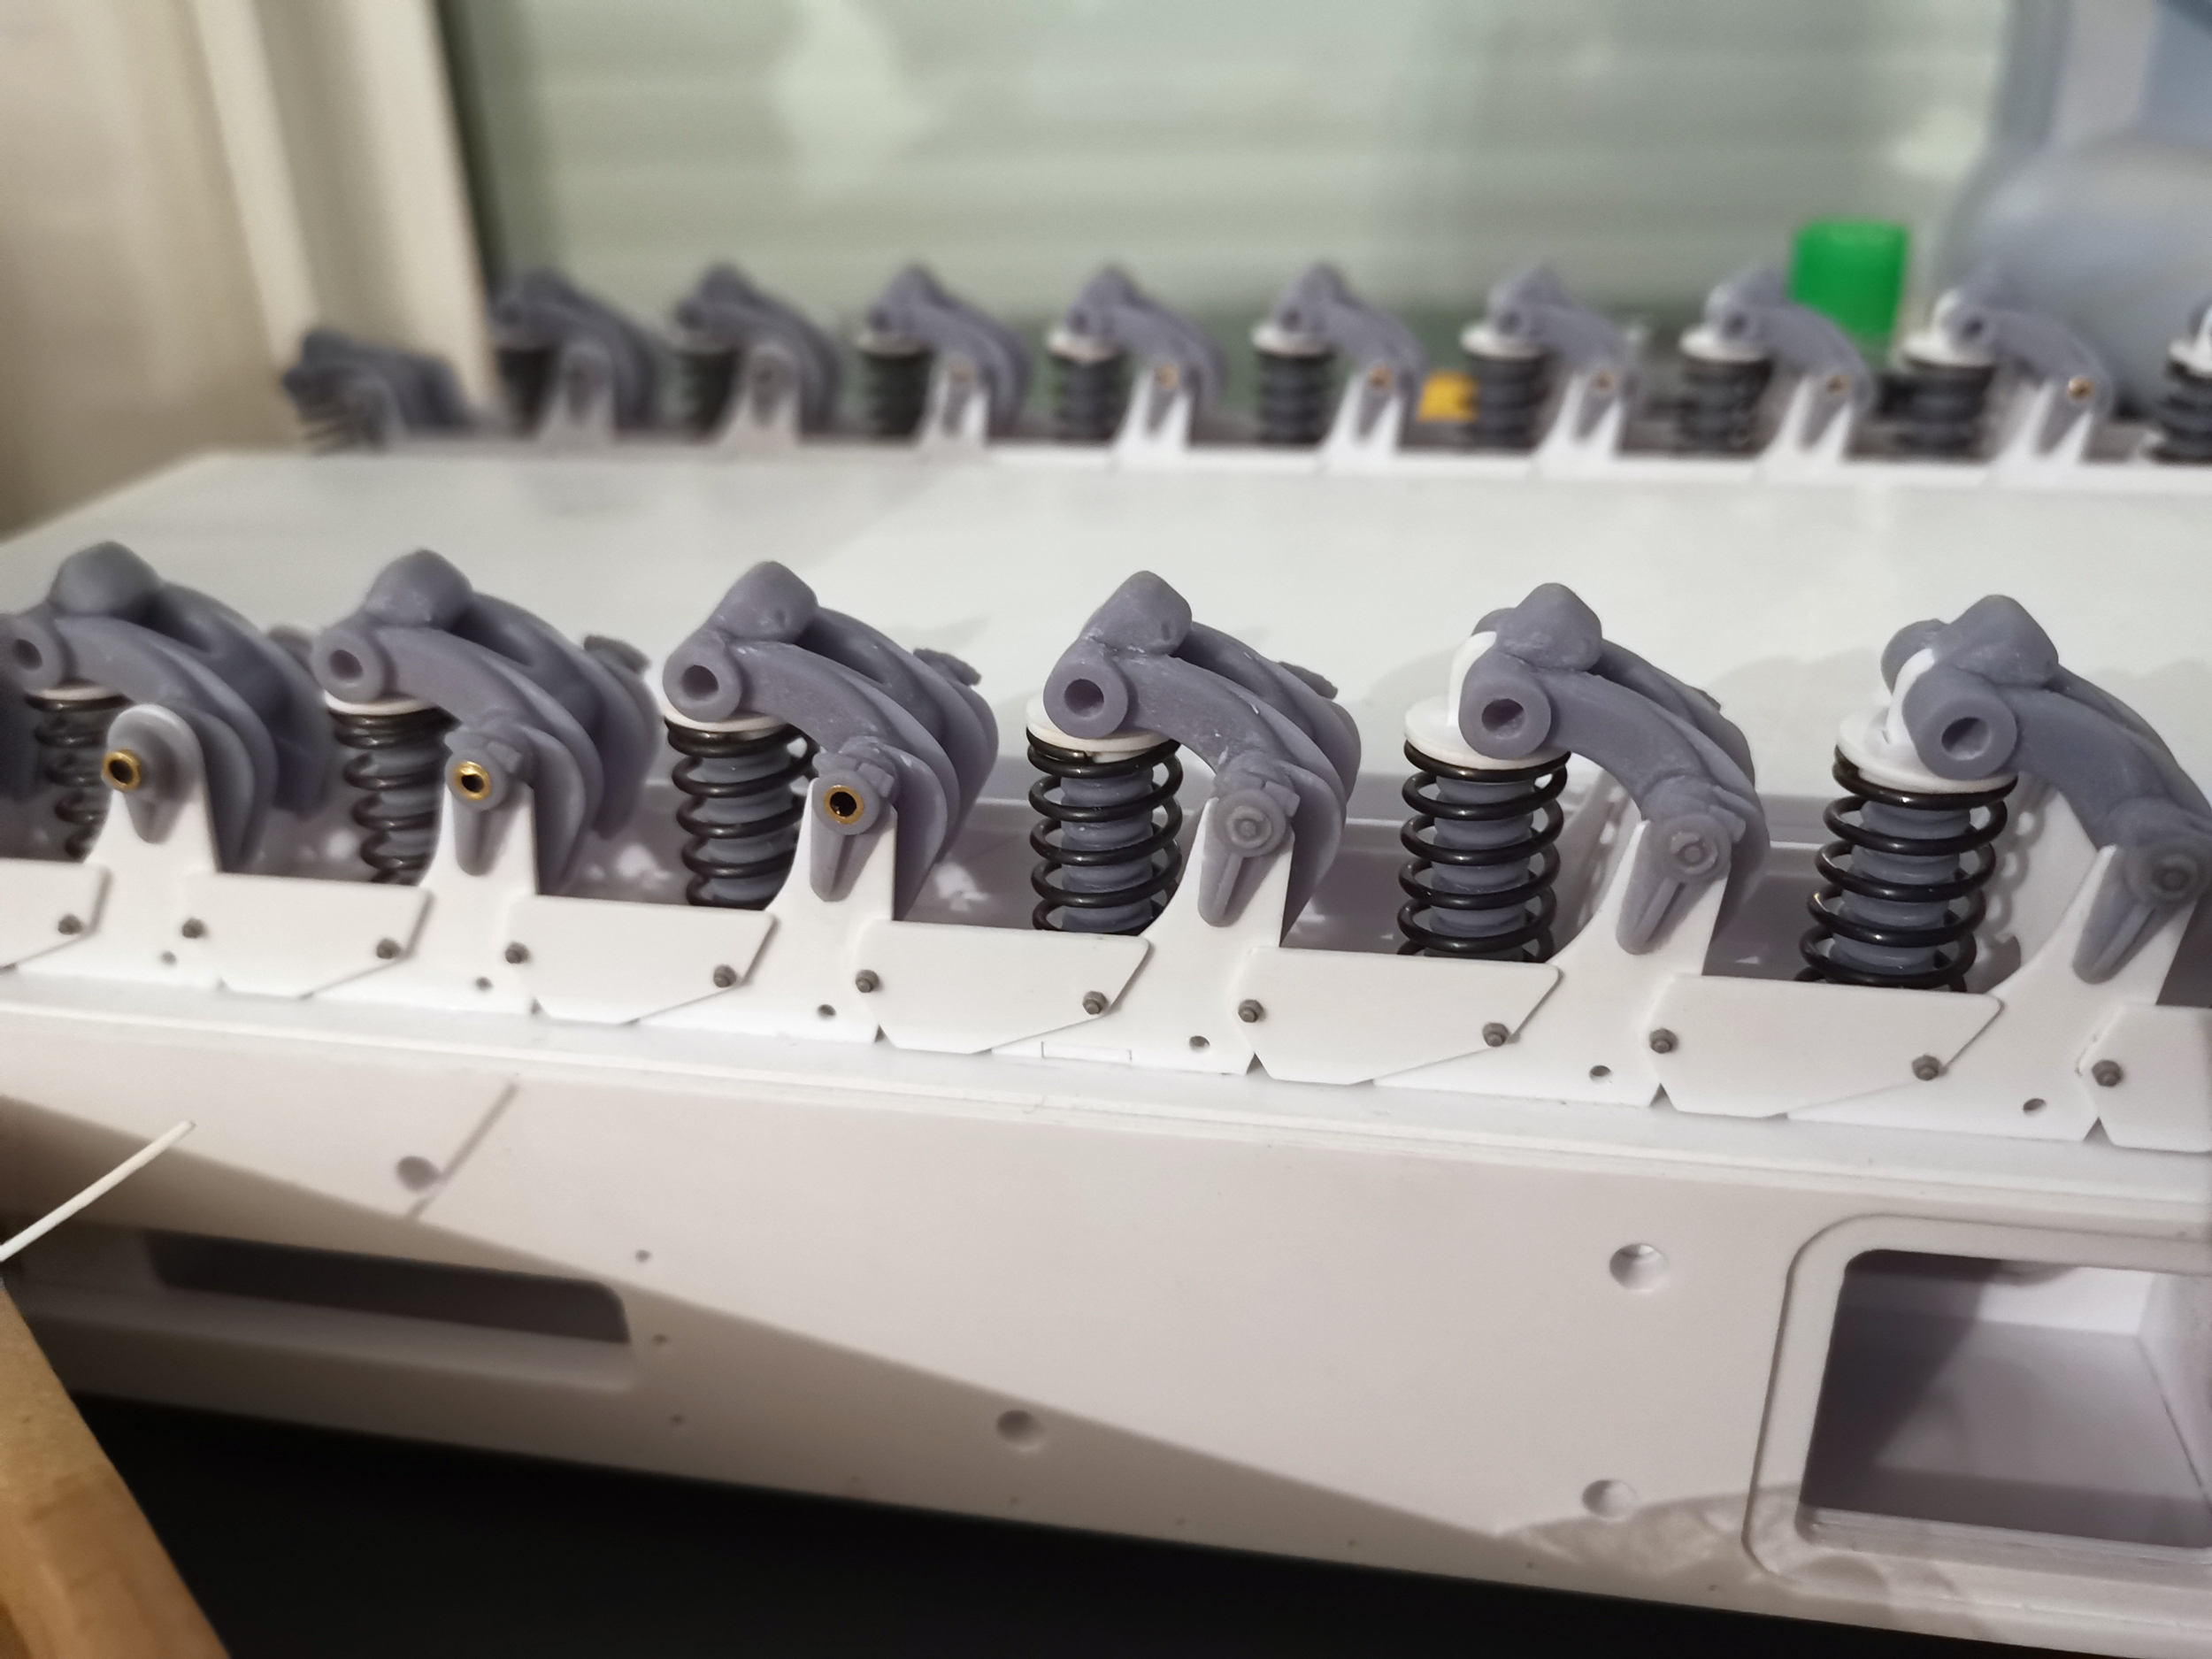
- churchill40.jpg (1.68 MiB) Viewed 1375 times
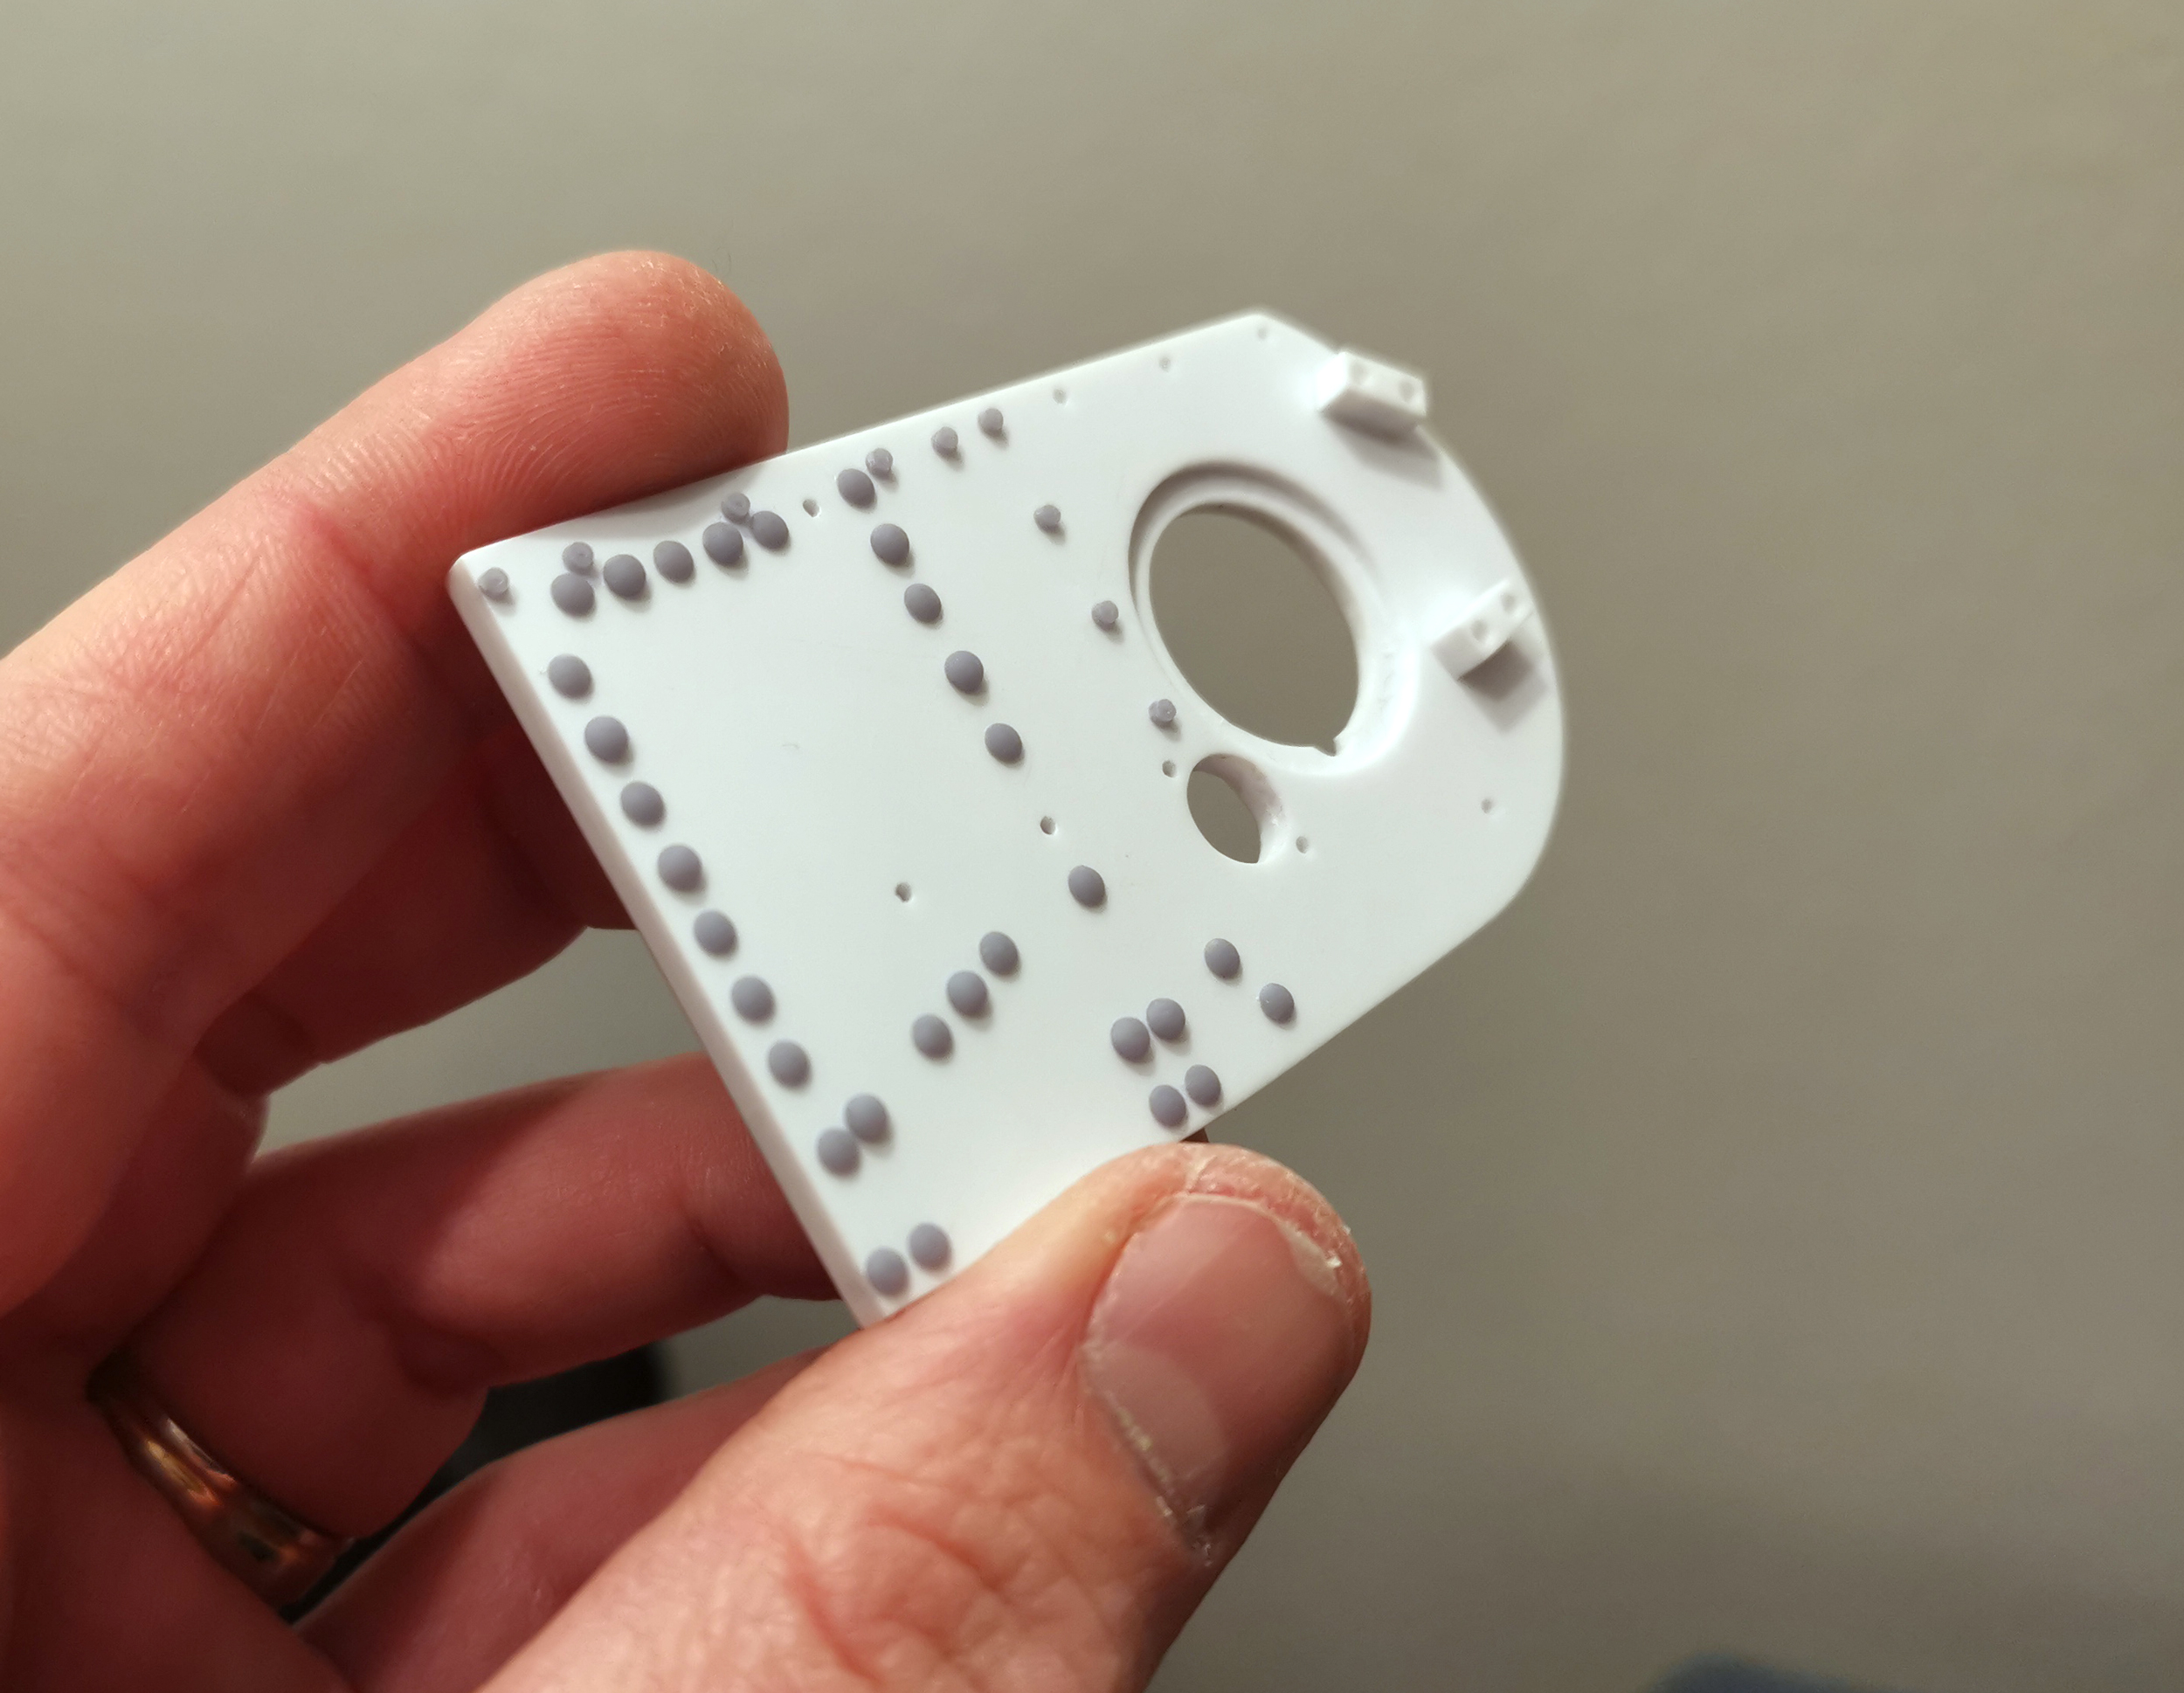
Next is the rivets. I wasnt able to source rivets with the correct shapes and sizes so I had to print my ones to be accurate.
Here are the rivets for the idler arms, they are pretty flat :
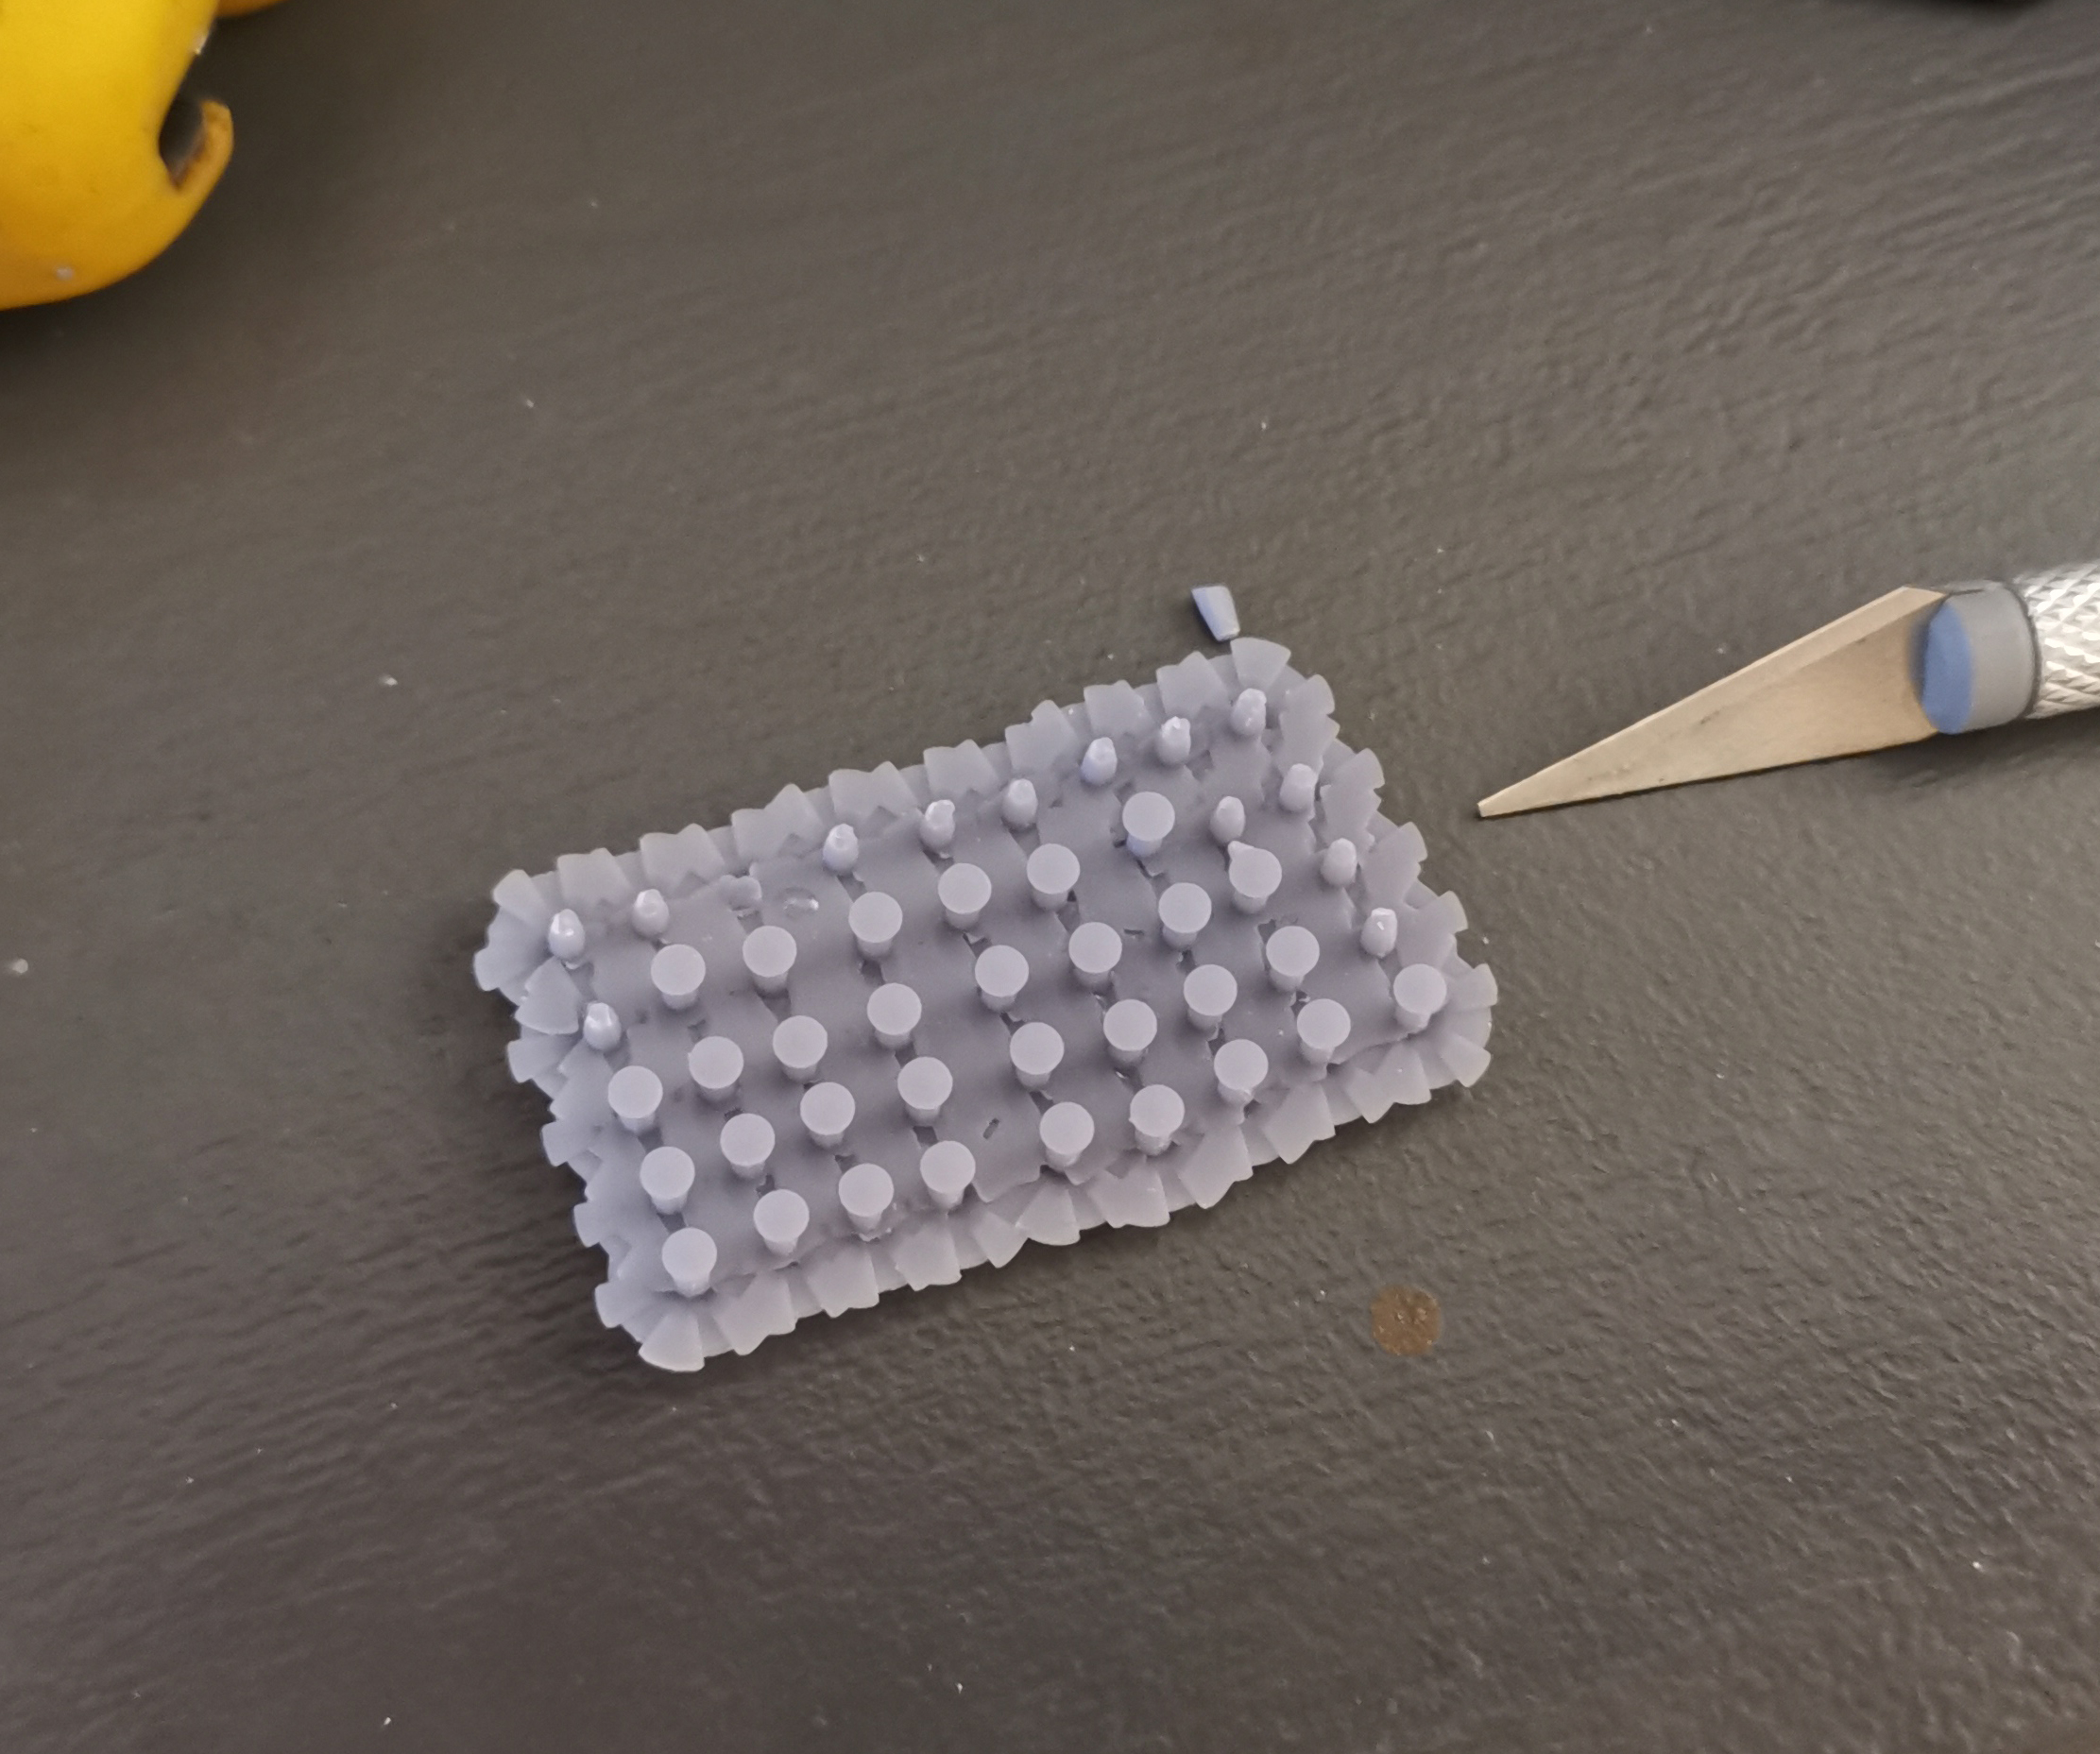
- churchill41.jpg (1.62 MiB) Viewed 1375 times
Here are somes rivet and the sprocket plate cover. Of course as usual on the Churchill, nothing is easy, you have for some reason 2 kind of rivets : half round and flatter ones (but more rounded than the one of the idler arms

).
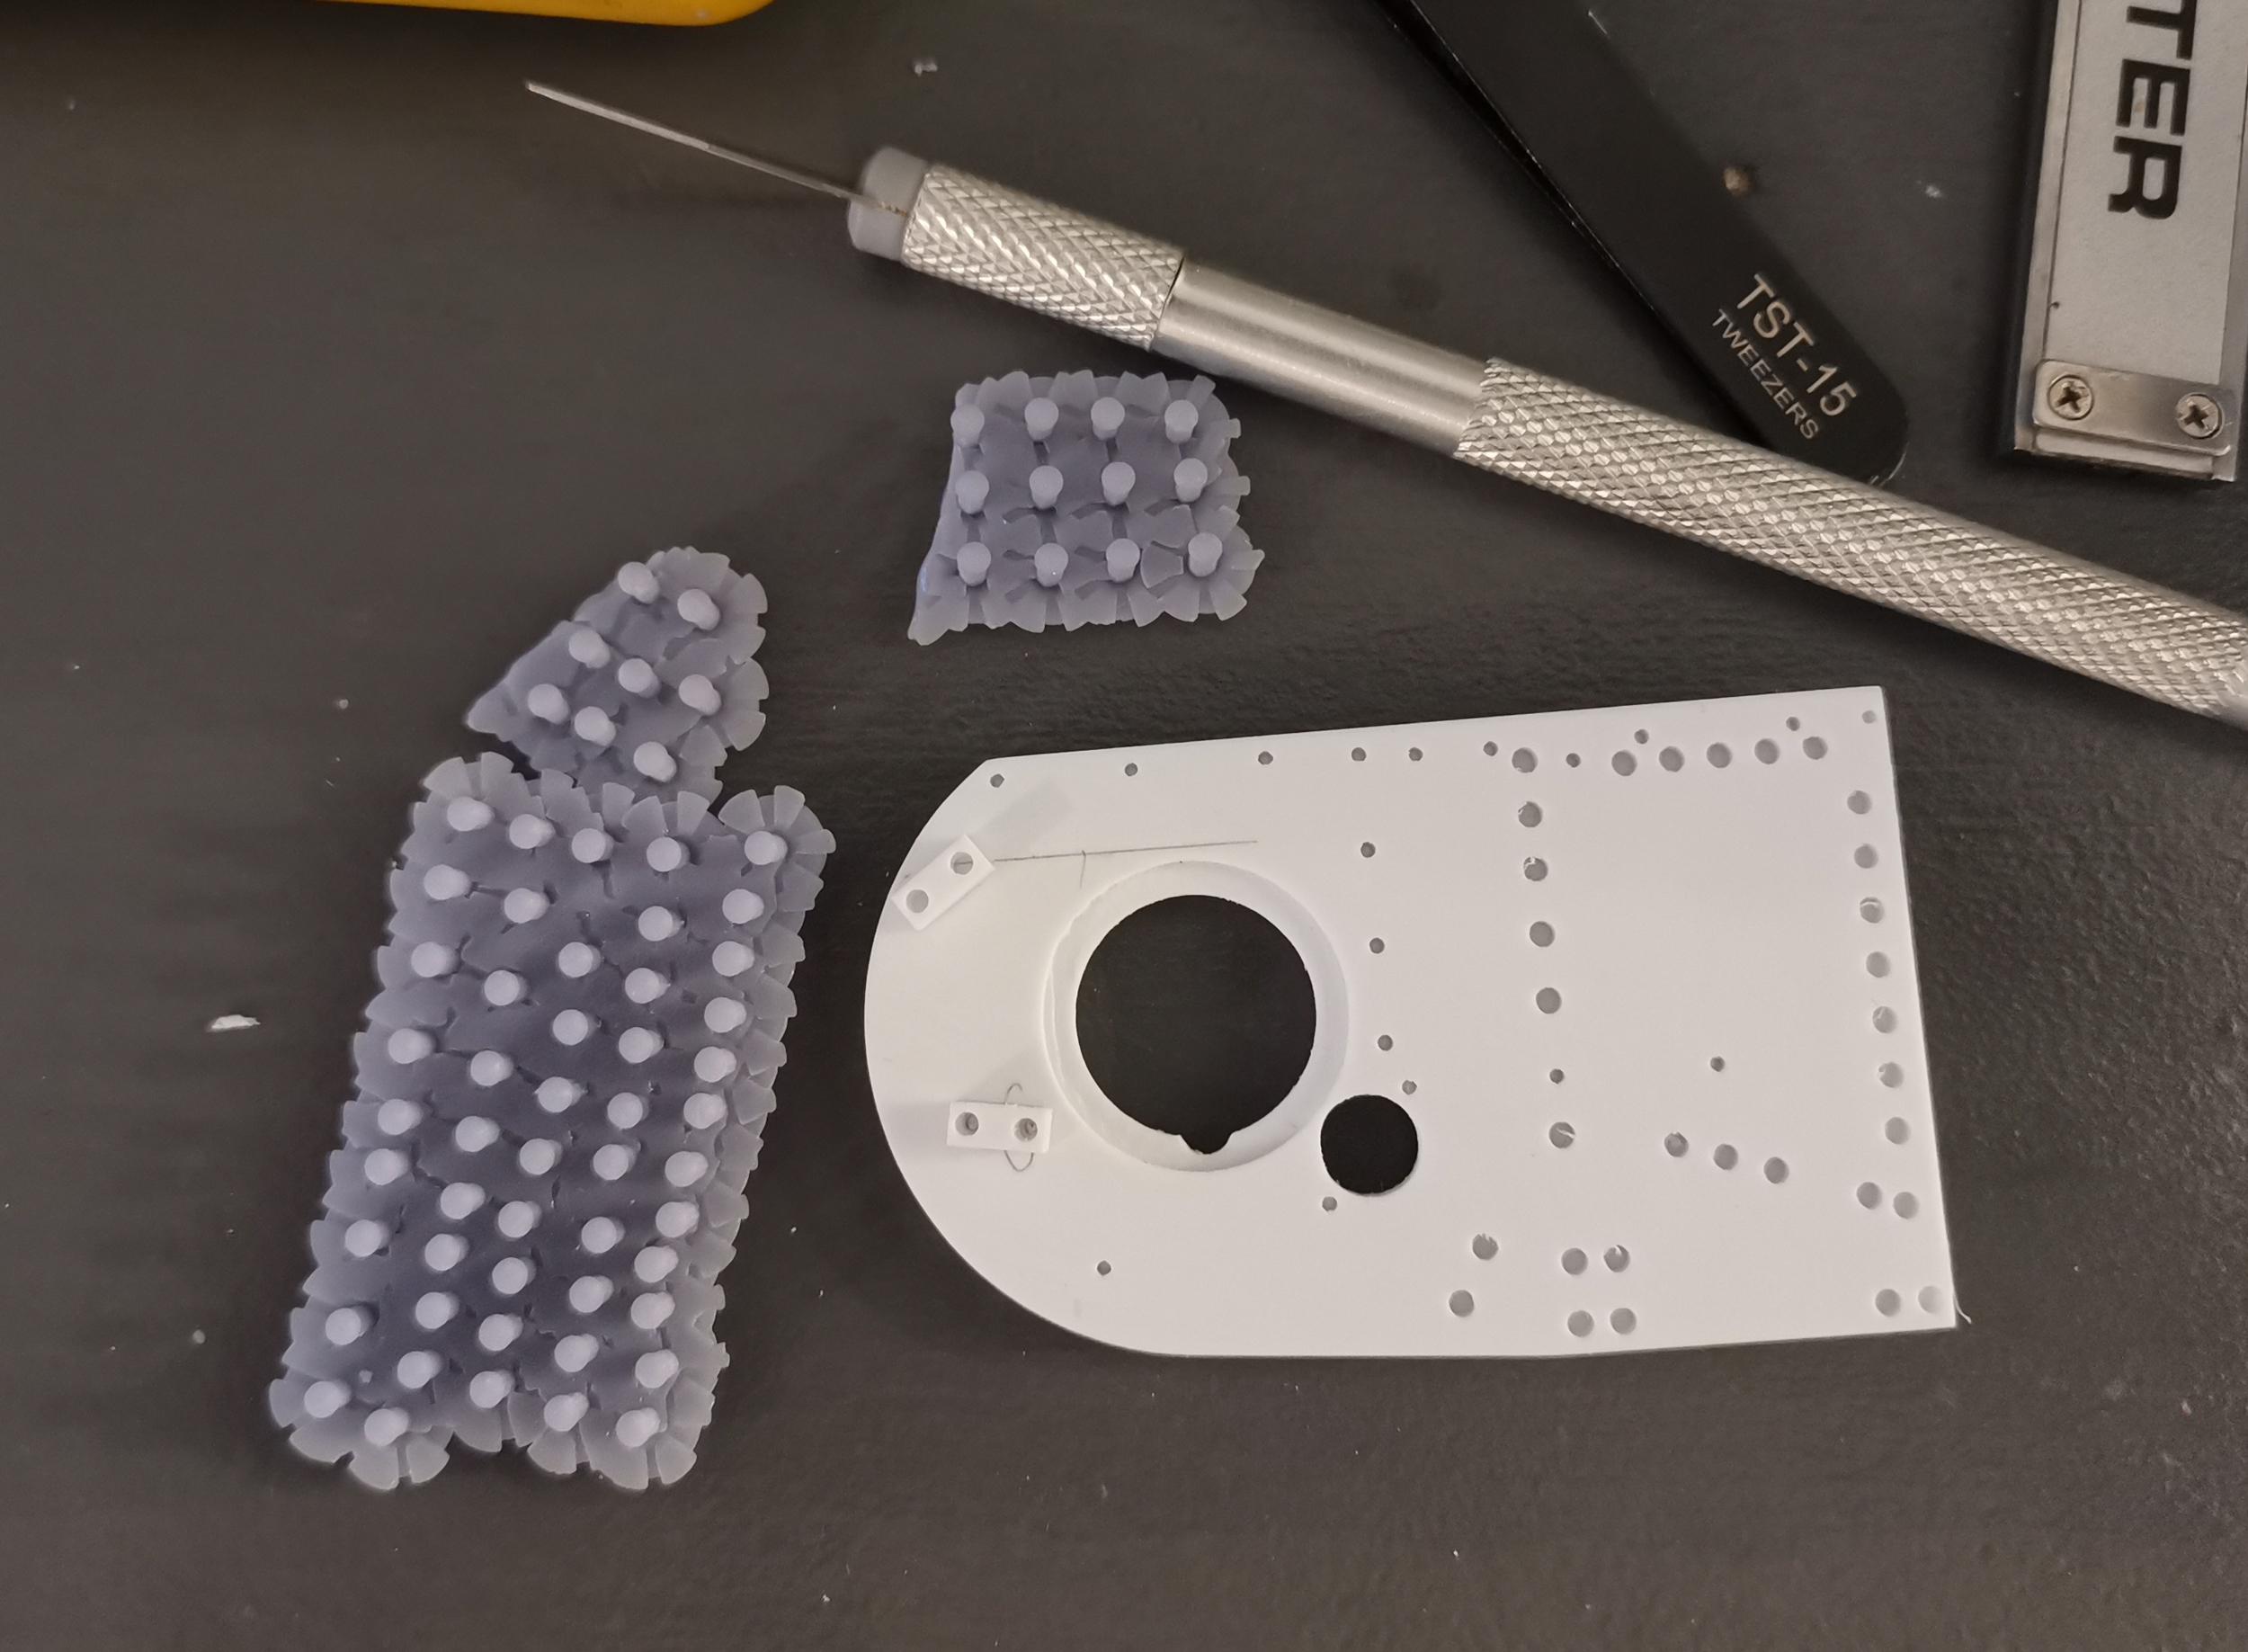
- churchill42.jpg (1.87 MiB) Viewed 1375 times
First kind of rivets, they dont need to be glued, assembly is very tight, just press then into the hole and they are firmly secured :
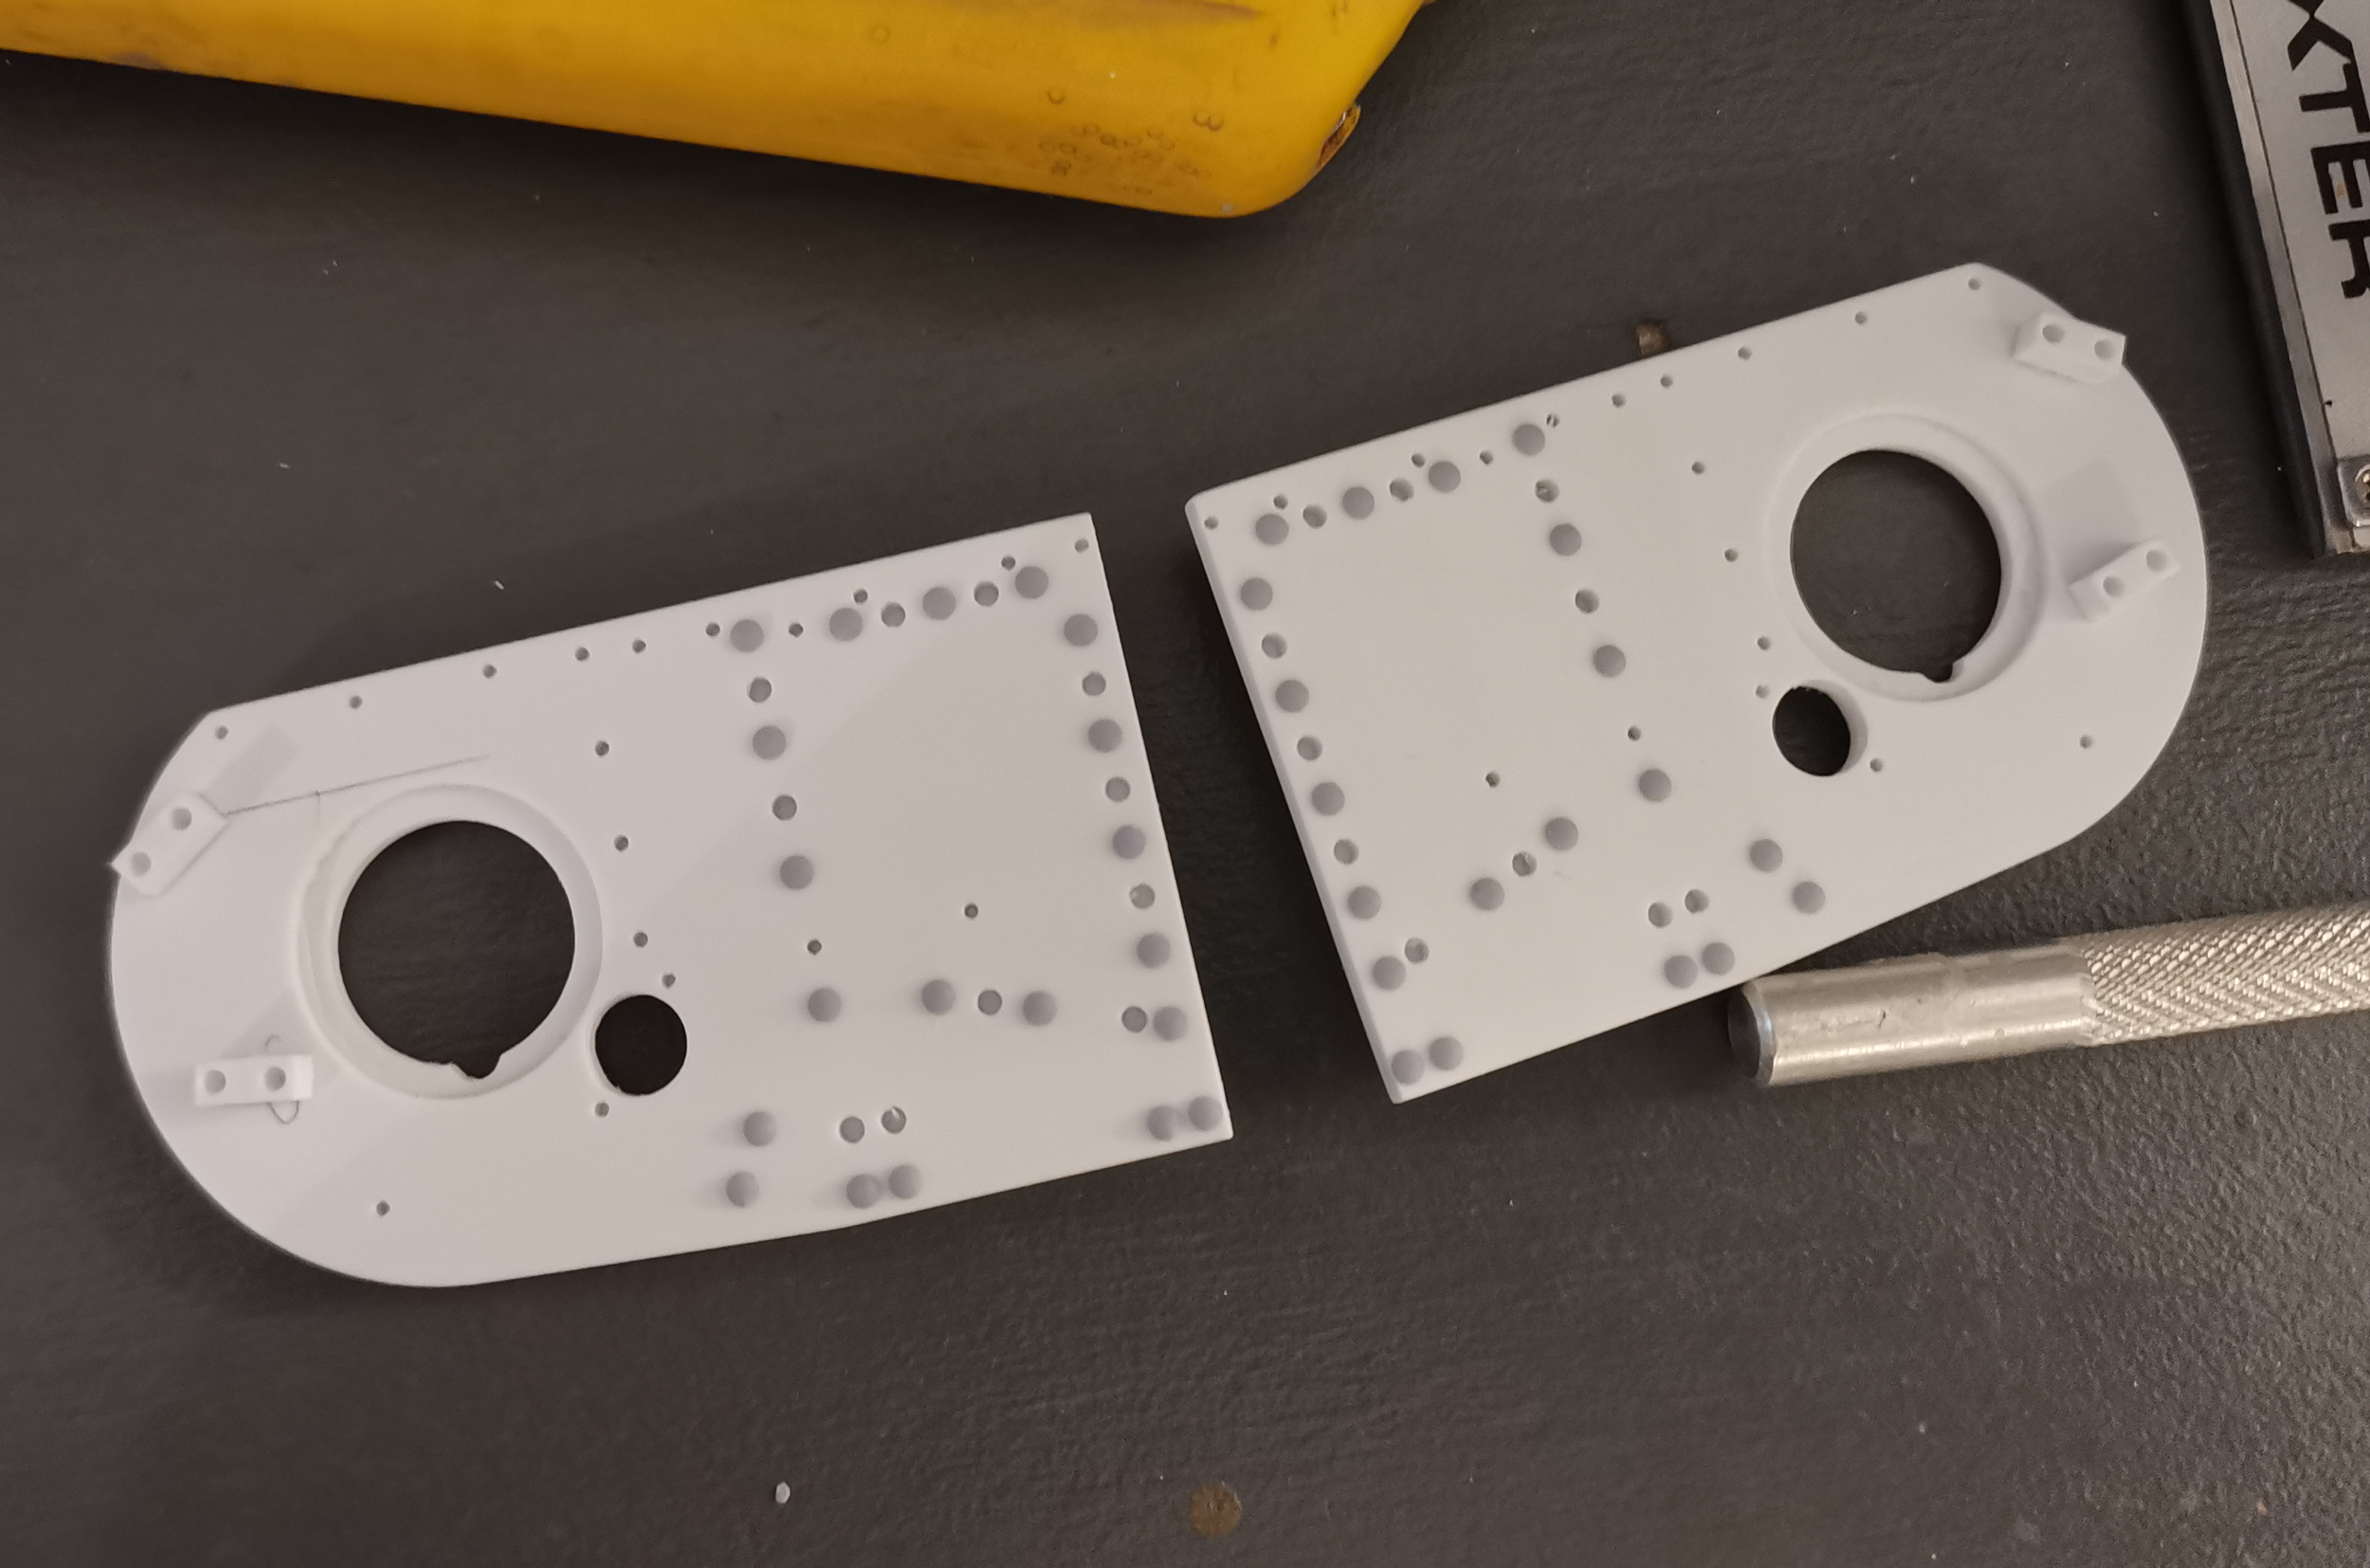
- churchill43.jpg (1.53 MiB) Viewed 1375 times
Second kind of rivets :
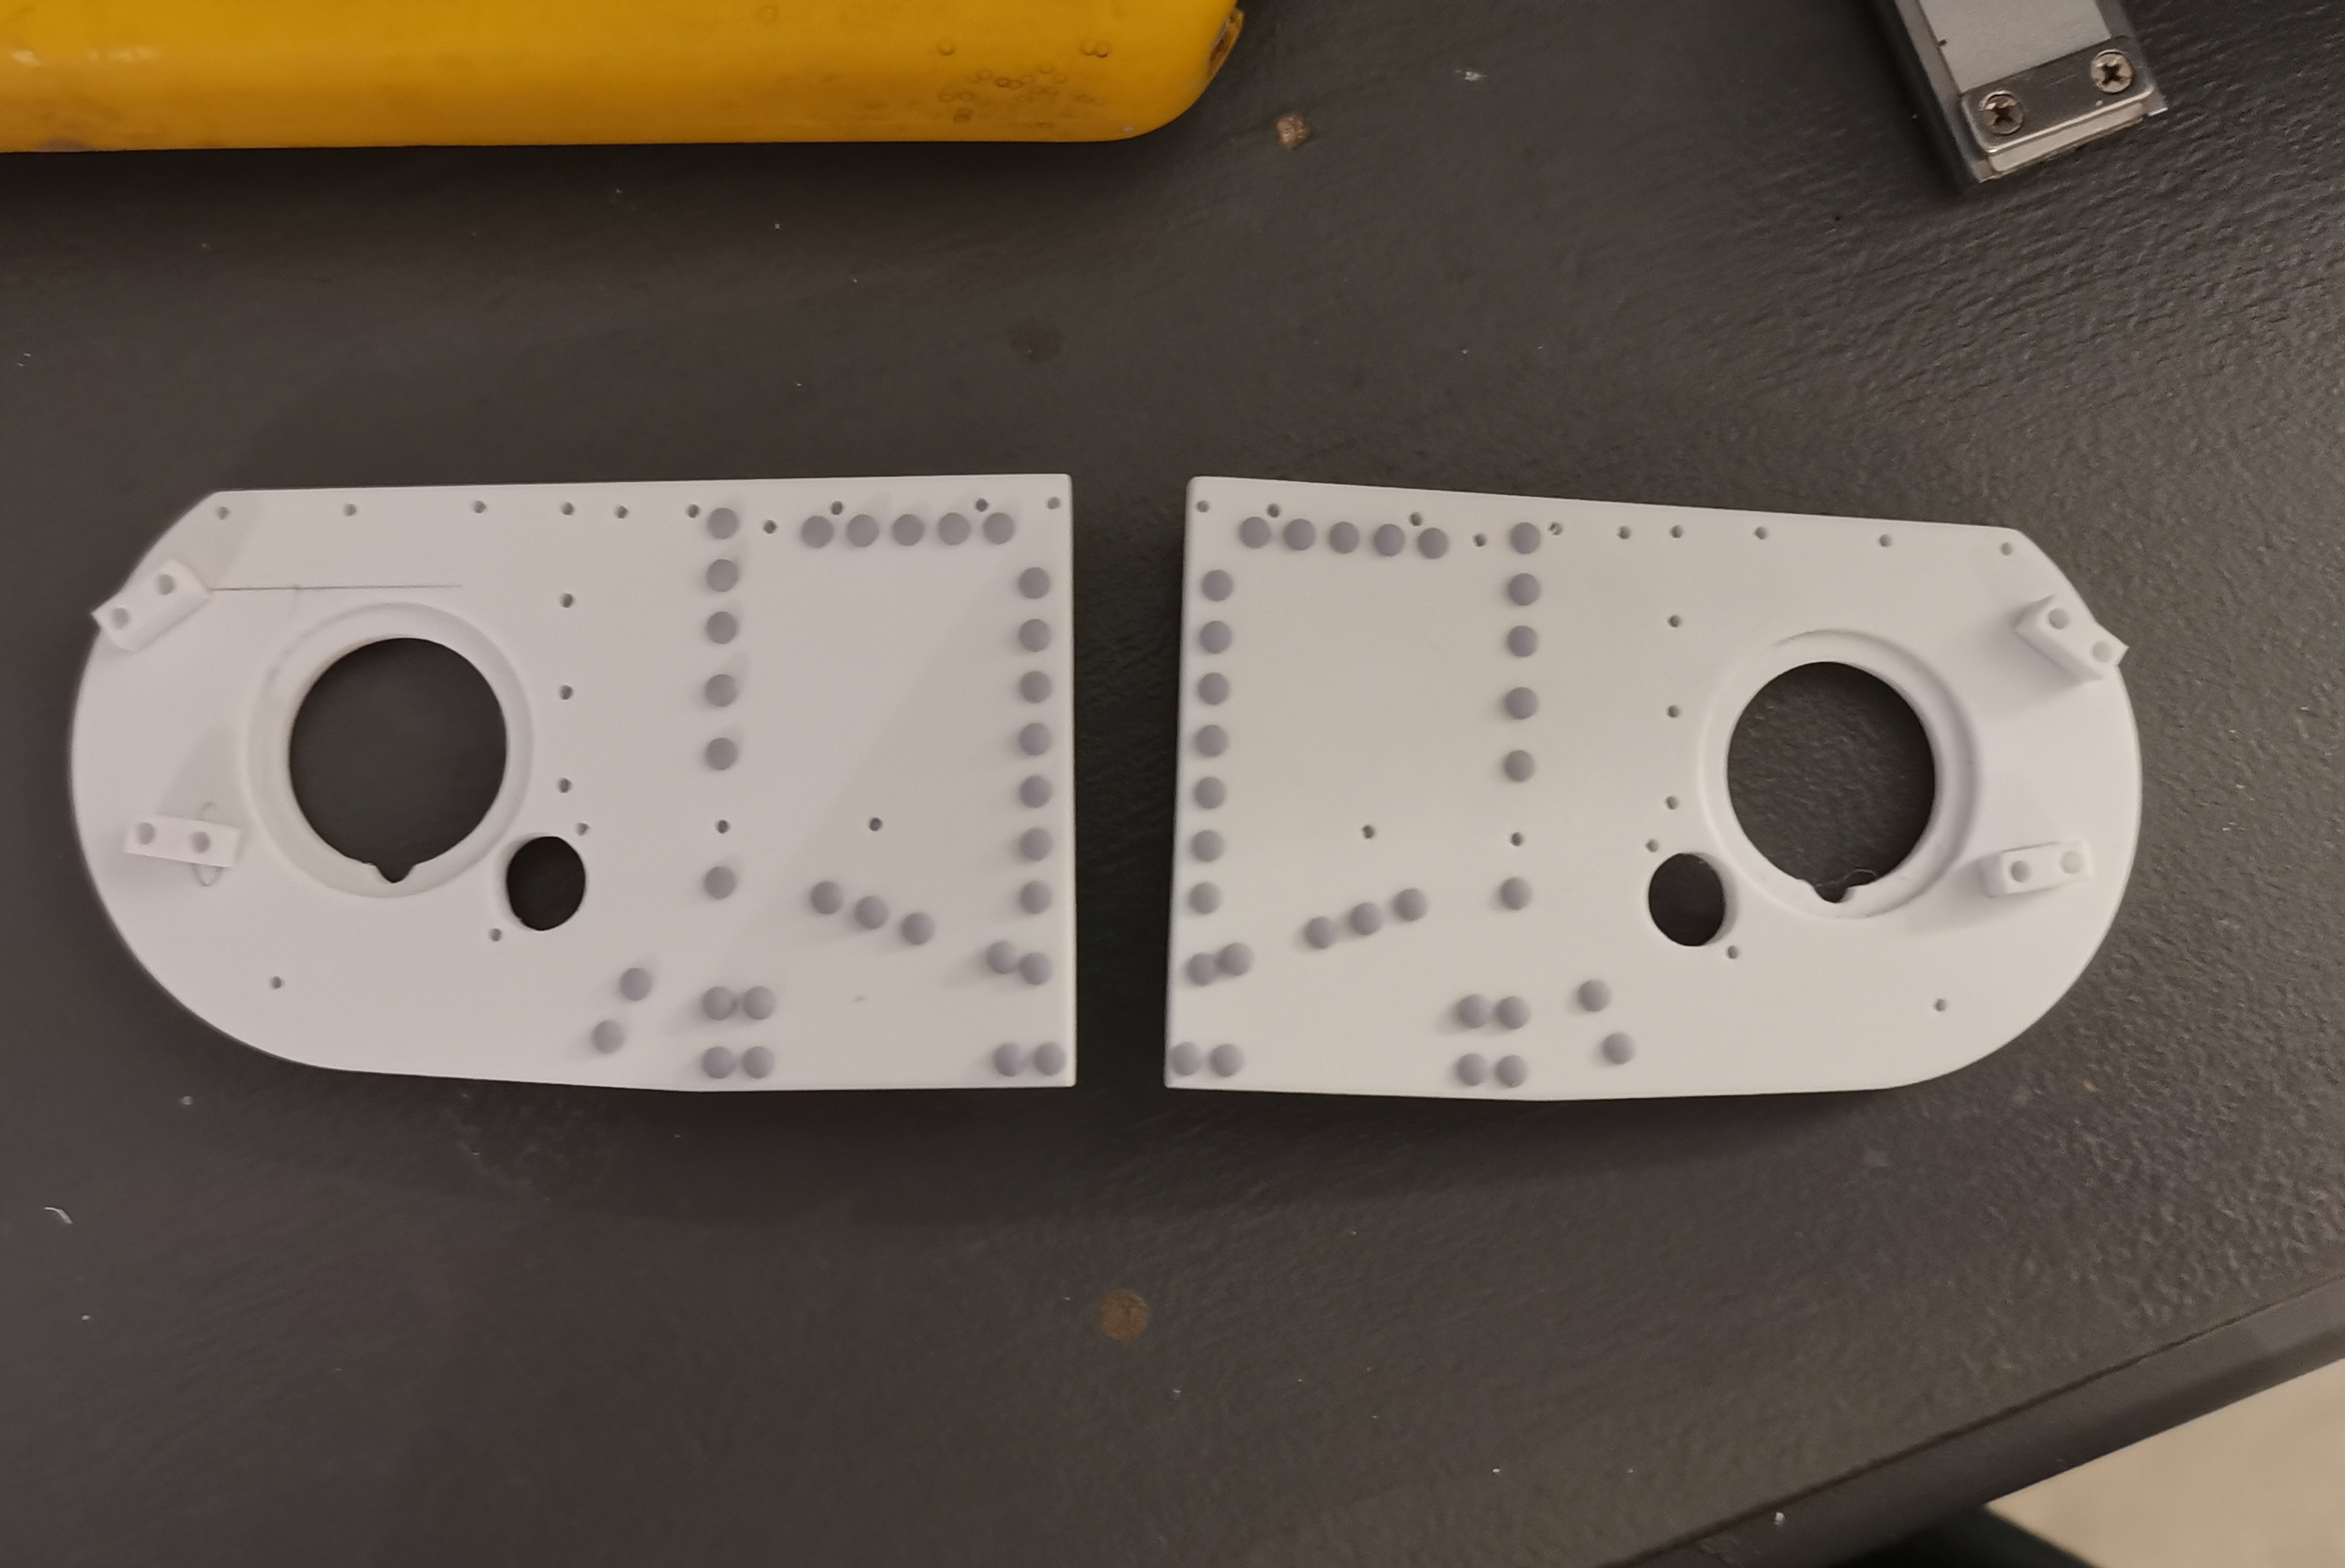
- churchill44.jpg (1.6 MiB) Viewed 1375 times
Now the small support with a tiny hole in it for the track guards :
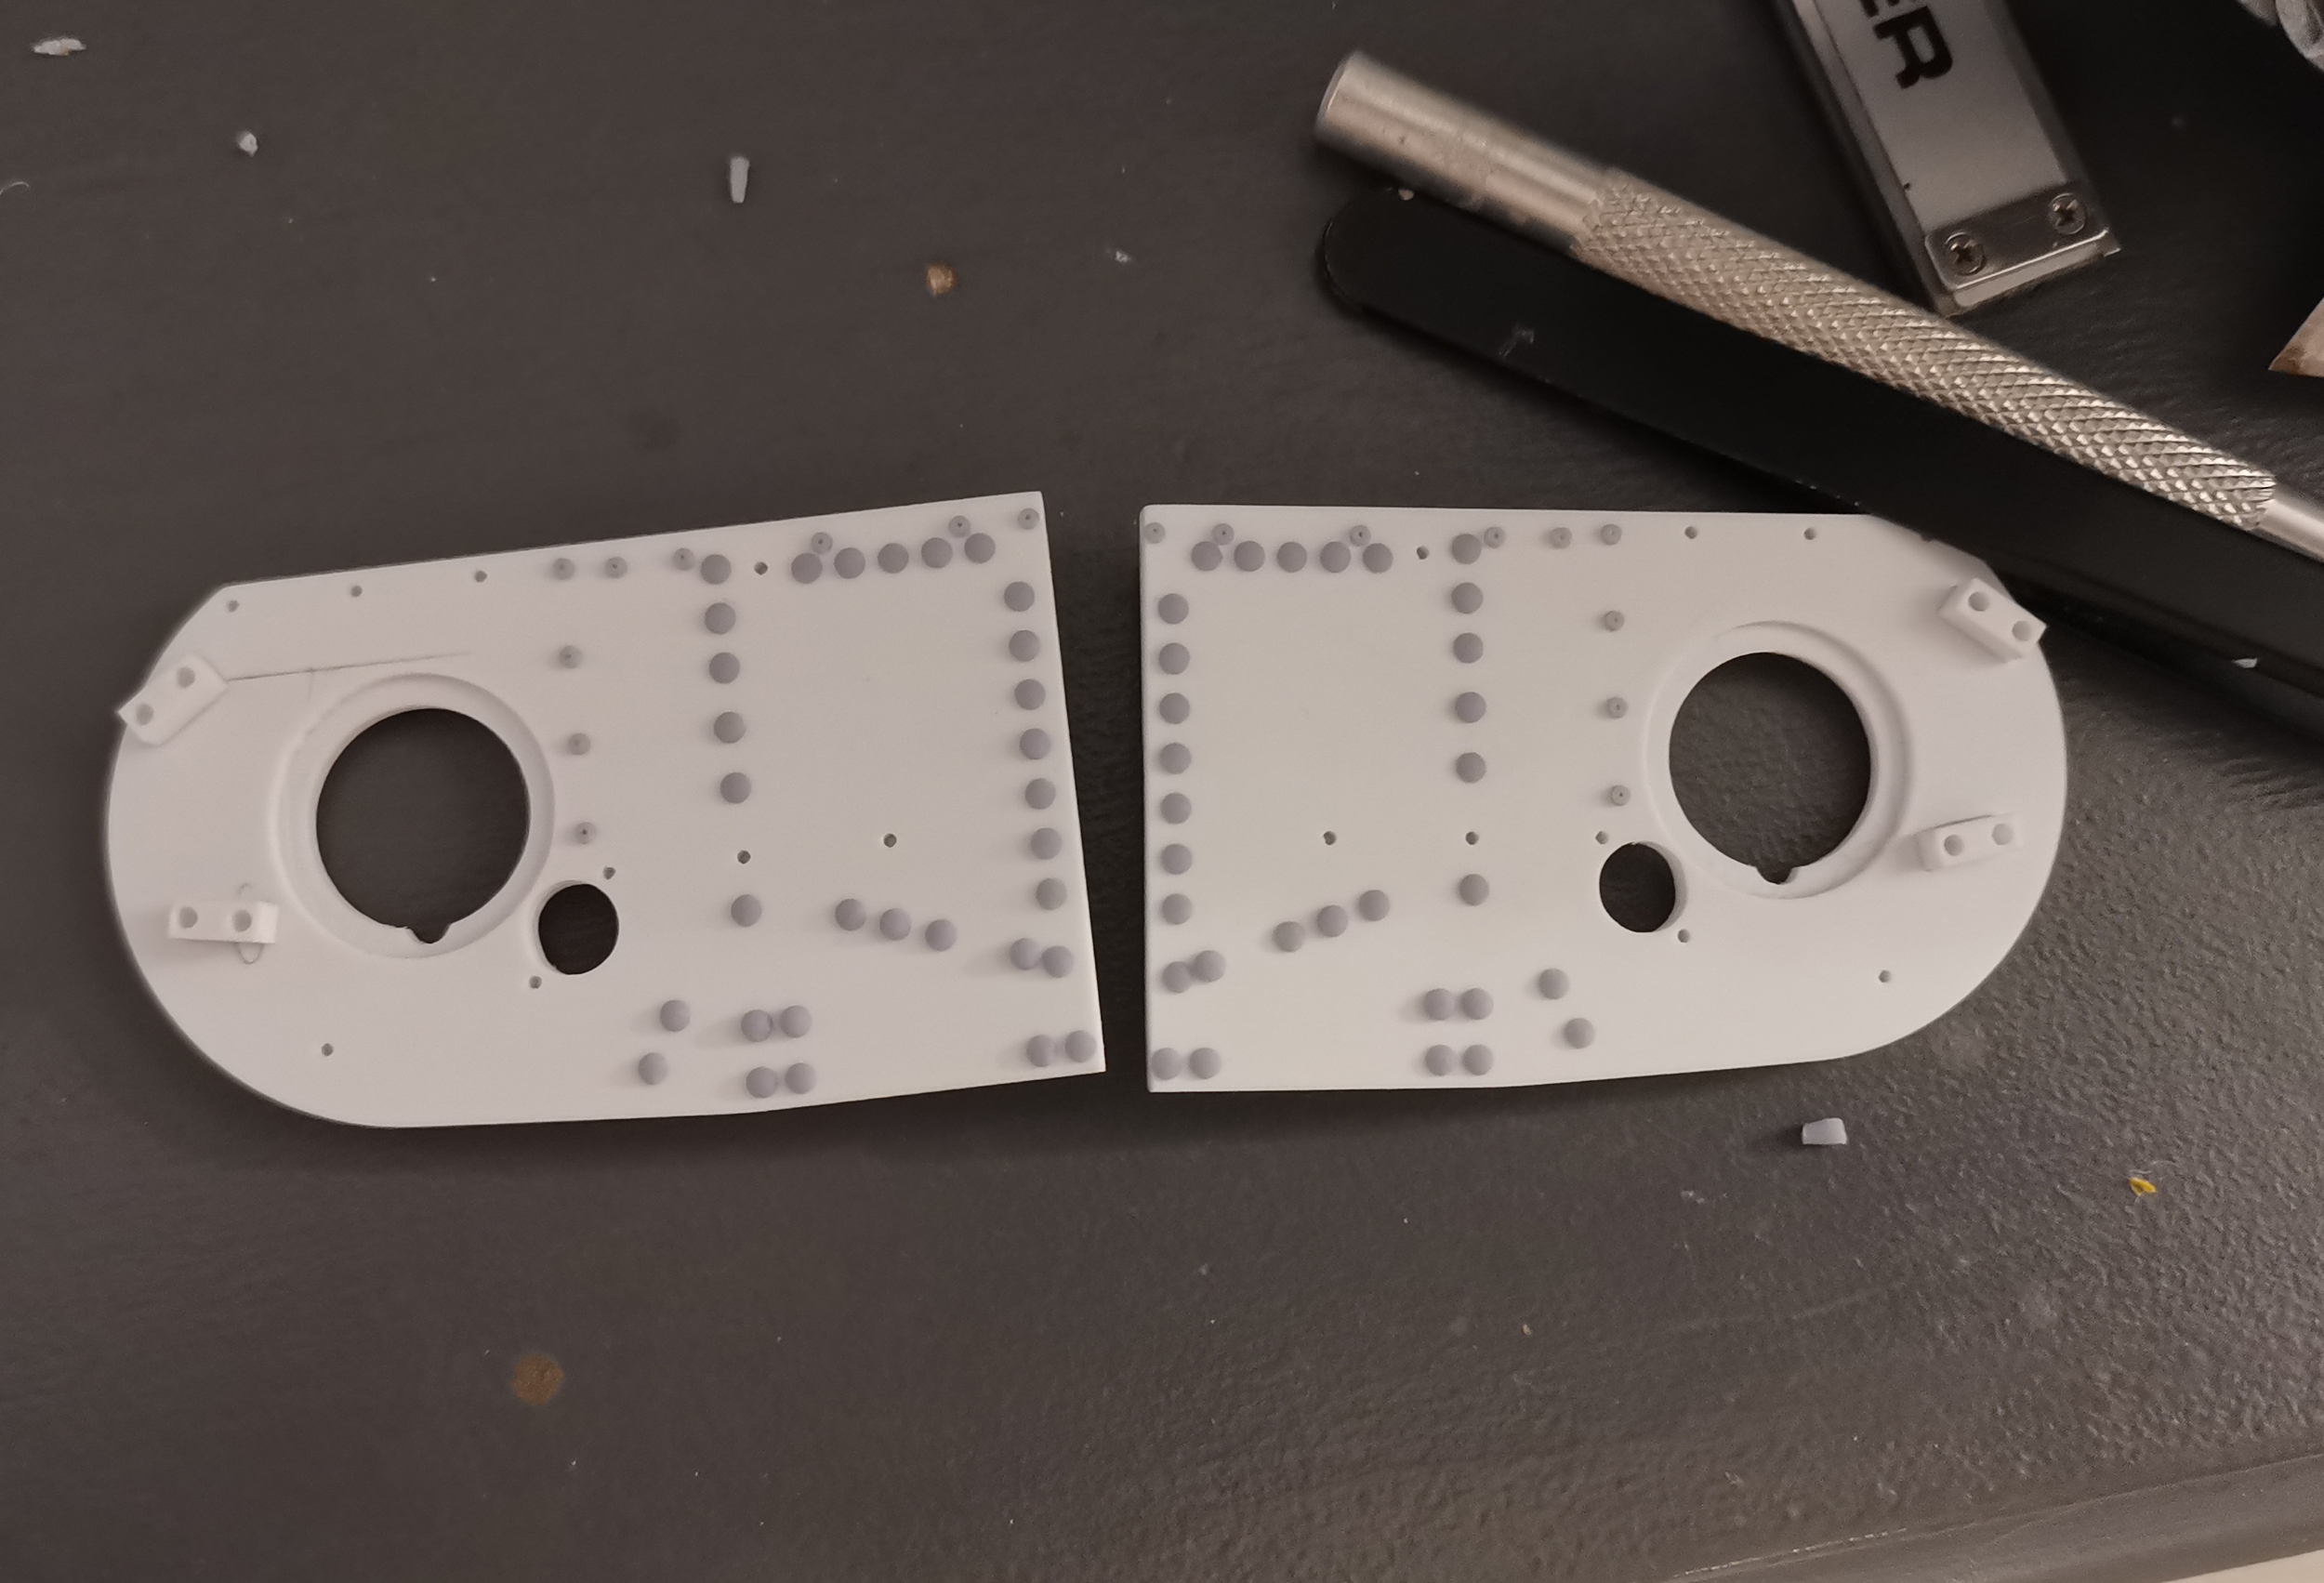
- churchill45.pg.jpg (1.5 MiB) Viewed 1375 times
Done ! The part still need more details.
- churchill46.jpg (1.68 MiB) Viewed 1375 times
Re: Scratchbuilt Churchill Mk.IV AVRE
Posted: Sat Mar 11, 2023 9:33 pm
by MonsieurTox
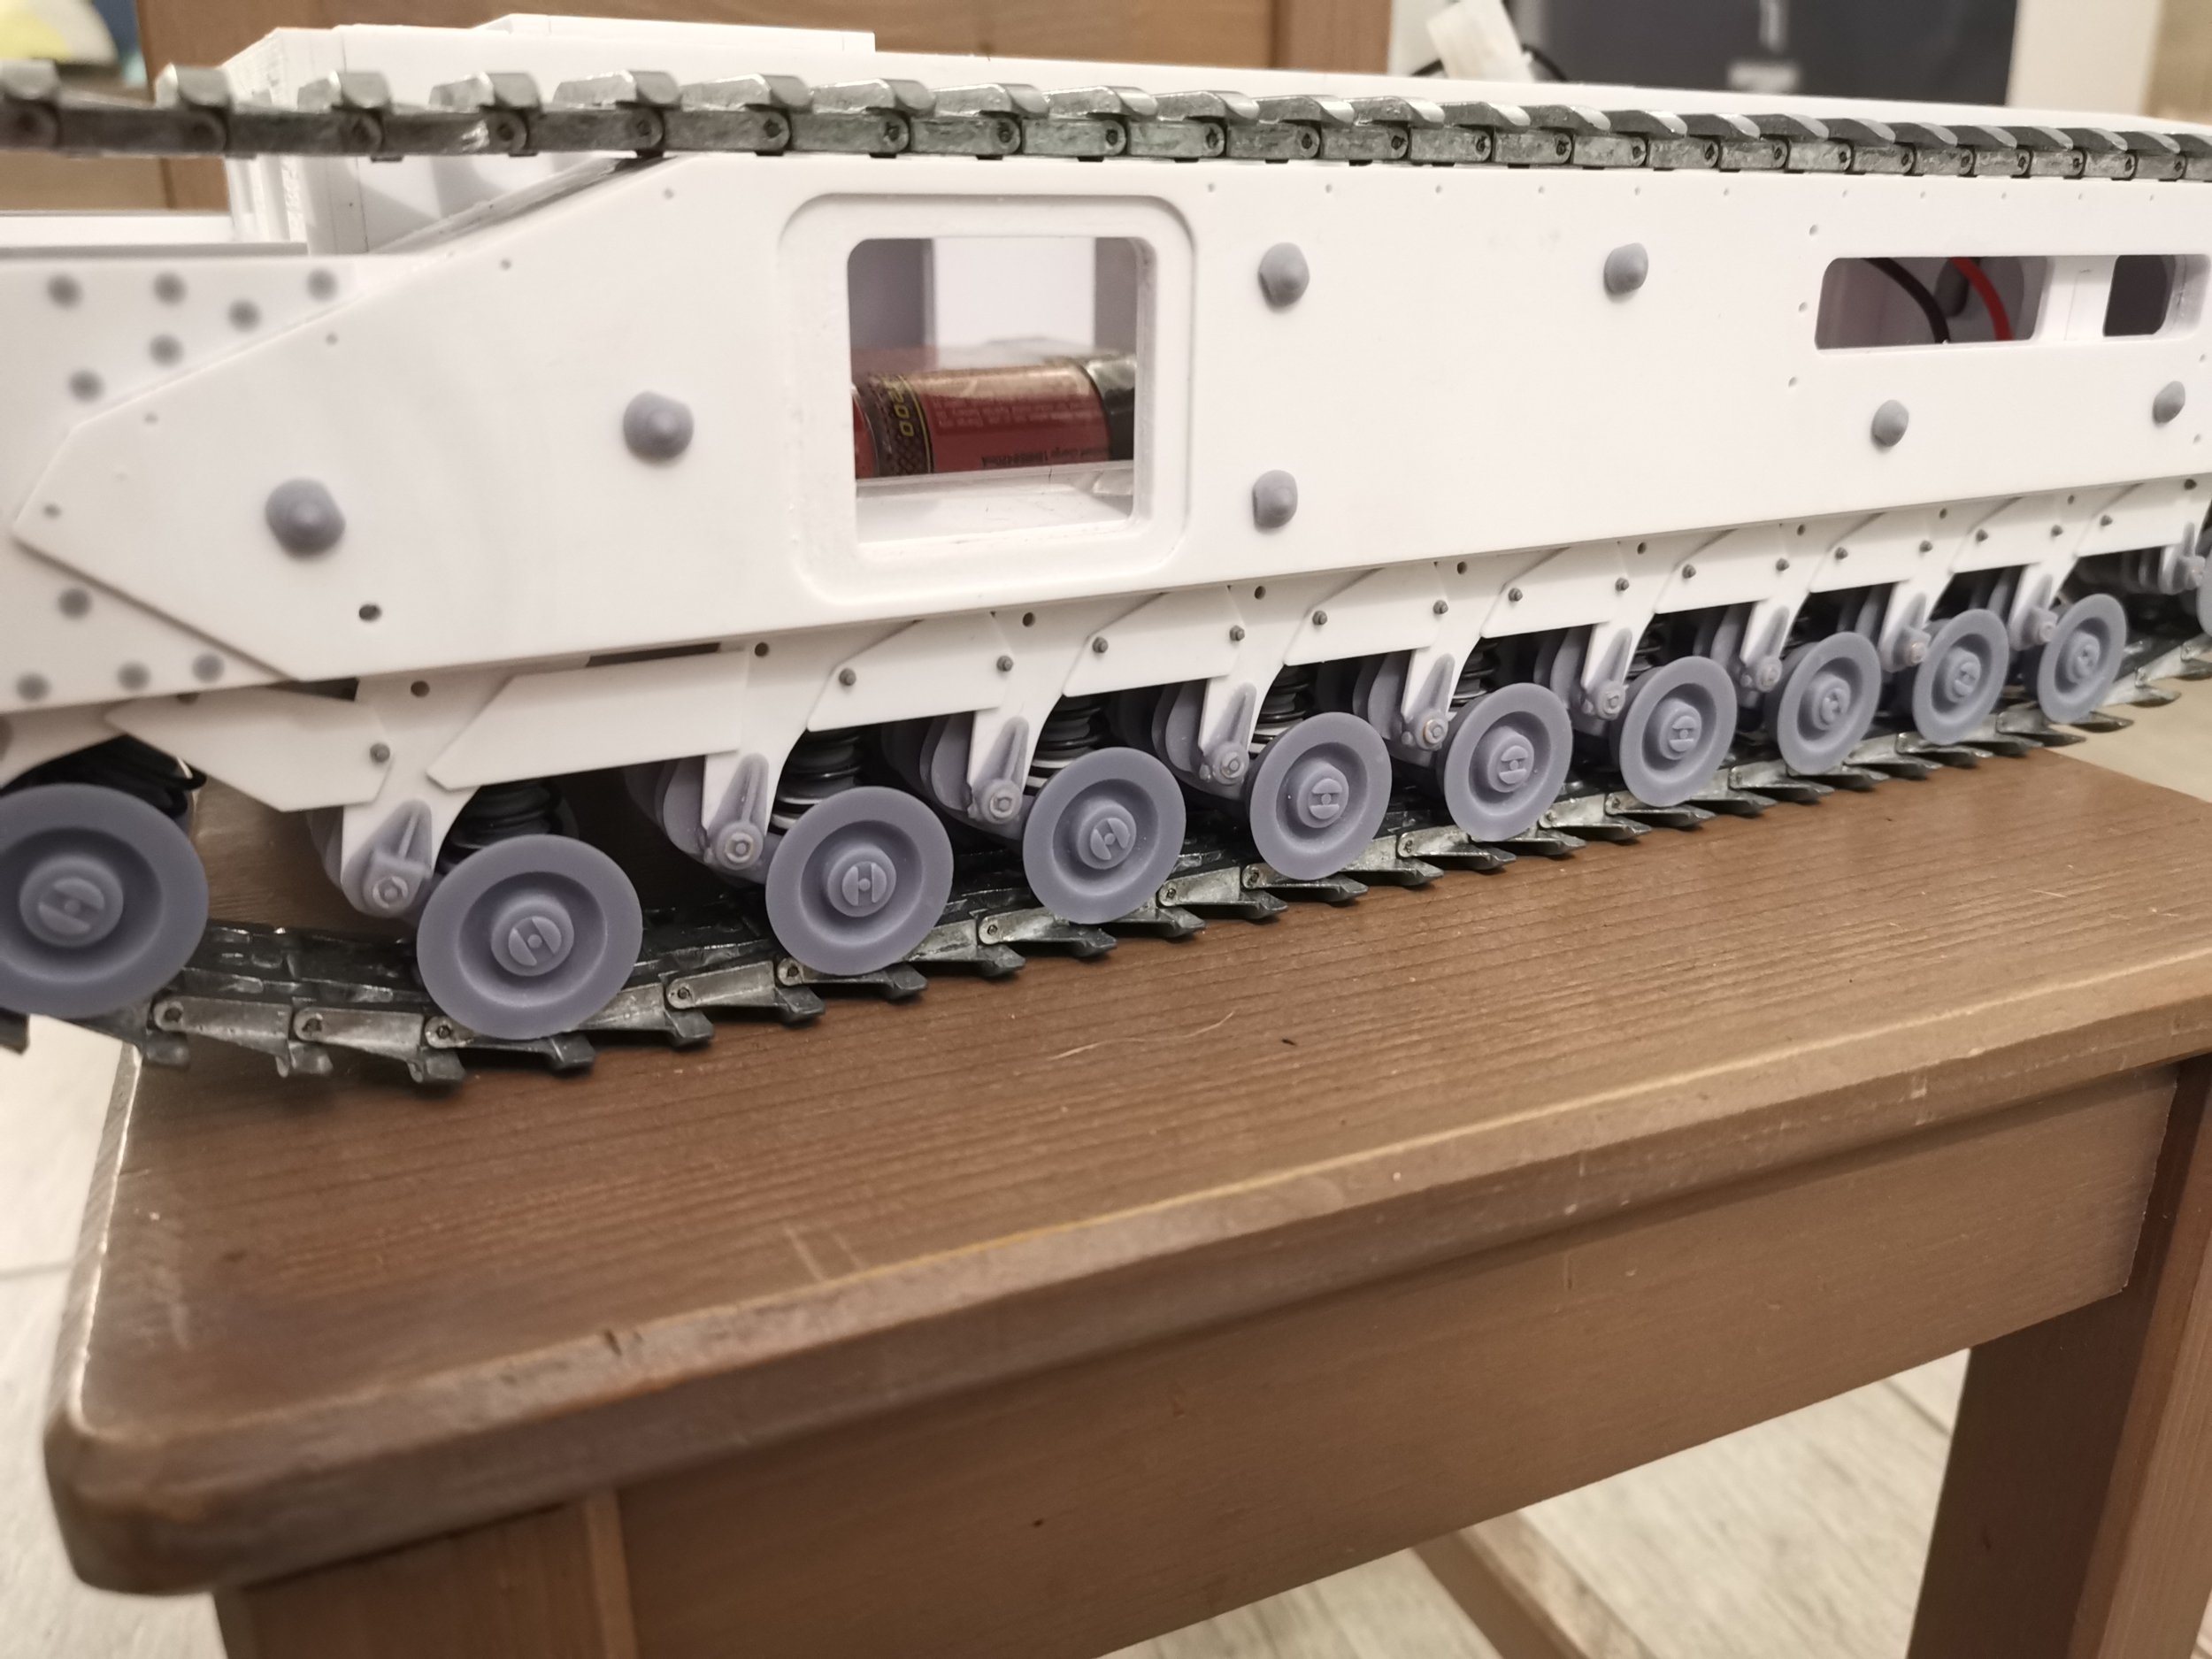
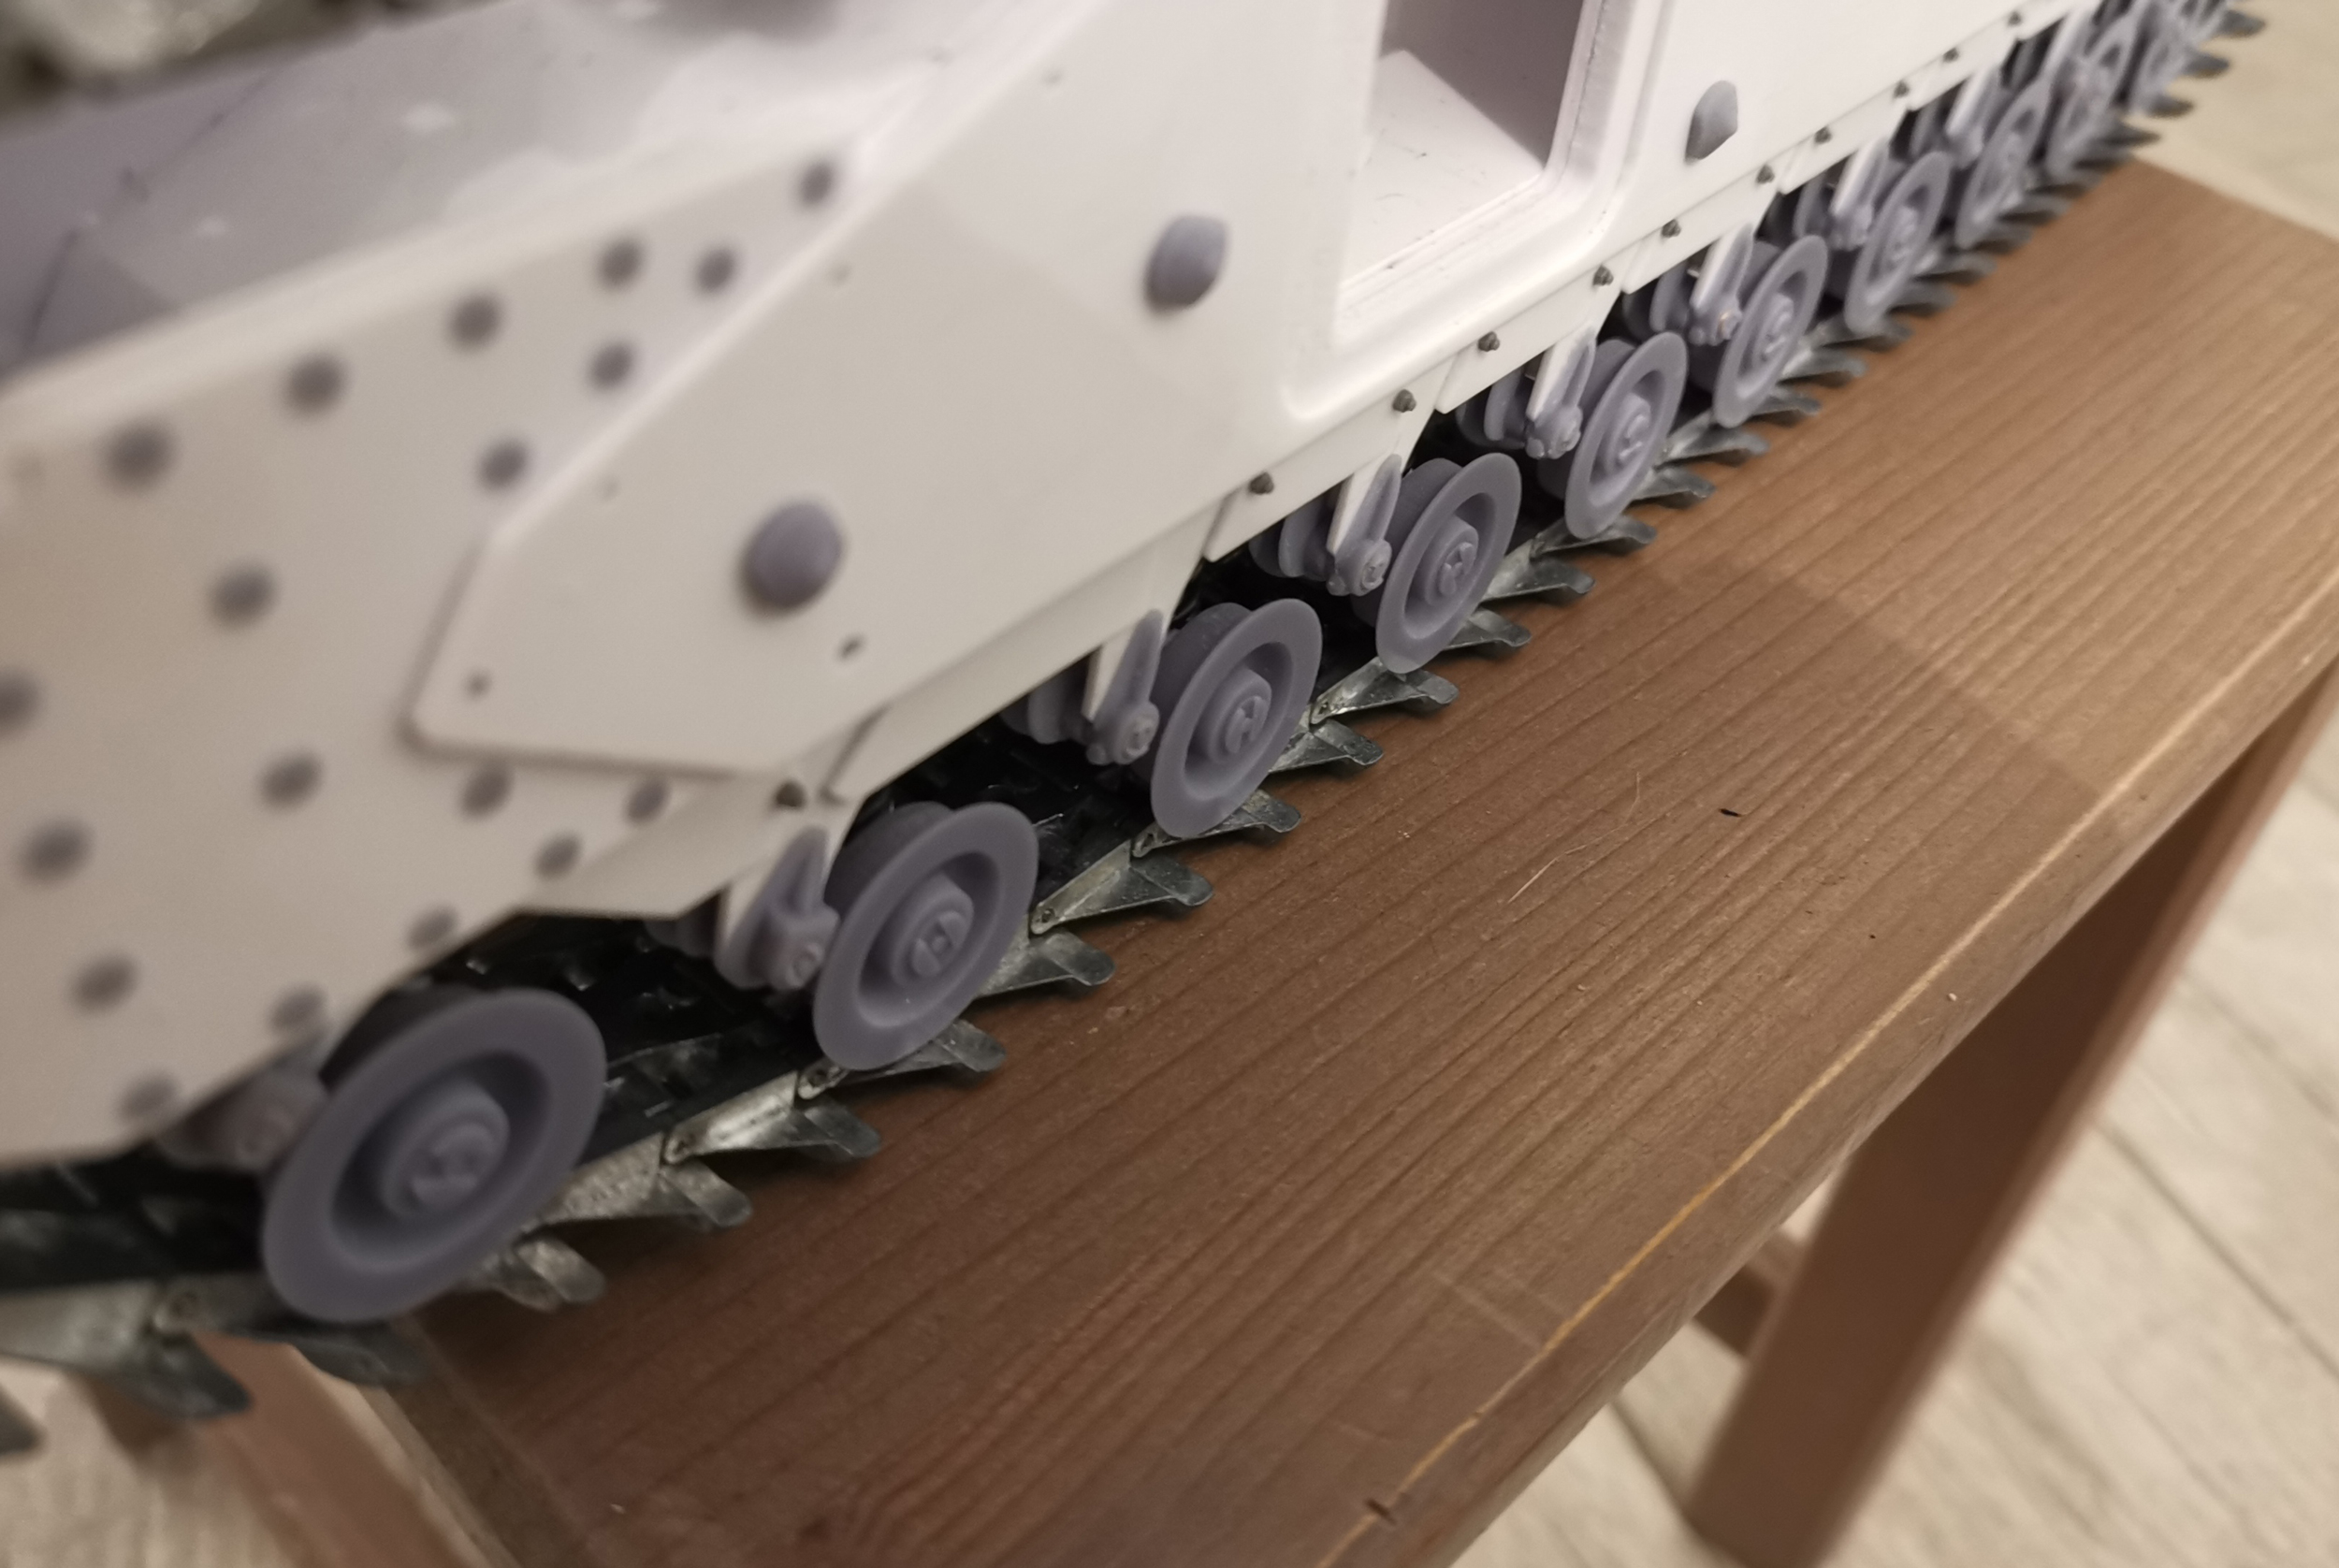
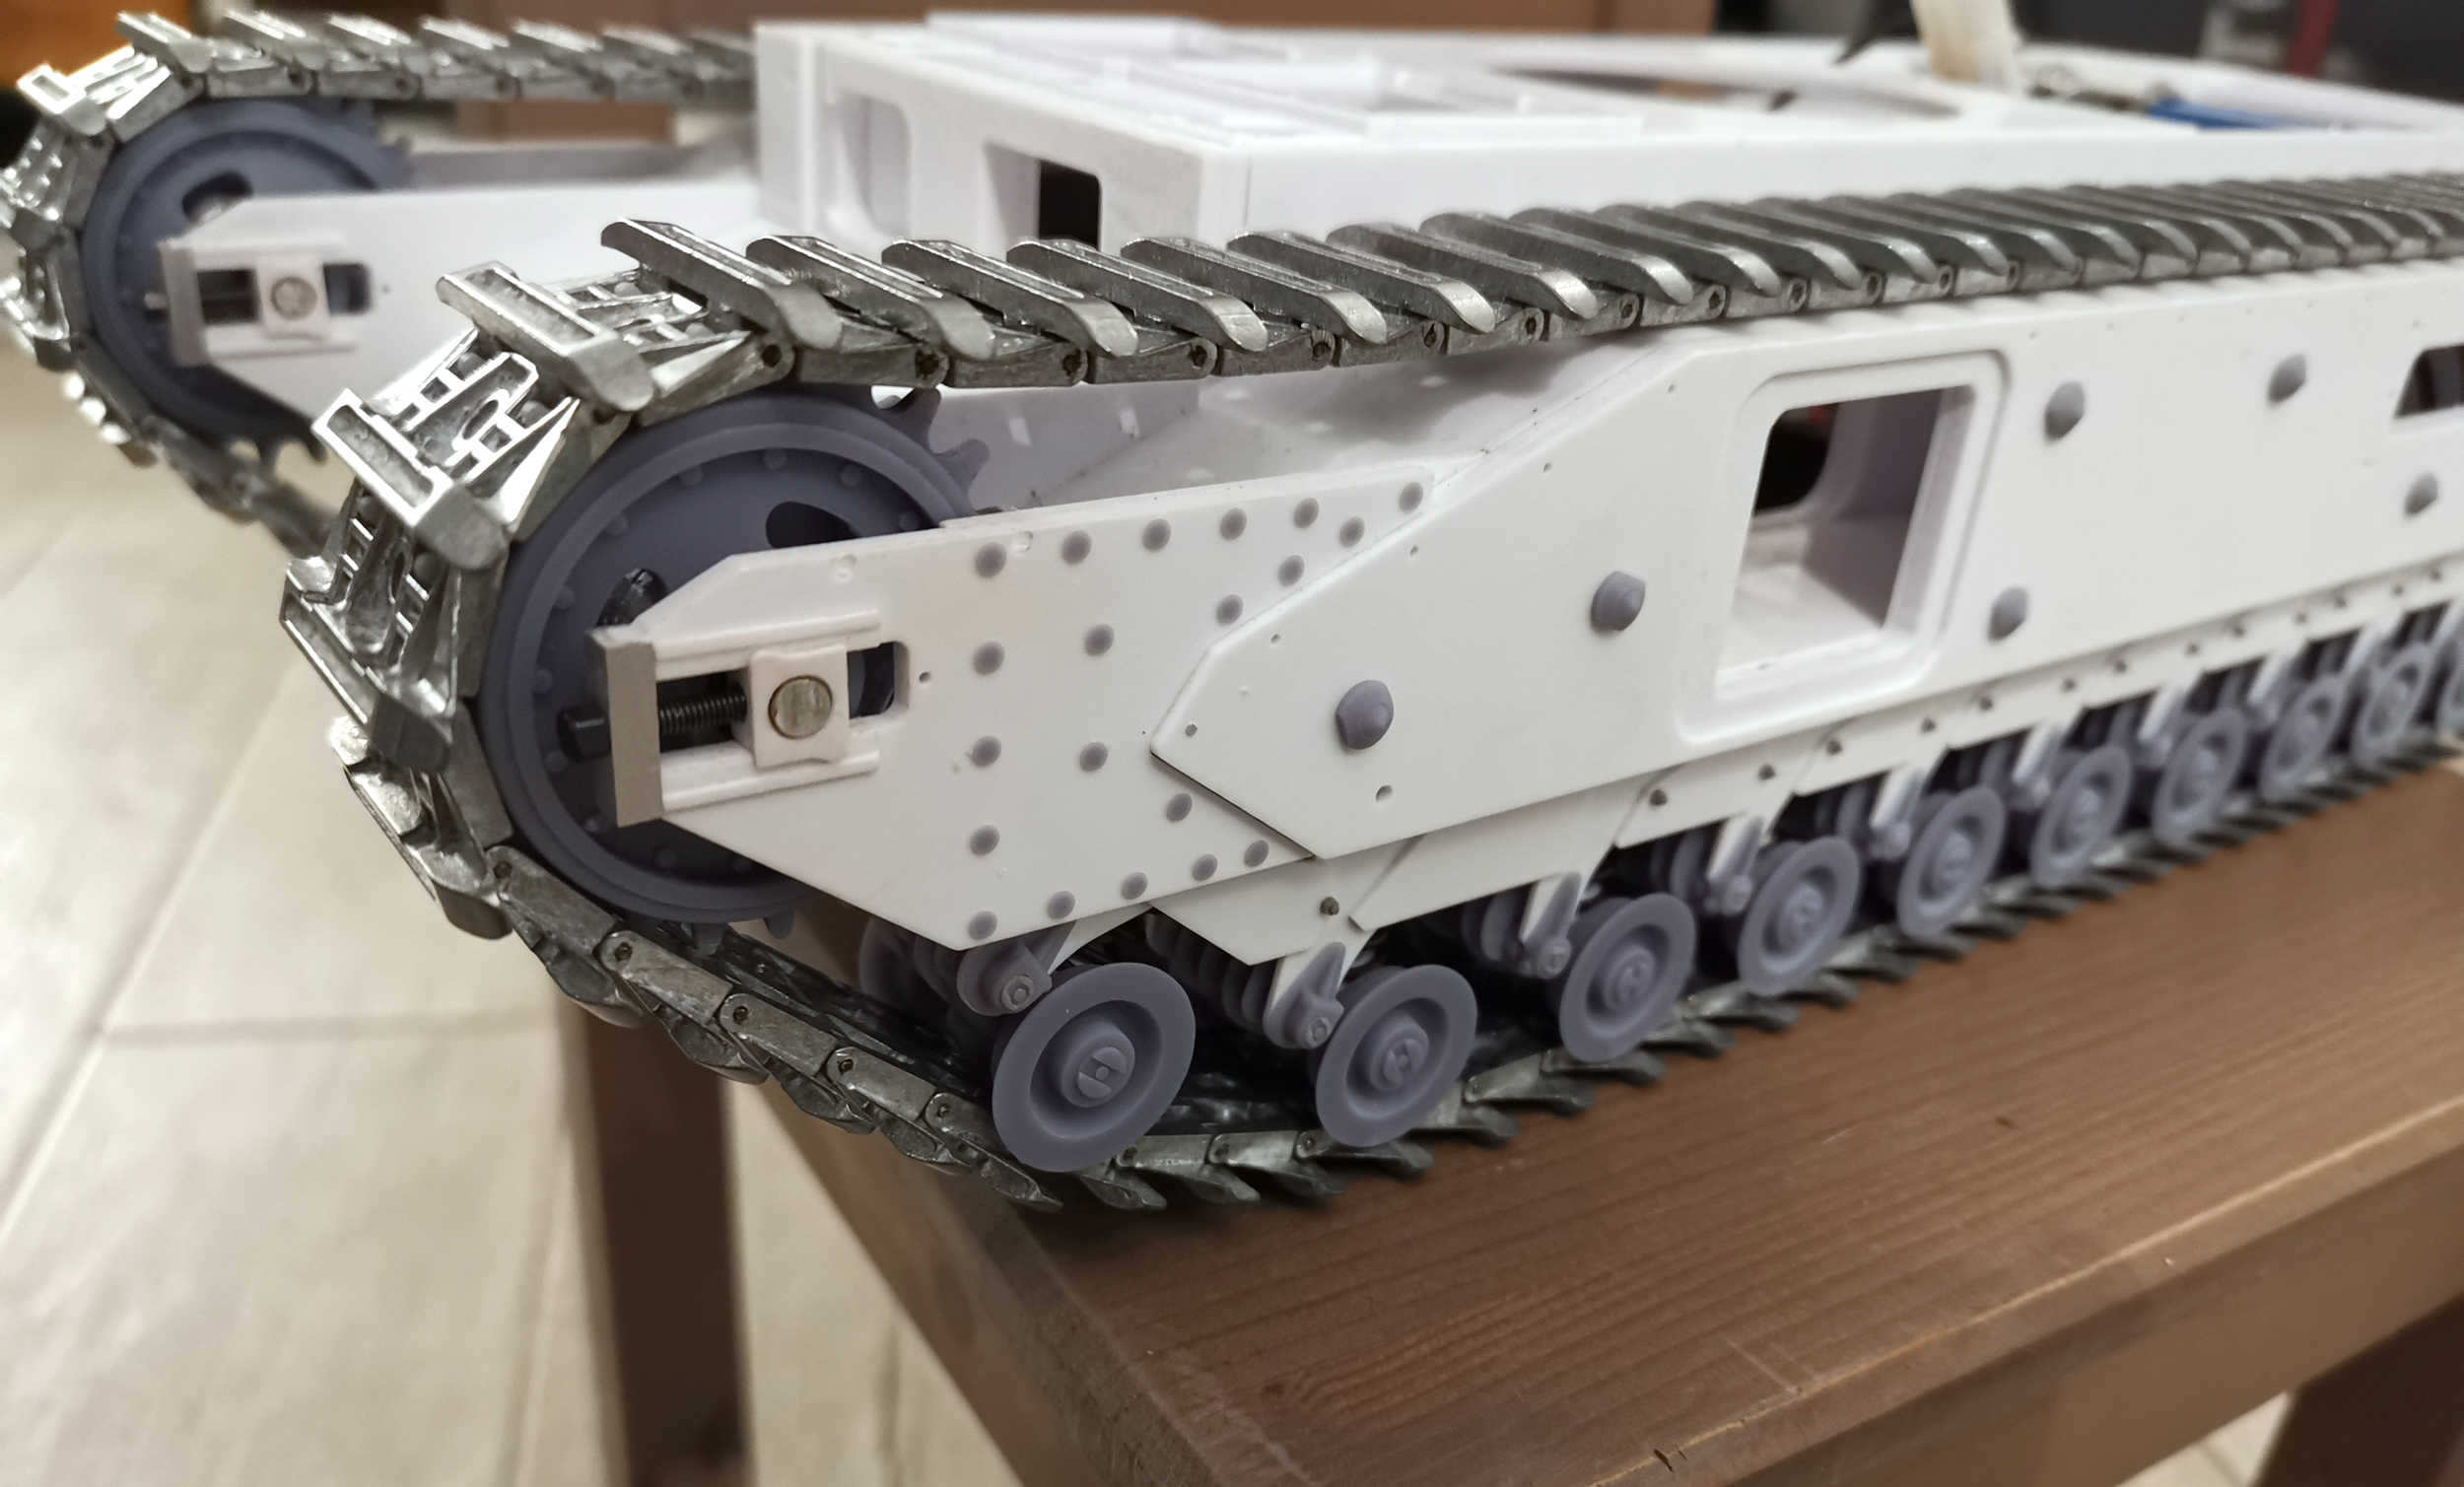
Some view of the model as it stands today.
The wheels :
- churchill47.jpg (1.66 MiB) Viewed 1375 times
- churchill48.jpg (1.34 MiB) Viewed 1375 times
The front, with the flat rivets on :
- churchill49.jpg (1.59 MiB) Viewed 1375 times
I'm sorry I haven't taken any pics of the track adjusters building. It was quite hard as it has many parts, I tried to stick to the original. The good thing is that everything can be disassembled.
Pic of the rear with the sprocket plates attached, they can be removed if needed :
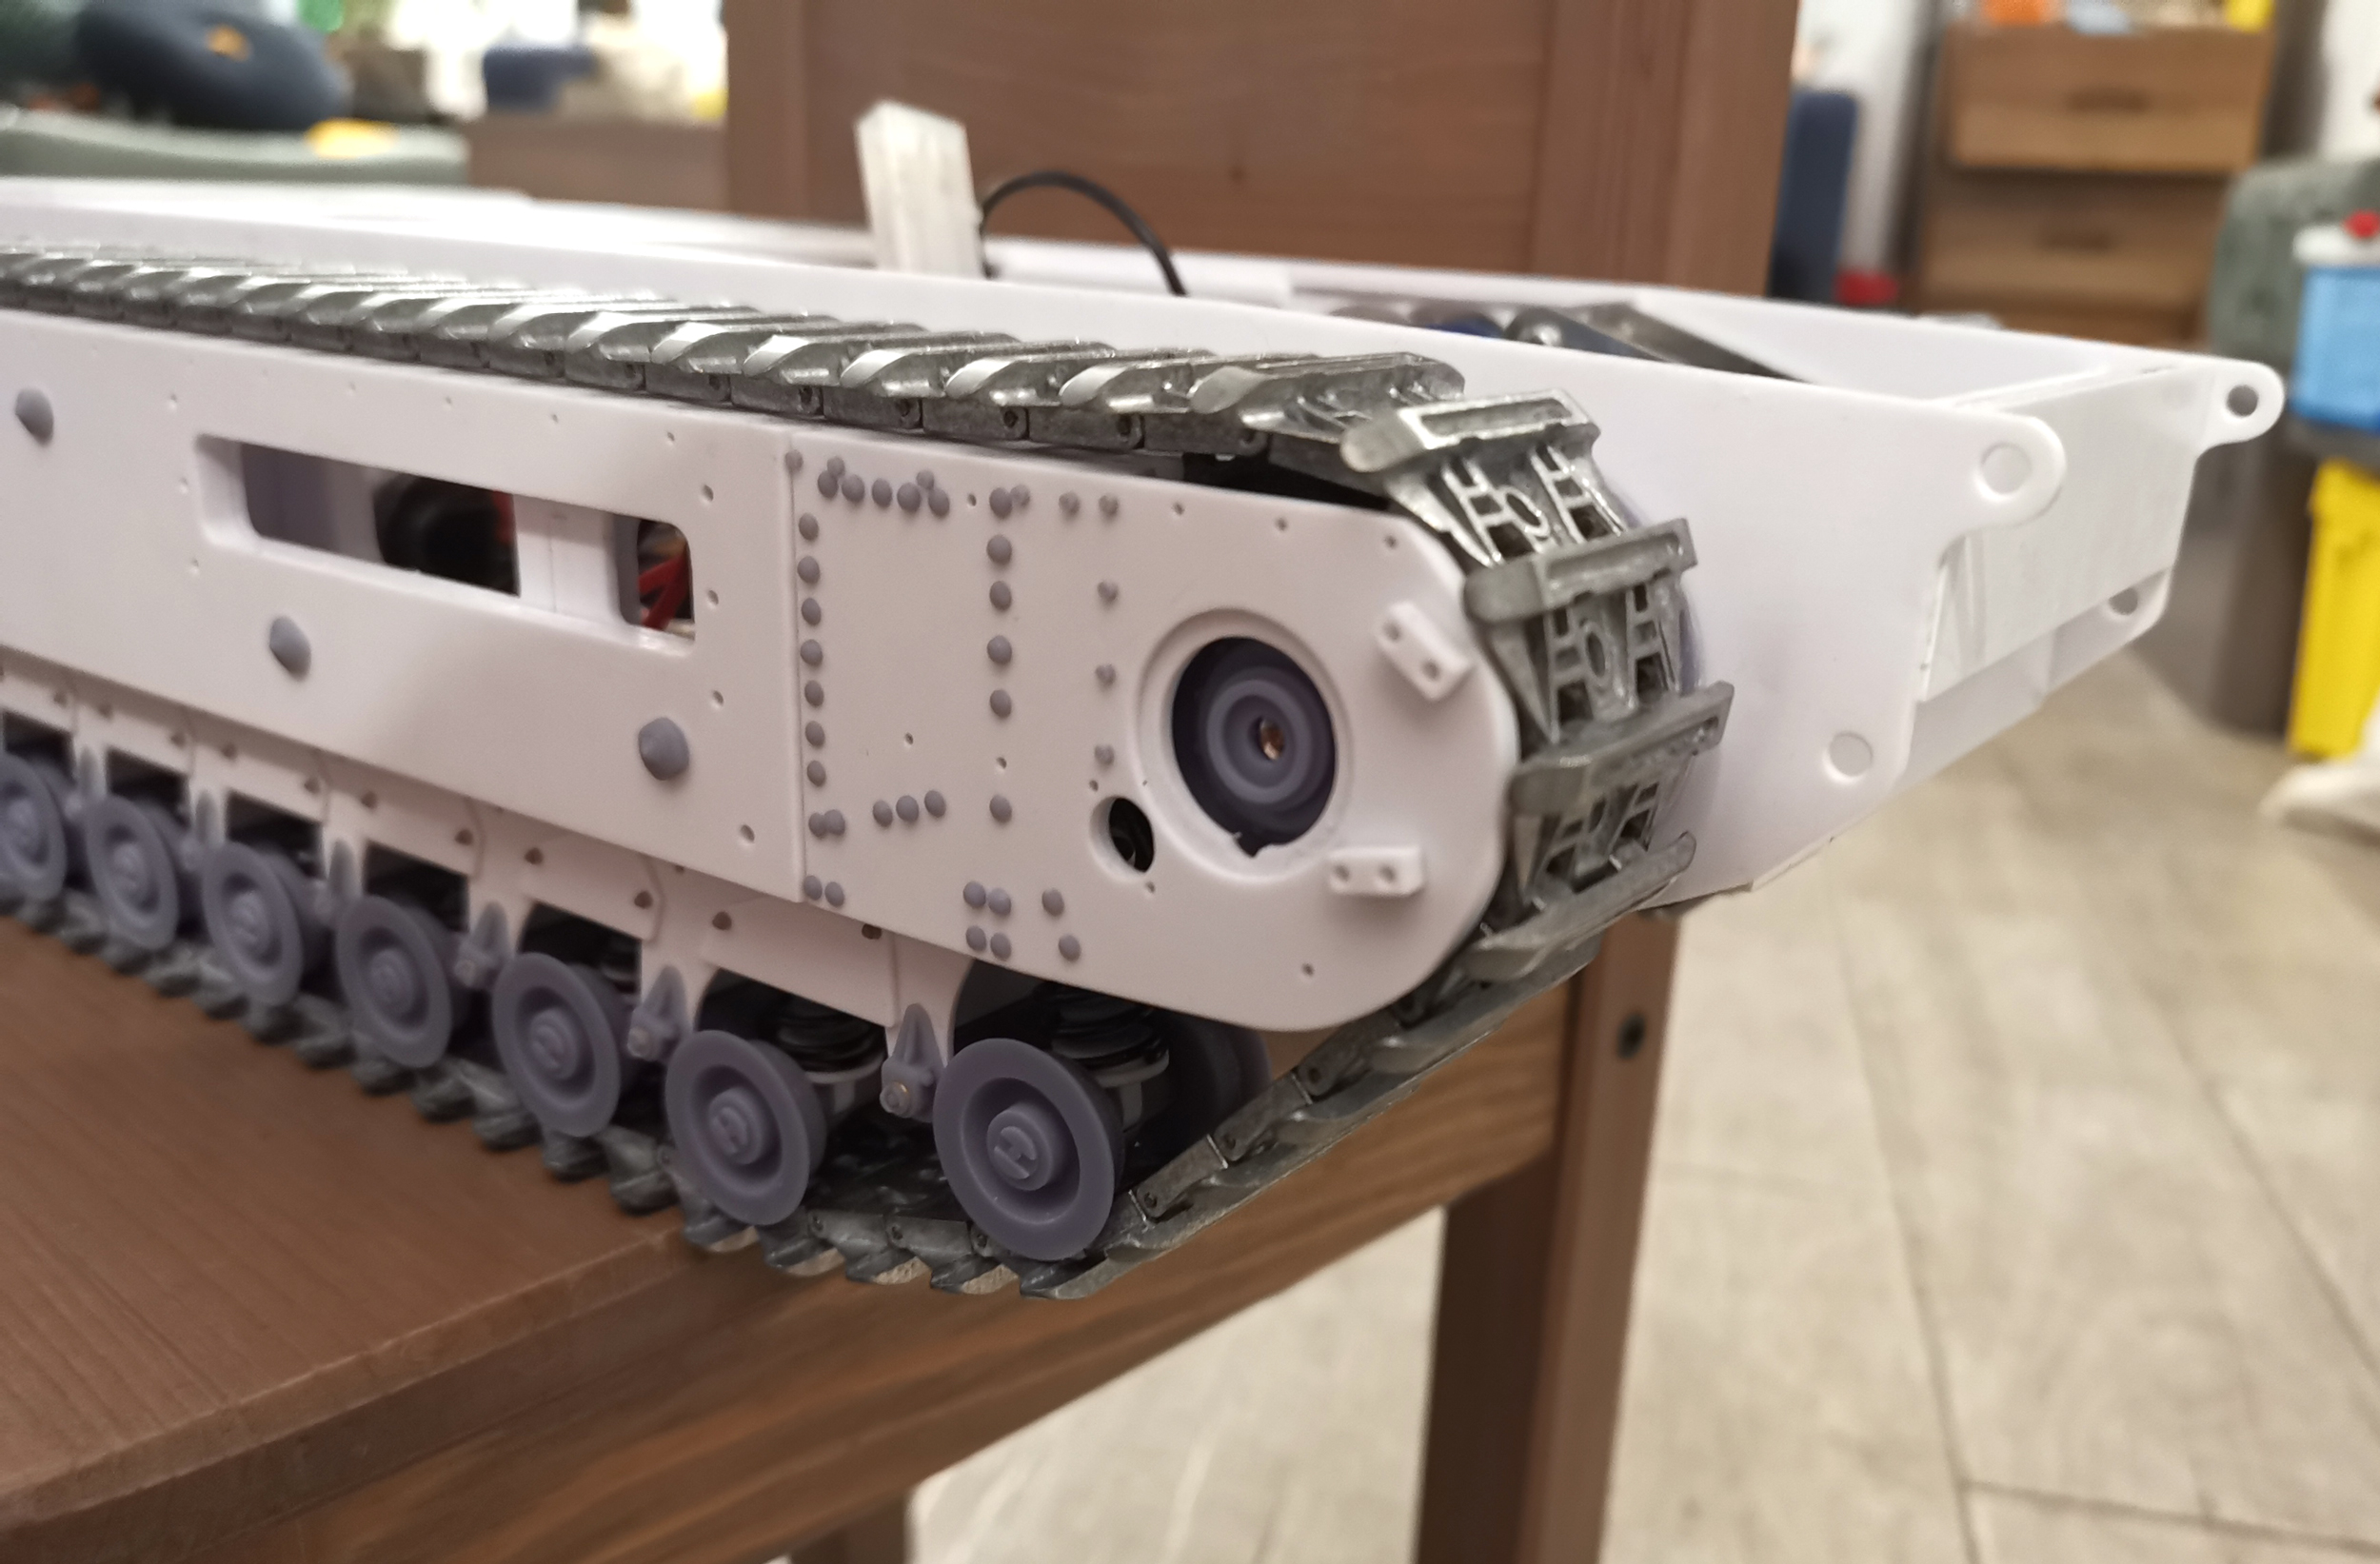
- churchill50.jpg (1.52 MiB) Viewed 1375 times
Some general pics :
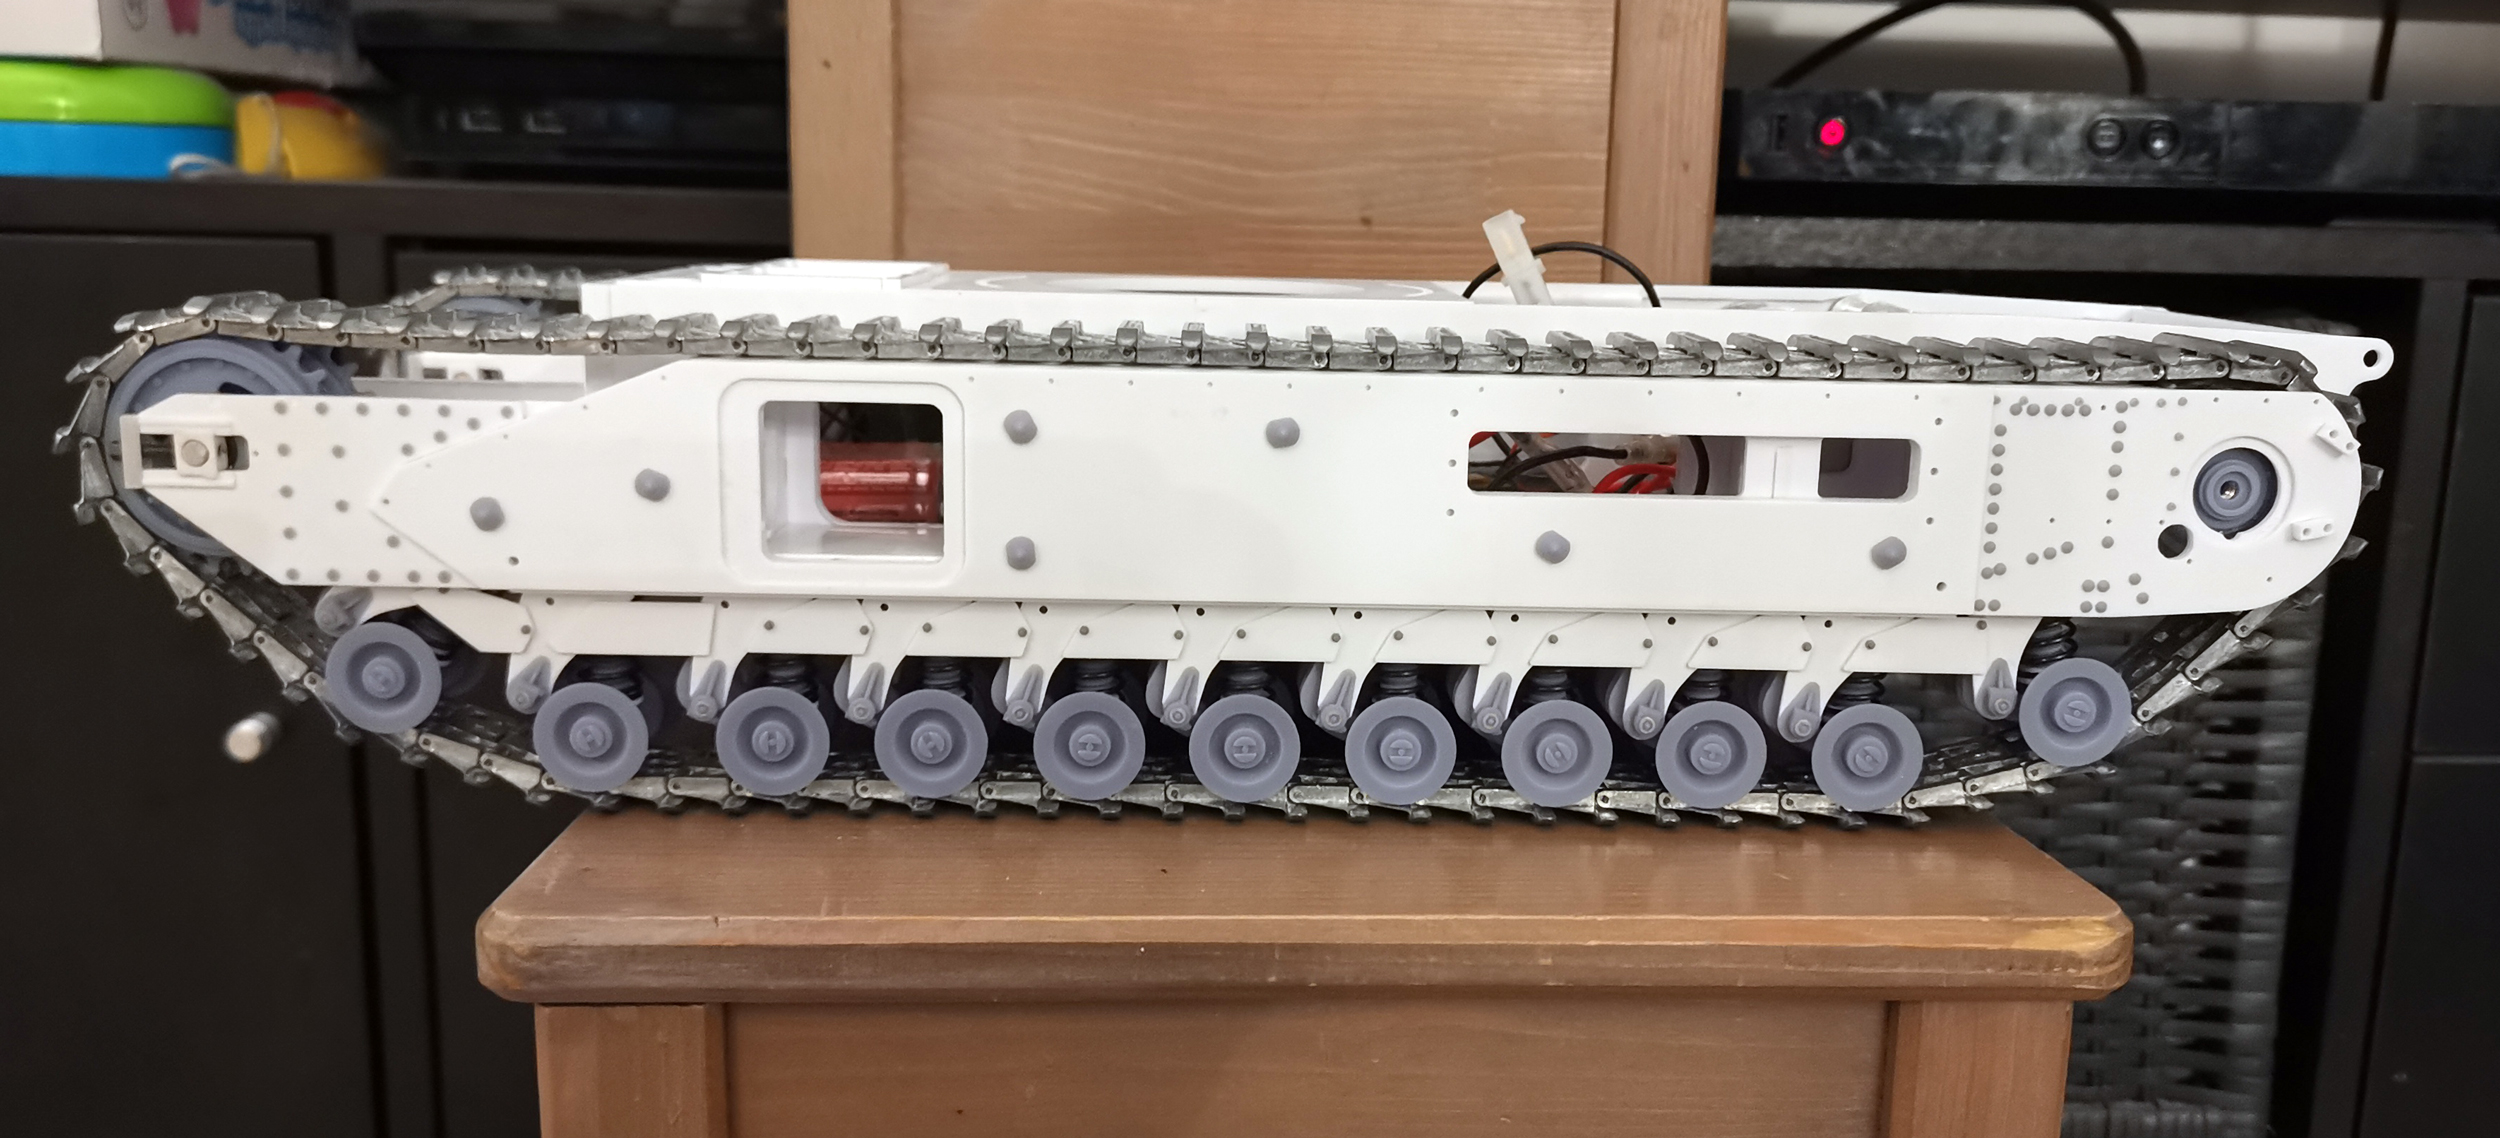
- churchill51.jpg (1.29 MiB) Viewed 1375 times
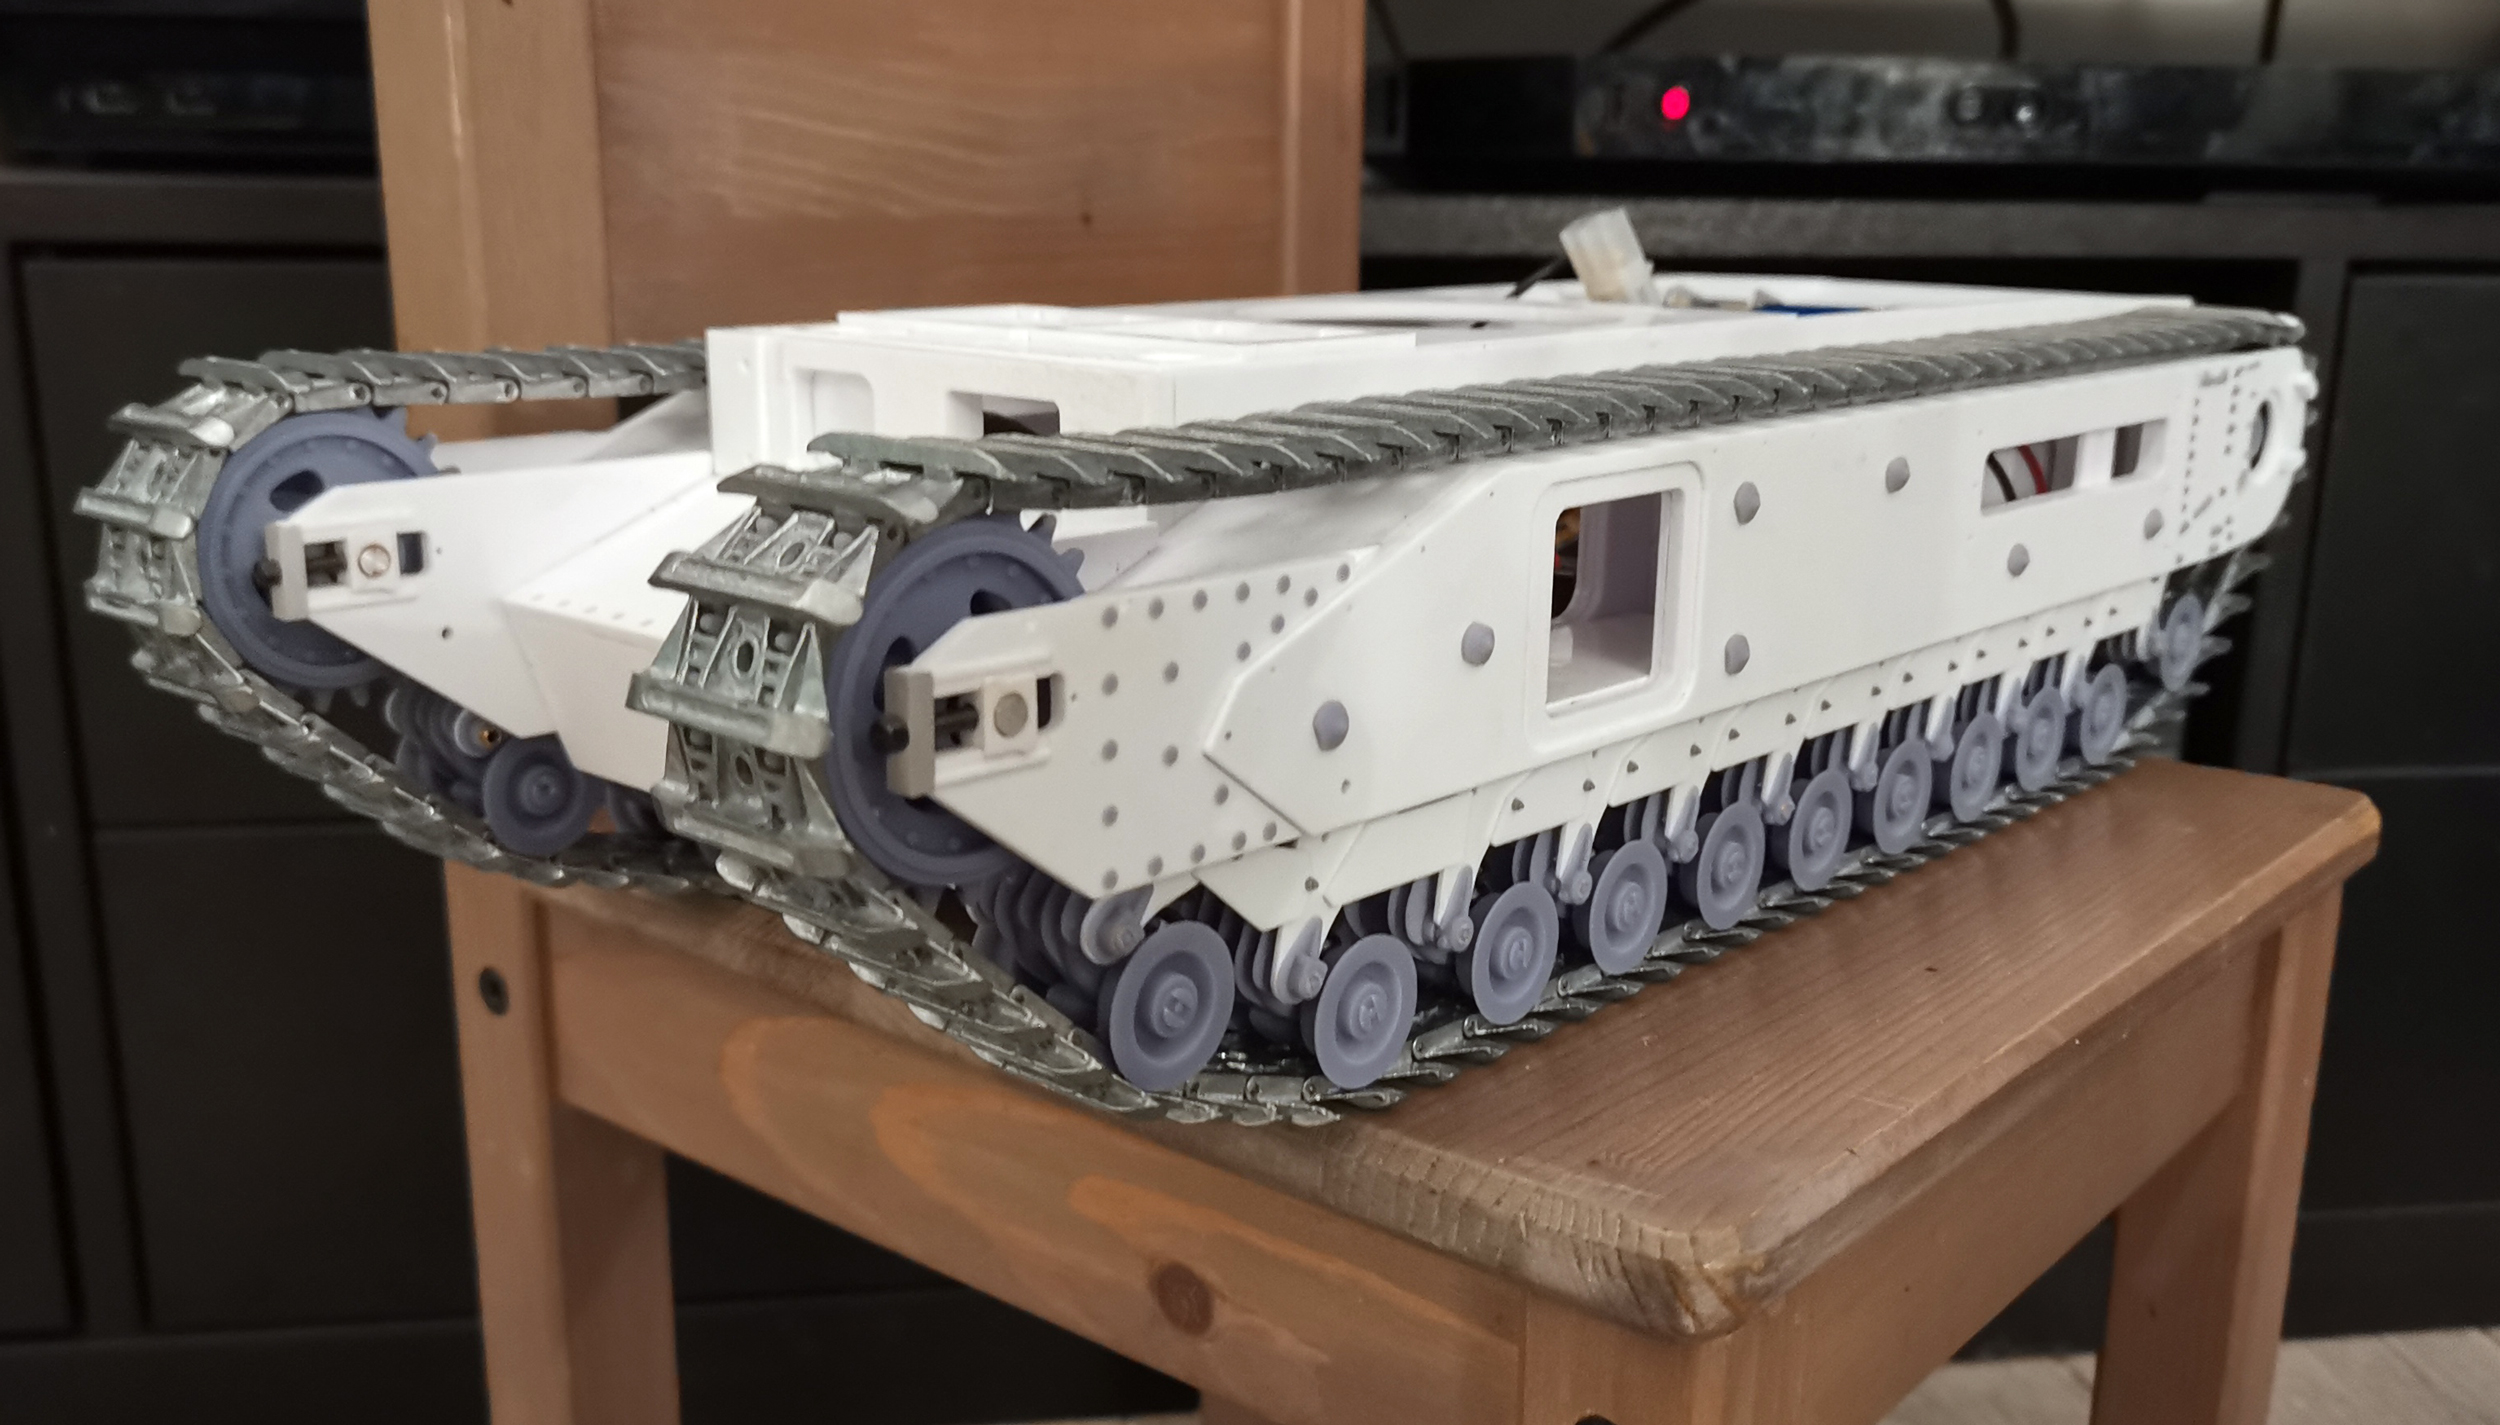
- churchill52.jpg (1.44 MiB) Viewed 1375 times
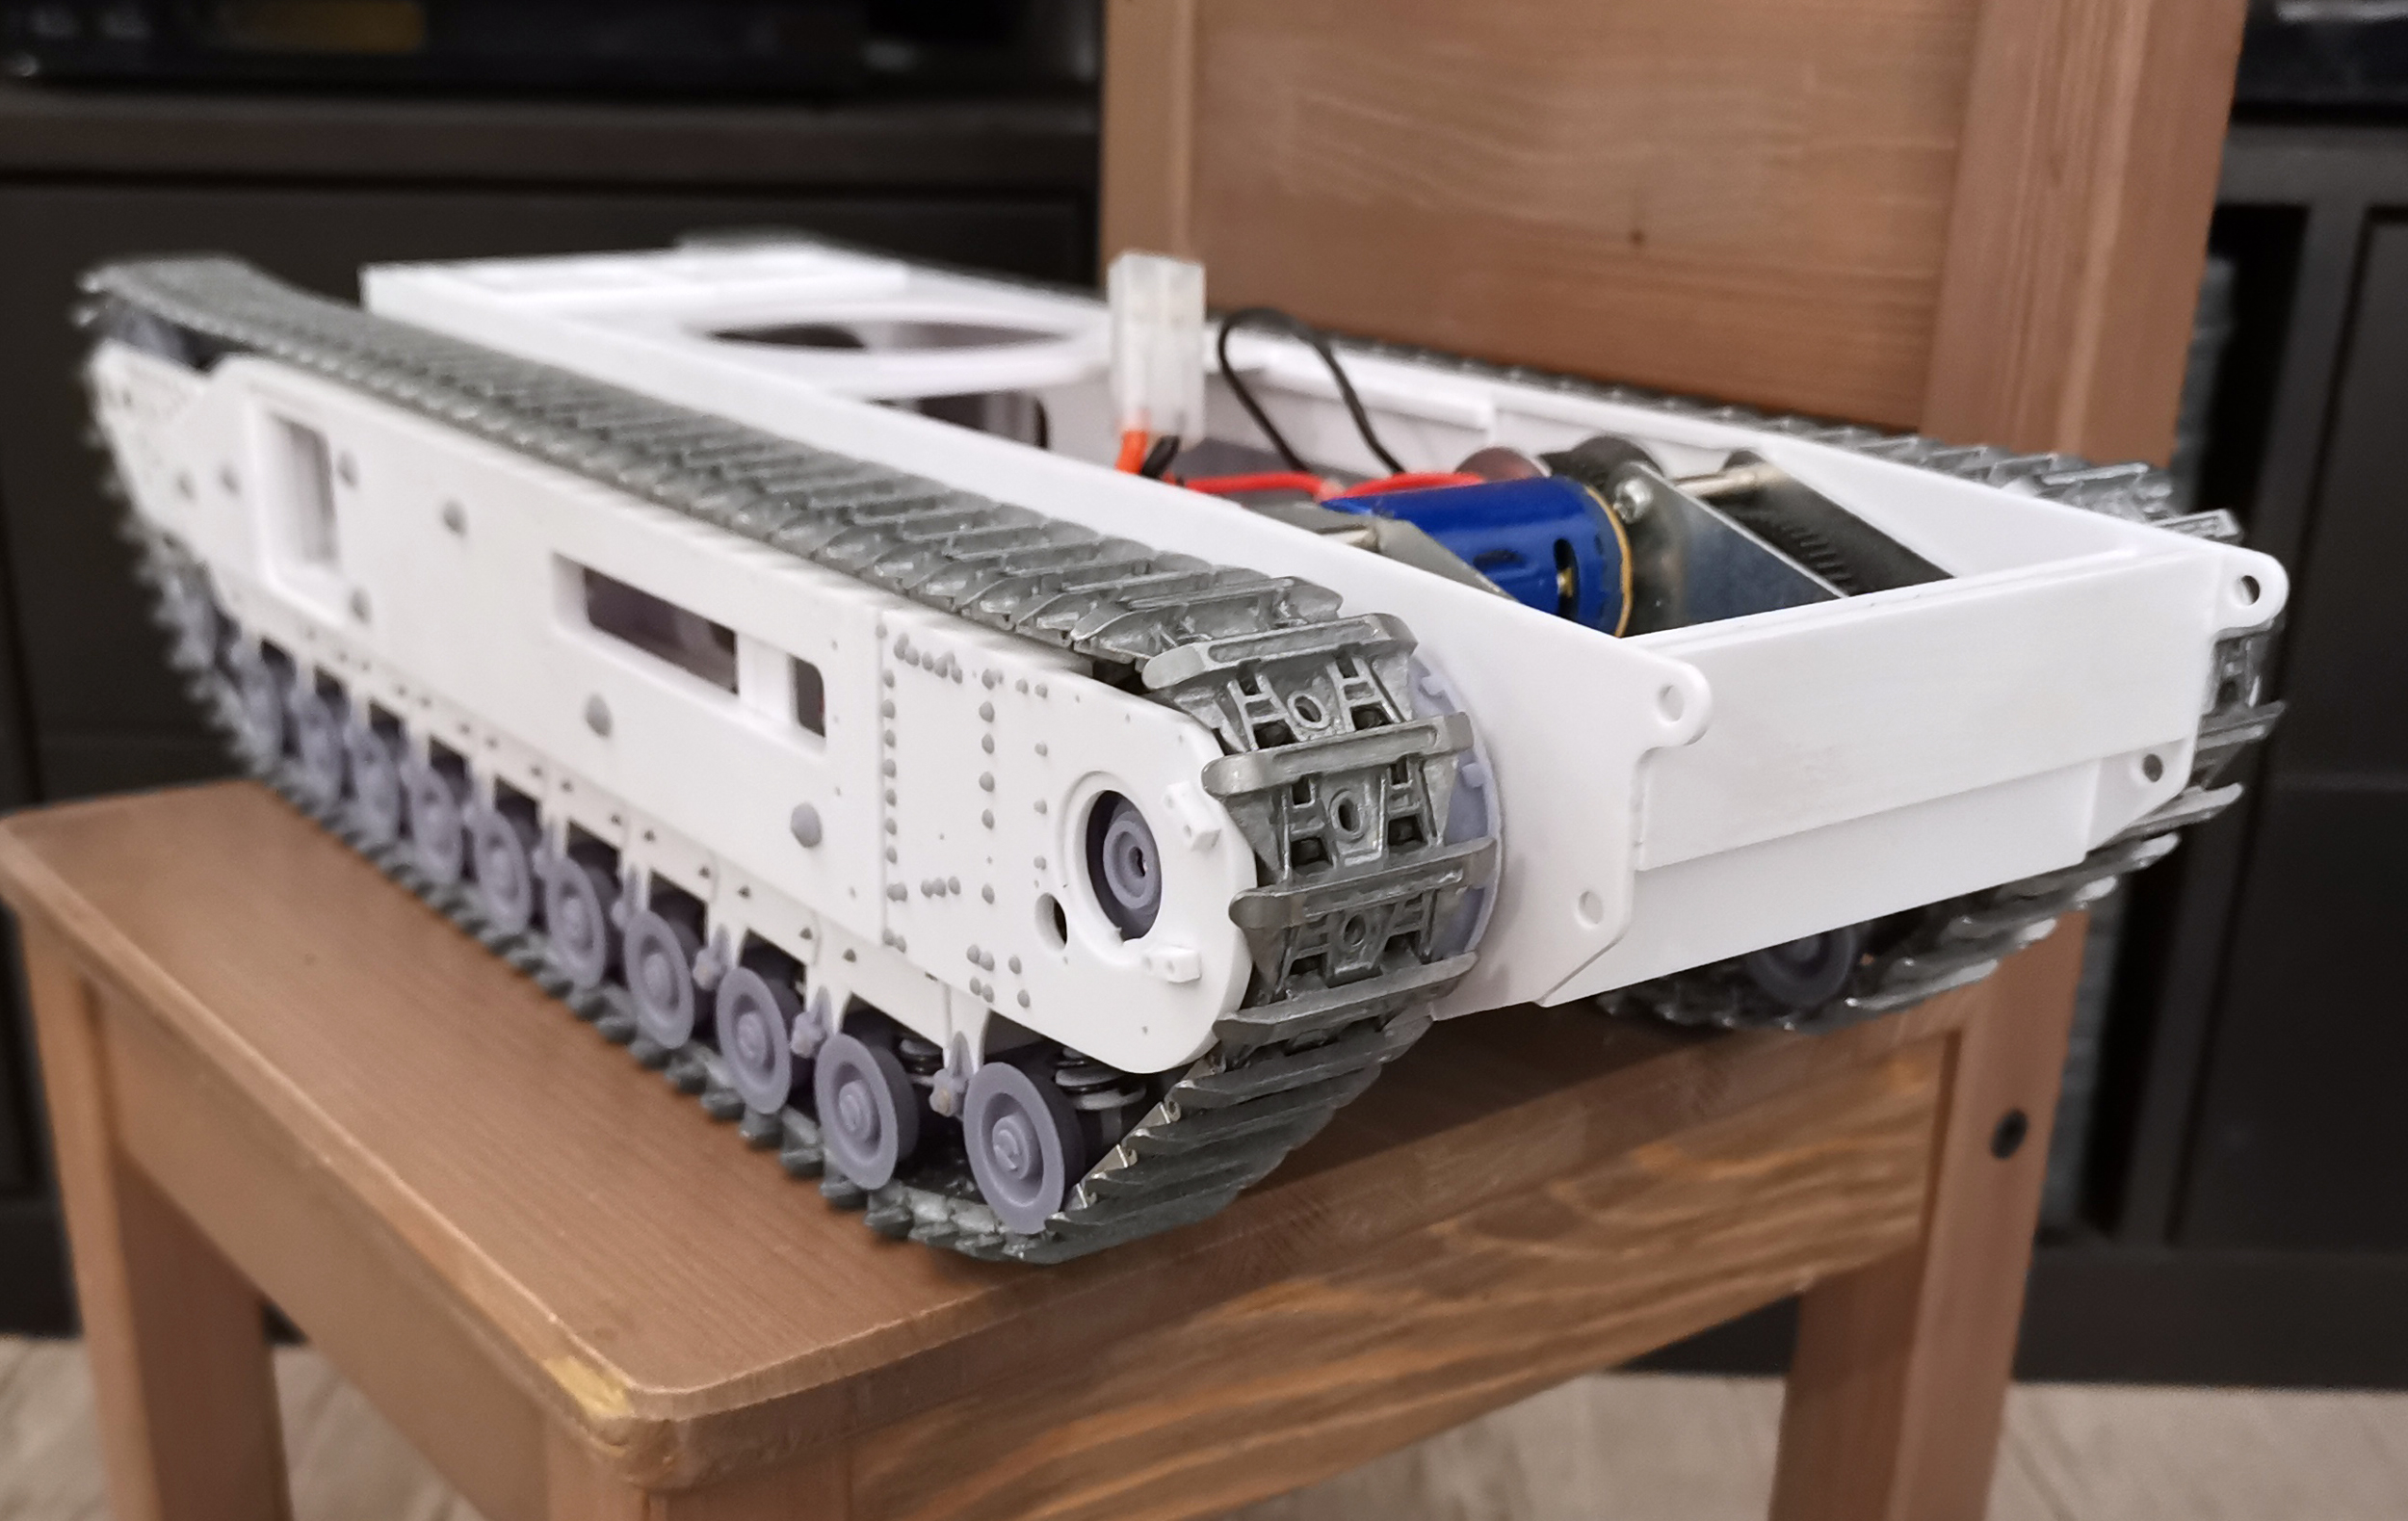
- churchill53.jpg (1.52 MiB) Viewed 1375 times
I still have a lot of details to add but things are going well.
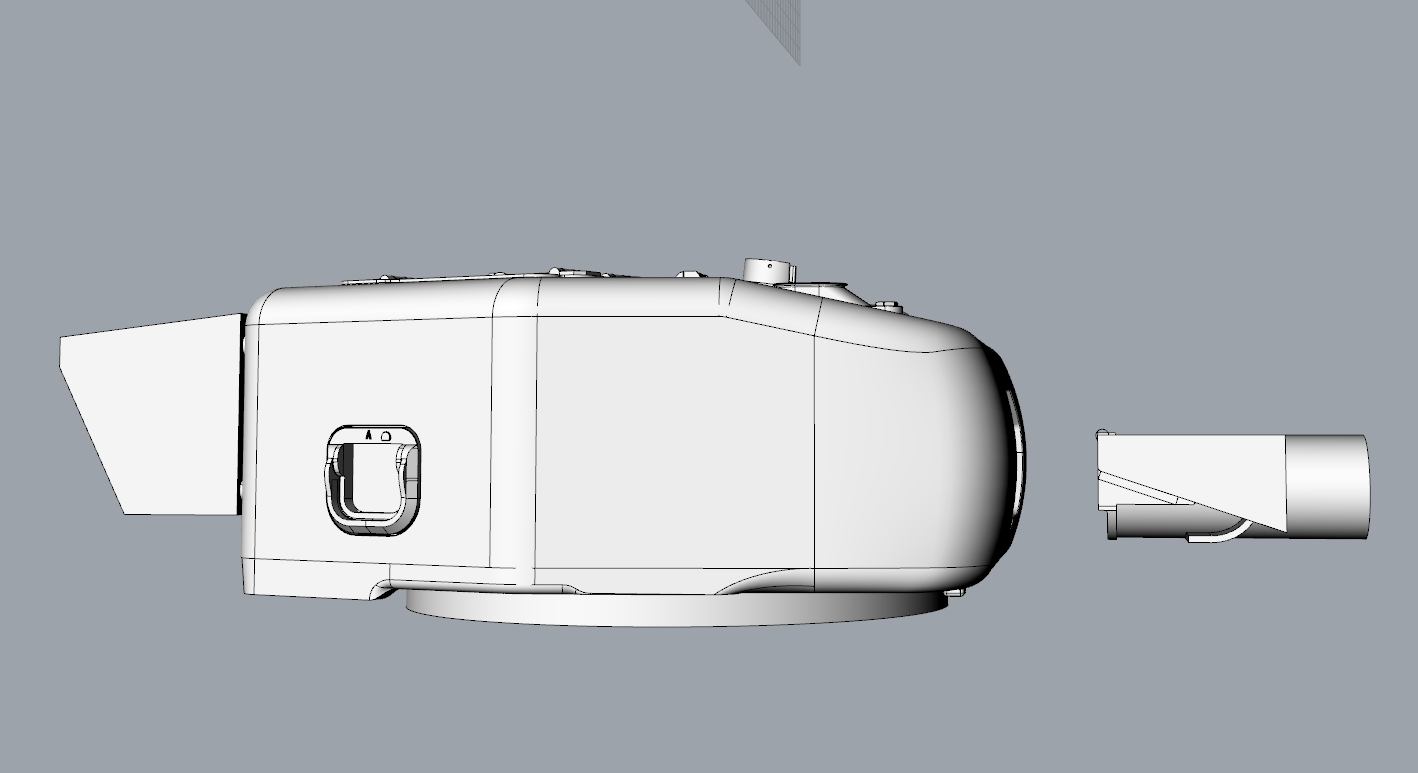
I'm still finishing the 3D model of the turret, I'm almost done with it. I'm going to 3D print it, mold it in RTV and cast it in PU resin.
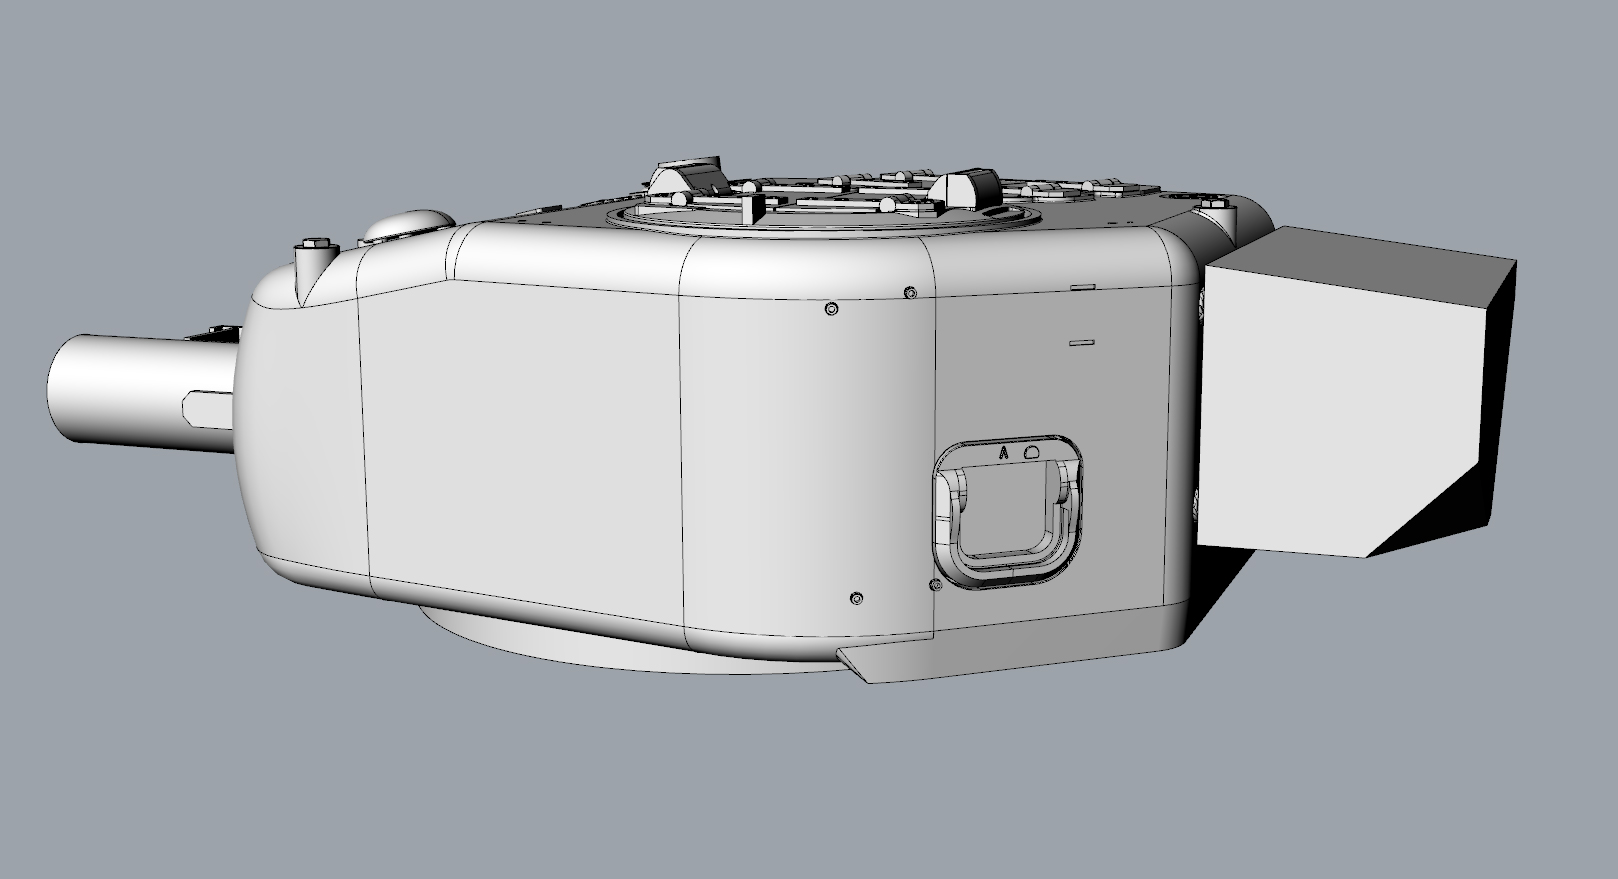
- churchill54.jpg (159.01 KiB) Viewed 1375 times
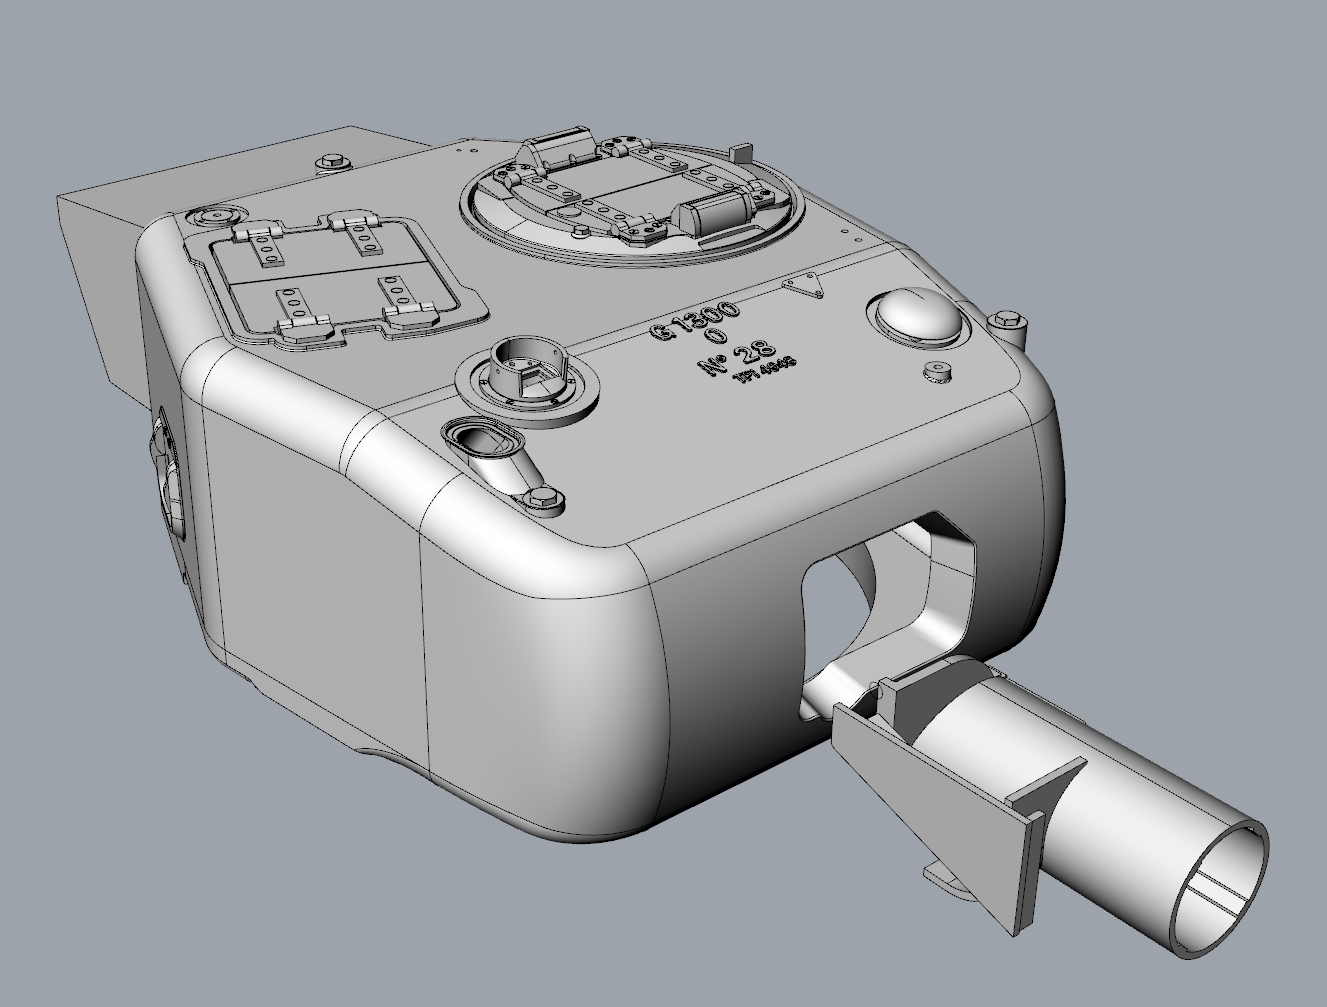
- churchill55.jpg (248.08 KiB) Viewed 1375 times
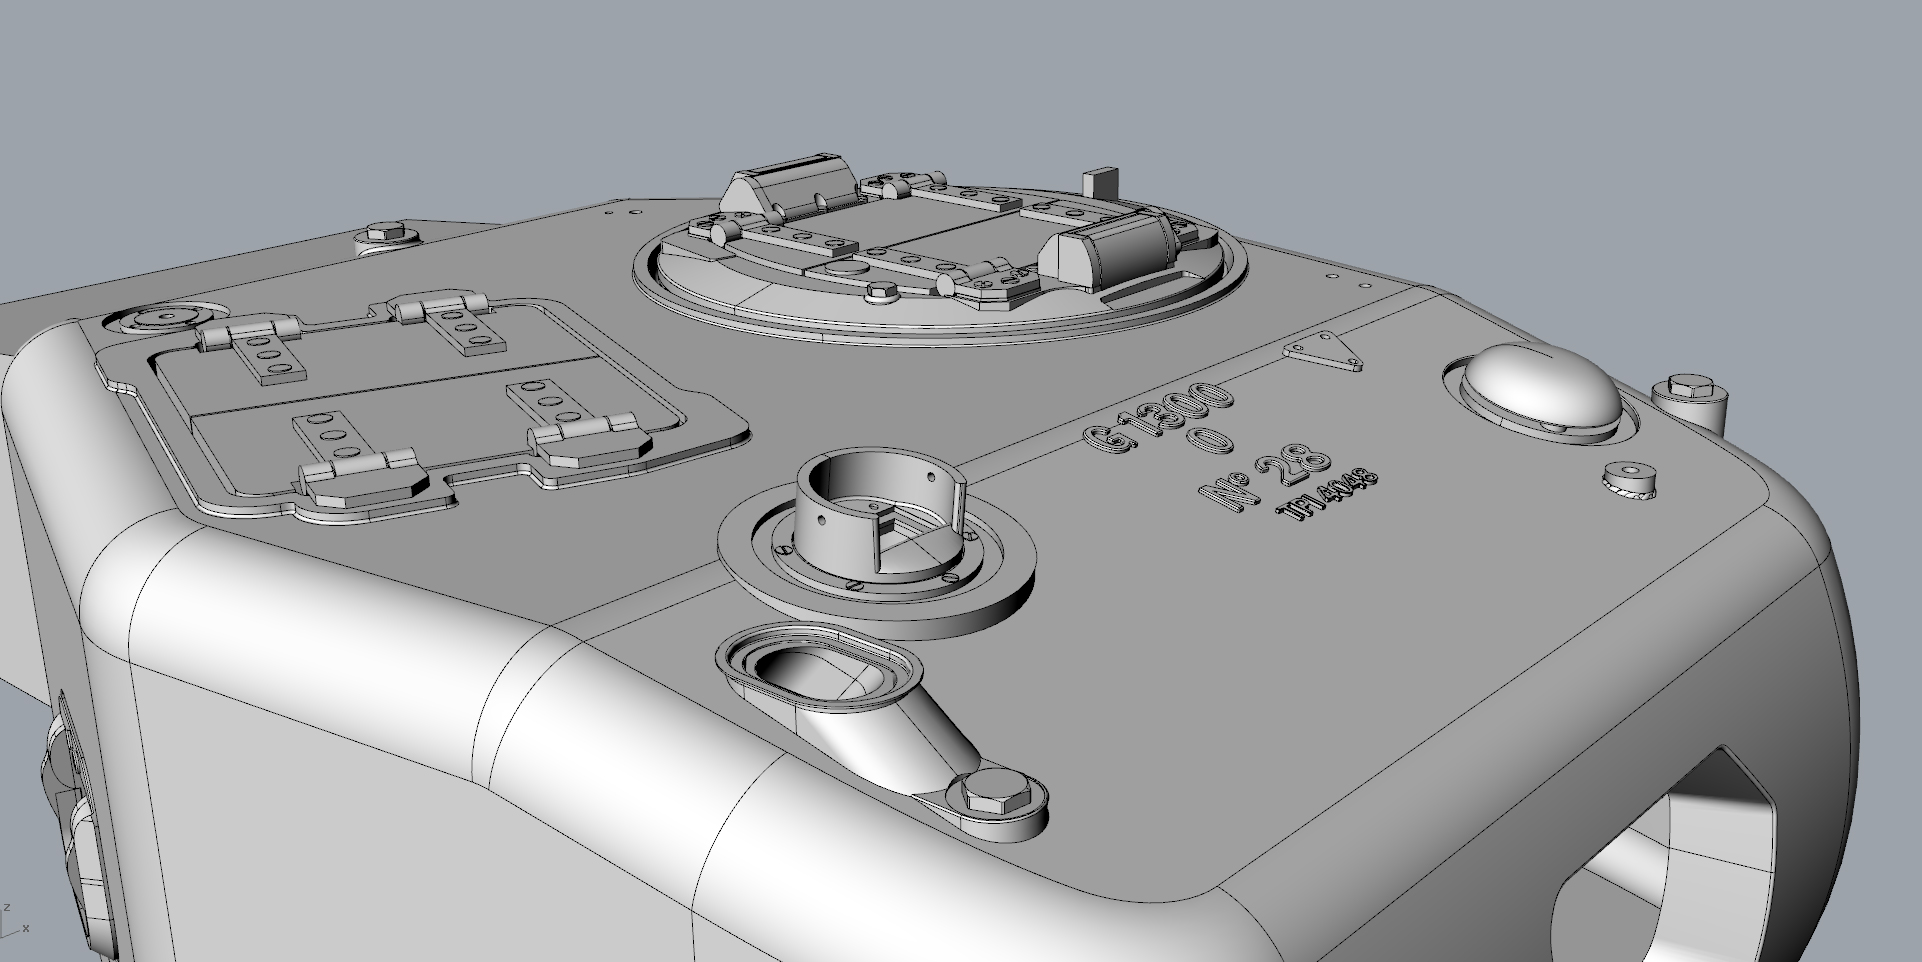
- churchill56.jpg (380.35 KiB) Viewed 1375 times
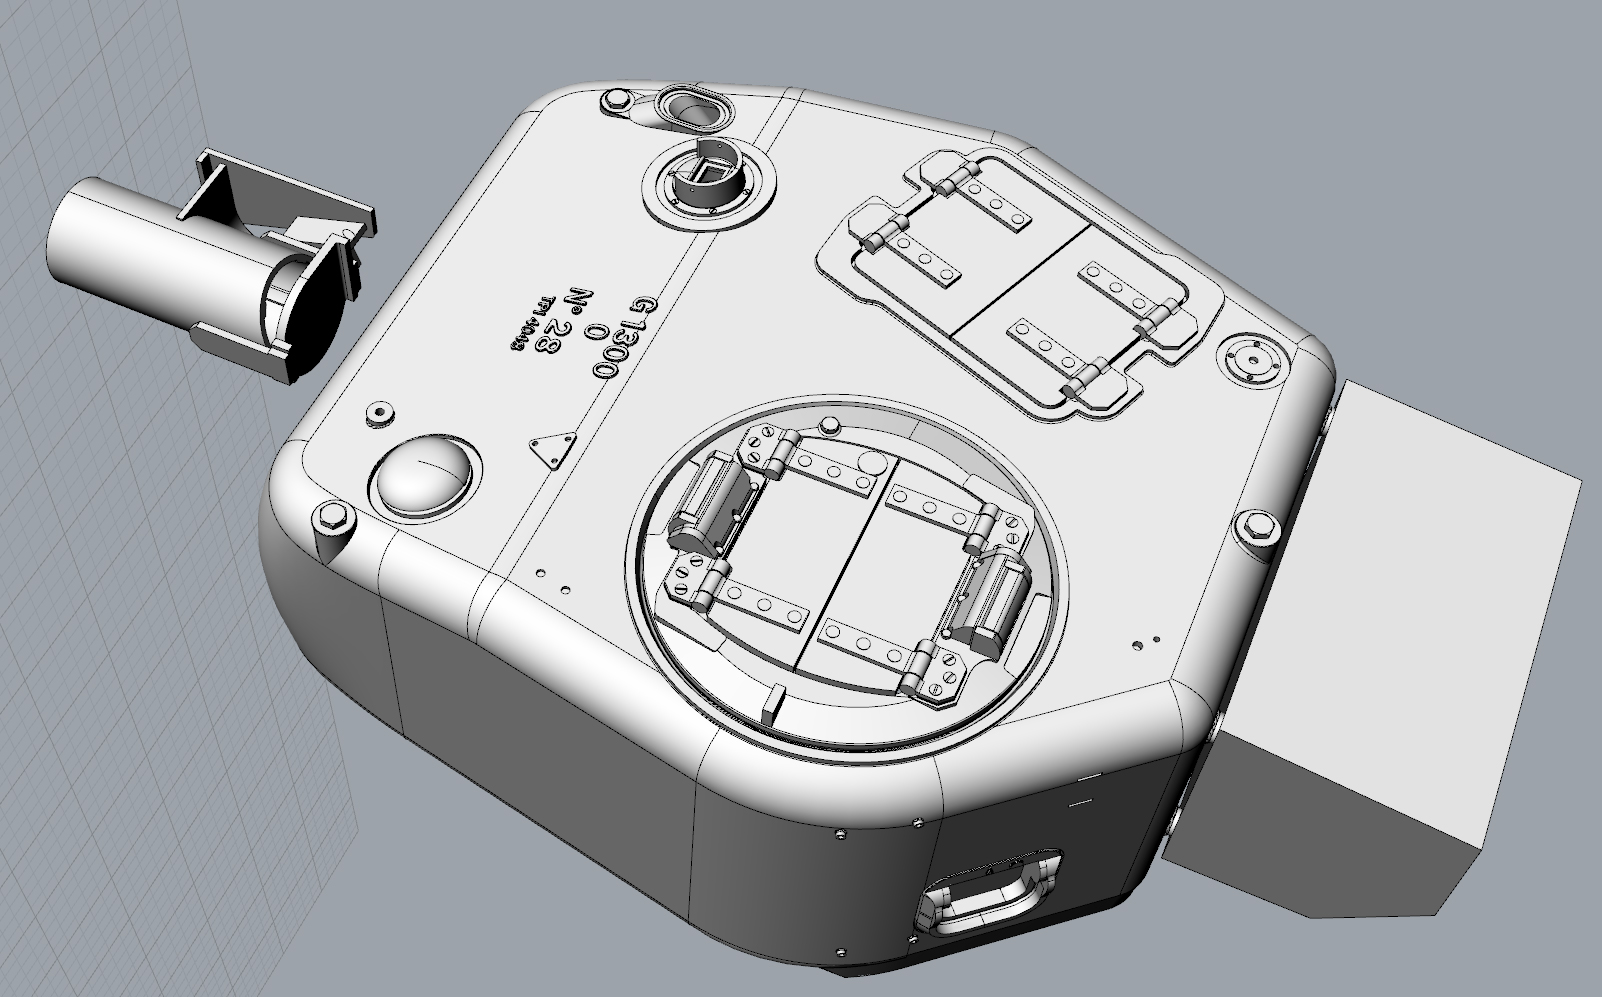
- churchill57.jpg (463.67 KiB) Viewed 1375 times
- churchill58.jpg (92.39 KiB) Viewed 1375 times
Thank you for watching !
Re: Scratchbuilt Churchill Mk.IV AVRE
Posted: Fri Mar 17, 2023 4:32 pm
by MonsieurTox
Re: Scratchbuilt Churchill Mk.IV AVRE
Posted: Fri Mar 17, 2023 4:42 pm
by Ecam
I thought some of my builds were tricky. Off the chart! That is some amazing work!
Re: Scratchbuilt Churchill Mk.IV AVRE
Posted: Fri Mar 17, 2023 9:55 pm
by tankme
I always thought the Churchill was a damn ugly tank...but it's growing on me. She's going to be a fine looking vehicle when you are done.
Derek
Re: Scratchbuilt Churchill Mk.IV AVRE
Posted: Mon Apr 17, 2023 11:22 am
by MonsieurTox
Ecam wrote: ↑Fri Mar 17, 2023 4:42 pm
I thought some of my builds were tricky. Off the chart! That is some amazing work!
Thank you Ecam, all builds have their tricky parts ! And the simpliest looking things are sometimes the most complicated things to get right !
tankme wrote: ↑Fri Mar 17, 2023 9:55 pm
I always thought the Churchill was a damn ugly tank...but it's growing on me. She's going to be a fine looking vehicle when you are done.
Derek
Thanks Derek, yeah it's ugly but in the good way ! I'm not a fond of the Churchills with regular guns, but I like the idea of the AVRE opening and securing the way for the other tanks ! And demolishing some bunkers at the same time !

Here are some progress.
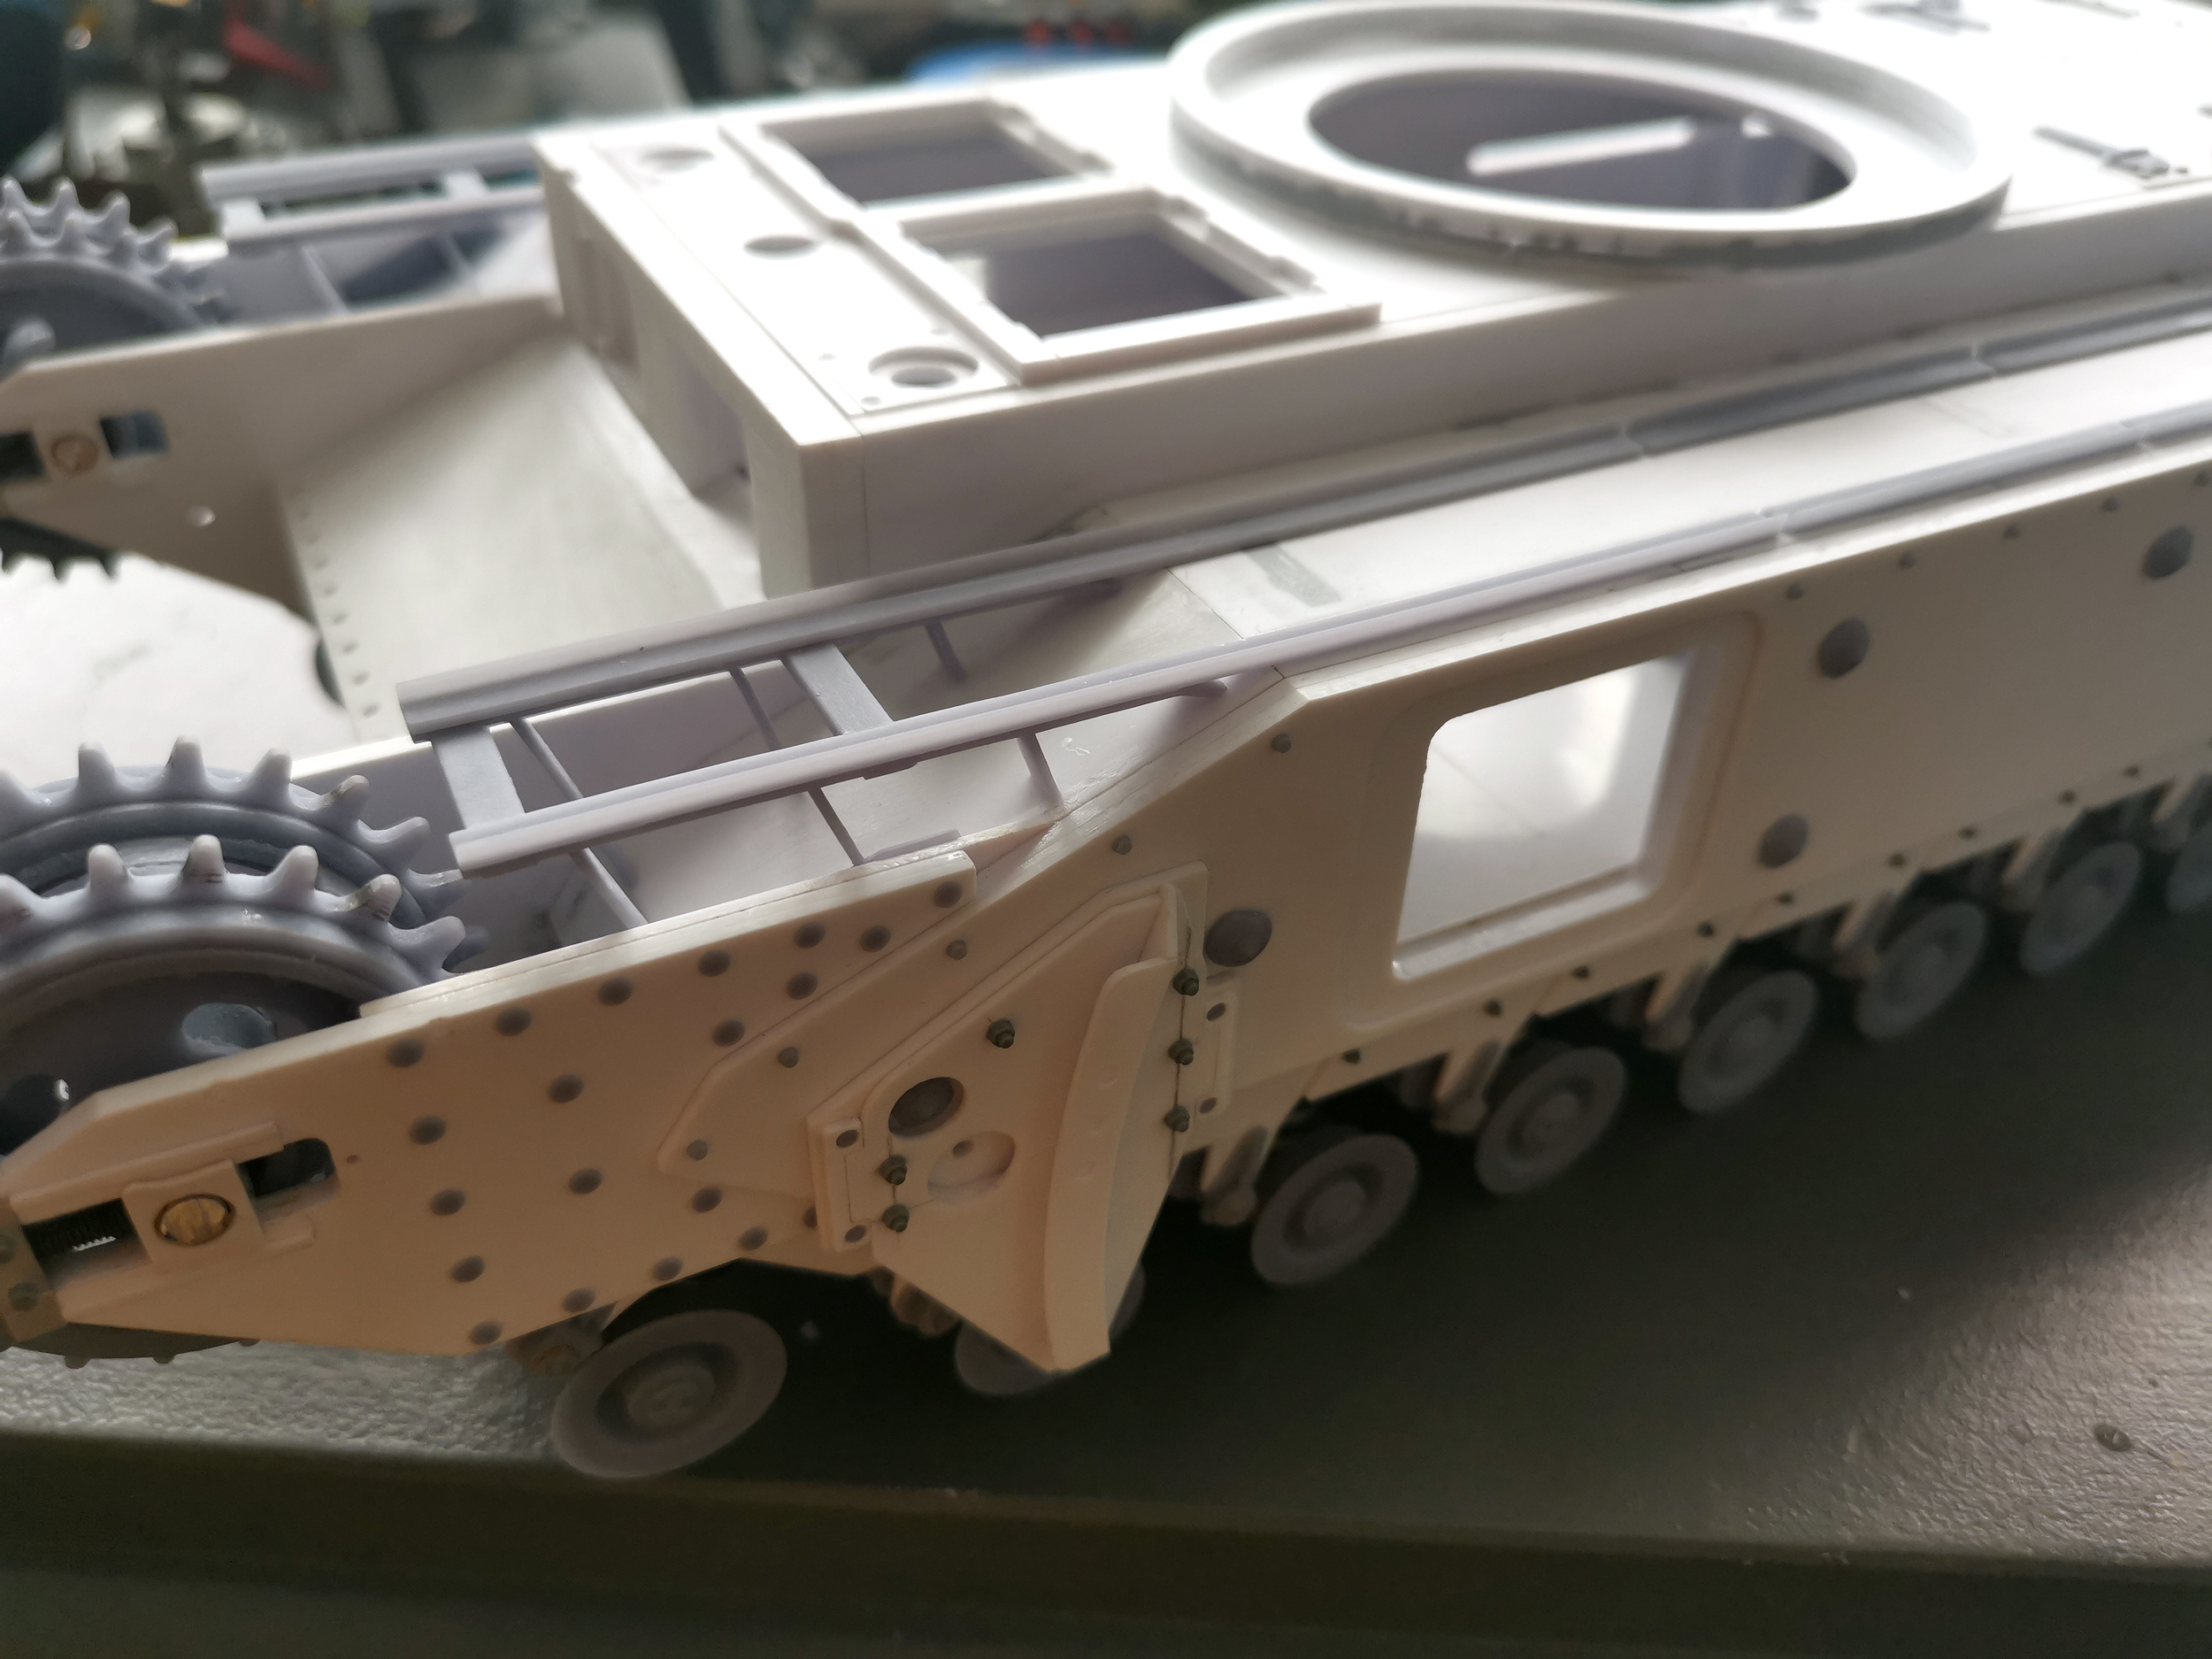
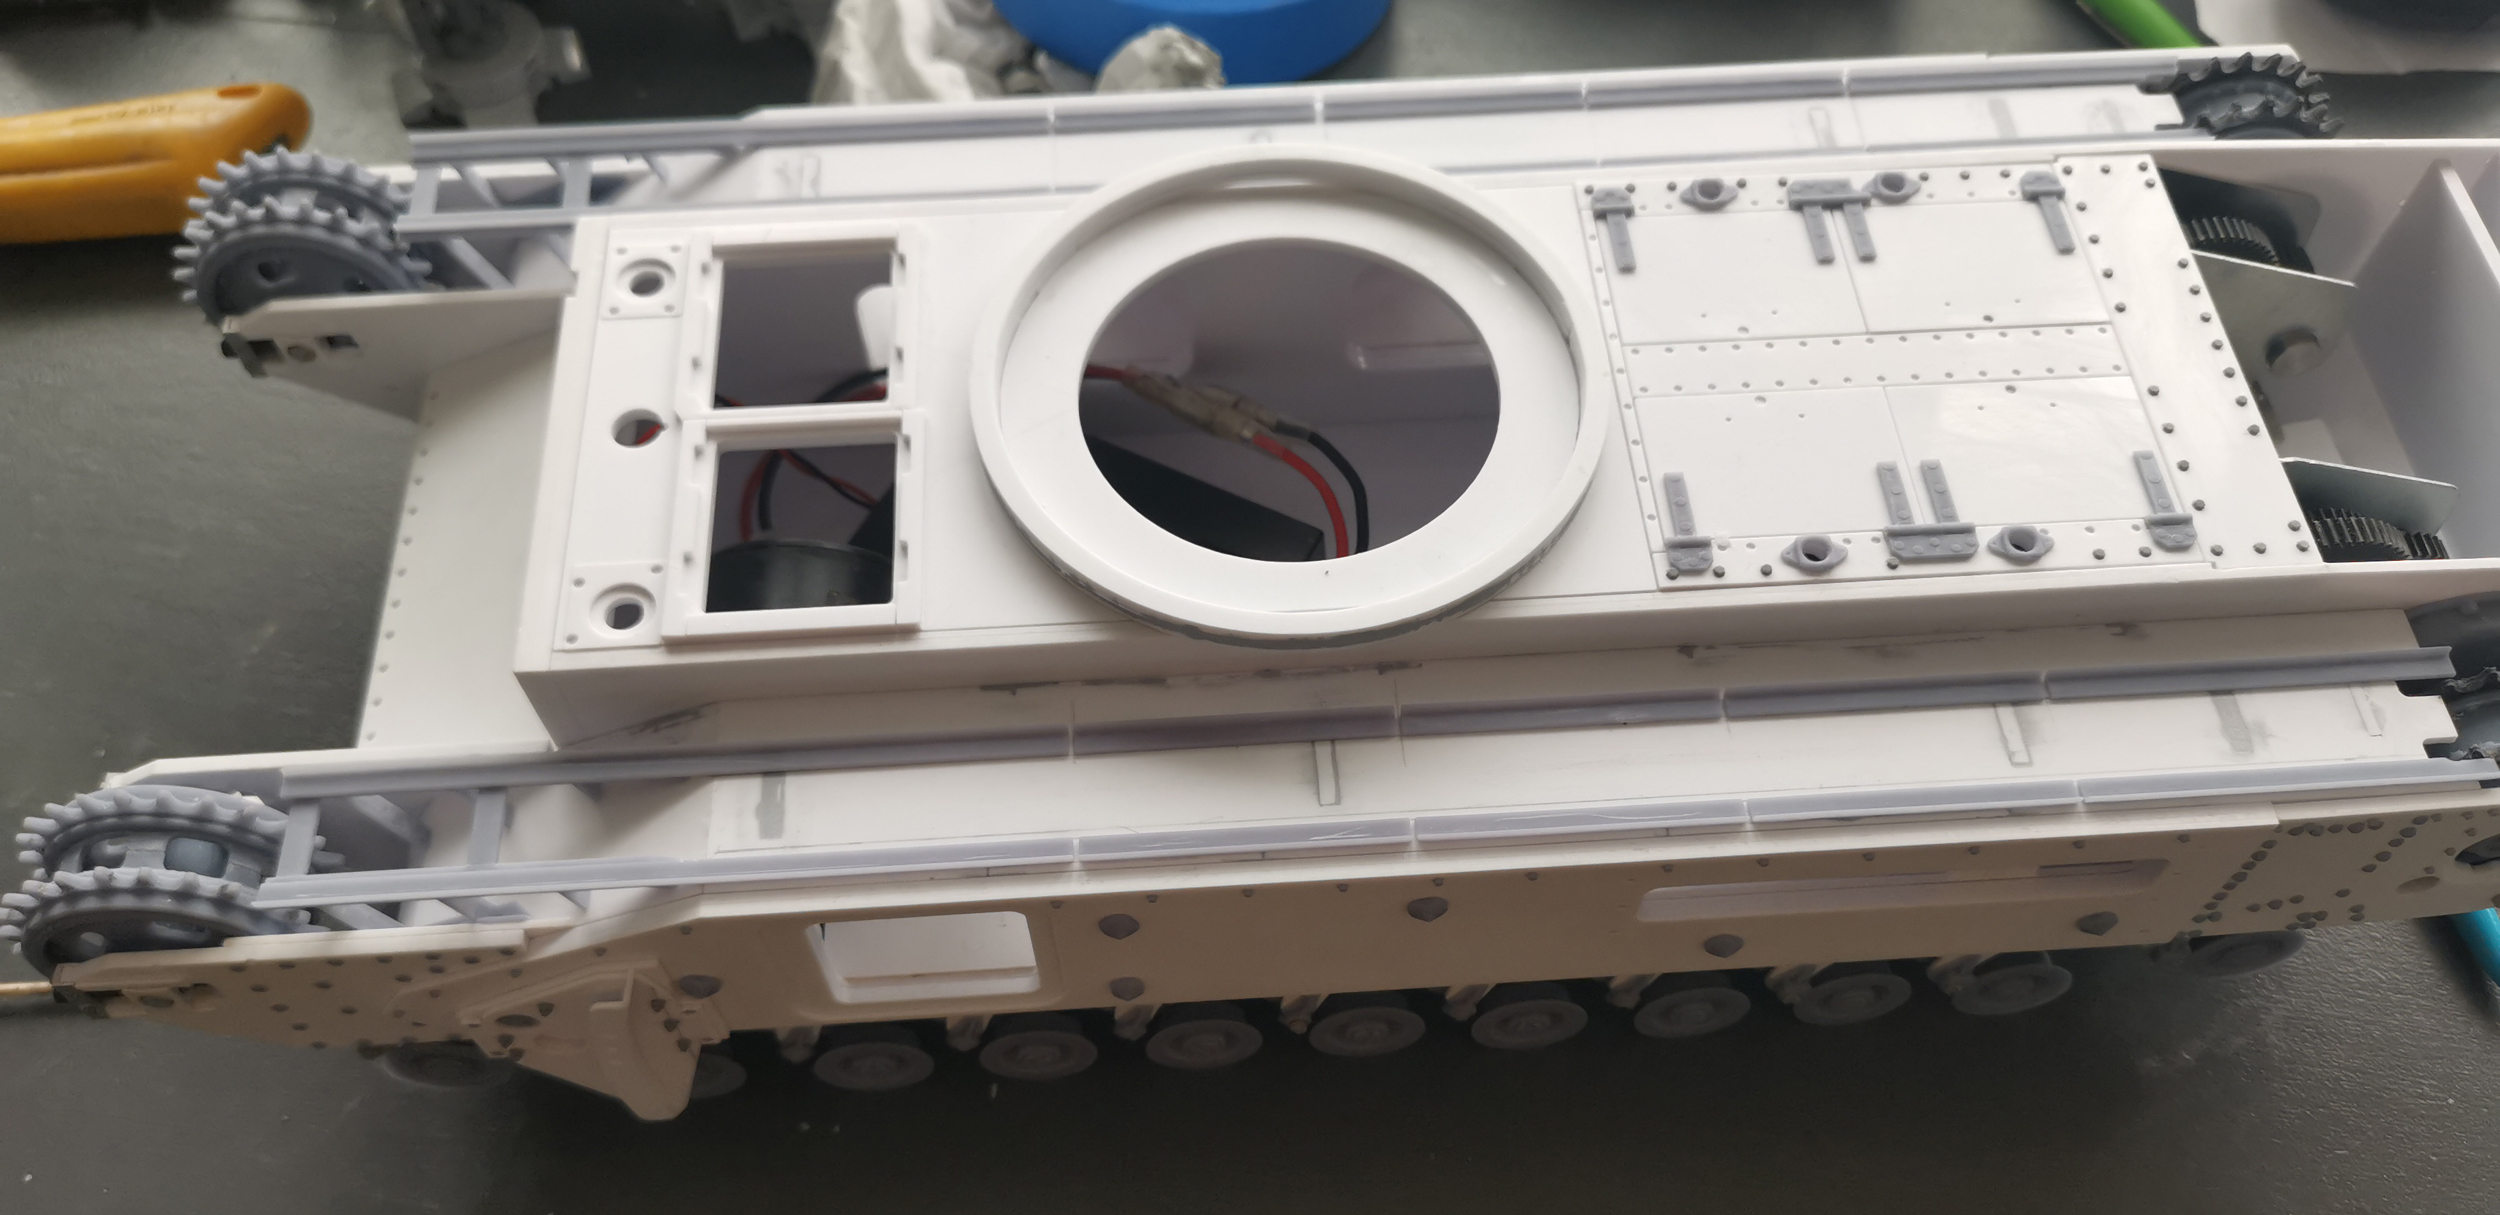
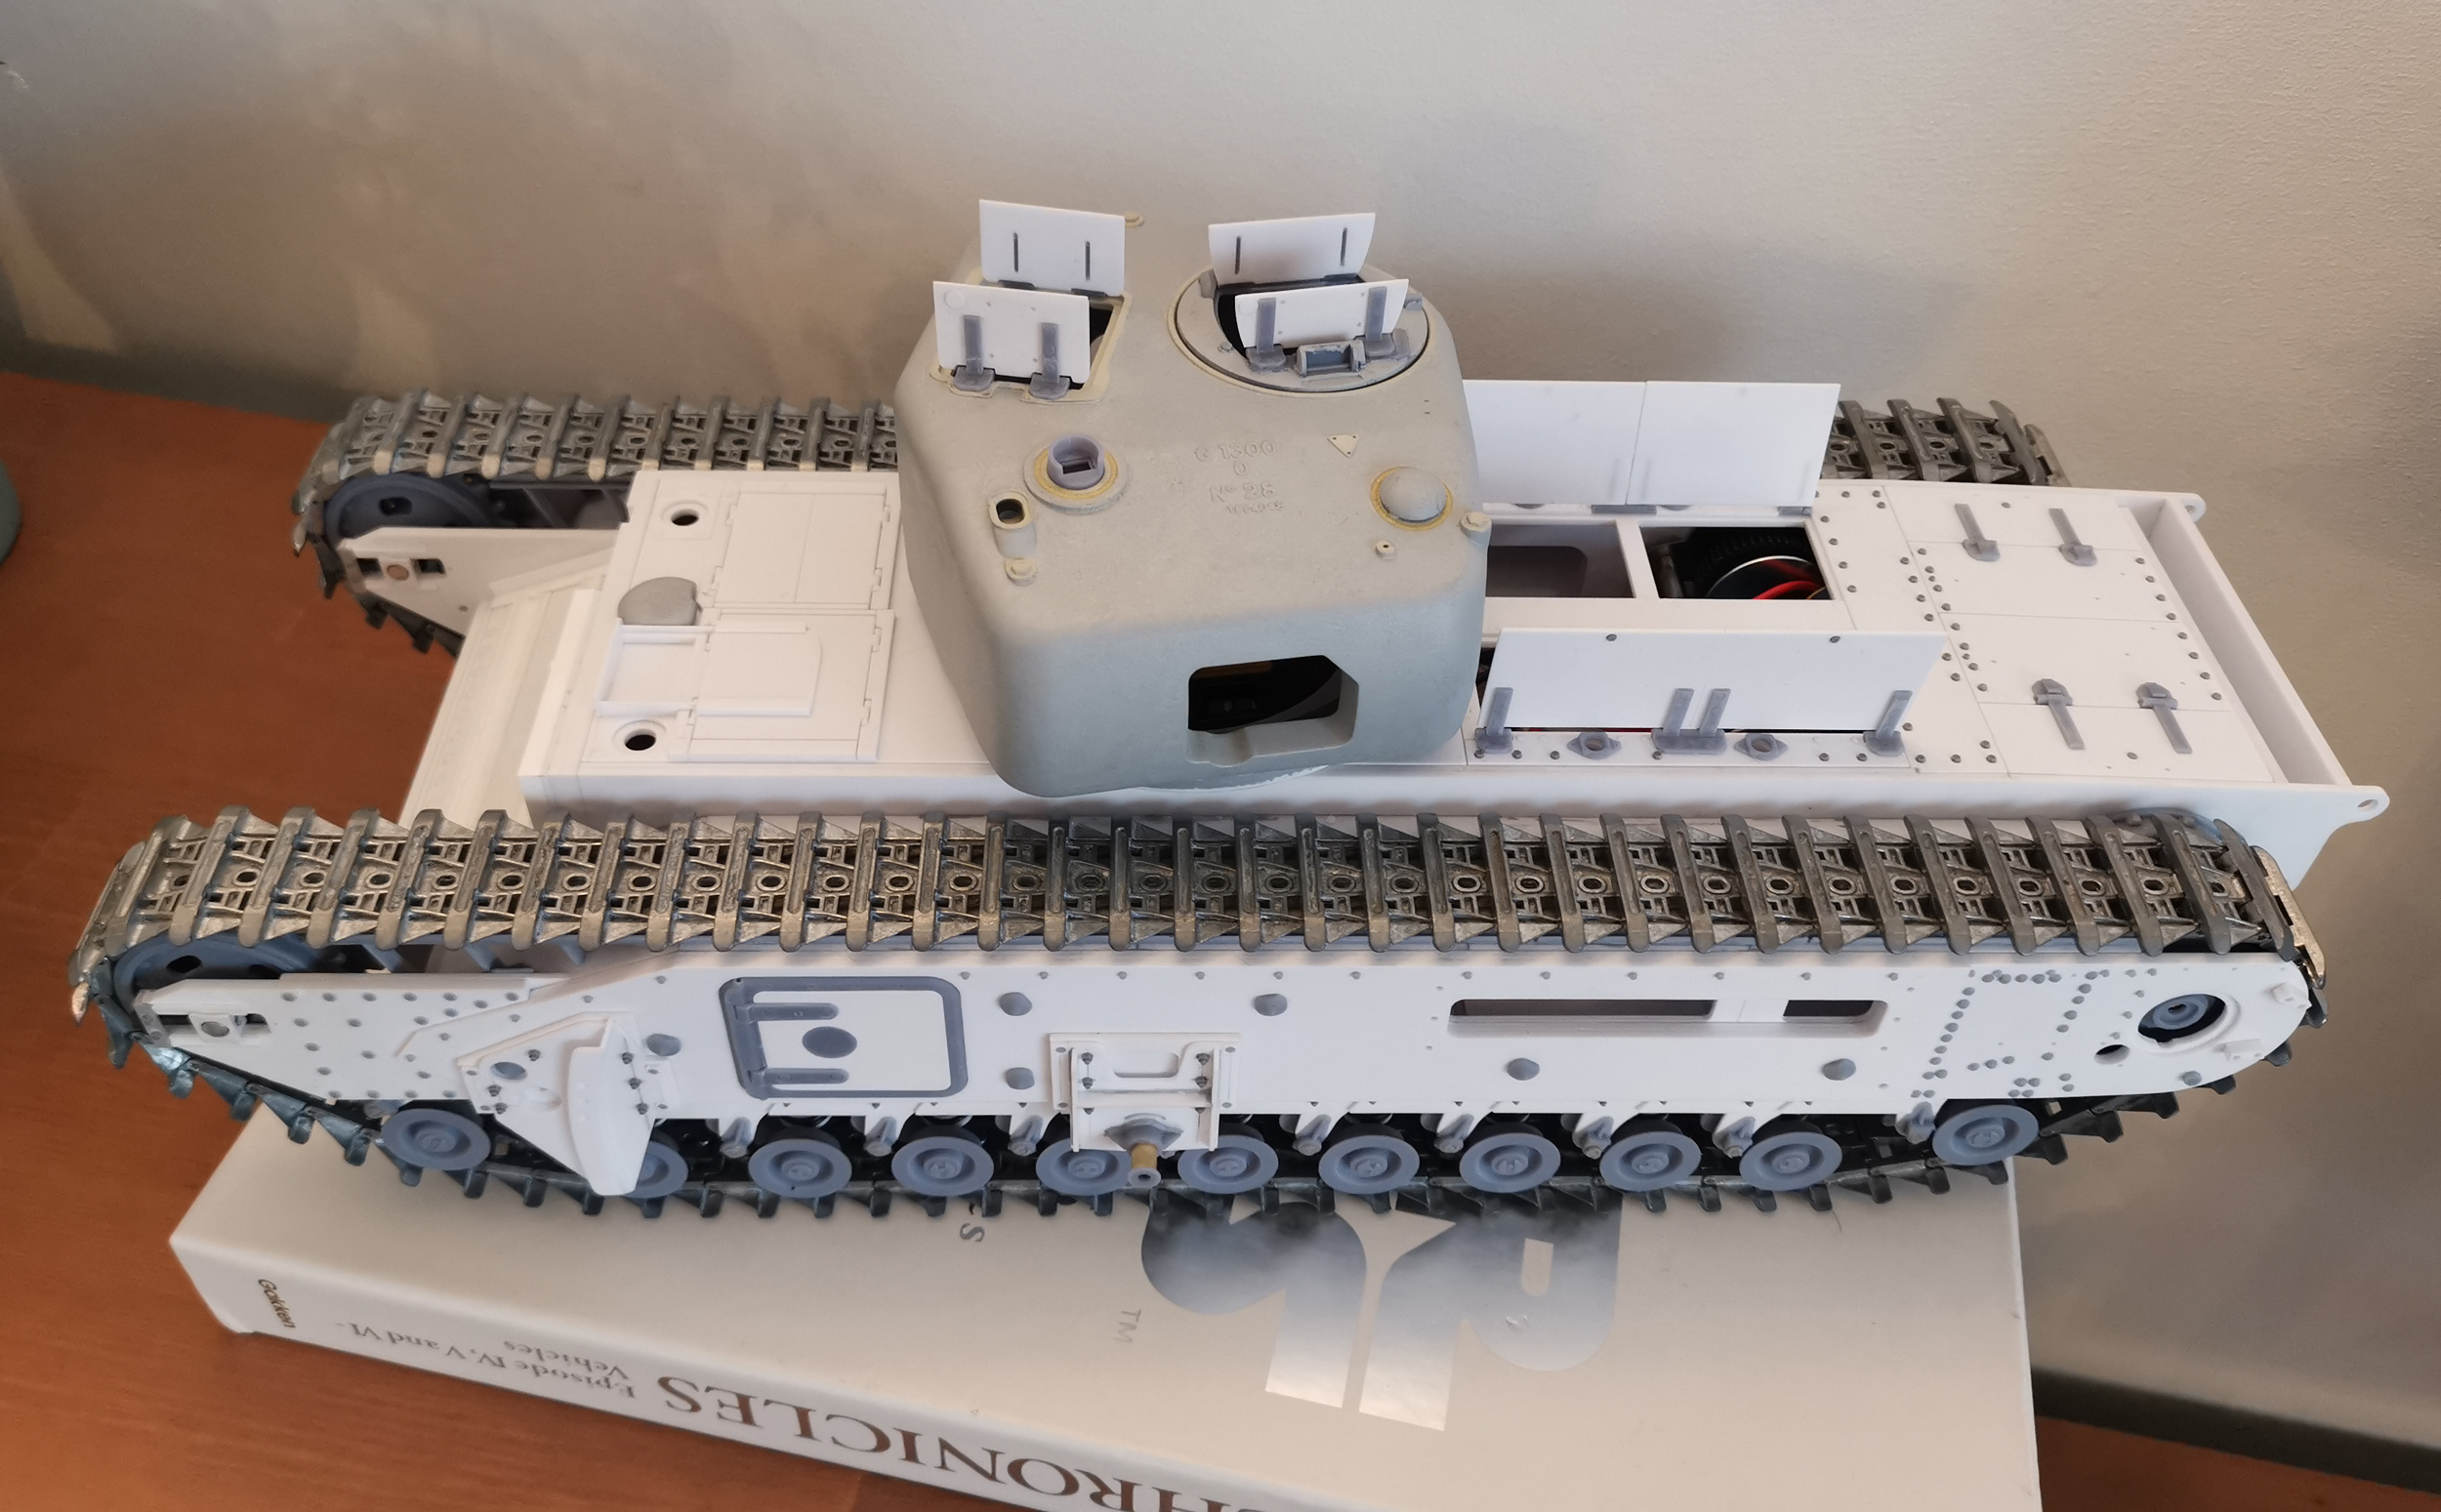
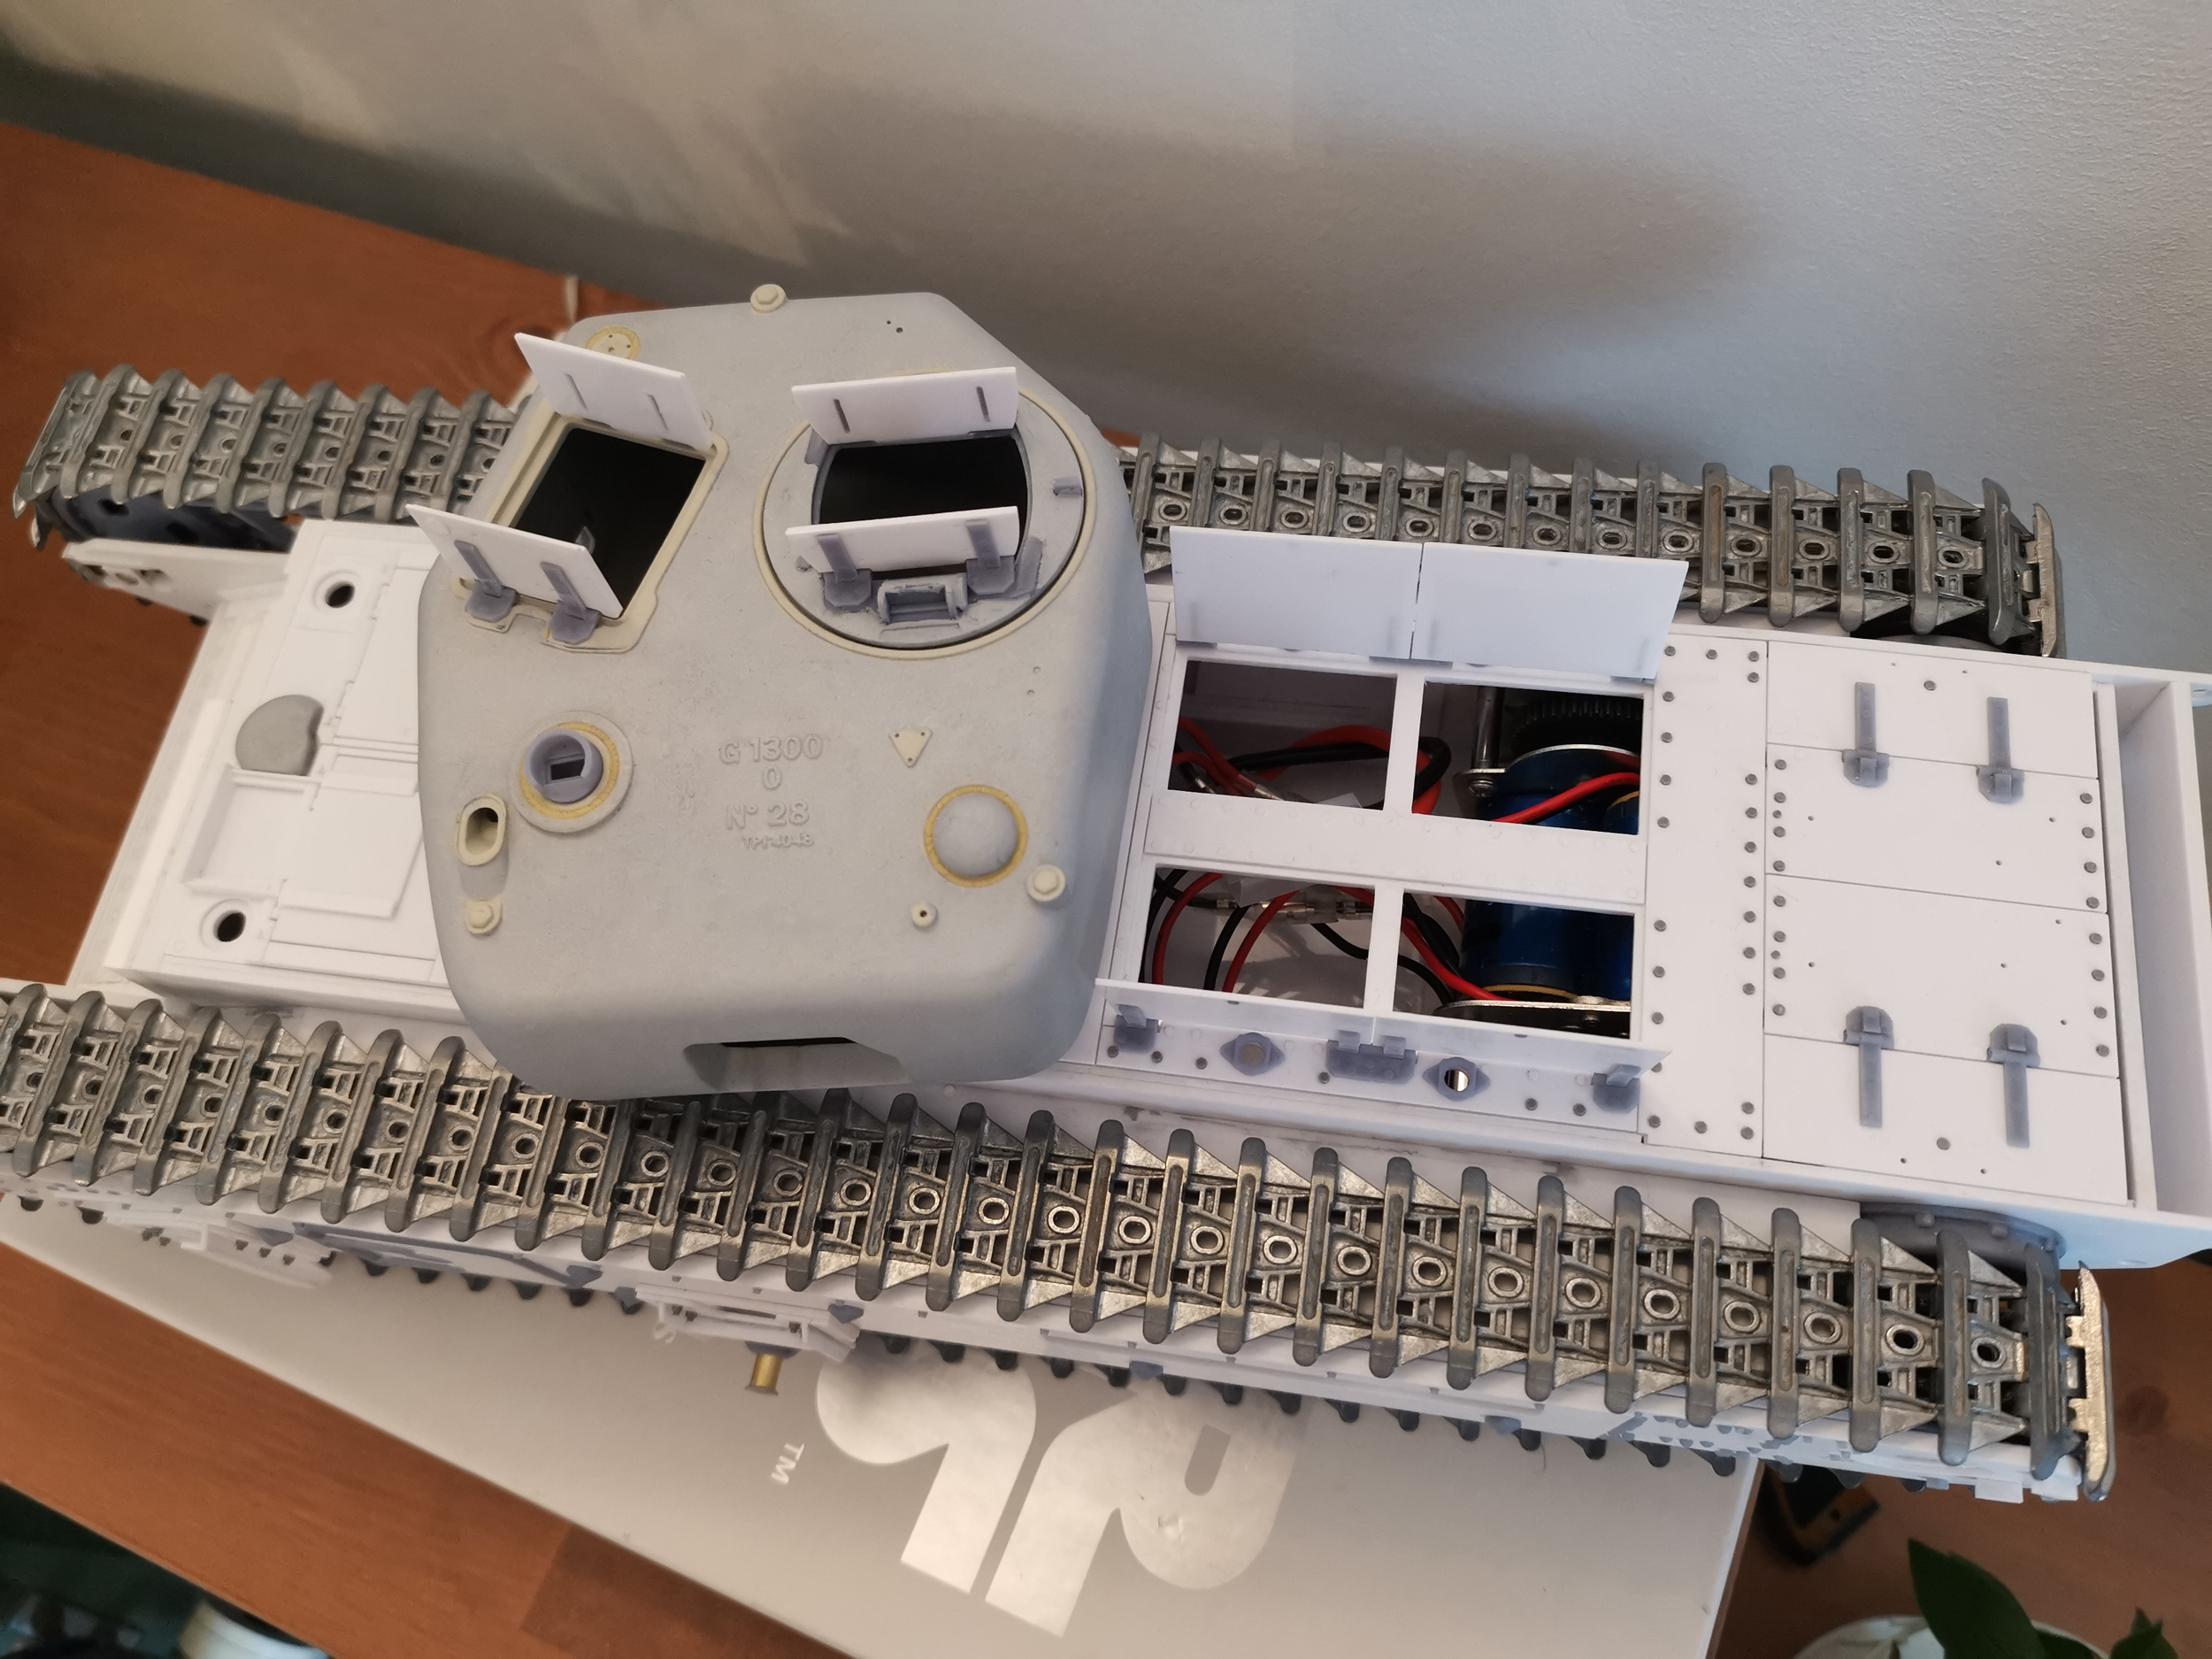
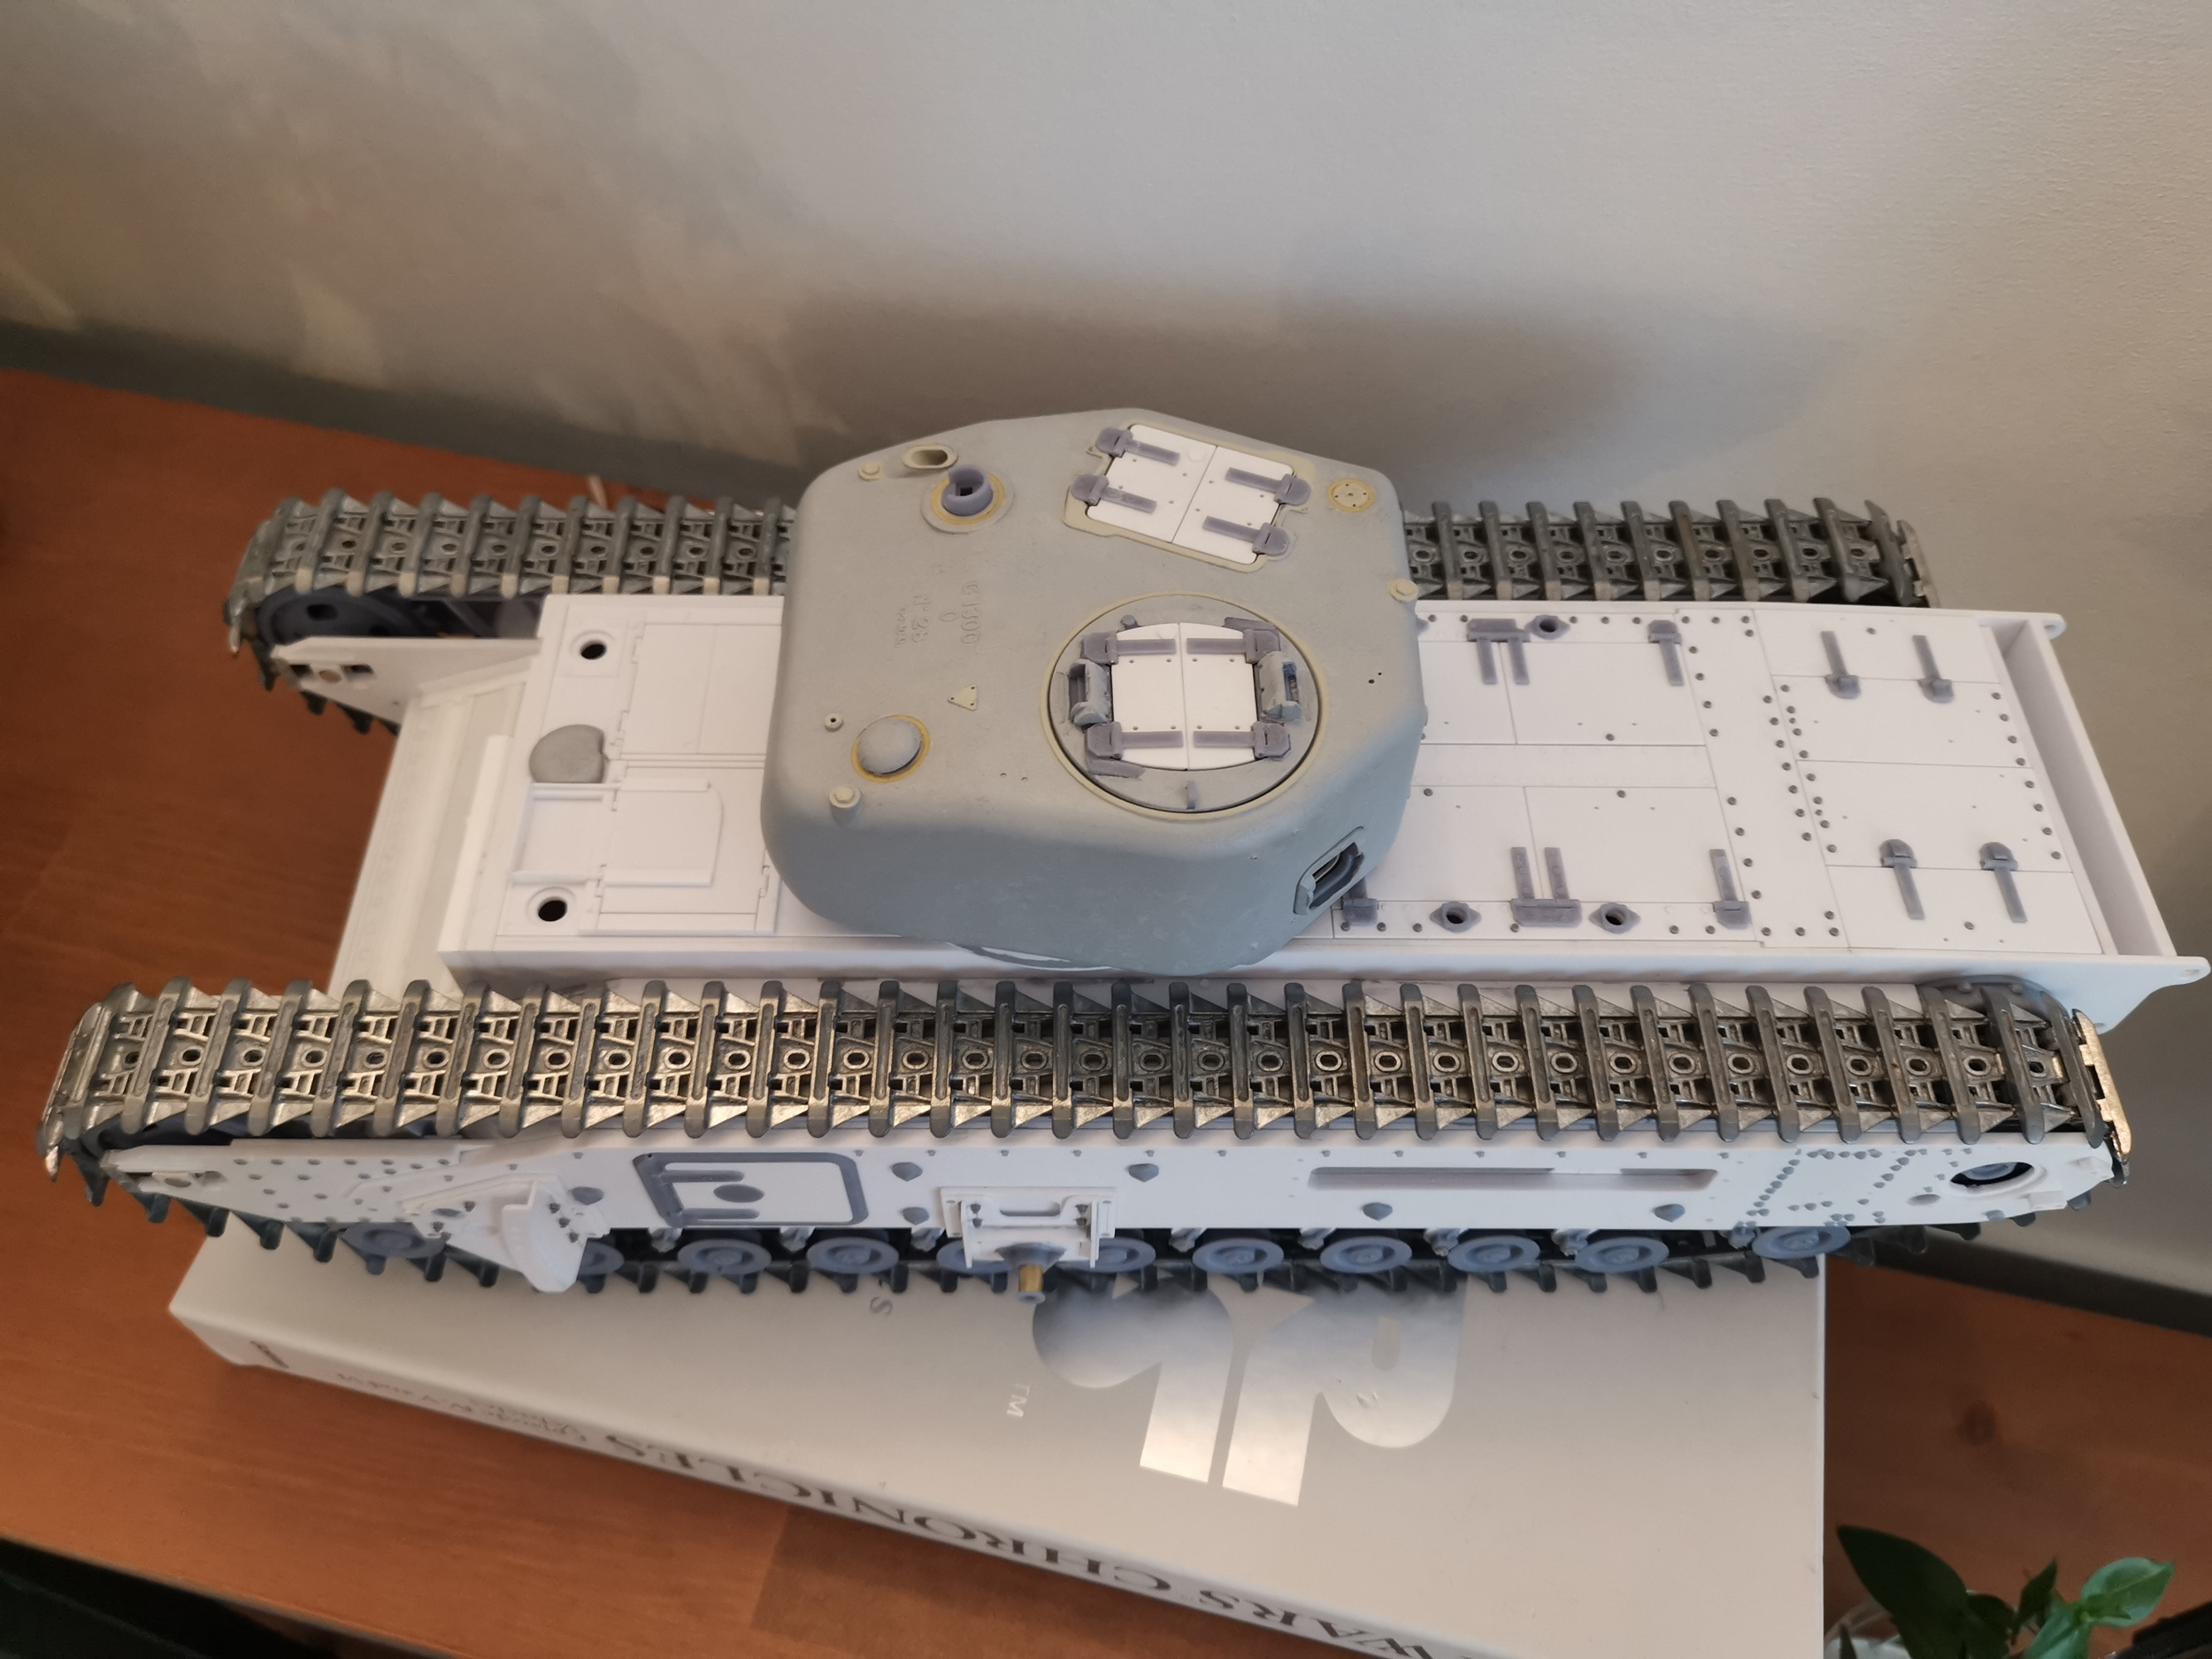
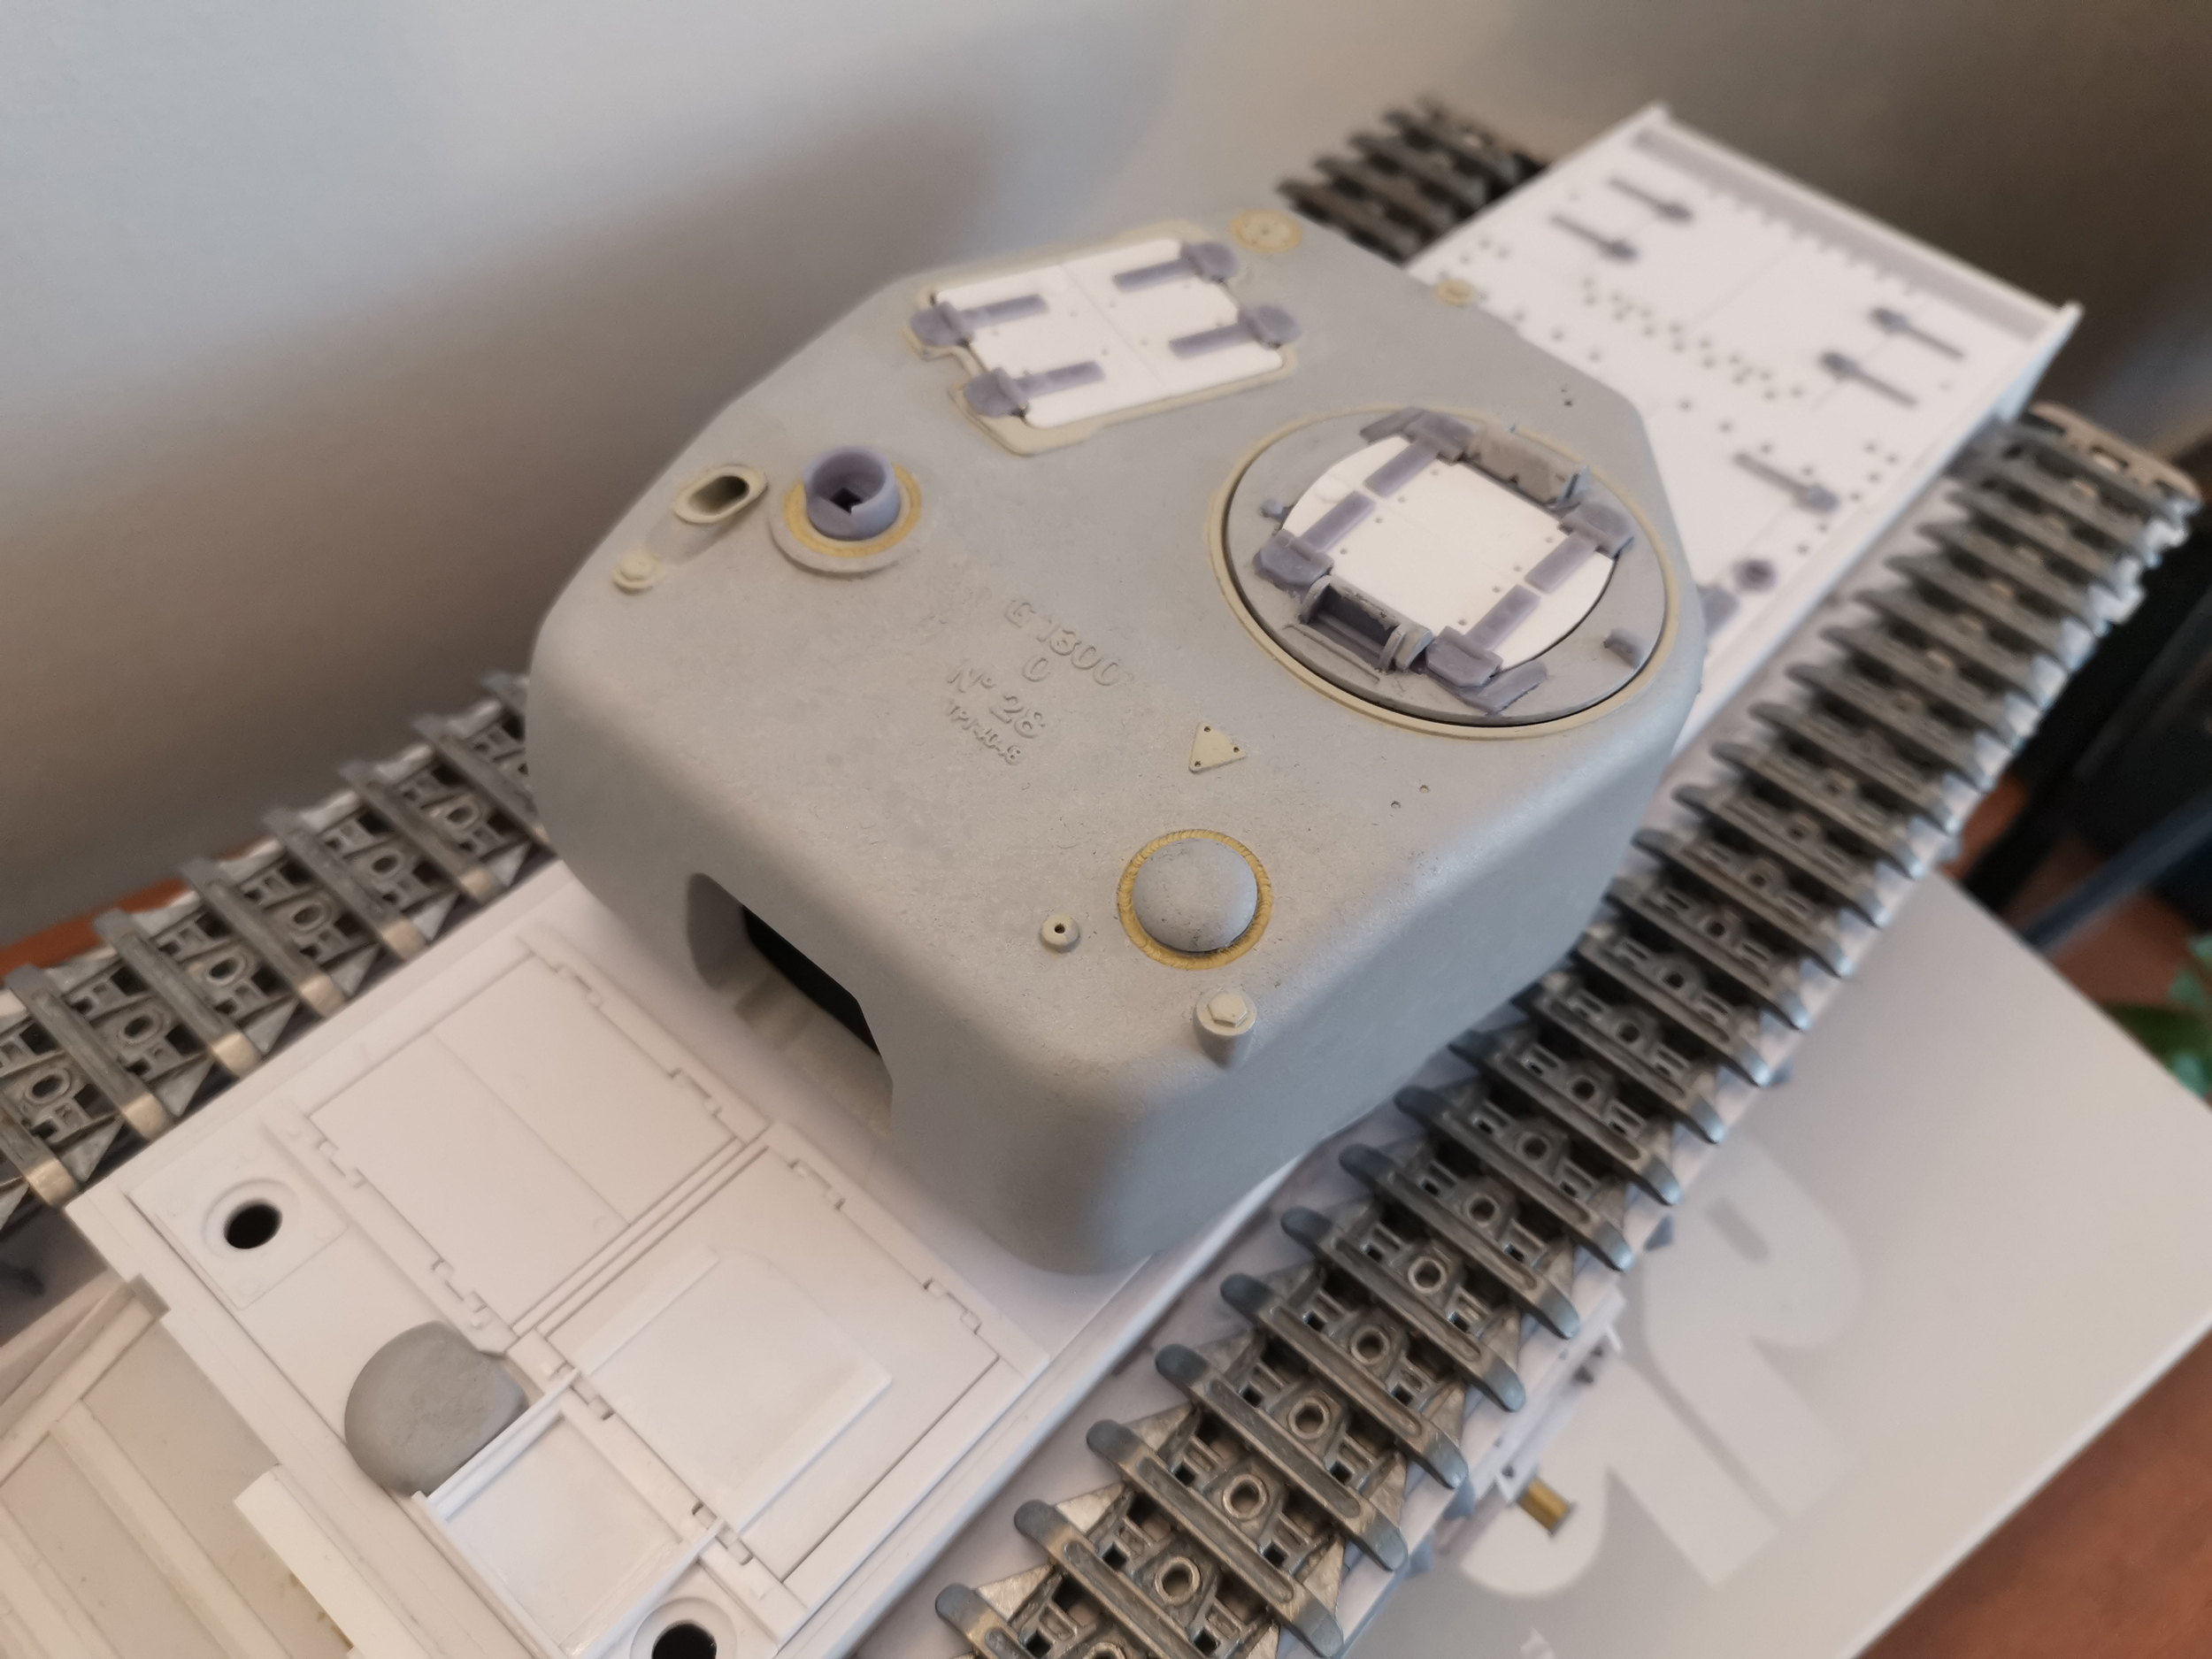
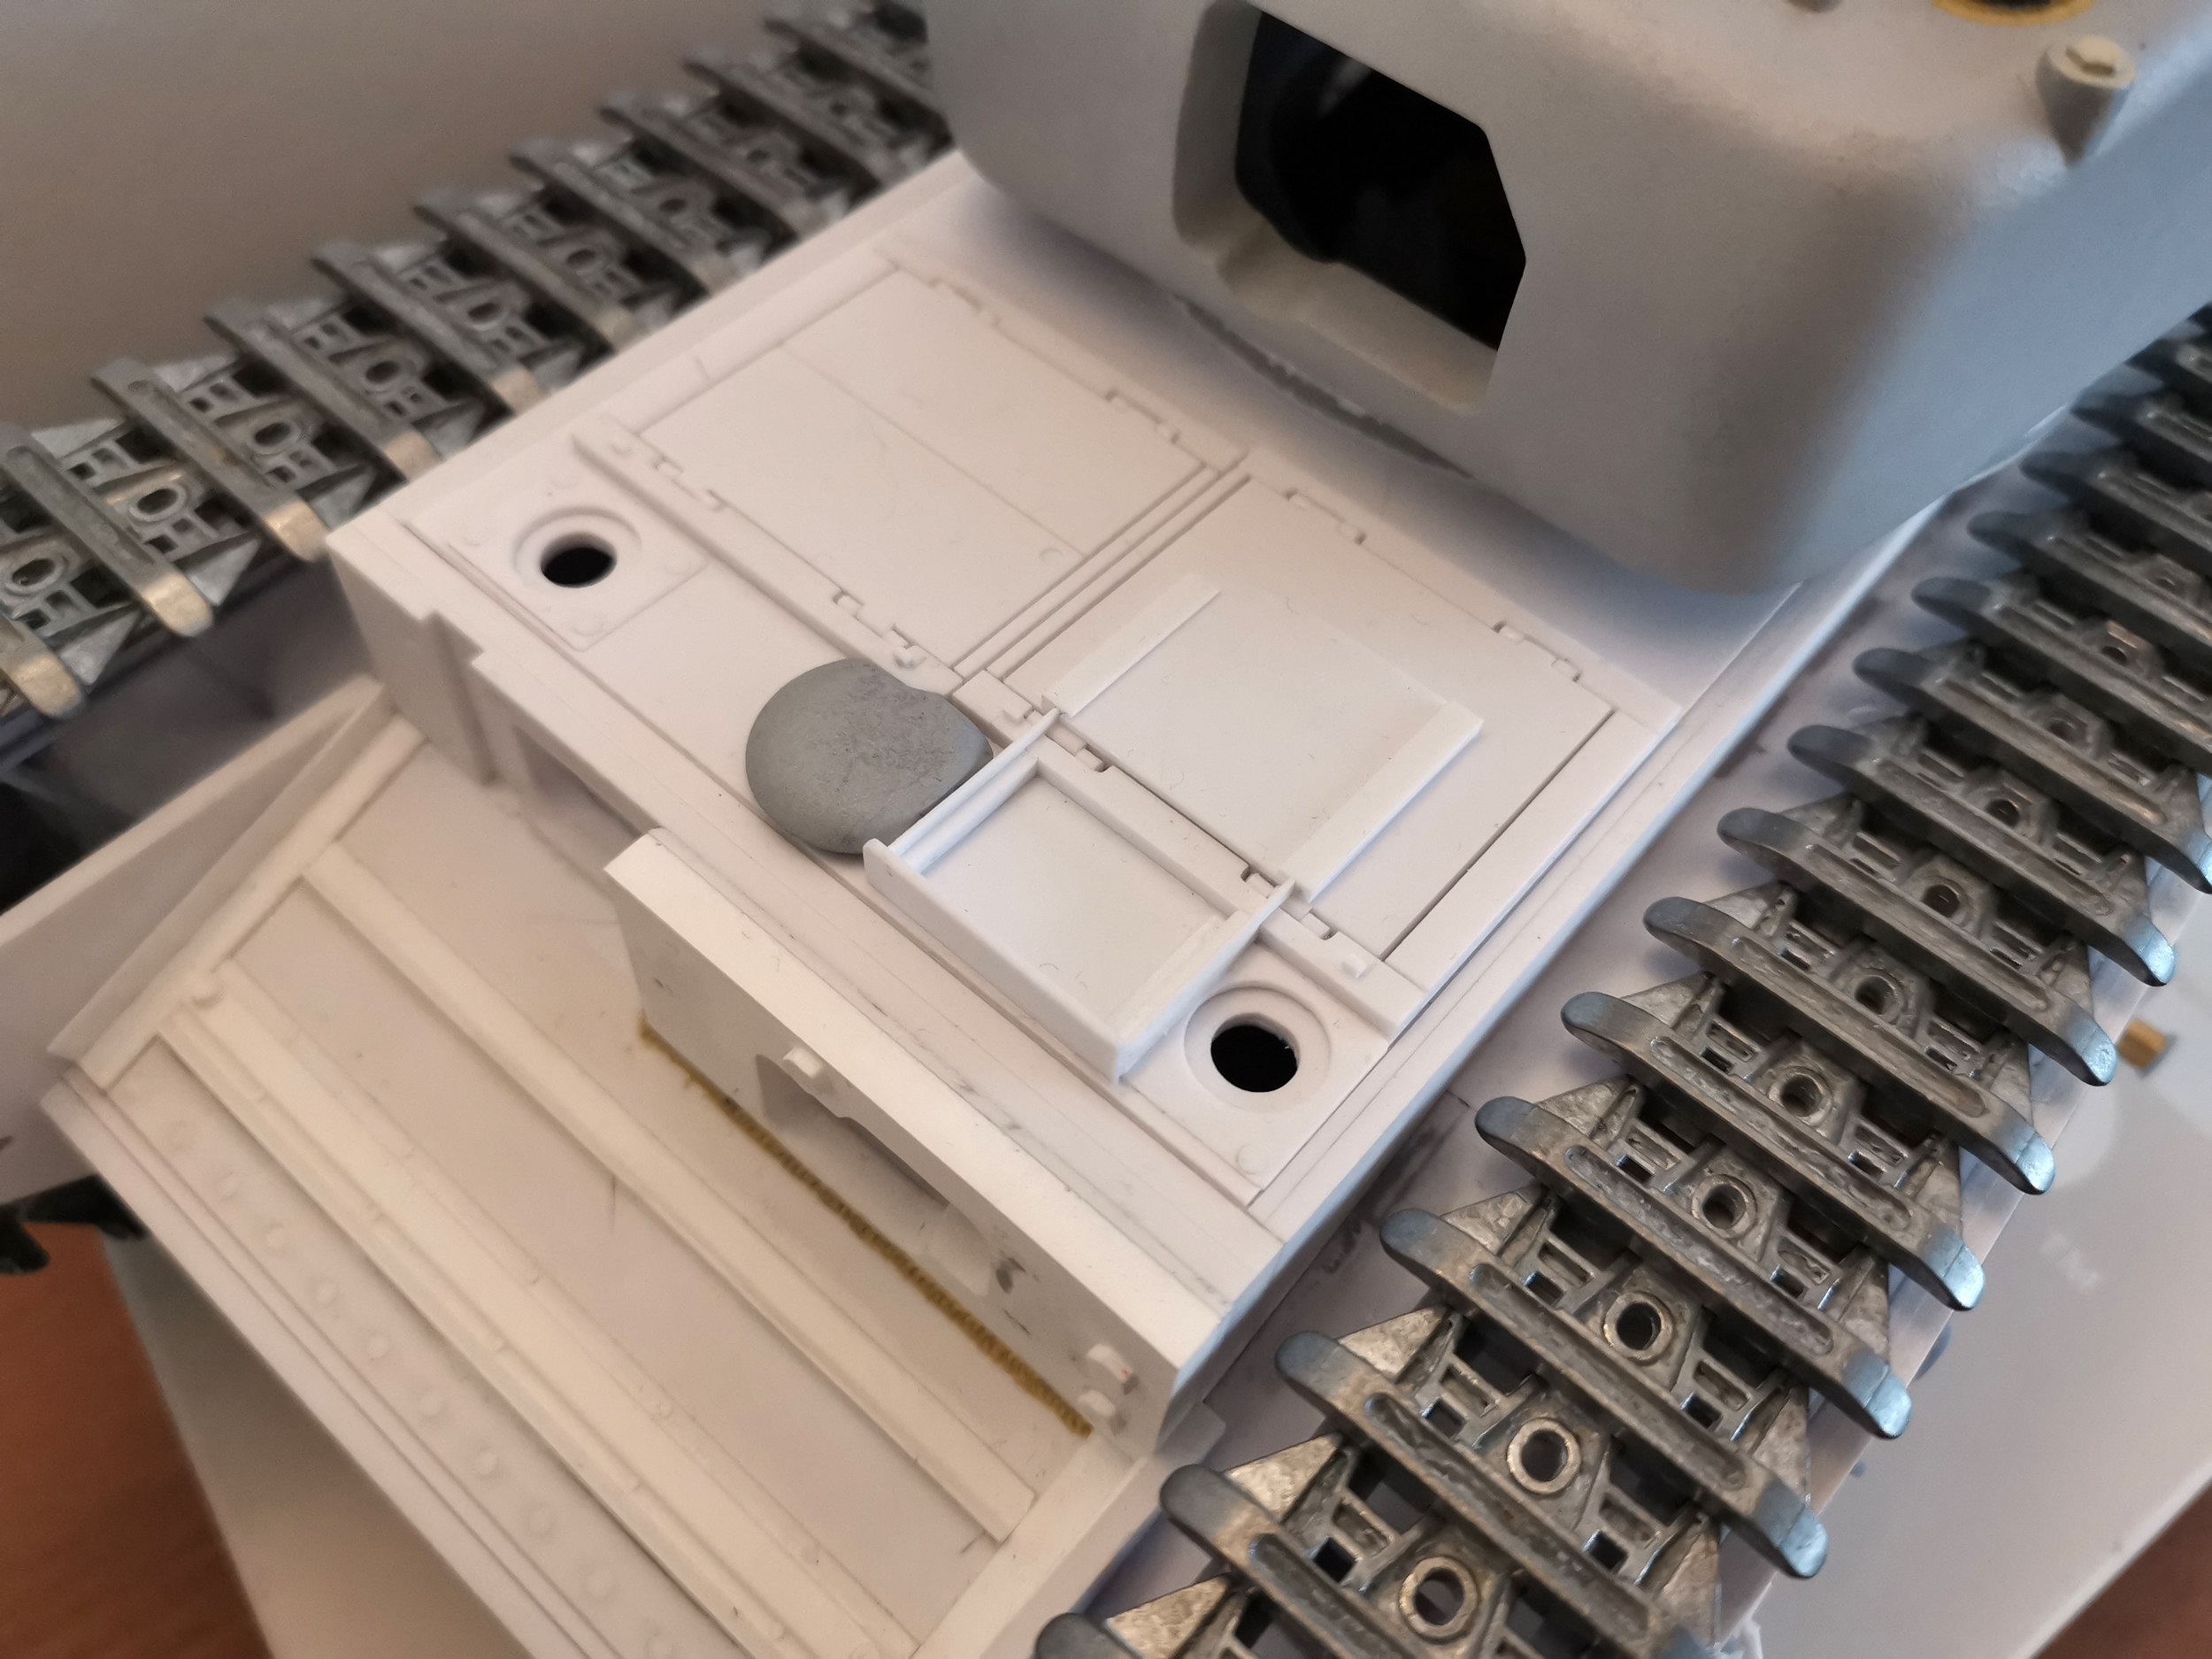
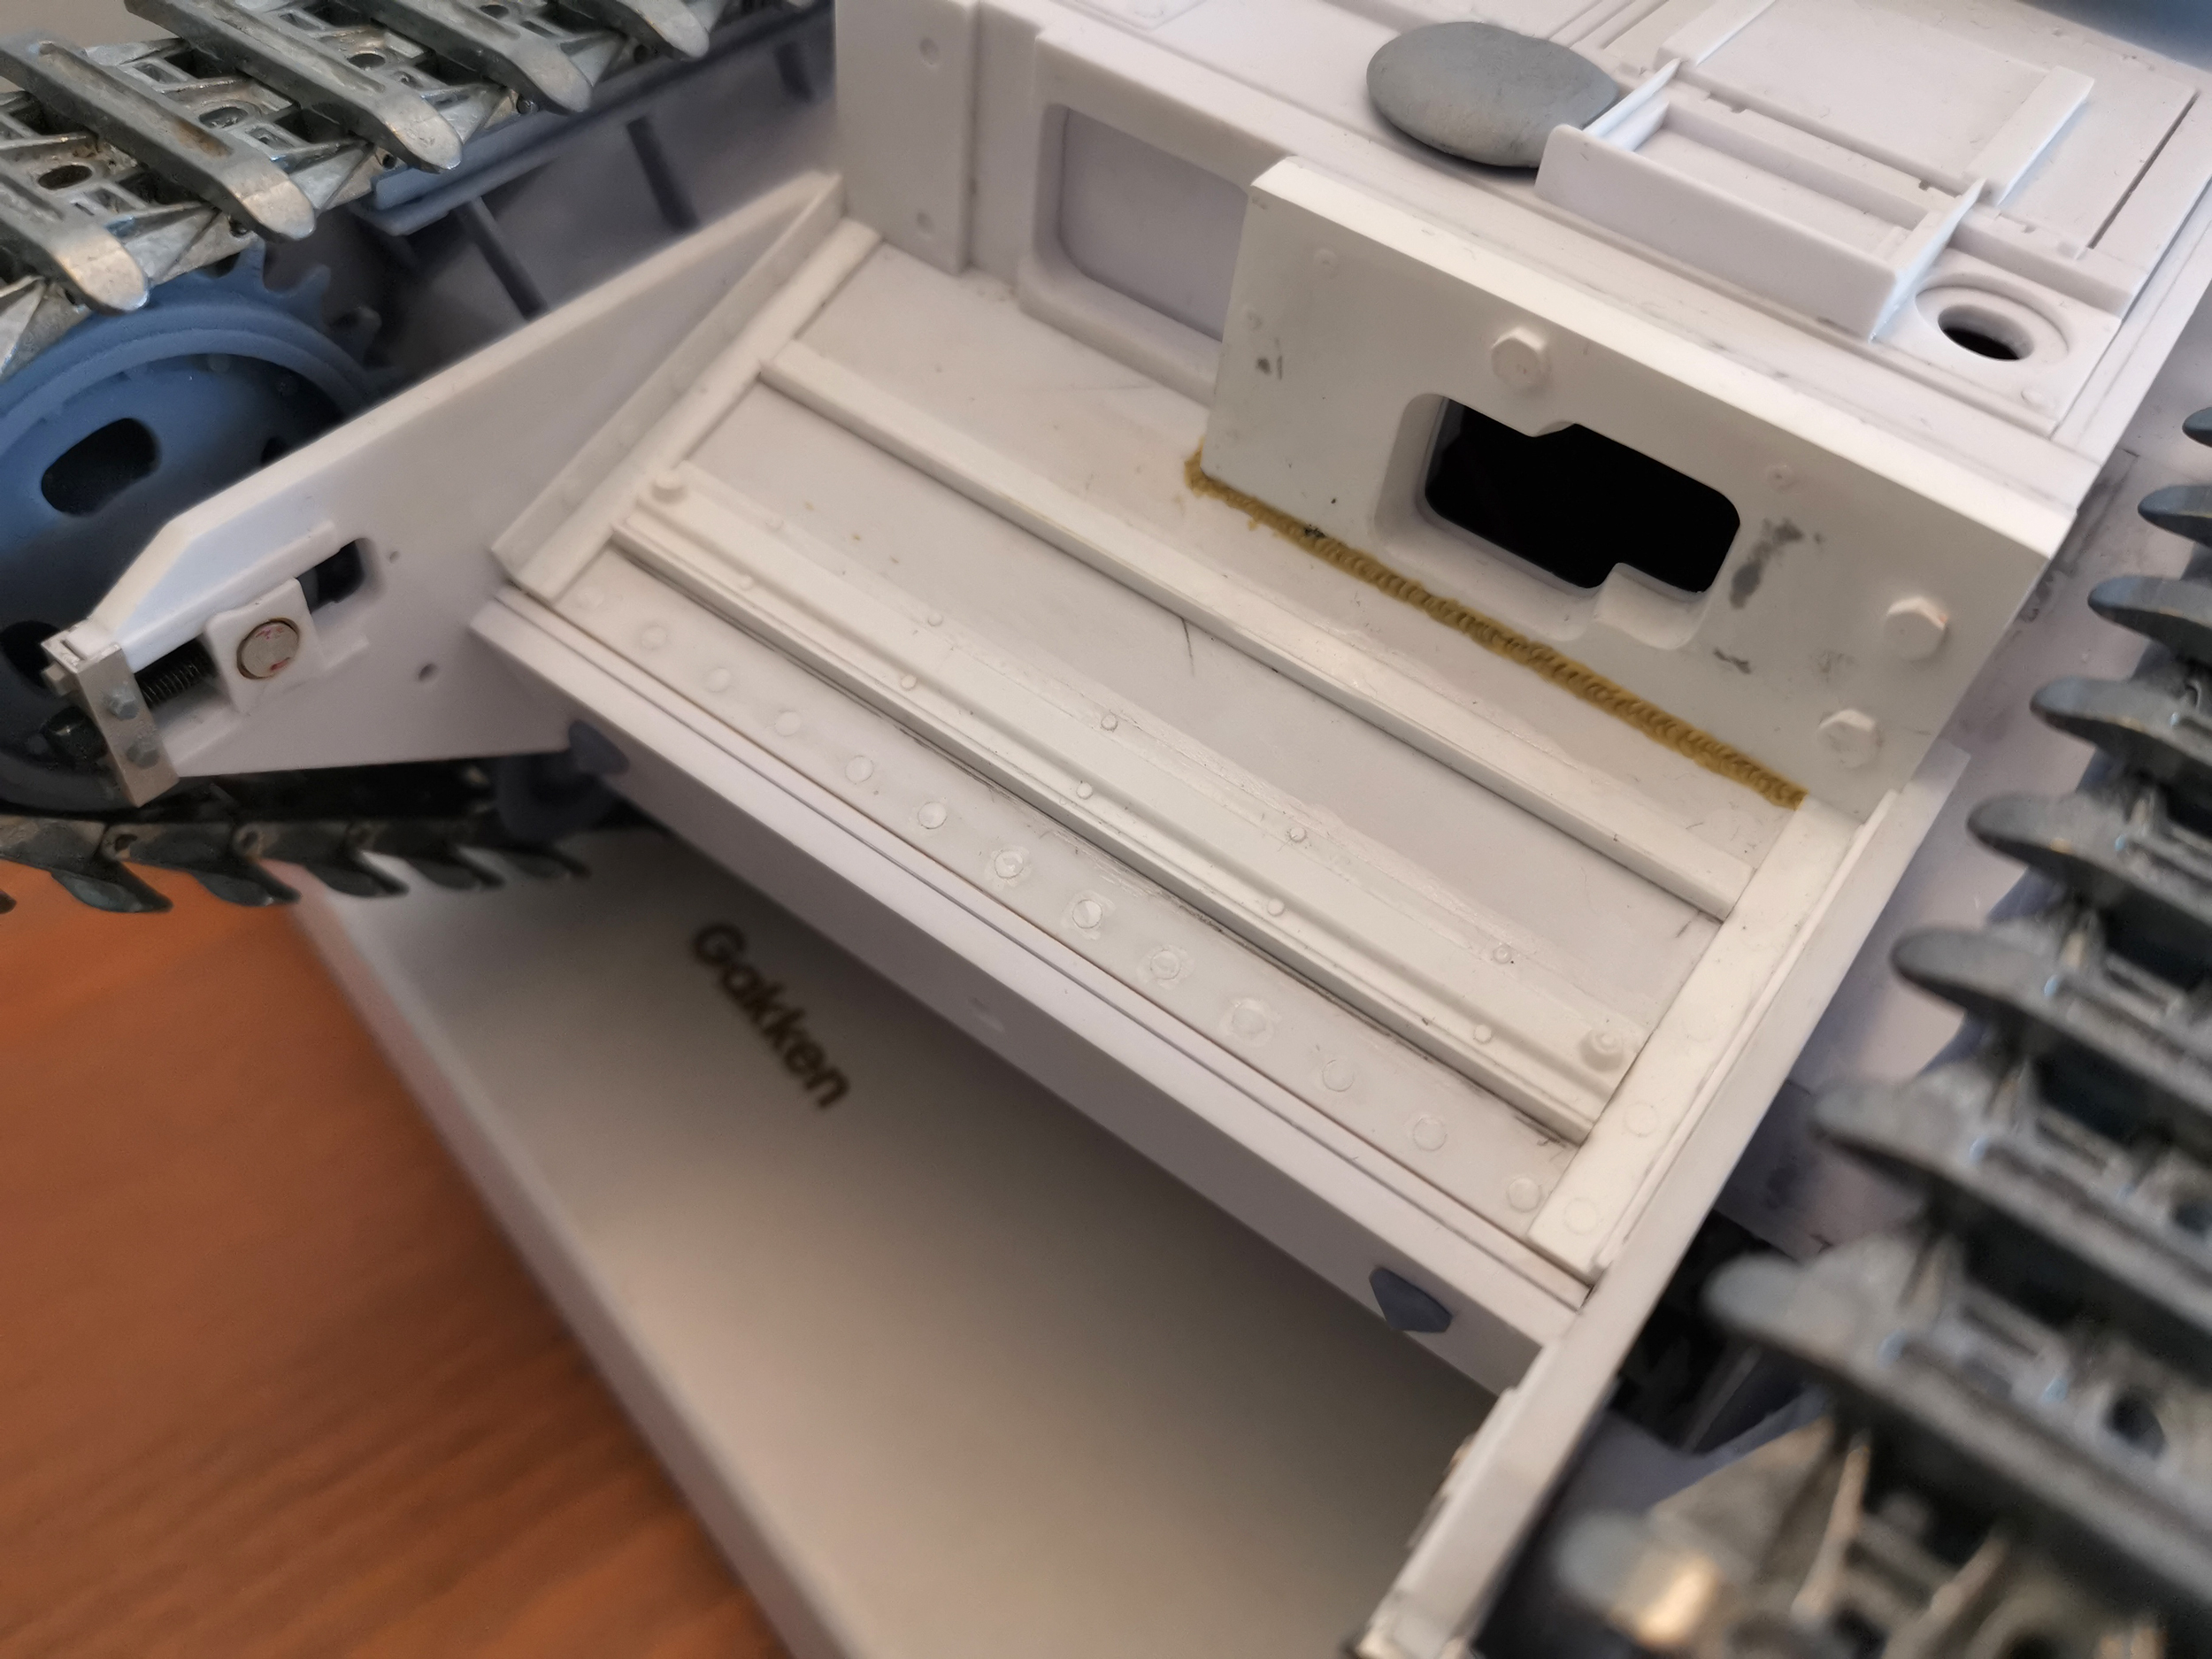
I've made the rails for the tracks, the hatches for the turrets and engine deck, they can be opened. I've also made the hatch for the driver and the special AVRE hatch for the loader (sliding door). They are not functionnal as they would be an issue when you turn the turret.

Speaking of the turret, it has to be put at 90° to open the engine hatches. Never noticed that before.
If you look at the engine deck from the top, you'll notice the connecting points for the exhaust are not symetrical (they made it symetrical on the AFV Club model) which impacts the large middle hinge, one has a specific shape and it also impacts the position of the rivets.
I made the rivets which are almost flush with the deck.
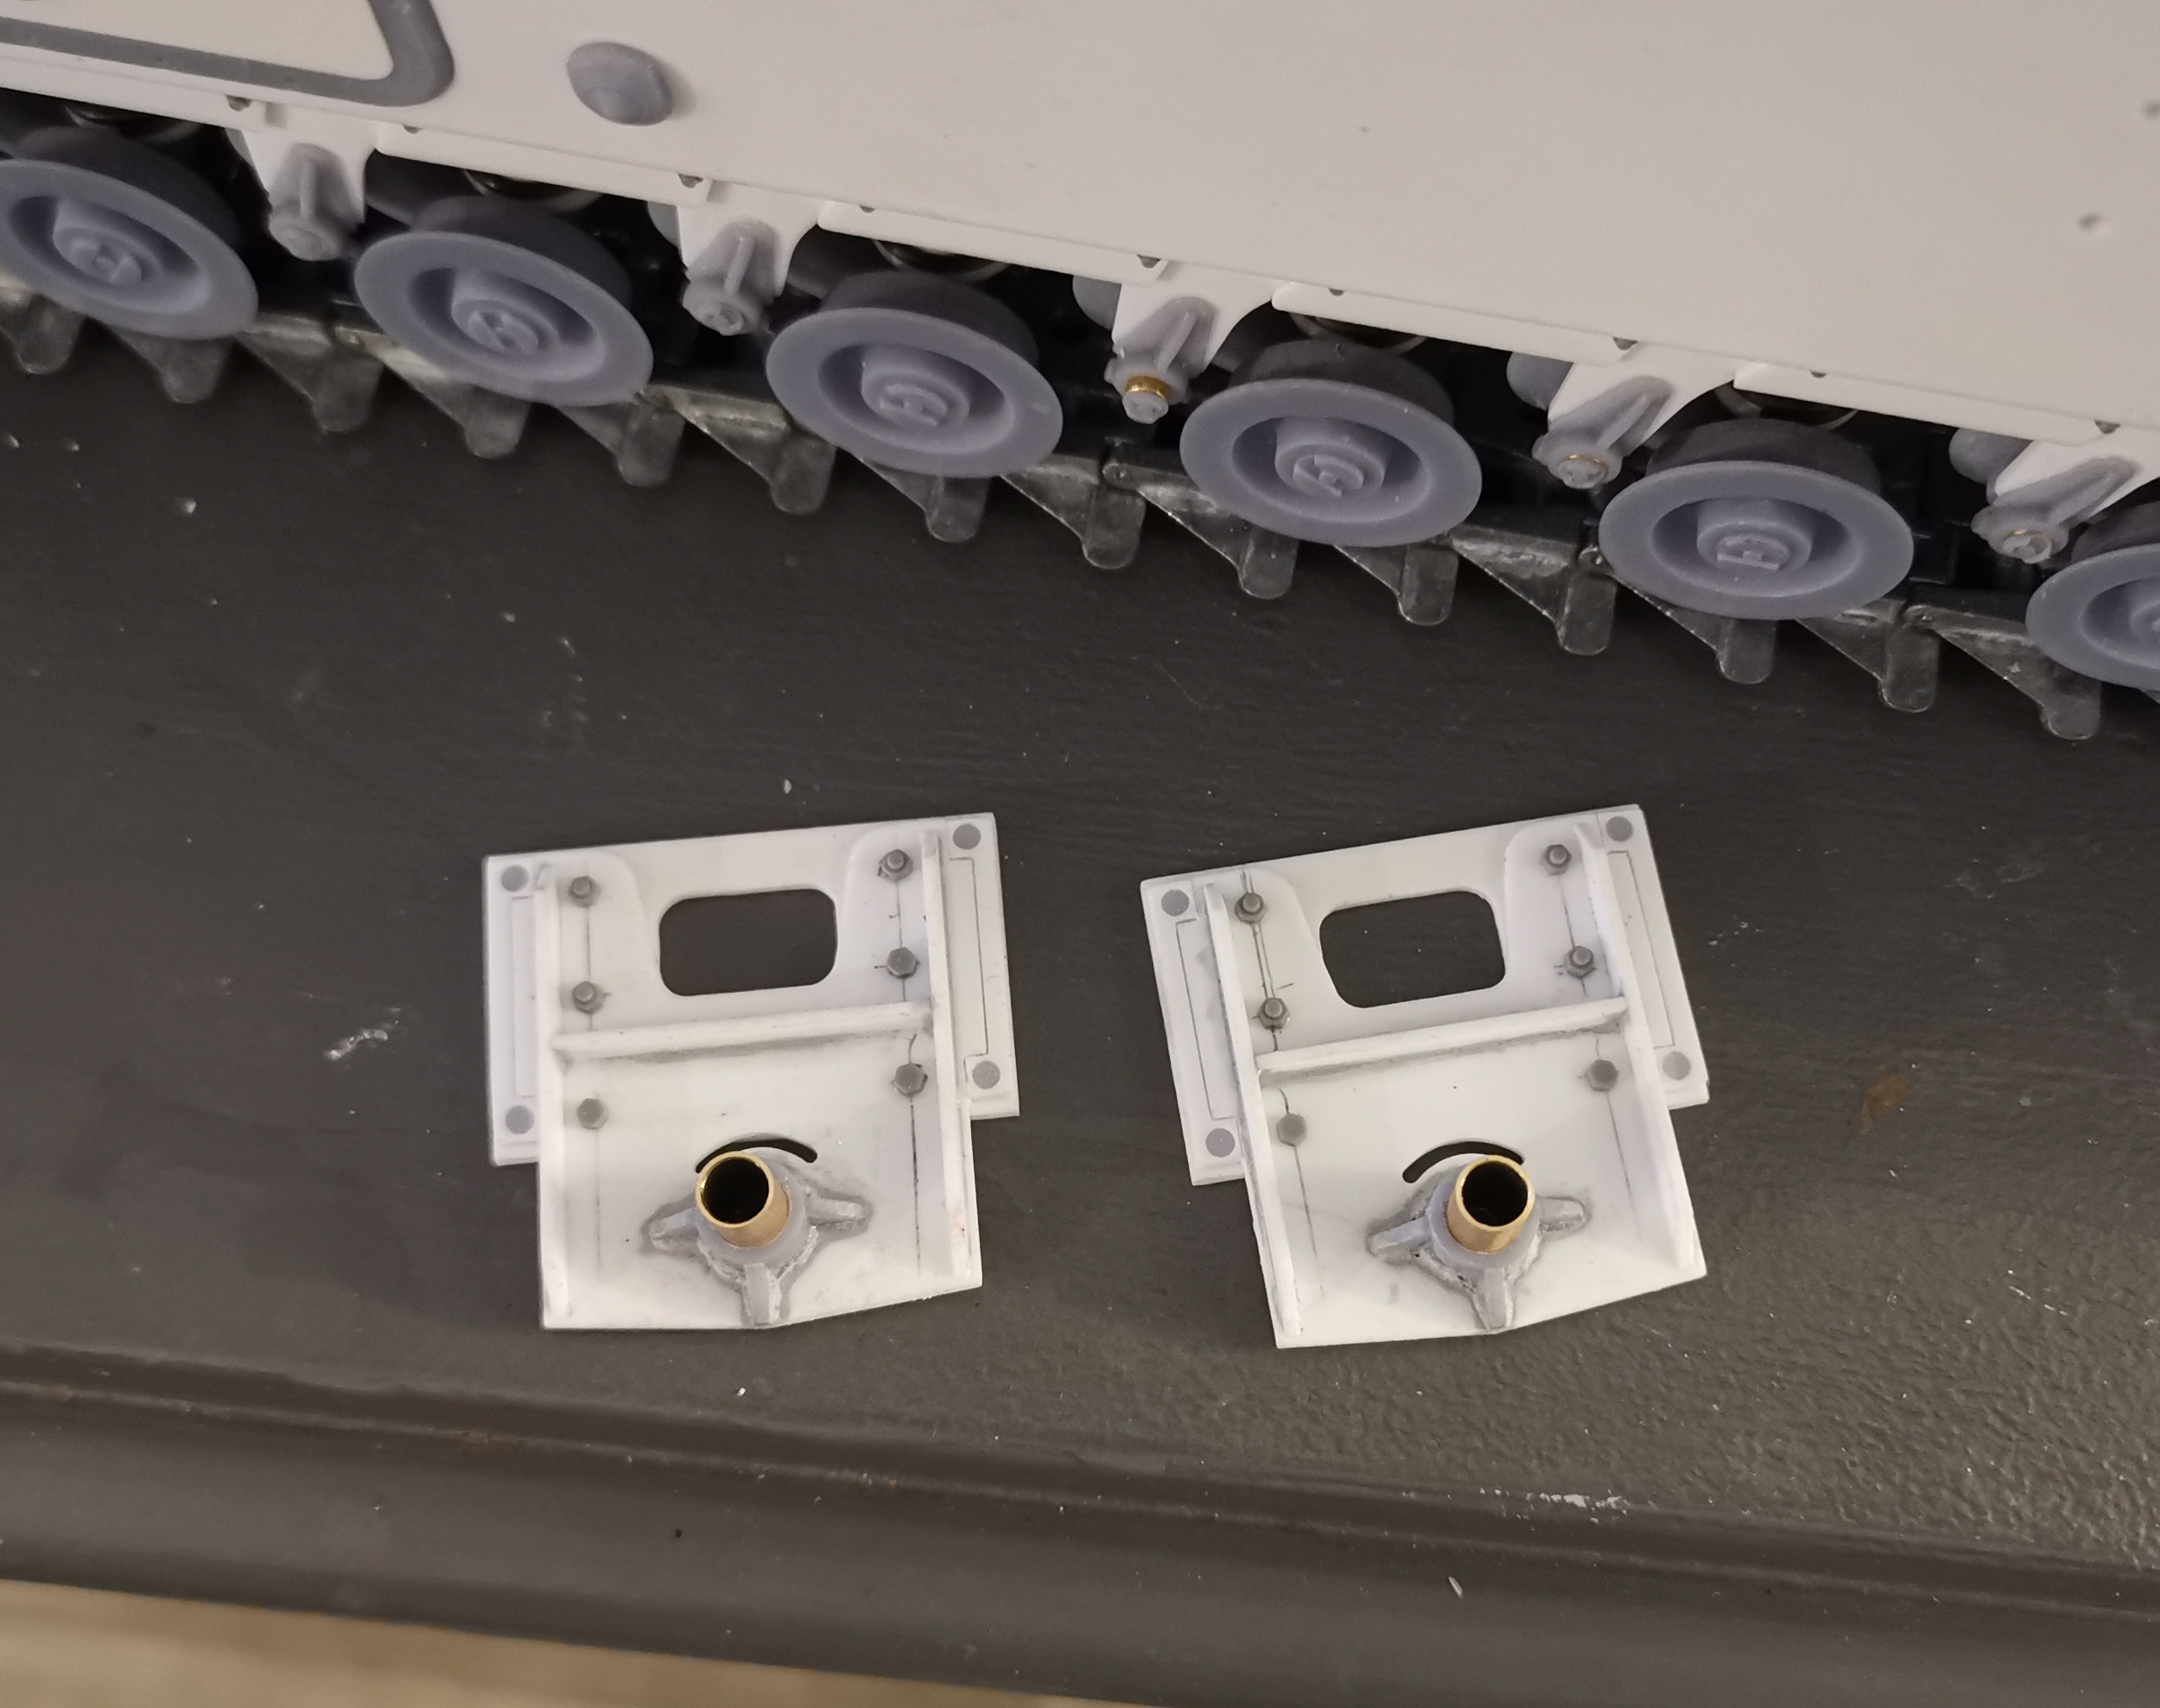
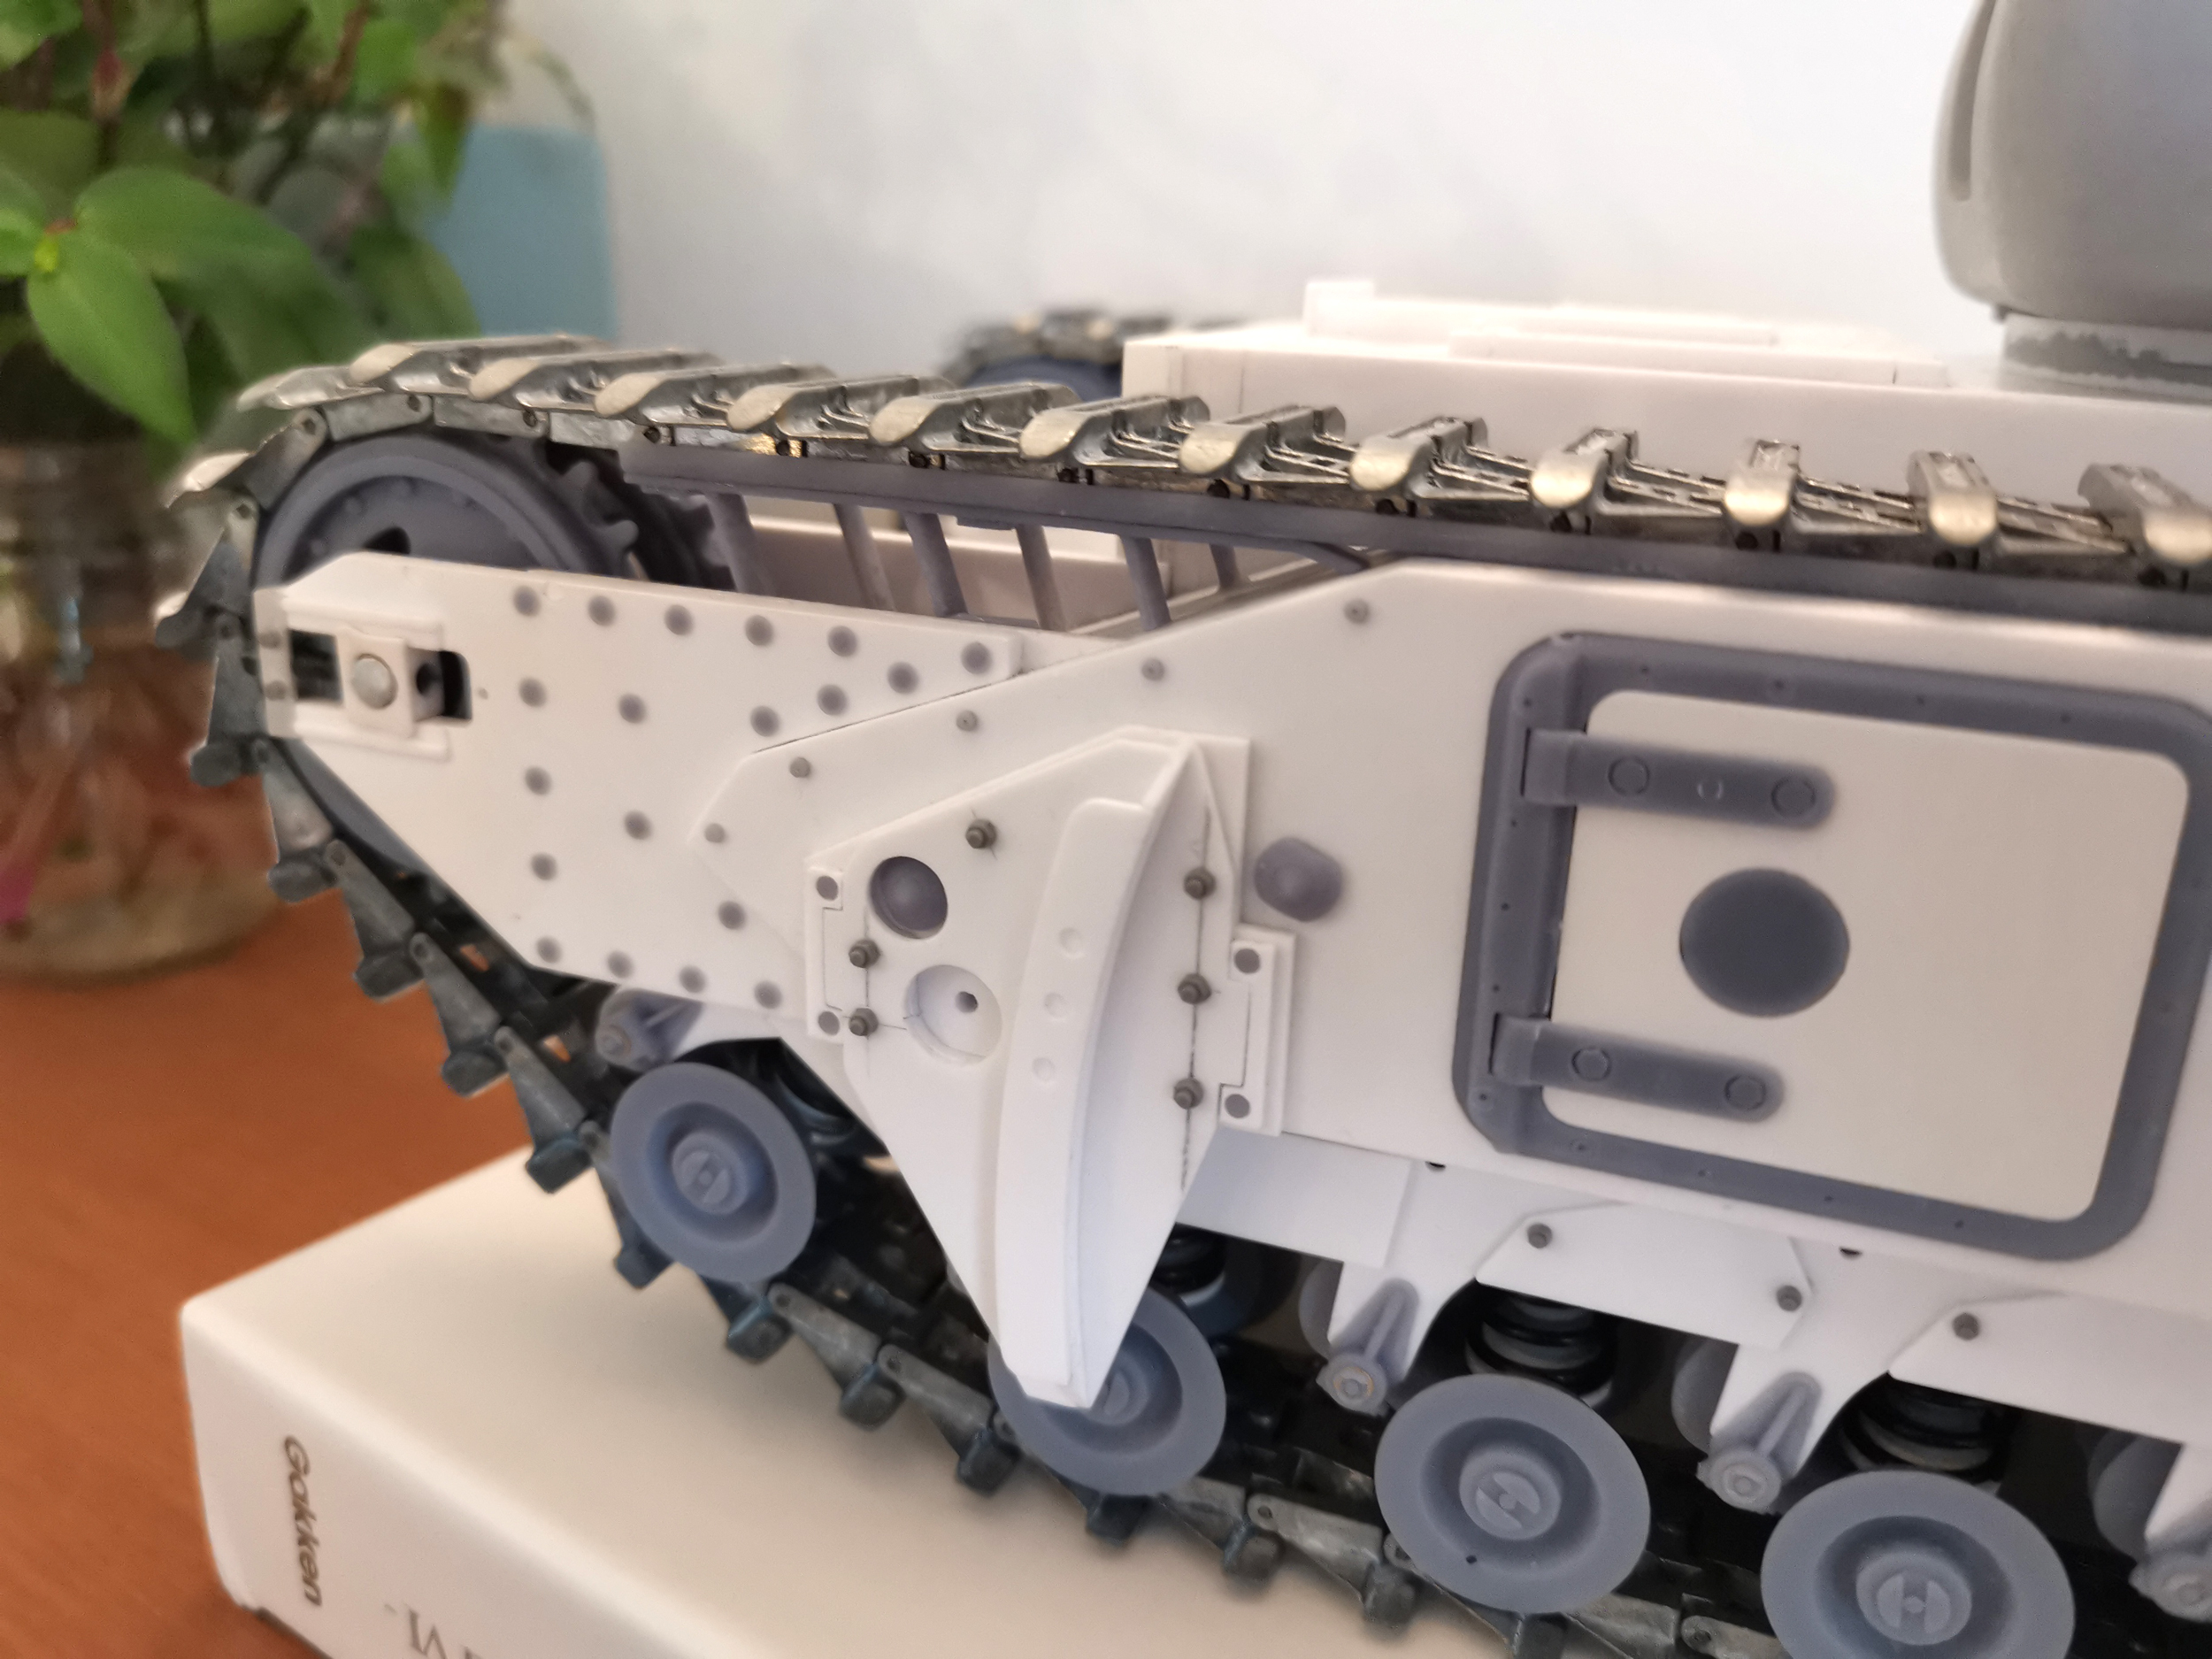
In those progress pics you will also see what makes this Churchill a AVRE, the equipment fittings on both side. I like the look of them !
The side hatches can not be opened, that was the plan, but I had to made them twice (the outer frame of the first version was sticking out the hull too much) and I did not take the time with the second version to make them hinged.
I have textured the turret and started to make some welds here and there.

- churchill71.jpg (2.08 MiB) Viewed 1238 times
- churchill72.jpg (1.17 MiB) Viewed 1238 times
- churchill73.jpg (1.86 MiB) Viewed 1238 times
- churchill74.jpg (1.71 MiB) Viewed 1238 times
- churchill75.jpg (2.17 MiB) Viewed 1238 times
- churchill76.jpg (1.94 MiB) Viewed 1238 times
- churchill77.jpg (1.75 MiB) Viewed 1238 times
- churchill78.jpg (2.09 MiB) Viewed 1238 times
- churchill79.jpg (1.89 MiB) Viewed 1238 times
- churchill80.jpg (1.97 MiB) Viewed 1238 times