So tonight's update deals with adding surface texture to armor models.
There are various types of surface texture an armor modeler would want to replicate. Rolled Steel armor, Sand Cast bits etc. and they each have their own unique texture.
For example, the rolled steel plates on most armor are not smooth as depicted in most plastic kits. If you ever get a chance to get up really close to a actual German WWII or American tank that isn't coated with 75 years worth of repainting or zimerite, you will notice there are pits and pockmarks in the steel surfaces. Now, you don't have to do this step, but I like to make my models as realistic as possible, and this process helps me achieve that.
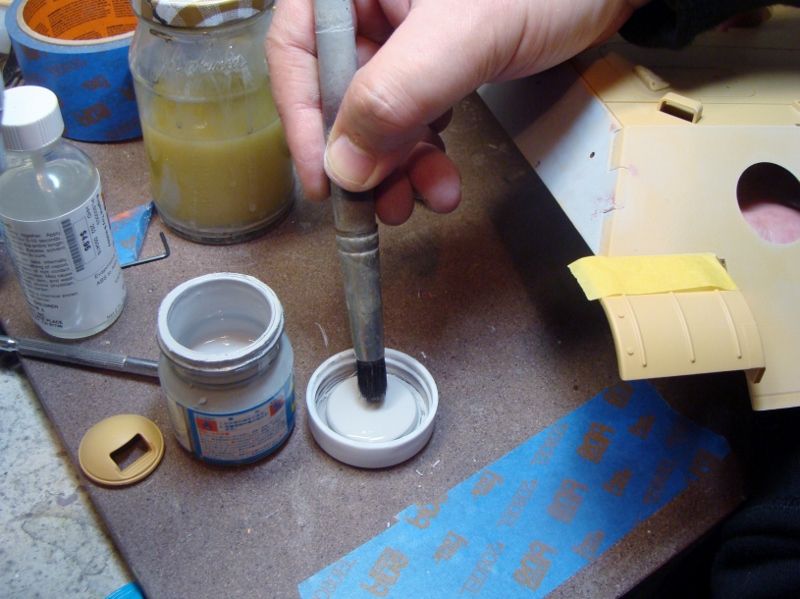
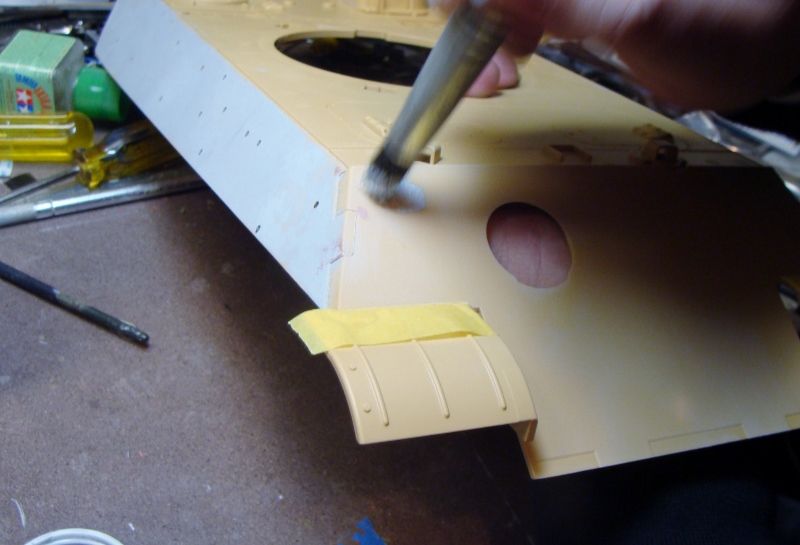
I have found over the last 40 years the results I am most happy with when replicating rolled and cast textures is by using Gunze Mr.Surfacer 500 and a 1/2 inch boar bristle brush with a flat tip. the reason I prefer this method is the controllability of the process, and the fact that if I don't like an area I have surfaced, I can simply sand it off and start over and not damage the plastic.
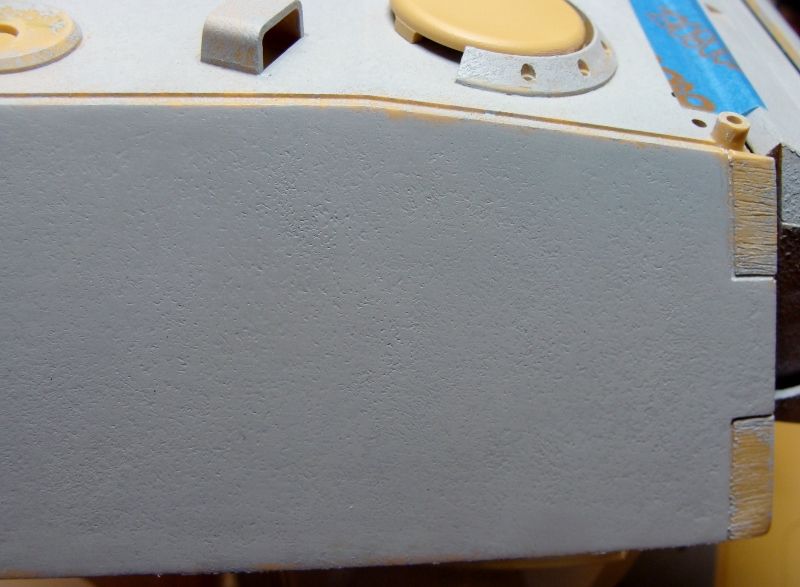
This is the end result we are trying to achieve. This was done by stippling on Mr Surfacer 500 in areas about 3 inches at a time and then continuing the random process until the side you are working on is covered.
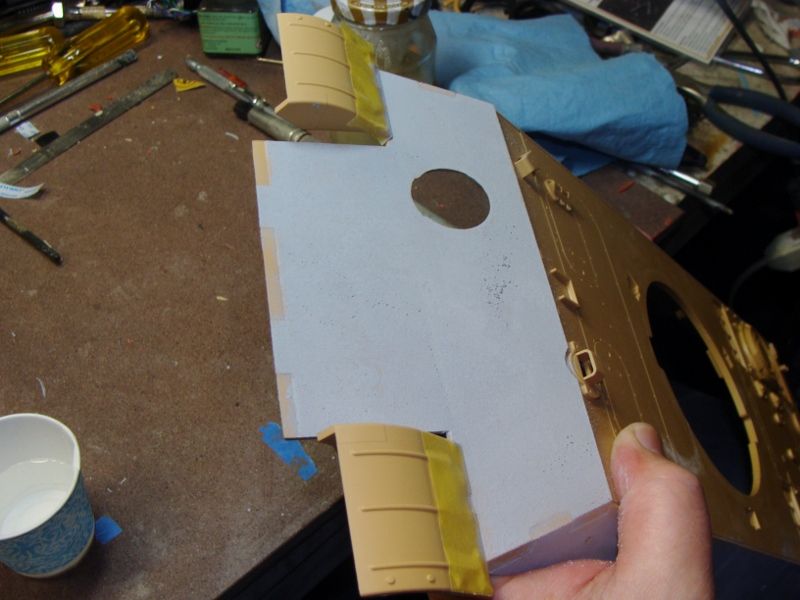
OK, Lets get started.
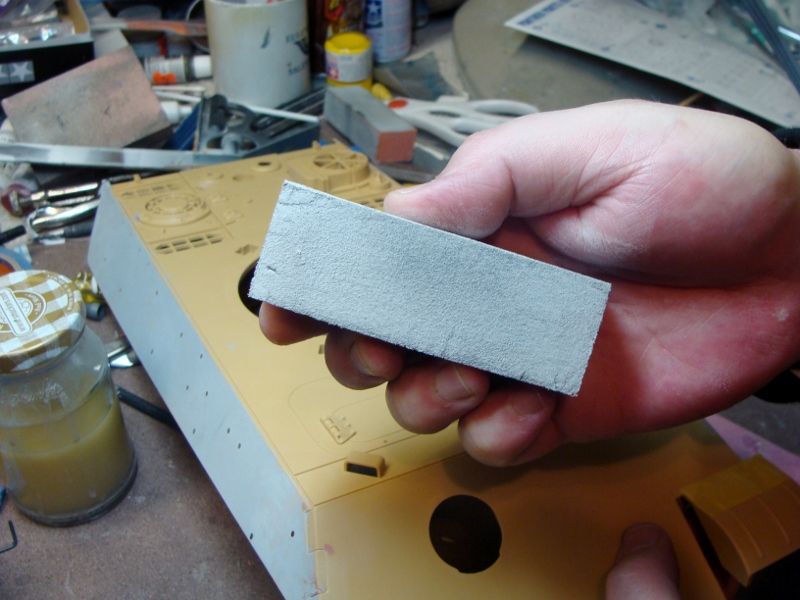
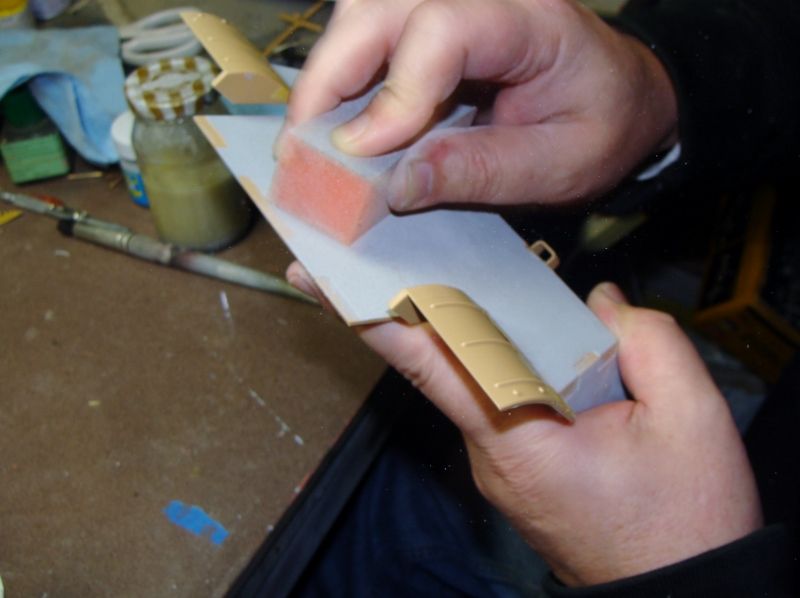
The first step is to lightly scuff the surface of the model you are going to apply the texture to. I use a ladies fingernail sanding pad with a foam /sponge core that has 4 different grits of texture on it.
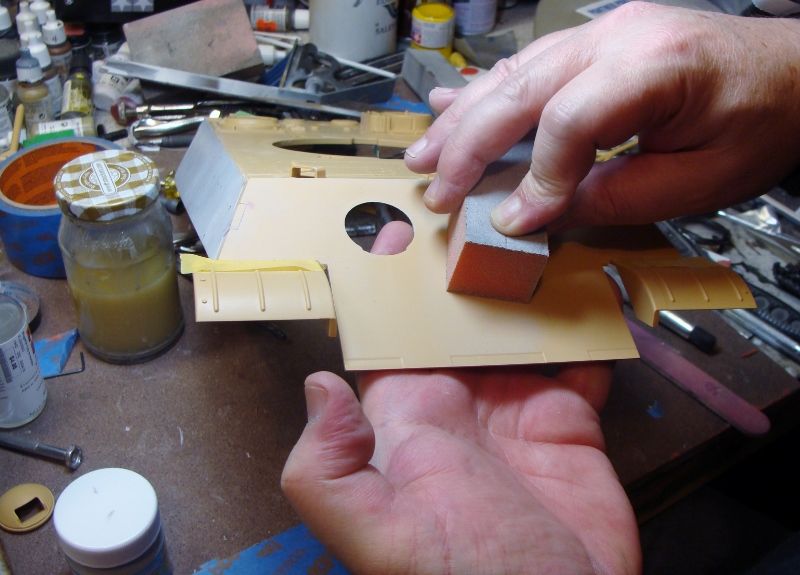
Once that's done, wipe off the sanded surface with a damp rag to remove the dust, we want our surfacer to stick.

First, get your Mr. Surfacer 500 ready and make sure your bristle brush is clean when you start. Dip your brush about 1/4 inch into the Mr. Surfacer and begin to stipple the surface rapidly ( think jack hammer ) onto the models surface and keep going until you have the material just starting to form little peaks as you pull the brush rapidly from the surface with each motion.. There is no harm in going back over an area after it is dry if you notice a thin spot or an area you would like to add more texture to. It wouldn't hurt to take a break every few square inches as you work and clean off your brush every so often in lacquer thinner and then on a clean rag to keep the bristles sharp and keep dryed Mr.Surfacer from ending up in your wet material as you work.
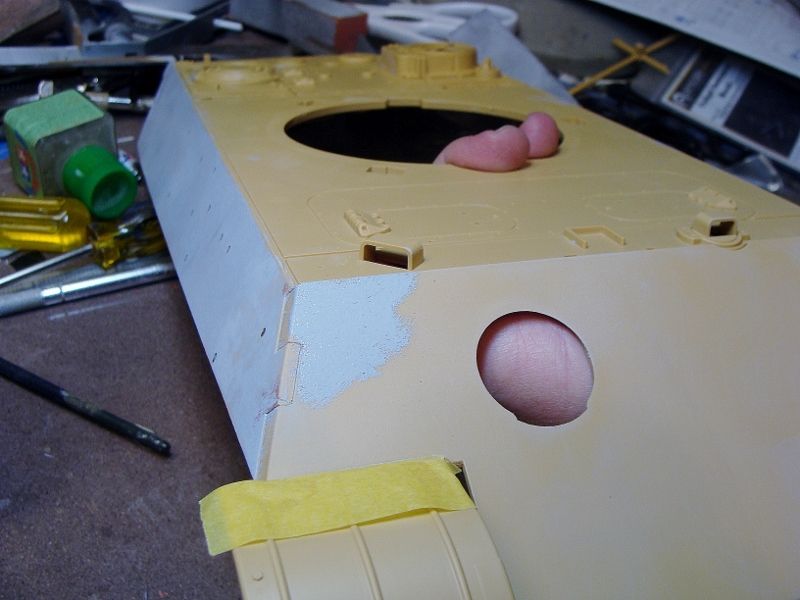
Keep going until you have the whole surface you want textured done. You want this to dry for at least 10 minutes before the next steps
At this stage you can add another layer to replicate a sand cast texture and you will get a result like this once you lightly sand down 2 more more coats
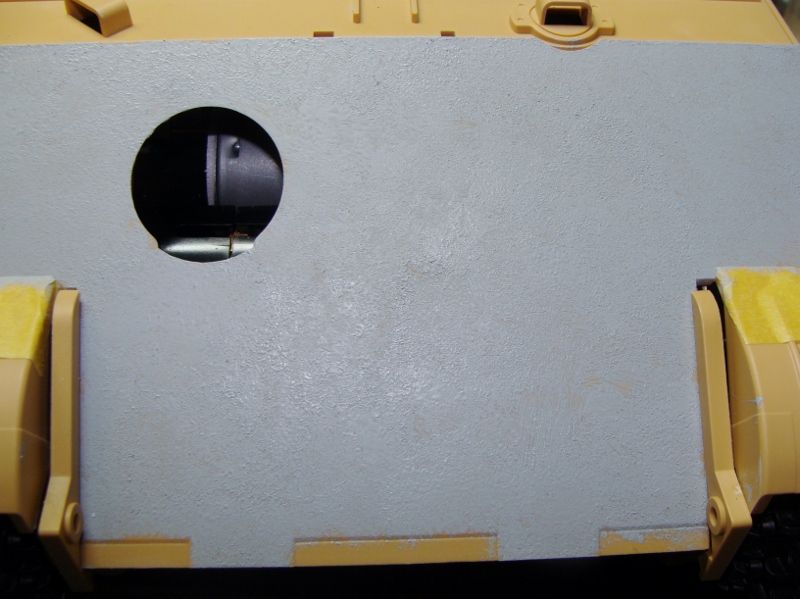
For the front plate of the Panther, I let the Mr. Surfacer dry for 10 minutes, then starting with the least aggressive grit on my sanding sponge, I began to lightly sand the surface until I could feel what to my fingers felt flat. After I had made a sanding pass of the whole front plate, I wiped down the sanding dust with a damp cloth to make sure I could see how much more I wanted or needed to sand back. It may take a few passses with light sanding but you will see the result start to appear after the first pass.
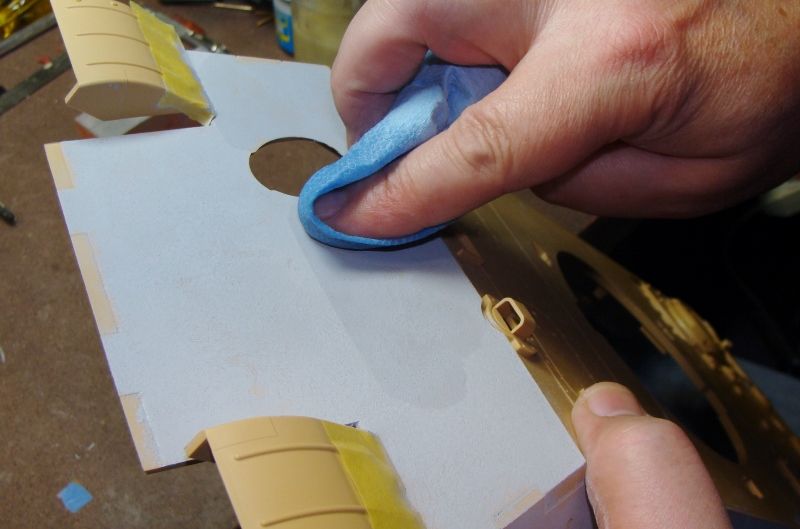
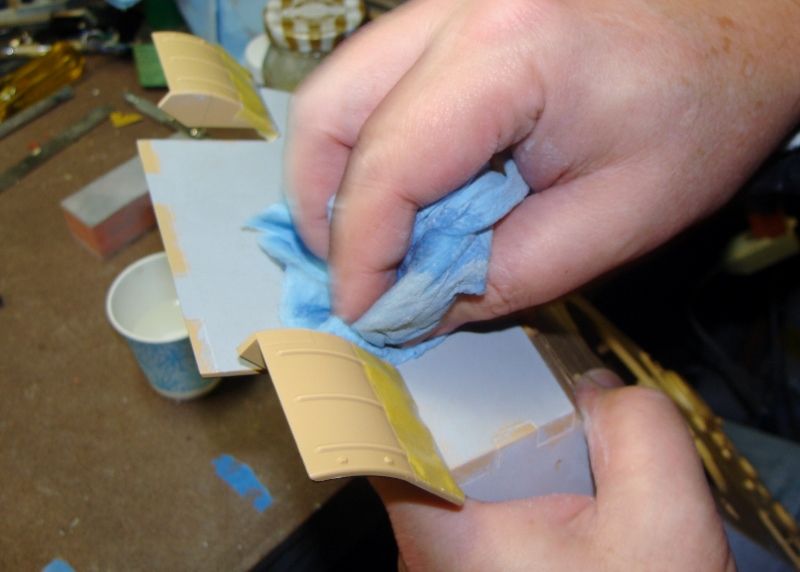
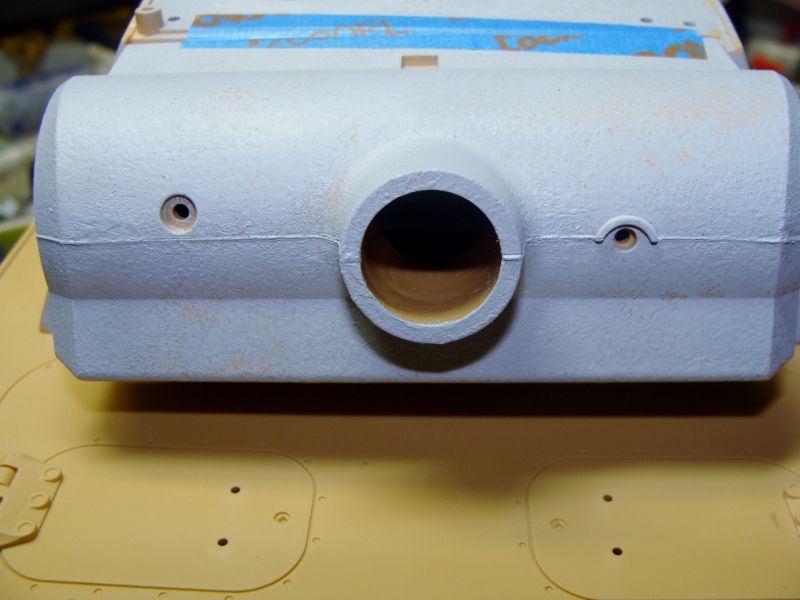
So now that it's all clean, you can evaluate your work and decide how much more you want to do to your surface texture.
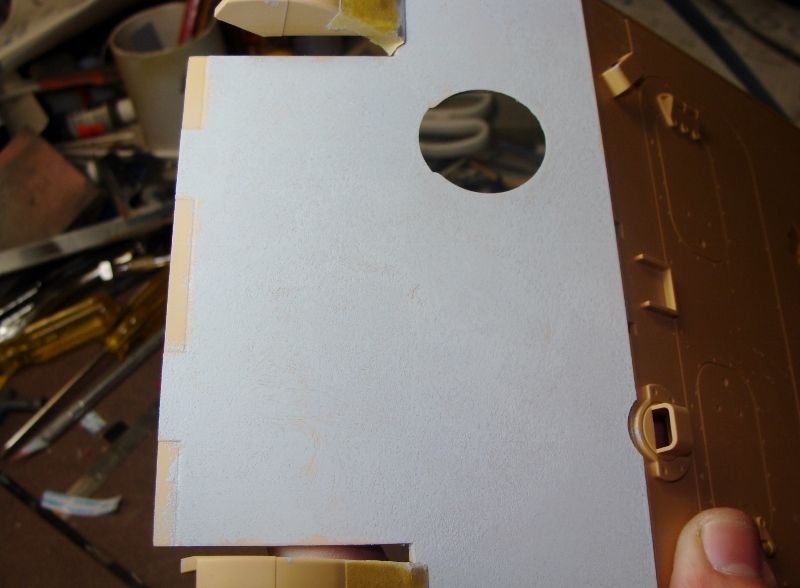
Keep in mind that the process is really fast if done right. I was able to do the front plate of this 1/16th Tamiya Panther in 15 minutes including dry time.
One last thing to keep in mind. If you are going to use a primer and then color coats, you will more then likely tone this process/texturing down even farther with painting, so keep your paint applications light so you don't hide all your hard work!
Thanks for looking in on my build,
Paul


