Page 2 of 9
Re: Old Tamiya King Tiger Re-build
Posted: Sat Jan 10, 2015 6:40 pm
by riggy15
Cheers Merlin,
I didn't realise it was going to be such a pain getting the old paint of, I have had the parts
soaking in old brake fluid for the last couple of days, and even when they where scrubbed
energetically with a stiff brush, it only removed the top layer.
I gave that up as a bad job because I was a touch wary of damaging the plastic, so I washed everything
in warm water and had another re think.
In the end I used a 'brillo pad' and just rubbed away for all I was worth.
Gonna call that done. Now while I'm waiting for some stuff to turn up I have started the rebuild.
First up is to strengthen the rear hull
The original connecting lugs on the bottom where snapped of a long time ago, and the repair
was a quick fix that was never really finished, so today some more supports where made up
from some plastic sheeting and glued into position.
Not much, I know, but its a start.
Martyn
Re: Old Tamiya King Tiger Re-build
Posted: Sat Jan 10, 2015 8:06 pm
by PainlessWolf
Martyn,
It is a good start! Following along.
regards,
Painless
Re: Old Tamiya King Tiger Re-build
Posted: Sat Jan 10, 2015 8:10 pm
by Steelhammer
What was you using to remove the pain Martyn ?
Mine was acrylics and I used Mr Muscle oven cleaner I think - worked really well too.
Re: Old Tamiya King Tiger Re-build
Posted: Thu Jan 15, 2015 8:43 pm
by riggy15
Steelhammer, I used brake cleaner, it did remove some paint, but not all, but like I
said, Brillo pad and elbow grease did the rest.
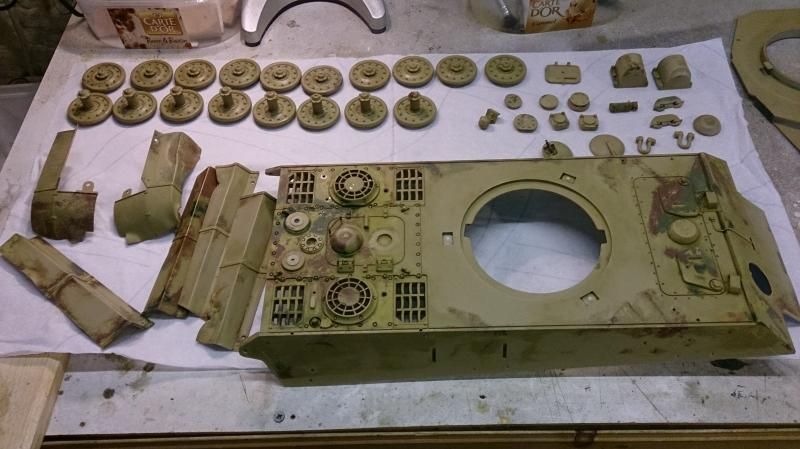
Anyhooooo, on with the build, a package arrived at work yesterday,
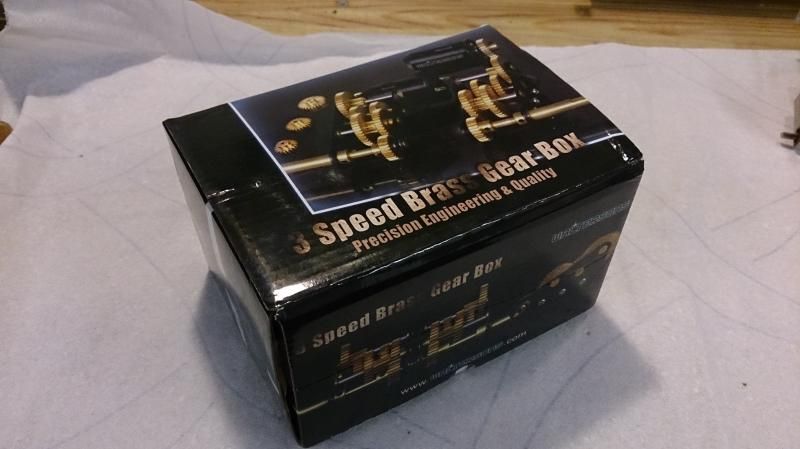
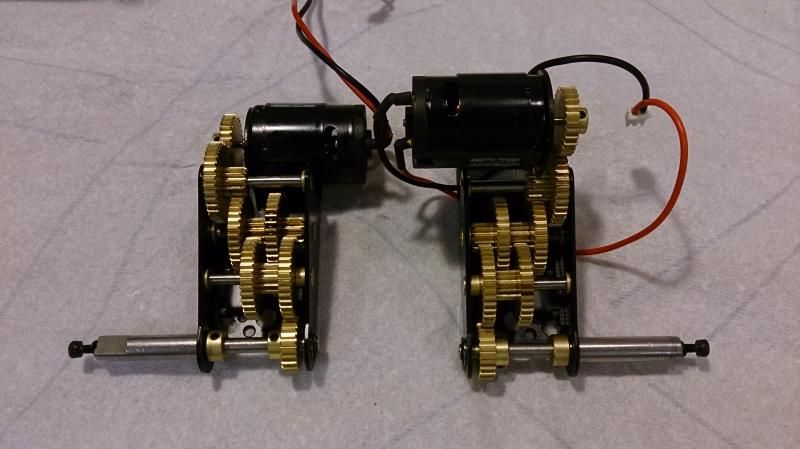
Plan A is to change this
for these little beauties,
Re: Old Tamiya King Tiger Re-build
Posted: Thu Jan 15, 2015 9:07 pm
by riggy15
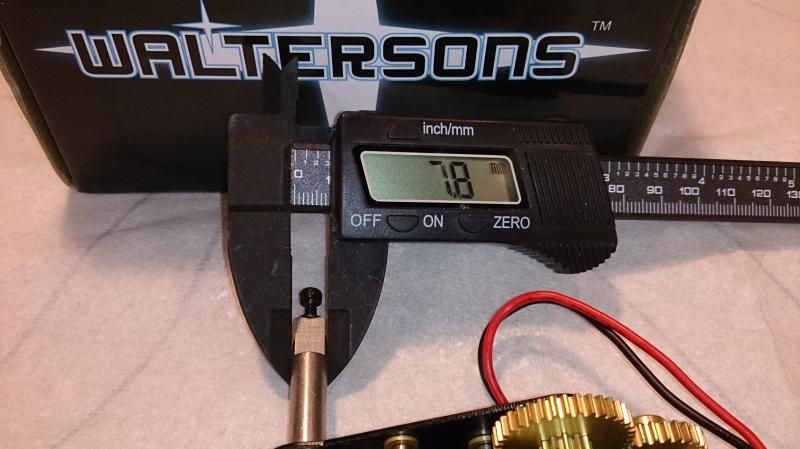
First job was to check the drive shaft diameters (I know, I should have checked this before parting
with me money). But sometimes the lucky god smiles down on ya.
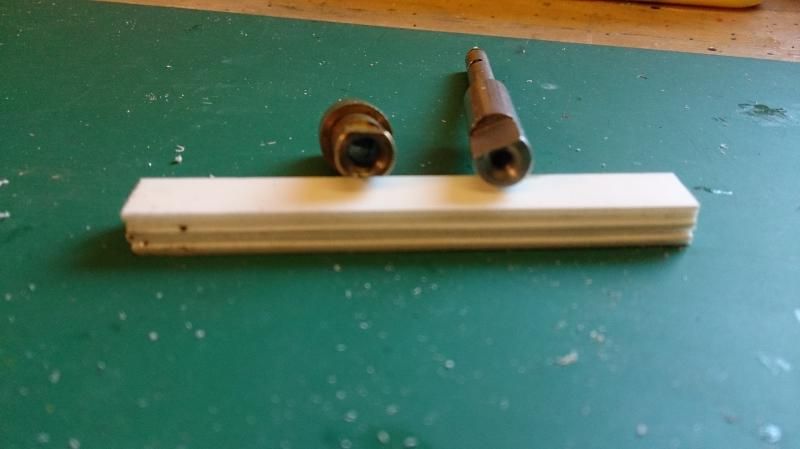
Original final drive shaft:
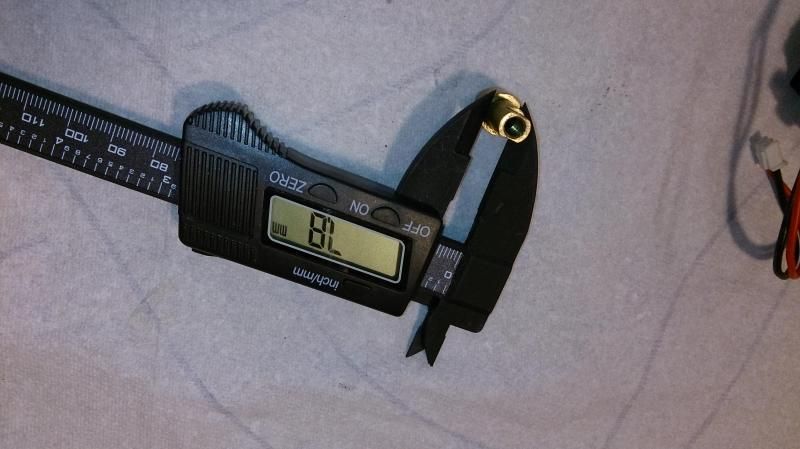
New drive shaft:
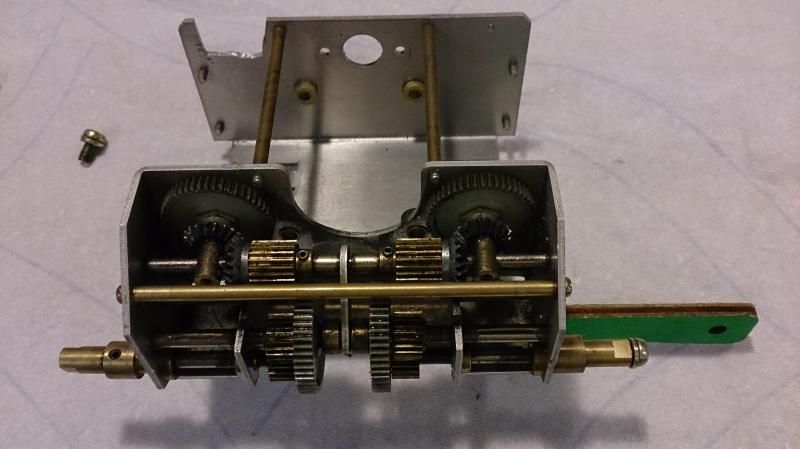
Next job:
Old gearbox and wheels popped back into the chassis so measurements could be taken so I know
how long the final drive shafts should be, because the drive shafts on the new gearbox are to long.
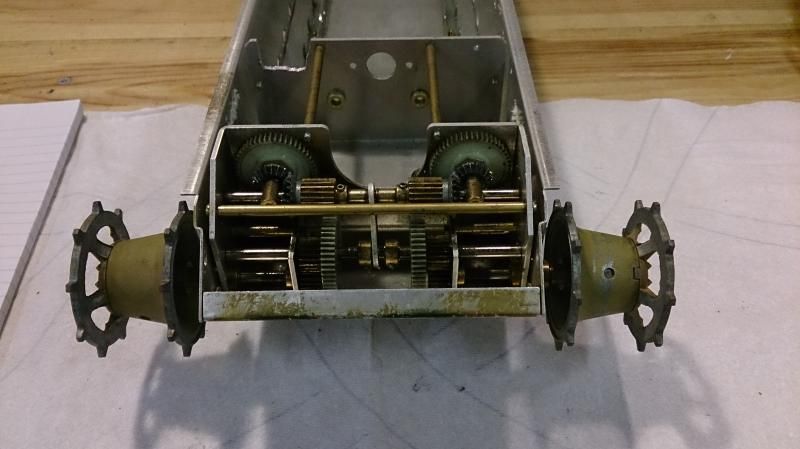
New mounts and fixing holes will also be needed for the new drive gearbox mounting plate.
More later
Martyn.
Re: Old Tamiya King Tiger Re-build
Posted: Sat Jan 24, 2015 9:32 pm
by riggy15
Evening Ladies,
Being slowly beavering away with the new gearbox mounts, it's involved lots of measuring, cutting,
grinding, swearing, checking, putting things together and then taking them apart again. Scrapping plan 'A', re-thinking
and executing plan 'B'.
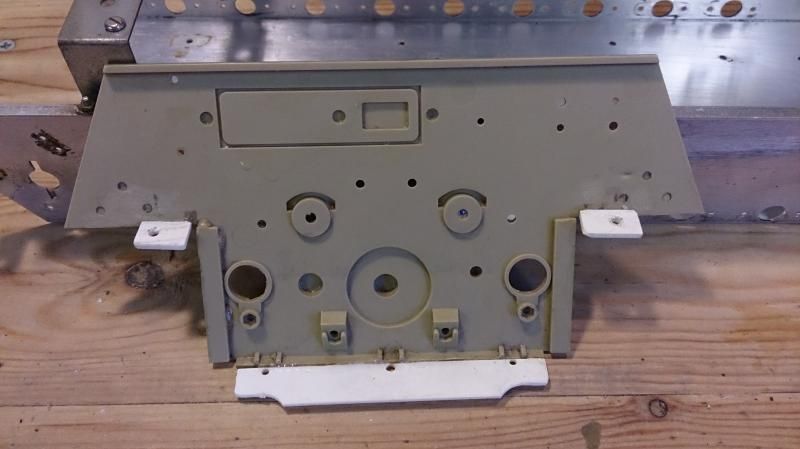
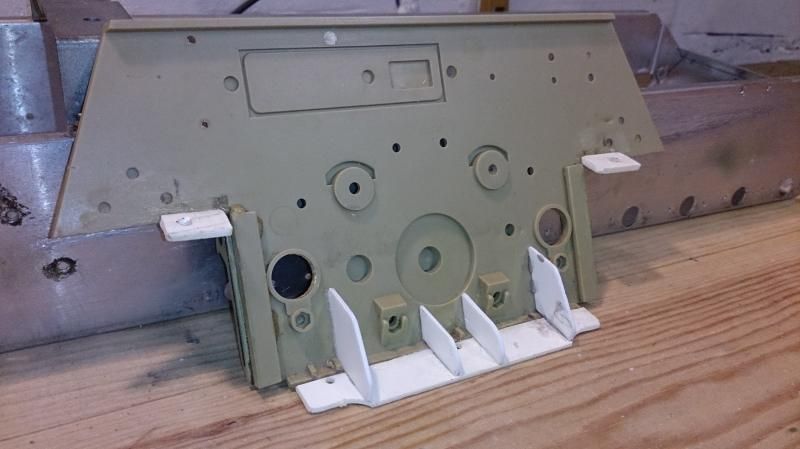
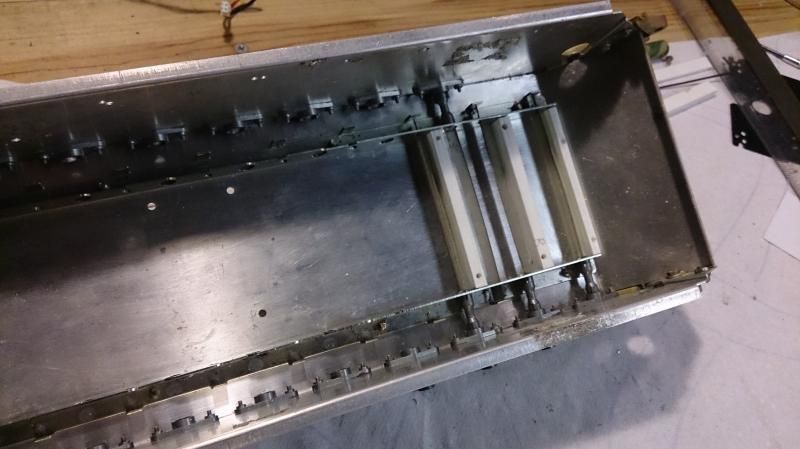
First pic is of the new support plinths for the gearbox mounting sheet, plinths are made up of strips of plastic, bonded
together to give a thickness of 10mm, and a height of 1mm below the suspension support bracket.
This one shows the mounting plate (I was going to use the one supplied with the gearbox, but it was to wide, to
get the drive axle to run through the centre of the hull drive sprocket cut out, the mounting plate needs to
be directly level with the suspension support brackets) So in the end I decided to make one from 1 mm plastic
sheet.
Gearbox stripped down to give me access to the mounting holes
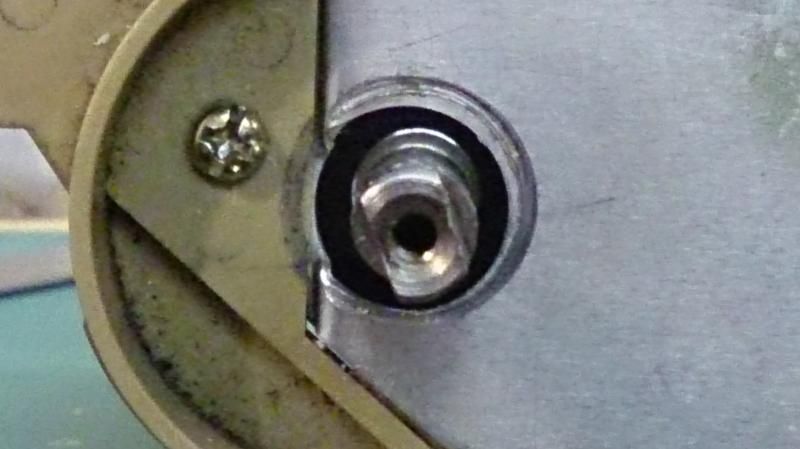
Also need to file the end of the drive shaft's to allow the original drive wheels to fit ( the Tamiya drive
shaft has two 'flats' whilst the new one has only one 'flat')
Re: Old Tamiya King Tiger Re-build
Posted: Sat Jan 24, 2015 9:42 pm
by riggy15
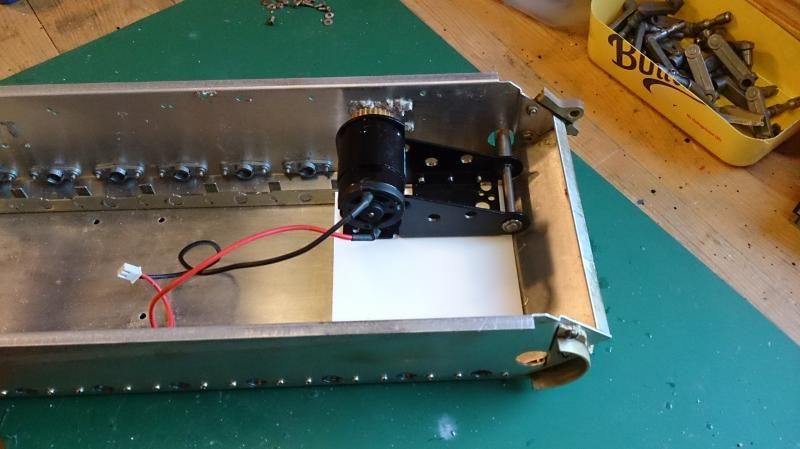
After a lot more swearing, measuring, taking things apart and rebuilding, drilling holes,
tapping holes and more swearing, I now have the gearbox's fitted

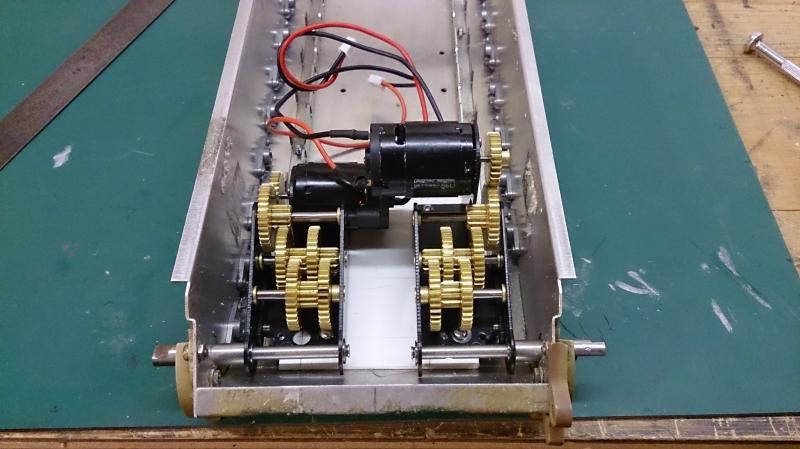
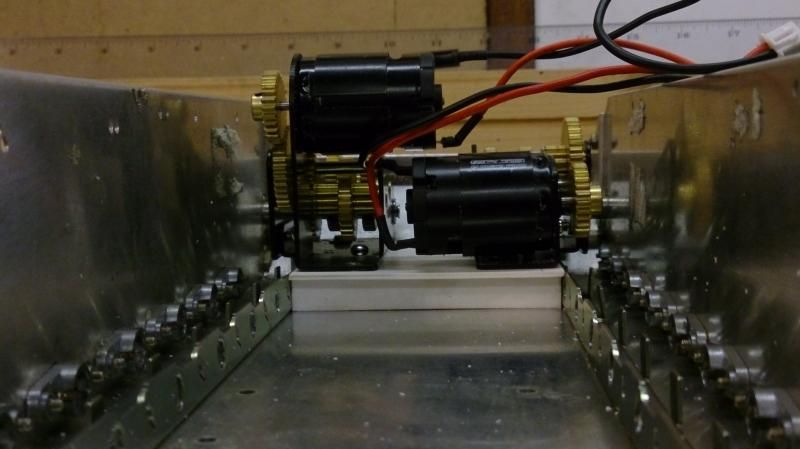
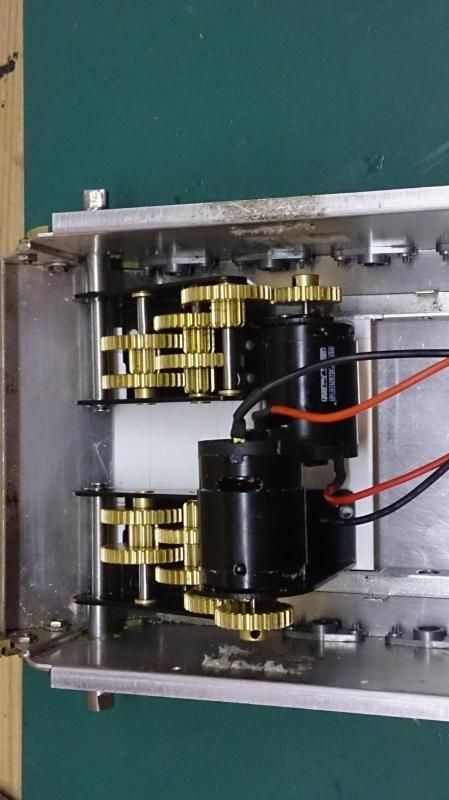
More to follow,
Martyn
Re: Old Tamiya King Tiger Re-build
Posted: Sat Jan 31, 2015 11:47 am
by Lert
I've also got an old Tamiya KT that I'm slowly working on fixing up in much the same ways, so I'll be watching this closely.
Re: Old Tamiya King Tiger Re-build
Posted: Sat Jan 31, 2015 4:52 pm
by riggy15
I've also got an old Tamiya KT that I'm slowly working on fixing up in much the same ways, so I'll be watching this closely.
Thanks Lert, maybe we could share some ideas ?
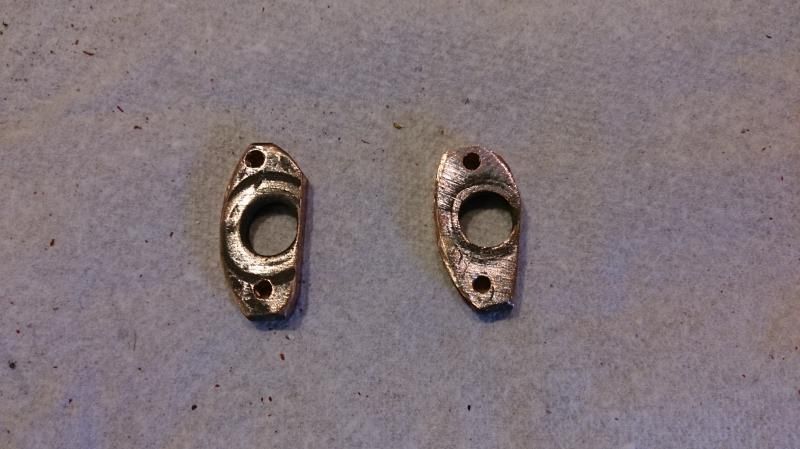
Anyhoooo, here's a bit more progress (bit being the operative word). I was debating with myself if I should buy some support bushes for the 'drive shafts' or try and make some of my own. Couple of days ago we removed some old electrical motor switchgear at work, and inside this I discovered some heavy duty 'crimp lugs' made of copper that's nearly 3mm wide and with a hole of 8mm, perfect. The picture below shows them cut to fit inside the hull, and two fixing holes drilled and tapped to 3mm
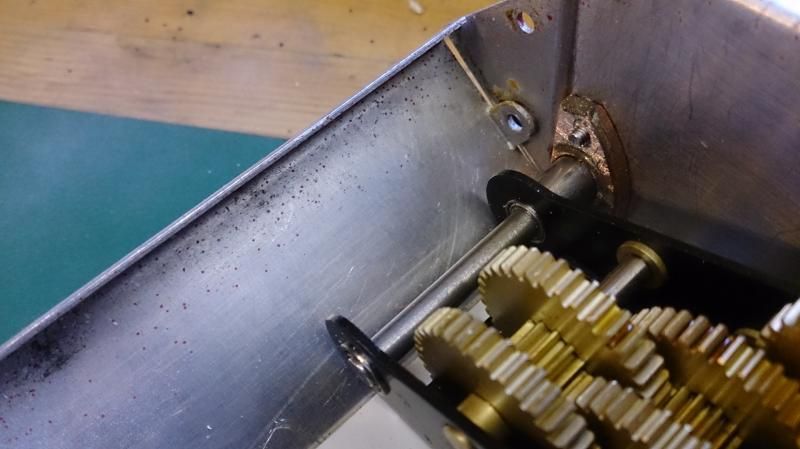
Fitted
and outside view
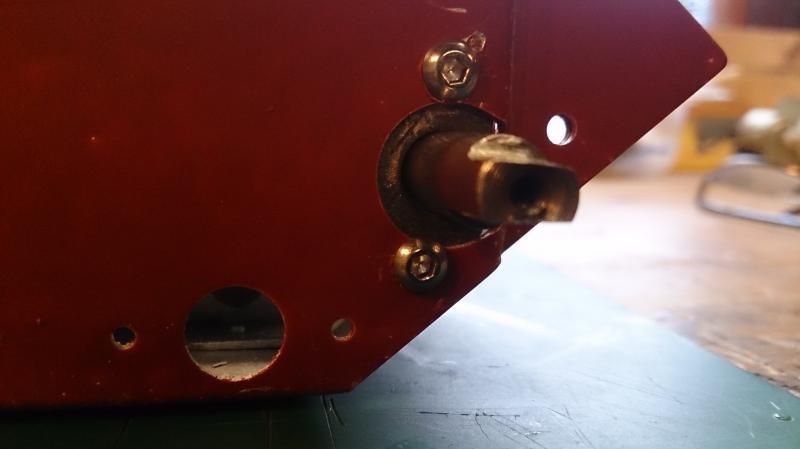
One more small bit sorted

, on to the next challange.
More later,
Martyn.
Re: Old Tamiya King Tiger Re-build
Posted: Sat Jan 31, 2015 5:56 pm
by Lert
riggy15 wrote:
Thanks Lert, maybe we could share some ideas ?
I would, but you're further ahead than I am, and are working much faster than I am (financial reasons). For me it's a long term project while you are - relative to me - blazing ahead.

So I'll mostly be watching and copying your great work.
I like how you made those new gearboxes fit. I was going to get a little metal plate and drill holes in it in appropriate places, then use M4 bolts to hold the plate in place, with stacked nuts and washers as spacers, but your solution also works well.