Since I have registered the forum, I forgot uploading my progress of WSN T-34 even I have done the WSN Tiger 1 afterwards. Sorry guys and I was bit busy to modify three tanks at the same time and also my work is really tight now (30k thesis)!!!!..
Fortunately, I got one day break and just want to show you how I did a WSN T-34. The work presented is not a professional work but it is quite easily to follow. The materials and tools I used are available from Amazon, model shop and B&Q....
Anyway, let start the workflow now:
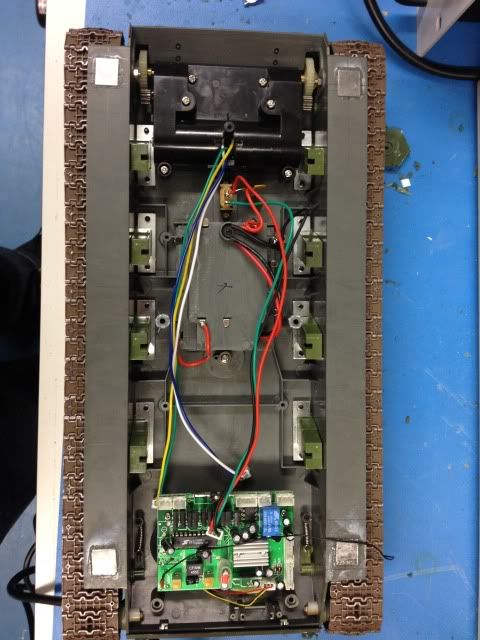
When I get my first T-34 tank, it was not impressive as it had a moulded front and rear hatches which weren’t what I expected and therefore I planned to open them. The original electronics were suck, thus they must be replaced.
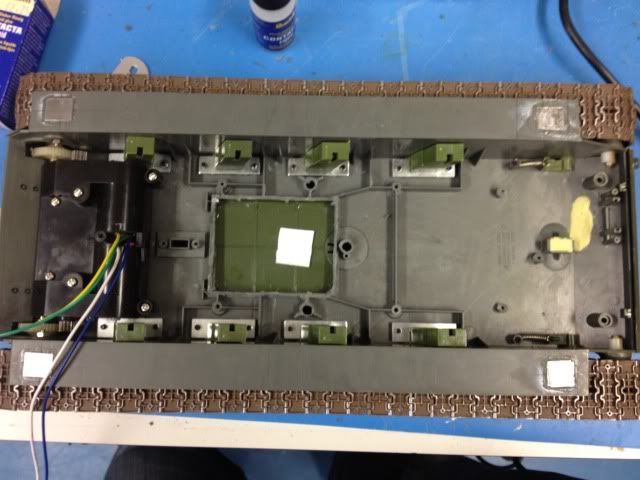
Firstly, I started from the lower hull. I cut the battery box and removed all electronics and gearbox. Filled the holes and gaps by putty.
Before removal:
After removal:
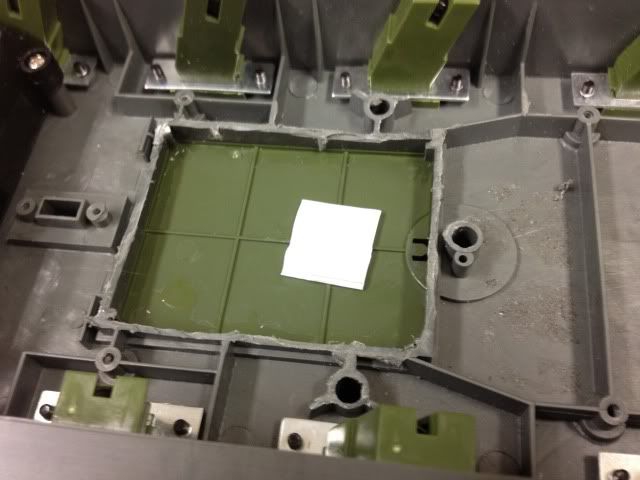
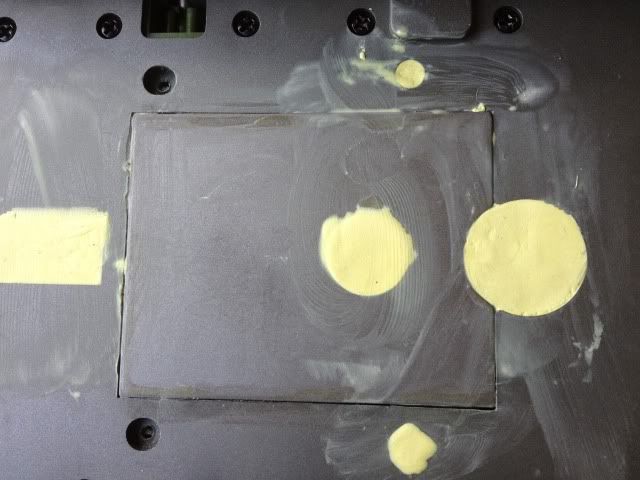
Putty filled holes and gaps:
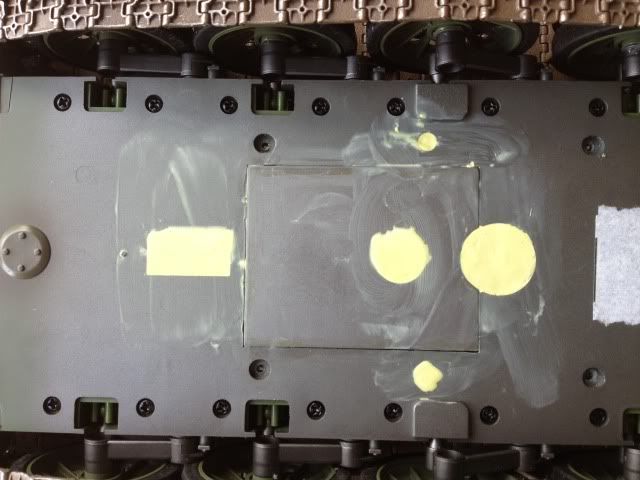
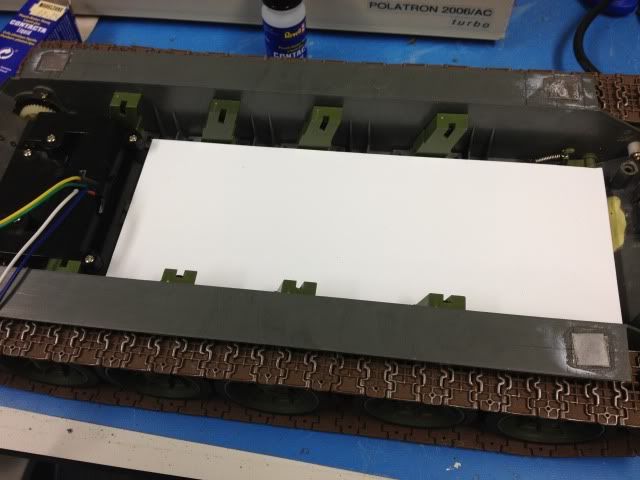
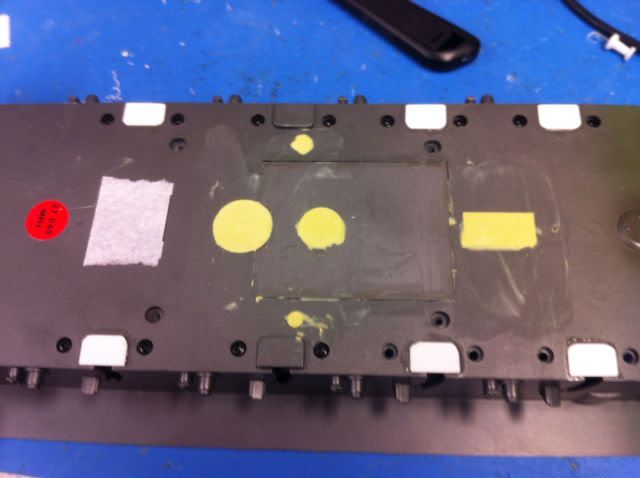
Next, a 2 mm plasticard was cut into the correct size and mounted in which the electronics should be:

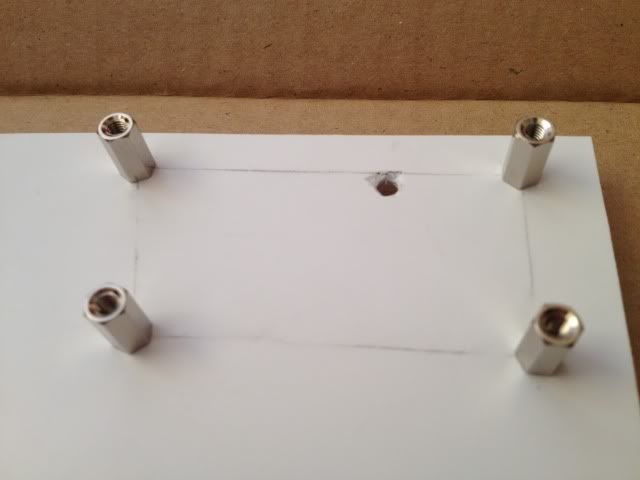
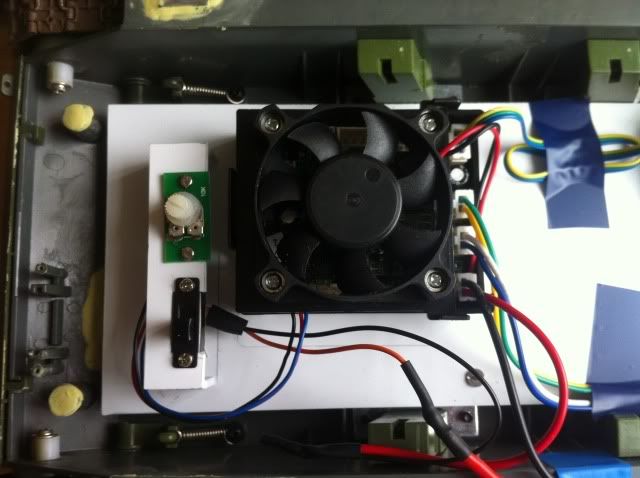
In order to put the HL receiver board and 7.2 V battery in place, some holes and gaps were necessary to be obtained before mounting the plastic plate into the lower hull.
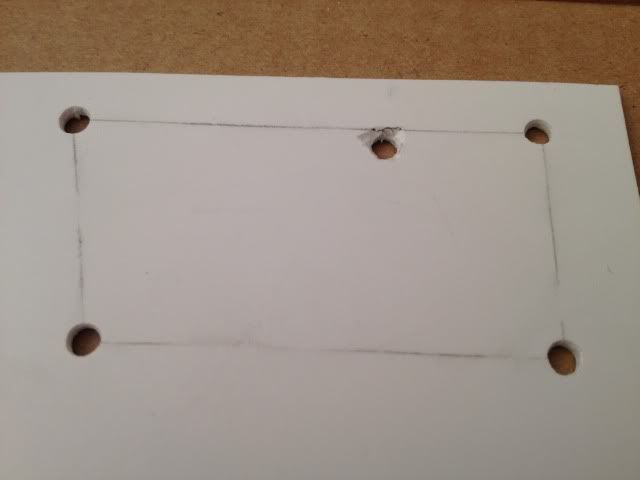
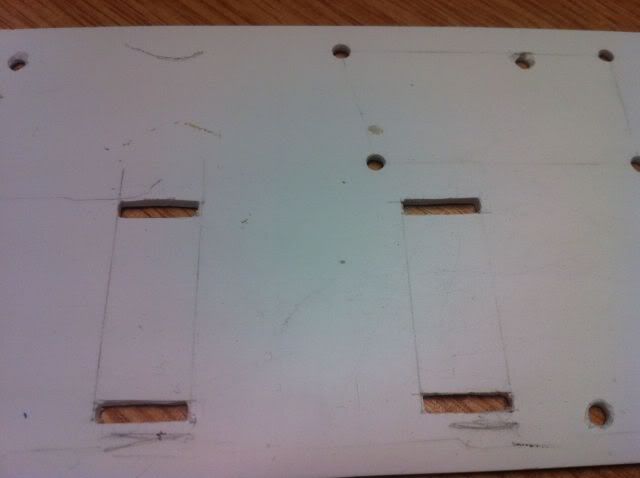
I used four 5mm M3 space as the support pillars for receiver board. You need to mount those pillars before mounting the plastic plate into the hull, otherwise, you cannot reach the holes.
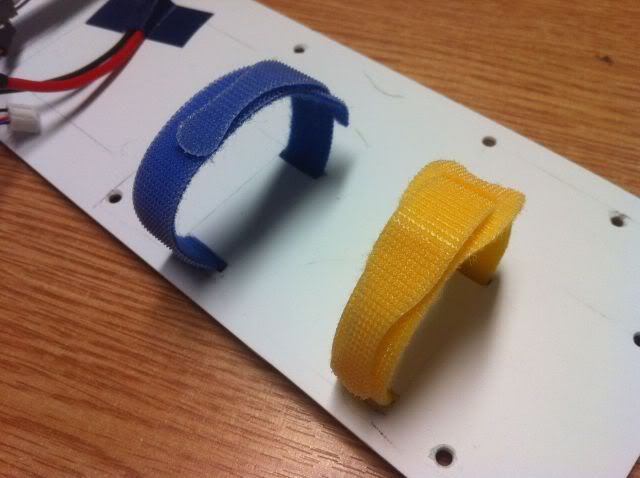
I got these Velcro online and they are quite useful to hole your battery in place.
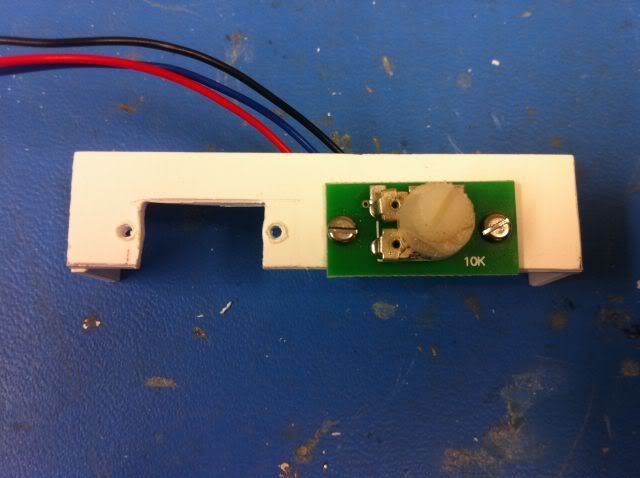
My thought would be the power switch should be placed just behind the front hatch and therefore I made a plastic bridge for power switch and volume controller.
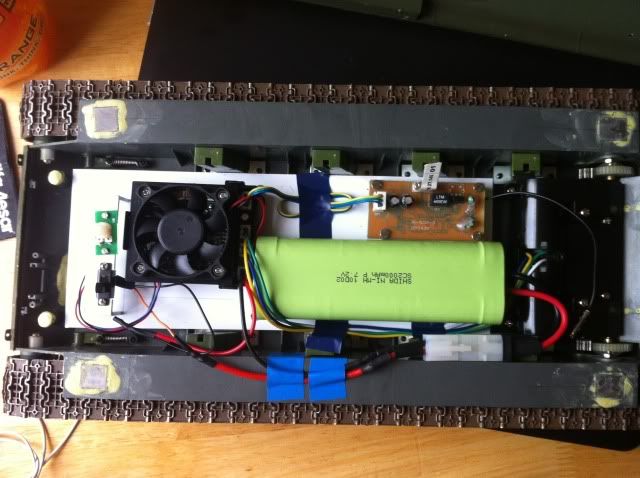
RX-18 will be placed just behind the gearbox and electronic arrangement is shown in following photo:
Original suspension arms were too weak with empty inside. I was thinking to fill the empty area with putty to make them solid.
Before filling:
After filling:
Last bit was to make some covers to prevent the dust and clay coming into the body through the suspension arms.
What I did was to cut couple of square plasticard and glued underneath the body.
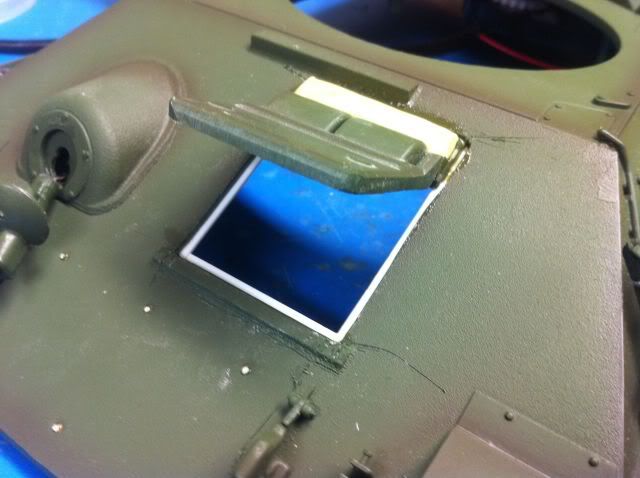
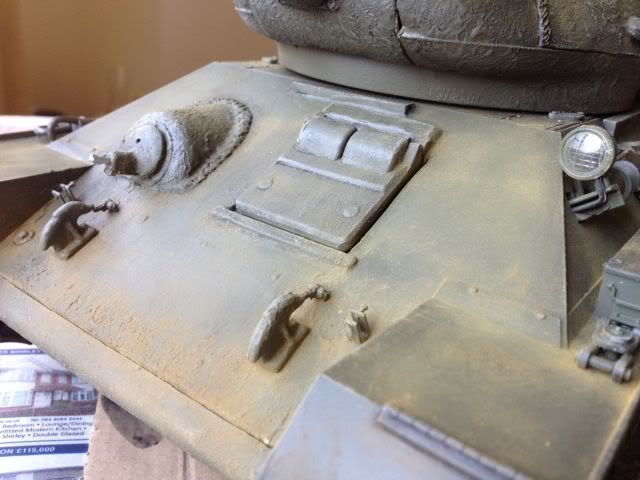
Now, I was moving to the front hatch which is a compluse part from my point of view. I used TAMIYA scriber to cut the through the edges of the hatch and cut it out afterwards.
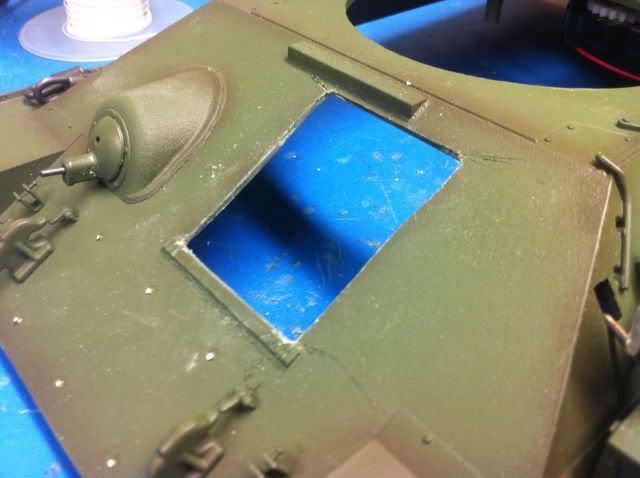
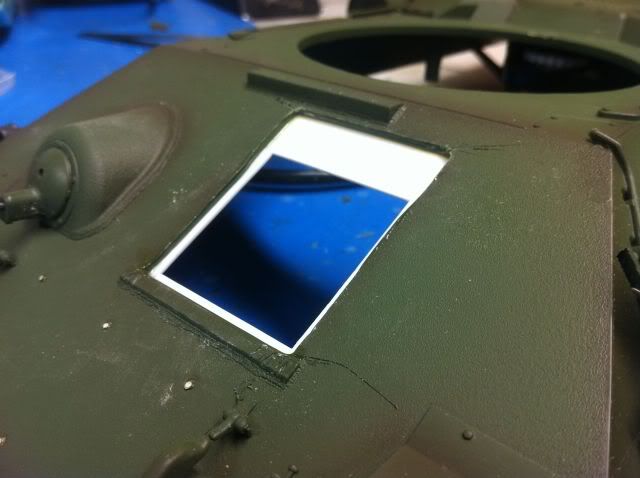
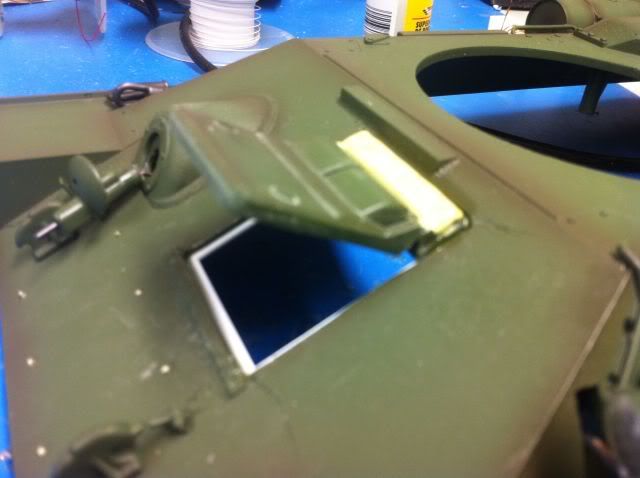
Hatch was filled by putty and a small hinge was superglued between the putty and the hatch. In the meantime, a frame was added onto front armour.

Now, it’s time to assemble them together, I just simply glued them and held them for couple of seconds.
So far so good, lower hull was now finished. I was moving to upper hull and turret.
Started from turret first:
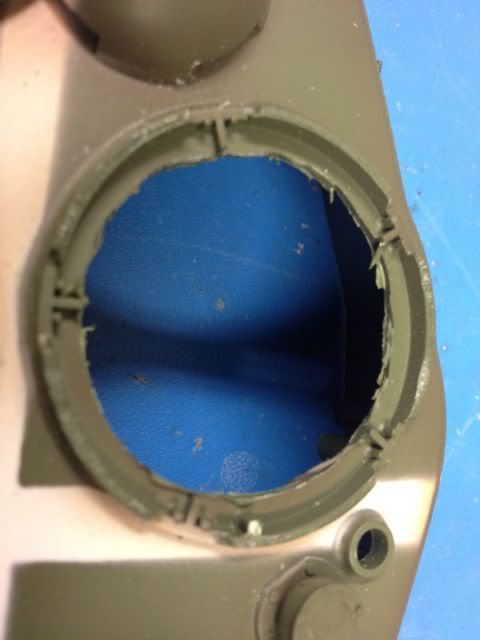
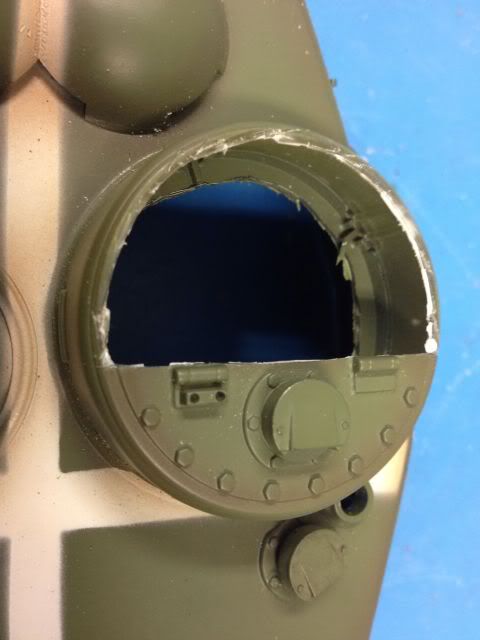
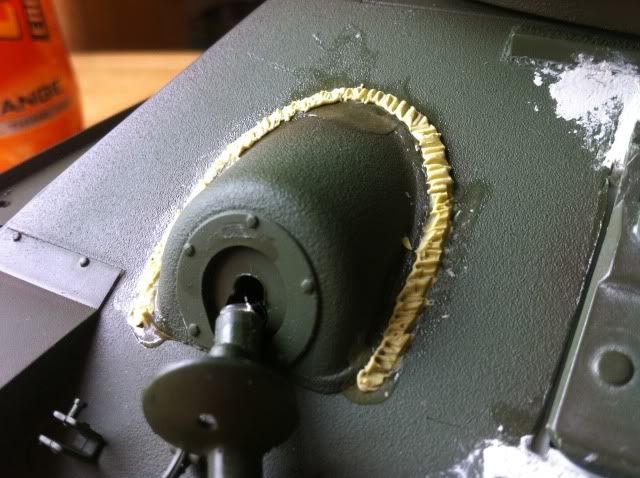
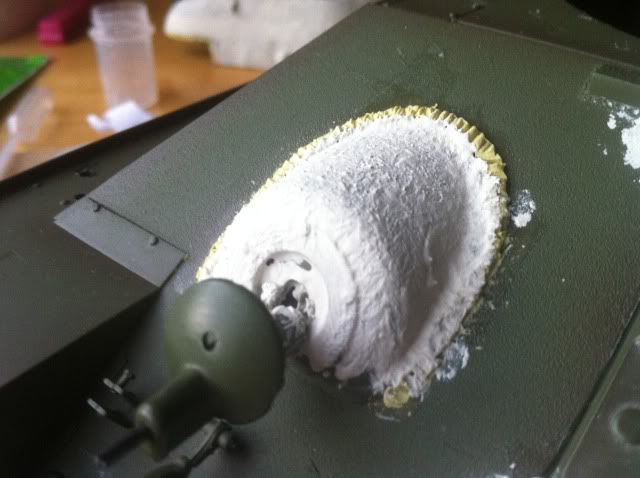
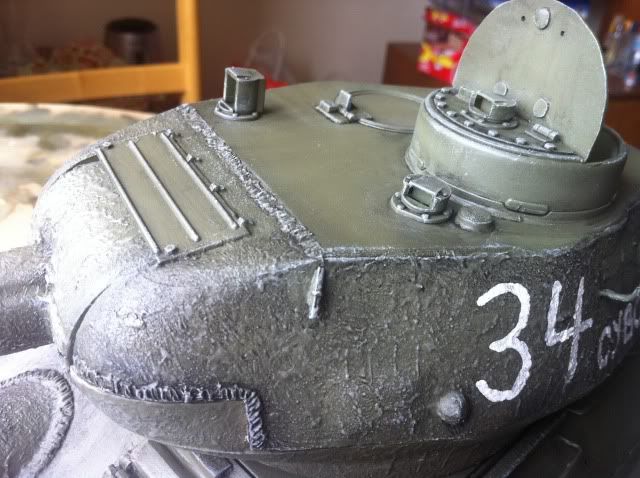
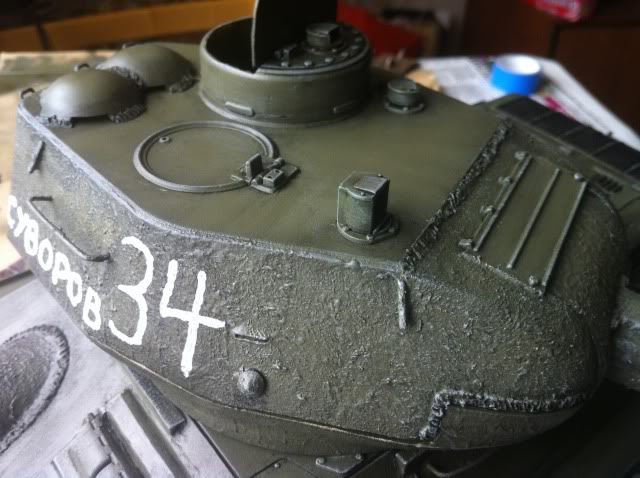
Commend hatch was moulded as well so I wanted it to be an open hatch even I am not going to use it. So, I cut through the hatch completely.
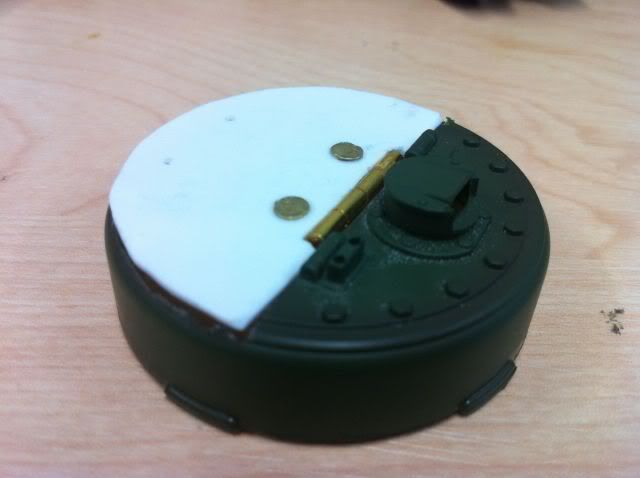
A new hatch was made by plasticard and a small hinge glued together.

Put them together:
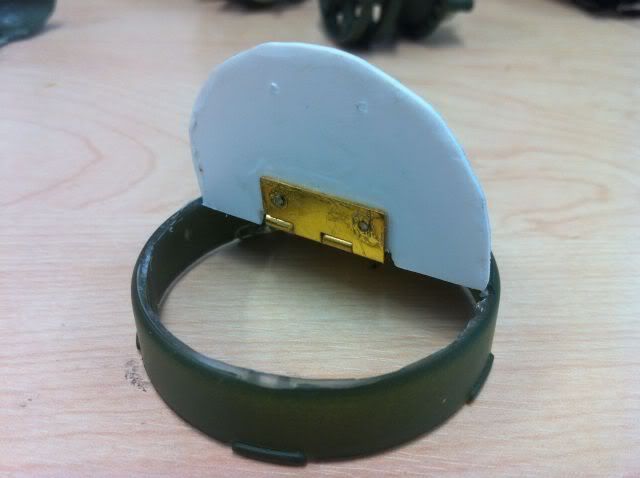
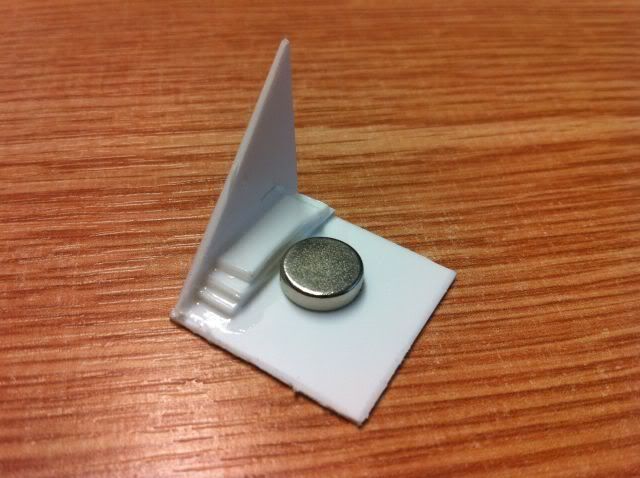
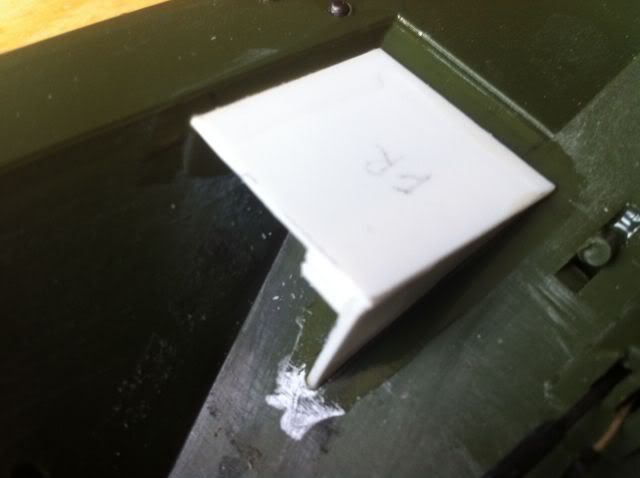
Now the progress had been pointed to upper hull. I don’t like using screws to hold hulls together and therefore I was thinking to use four strong magnets holing them together. The magnet I used is neodymium magnet which is much stronger than normal magnets. I selected four positions which are front left, right and rear left and right. However, as T-34 has slope armour compared with Tiger 1 which has vertical armour plate, mounting these magnets were tricky. I made a “tray” like the photo showing:
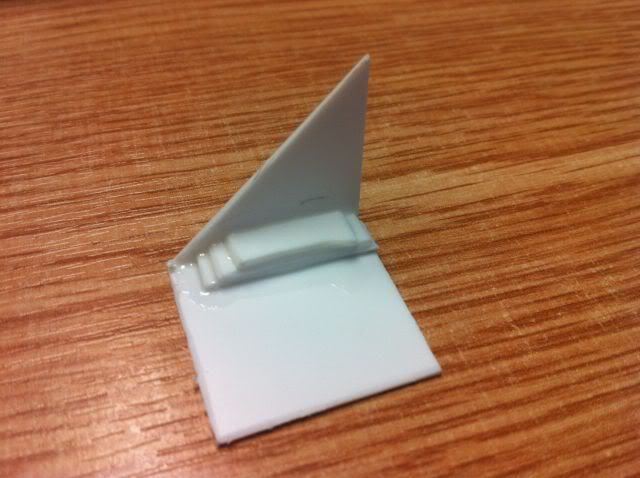
The magnet was glued inside the “tray”:
This “tray” was then glued onto the corner of the upper hull:
The corresponding metal plates were glued onto the lower hull and shown in following photos:
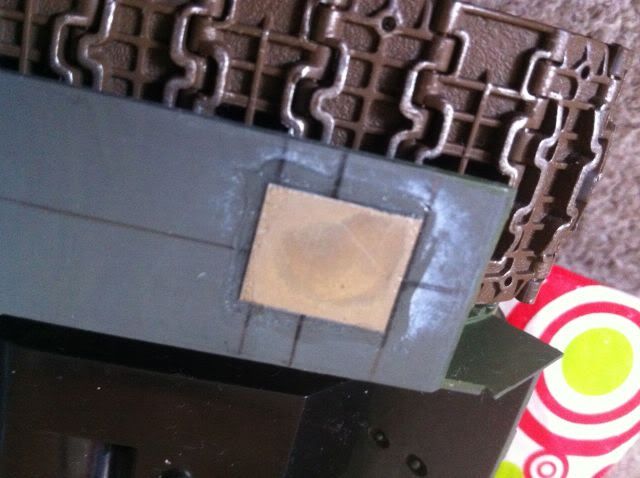
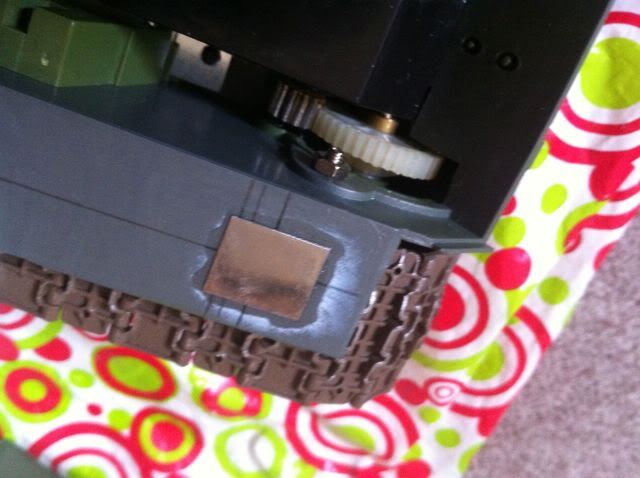
Now, you can easily change your battery outside without using screwdriver.
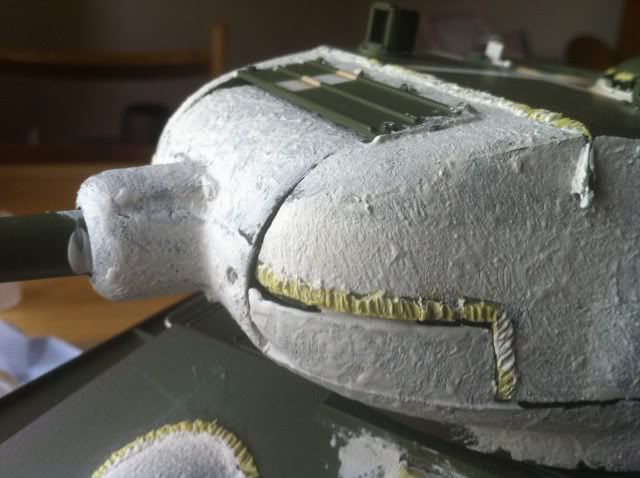
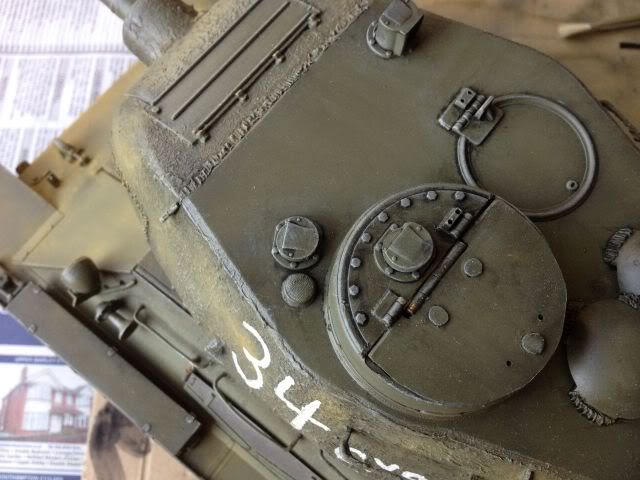
Welding effect:
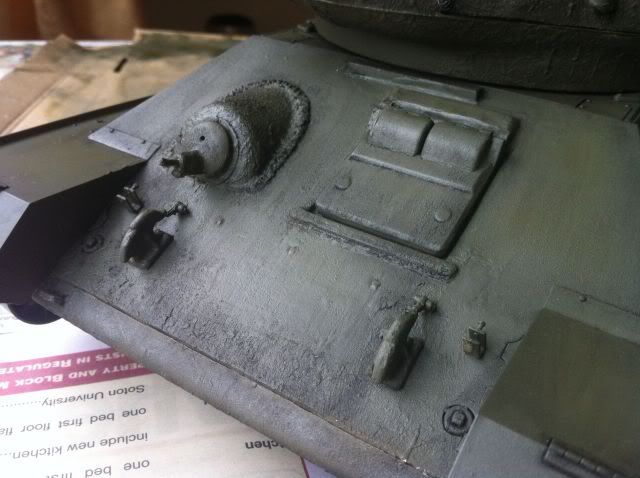
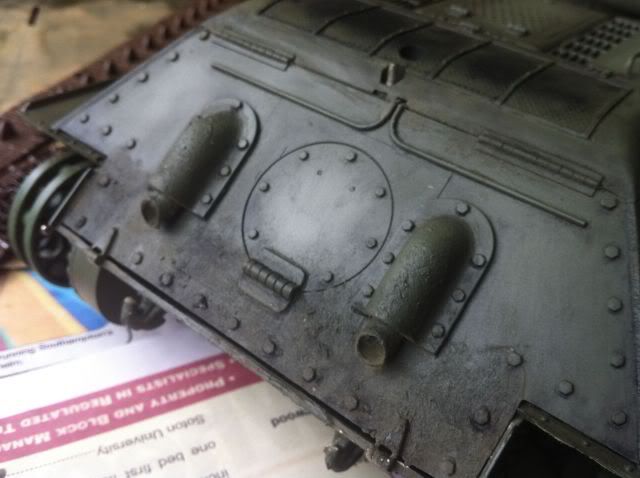
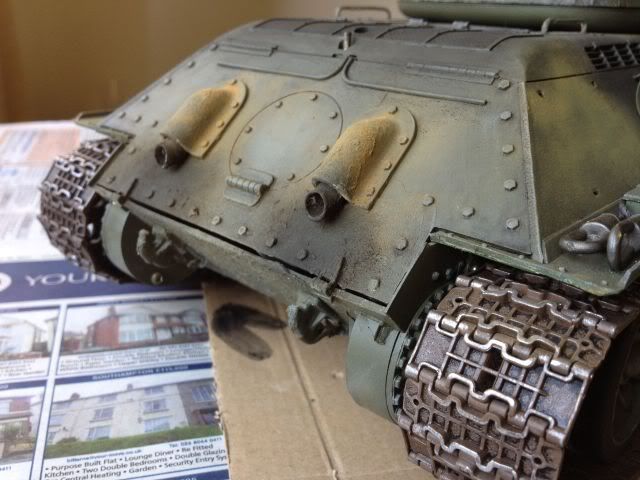
I still used the putty to make all welding lines and used thinned putty to make casting effect.


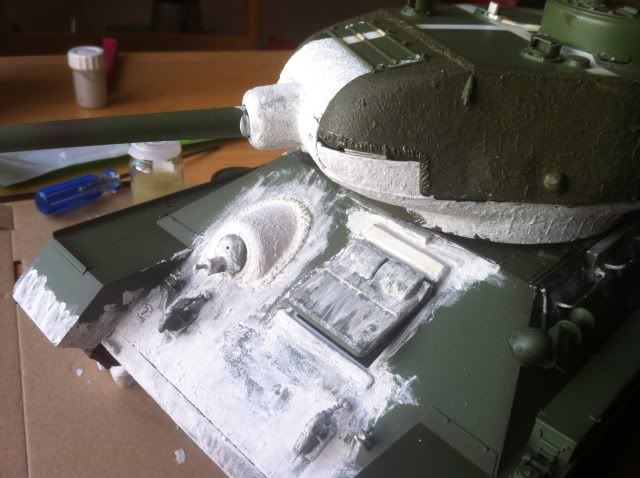
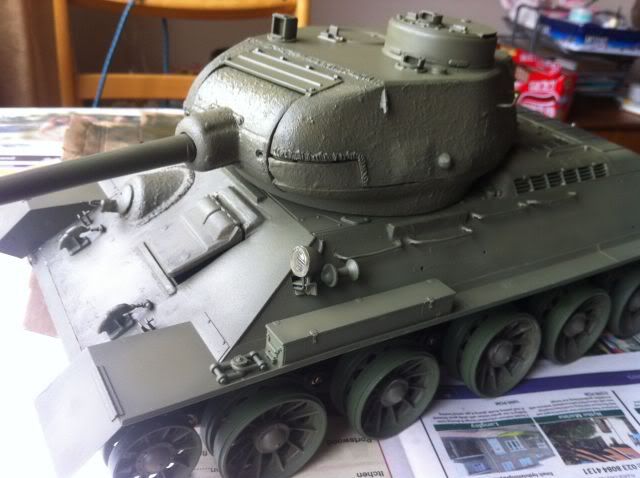
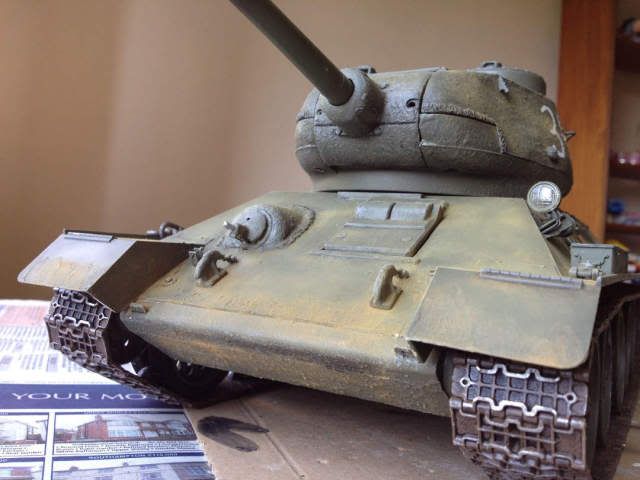
Painting part:
I didn’t put too much time on painting as I had not had an airbrush when I was doing this tank and therefore I just sprayed everything and hand painted.
Base colour: olive green
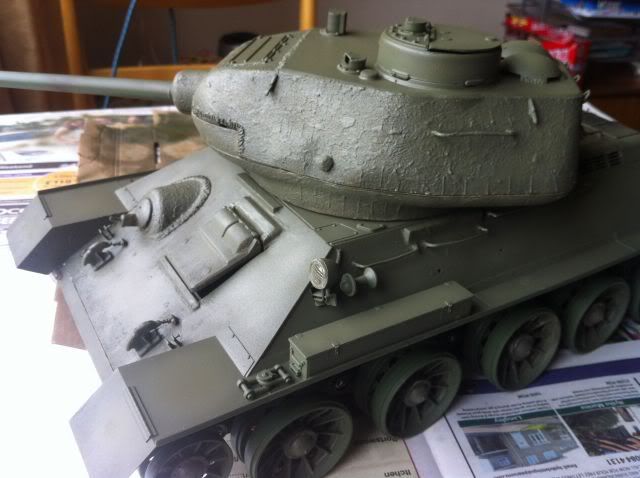
Wash:

Hand writing the letters:
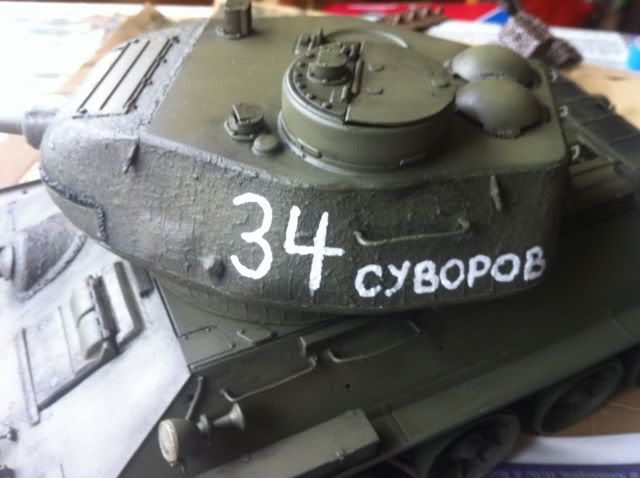
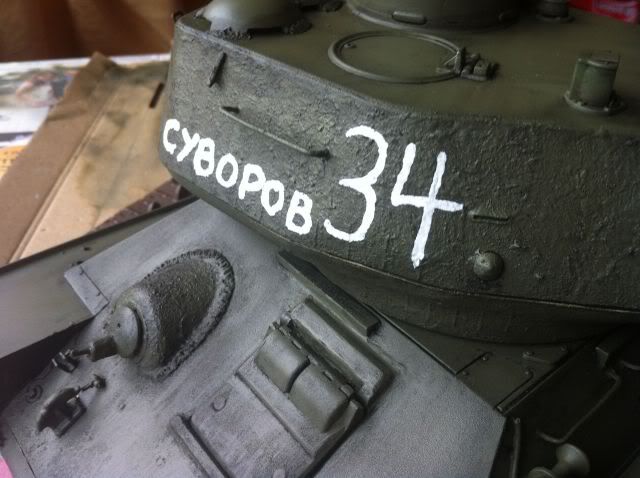
Dry brush:

Weathering:

Sorry for posting entire project at the same time and next time I will post Tiger 1 project separately. All comments and suggestions are welcomed.
Cheers,
Rock