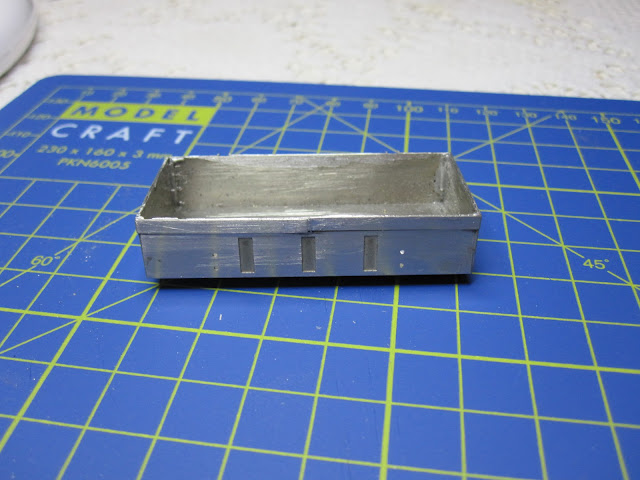
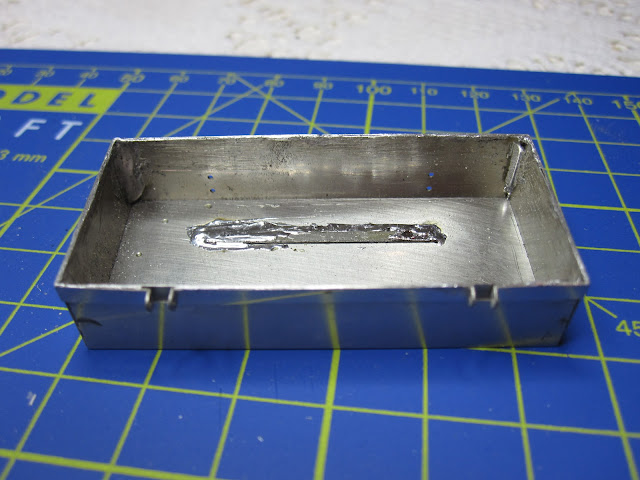
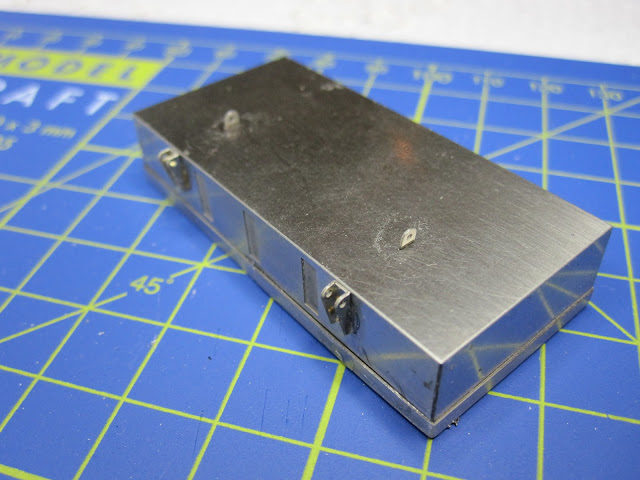
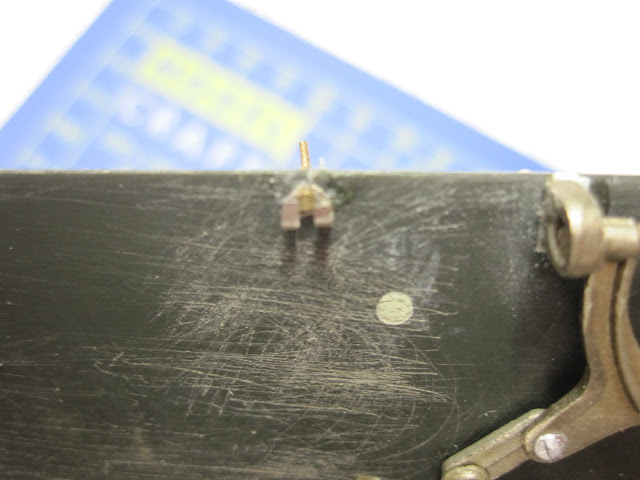
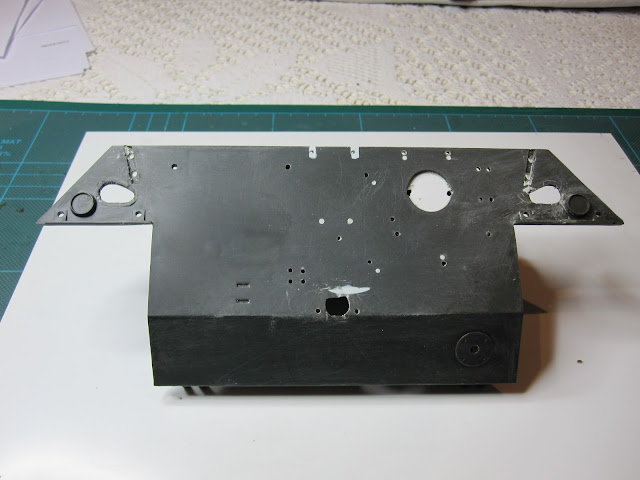
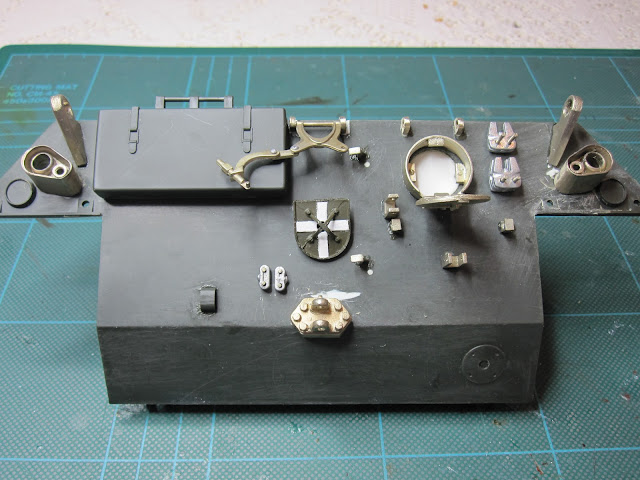
Step 1. Take one perfectly good rear bulkhead......then cut and grind the living cr*p out of it to remove all the detail.
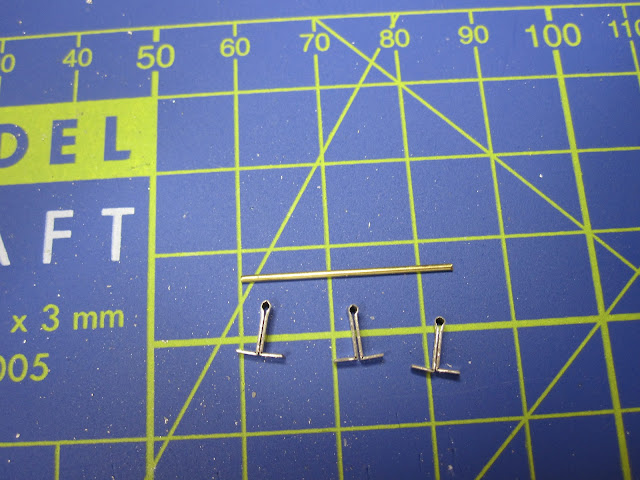
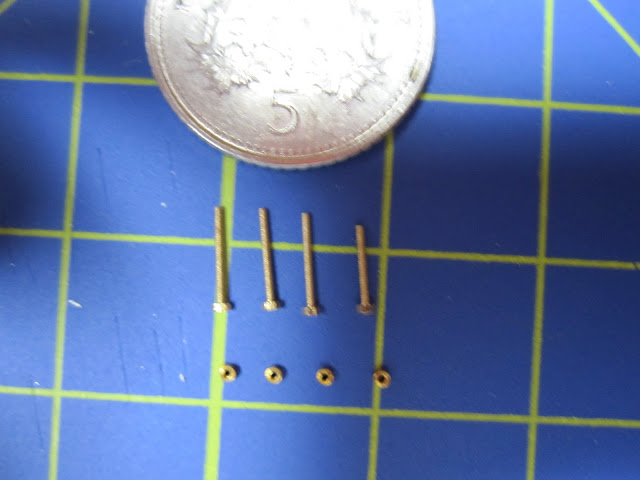
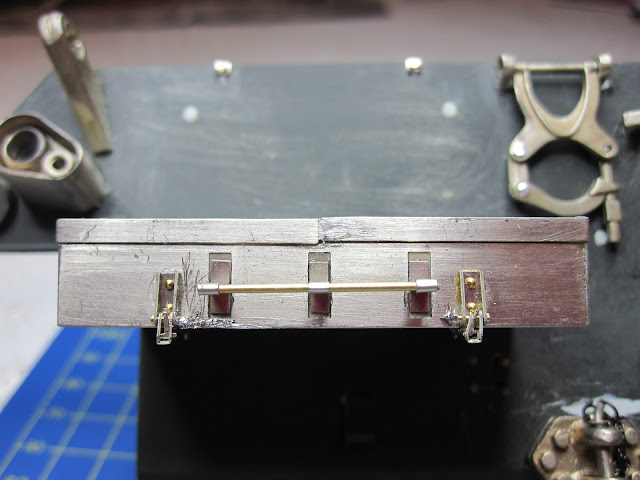
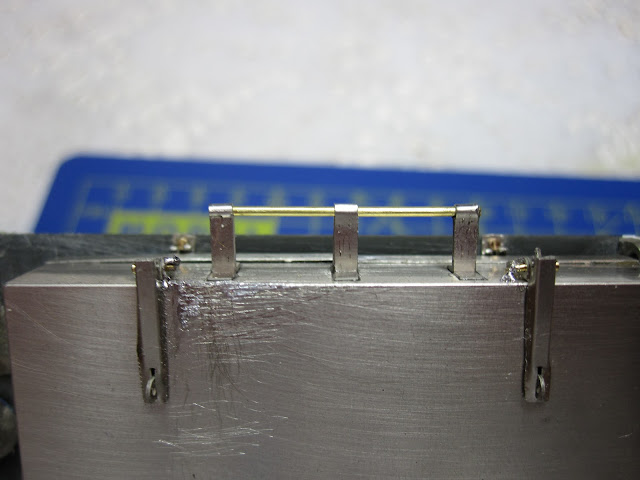
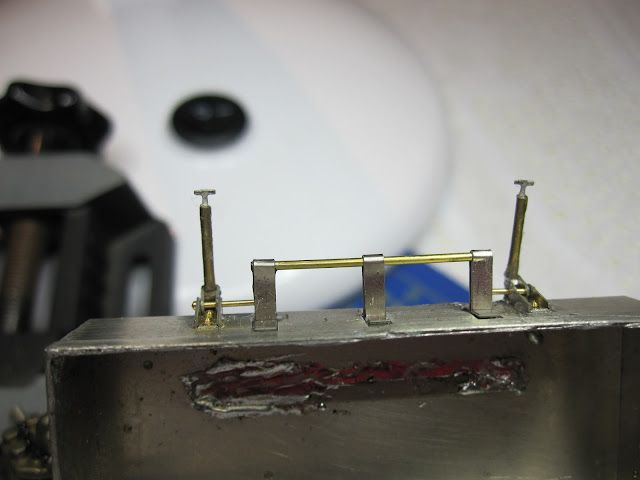
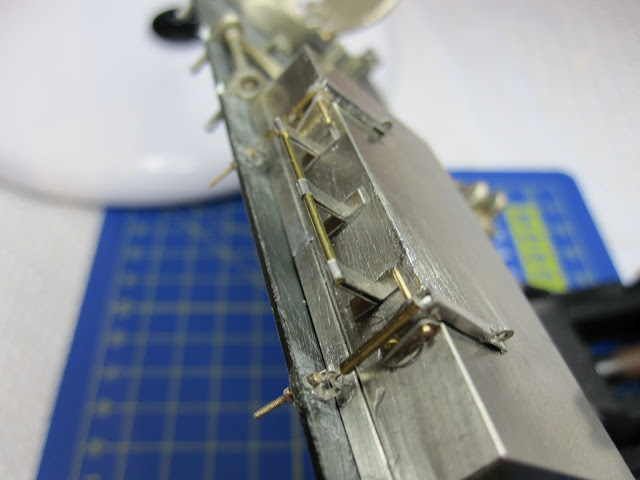
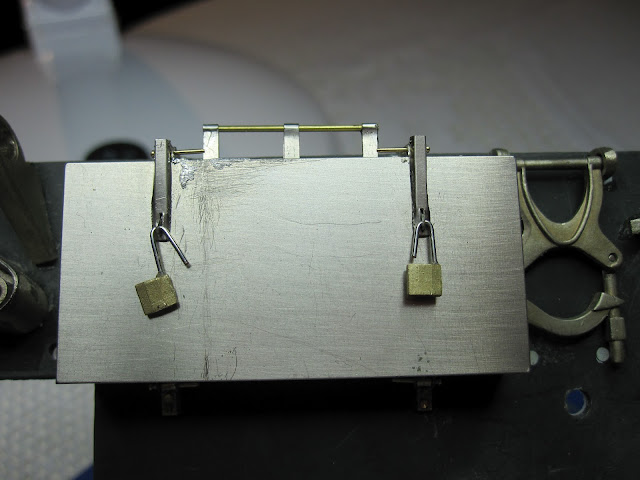
Step 2 . Replace all the detail with metal upgrade parts
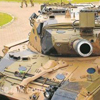
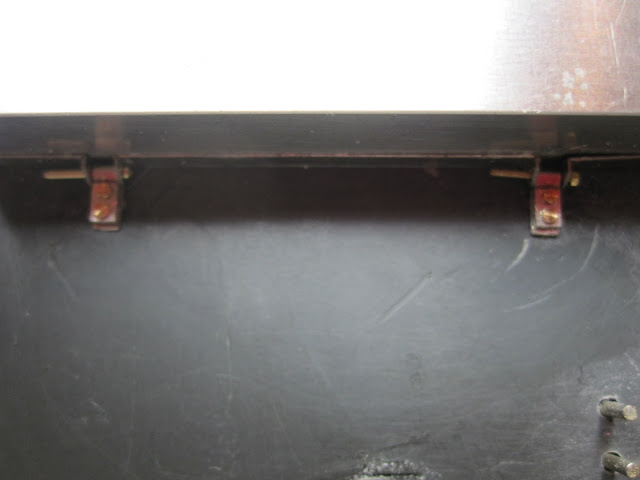
I am using this (and other) photos for refference.
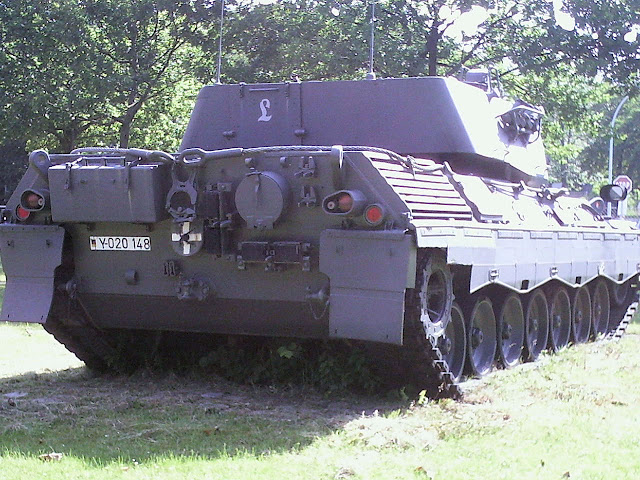
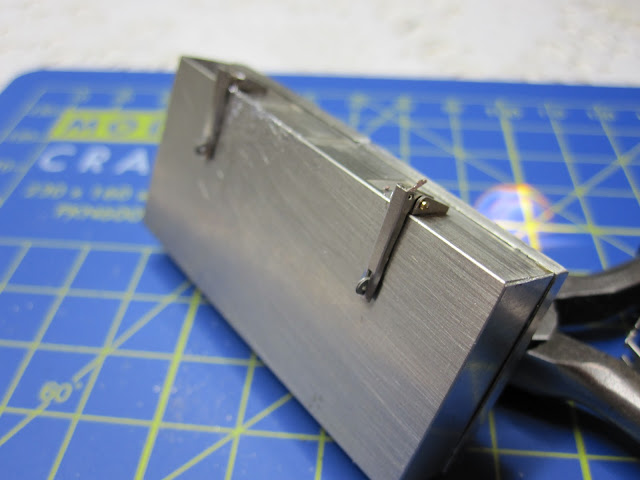
I have had to re-locate the spare track holders a bit, as I want to hang spare track links on the back as in photo above.But the tracks that I have just built(see "For all you Leopard 1 fans") seem to be a bit wider scalewise than the real thing.
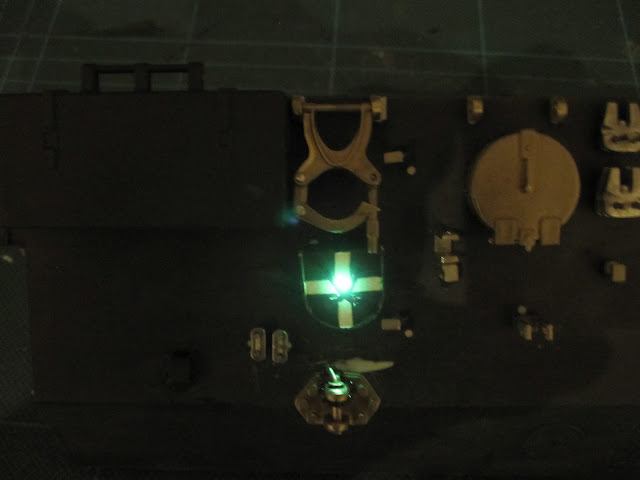
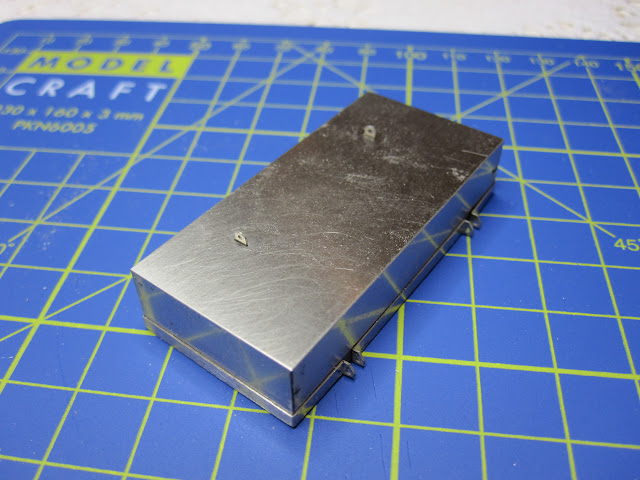
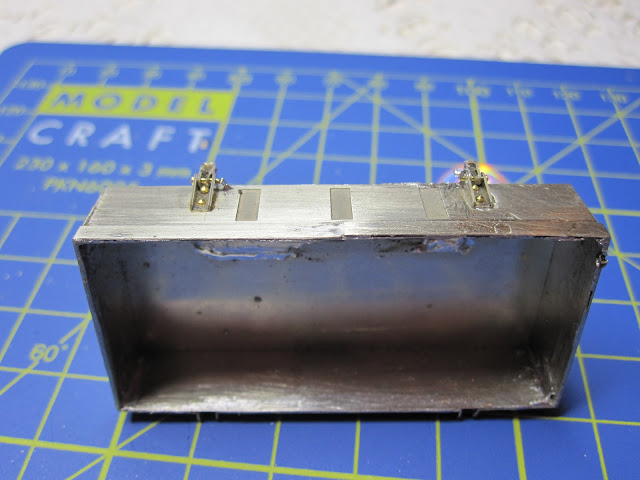
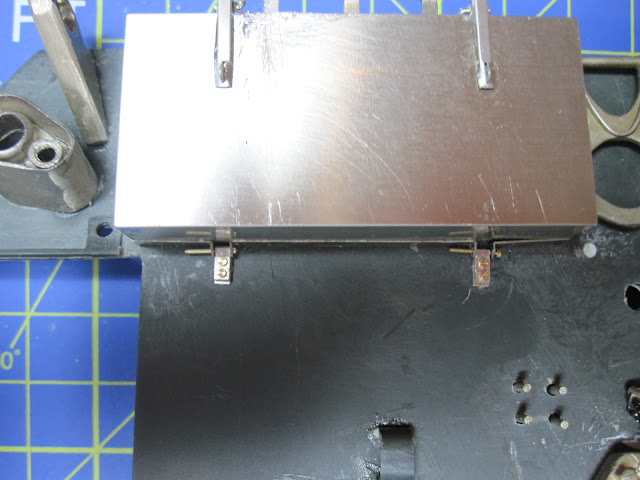
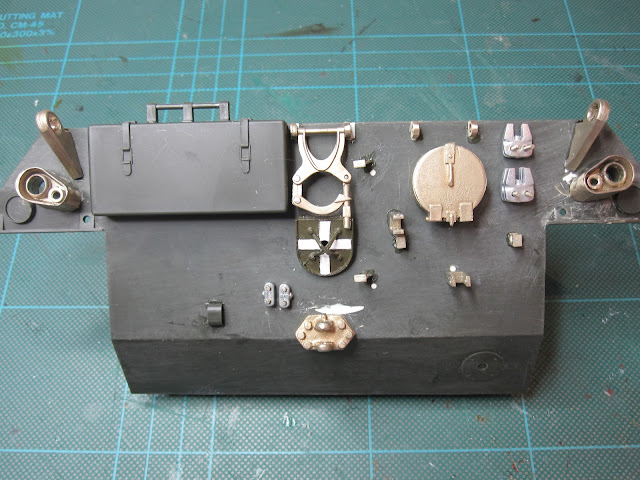
I have finished the painting of convoy marker as this AFV one is fixed on by a small strip of foam rubber that allows it to hinge like the original and it would be hard to hold it still to paint the cross,so it is temporarily in place and can be removed when I spray the rest of the bulkhead.The toolbox too is temporary as I have some PE parts on order, mainly for the tool holders, but the sheet also includes the tool boxes.
BTW the electronics conversion kit is on its way (posted from HK today)
BFN sparks
sparks