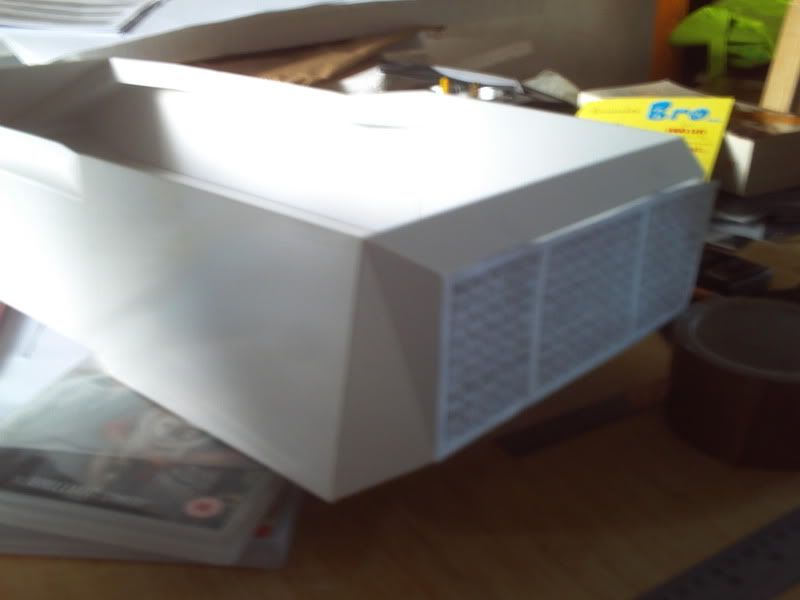
Got an update but it's not a full hull as promised. I had a few more blunders today which you'll be educated of in the following post! I've managed to end the day with both sides finished and the front back on (yep it came off again!) but the top isn't done and neither is the back. Here's how I got on...
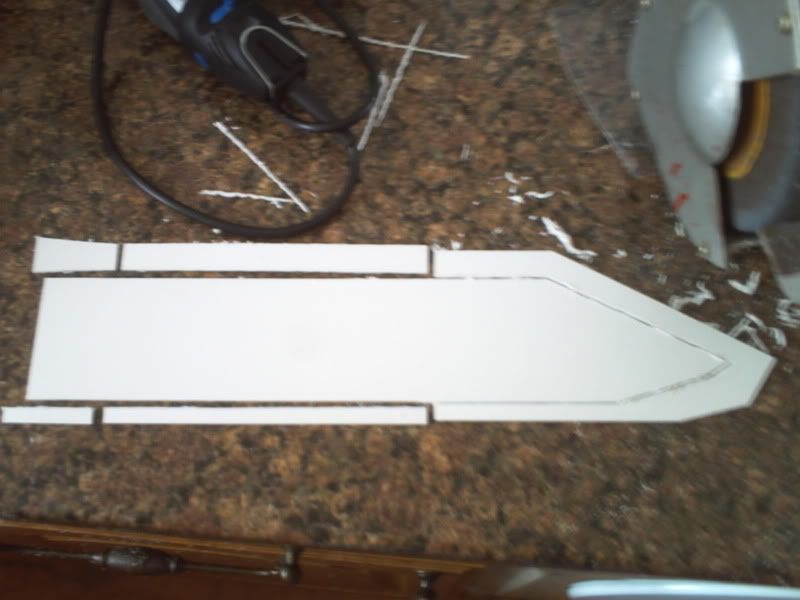
I took a few extra images today to fill in the gaps I left when doing the left side yesterday but it's probably not incredibly interesting so feel free to skip ahead to the progress shots :p This first one gives a better example of how I cut the majority of the side pieces all from the same material to save on waste.
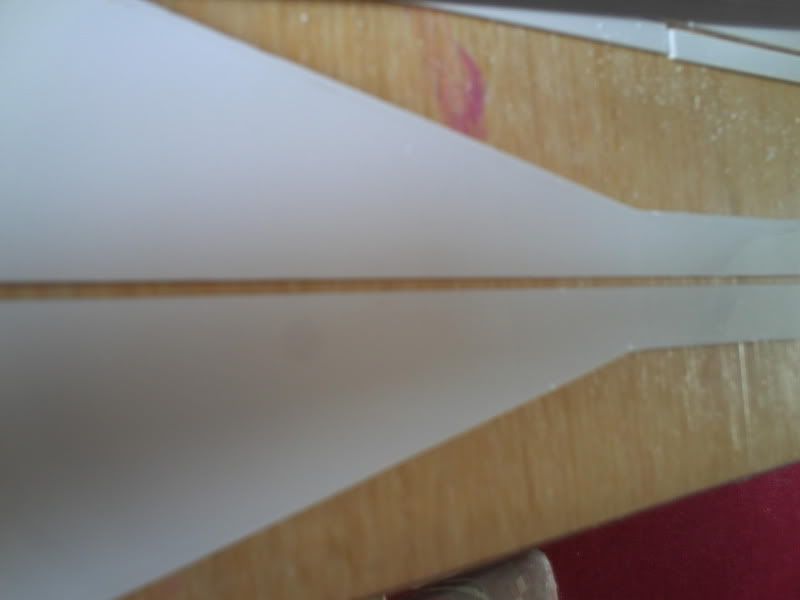
And the next one is all of the other bits of the side which weren't in the last shot! This is what I meant when I mentioned scoring and breaking for a nice neat line yesterday. Here's before the break...

And a perfectly straight edge after!
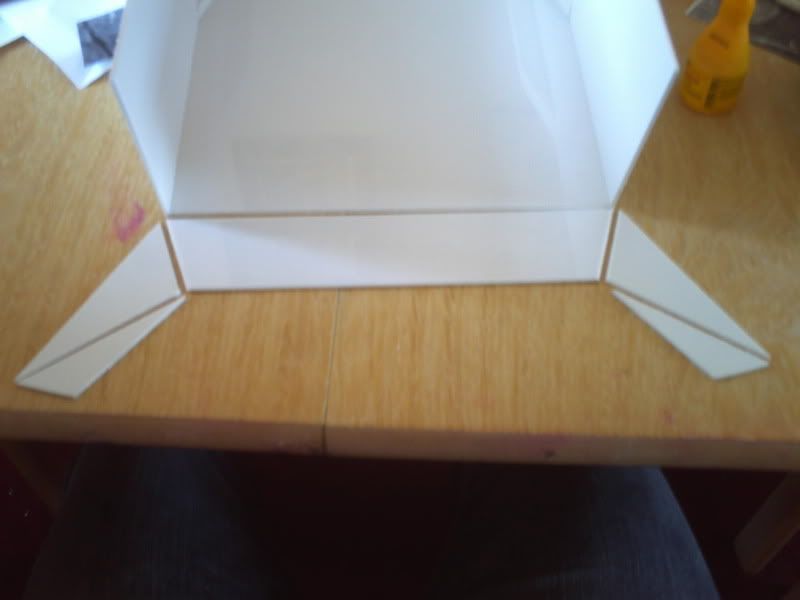
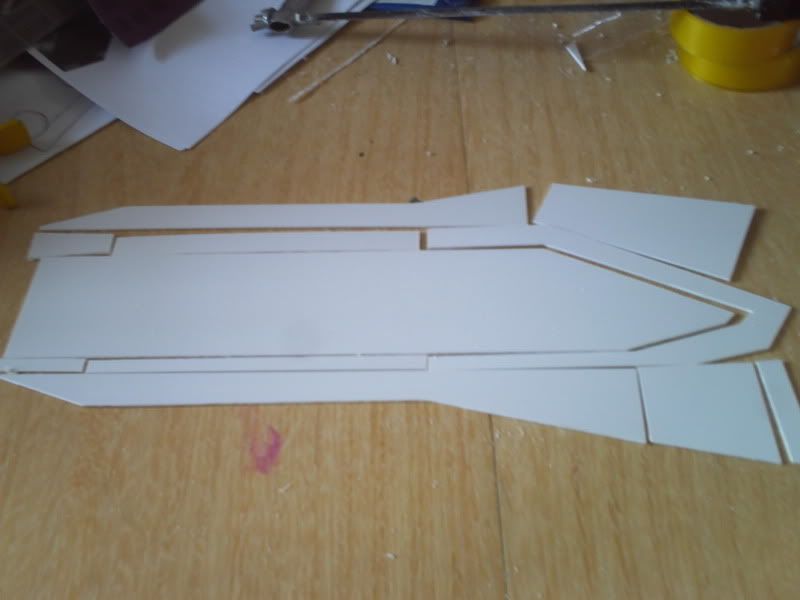
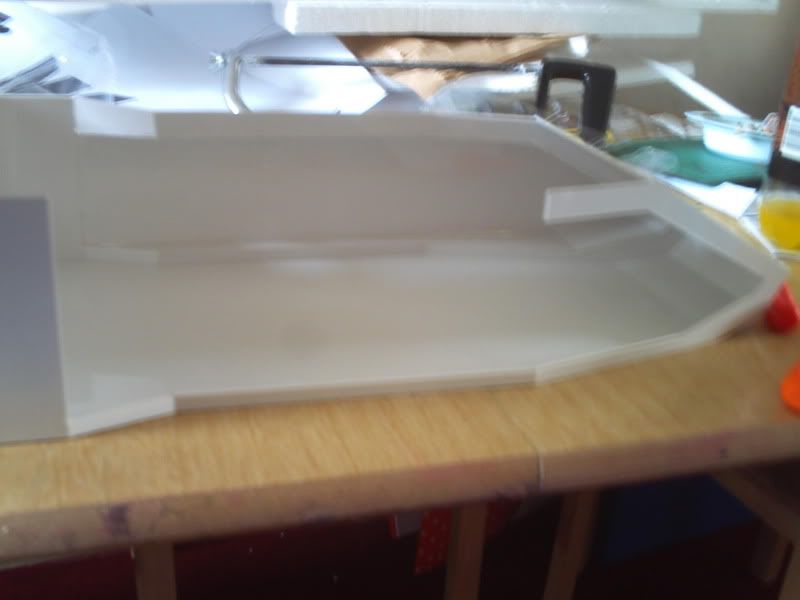
Here's all the pieces to build up the right flank of the hull.
And this next one is an attempt to show the newly improved 'nose' piece which was test fitted in the final images of yesterday's update. I removed it and then put a champfer on both it's edges and those of the hull pieces it joins to.
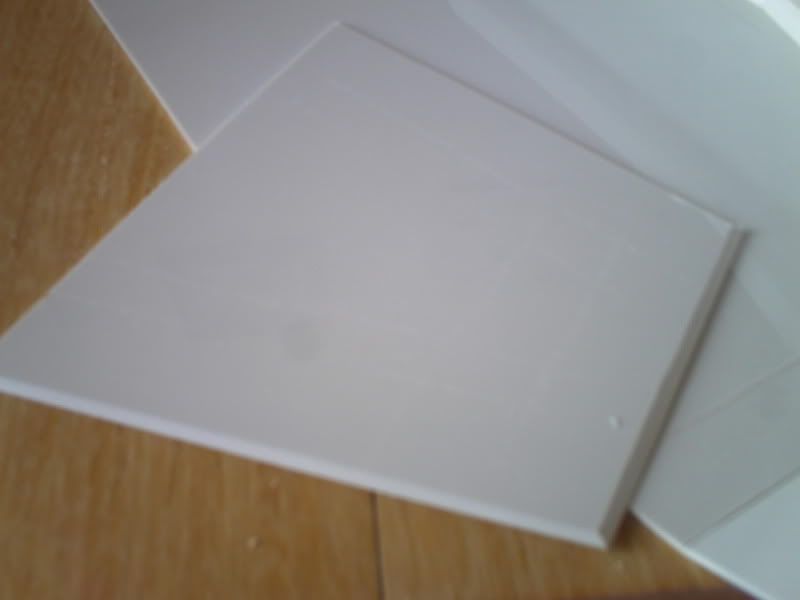
And here it is in place for a much neater fit, not that the camera shows it very well...
Now prepare for a very minute step-by-step picture-account of building up the right side! As I missed a few stages yesterday I thought I may as well catch up here in minute detail so you won't want to spend too much time looking at the next half-dozen pics but they do serve as a simple form of time-lapse imagery

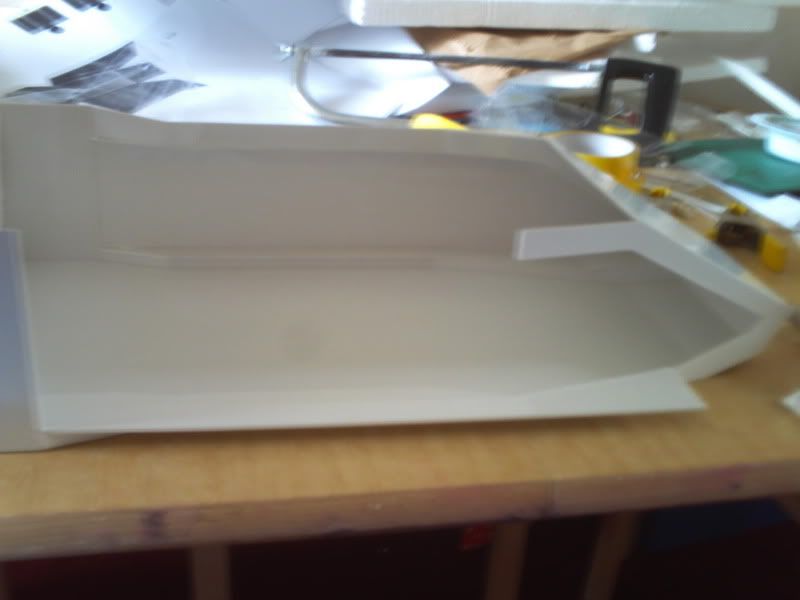
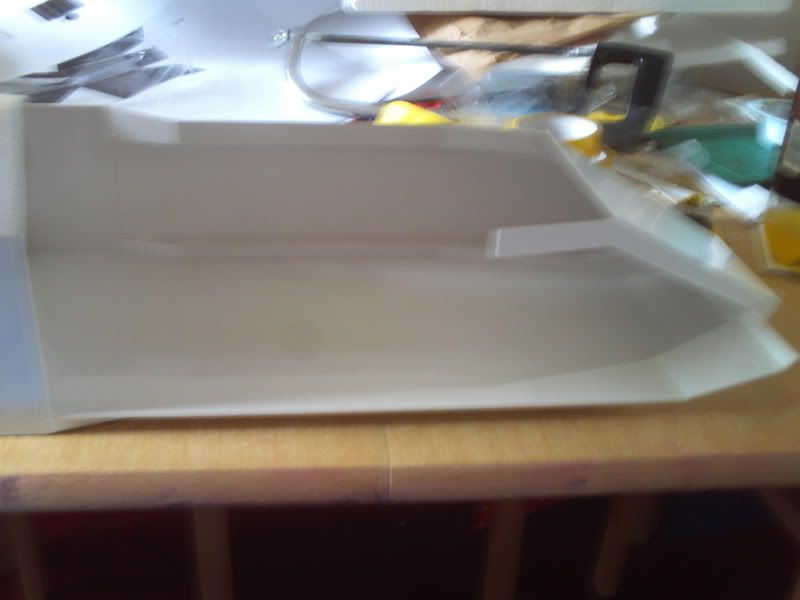


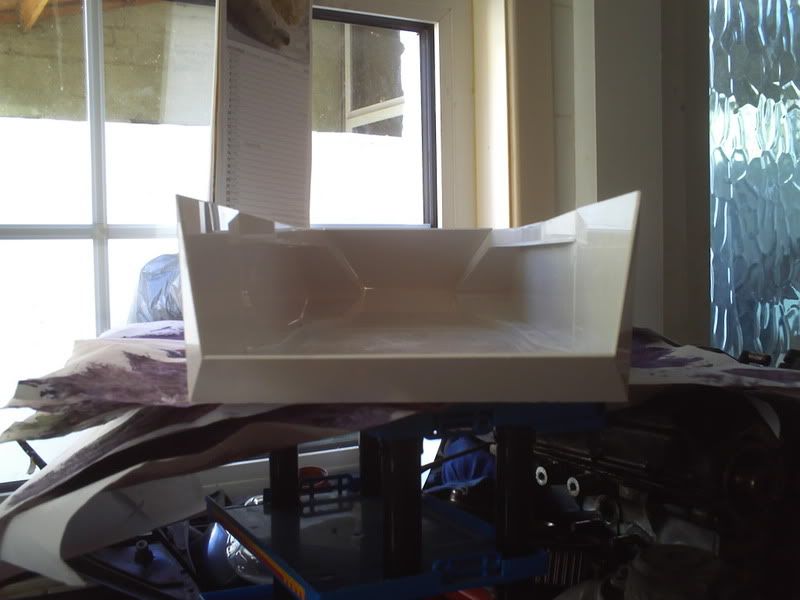
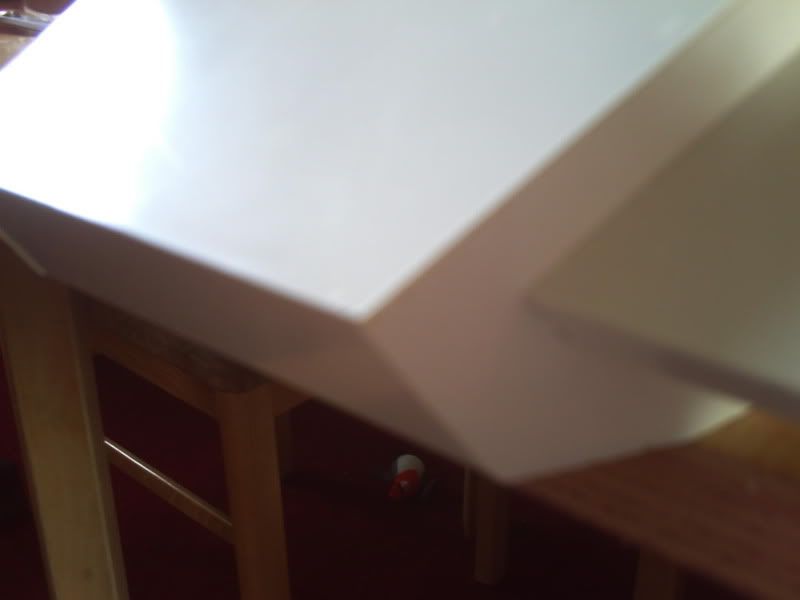
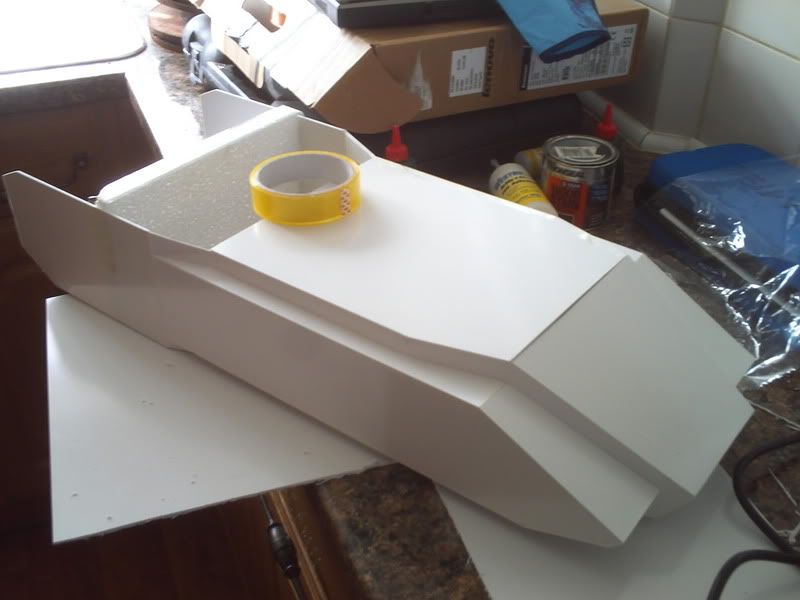
And so ends the construction of the right side! If only it had been that quick when I did it
Like yesterday everything fitted really quite well but each piece needed a little attention to get it just right. Exactly like the left side, the hardest part here was once again the point at the front where getting the shapes, sizes and angles just right was harder than anywhere else.
The next job was to start on the top so I got to work on the large front piece which would be the first to date not glued into position. It was a big piee which always comes with logistical difficulties but it's nowhere near the size of previous constructs so it was easy enough! The sellotape, for the curious among us, represents the approximate whereabouts of the turret sometime in the future.
The following image is amongst my worst yet but you may be able to just make out that the top left piee is too short and the longer right piece (top-side piece not top-top piece) is too long. I removed the left piece and cut about 2mm off the longer piece on the right. This was my first mathematical error and also my first part replacement so far.
Another duff pictrue showing just how minute the error in calculation was. The fact it's an angle and I'm anal however demands that it be replaced with a slightly larger piece!

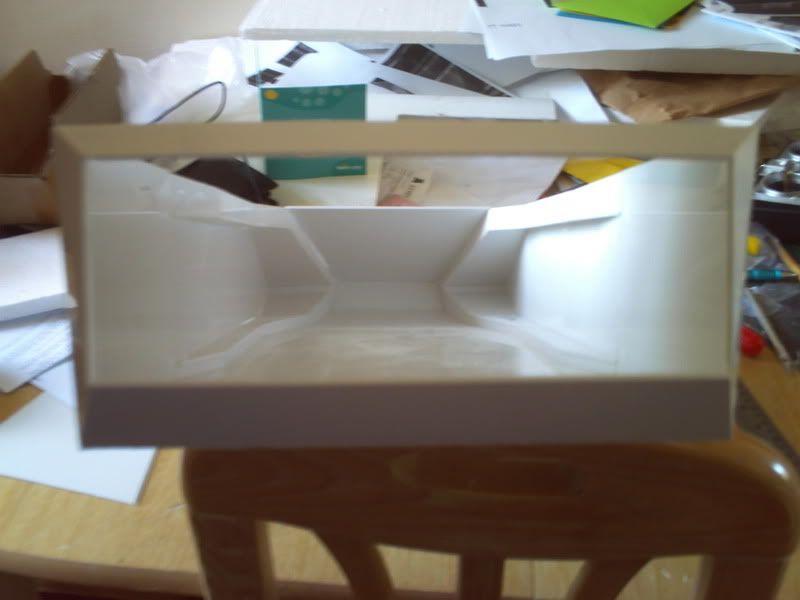
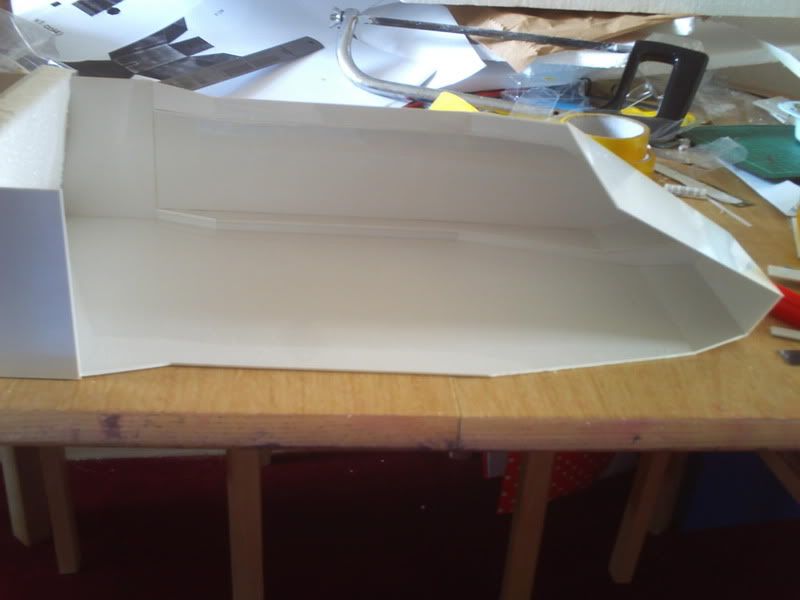
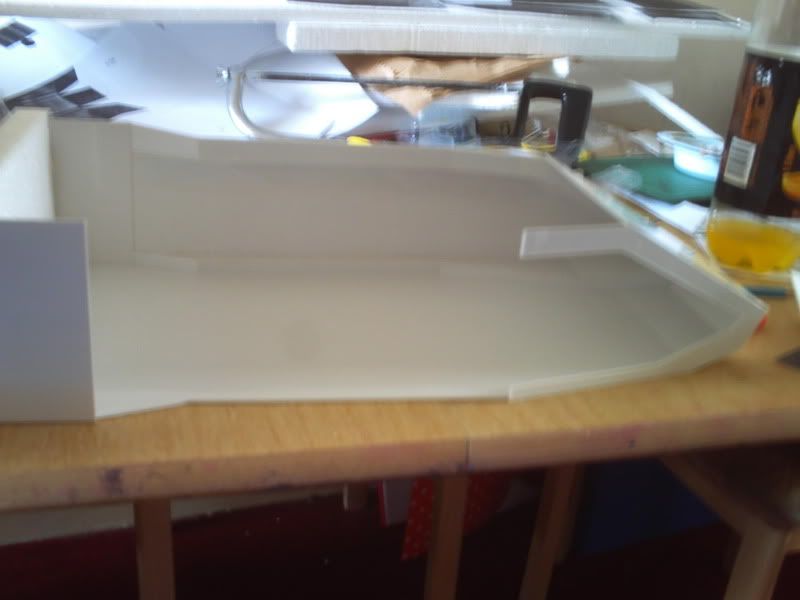
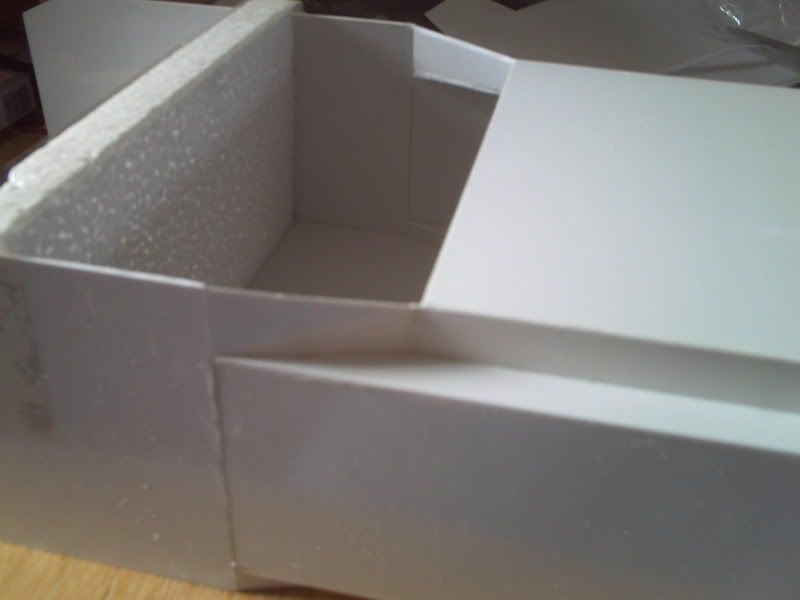
This is where the first major design flaw became apparent (the sandwich joints on the bottom and the 2mm short side piece not counting as major anything) and it required some drastic action. When I sat back to admire my work for the first time since completing the right side I realised it was far too tight up top and this was pinching the flanks in and causing an unpleasant angle. I carefully reverse engineered a few joints to see how much rectification was needed and this is the end result.
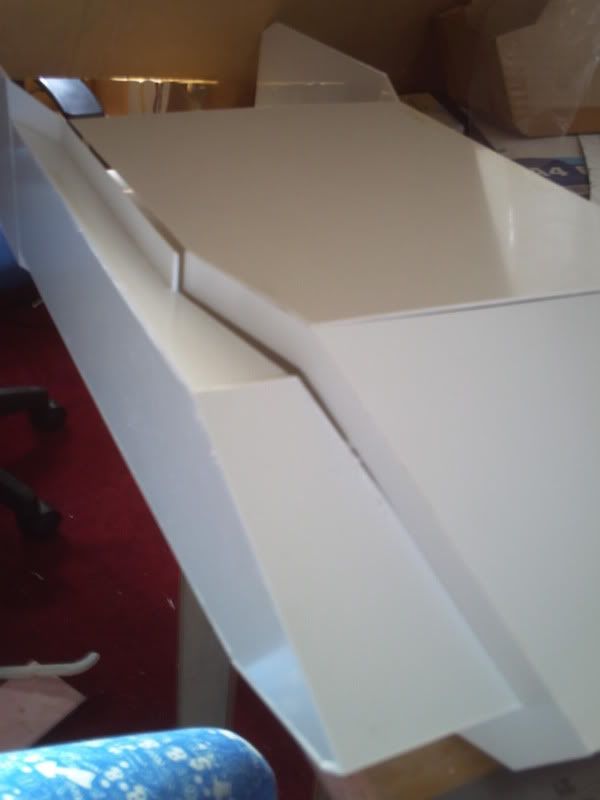
Although it appears that the C-shaped piece is at fault it's actually not and the real problem was that I'd somehow made the top pieces too narrow. The nose piece was fine at the front but towards the back was about 8mm too narrow so the whole right side was being pulled up and in towards the left one. I removed the top and nose pieces and attached the C-piece to the right pieces as it should be and that fixed the problem. I was now down by two rather large and time consuming pieces though... This is the old front held in place to illustrate the gaps either side when the hull was correctly level.
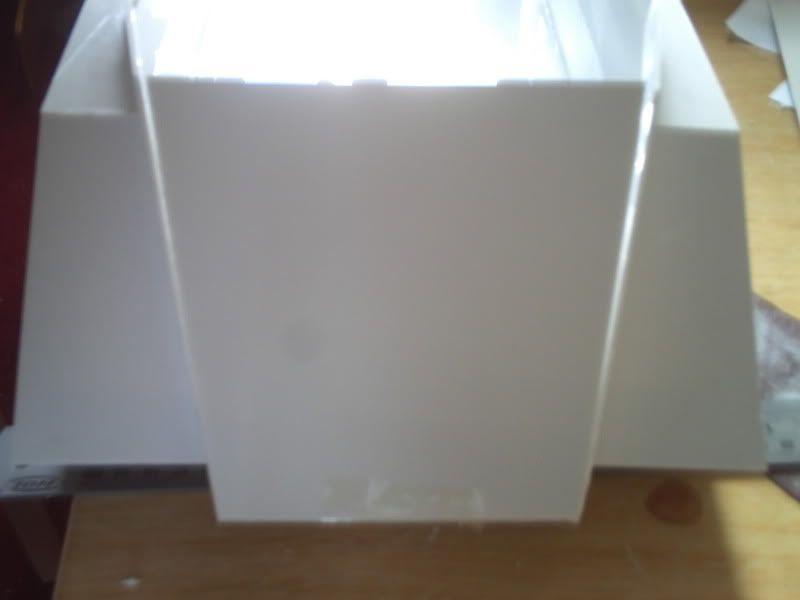
The final image (I seem to have gone without a final update today but it's less impressive than some of the above so that's not a big deal!) shows the old and new nose panels top to top and demonstrates again how a relatively small gap can cause such chaos. I forgot to take a picture of how messed up the front looked before splitting the joins but it was a heart-breaking moment when I noticed it...
As the day finished (or rather was finished for me by a friend with computer problems) I managed to refit the nose panel and began working on the rear but am currently pondering what to do with the old top piece to save it from the scrap pile. It's 8mm too narrow now and extending it by that amount would not only be messy but it would produce a weakness very close to where the turret will be mounted and take almost as long as making a new one! Perhaps I'll just use the material to make some smaller pieces from later.
Anyway, got a busier day tomorrow and therefore I may or may not complete the hull which I had planned to finish yesterday! We'll see though as I don't want to rush and I still have to figure out what to do about access and also how to create the grill in the rear of the hull. Some advice on how to mount a turret than I plan to leave operational (or freely rotational at the very least) would go down very well about now.
As I sit here and think about it, my plan for tomorrow will probably be to fit all of the back end except the grill (that's 6 parts) and then move away from the hull for a while until I manage to experiment with some tracks and hardware so I can decide on interior layout and access. Maybe I'll start on the track housings as each one of the four uses identical parts so could be an easy option.