HL Tiger I build

User avatar
Wizzard033
Corporal
Posts: 339
Joined: Thu Sep 30, 2010 4:51 am
Location: Lubbock, Texas

HL Tiger I build

Post by Wizzard033 »

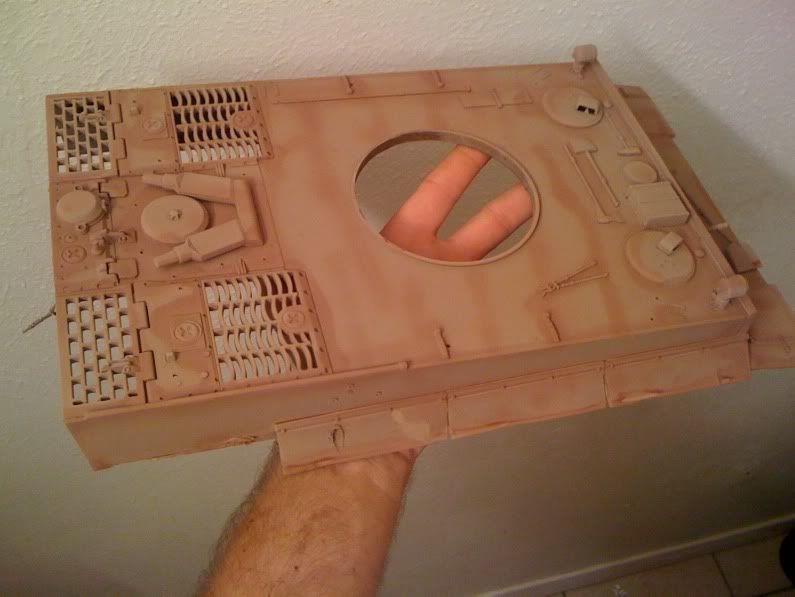
After much debate and I finally decided to tear down my stock HL Tiger I and give it a nice custom paint job and fix a few issues I have noticed with the operation of the stock model so far. I original bought the S&S Tiger I with the intentions of heavily modifying it but soon realized after purchasing an Asiatam chassis Mato metal tracks, road wheels, and some Mato 3:1 brass gear boxes that I really would eventually end up with two tanks. I was also torn between a DAK paint scheme and a 13th Pnz Div "Kursk" camo pattern I had found. I decided to build the Asiatam chassis in the 'Kursk' scheme as a full option Elmod equipped IR tank battle model and to paint the HL model with a DAK scheme.

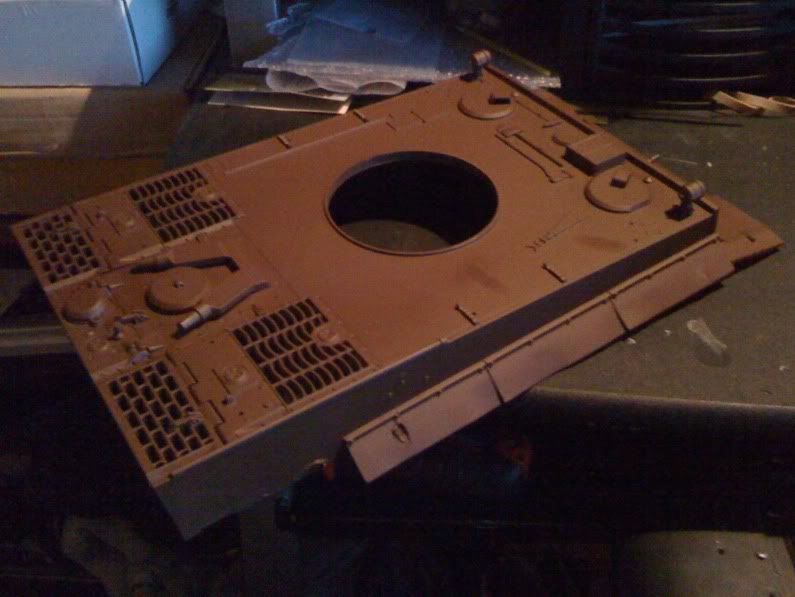
At any rate I stripped out the stock gear set yesterday so I decided to get started. I tore it down removed the antenna tube from the left side, removed the warning light from the canon mantlet, installed a convoy light on the rear left of the chassis, removed a couple of fenders and worked on some simulated combat damage. I then laid down a base coat and I'm going to let it cure over night and then plan to apply my first coat of paint which would be Dark Yellow tomorrow

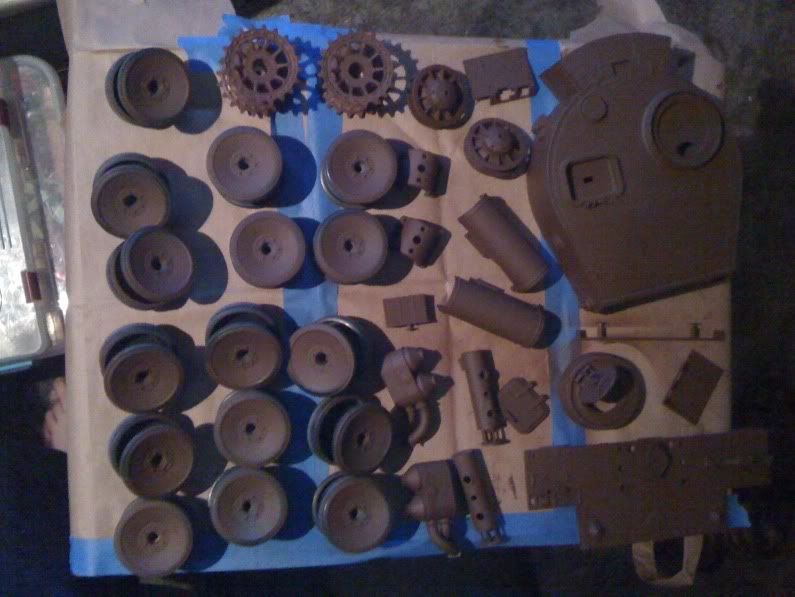
Here are a few pics of the HL Tiger I broken down with the 'Rustolium' flat brown enamel applied as a base coat. I'll add pics as it progresses.

ImageImage
ImageImage
oldfeller
Corporal
Posts: 312
Joined: Wed Aug 25, 2010 9:49 pm
Location: Rhondda Valley, South Wales

Re: HL Tiger I build

Post by oldfeller »

Hi

Looks good, look forward to seeing more
pic's.

Gerwyn
User avatar
Wizzard033
Corporal
Posts: 339
Joined: Thu Sep 30, 2010 4:51 am
Location: Lubbock, Texas

Re: HL Tiger I build

Post by Wizzard033 »

I was able to work on my DAK custom paint. This is a base coat with a second highlight coat sprayed to give the model some variance and depth. I hope my wash wasn't too heavy.

ImageImage
ImageImage
User avatar
Wizzard033
Corporal
Posts: 339
Joined: Thu Sep 30, 2010 4:51 am
Location: Lubbock, Texas

Re: HL Tiger I build

Post by Wizzard033 »

removed
Last edited by Wizzard033 on Fri Oct 22, 2010 6:32 am, edited 2 times in total.
ImageImage
User avatar
Wizzard033
Corporal
Posts: 339
Joined: Thu Sep 30, 2010 4:51 am
Location: Lubbock, Texas

Re: HL Tiger I build

Post by Wizzard033 »

These pics are after the first filter was has been applied and softened
ImageImage
ImageImage
User avatar
Wizzard033
Corporal
Posts: 339
Joined: Thu Sep 30, 2010 4:51 am
Location: Lubbock, Texas

Re: HL Tiger I build

Post by Wizzard033 »

Once the filters are done next comes the pin wash.
Image
Image
Image
Image
Last edited by Wizzard033 on Mon Nov 22, 2010 10:05 pm, edited 1 time in total.
ImageImage
User avatar
Wizzard033
Corporal
Posts: 339
Joined: Thu Sep 30, 2010 4:51 am
Location: Lubbock, Texas

Re: HL Tiger I build

Post by Wizzard033 »

Next I made my first attempt at hand painting the numbers and insignia
Image
Image
Image
Last edited by Wizzard033 on Tue Oct 26, 2010 9:29 pm, edited 1 time in total.
ImageImage
User avatar
mt 1
Staff Sergeant
Posts: 882
Joined: Thu Feb 12, 2009 10:17 pm

Re: HL Tiger I build

Post by mt 1 »

looking good nice work better than i can do :thumbup: ,i will keep trying my skills ???
User avatar
Wizzard033
Corporal
Posts: 339
Joined: Thu Sep 30, 2010 4:51 am
Location: Lubbock, Texas

Re: HL Tiger I build

Post by Wizzard033 »

Just follow the DAK Painting Guide it's actually rather simple but adds so much to the build :thumbup:
ImageImage
User avatar
Wizzard033
Corporal
Posts: 339
Joined: Thu Sep 30, 2010 4:51 am
Location: Lubbock, Texas

Re: HL Tiger I build

Post by Wizzard033 »

Now I'm on the video system. Here's my VTx the ant. tucked inside the body and their is a fan hot glued to the hull to keep the Tx cool
Image
ImageImage
Post Reply

Return to “Tiger I”