FIRSTLY....sorry this was meant to be a 'Preview NOT a Post'....as it may need a bit of tweeking
Let me start out by saying that this is NOT my original idea.....but I think that it is worth while rewriting and putting it on the Forum as it works so well, is relatively easy and if you have upgraded to metal gearboxes costs NOTHING
All my'Construction Example' pictures are of PLASTIC gearboxes simply because I have already upgraded my metal ones and I was too lazy to take them out of the Tanks and dismantle them
Having said that the single plastic gear that we ARE going to use is connected to the motor drive pinion and is under little to no stress at all as it is so 'High- Up in the gear drive train,and so WILL work perfectly !!
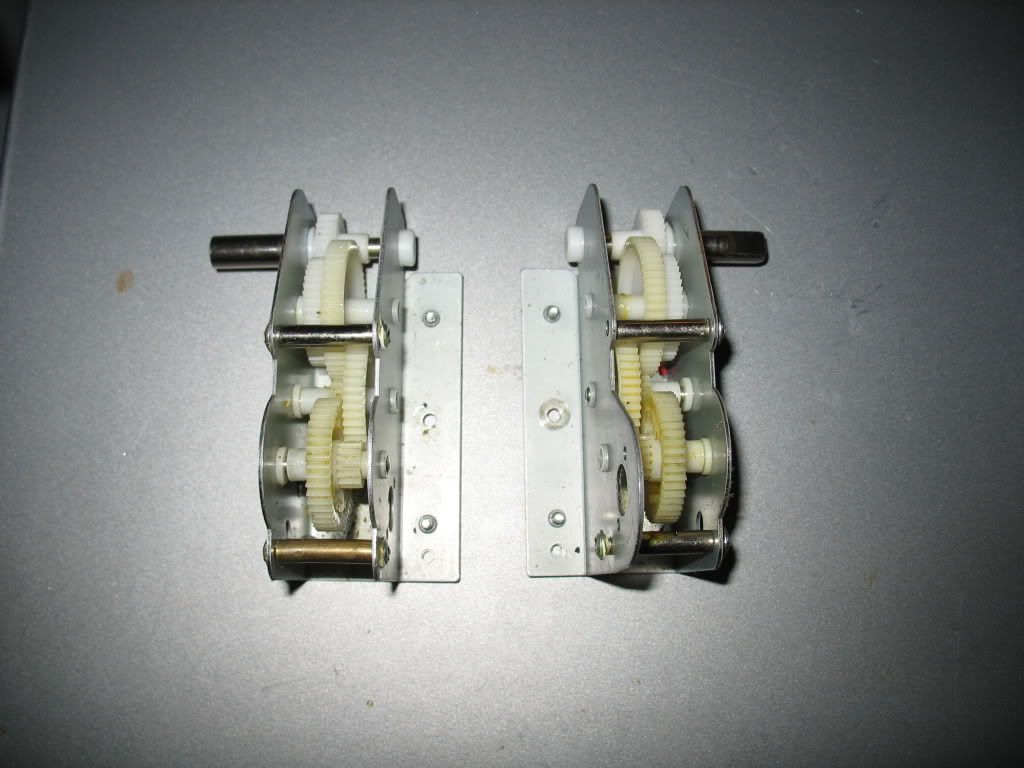
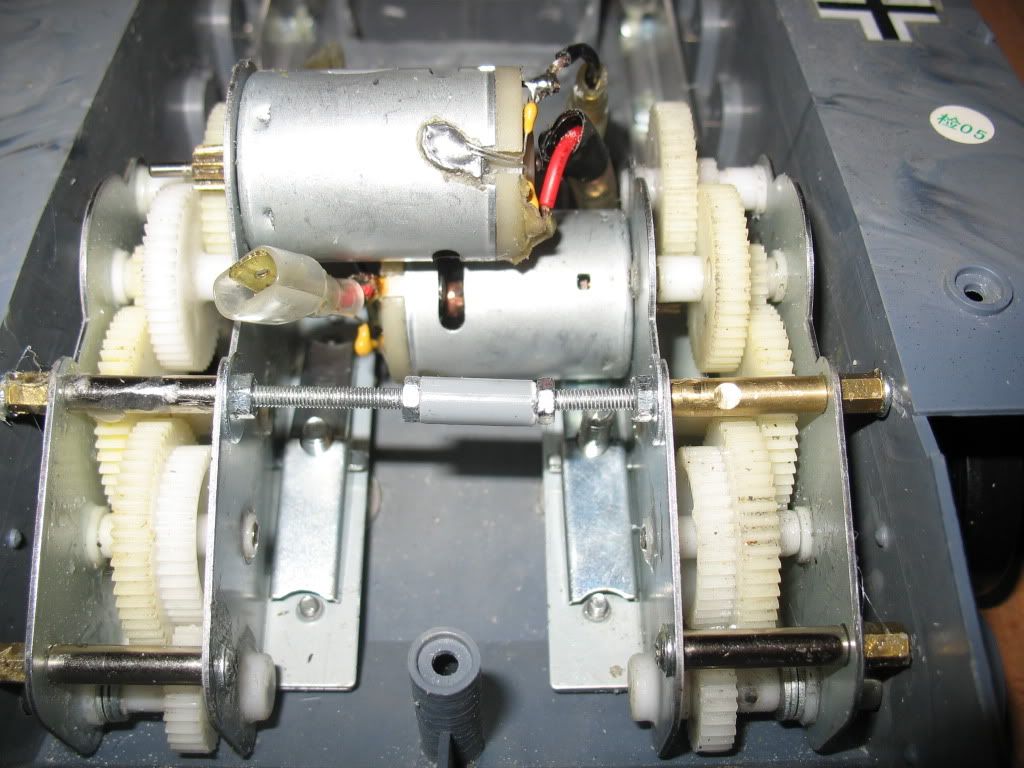
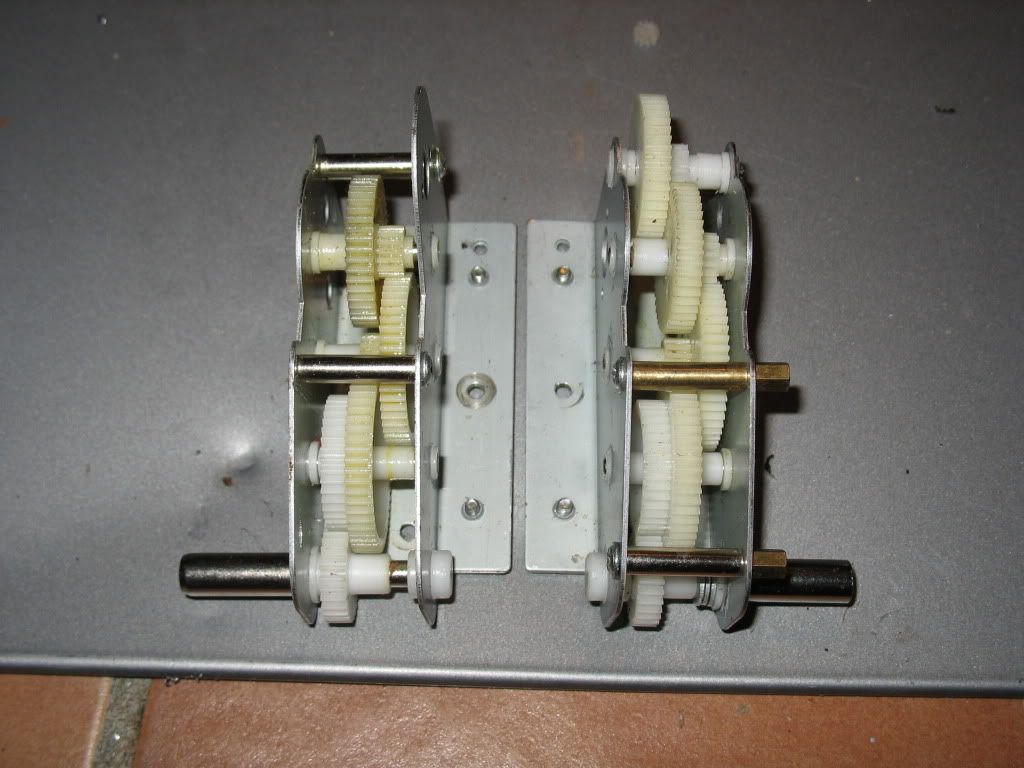
Here is the two gearboxes with the drive motors removed but assembled ready to convert.
http://i690.photobucket.com/albums/vv26 ... ure012.jpg" onclick="window.open(this.href);return false;
http://i690.photobucket.com/albums/vv26 ... e014-1.jpg" onclick="window.open(this.href);return false;
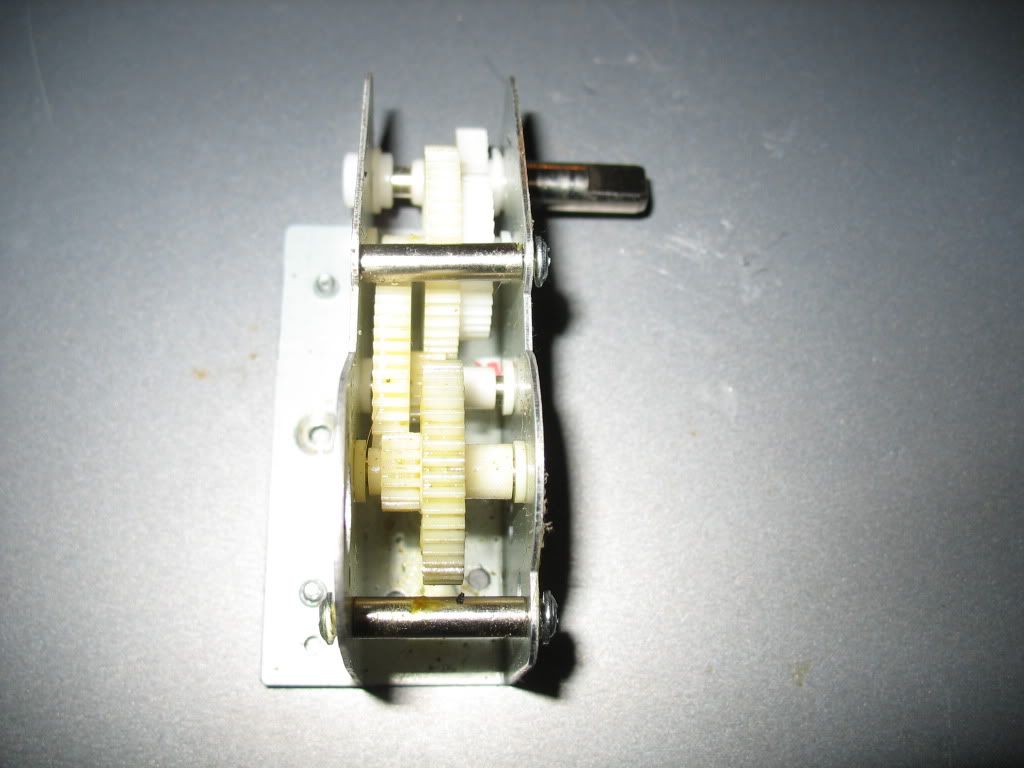
Remove the cross-bracing screws and then remove the two bottom screws that hold the two halves of the gearbox together.
http://i690.photobucket.com/albums/vv26 ... ure038.jpg" onclick="window.open(this.href);return false;
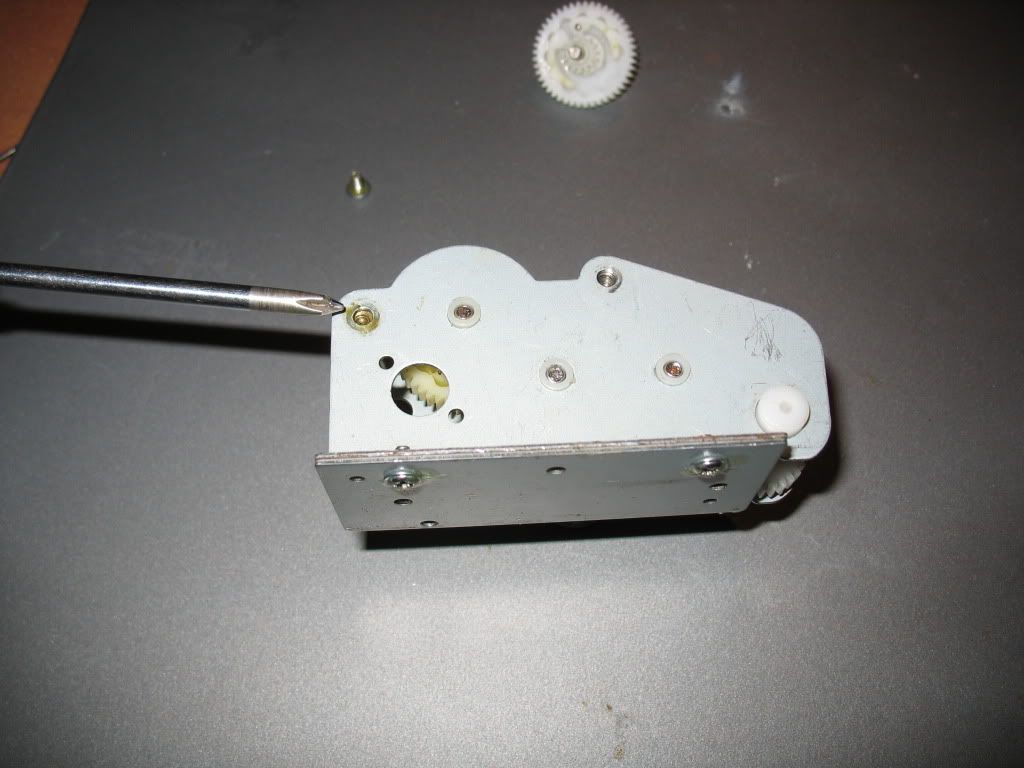
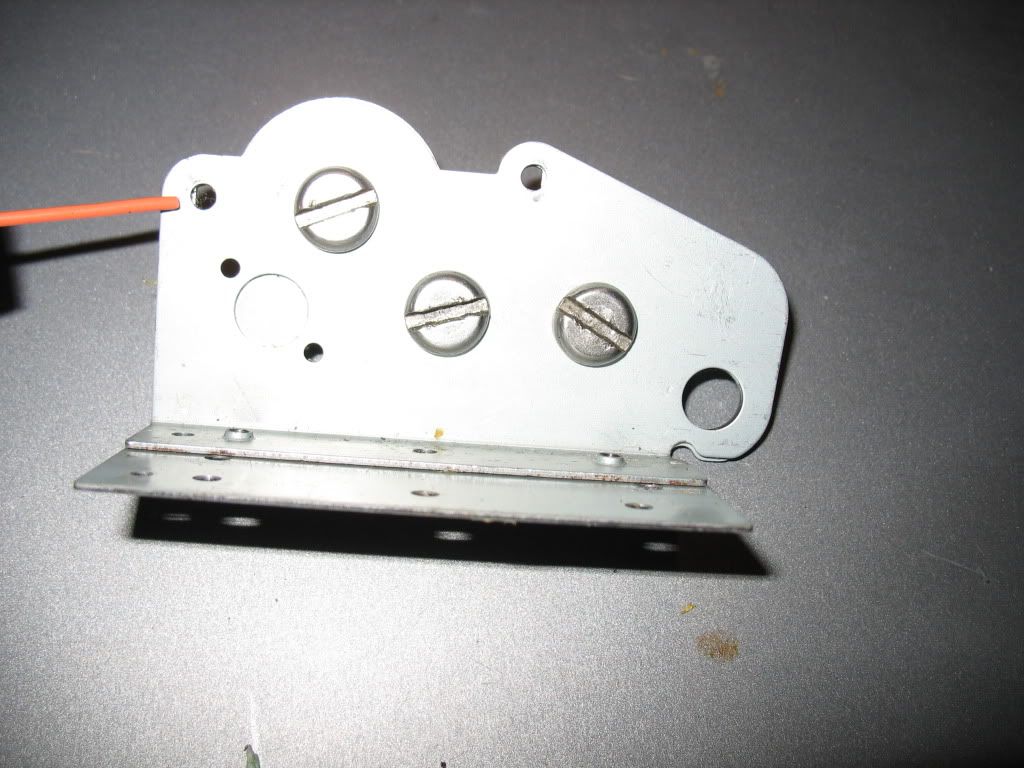
I am using a screwdriver tip to point at the top cross bracing screw hole, this is the hole that we are going to enlarge in both metal side-plates to take a gear wheel bar bushing. Completely dismantle ONE gearbox at a time so that parts do not get confused, then with the two metal gear mounting plates bolt them together so that all the holes line up perfectly to avoid any misalignment issues.
http://i690.photobucket.com/albums/vv26 ... e074-1.jpg" onclick="window.open(this.href);return false;
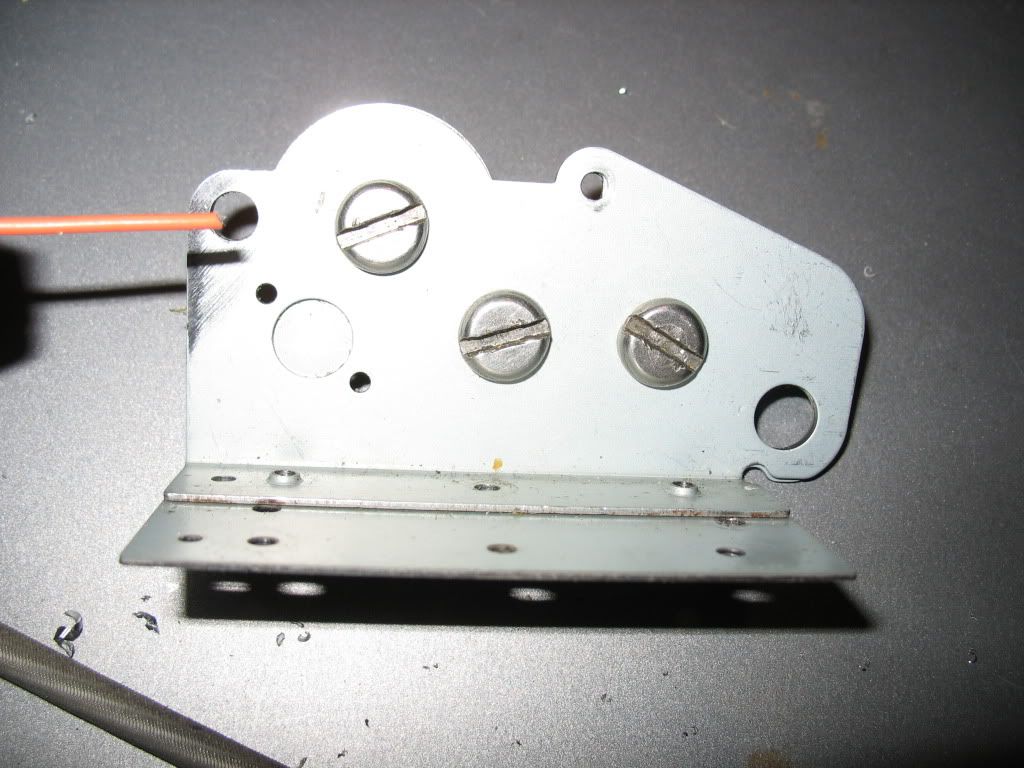
The red piece of plastic again points to the cross-bracing hole that we are going to enlarge, then carefully drill it out to 6mm diameter.
http://i690.photobucket.com/albums/vv26 ... ure045.jpg" onclick="window.open(this.href);return false;
While the two halves are clamped together drill a new 3mm hole where I am pointing with the red wire.This is a new position to add the cross-bracing rod that we have already removed. Now glue two of the white plastic bushes into the 6mm holes making sure that you place the spacer/running face on the correct side of the metal support :~
http://i690.photobucket.com/albums/vv26 ... ure047.jpg" onclick="window.open(this.href);return false;
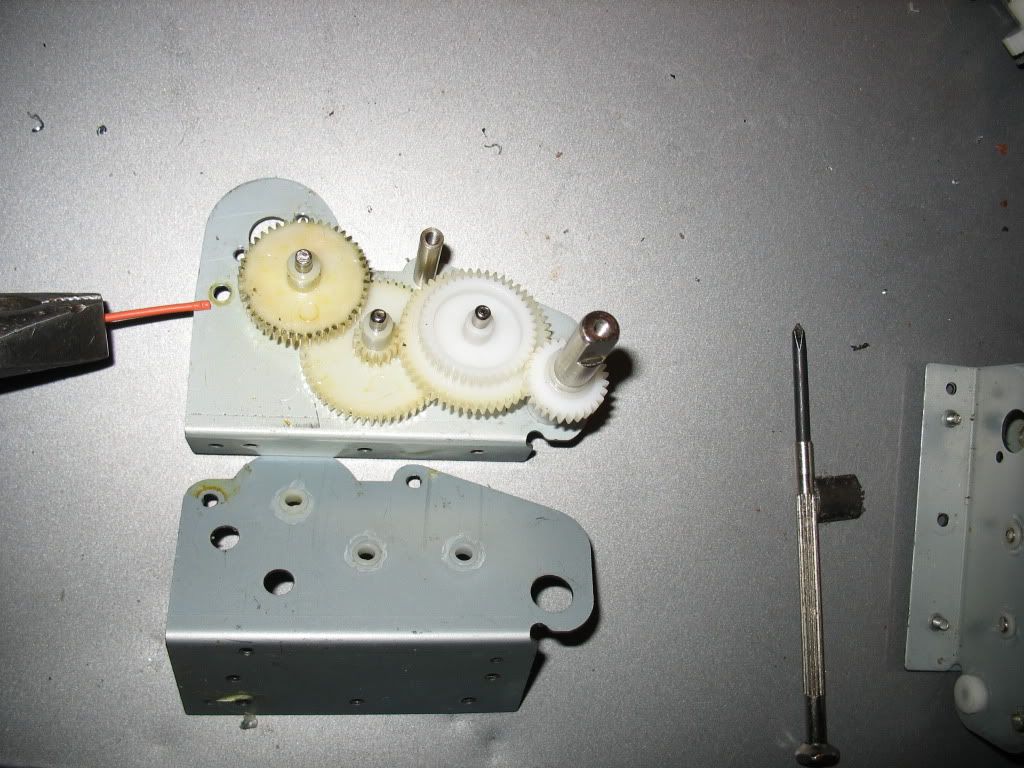
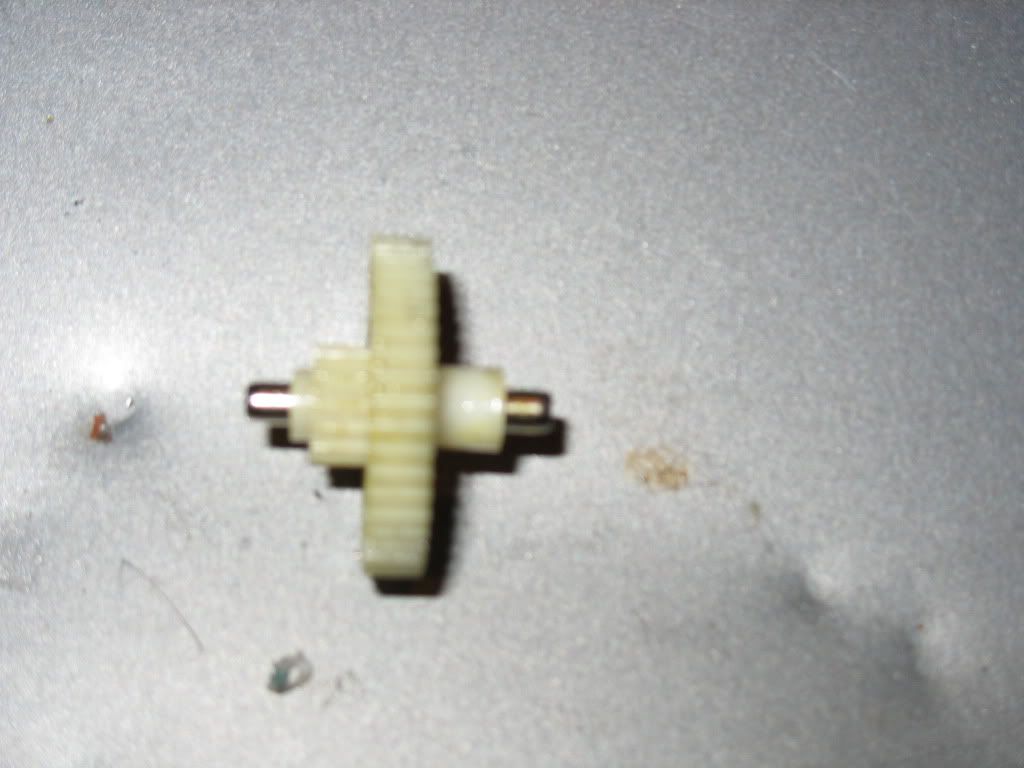
Now using a plastic 'First Gear' wheel ( the one that was originally driven by the motor pinion ) cut the circular spacing piece off the gear and add it back onto the opposite side of the gear so that it sits flush up against the small gear.
http://i690.photobucket.com/albums/vv26 ... ure075.jpg" onclick="window.open(this.href);return false;
http://i690.photobucket.com/albums/vv26 ... ure076.jpg" onclick="window.open(this.href);return false;
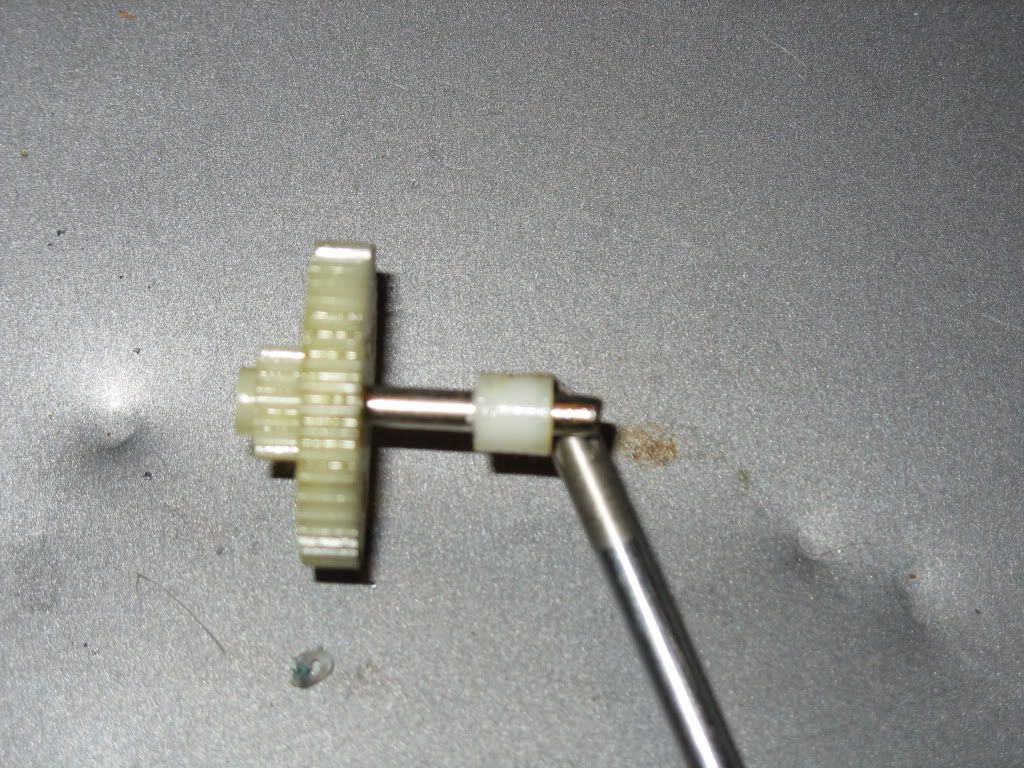
The Drive Pinion now needs the gear to be pushed off its splines and then reversed and replaced back onto its splines, this is because the gears will be slightly reorganised when reassembled with the 'New' first gear.
http://i690.photobucket.com/albums/vv26 ... ure059.jpg" onclick="window.open(this.href);return false;
Try to make sure that it does line up with the splines so that it is easier to put back and reduces the chance of it having to 'cut' new splines in itself and so weakening its 'GRIP'........At this point I would add that just to be on the safe side I glued my gear when I replaced it AND drilled a small hole through the gear collar and shaft to add a securing dowel pin, just to be certain. Please note that the pin will need to be filed COMPLETELY flat to the gear collar face,so that it does not catch or foul on another gears teeth that run very close to the collar.
The last thing to do is to push the brass drive pinion down the drive shaft so that it almost touches the motor so that it drives the 'New' first gear and does not foul the old one.
http://i690.photobucket.com/albums/vv26 ... e140-1.jpg" onclick="window.open(this.href);return false;
Make sure that as you do this that you support the other end of the shaft and that you are NOT just pushing against the case! The best method is to use a vice and a small socket to press the pinion down, (but obviously protect the jaws from damaging the drive shaft)
Then simply reassemble the gear boxes as per this photograph, you may have to tweak the motor mounting holes and turn them slightly into slots so that the gears can be correctly aligned,not too tight or it will be stiff to turn and will be very noisy and not too loose or you risk it jumping or slipping gears.
http://i690.photobucket.com/albums/vv26 ... e069-1.jpg" onclick="window.open(this.href);return false;
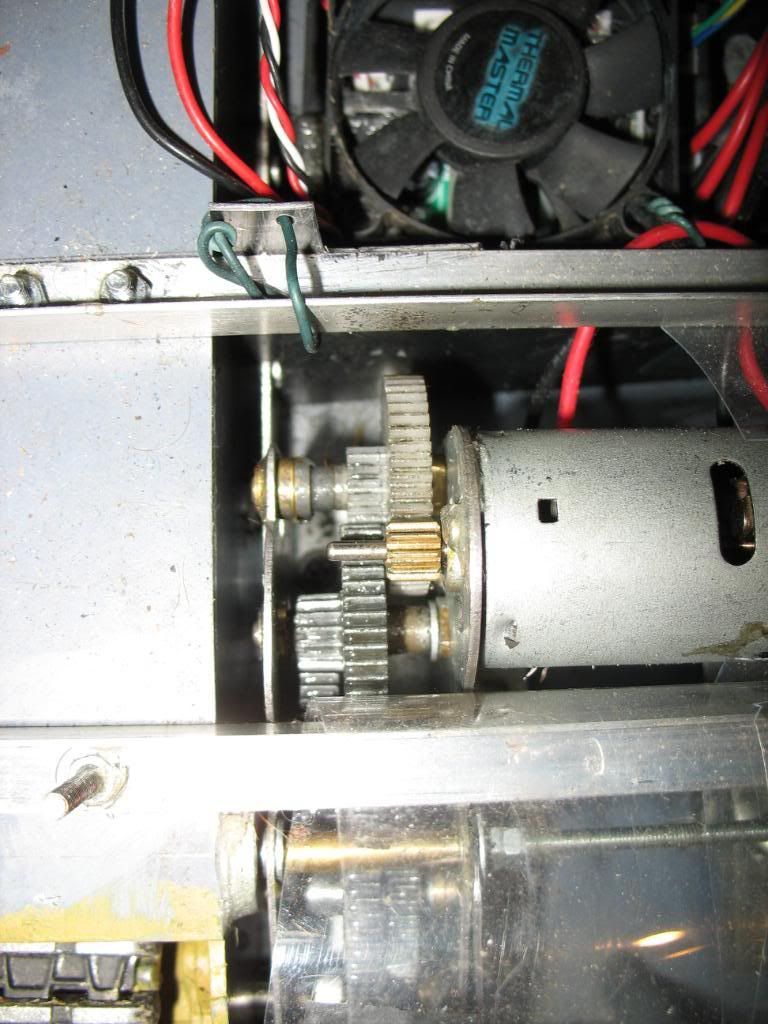
Fitted in Tiger and working
http://i690.photobucket.com/albums/vv26 ... G_4597.jpg" onclick="window.open(this.href);return false;
You can replace the standard pinion gear of 10 teeth with an aftermarket 13 teeth gear and this will apparently avoid you having to tweak / alter the motor mounts on the gearbox plates.
