I was not happy with the shape of the nose. The middle was not going low enough so I had to correct the profile to get a more accurate look.
The more I looked at it the more it was bugging me so I had to find a plan.
It ended to be a 3 days of work (about 25 hours, from start to finish, redoing the CAD, printing the parts, cutting the hull etc...)
The grayed area needs to be cut and replaced :
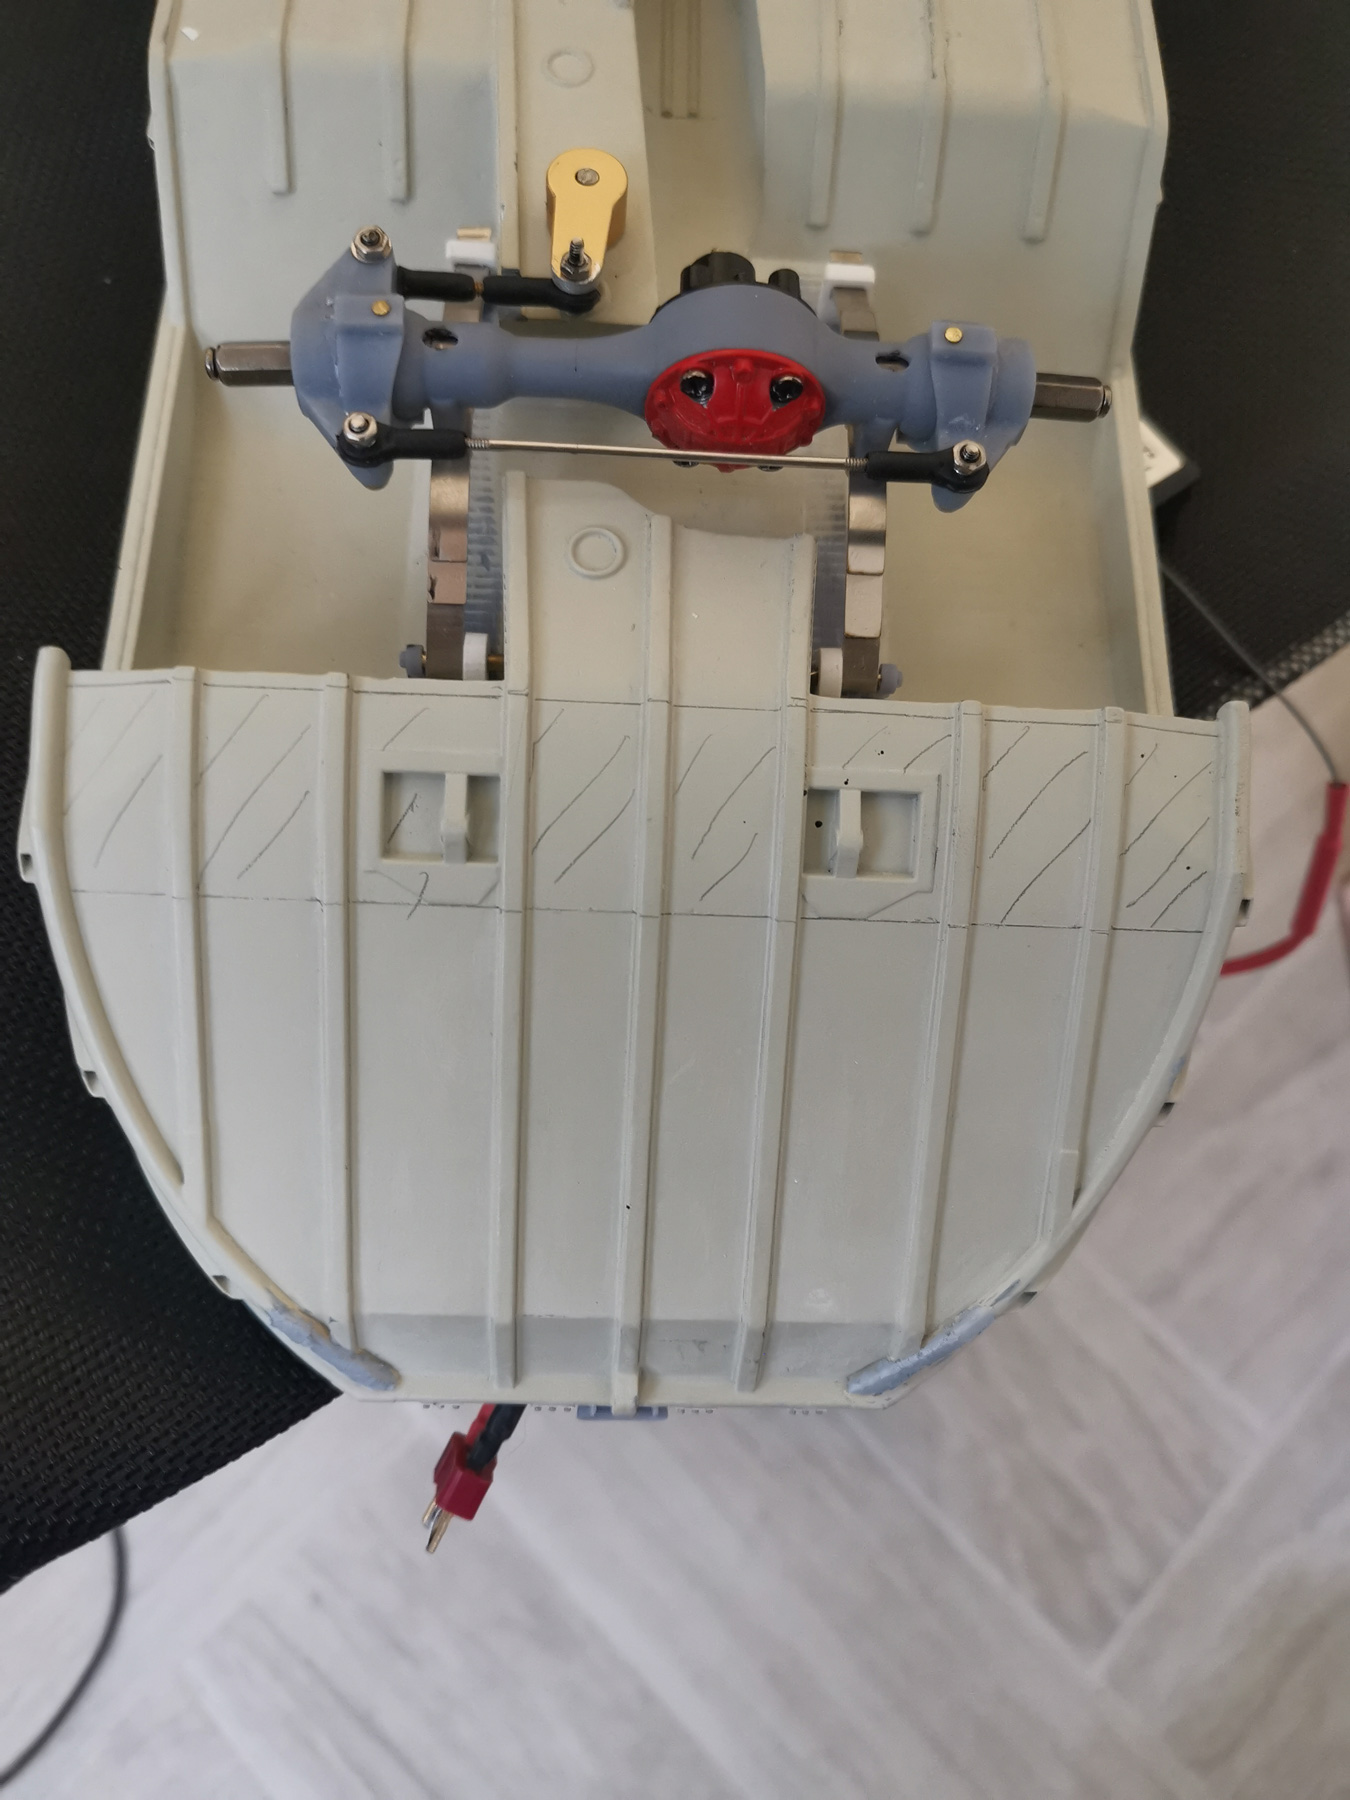
- DUKW49.jpg (401.48 KiB) Viewed 601 times
To be replaced with that part :
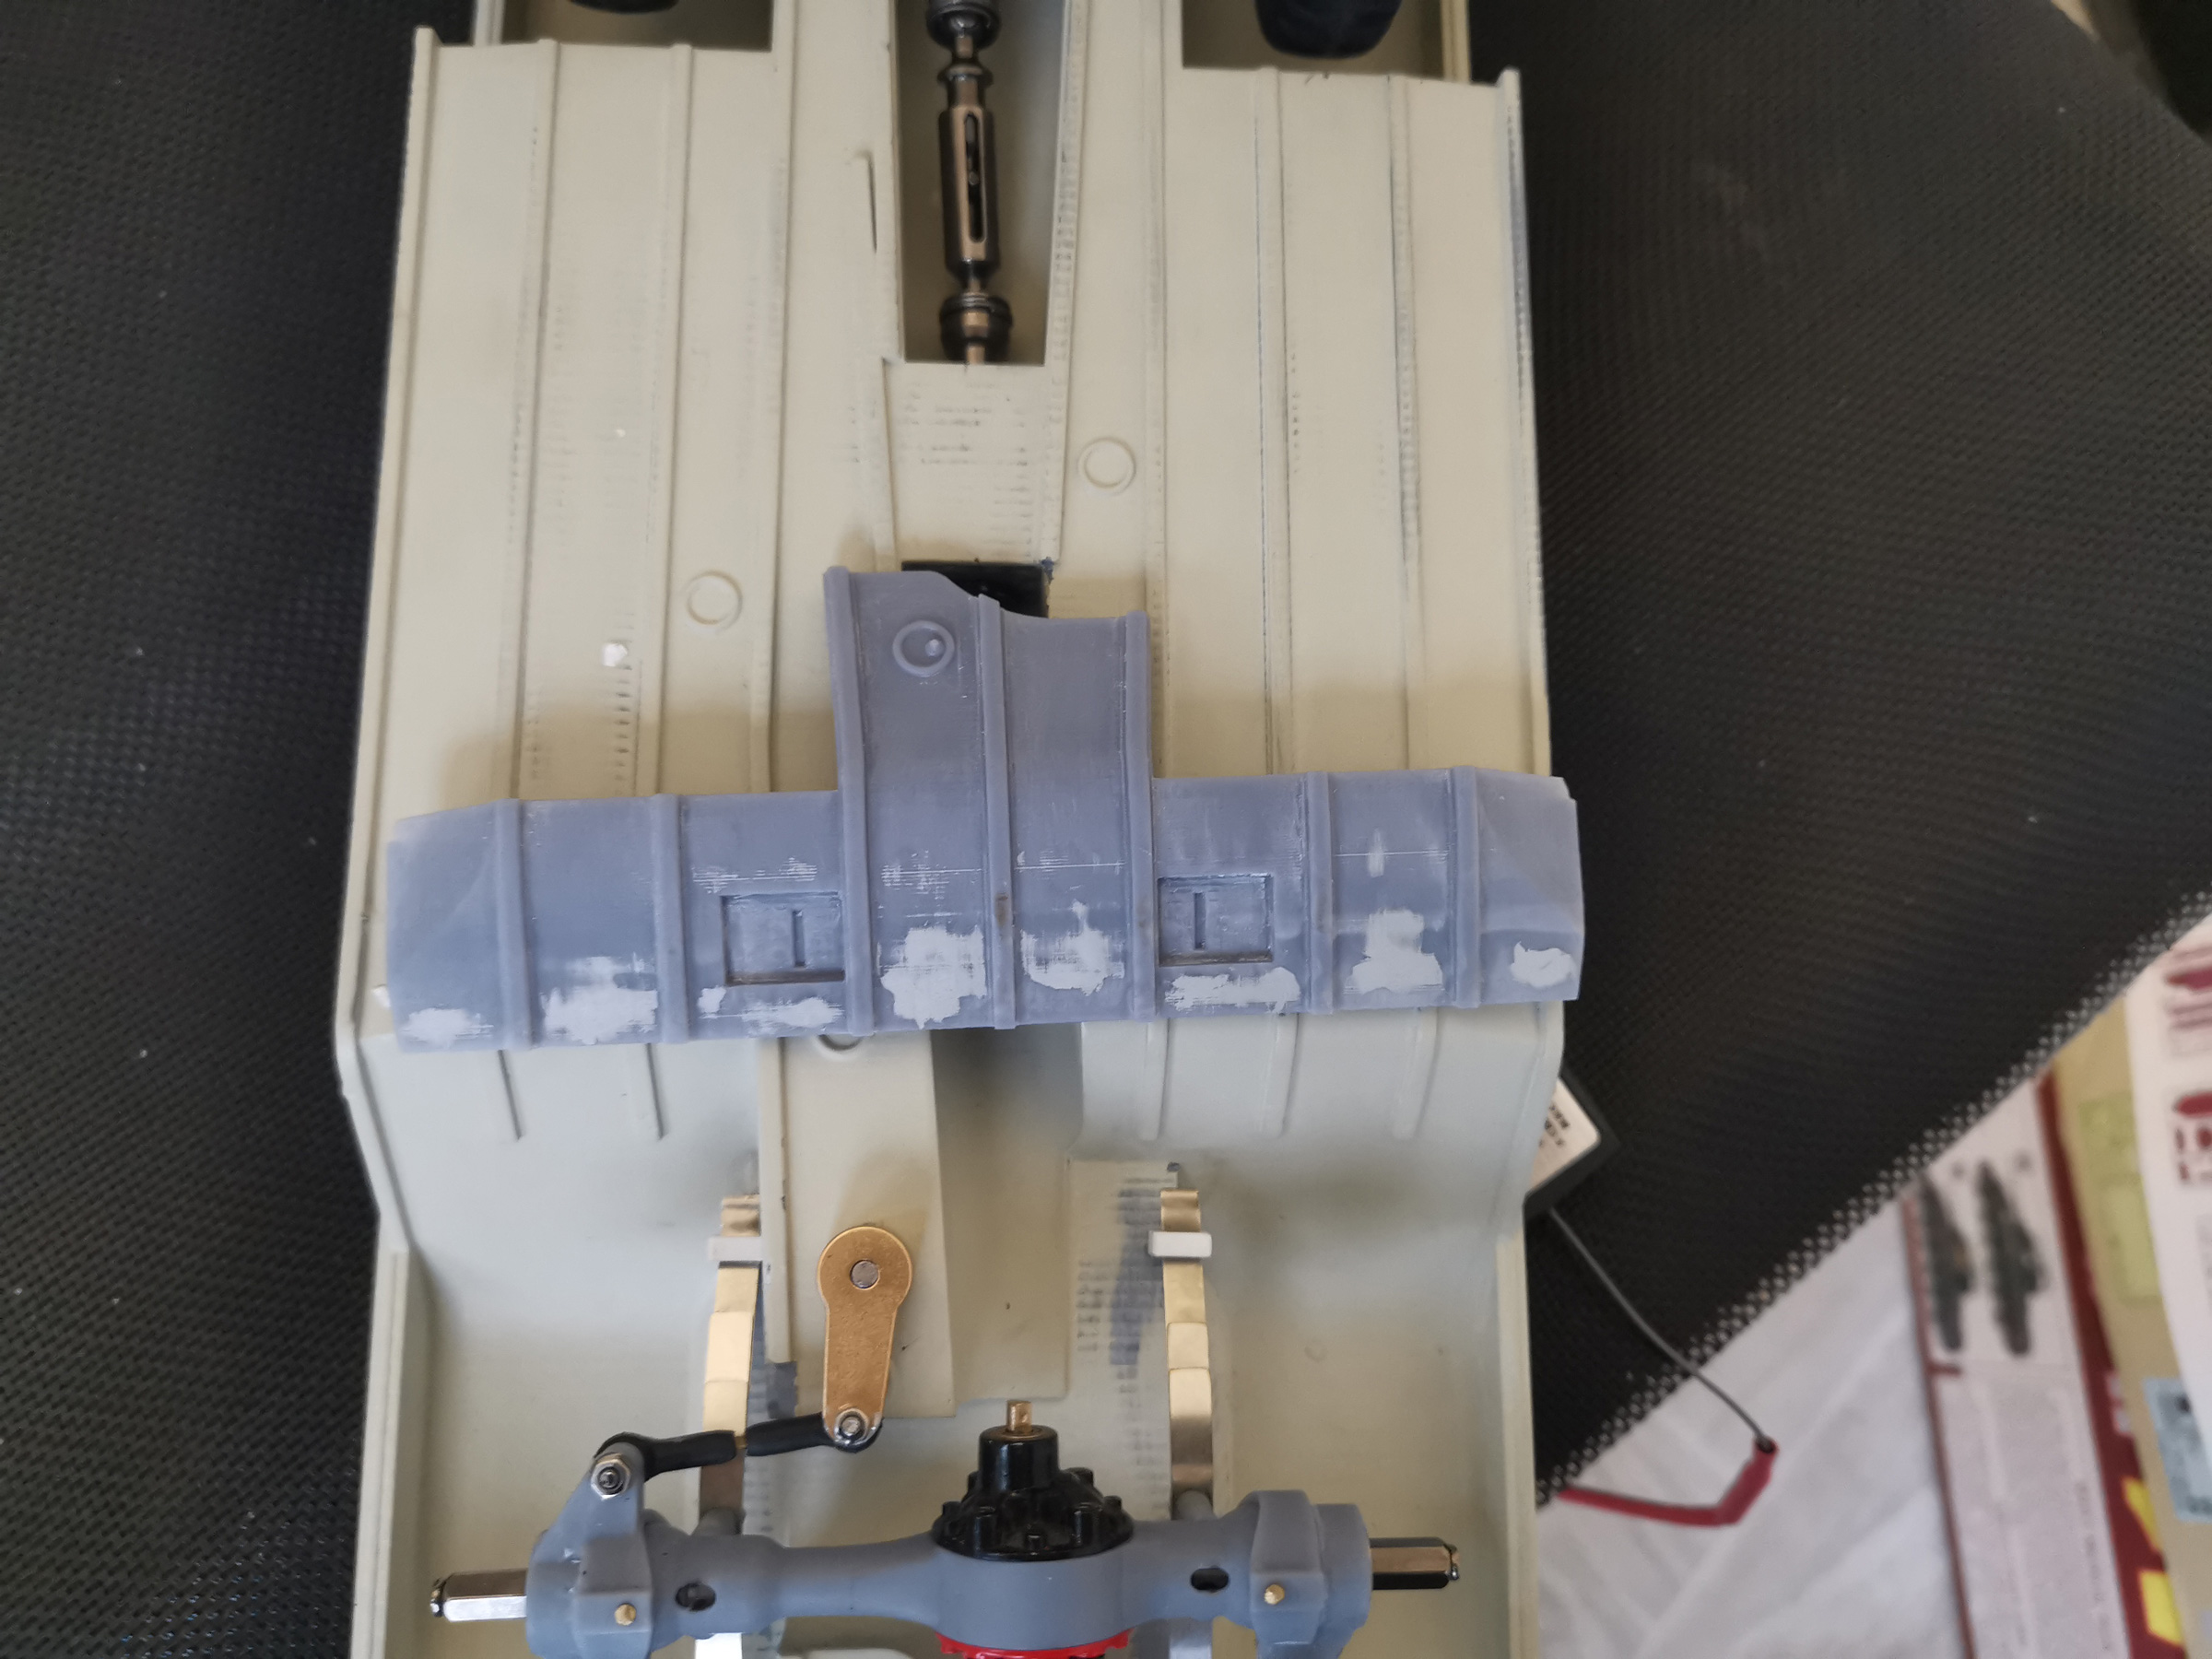
- DUKW50.jpg (699.54 KiB) Viewed 601 times
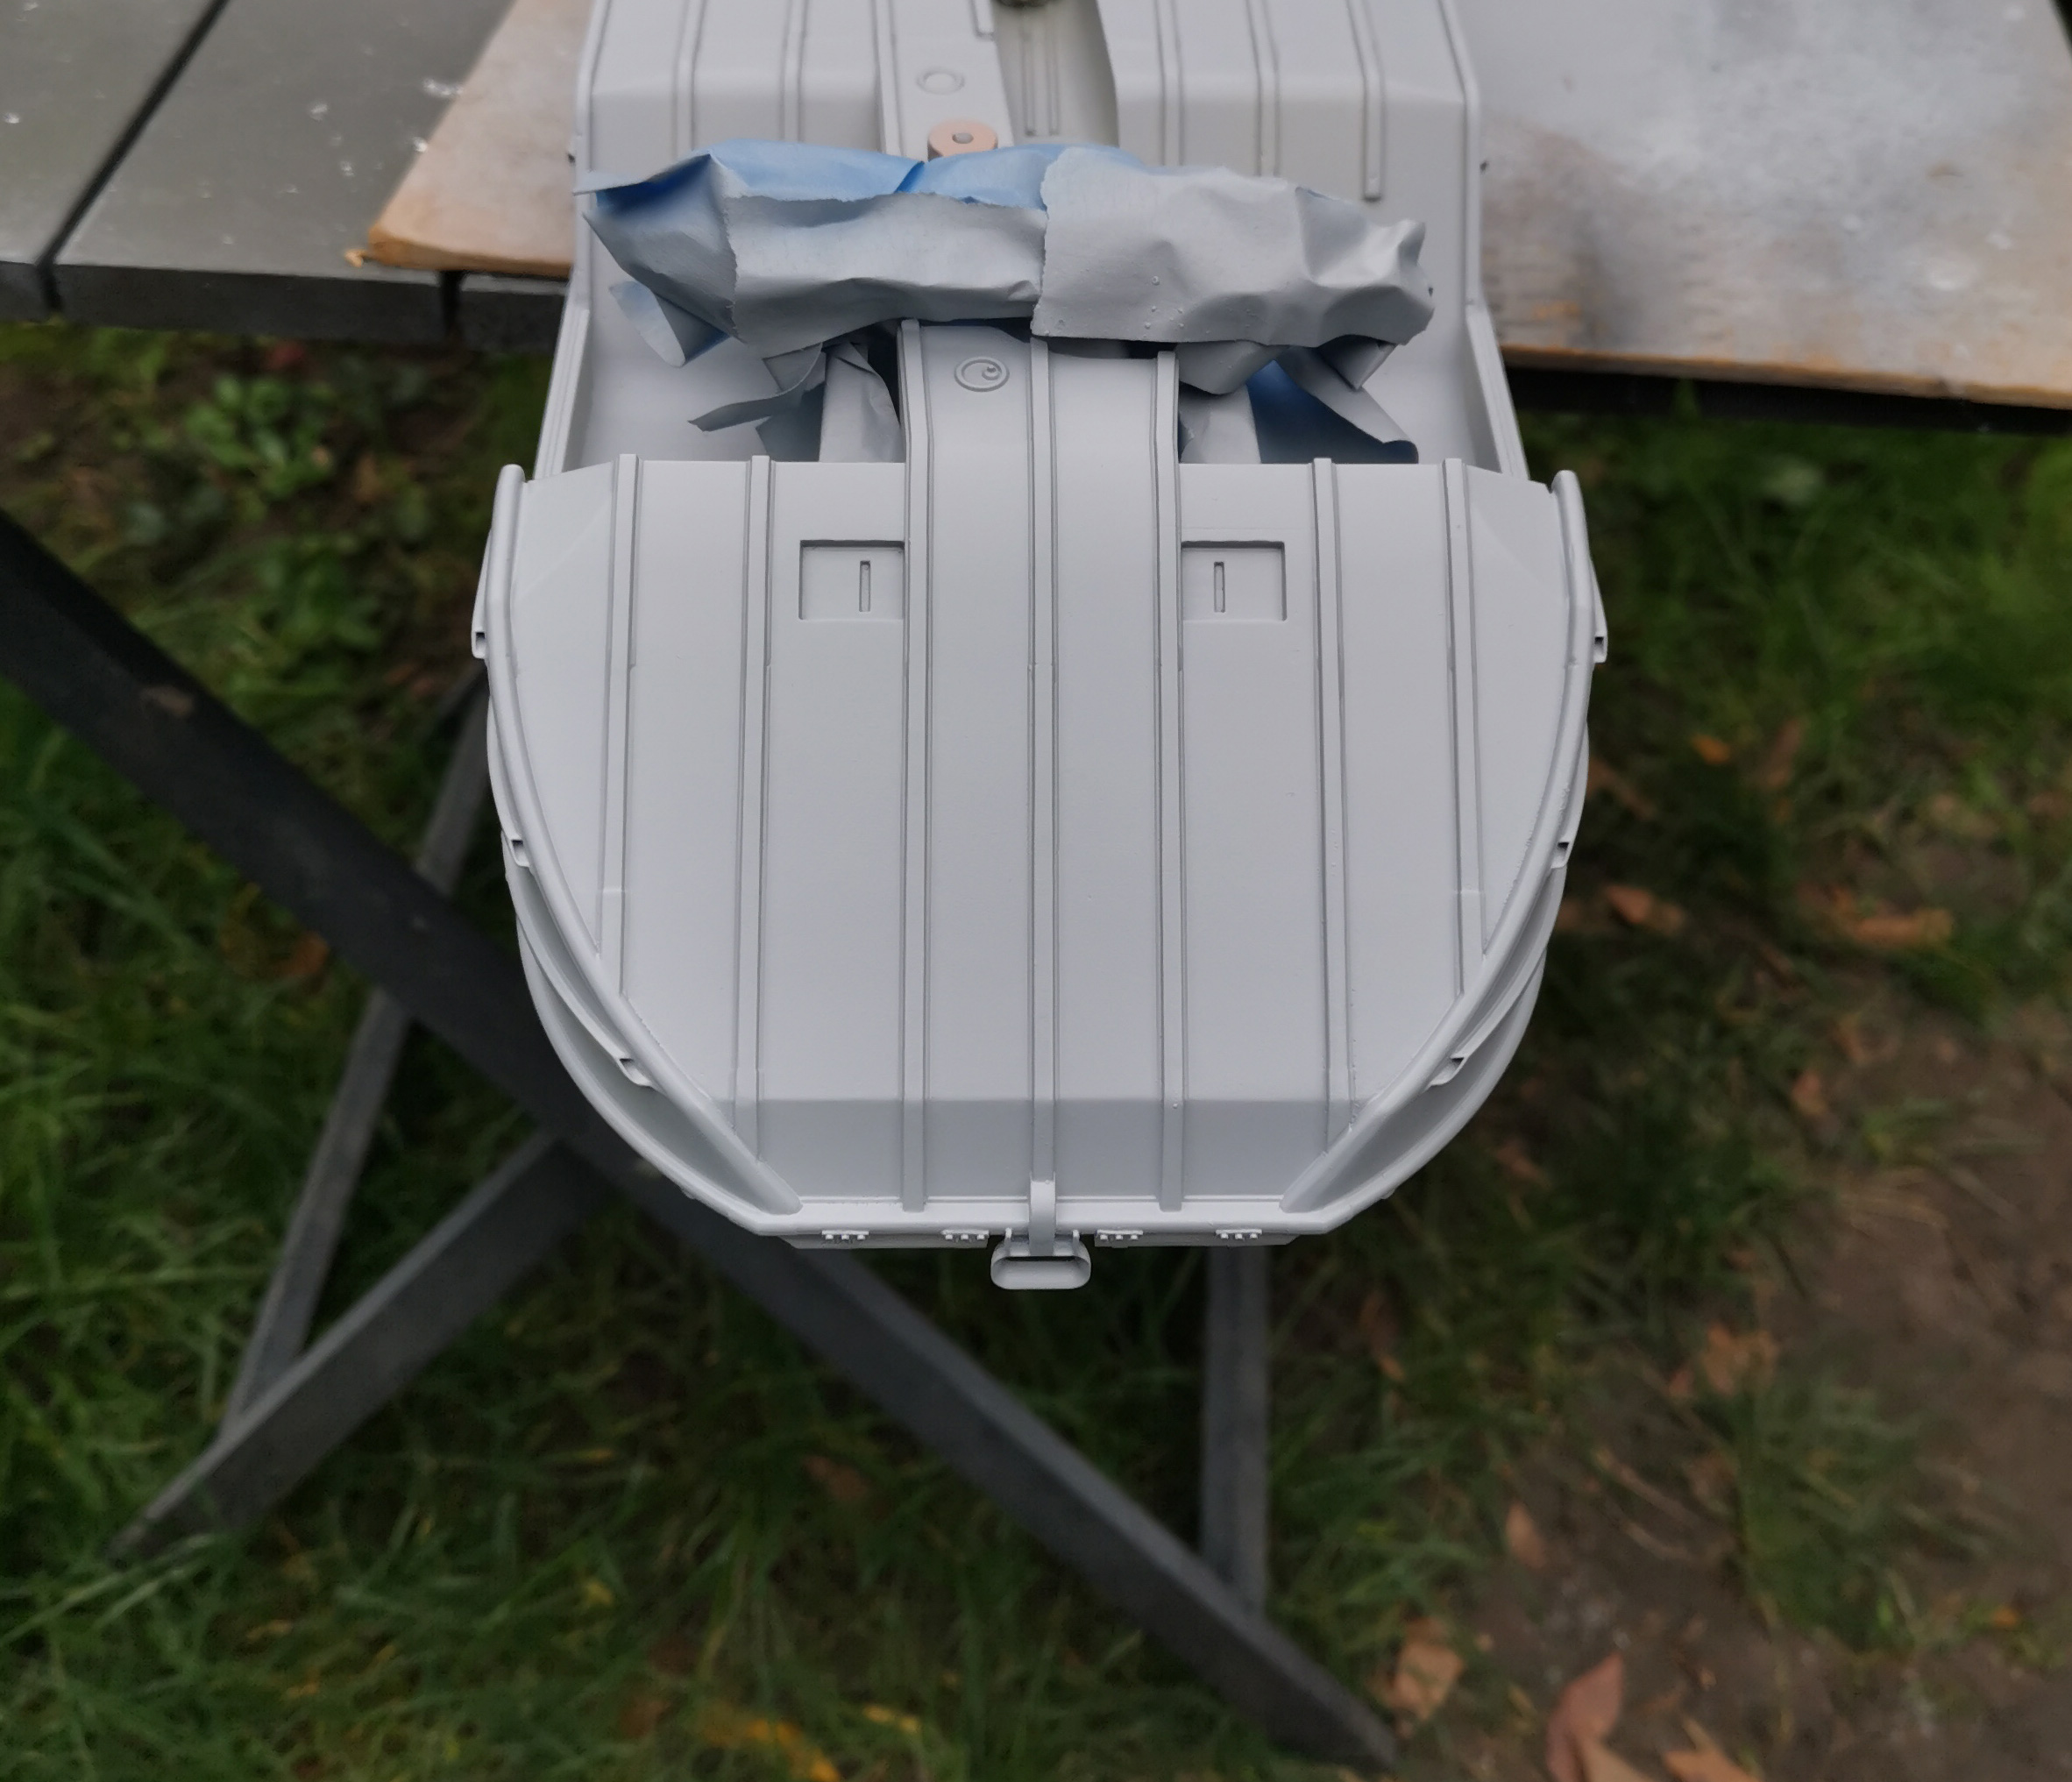
Hull is cut... No turning back now, 2 options : a success or a big fail and I have to start over the whole thing.
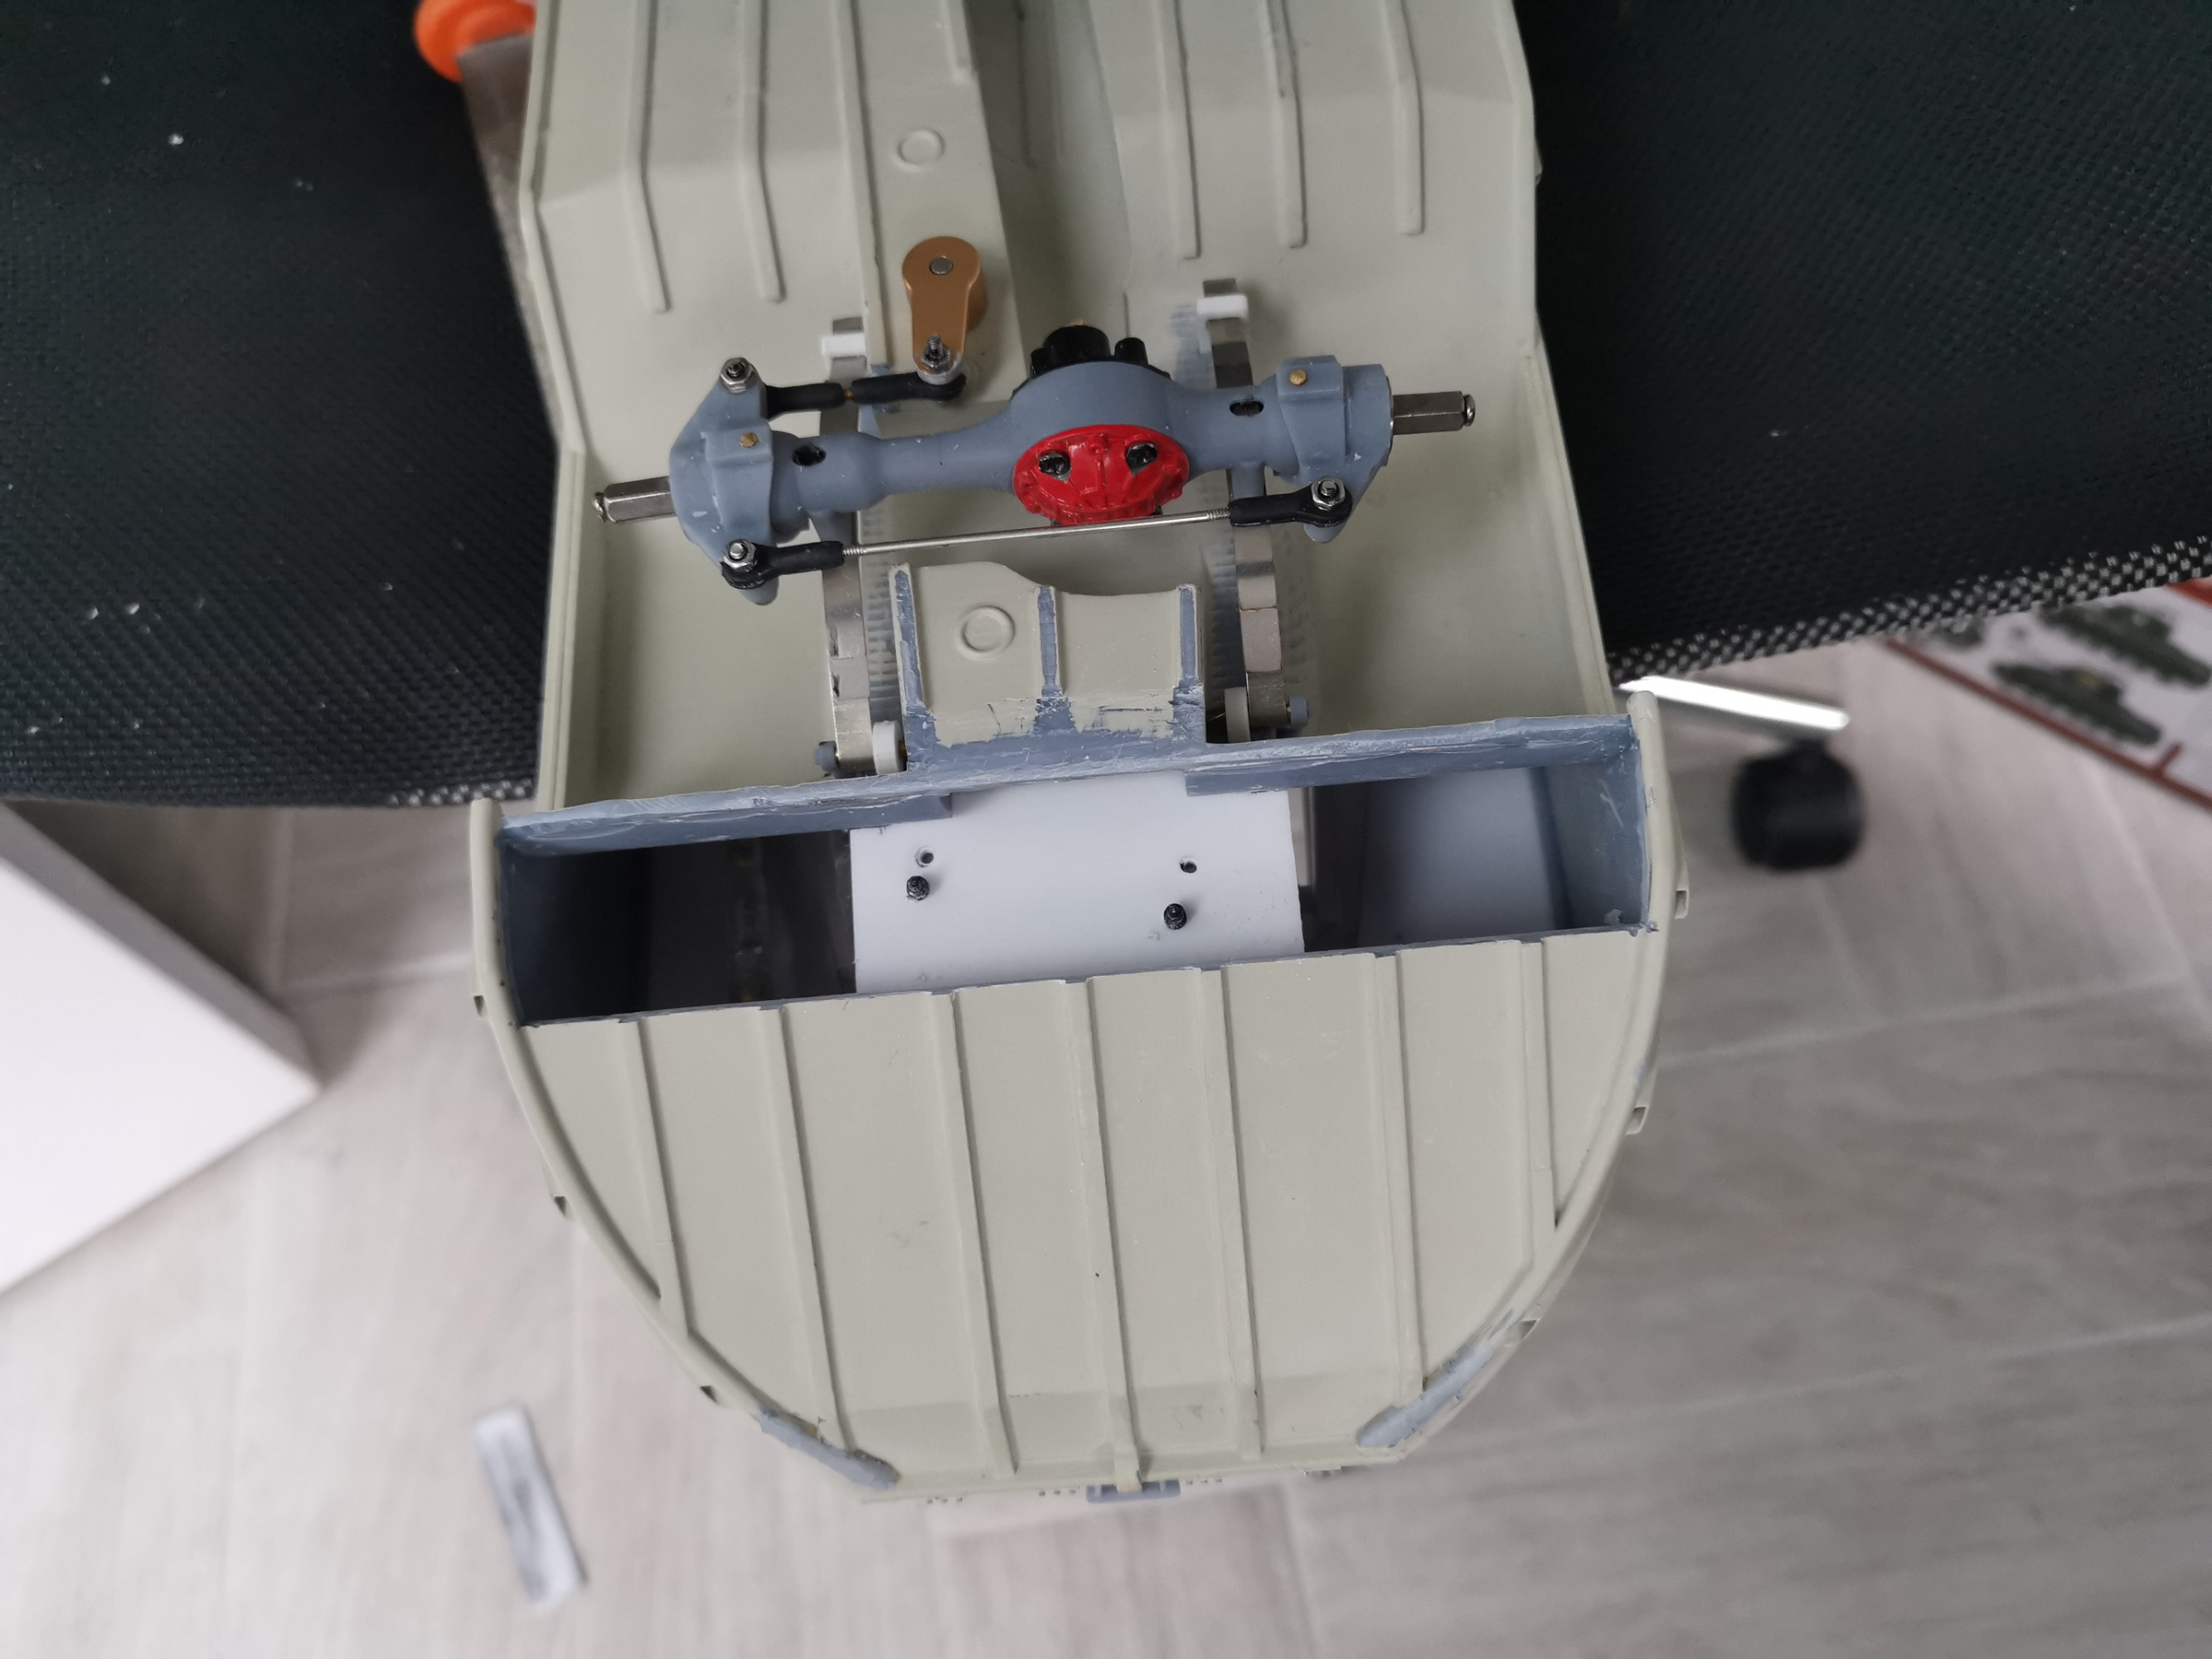
- DUKW51.jpg (647.76 KiB) Viewed 601 times
Putting the new part in place... This is a good fit, now I have to align it perfectly to get a smooth transition (well actually I want NO transition

)
- DUKW52.jpg (625.4 KiB) Viewed 601 times
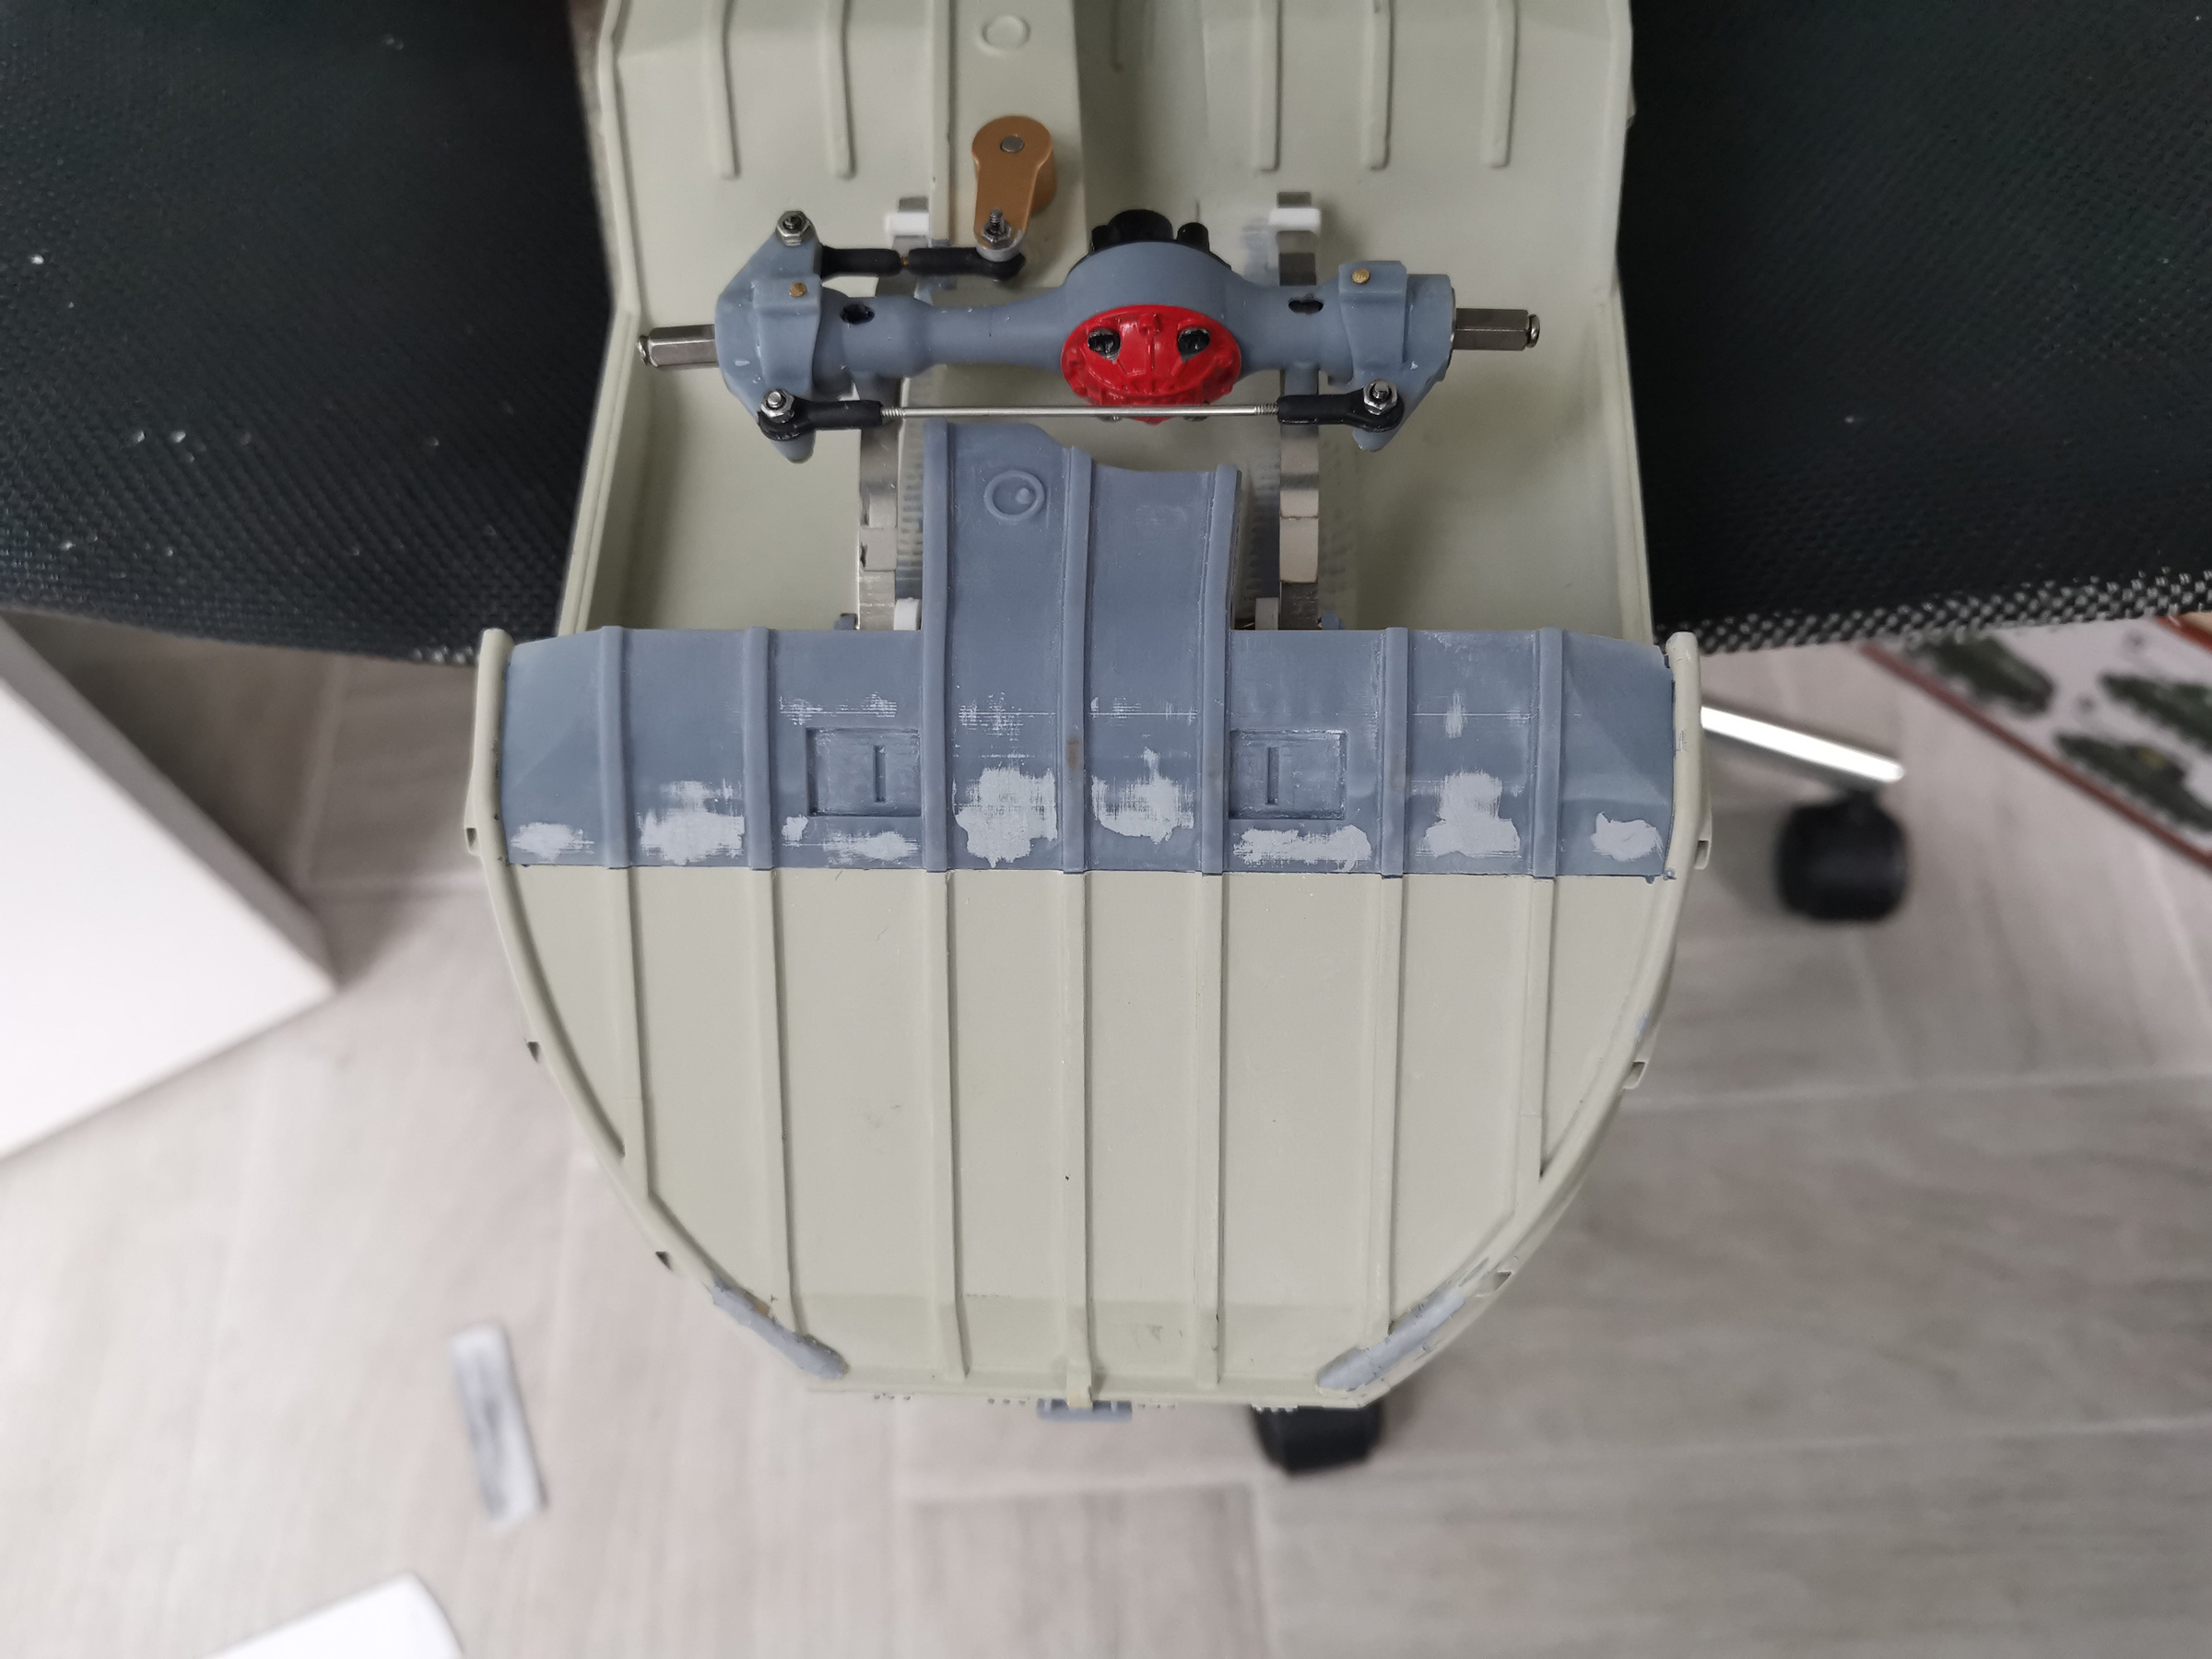
The part is slowly glued mm after mm with UV resin. I use a UV pen designed for that. Using UV resin is the best way to go to bond two 3d printed parts, the result is like it would have been printed in a single part.
And it worked...
The result, that's not perfect but better than I was hoping to be honest !
- DUKW53.jpg (728.96 KiB) Viewed 601 times
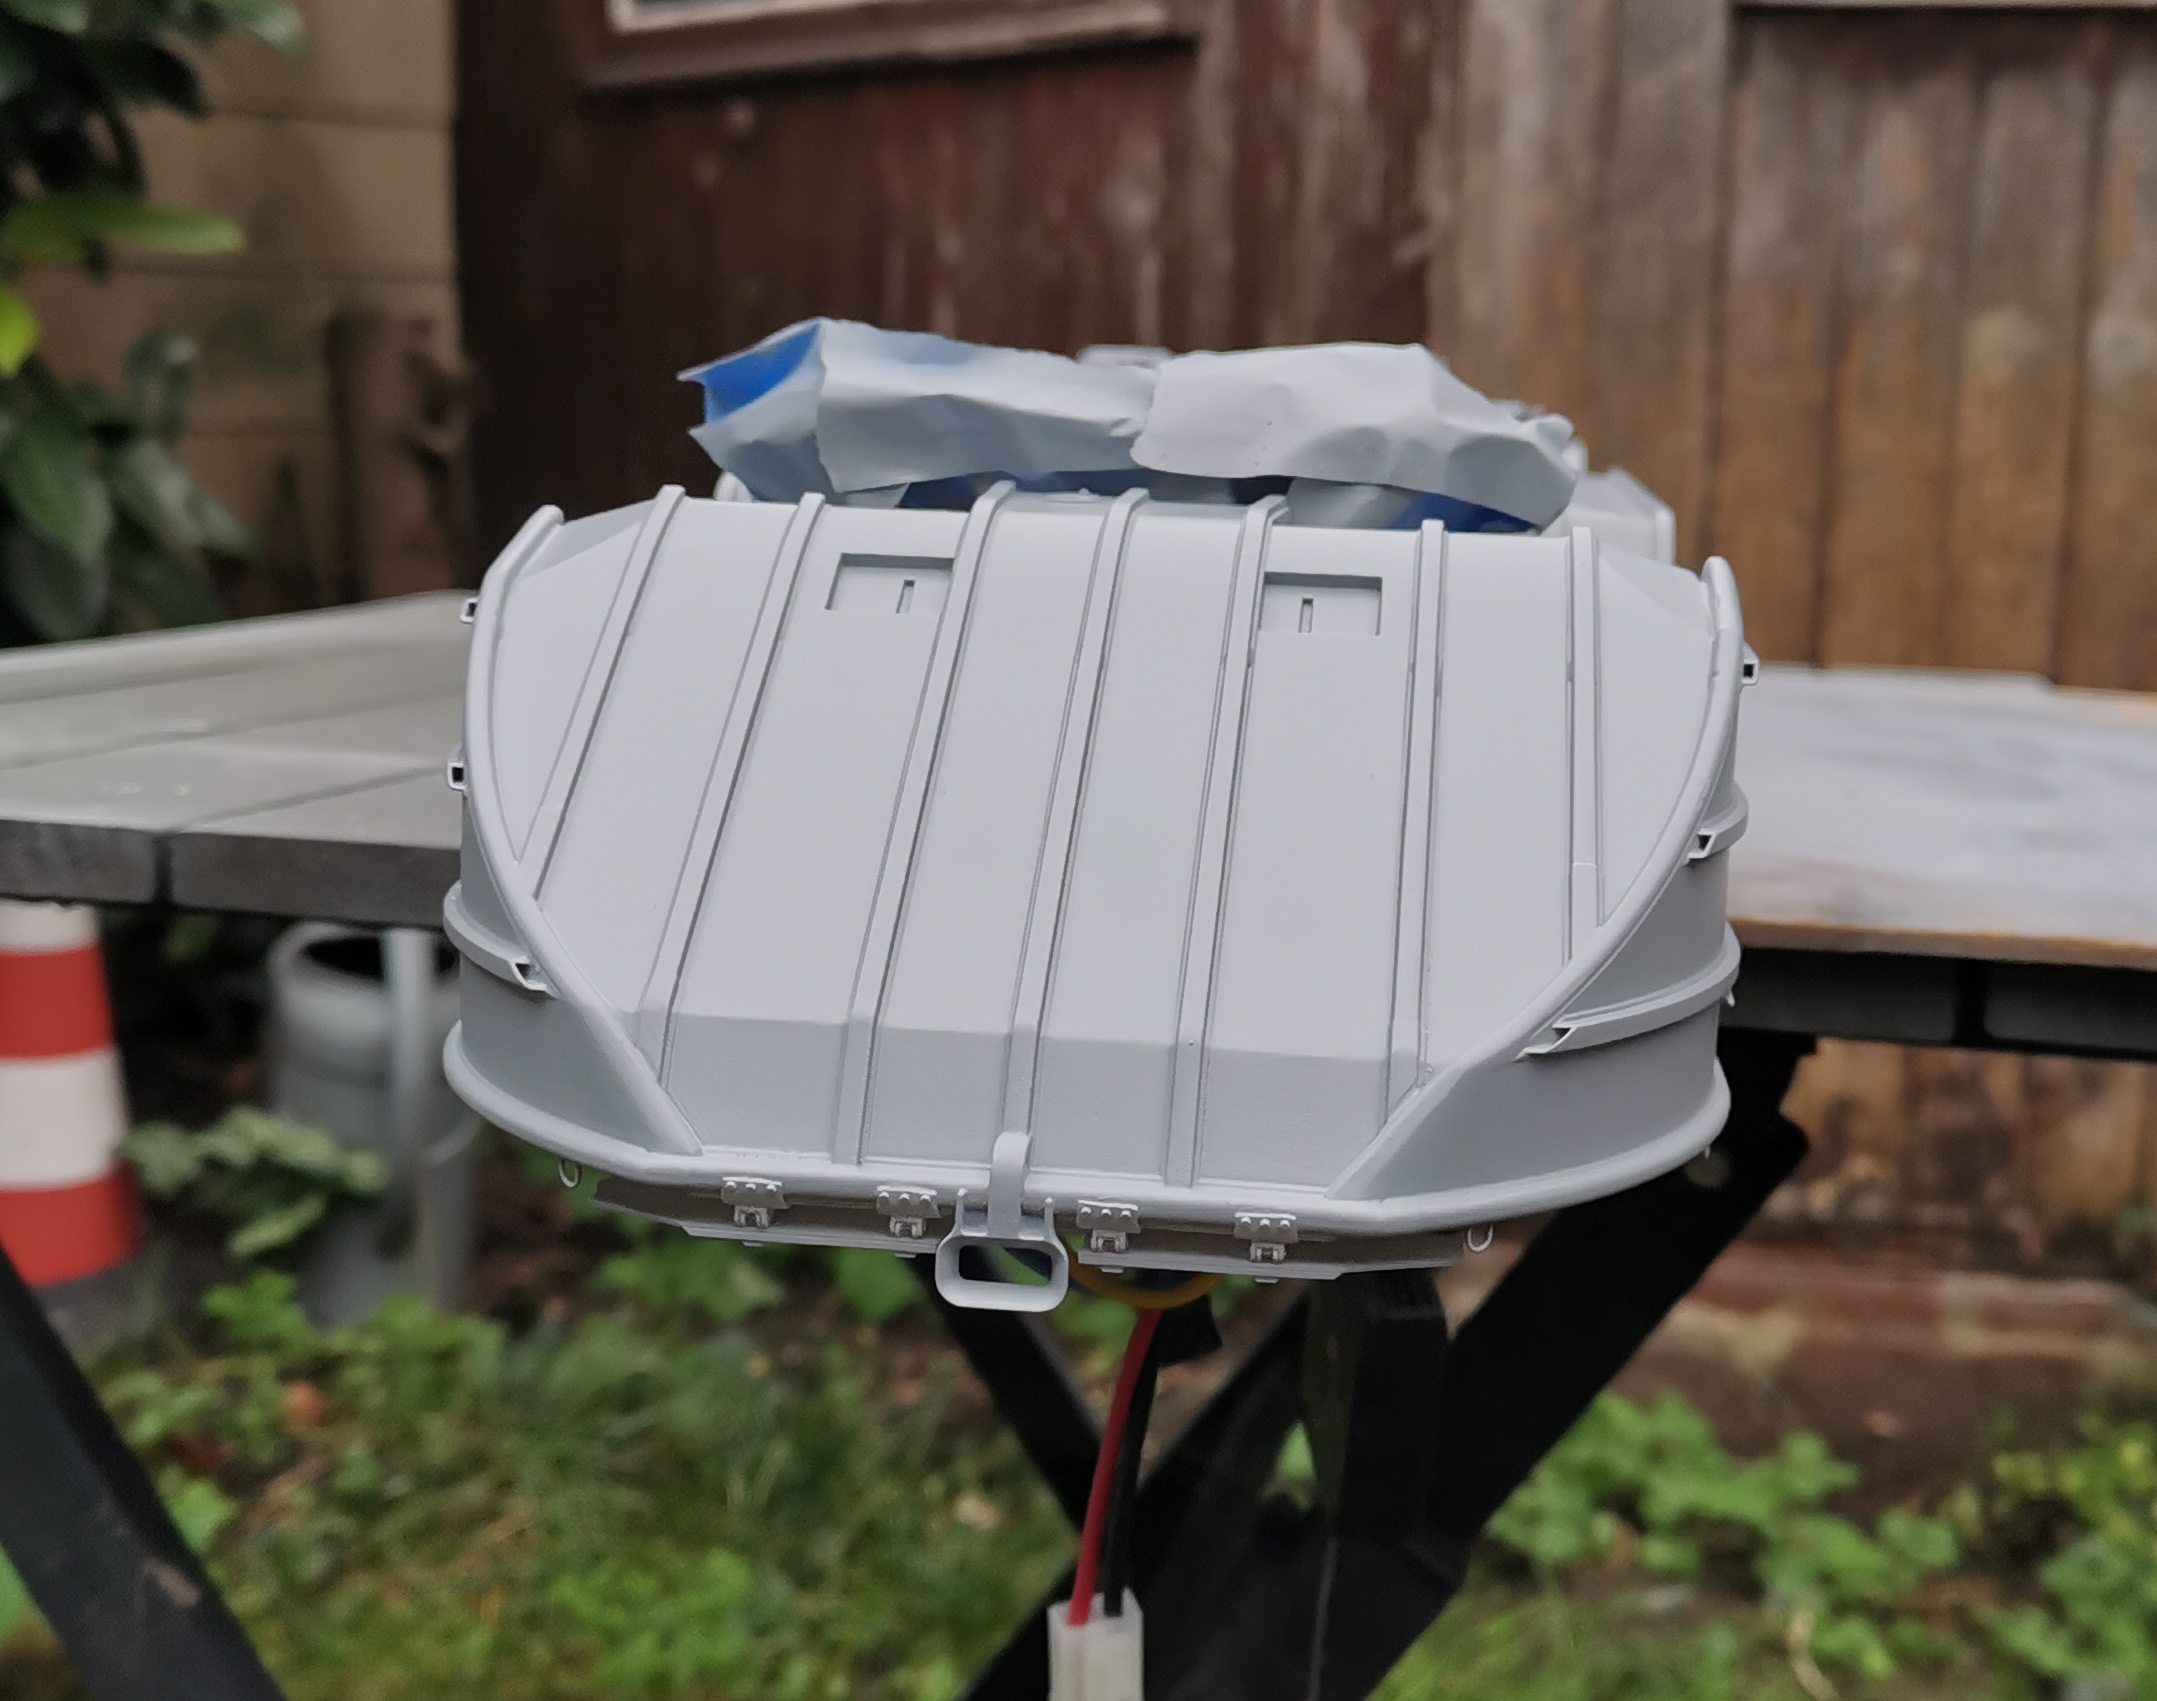
- DUKW54.jpg (676.45 KiB) Viewed 601 times
Maybe I'll sand the side of the rails a bit better, I can notice some resin blobs thanks to the close ups pics


