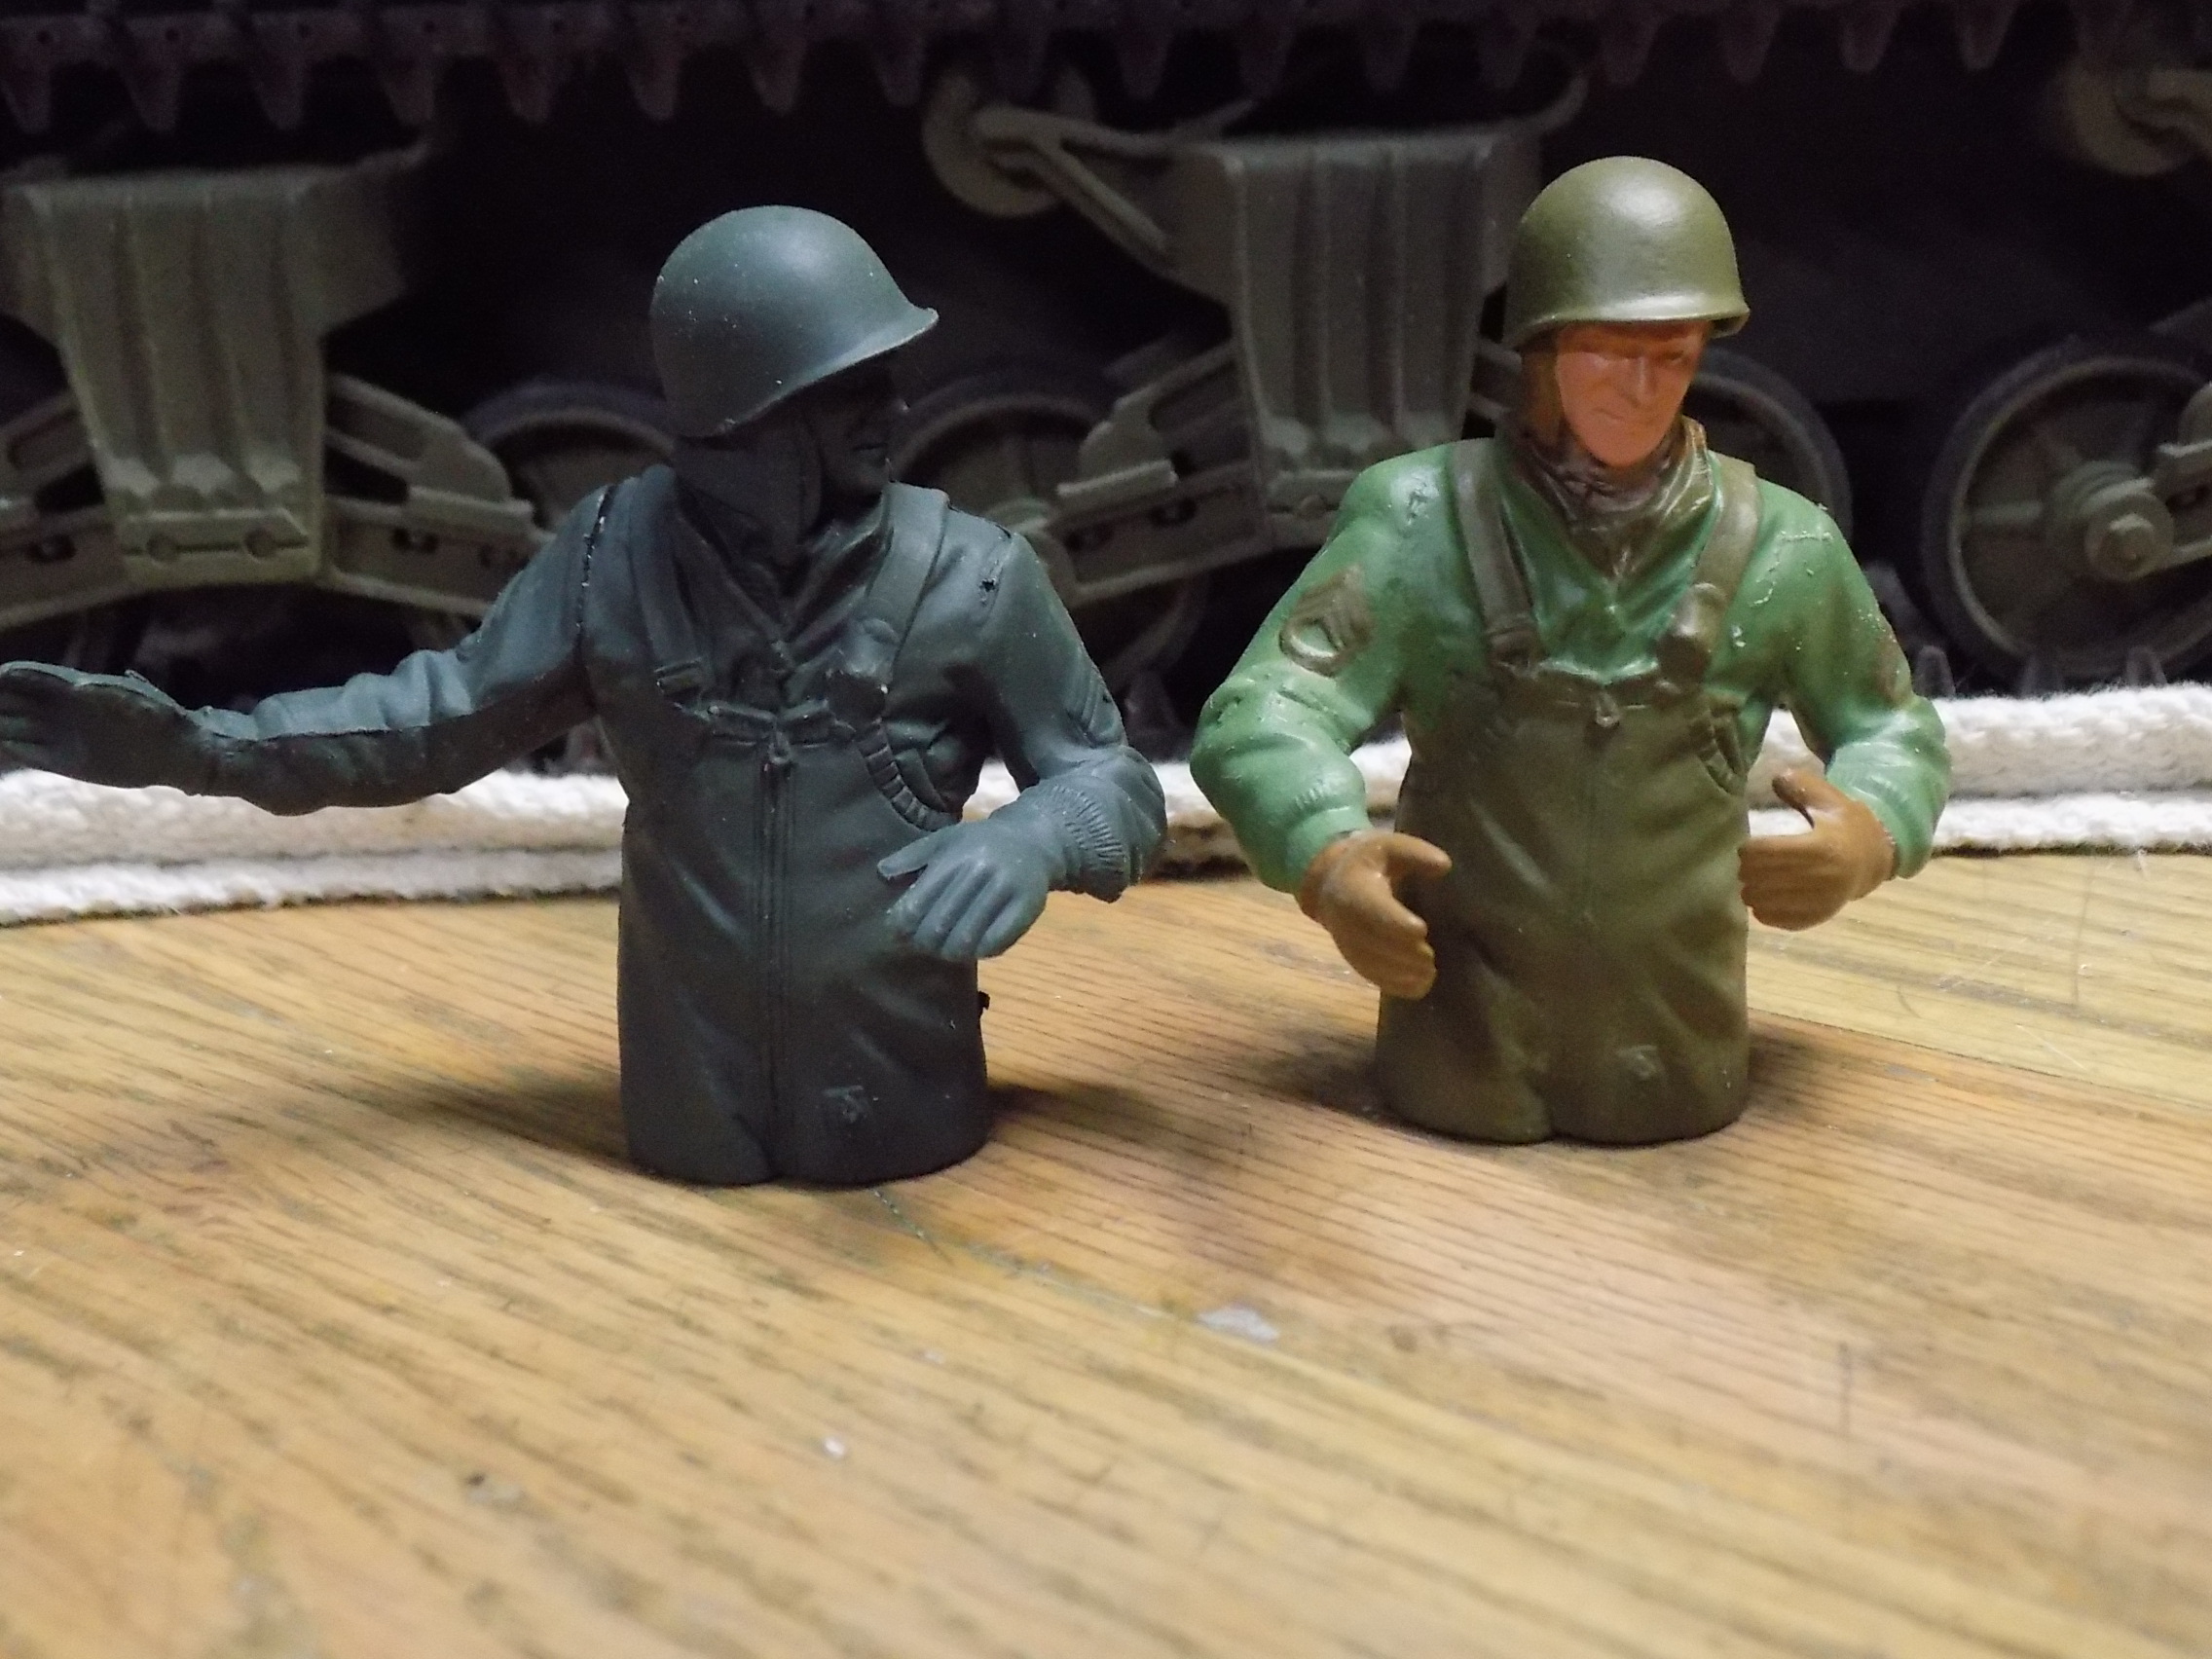
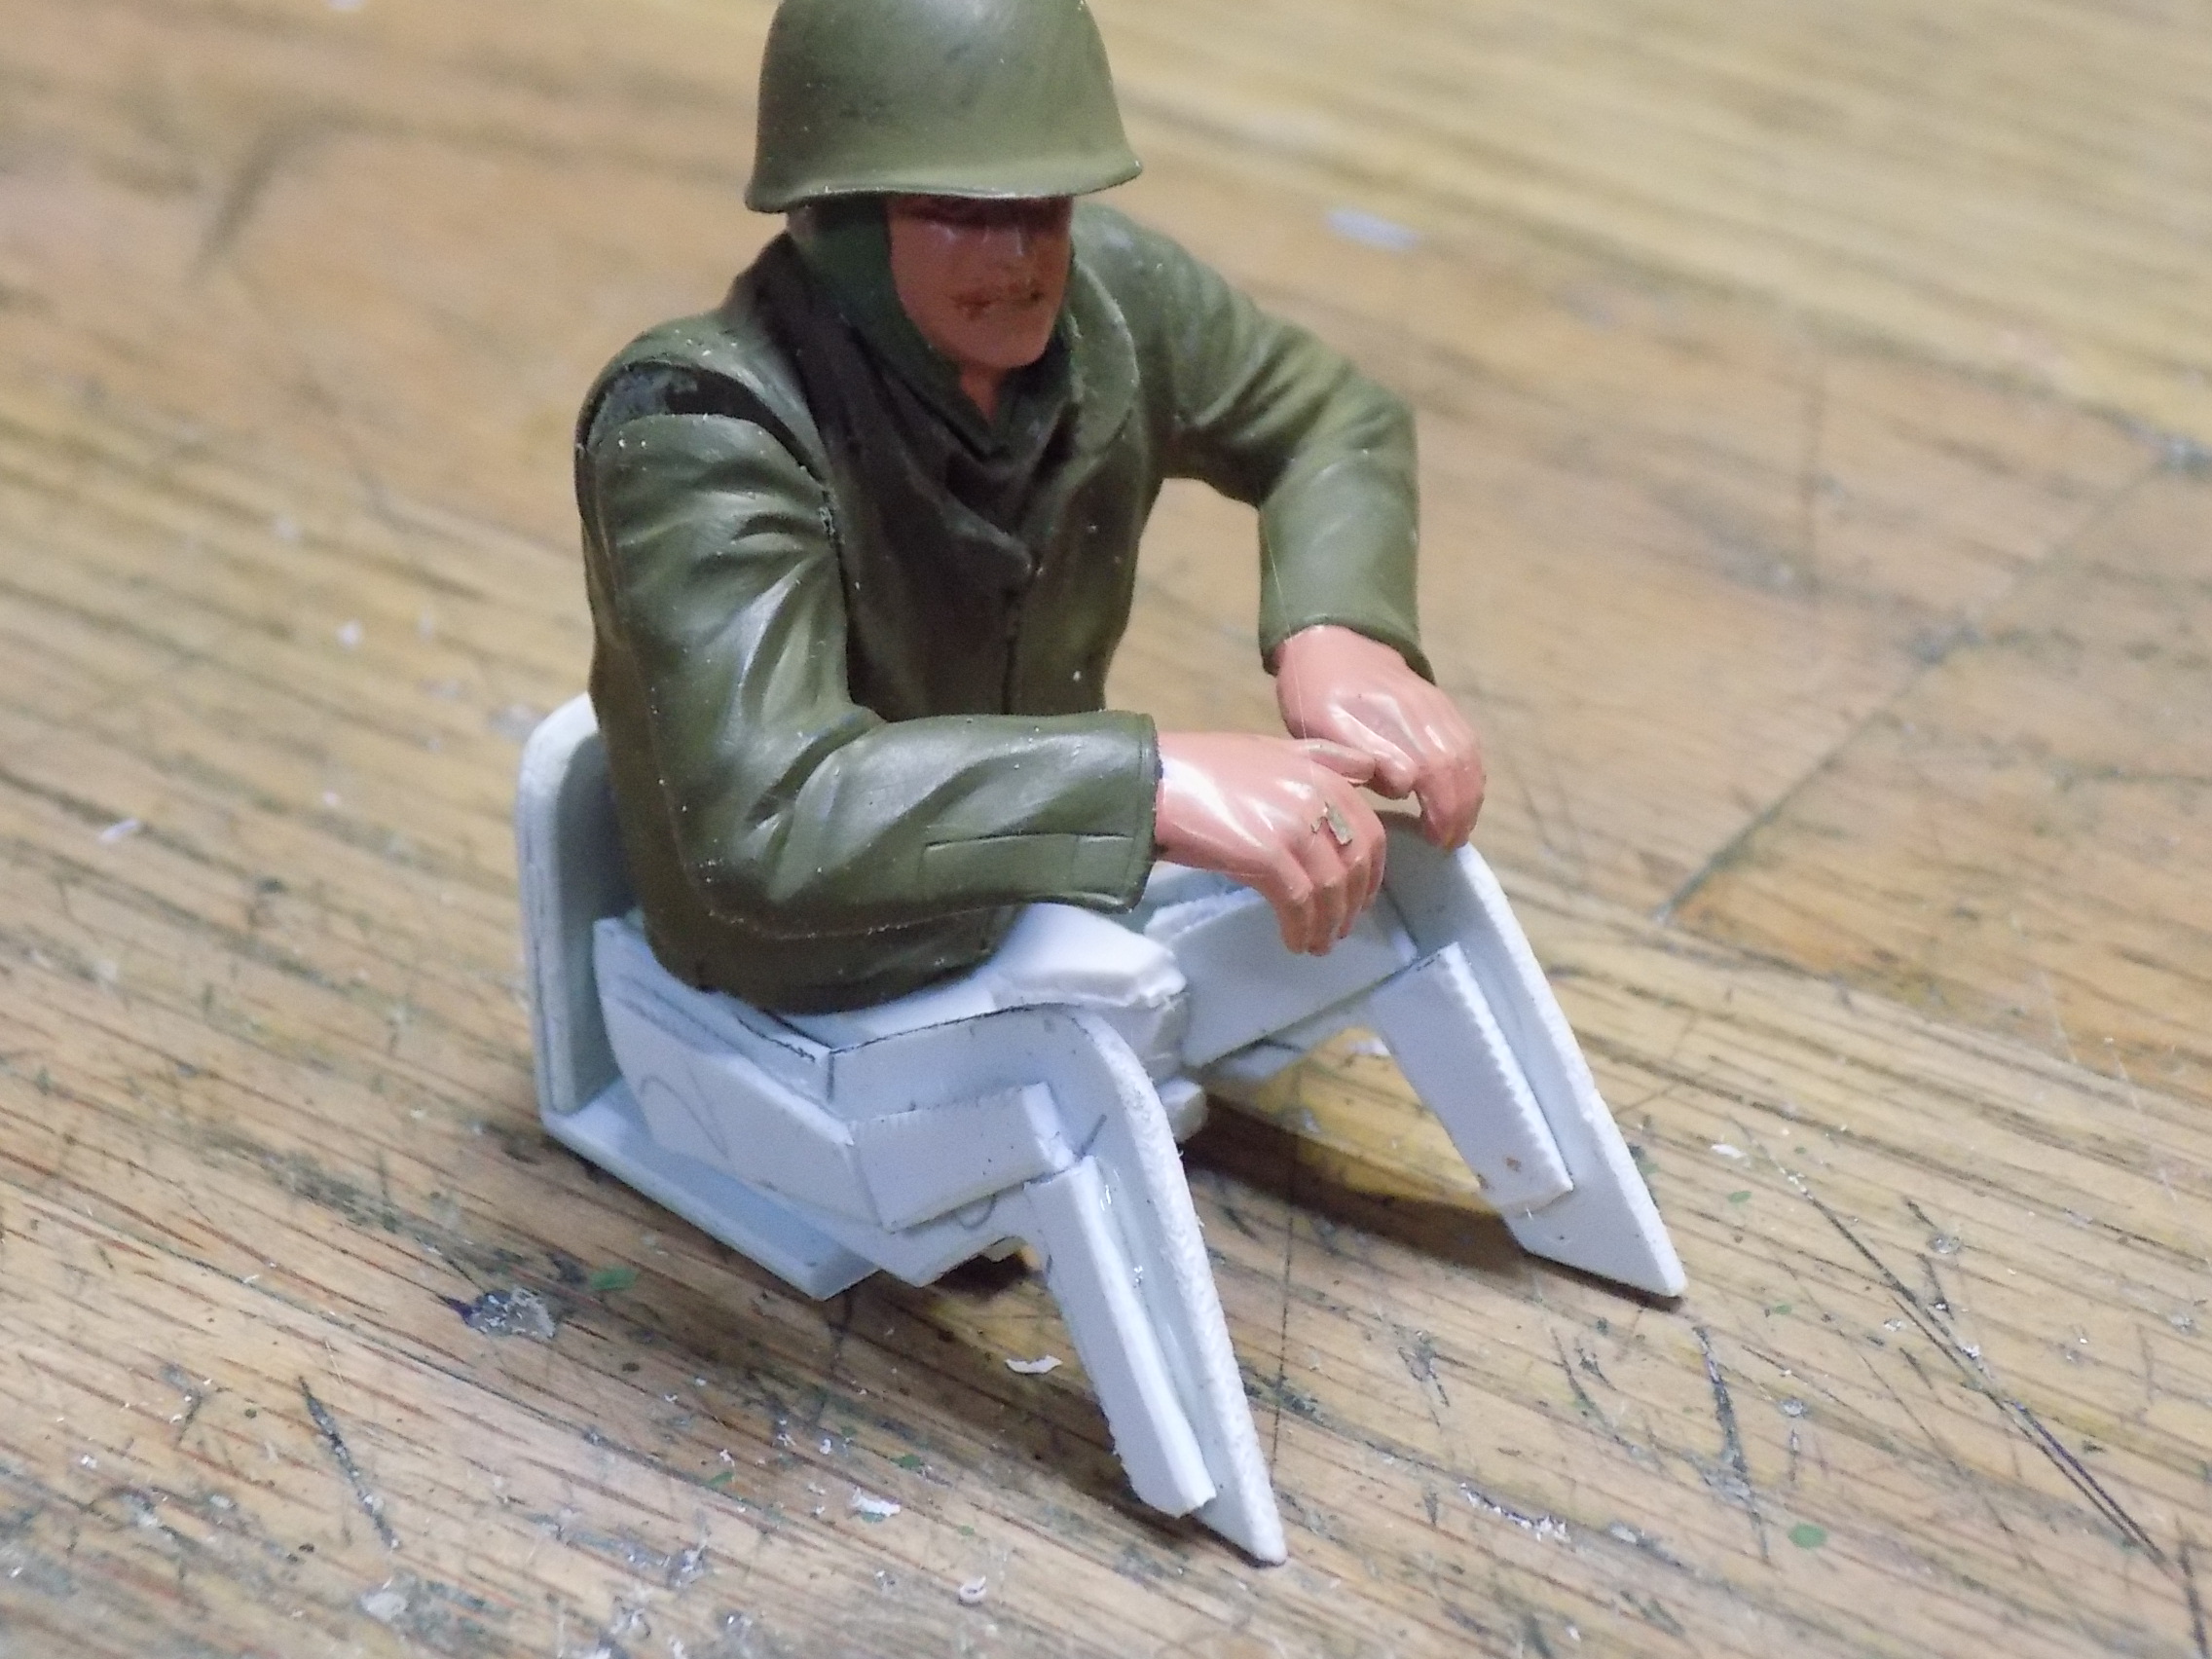
Yesterday it was time to work on a driver. This is my first attempt to work on or even paint a figure.
This is my version of Crazy Joe (dedicated to PainlessWolf). It took two, one for the head and the other for the torso, some grinding/filing (plastic surgery) and Presto Joe.
- 41.JPG (937.34 KiB) Viewed 26 times
Joe ended up being too tall so I worked on another.
- 43.JPG (996.65 KiB) Viewed 26 times
These were from the Tamiya kits. His arms are from the Tammy Tiger I kit.
- 42.JPG (962.5 KiB) Viewed 26 times
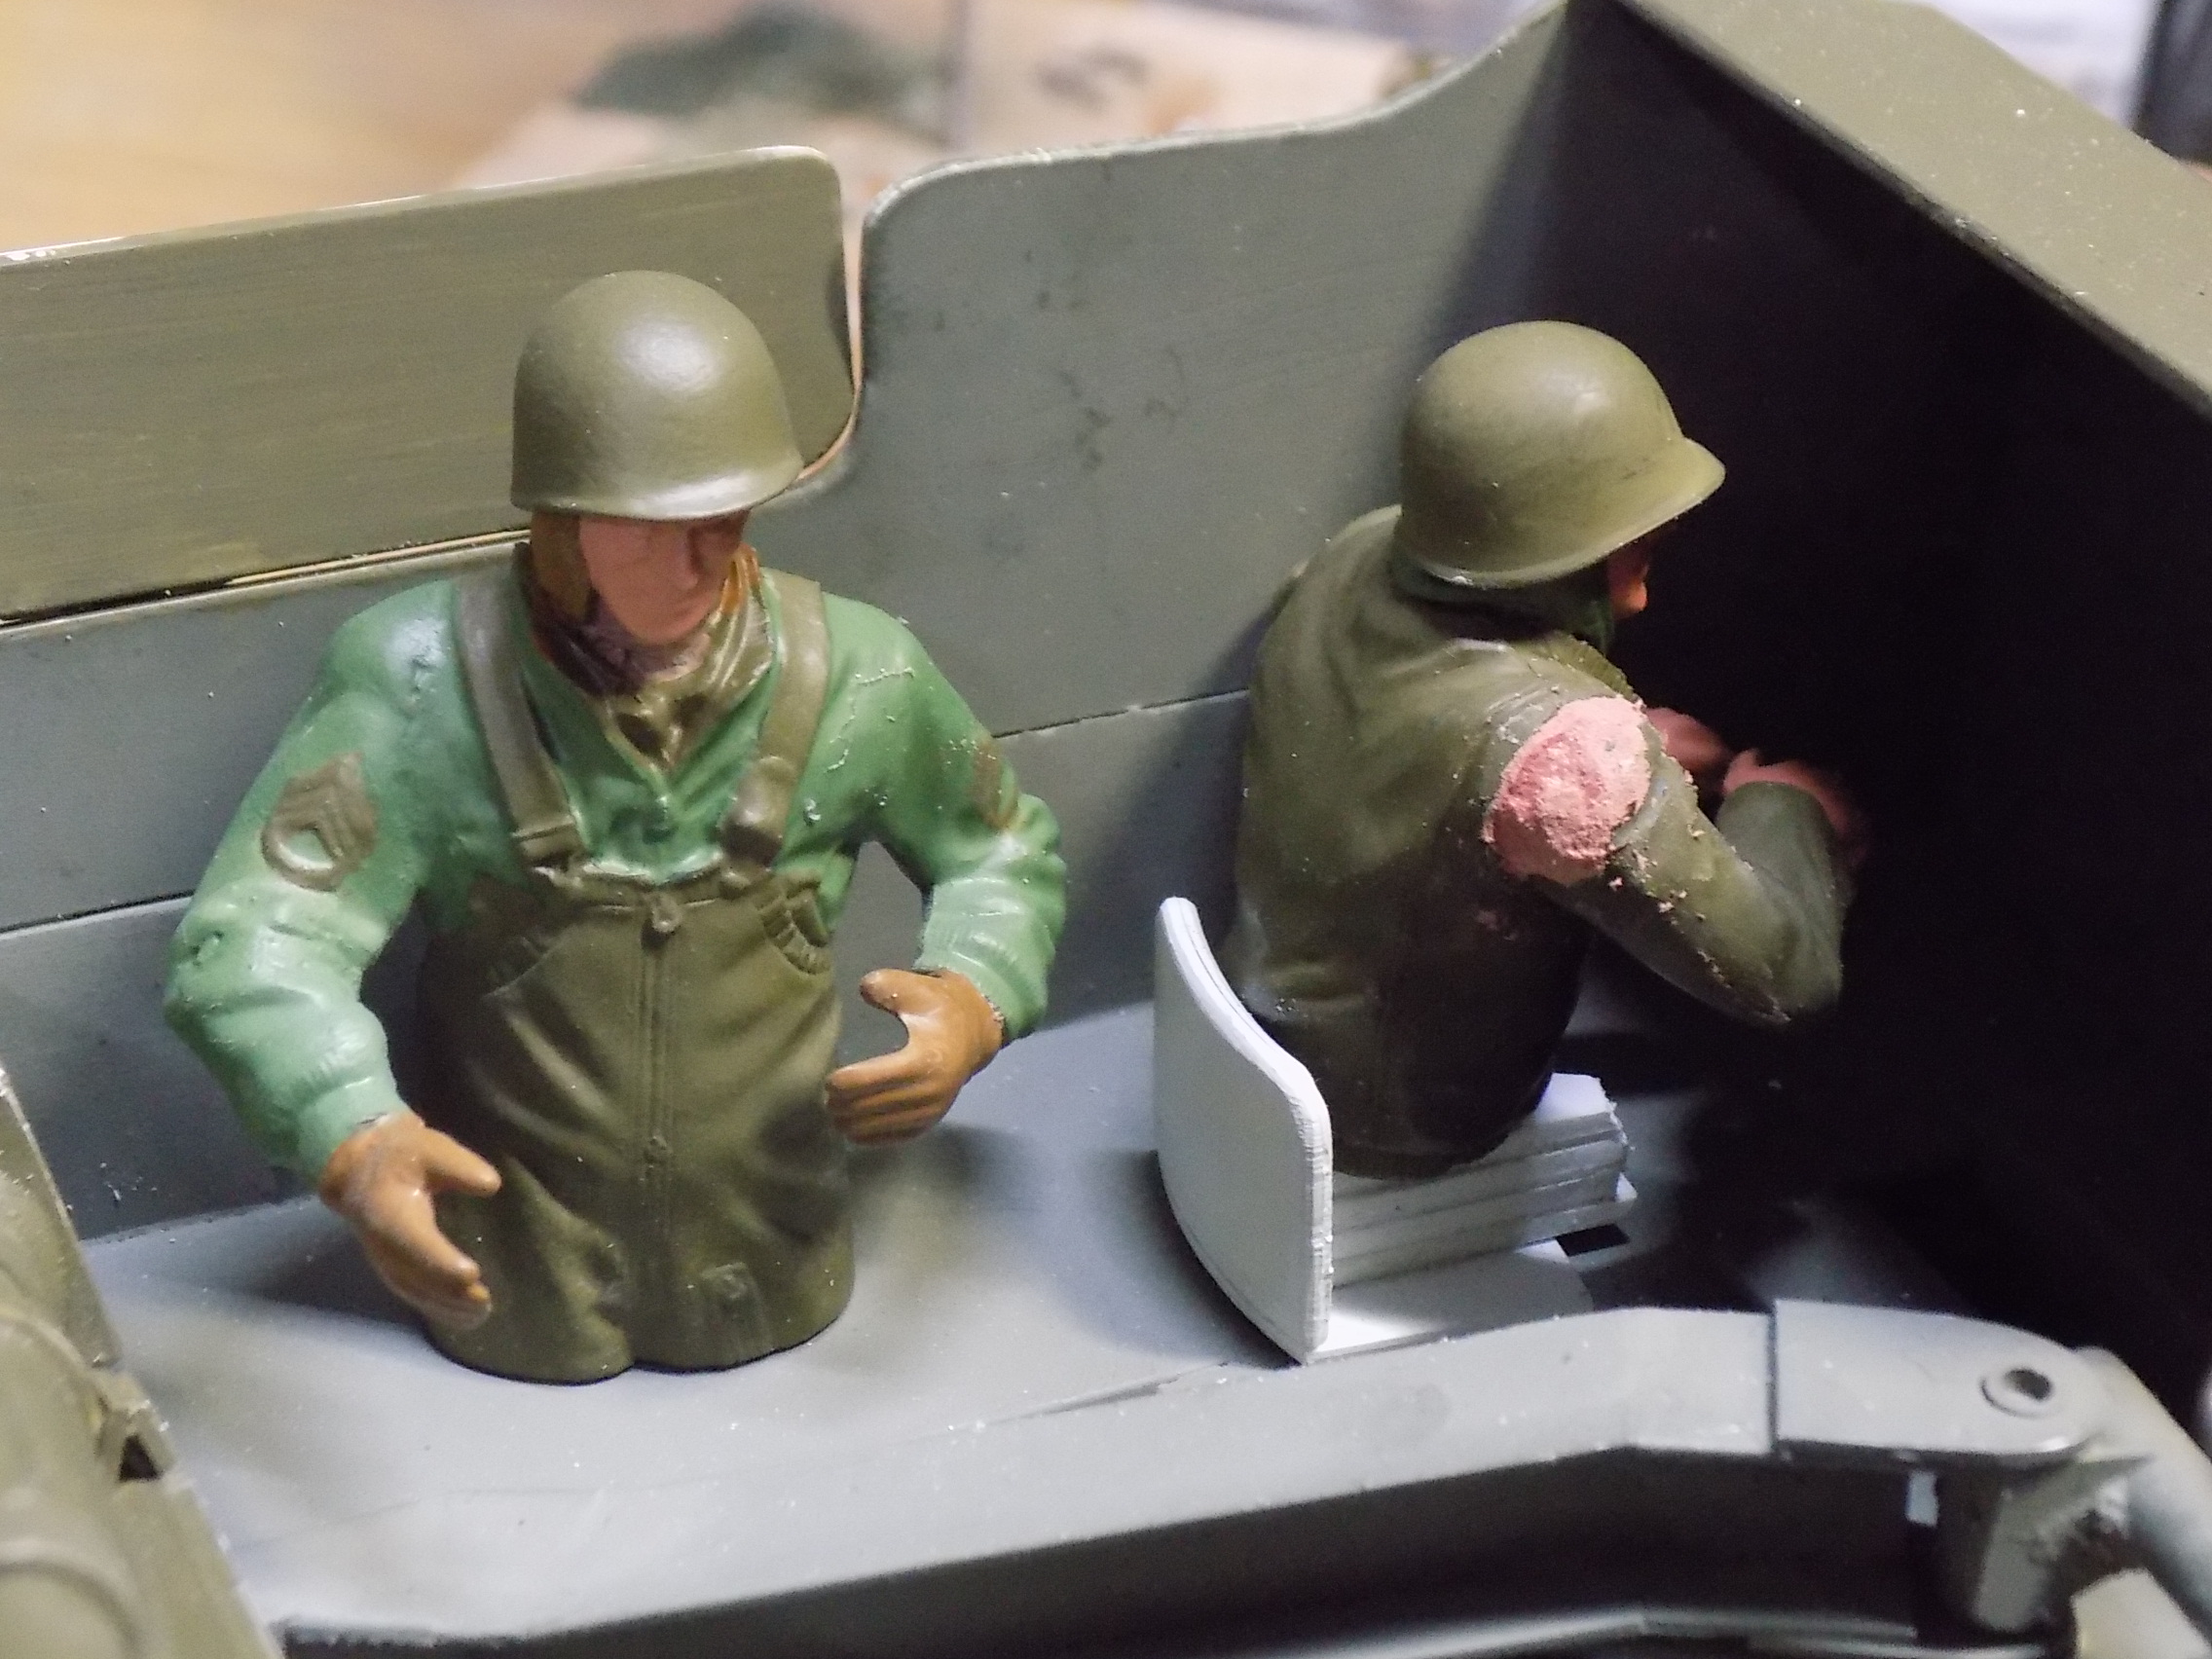
He needed a lower half as he can be partially seen.
- 44.JPG (974.02 KiB) Viewed 26 times
- 45.JPG (969.36 KiB) Viewed 26 times
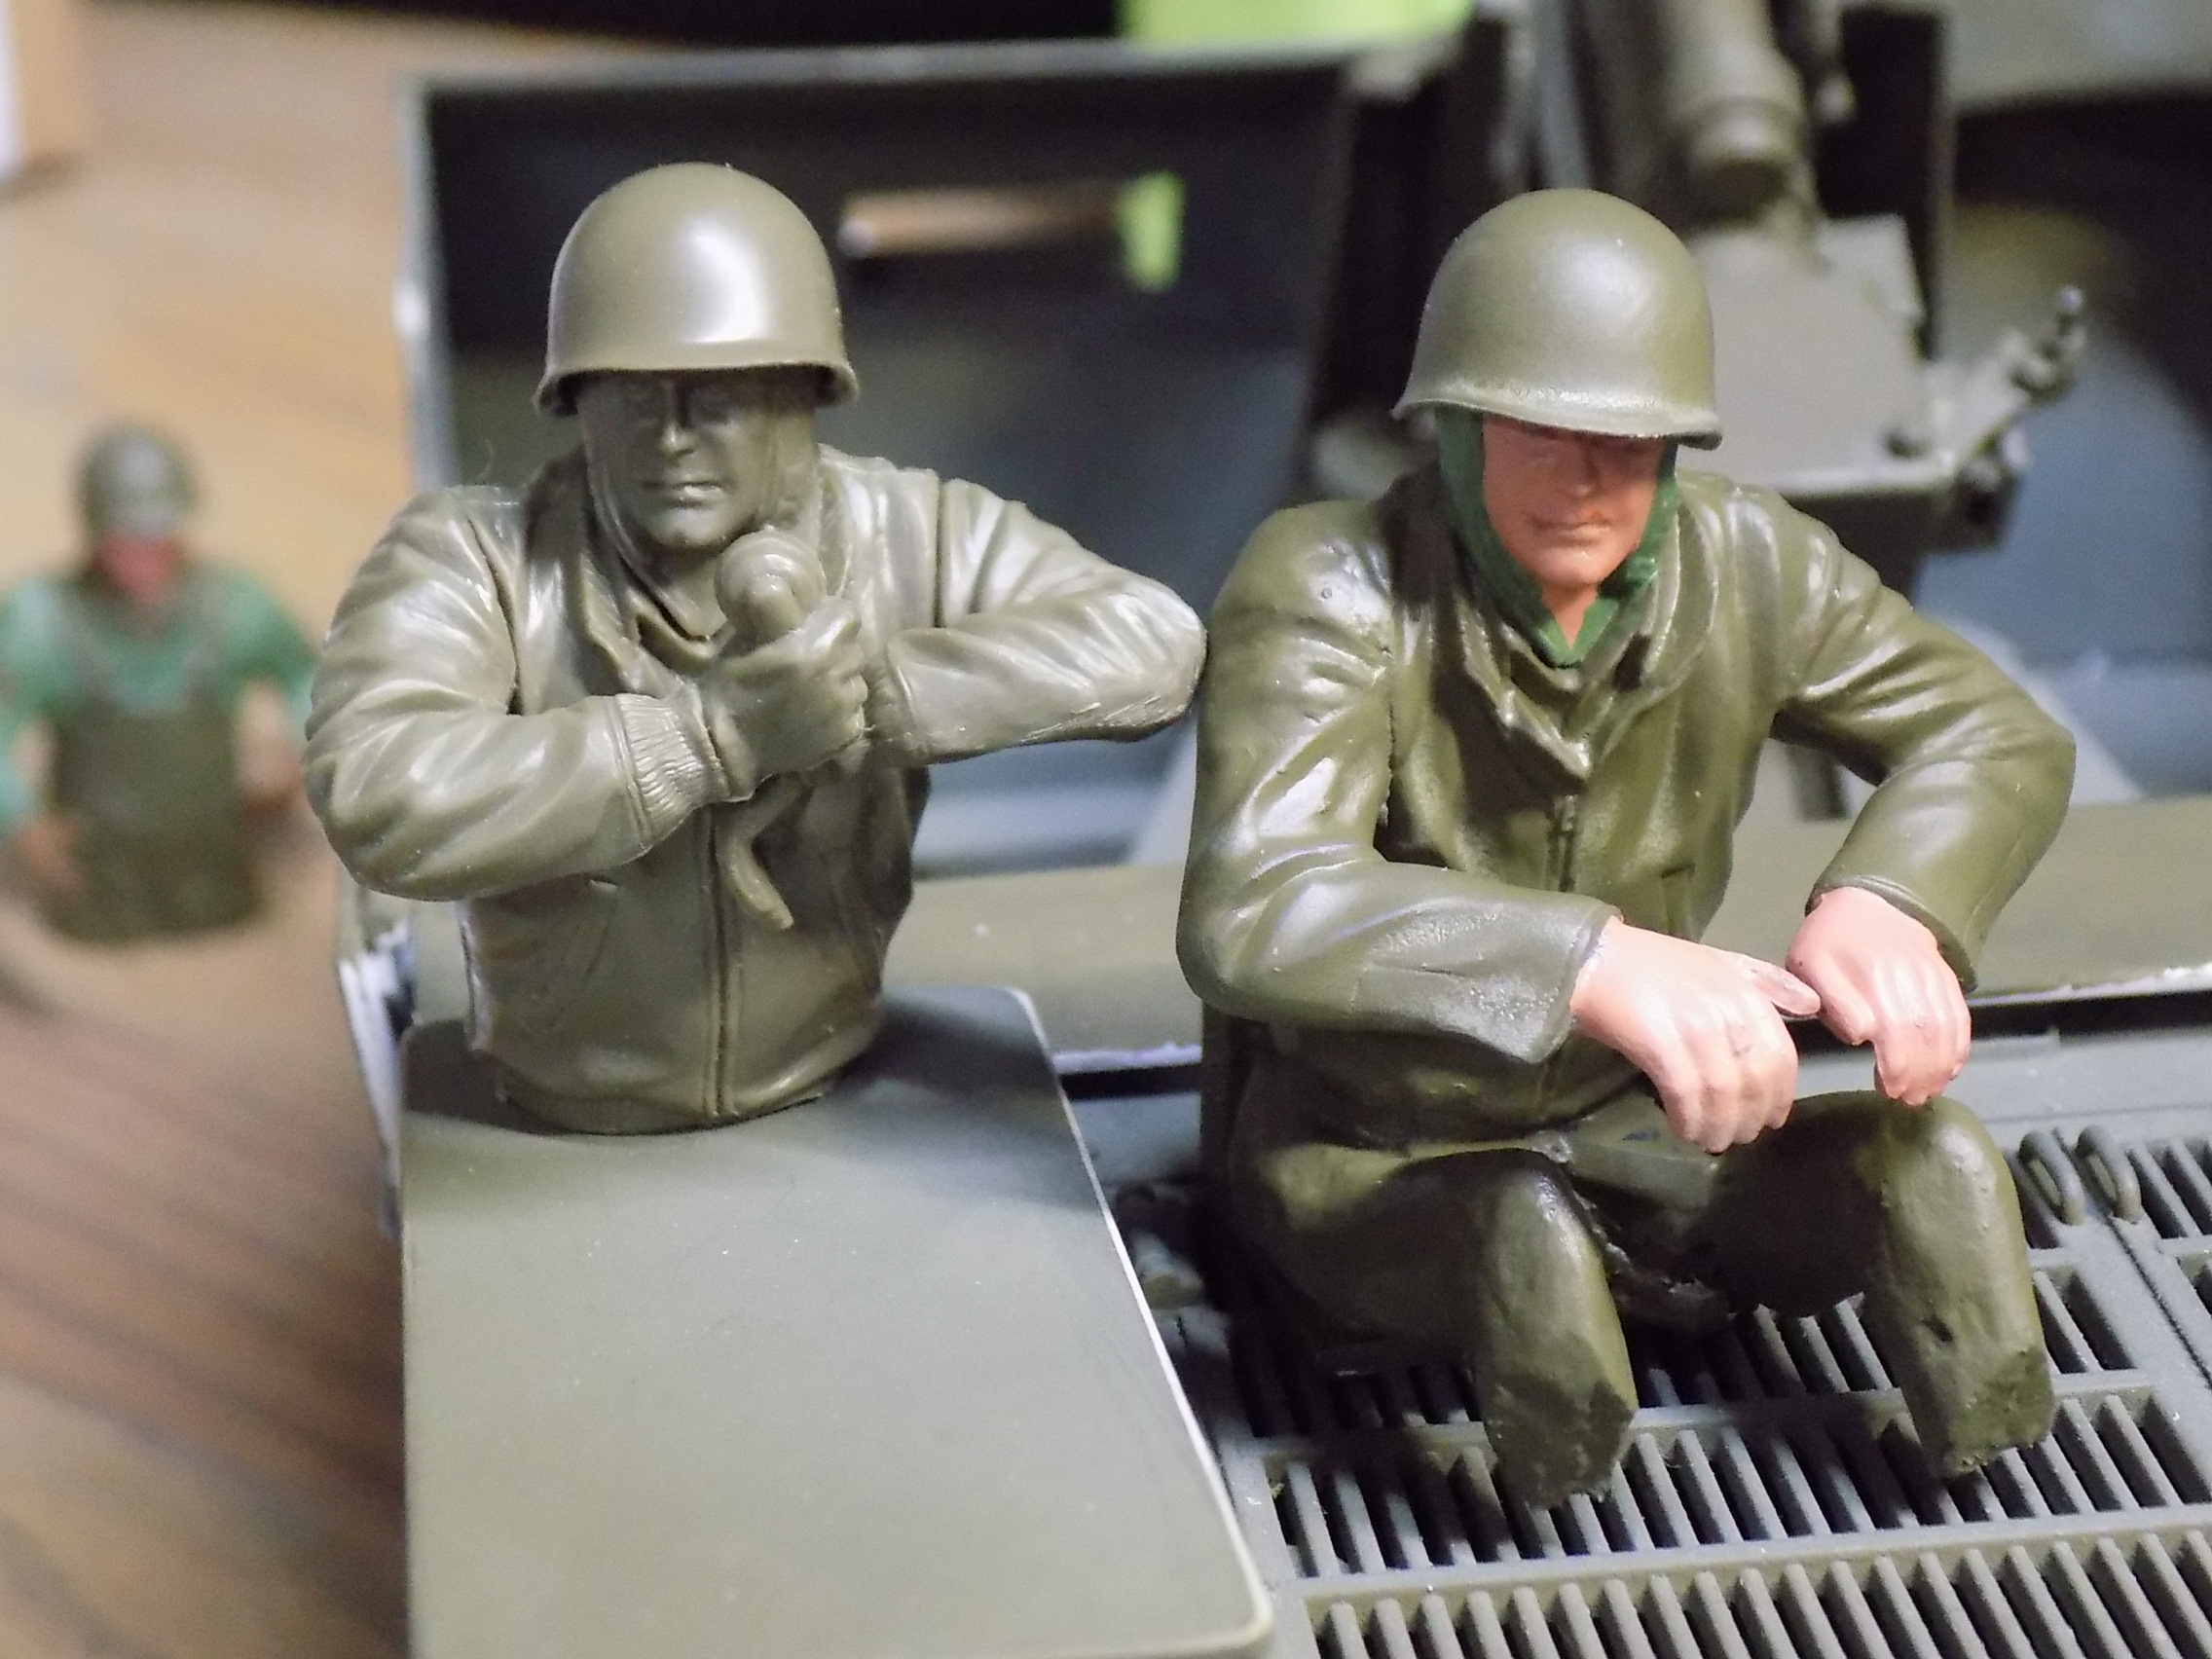
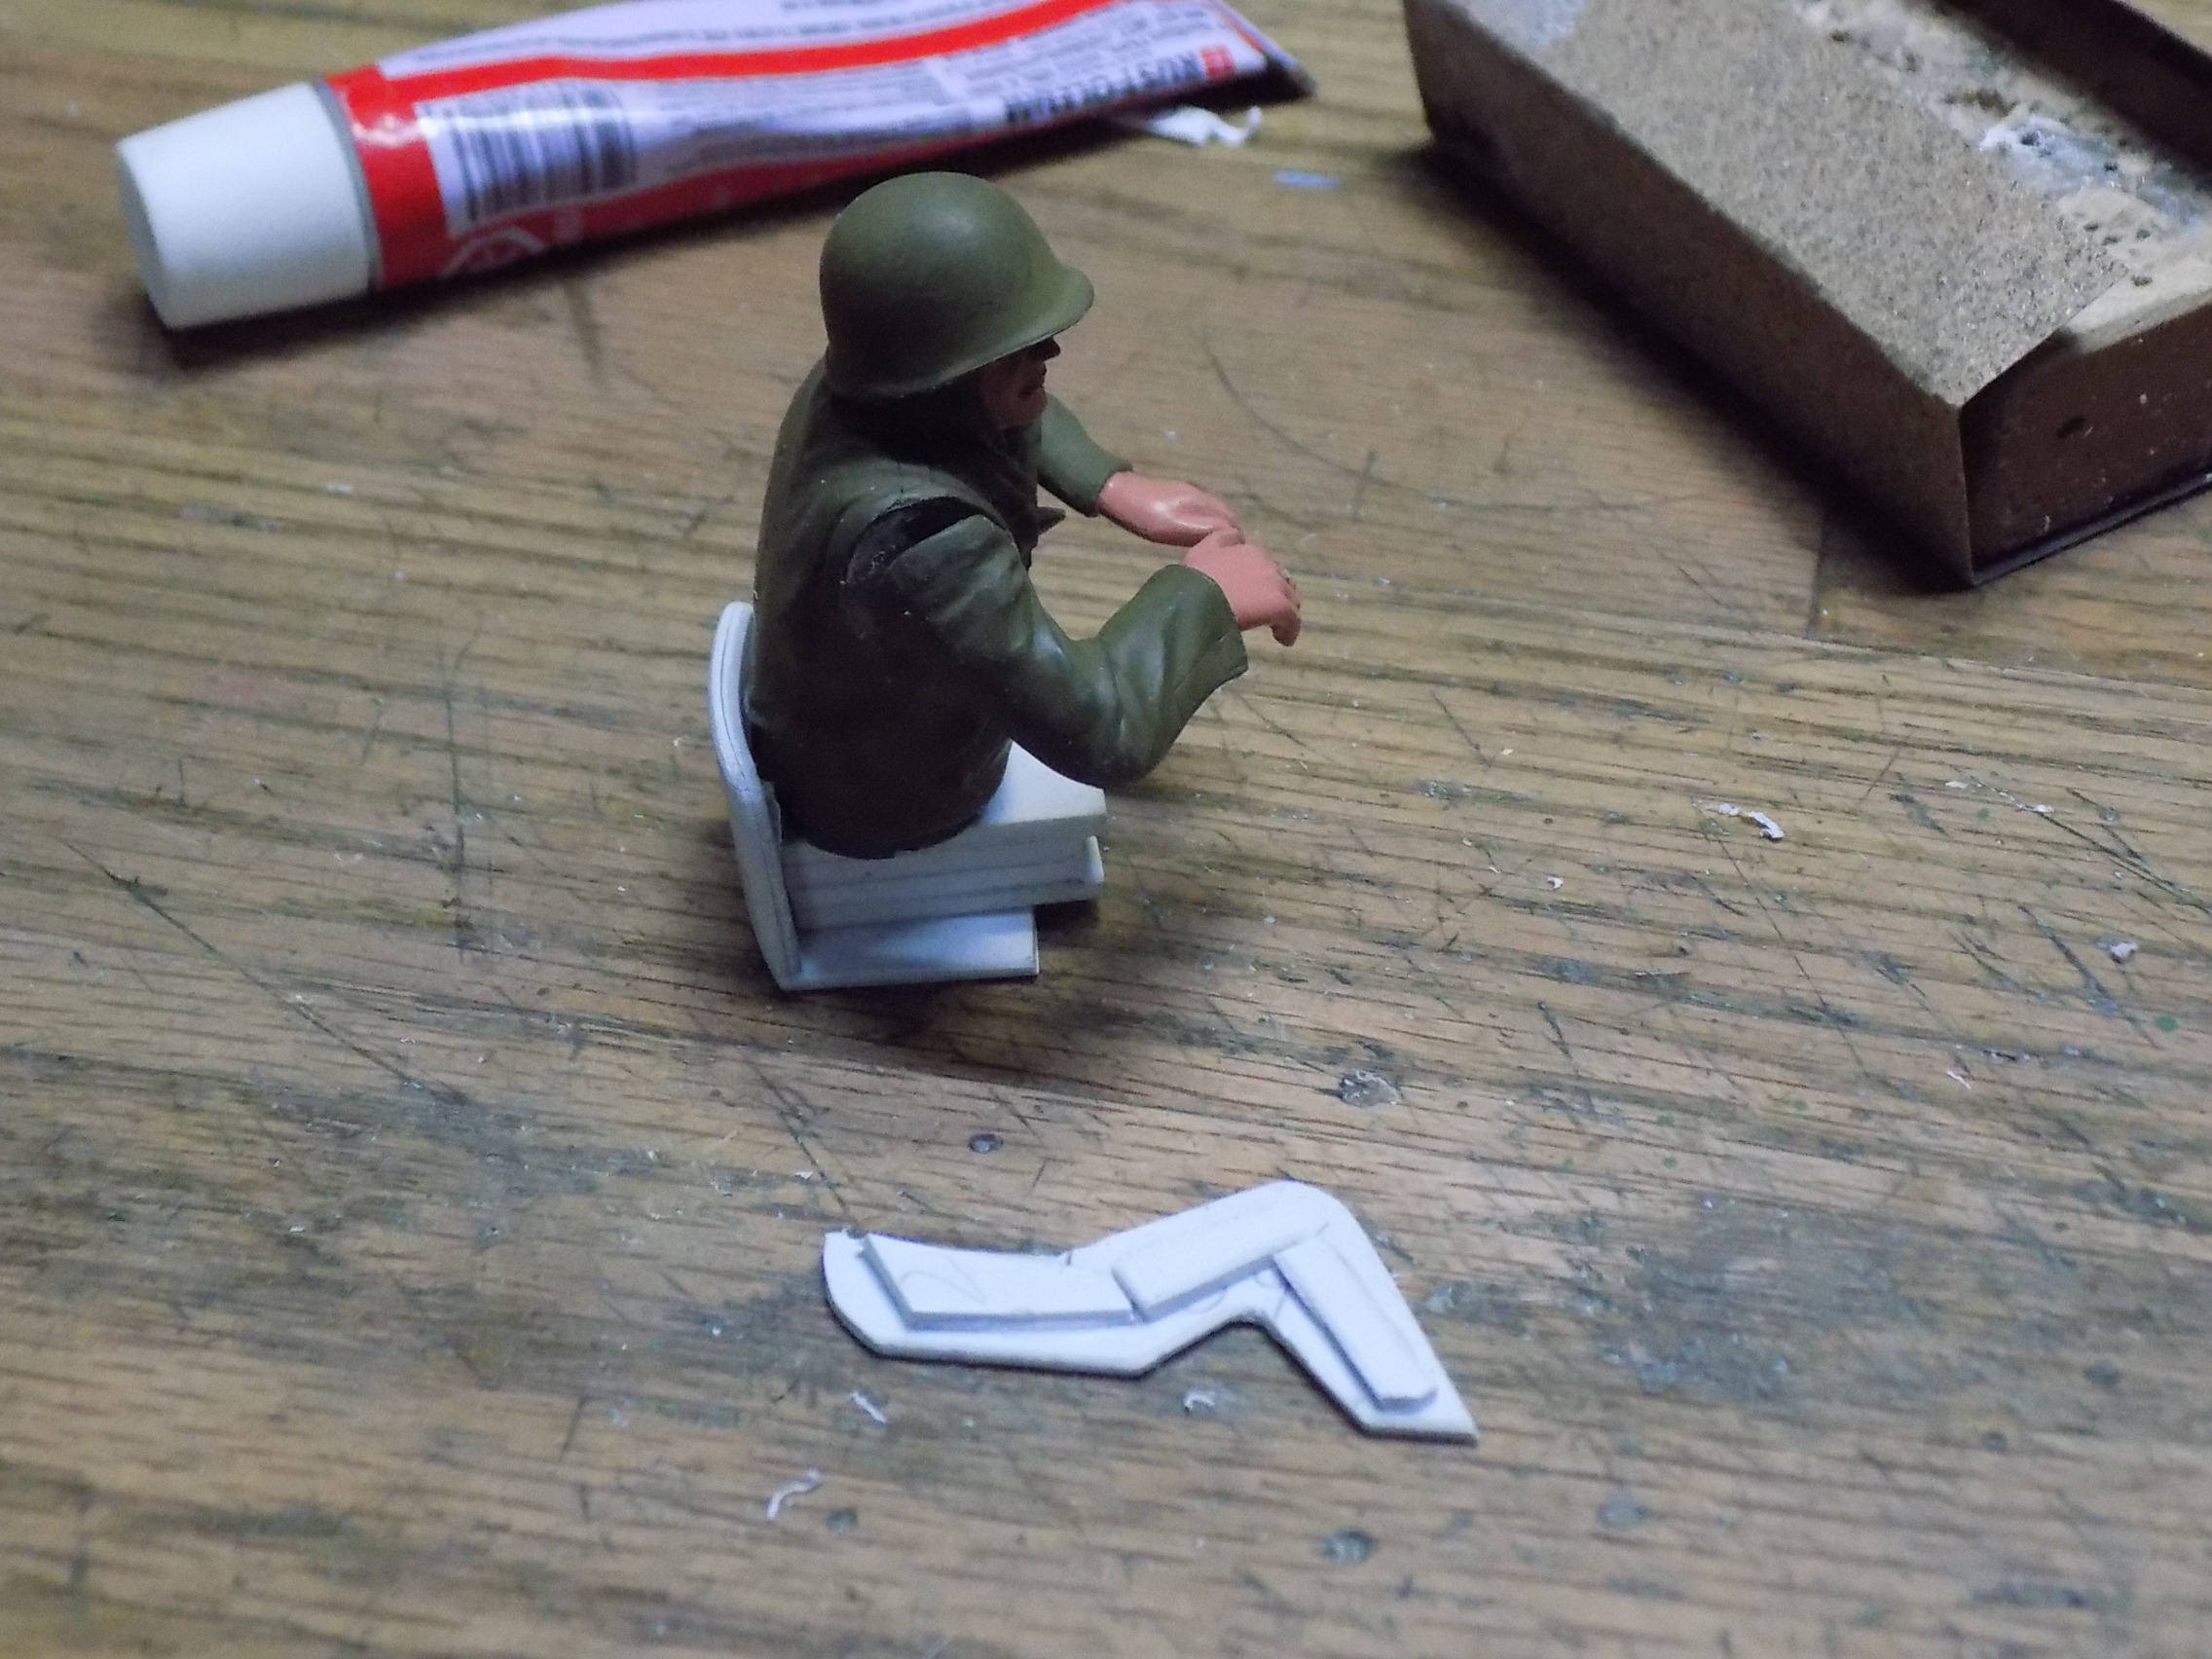
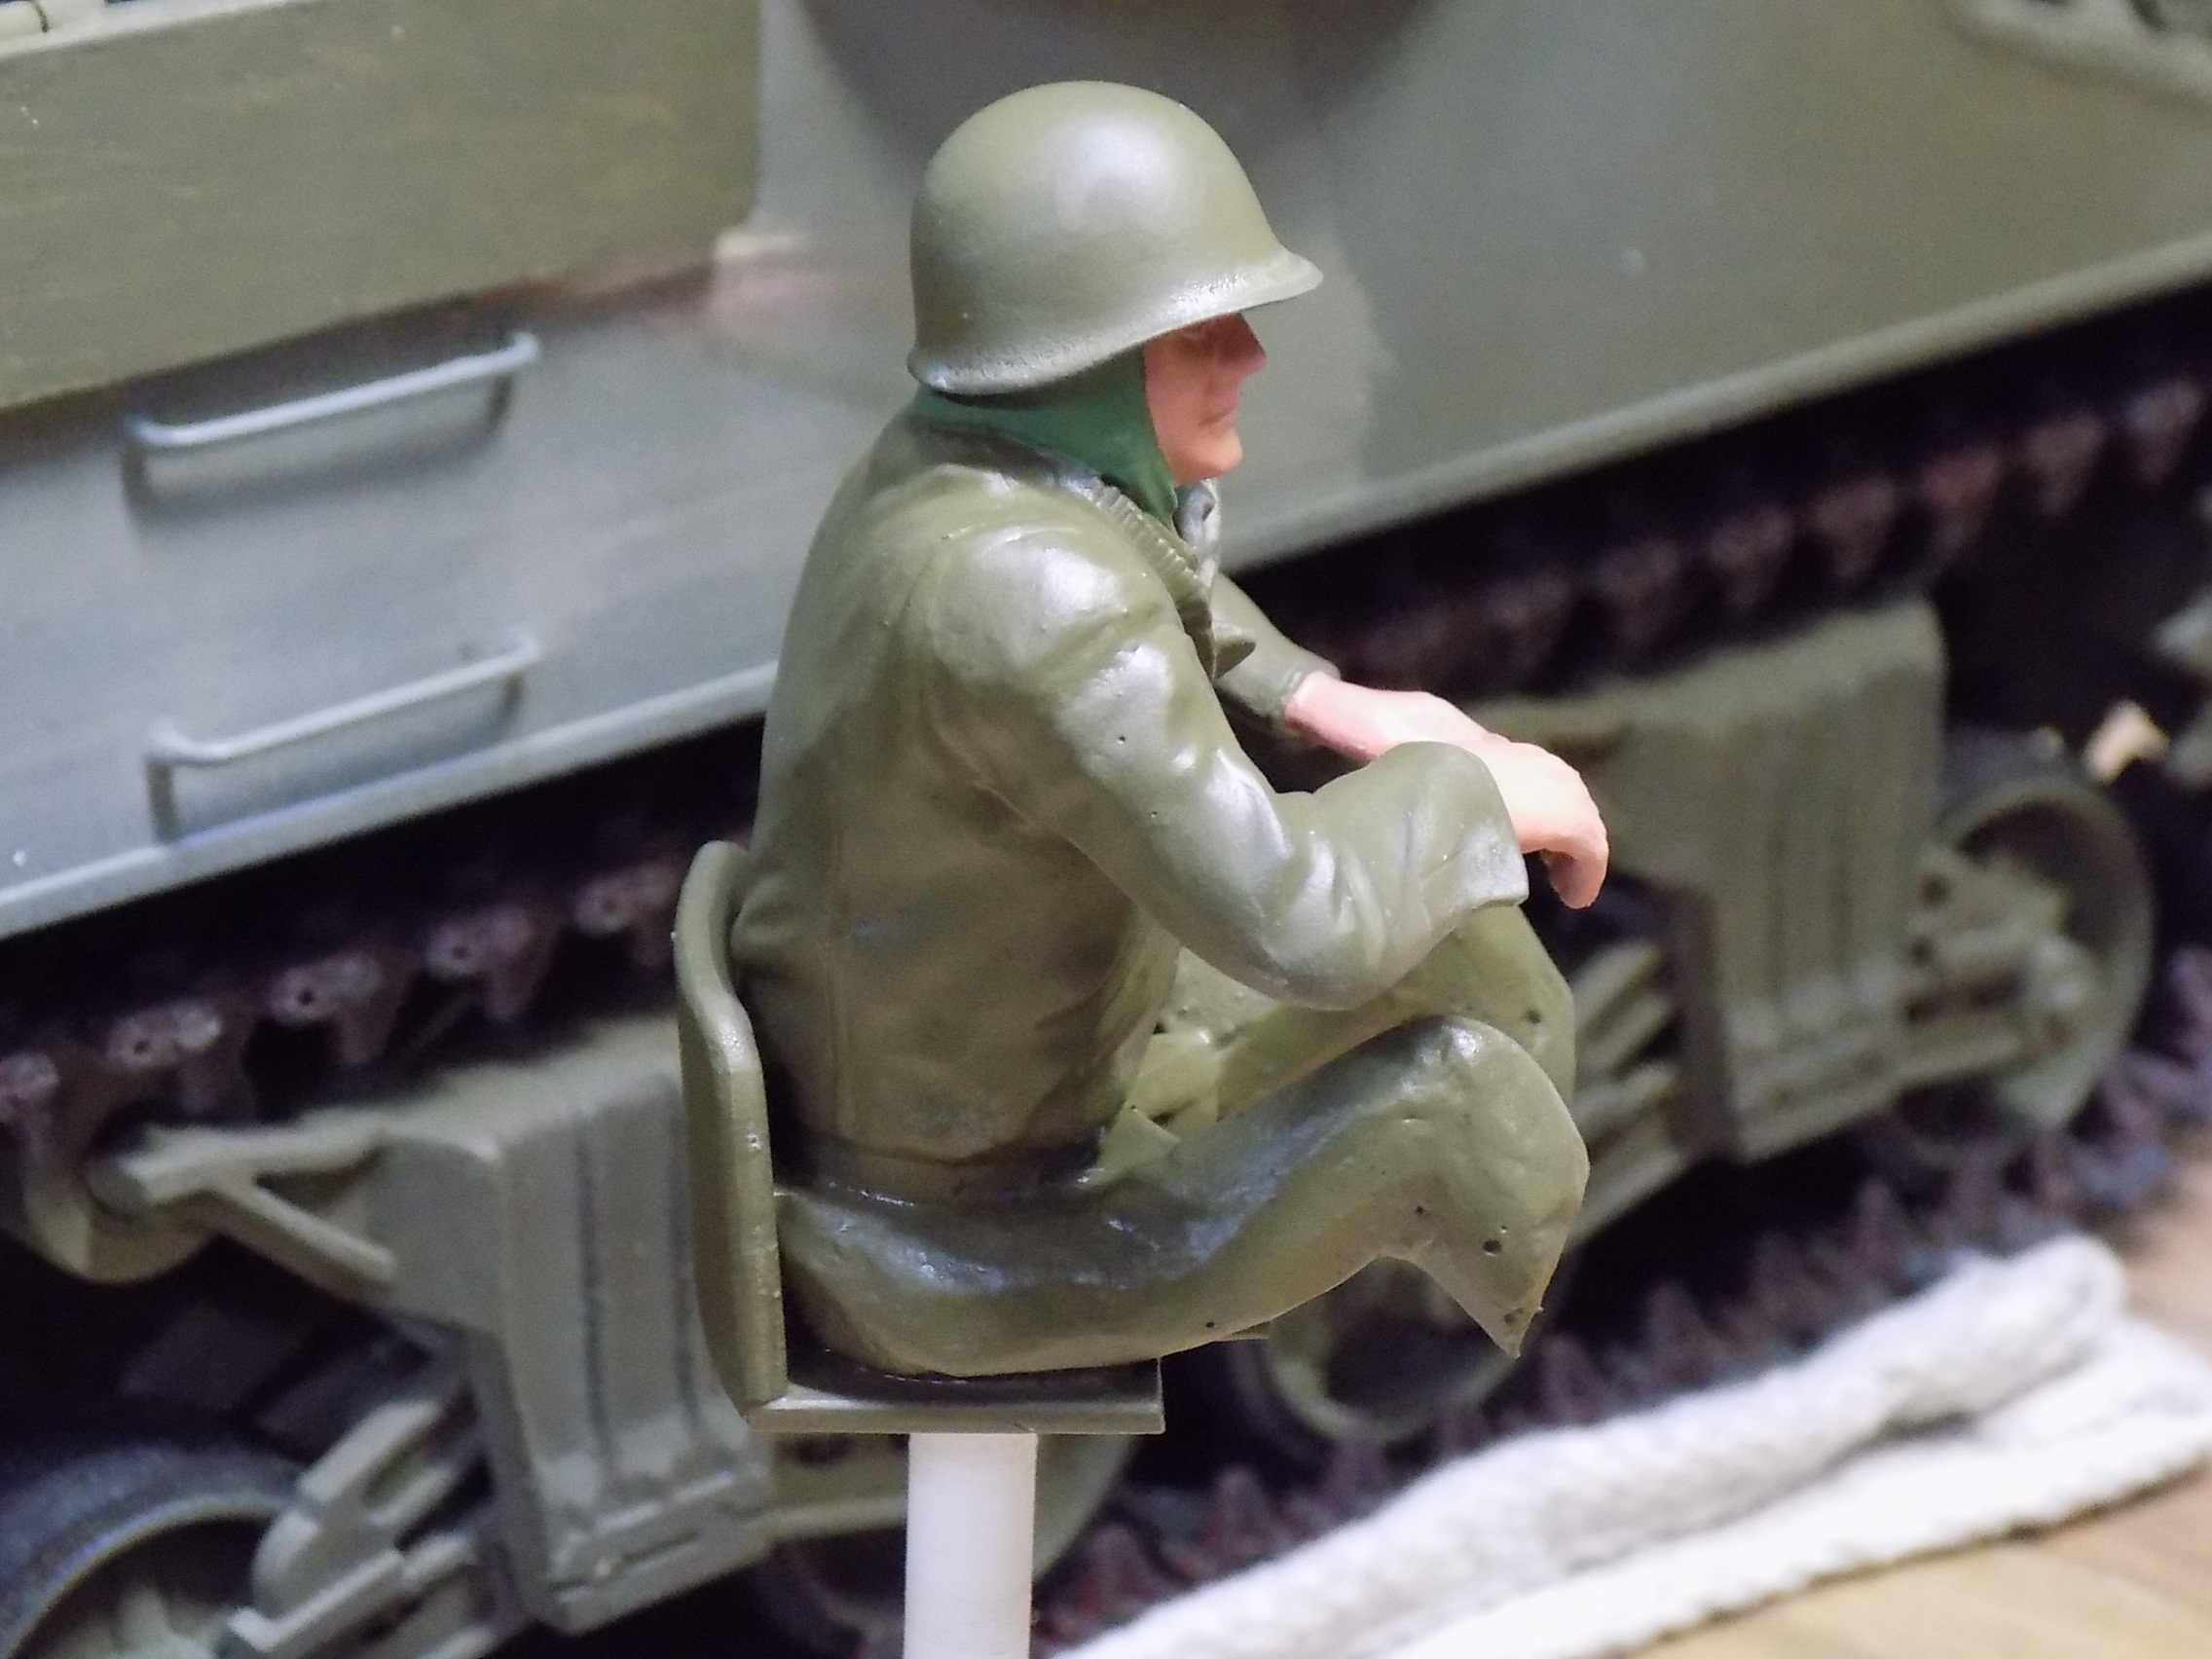
I thought I took a picture but it wasn't on the card when I looked. Filled the "skeleton" with Bondo and sculped it a bit.
- 46.JPG (979.95 KiB) Viewed 26 times
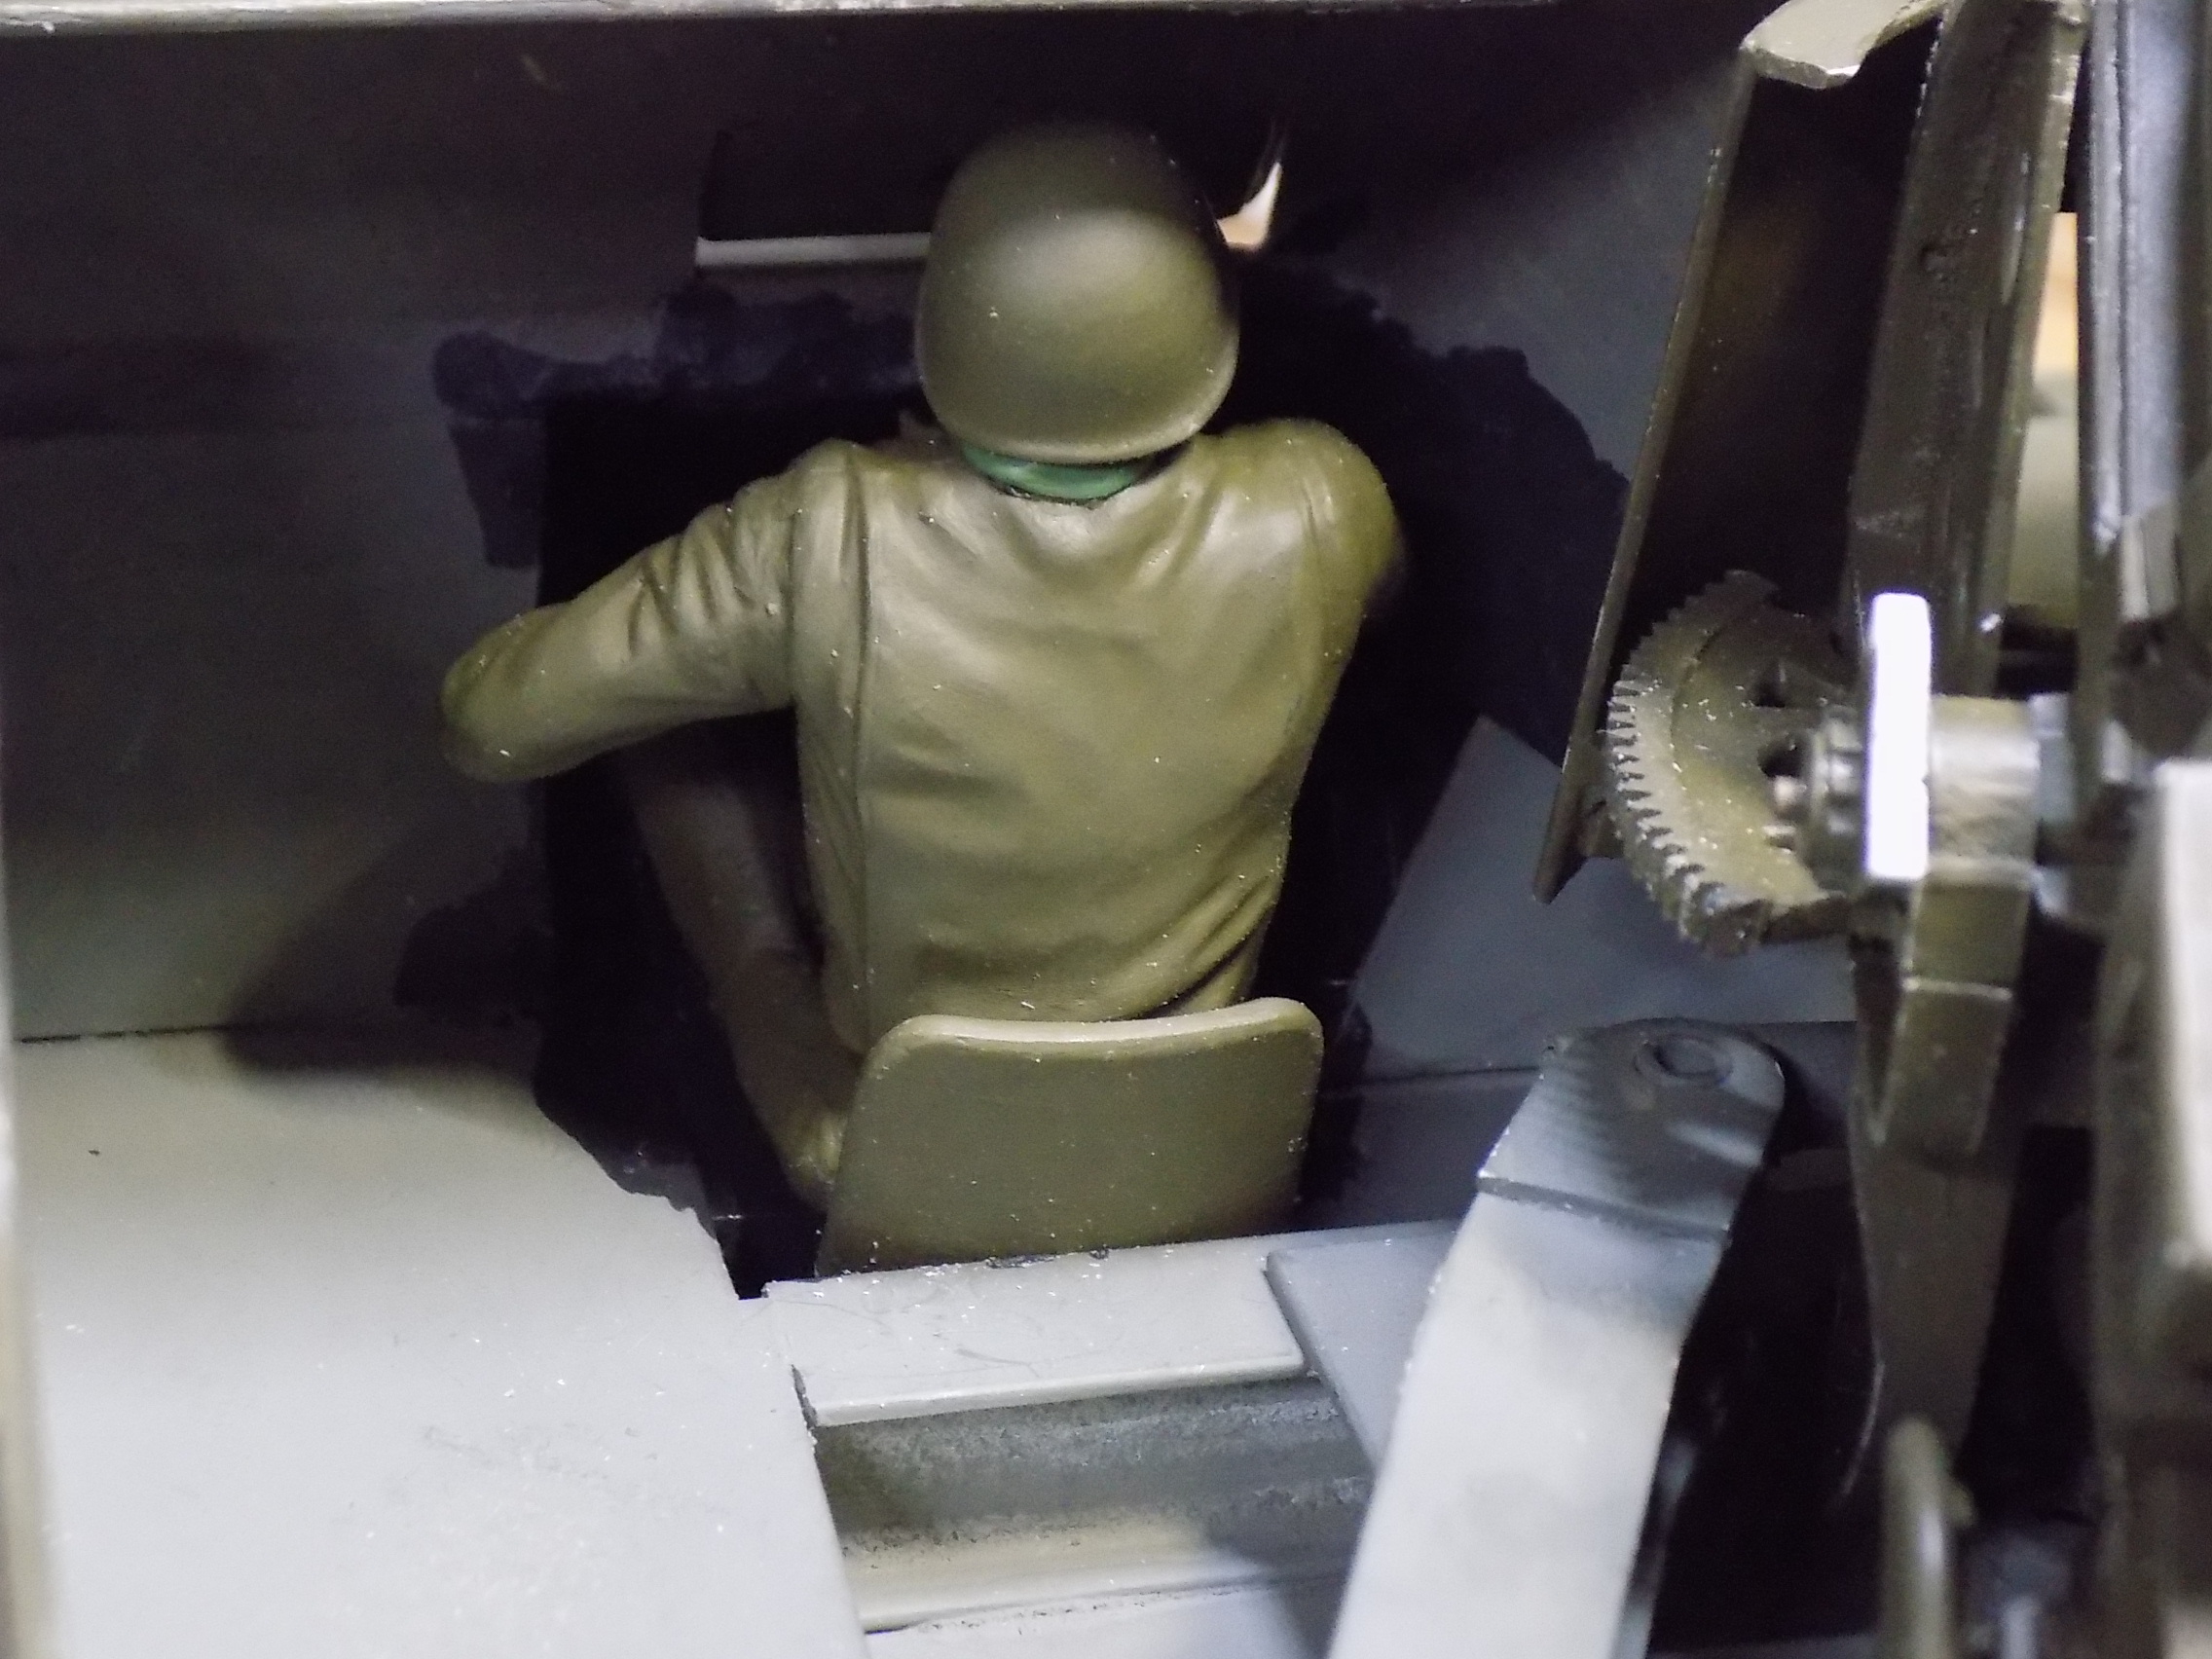
Ended up modifying the front of my inner hull to get him in a reasonable position.
- 49.JPG (1 MiB) Viewed 26 times
"Don't believe everything you see on the internet" - George S. Patton
Eric


