Wight's Sherman

Wight
Lance Corporal
Posts: 225
Joined: Sun Oct 12, 2008 10:05 pm
Location: Isle of Wight

Re: Wight's Sherman

Post by Wight »

I'd absolutely love to have a new Tamiya tank to build,always wanted it in a kit.

Quick update.
Off work at the moment so able to get more weathering done.
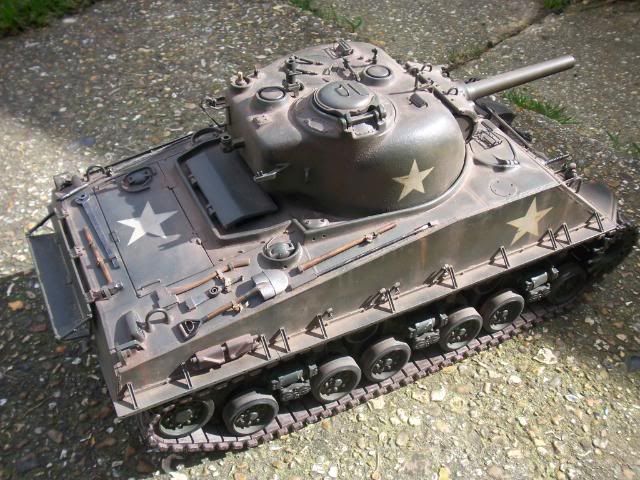
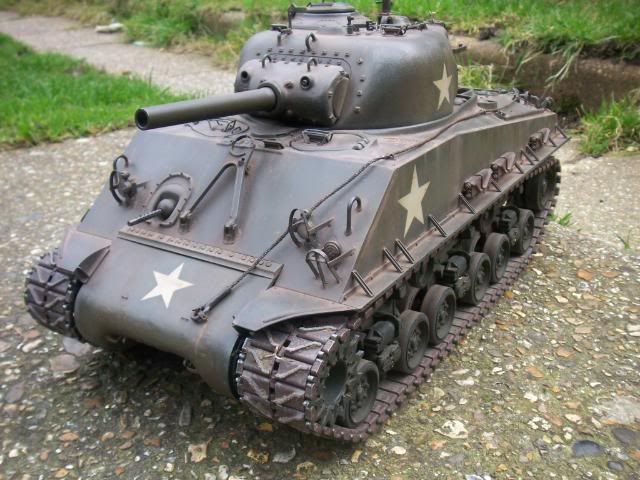
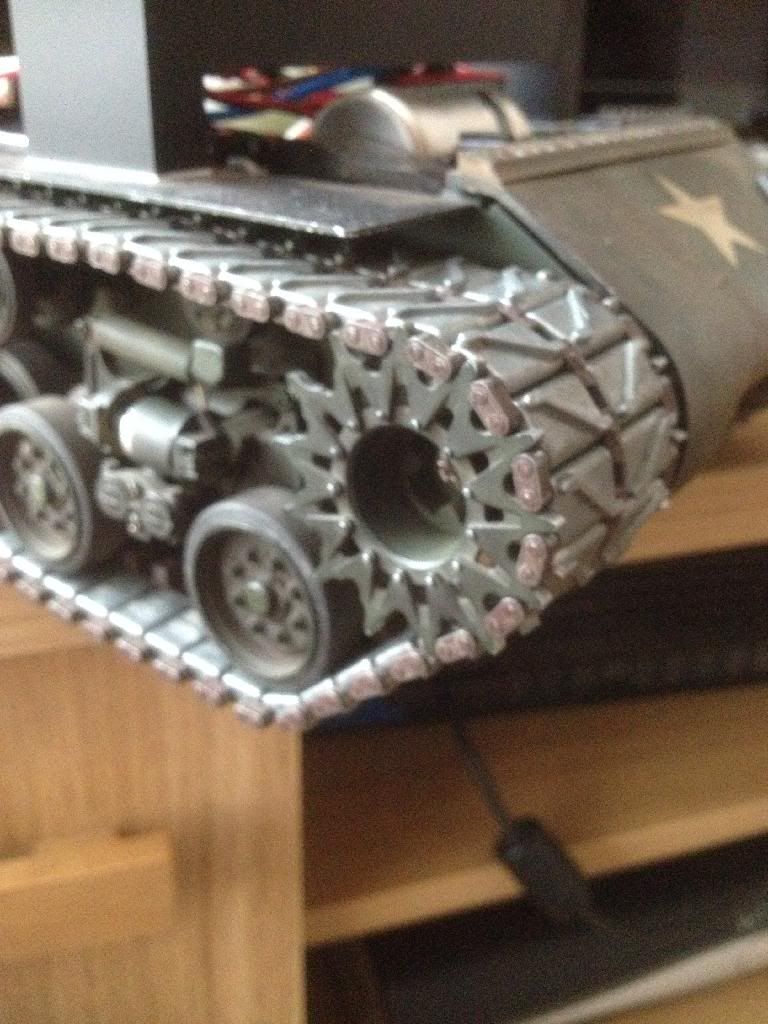
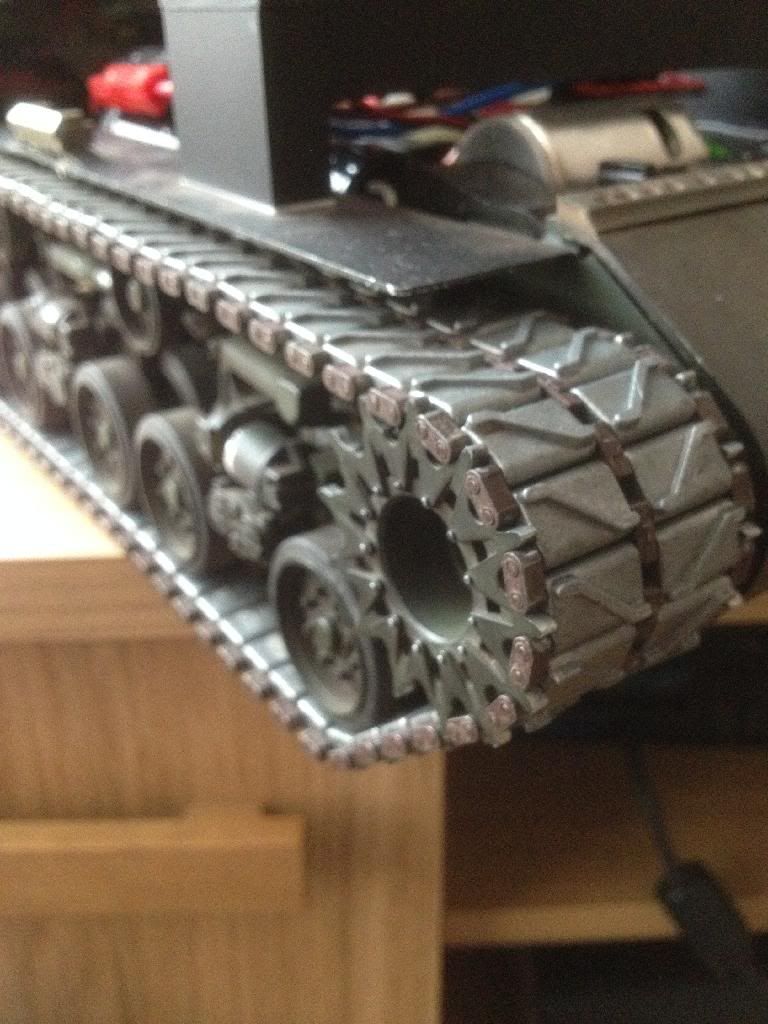
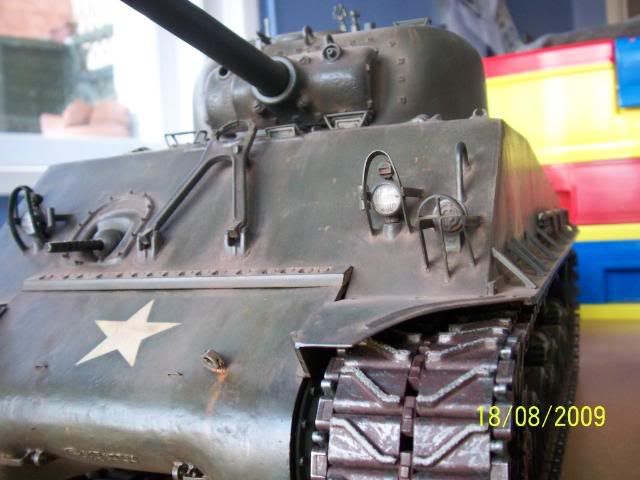
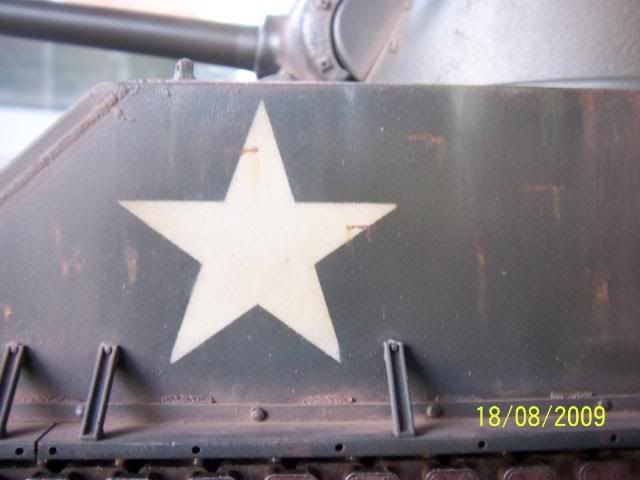
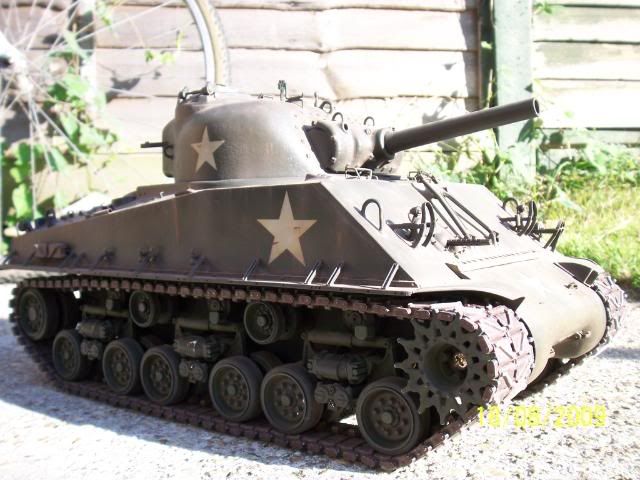
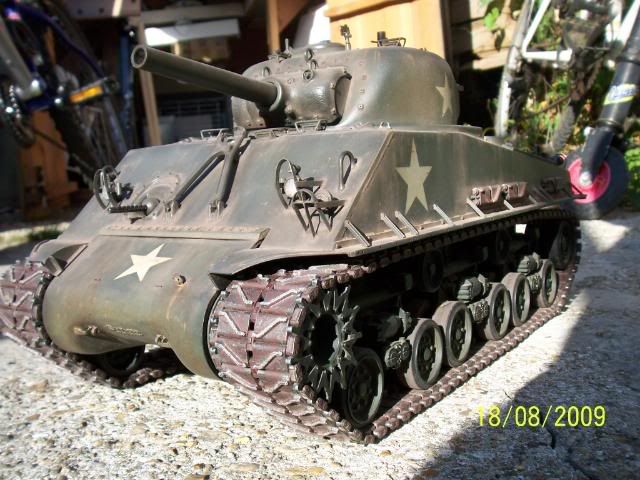
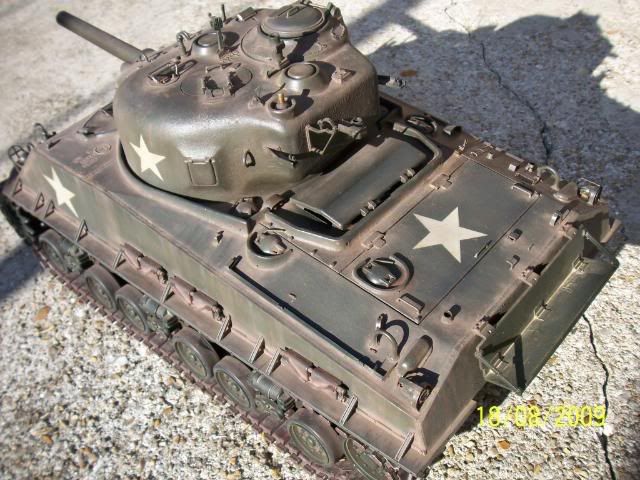
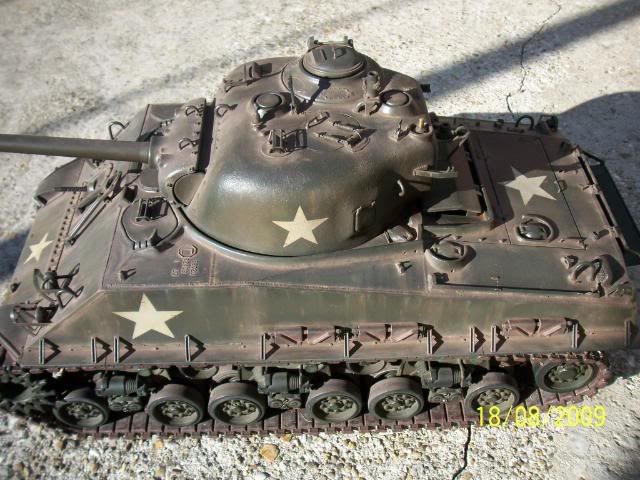
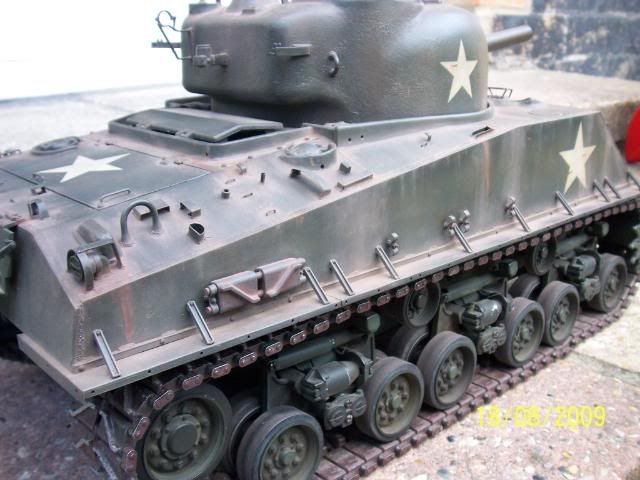
Went over it with a mix of brown and yellow pastels,really worked them and scrubbed them in to a few places.
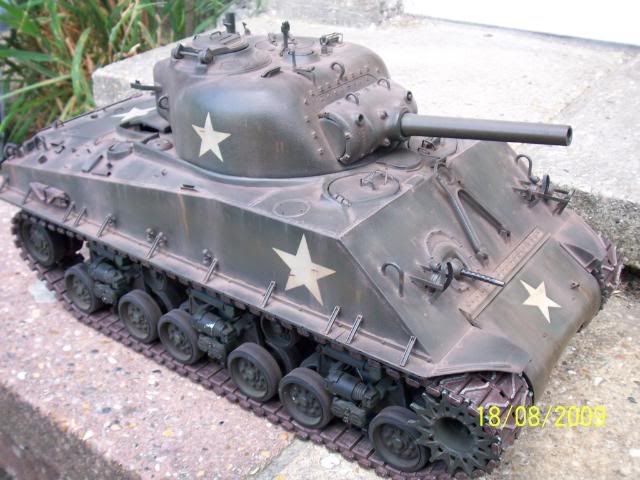
Very pleased with the way this has turned out,really seems to make it look dusty and a bit grimy.
This will be left as it is now as any varnish will destroy the effect of these pastels.I don't have a problem with this as it will change with time.Some of the pastels will wear away with time and any dust it collects will just add to it,it's like the real thing,it will weather itself and evolve.And if the pastels wear away too much I can quickly and easily do them again,so it will look different from time to time.
I think also I have achieved what I intended it to look like,which was to make you think it would make your hands dirty if you picked it up.

Image
Image
Image
Image
Image
Image
Image
Image
Image
Image
Image
Image
Image
Image

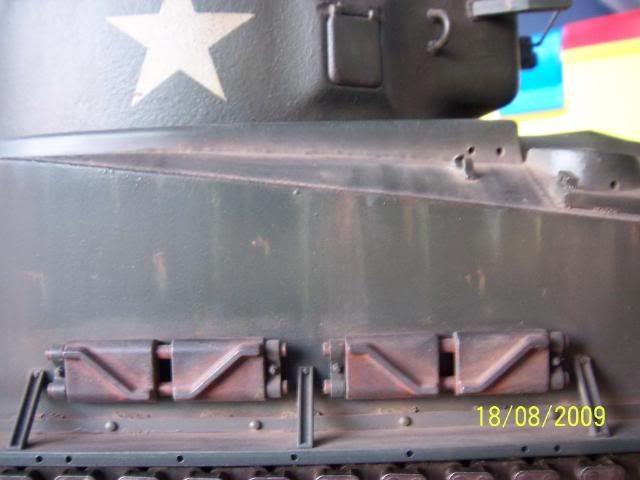
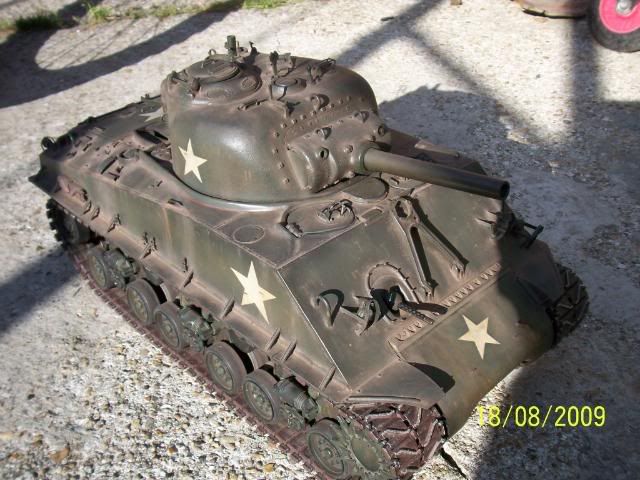
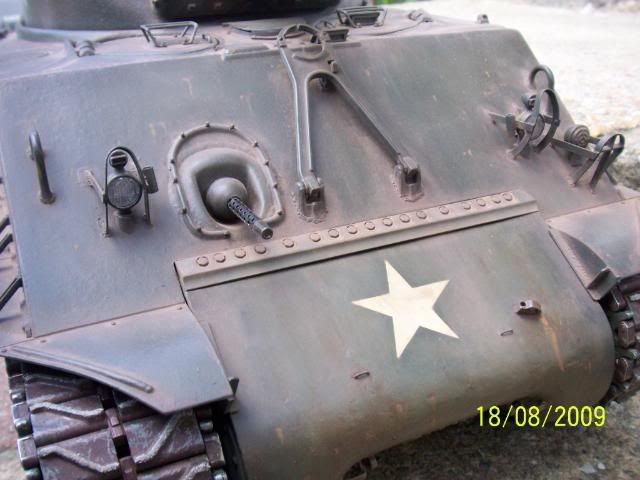
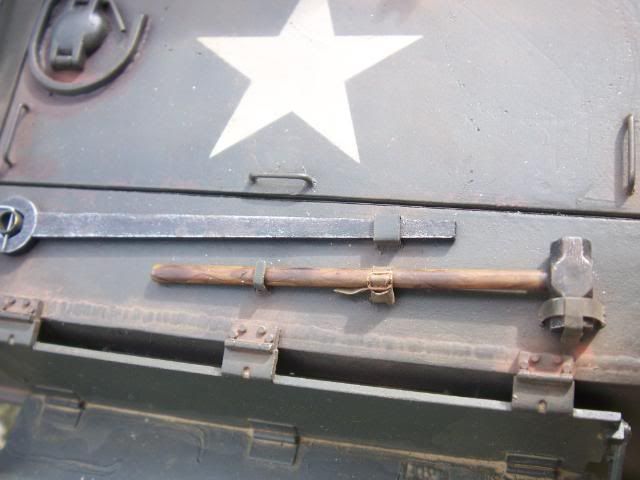
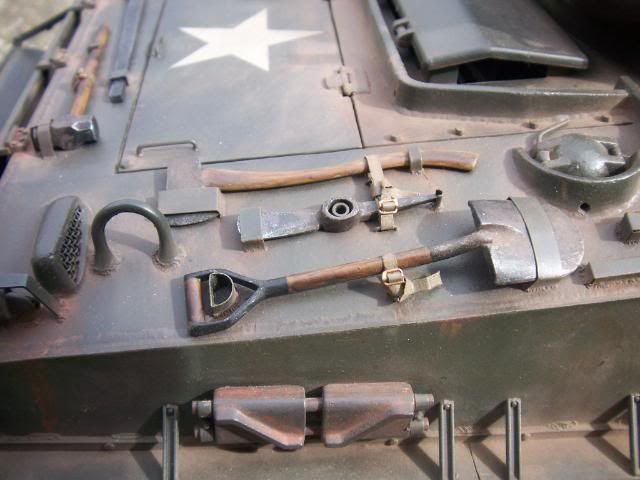
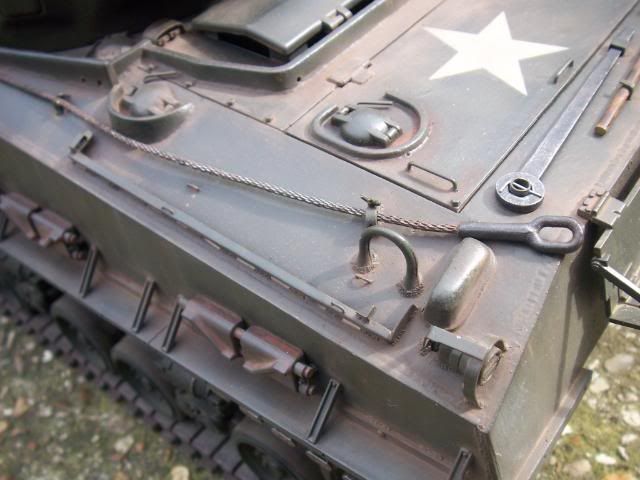
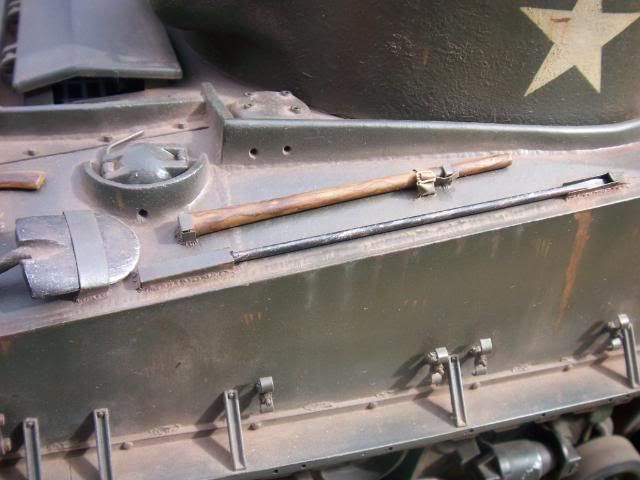
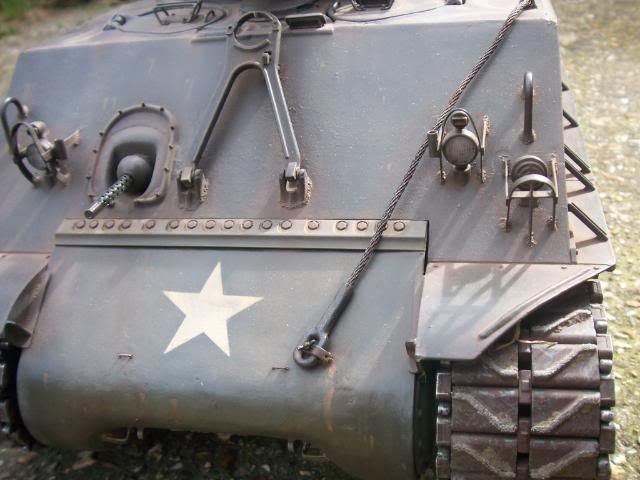
Still need to paint in the vision optics and the tools and tow cable need painting and fitting too.
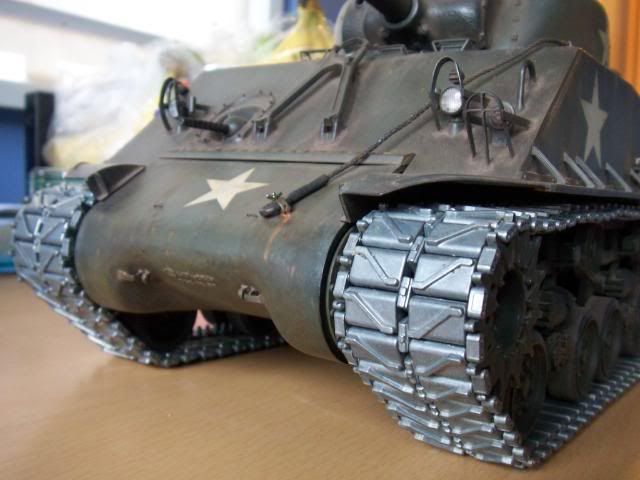
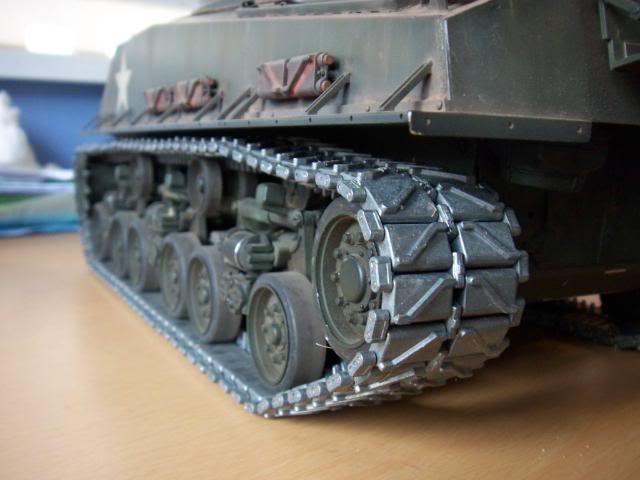
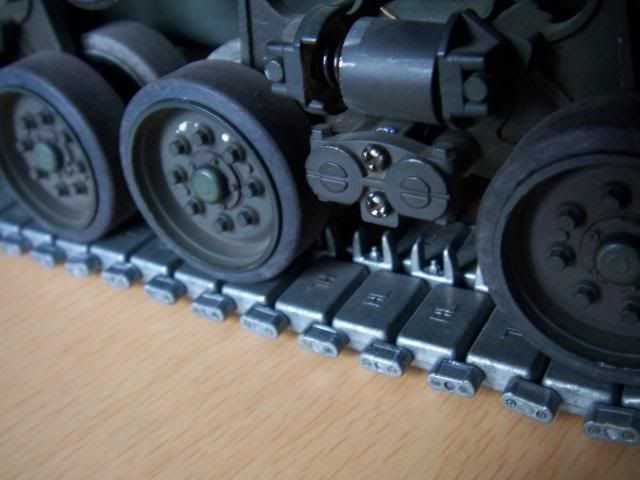
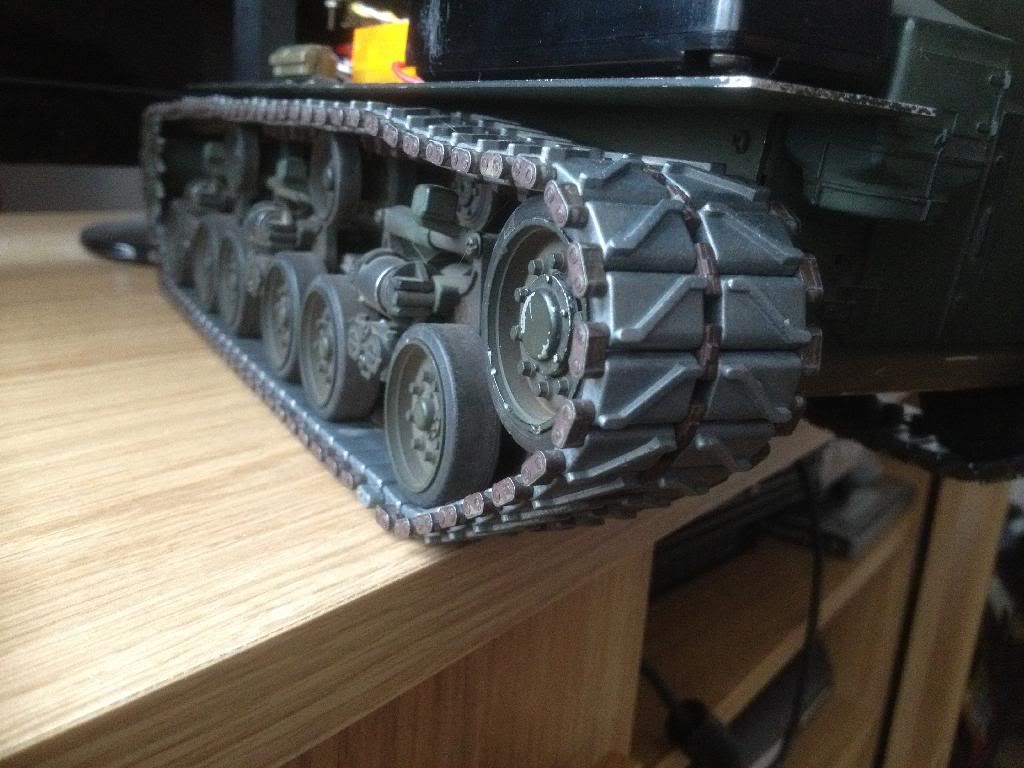
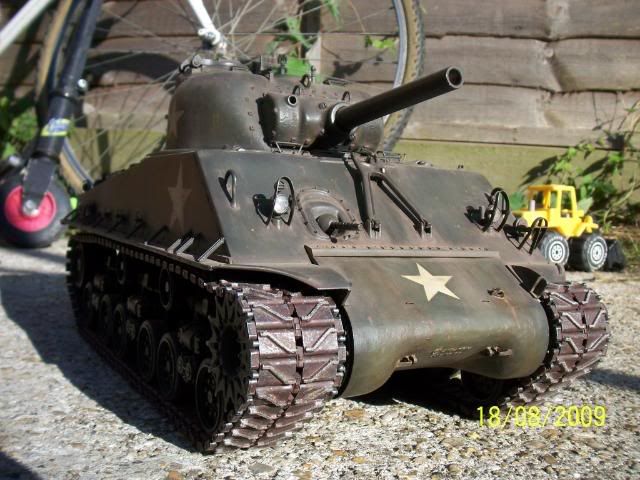
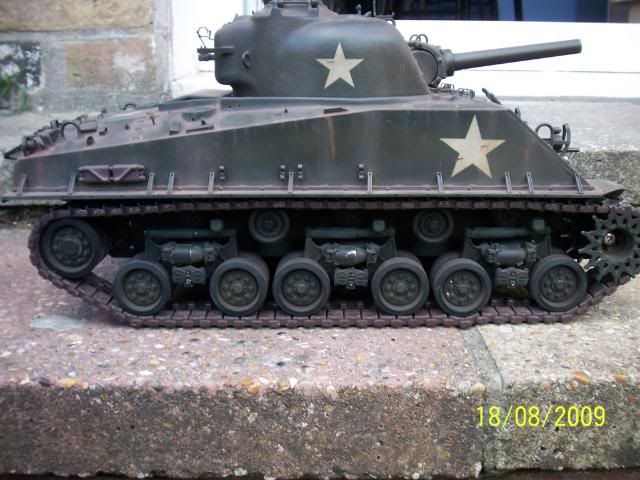
And I'm thinking of repainting the lower hull and running gear.In bright sunlight you can really tell the difference,the upper is olive drab,the lower is olive green.
Why did I paint the lower hull olive green?I do not know,it was a mistake.
So still a bit more to do,but at this stage I'm very happy to be able to use it and show it to people without having to explain that it's not supposed to be multi coloured!To those who don't even know what type of tank it is without being told,it looks complete.

Cheers,
Steve.
panzer34
Lance Corporal
Posts: 196
Joined: Sun Jan 04, 2009 4:04 pm
Location: St Helens Lancs

Re: Wight's Sherman

Post by panzer34 »

Really nice tank you should see my house for dusty tank effects
Mezzerik
Lance Corporal
Posts: 140
Joined: Tue Jul 22, 2008 8:59 am
Location: I don't know! HELP!

Re: Wight's Sherman

Post by Mezzerik »

Looks lovely. I really like the weathering.
Your Pershing will stand no chance against my tank.

After a long time away...I have returned.
User avatar
raven
Warrant Officer 2nd Class
Posts: 1042
Joined: Mon Dec 29, 2008 8:27 pm
Location: dublin ireland

Re: Wight's Sherman

Post by raven »

great looking sherman you have there

  chris
Wight
Lance Corporal
Posts: 225
Joined: Sun Oct 12, 2008 10:05 pm
Location: Isle of Wight

Re: Wight's Sherman

Post by Wight »

Thanks guys,much appreciated.
grim_marmazet
Staff Sergeant
Posts: 938
Joined: Sat Oct 04, 2008 7:45 am
Location: Uxbridge, London

Re: Wight's Sherman

Post by grim_marmazet »

Fantastic work as always Steve. The weathering is spot on! Looks just like its been in the field. I cant wait to see more of your work soon.
Cheers,
Rik
Wight
Lance Corporal
Posts: 225
Joined: Sun Oct 12, 2008 10:05 pm
Location: Isle of Wight

Re: Wight's Sherman

Post by Wight »

I did not realise it had been so long since I last worked on the Sherman,how time flies.
It's amazing how easily I am distracted by other things,been playing trains mainly over the last few months.Not seen the Sherman since sometime last year,until last week when I took it out to show a friend at work.Once I'd opened it's box and fired it up for a drive around the workshop at work I could'nt understand why I had'nt played with it for so long.
Poor thing,it's so neglected.
Anyway I thought it about time to add some of the equipment to the tool holders etc.
I painted the tools and the tie down straps and fitted them in place.Also painted and added the tow cable to it's clamps.

Image
Image
Image
Image
Image
Image
Image

Cheers all.
Steve.
Wight
Lance Corporal
Posts: 225
Joined: Sun Oct 12, 2008 10:05 pm
Location: Isle of Wight

Re: Wight's Sherman

Post by Wight »

Hey guys,it's been a while (4 years!) since I updated this build.

In all honesty I've not actually done much with it in that time,certainly no more detail work.
What I have done though is fit some metal tracks,albeit tracks from a Heng Long Pershing.
Now these tracks do fit and work quite well as they are but they have the wrong centre guide horn and also have the letters HL molded on top of half of the links!
As can be seen in these pictures.

Image

Image

Image

In a fit of madness and these defects playing on my mind I came up with the cunning plan of mixing the Heng Long tracks together with the Tamiya originals.
As you can see in the pics I used the Tamiya guide horns,pins and pin holders and used the metal track pads from the Heng Long tracks.As you can guess this meant disassembling 2 pairs of tracks and reassembling the above parts,also after reassembly I took the dremel to the molded on HL letters.
Also once I refitted the tracks I realised there was a very slight size difference between the Tamiya plastic track pads and the Heng Long metal ones which although not visually noticeable individually actually made the tracks a little too short,short enough that I had to add a link which meant I had to use one of the pershing guide horns for each track.
It also became apparent that because the pads were slightly smaller the sprockets were not releasing the track smoothly and were trying to pull the track around the sprockets.I had to reprofile each sprocket tooth quite a bit to get it to run anywhere near smoothly,still not quite finished this yet as a couple of teeth still look a bit rough.
As you can see, a lot of tedious work but I think the results were worth the effort.The tank certainly has a lot more weight to it now!
I took the tracks back off the other day and was amazed how light the tank is without them.

Image

Image

Image

Image

Image

Image

Red parts are Tamiya,silver are Heng Long Pershing.

Recently a friend leant me his modeling lathe which alowed me to have a look at adding much needed ball bearings to the rear idler wheels,a weakness on the Tamiya Sherman as the original plastic wheel just runs directly on the metal shafts.
I used some bearings I had lying around from when I was into model cars.I had to turn down the endcap and make a small plastic spacer to get both bearings to fit the shaft.Also had to turn the inside of the idler wheels for the bearings to fit into them.
Anyway hopefully these pictures explain it better than I have!

All the parts ready.

Image

Image

Image

Image

Image

Image

Not the best turning job but then I'm just a learner on the lathe,but once assembled works very well.Plus the idlers no longer squeak when running so must be an improvement.

Cheers.
Steve.
Post Reply

Return to “Sherman”