However, sometimes I need a break from fixing up my own tanks and I get requests from some of my good friends/tankers who want some custom designed items for their tanks.
So when dgsselkirk asks me to rebuild the internal electronics for his wife's Sherman tank, I say yes!
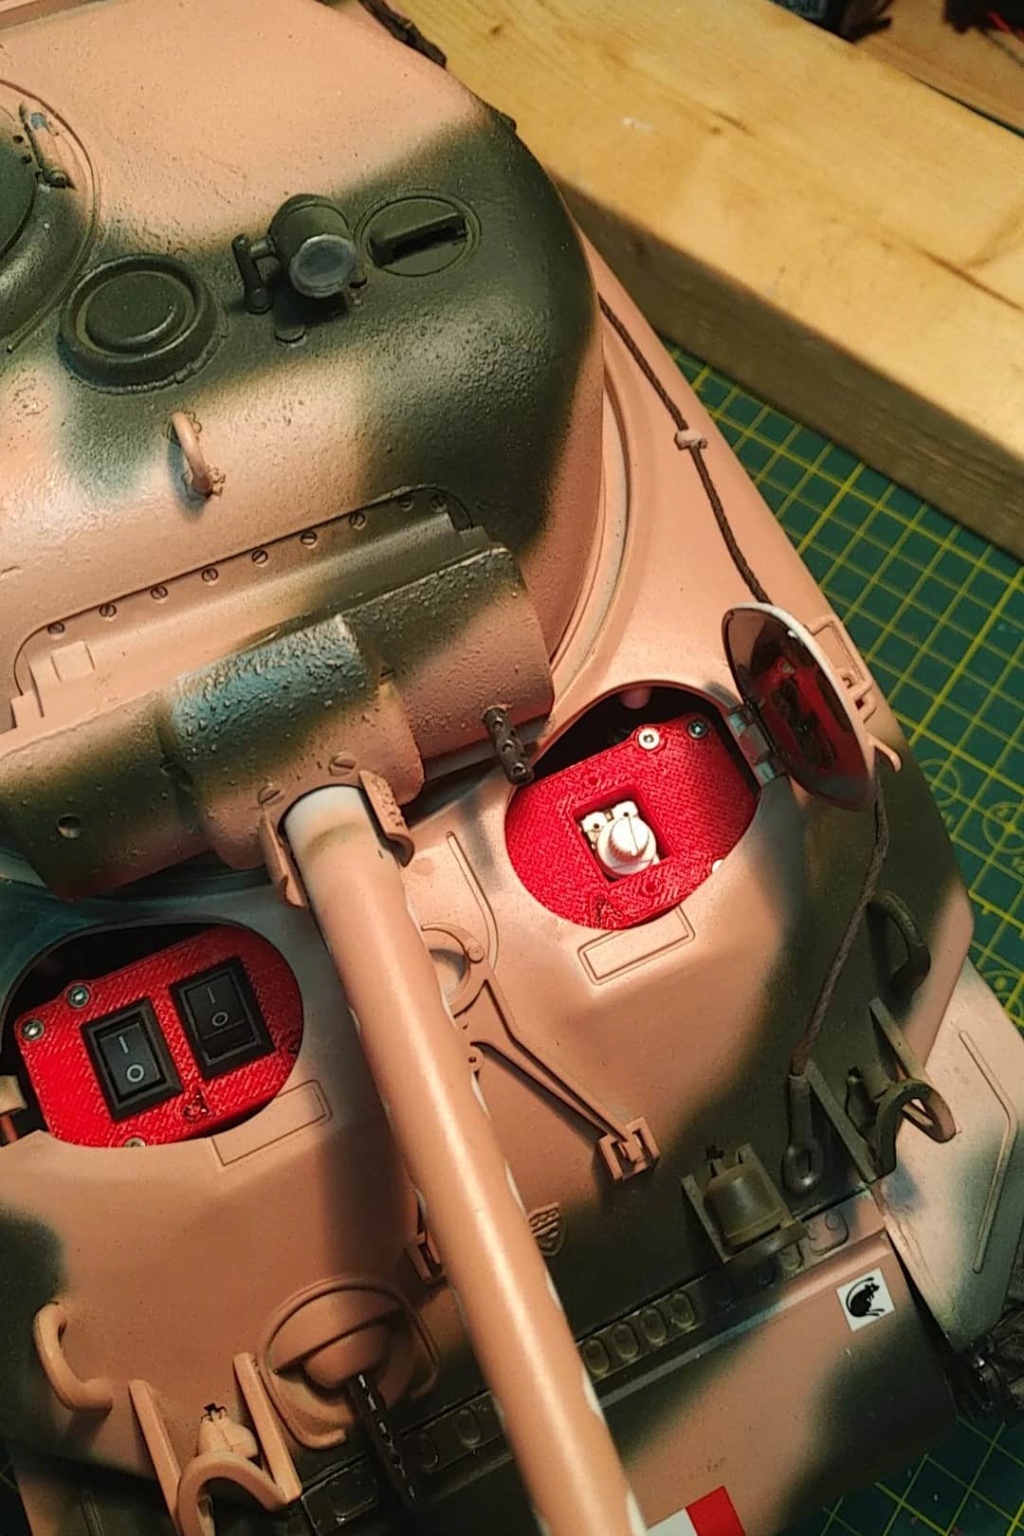
Dean's Sherman's always have their front hatches open for access to switches, except they are mounted in the upper hull which makes for a PITA when removing the upper hull.
And Dean is a modeller and an artist. His tanks look fabulous and can be perfectly period accurate. He is not borderline obsessive on organizational routing like I am. Enter my fun zone.
Designing and building... Huzzah!

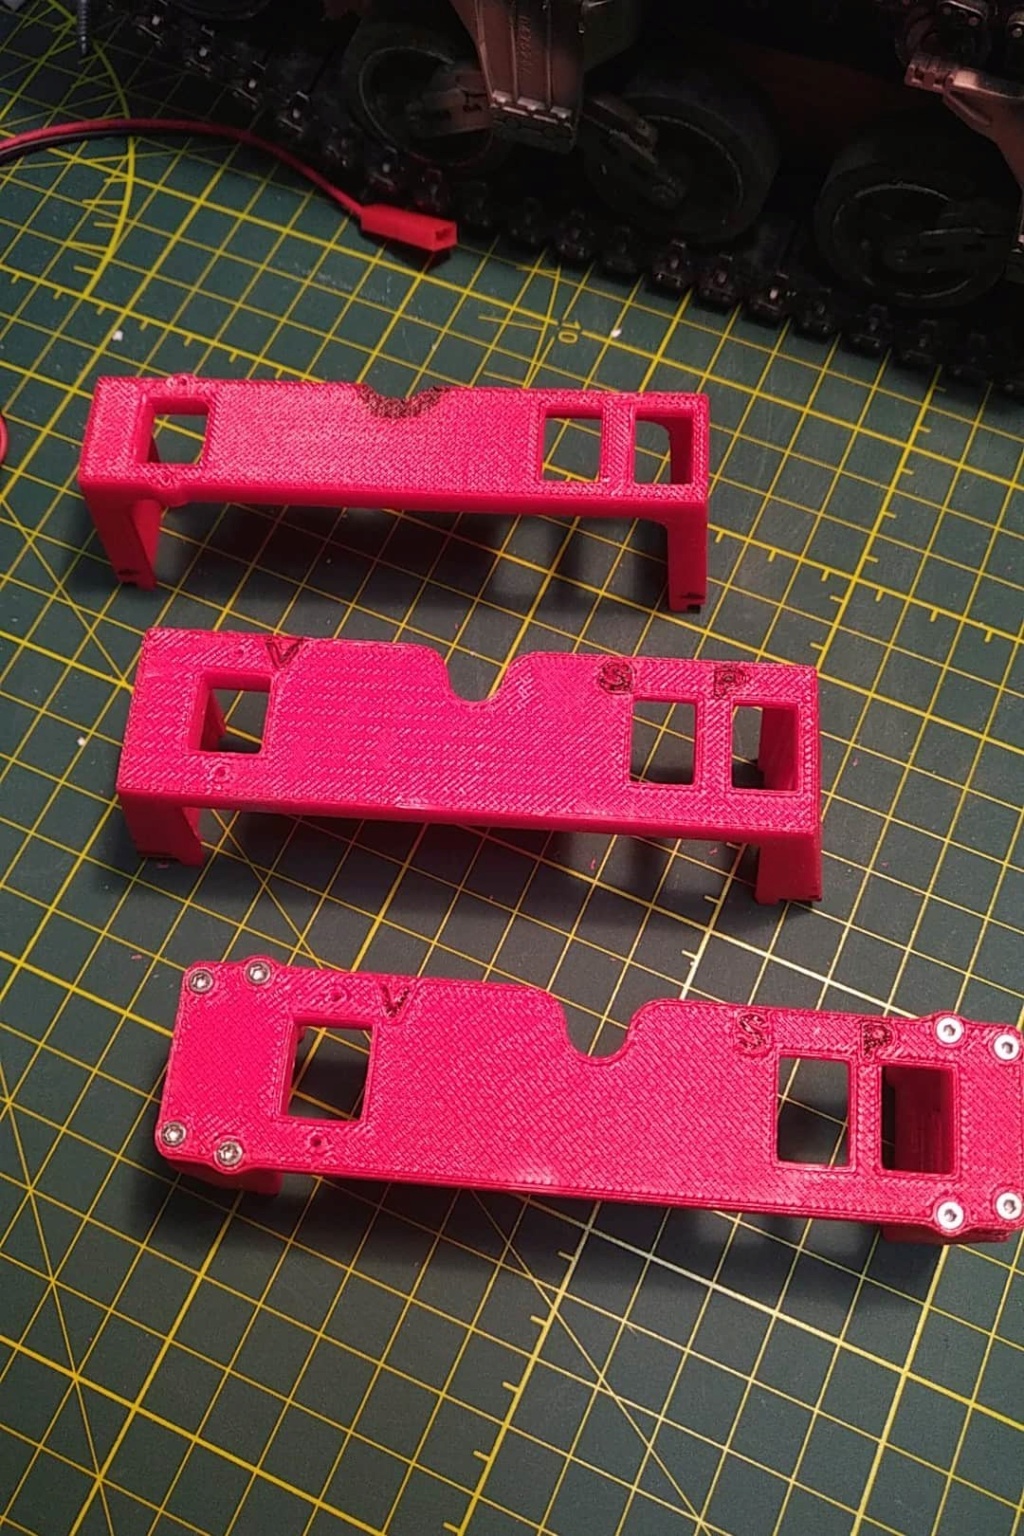
Three design iterations for a Switch Bridge for his Mato Sherman... Top is initial concept, bottom is final design. Note the addition of screws for an assembly.
And to many they may ask why make it complicated by making it an assembly? Answer to follow.

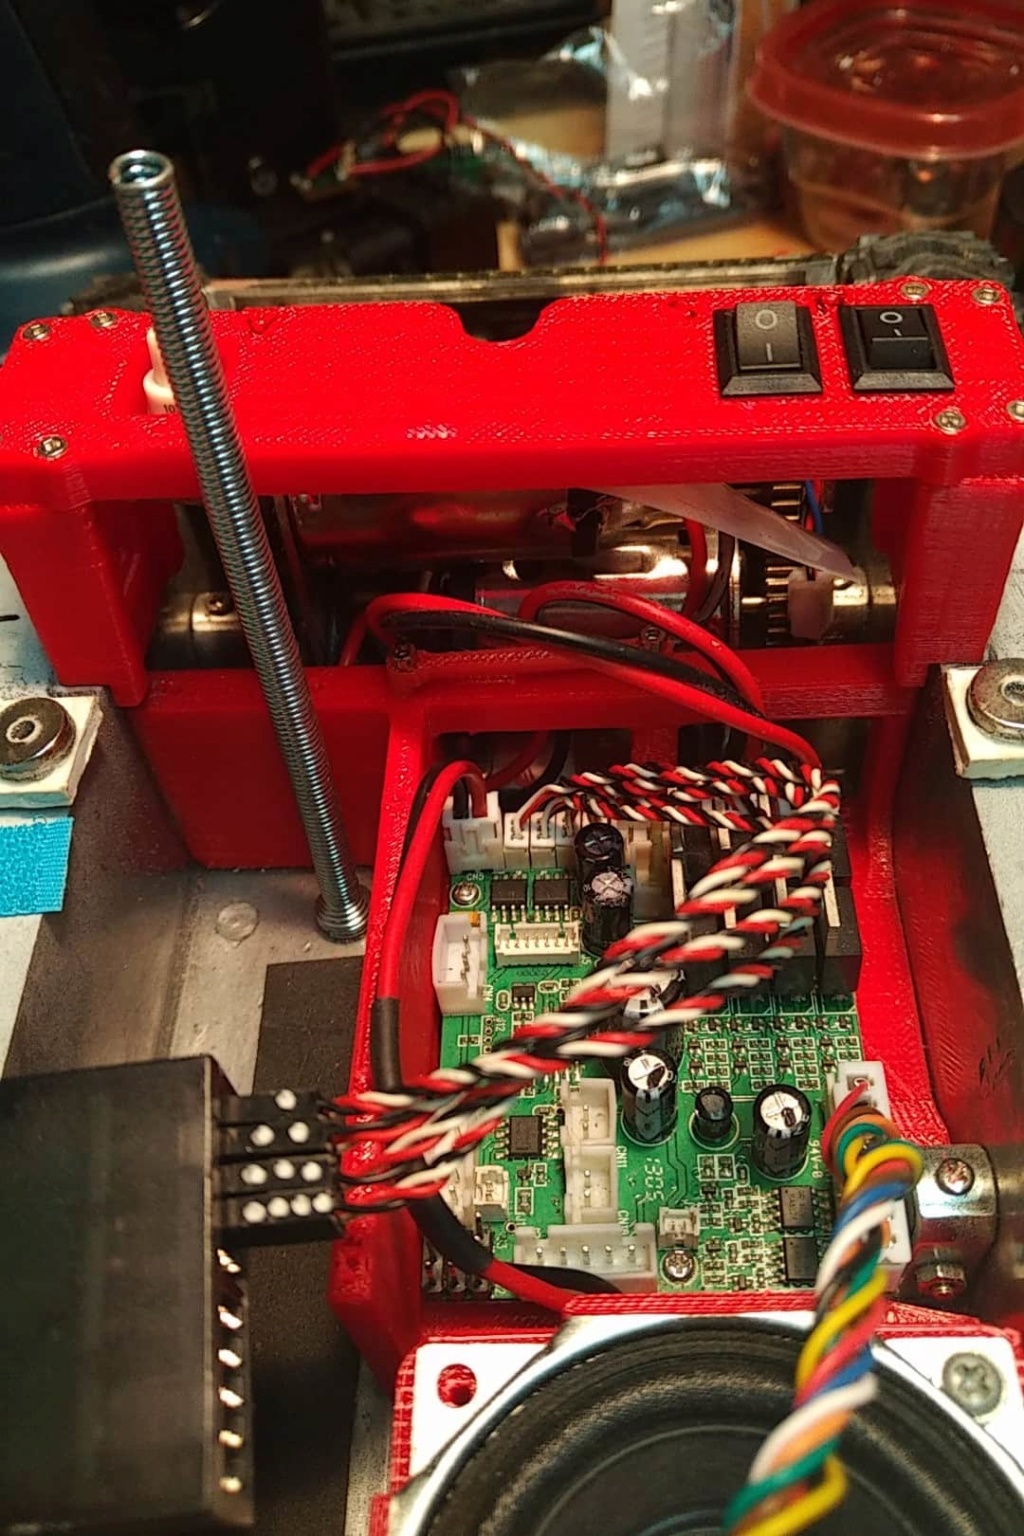
Trial fit. Showing the epoxied in-place Mato specific Clark TK-2x/40 tray 3D printed (Provisions for mounting dual 25mm fans, but since this is using a TK-20, no real need).
Cheapo tube bender for showing the height of the switch bridge above the sponson floor (top of lower hull).
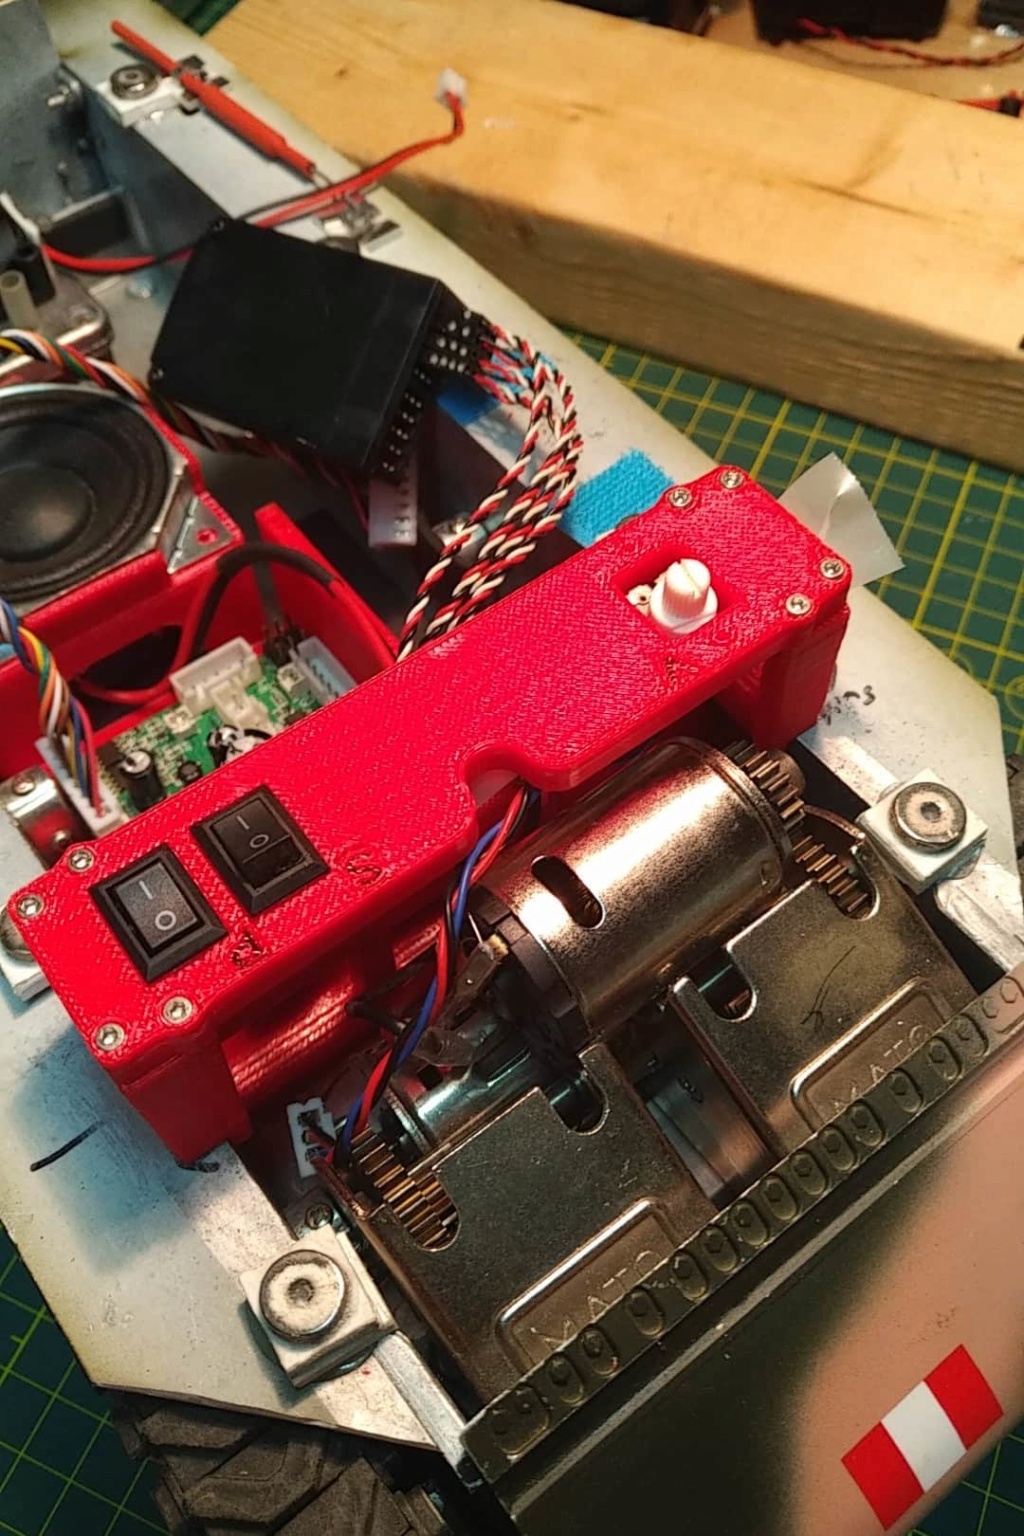
Also a 3D printed Speaker box just behind that. Volume control, Smoker toggle, and main power toggle switches on the bridge.

From this angle it is a bit easier to see why the final iteration of the switch bridge is an assembly. When the vertical parts are epoxied in place, the top can be removed if you need to service switches, or replace the drive motors. Glad I thought of that before epoxying the 2nd iteration into place.

When the upper hull is in place, the switches and volume potentiometer are just at your fingertips.
Once the complete lower is done I'll post more images of it.
