I am really enjoying this build ...
I've done nowt for ages ..but ...it's helping me get my mojo back
are u using the dragon m1a2sep v2 as a guide line for your build ?
.
Iain
Something I've been doing the past days
Re: Something I've been doing the past days
Thank you all of you guys. 
mcevoyi: Somewhat. I do not have the Dragon kit so I'm resorting to photos of it (and others) online. The IPMS review (http://web.ipmsusa3.org/content/m1a2-sep-v2-abrams) helped as well.
Some more pix...
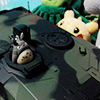
When the tank arrived, it was missing the coax tube. So I used brass tube, aluminium tube, and cut really small pieces of styrene for the coax. The brass tube I first inserted to the mantlet. Then after doing the coax tube, I inserted the aluminium tubing over the brass one:
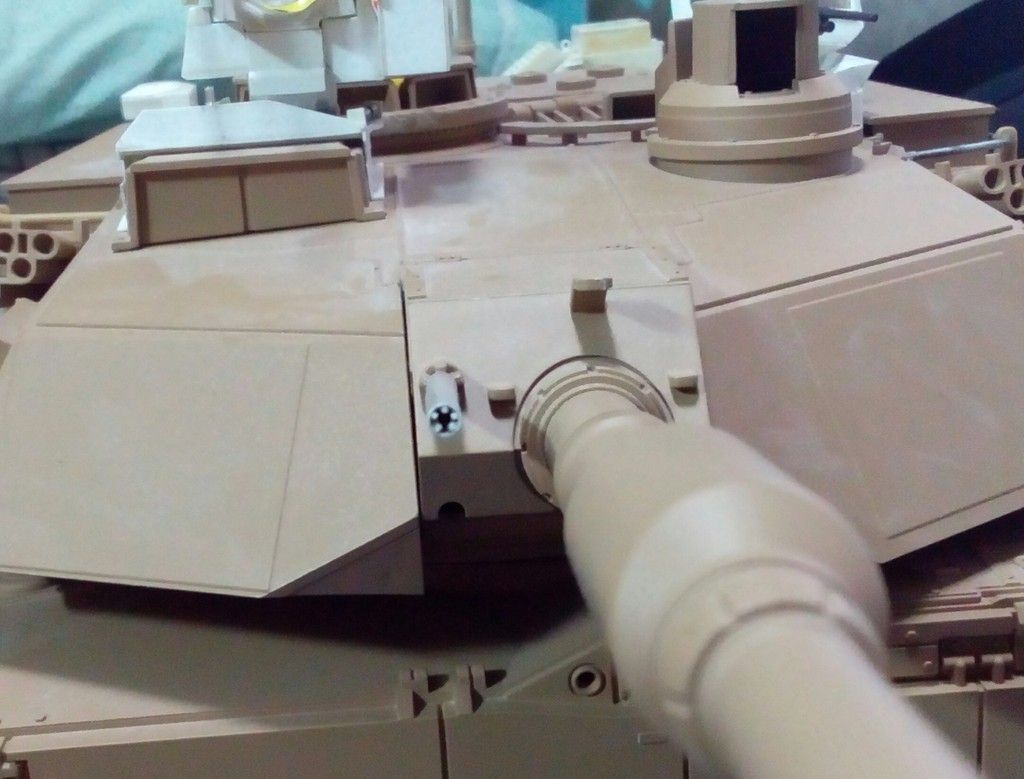
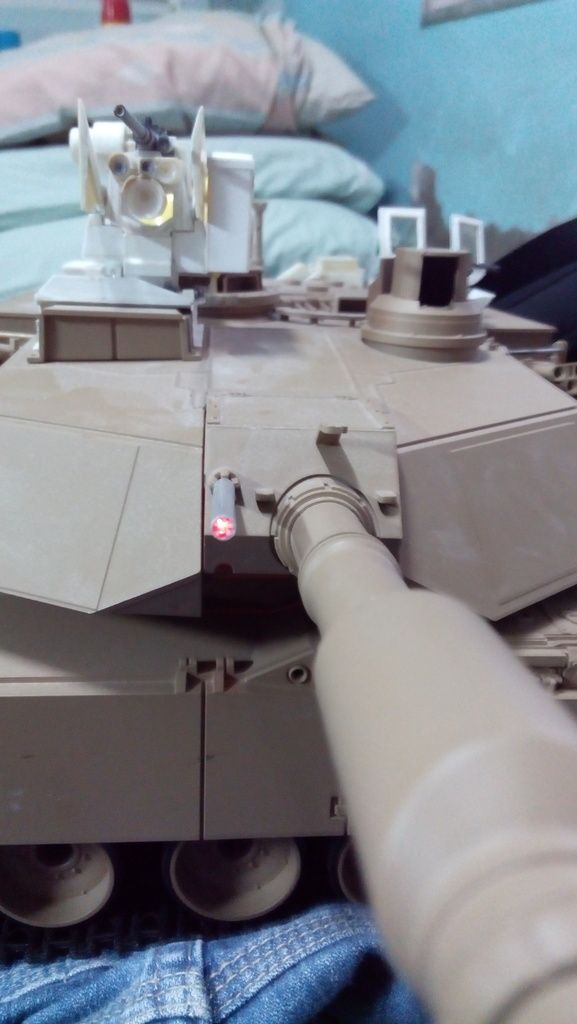
Had I used plastic tubing, the flash from the red LED might've shown through the entire length of the tube. Fortunately I had appropriate sized aluminium and brass tubing lying around.
mcevoyi: Somewhat. I do not have the Dragon kit so I'm resorting to photos of it (and others) online. The IPMS review (http://web.ipmsusa3.org/content/m1a2-sep-v2-abrams) helped as well.
Some more pix...
When the tank arrived, it was missing the coax tube. So I used brass tube, aluminium tube, and cut really small pieces of styrene for the coax. The brass tube I first inserted to the mantlet. Then after doing the coax tube, I inserted the aluminium tubing over the brass one:
Had I used plastic tubing, the flash from the red LED might've shown through the entire length of the tube. Fortunately I had appropriate sized aluminium and brass tubing lying around.
-
edpanzer
- Warrant Officer 2nd Class
- Posts: 1317
- Joined: Tue Jan 06, 2015 9:59 pm
- Location: Peterborough Cambridgeshire UK
Re: Something I've been doing the past days
That looks good....and a good tip.
Taigen Tiger 1 full option rctank.de special edition airbrush paint IR equipped
Type 90 1/24
WSN T34
Heng long leopard 2a6
Heng long panzer 4 platinum
Heng long sherman
Grantham Light Armoured Division RCTC
Type 90 1/24
WSN T34
Heng long leopard 2a6
Heng long panzer 4 platinum
Heng long sherman
Grantham Light Armoured Division RCTC
Re: Something I've been doing the past days
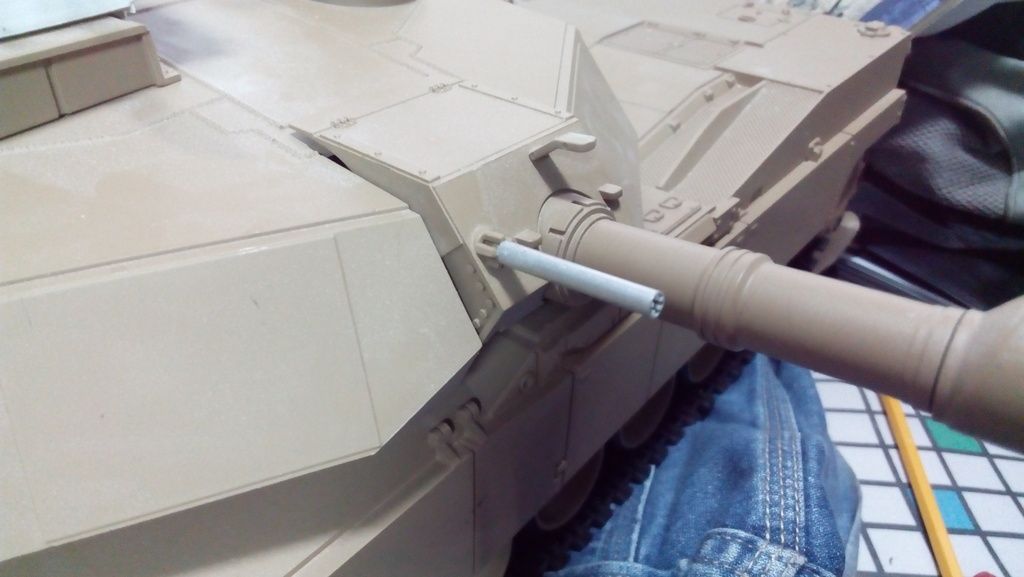
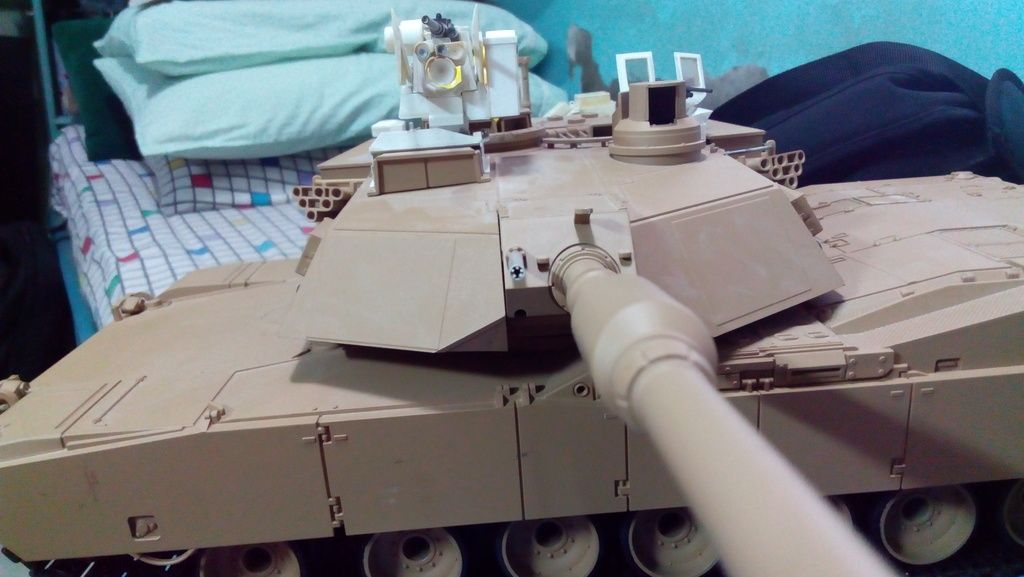
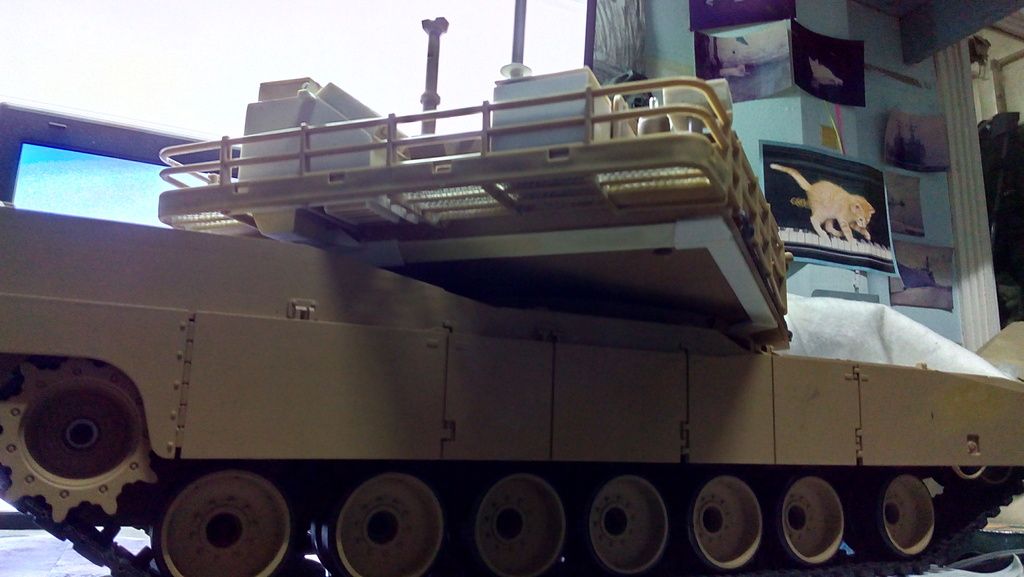
Well, I decided to convert the TC's weapons station to one that looks more like that found on the SEP v2. I used a hobby saw to cut away most of the plastic. Fine cutting done with knife. Fill and sand to smooth. The white ring is styrene strip wrapped around, two layers.

Also did the details connecting the vapor compressor thingy to the turret. I took greengiant's idea of modifying the turret lower half by sawing off the rear panel and gluing it to the upper part. I've yet to smooth things out to make that area as seamless as possible when the bottom part is screwed in place. The duct is made in such a way that the bottom turret part can be removed without issue.
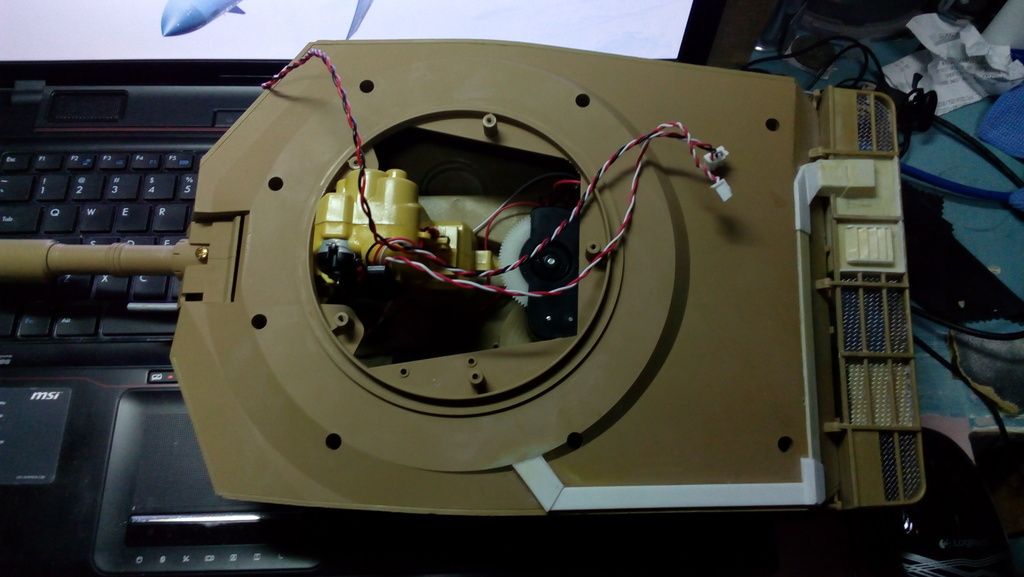
A side note: when opening the turret, I noticed that the turret elevation unit wasn't screwed properly to the upper turret half. I then found that's because two of the mounting posts were broken, which explains why my M1's main gun always had an elevated gun. I've fixed that already but I don't think it'll last, so I've got to get a new electronics package soon (IBU2Pro hopefully) to support servo actuated elevation. In the meantime, a bracket will have to be made to help keep the elevation unit in place. That or longer screws.
Also did the details connecting the vapor compressor thingy to the turret. I took greengiant's idea of modifying the turret lower half by sawing off the rear panel and gluing it to the upper part. I've yet to smooth things out to make that area as seamless as possible when the bottom part is screwed in place. The duct is made in such a way that the bottom turret part can be removed without issue.
A side note: when opening the turret, I noticed that the turret elevation unit wasn't screwed properly to the upper turret half. I then found that's because two of the mounting posts were broken, which explains why my M1's main gun always had an elevated gun. I've fixed that already but I don't think it'll last, so I've got to get a new electronics package soon (IBU2Pro hopefully) to support servo actuated elevation. In the meantime, a bracket will have to be made to help keep the elevation unit in place. That or longer screws.
Re: Something I've been doing the past days
If you do a lot of sanding...keep the dust...use the dust with crazy glue to reinforce your gun mount screws...I guarantee it will work and last at the very least till you get a new rig...though my repairs using that method has gone for years
ALPHA
Re: Something I've been doing the past days
Thanks Alpha. I've been using baby powder with superglue for filling seams and repair work, and it usually works as long as excessive pressure isn't applied.
Re: Something I've been doing the past days
Yeah...Baby Powder...Corn Starch...the methods is pretty well known ...I like using plastic dust /resin dust because of how it gets replenished...the supply just keeps giving lol...you sand ...save the dust...then when you use the dust and sand again...you can reuse thatatcttge wrote:Thanks Alpha. I've been using baby powder with superglue for filling seams and repair work, and it usually works as long as excessive pressure isn't applied.
It's a Vicious cycle I tell ya
Super work ...you are going to have one great looking ABRAMS...have you given any thought on how you are going to paint it? It kind of surprises me that our military hasn't adapted the Marpat or other digital schemes....or the new Multi cam colors....on the flip side though I can also understand why the didn't ...( did that make sense
Good meeting you ATC
ALPHA
Re: Something I've been doing the past days
I'll be painting it in NATO 3-colour to go along with my HL Leo2A6. I'm kinda sick n' tired seeing M1s in monotone desert scheme, plus NATO 3-colour is cooler hehehe
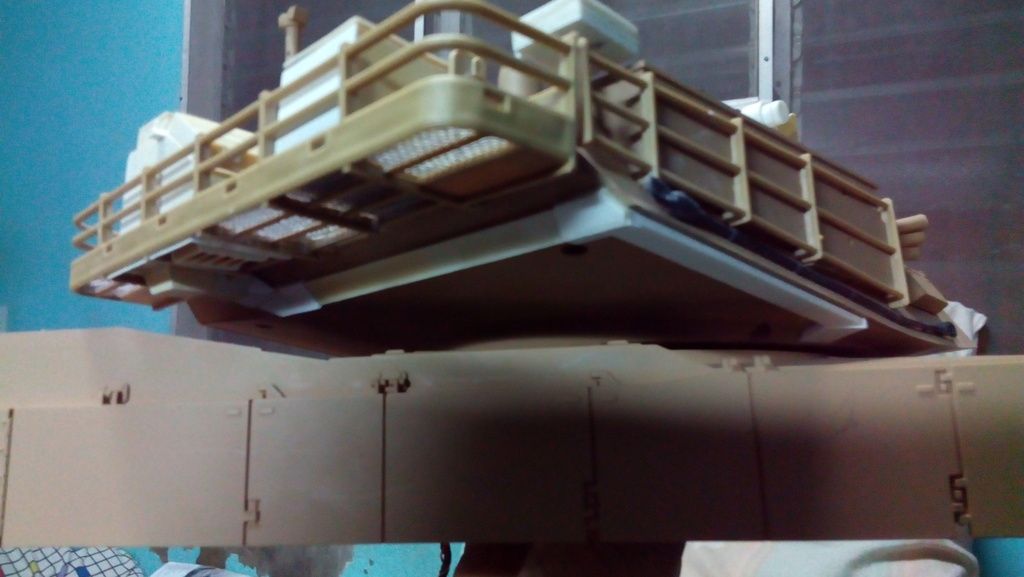
As expected, the extended bustle rack is going to be the second most complicated item to build (after the CROWS 2). Construction of the extended bustle rack is halted for the time being because I don't have styrene rods - I forgot to buy some yesterday. Although I think I'll use brass rods instead as that is stronger. Current state of the extended bustle rack:
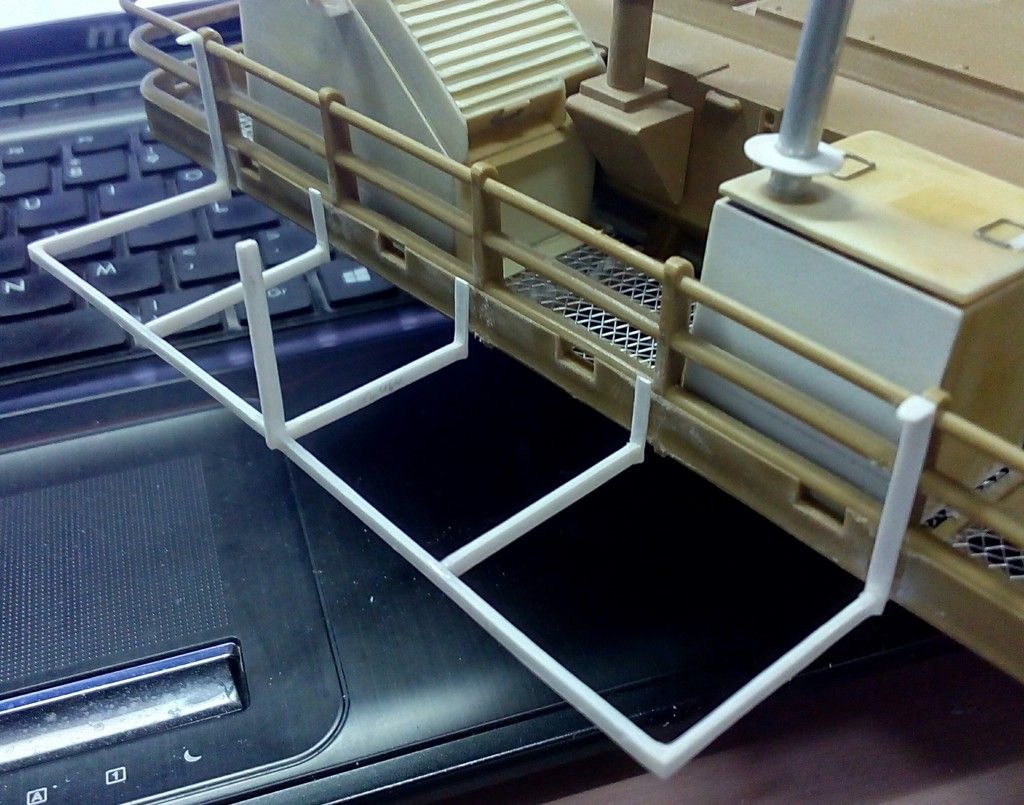
As expected, the extended bustle rack is going to be the second most complicated item to build (after the CROWS 2). Construction of the extended bustle rack is halted for the time being because I don't have styrene rods - I forgot to buy some yesterday. Although I think I'll use brass rods instead as that is stronger. Current state of the extended bustle rack:
Re: Something I've been doing the past days
What I can't believe ATC...is how I managed to miss this post....I do recall seeing the lead in with the 50. after that it must have got buried ....What I also can't believe you said this

Because you are doing one heck of a Bang up Job
I'm also glad you mention Green Giant...the guy has been an inspiration for many.....esp me...his modular back grounds/ dioramas are really something to take in
especially for this scale...where a permanent diorama would just require too much space
Anyway...before this gets wordy....really glad this post popped up....you have done a lot of detail which doesn't show up in photos I've found for research...On the flipside ...Now I have to redo my APU ...The rest is ok...my genre doesn't require that much detail
Thanks for sharing your outstanding Skill..ATC
ALPHA
atcttge wrote: What matters for me is that a cursory look will say "Hey, that's an M1A2SEPv2 with belly armor!" Life is too short to be so exacting when it comes to this hobby - at least my opinion - and as long as the details make me happy, then so it'll be. This isn't really for any competition, just for personal satisfaction.
Because you are doing one heck of a Bang up Job
I'm also glad you mention Green Giant...the guy has been an inspiration for many.....esp me...his modular back grounds/ dioramas are really something to take in
especially for this scale...where a permanent diorama would just require too much space
Anyway...before this gets wordy....really glad this post popped up....you have done a lot of detail which doesn't show up in photos I've found for research...On the flipside ...Now I have to redo my APU
Thanks for sharing your outstanding Skill..ATC
ALPHA
Re: Something I've been doing the past days
Tanks ALPHA!
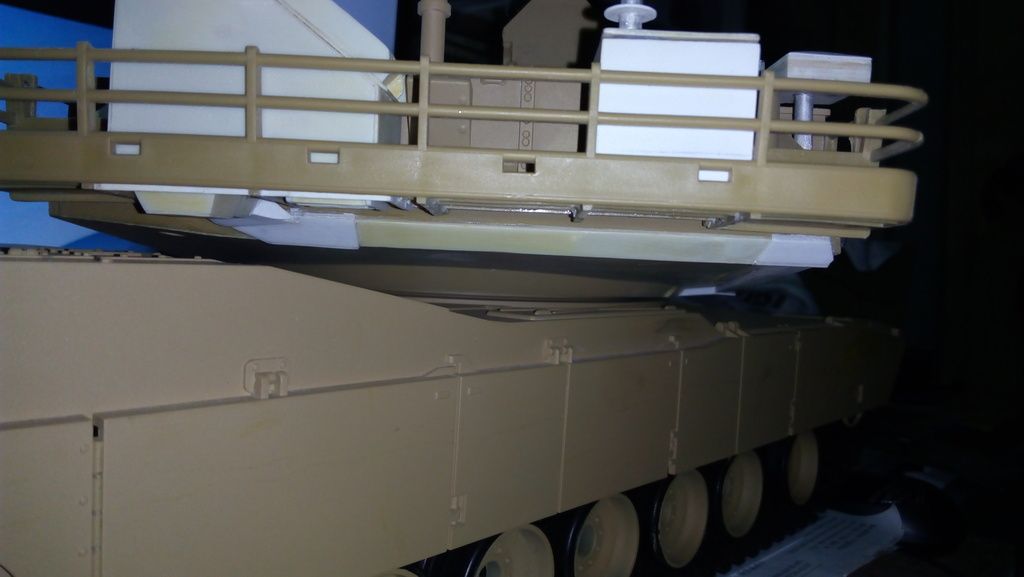
A few more pix before going to bed. Not much really. Have gaming laptop, will heat-form styrene:
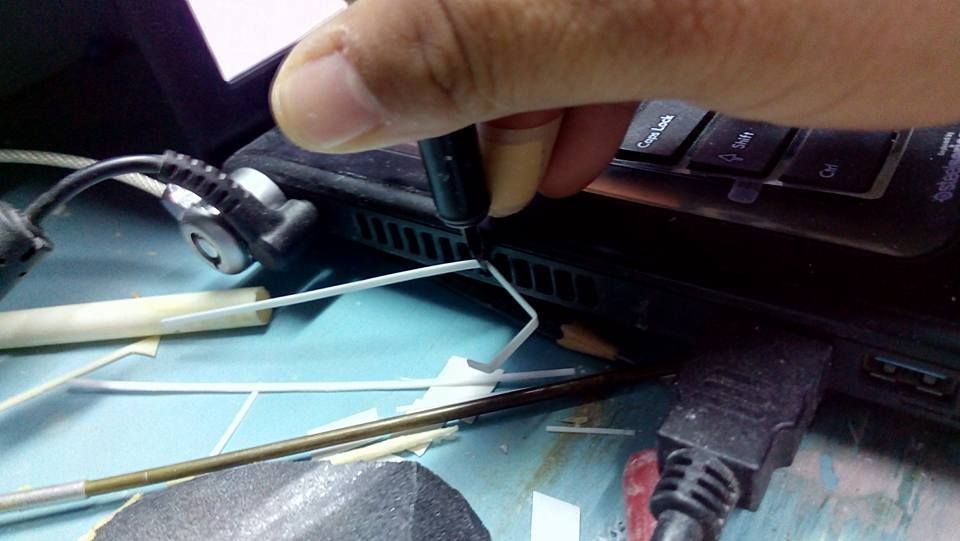
In order to make the jerrycan racks at either side of the extended bustle rack:
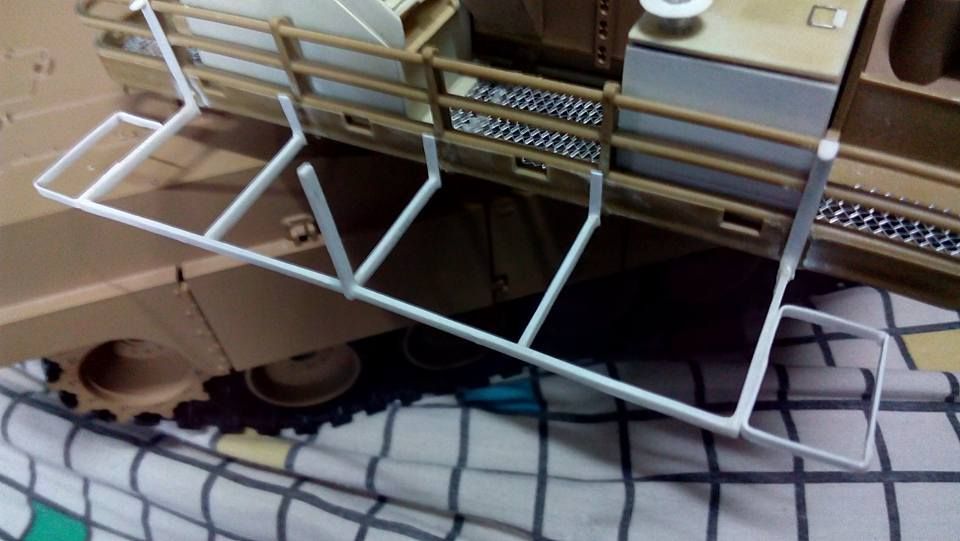
Construction of the extended bustle rack will have to be postponed until I get brass tubing. In the meantime, I'll focus on the hull stuff.
A few more pix before going to bed. Not much really. Have gaming laptop, will heat-form styrene:
In order to make the jerrycan racks at either side of the extended bustle rack:
Construction of the extended bustle rack will have to be postponed until I get brass tubing. In the meantime, I'll focus on the hull stuff.
