I upgraded to the RX18 system and after buying all the parts I was still not happy with the erratic performance. I tried many tips and suggestions after asking here on the forum but nothing I tried seemed to make the tank work consistently. After much wasted money buying transmitters, receiver boards, wiring sets and so on I upgraded the radio system to the Heng long 2.4 Ghz. It was well worth it and if i were starting over, I'd just have thrown the tk-01 parts away and begun with this much better radio system. I also installed the 2.4 Ghz system into my Tiger 1, and very happy with its performance, which is excellent.
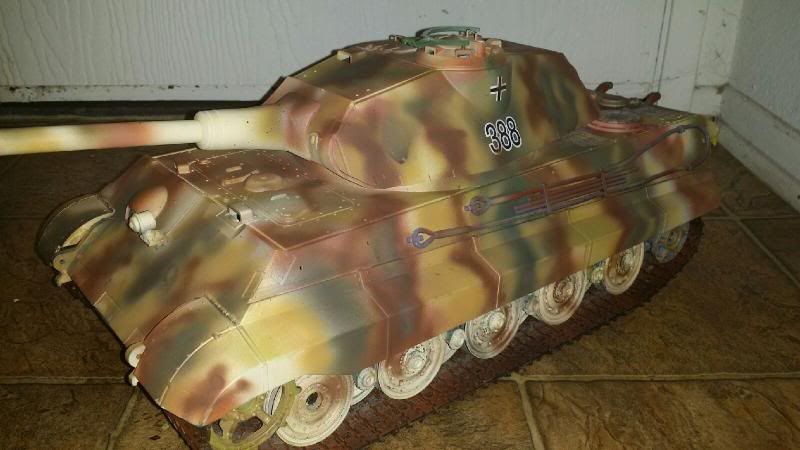
I am not happy with the paint job on the King Tiger. So I am going to start over and do it again. I even ordered a new gravity feed airbrush to do it with. Also zimmerit sheets are on the way so this is the ugly paint this tank is going to wear for a while longer.


Mistakes i made on the paint, I used too light a shade of sand, i used "modern desert sand" from testors, which is far too light and pale. The different shades of yellow are from my attempts to "fix" using the correct shade, "sand gelb".
Moreover the best way to have done the paint, would be prime with grey primer, then airbrush the base yellow over the grey primer. Instead I used rattle can paint for the base yellow, and got solid coverage. This is just fine for painting an old bucket or some such but is not what I wanted for a scale tank. When painting over grey primer, a light coat of "sand gelb" applied by airbrush, not rattle can, allows the grey to show through a little bit. This method I used on my Tiger 1 and gives a much more pleasing scale appearance, and a much better base for the remaining green and brown portions of the camo scheme.
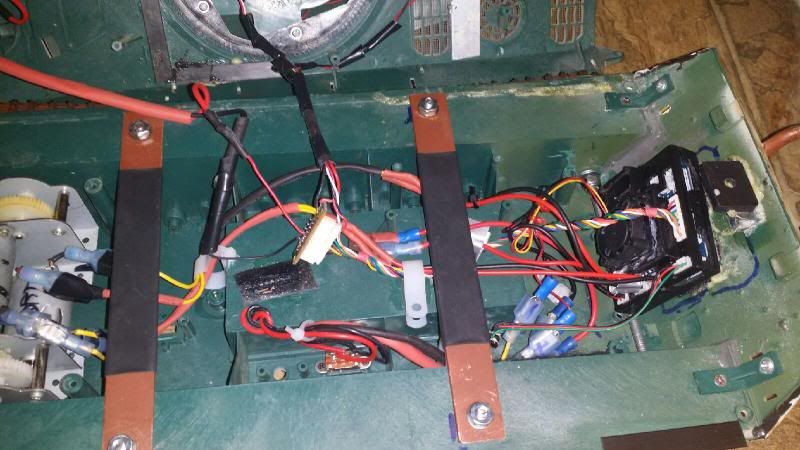
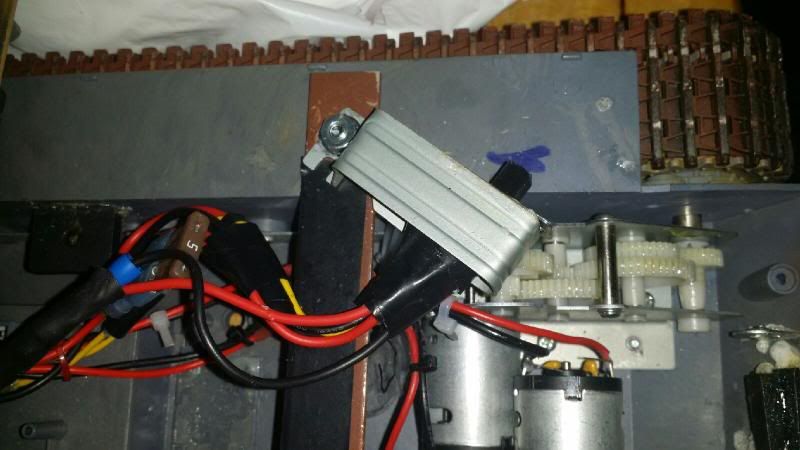
In the meantime I thought I would brace the hull a bit more. I added a second brace cut from 1/8" aluminum bar , on the top hull. The black portion you see is heat shrink, added to insulate the metal against loose or imperfect wiring that might touch the metal. The wiring mess needs to be neatened up a bit and i've even thought of adding a second fan, immediately under the grating for more air circulation. Probably this is just overkill. I want to add a brighter headlight, and a rear convoy light sometime too.
At the center, top of the rear hull, you can see where i glued the magnet to hold the hull on. Needs trimming of all that ugly glue.

I decided to add some more bracing to the floor. I used square, hollow carbon fiber tubing and just glued it in place. Then applied more glue along the sides of the square tubing for a "weld". Looking at the photo it seems to me that since i've gone this far, I might as well add two more cross pieces to the "ladder" and call it done.

I did some more modding to the Tiger 1...After installing the taigen hatches I figured out a way to mount the on off switch under the hatch.
http://www.rctankwarfare.co.uk/forums/v ... 38&t=13010
This is the mount i came up with. I really wanted something a bit more elegant but this one works great. It isn't pretty, but I don't think it looks too stupid at least. This switch mount is very solid and could not be simpler, or cheaper.
What you see is an old computer metal expansion slot cover. I ground out one end a bit so I could bolt it to the same screw as the brace. Then bent it and doubled it underneath, and secured the switch with glue. I used as little glue as possible in case i need to remove the switch and replace it...but if the switch goes bad and it is stuck tight because of the glue, a replacement mount is easy enough to find after all.

