Hello Teddy.
That is interesting. Could you shed some more light on how to do that? I've ordered them now, but I could send them back I suppose.
Wolf; I used the bluing agent for gun metal. I presume that the blue for aluminium is a different thing? I did read somewhere that the KT tracks have a high zinc content. Certainly not a high level of steel.
Taigen King Tiger rebuild
Forum rules
If you're planning on posting a log of your build please use the relevant build sections.
If you're planning on posting a log of your build please use the relevant build sections.
-
PainlessWolf

- Colonel
- Posts: 7860
- Joined: Sun Feb 26, 2012 9:09 pm
- Location: Southern Colorado Rocky Mountains
Re: Taigen King Tiger rebuild
Good Morning,
Kye, Yes, there is a product called aluminum blacking that is put out by Birchwood Casey. *rummages for a link*
http://www.birchwoodcasey.com/Finishing ... 20790beefb I hope this is helpful.
regards,
Painless
Kye, Yes, there is a product called aluminum blacking that is put out by Birchwood Casey. *rummages for a link*
http://www.birchwoodcasey.com/Finishing ... 20790beefb I hope this is helpful.
regards,
Painless
...Money!? What's that!?...
Re: Taigen King Tiger rebuild
Update.
Hit a bit of a snag now.
The axles for Taigan/ HL Idlers don't fit the Torrow hull well as they are too narrow. The grub screw can't get enough purchase and allows excess play. I cut the shaft back to the thicker part, now it is too short. Bugger. So if anyone has two shafts 4mm x 33mm I'd be very interested in hearing from you!! (payment for them also). Failing that I need to buy two new idlers!
  .
.

The other thing I have learnt is that the Vallejo washes are rubbish when applied by paint brush. They don't merge in with the paintwork at all. The rust wash is the exception and looks quite good. I've only tested it on a small area, but I will show upload photos at a later date. I'm a bit loathed to use my airbrush as I don't want to cock up my paint job!
So the mission now (aside two new axles) is to crack the weathering. Someone mentioned pin painting or something. What I want to is to do subtle stuff on lips and raised edges to show a build up of dust and dirt. On the engine deck and rear end I want to really show up fluid spills mixed with dirt. Oil paints sound like the way to do with ground down pastels to give the paint some body and mass.
That it is about it for the moment. Play is stopped on the account of pending drive failure the need for decent paint brushes.
Hit a bit of a snag now.
The axles for Taigan/ HL Idlers don't fit the Torrow hull well as they are too narrow. The grub screw can't get enough purchase and allows excess play. I cut the shaft back to the thicker part, now it is too short. Bugger. So if anyone has two shafts 4mm x 33mm I'd be very interested in hearing from you!!

The other thing I have learnt is that the Vallejo washes are rubbish when applied by paint brush. They don't merge in with the paintwork at all. The rust wash is the exception and looks quite good. I've only tested it on a small area, but I will show upload photos at a later date. I'm a bit loathed to use my airbrush as I don't want to cock up my paint job!
So the mission now (aside two new axles) is to crack the weathering. Someone mentioned pin painting or something. What I want to is to do subtle stuff on lips and raised edges to show a build up of dust and dirt. On the engine deck and rear end I want to really show up fluid spills mixed with dirt. Oil paints sound like the way to do with ground down pastels to give the paint some body and mass.
That it is about it for the moment. Play is stopped on the account of pending drive failure the need for decent paint brushes.
Re: Taigen King Tiger rebuild
A little update and a call for some help!
I've since replaced the idler axels, so they now fit properly and align with the tracks.
I gave up with the weathering washes. I didn't want to risk cocking it up with the airbrush and the paintbrush does nothing to blend then. I do have a P4 that I'll rebuild at some point so I may try them with the airbrush as some practice and learning.
I've now varnished it with Vallejo varnish. Be warned, a room temperature environment is best for applying it and helping it dry.I used the airbrush in a cold garage and you could see a misty affect. Not good. I've been able to reduce it a fair bit with some water and rubbing the tank down with a sponge.
Now for the help.....
I need to adjust the track tensioners. My idlers over lap the wheel next to it, which looking at photos of the real thing, is not meant to happen. They both off by different amounts too as you can see in the photos. I've not no idea how to adjust them! Do I have to remove the tracks? I'm guessing so to make it easier to do. I also have 4 segments left as well. I'm guessing I am going to have to add these to the tracks to lengthen them to get the idlers in the right position. Photos follow..


And finally, I have a left over wire for the turret. Has anyone got an idea where the black wire on the turret power wire should do??

Many thanks
Kye
-
PainlessWolf
- Colonel
- Posts: 7860
- Joined: Sun Feb 26, 2012 9:09 pm
- Location: Southern Colorado Rocky Mountains
Re: Taigen King Tiger rebuild
Good Afternoon, Kye,
Your tracks adjusters look like you should be able to unlock the current position by loosening a grub screw on that tensioner axle then use a small wrench on the nut on top of the vertical screw to adjust the cam position and hence, your idler. Repeat for the other side. Watch the idler as you turn the nut and you'll be able to see which direction it is moving in and align both the rear idlers in the same spot. It doesn't look like you'll have to remove the tracks to do this. Allow for proper track slack and be care not to run the nut too far in either direction. Your black wire should be a ground.
regards,
Painless
...Money!? What's that!?...
Re: Taigen King Tiger rebuild
Minus fitting the TK-22 board, the beast is finished!
The wiring issue is sorted and the tracks are running perfectly.
Been a long but enjoyable project. Once a metal hull for the Panzer 4 comes out, I'll do it all again

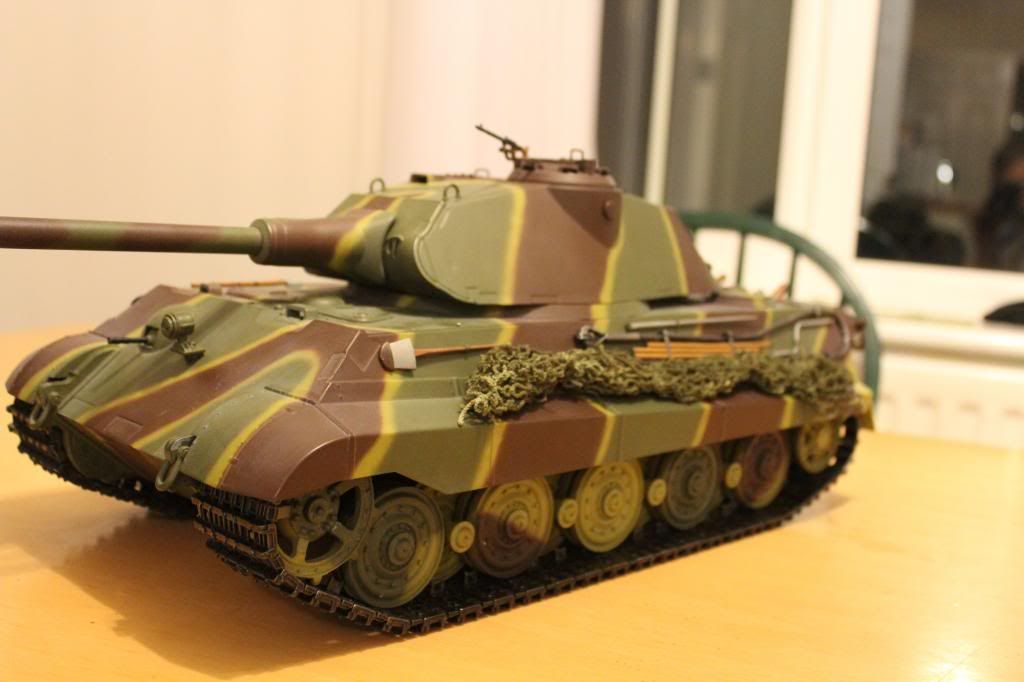
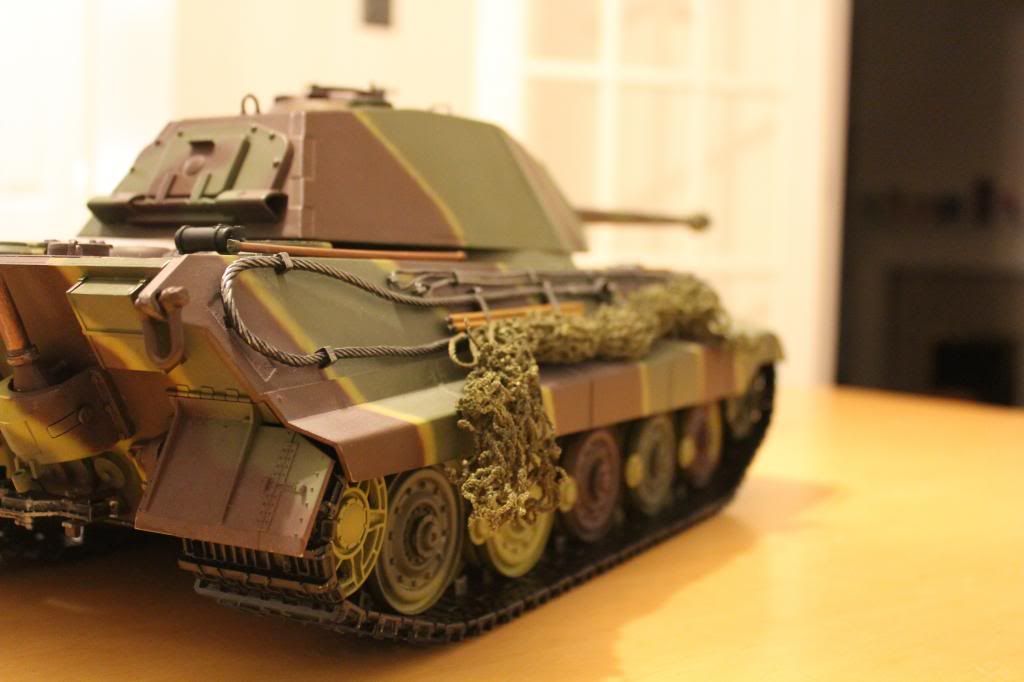
The camo nets were made from an old net shopping bag I found. Sprayed them up and job is a goodun
The wiring issue is sorted and the tracks are running perfectly.
Been a long but enjoyable project. Once a metal hull for the Panzer 4 comes out, I'll do it all again


The camo nets were made from an old net shopping bag I found. Sprayed them up and job is a goodun
Re: Taigen King Tiger rebuild
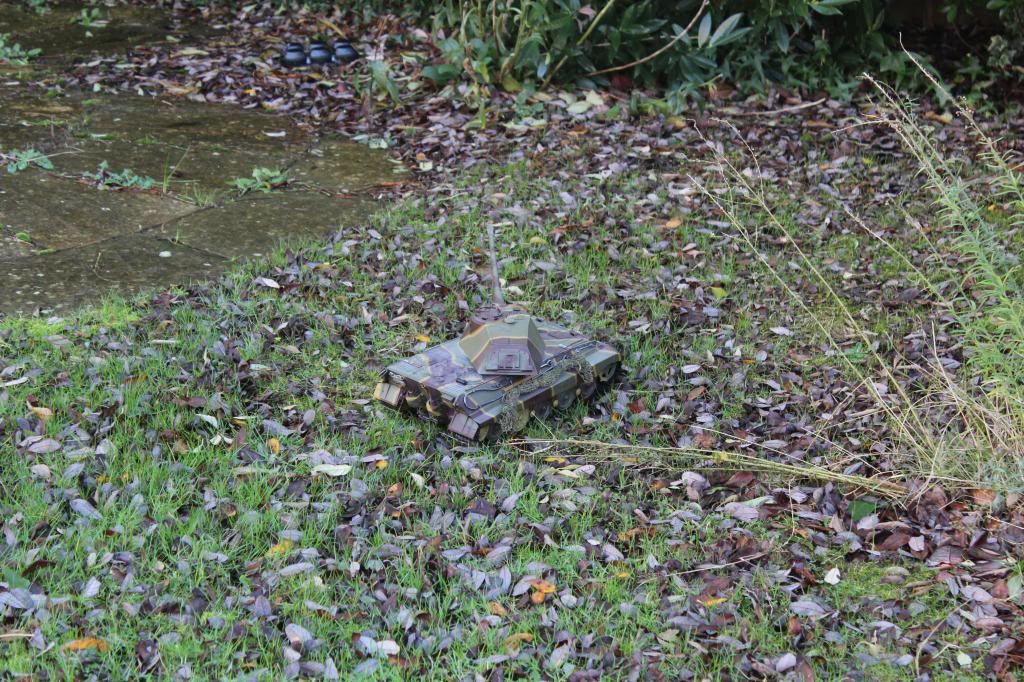
In a more natural environment
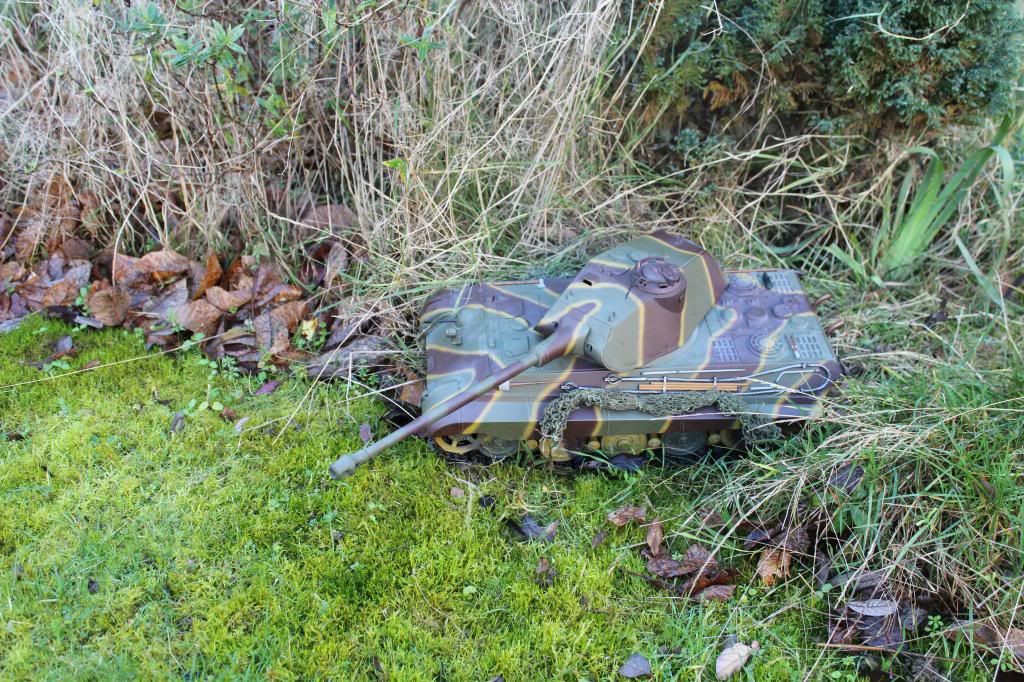
The camo works quite well I think!

The camo works quite well I think!

-
reyemmanuel
- Recruit
- Posts: 19
- Joined: Wed Jul 20, 2011 4:02 pm
Re: Taigen King Tiger rebuild
where is your tank? your last pic just show heaps of grass n fallen leaves. Can't see a tank.
[img]
[/img]
[img]
http://www.youtube.com/user/reydickemmanuel
Tamiya Tiger I
Tamiya Tiger II
Tamiya Leopard 1A4
Tamiya Leopard 2A6
HE M1A2,
HE Leopard 2A5
HL Queen Tiger
HL PzKpfw III
HL M41A3
http://hobbyhavoc.com/forum/index.php?board=138.0
www.facebook.com/ArmouredRc
Tamiya Tiger I
Tamiya Tiger II
Tamiya Leopard 1A4
Tamiya Leopard 2A6
HE M1A2,
HE Leopard 2A5
HL Queen Tiger
HL PzKpfw III
HL M41A3
http://hobbyhavoc.com/forum/index.php?board=138.0
www.facebook.com/ArmouredRc
