A tiger gets a new suspension and chain tensioner

Post Reply
User avatar
Edwin
Corporal
Posts: 394
Joined: Tue Jun 11, 2013 8:34 pm
Location: Rheinland Pfalz Germany
Contact:

A tiger gets a new suspension and chain tensioner

Post by Edwin »

Hi all,

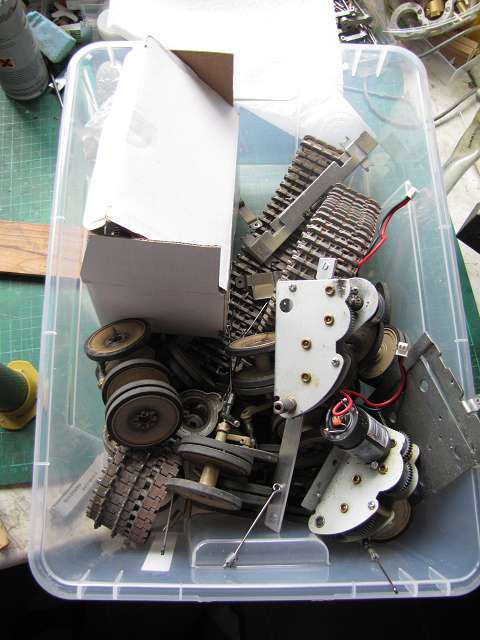
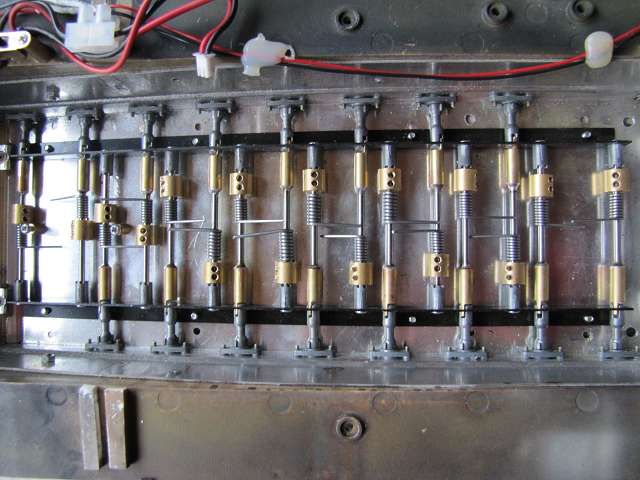
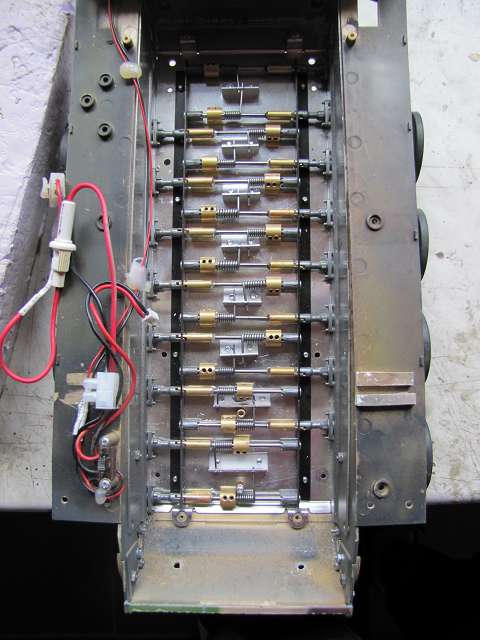
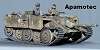
After yesterday I received and unpacked the package with a Tiger tank at a conversion of suspension and chain tensioner also went off immediately .

Image

Since I am just ha also build on a new suspension for a Leo fits just perfectly in the conversion of these processes and, therefore, off you go .
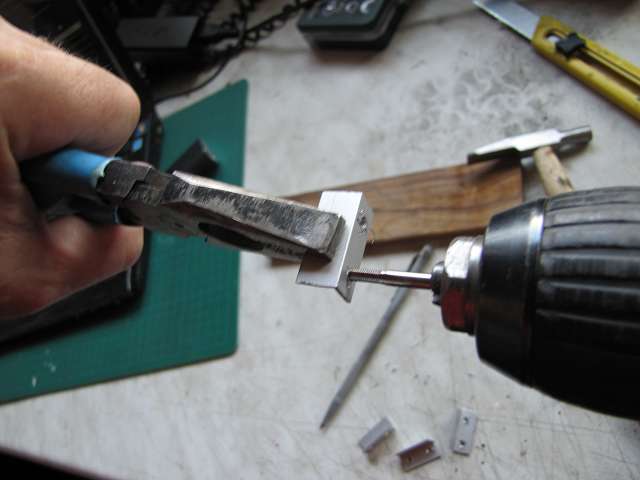
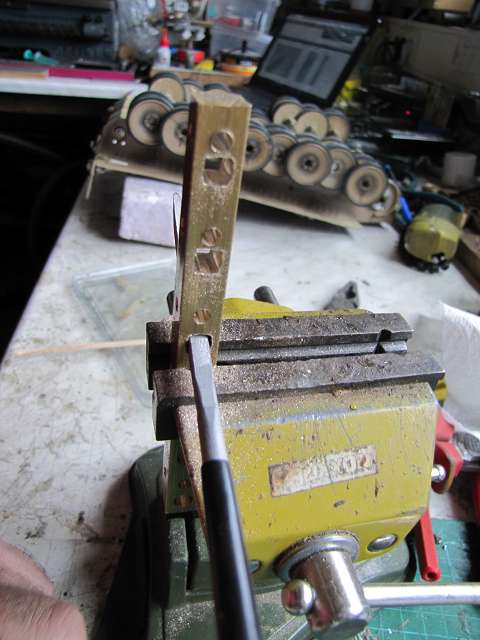
First, I must plug the bucket , suitable for milling slots in the rocker arms . The necessary parts I have already cut deal yesterday.

Image

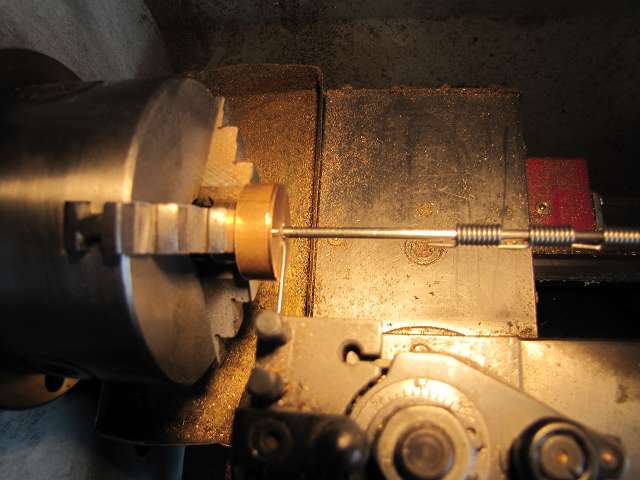
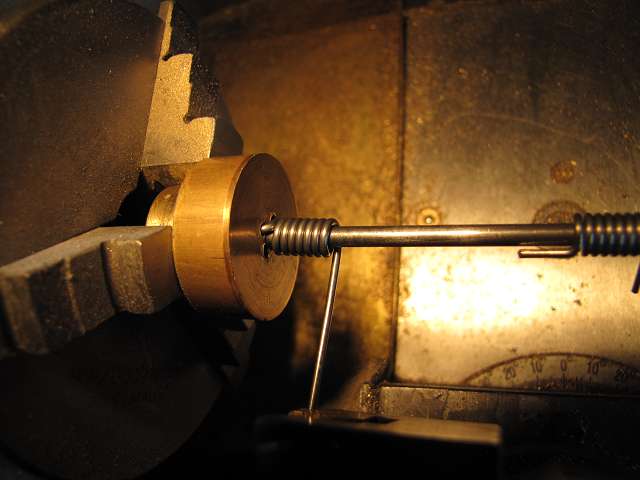
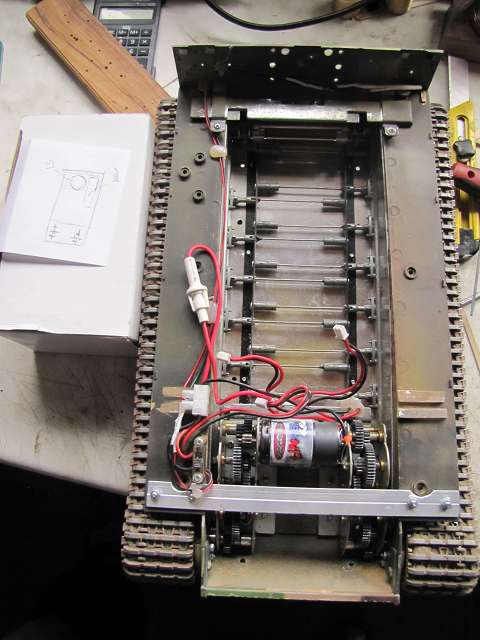
because the spoon play as possible fit into the slots and should always be the same I makiere the endpoints of the service with a felt pen on the scale rings. I work with digital measurement rails with hand not very happy . So it is easier.

Image

And I still get a high repeatability .

Image

Image

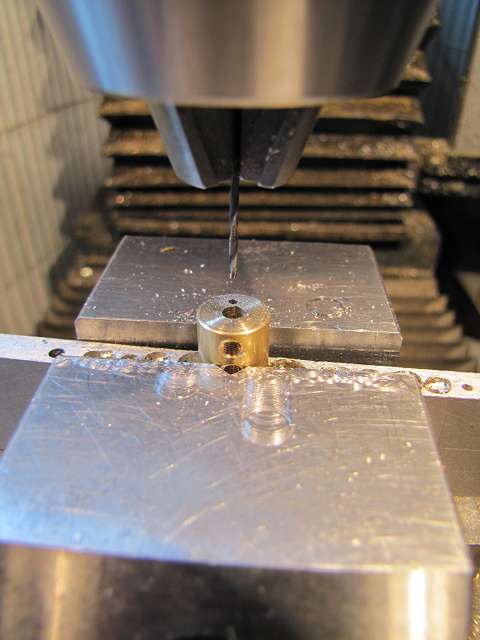
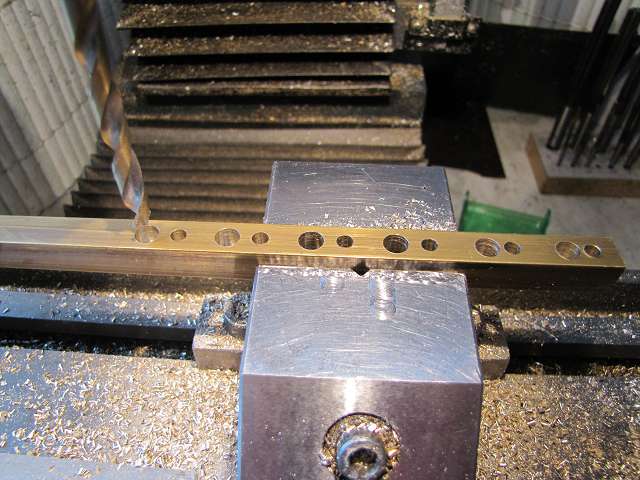
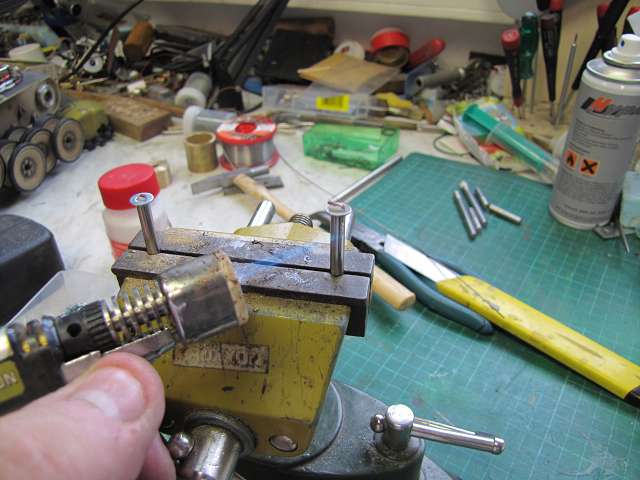
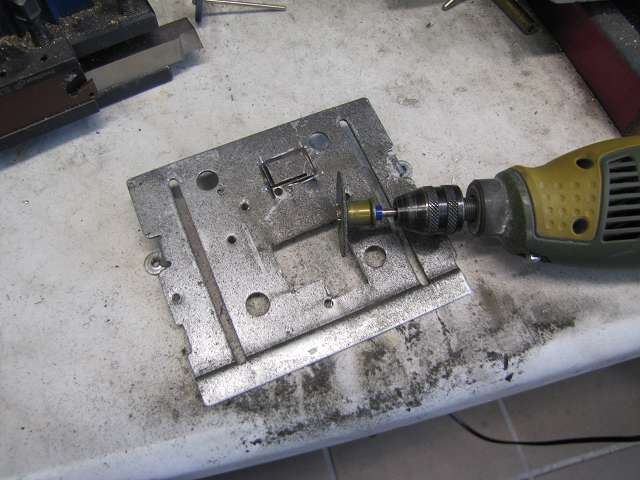
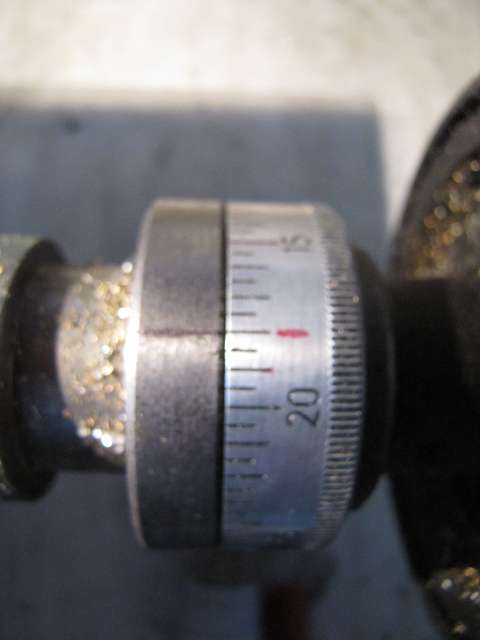
After I have milled all 16 plug- spoon I must be provided with a 3mm hole for the silver steel axle .

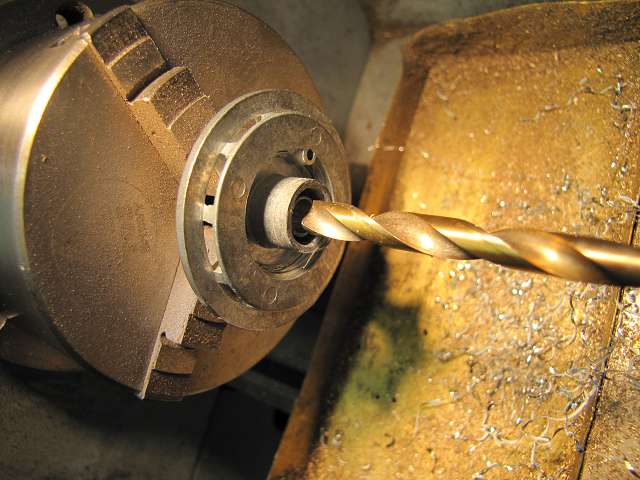
First drill with a center drill and then drill ready with a twist drill .

Image

Image

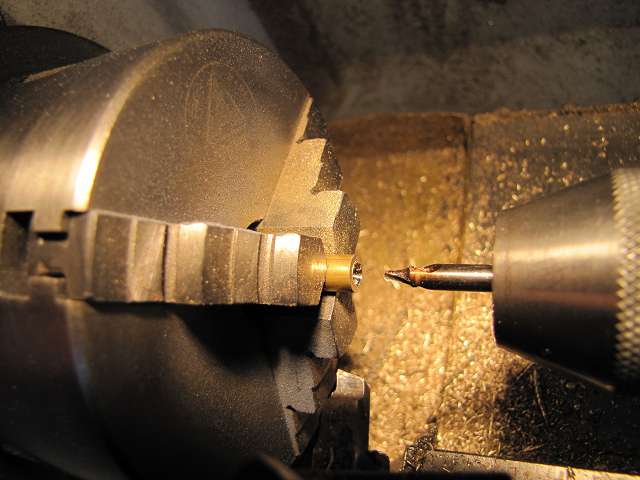
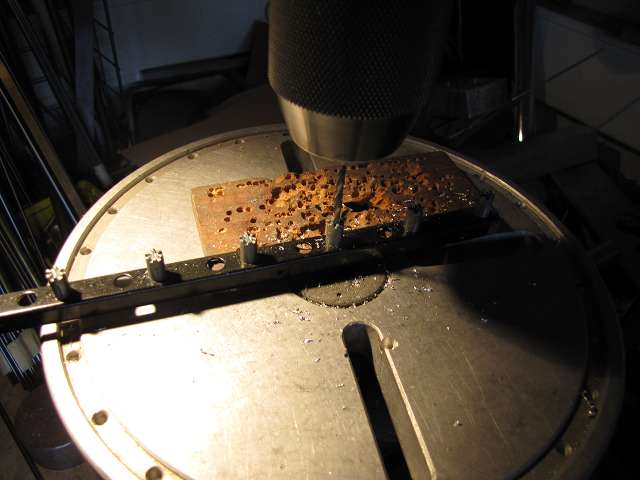
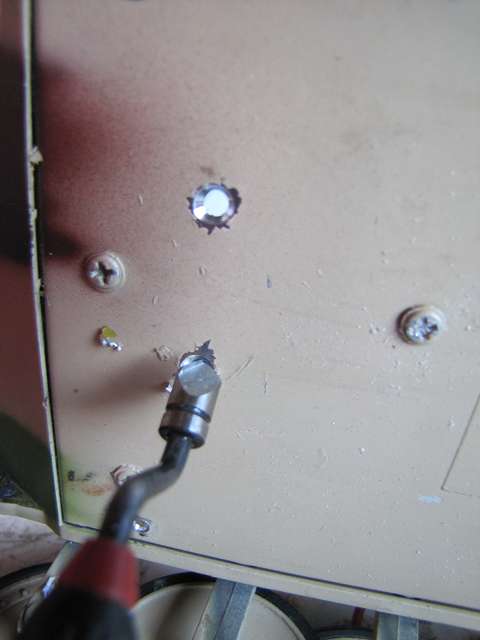
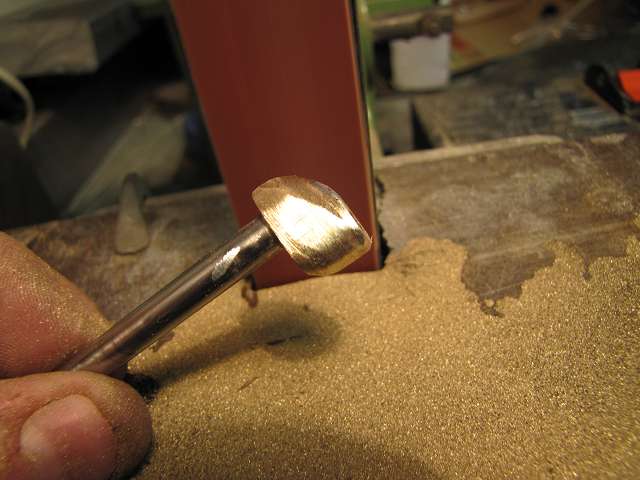
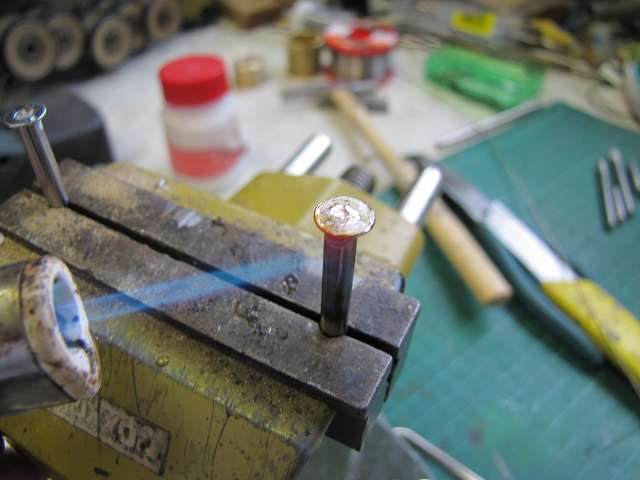
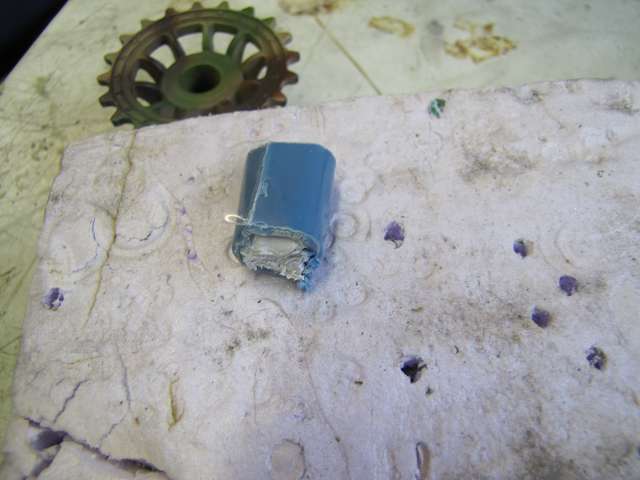
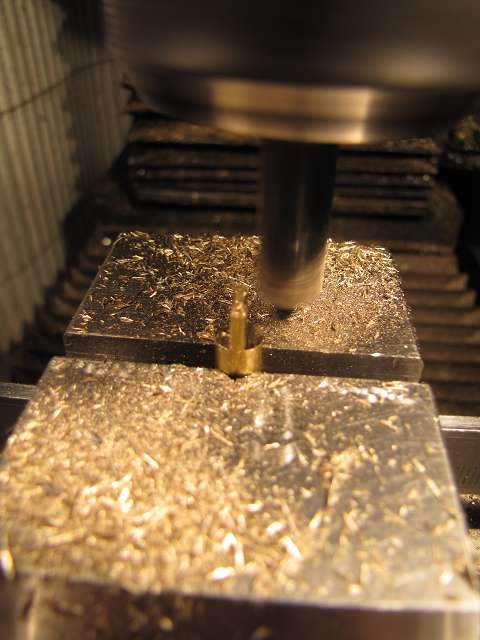
What happens if you save the step with the center drill and drill begins with the same you can see here on a scrap .
Links , the runny outside the center hole without centering and right as it should be .

Image

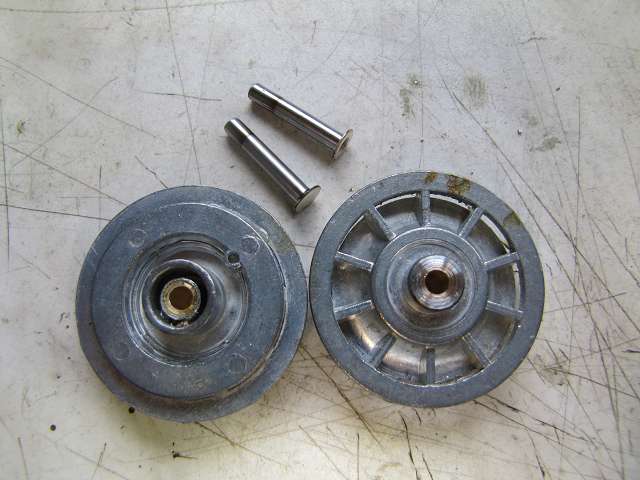
And so these parts are made ??before.

Image
APAMOTEC Model technology in detail
User avatar
Edwin
Corporal
Posts: 394
Joined: Tue Jun 11, 2013 8:34 pm
Location: Rheinland Pfalz Germany
Contact:

Re: A tiger gets a new suspension and chain tensioner

Post by Edwin »

And it goes a little further.

But first, the tub had to be dismantled.

Image

Image

In order to properly store the new axes in the opposite side, I use the holders of the old suspension and drill to screw this on to 3.1 mm.

Image

How can I measure the necessary length of silver steel rods and cut them.

Image

Before this I will solder to the plug trays again well sharpened the axes of the solder joints.

Image

I can solder the parts as I have described it in Bergeleo. Here you can also see how the solder joint has to look beautiful.

Image

Image
APAMOTEC Model technology in detail
User avatar
Edwin
Corporal
Posts: 394
Joined: Tue Jun 11, 2013 8:34 pm
Location: Rheinland Pfalz Germany
Contact:

Re: A tiger gets a new suspension and chain tensioner

Post by Edwin »

Moving ahead, ....

but first I have today wrapped a few feathers .

I 'm like always on my small lathe with a hand crank.

Image

Image

Image

Image

To make the suspension adjustable I have already prepared some collars with a double clamp. In this I must now still make the appropriate hole for the spring. I always do when I need only a collar , I like this even with a tiger mixed suspension with two spring build strengths and therefore different sized holes that still need to be drilled at different distances from the center of the axle .

Image

And so today I still installed then the axes with the adjusting rings and springs . The stronger springs I built it on the center rollers .

Image
APAMOTEC Model technology in detail
User avatar
dgsselkirk
Warrant Officer 1st Class
Posts: 1504
Joined: Tue Oct 16, 2012 1:57 am
Location: Kitchener, Ontario, Canada
Contact:

Re: A tiger gets a new suspension and chain tensioner

Post by dgsselkirk »

WOW! All I can say... :D
"There are things in Russia which are not as they seem..."
Georgy Konstantinovich Zhukov
User avatar
Edwin
Corporal
Posts: 394
Joined: Tue Jun 11, 2013 8:34 pm
Location: Rheinland Pfalz Germany
Contact:

Re: A tiger gets a new suspension and chain tensioner

Post by Edwin »

Today, the suspension of the Tiger is far done, but first I have to build the aluminum angle of the pen. This I cut myself from a 10 x 10mm aluminum profile handle appropriately. To them then screw on the bottom of the tub I do moch threads in the angle and thus also hold I have my nmap .

First I makiere the later holes and graininess to it , so that the drill can grip.

Image

The hole for the M3 thread in this case I drill with 1/10 undersize compared to a normal core hole , ie 2.4 mm and with good pressure.

Image

The thread then I leave with a finished taps and a cordless screwdriver from the back with plenty of pressure and alcohol.

Image

In this way, at the top of a push-on edge and a thread is more what is now sufficient for direct bolting the angle .

Image

After the angles are presented riding for mounting I put them where they are to be bolted in place and makiere the holes in the ground and the support points of the springs.

Image

To the selected job sites in the soil , I suggest again with a punch from a depression and Drill it with the standing mounted drill. I remove the bottom of the ridge and valley in it . To disappear the screws in half of the tub.

Image

Image

Image

Image

After I made ??even the springs into the holes of the angle should be very tight , I can mount it .

Image

In between I misunderstand watch but since I 've installed two spring sizes and these are spread slightly in the chassis assembly.

Image

And so the suspension then assembled and preset looks .

Image

Image

Since I was asked why I need this time ...... so long at the two wells today I glued all the pieces .

Image
APAMOTEC Model technology in detail
User avatar
Edwin
Corporal
Posts: 394
Joined: Tue Jun 11, 2013 8:34 pm
Location: Rheinland Pfalz Germany
Contact:

Re: A tiger gets a new suspension and chain tensioner

Post by Edwin »

Today, the chain tensioner was our turn and I've also gone through the same eccentric for the aluminum hull , but first I have to build brackets into the tub. For this purpose first the plastic rings are sanded down , because my clamps are much wider.

Image

And so I turn and Drill the aluminum holders .

Image

Image

Image

Since I have the brackets Cemented into the tub first degrease and roughen the gluing points . Then I can fill it first brushed with metal glue put into the holes and align with a straight bar .

Image

Image

Image

Tomorrow they will still fixxiert with a second adhesive holds well on plastic.

For the eccentric I use a 10 x 10mm brass rod that I put the holes for the 6 pieces .

Image

Image

The holes for 6mm shafts I file again slightly square , so that the brazing alloy is drawn well and keep the axles .

Image

Image

The axles themselves do I feature 6mm silver steel I deburring on the belt sander and the subsequent loop solder joint .

Image

So I can then reap the eccentric with flux and solder hard.

Image

Image

After brazing, I clean the axles and turn the ends .

Image

So I can once again drag on the belt sander in shape so that they look like a casting.

Image

Image

The long axes of the way, I have therefore made ??that the eccentric can be supported optimally each other in the tub.
APAMOTEC Model technology in detail
User avatar
maxmekker
Warrant Officer 1st Class
Posts: 1718
Joined: Tue Apr 27, 2010 8:47 am
Location: Norway

Re: A tiger gets a new suspension and chain tensioner

Post by maxmekker »

f... hell. You have some serius Tools at hand :-)
Drammen Rock City
User avatar
Edwin
Corporal
Posts: 394
Joined: Tue Jun 11, 2013 8:34 pm
Location: Rheinland Pfalz Germany
Contact:

Re: A tiger gets a new suspension and chain tensioner

Post by Edwin »

Today the chain tensioner is finished .

The first fact I have glued the brackets in and outside of the pan with a different adhesive on the plastic holds .

Image

Image

Outside the excess glue can be cut if this is just wonderful hard.

Image

Here you can now see how far the axes then reach into the tub in order to support each other as practical without play.

Image

And so the clamps are then finished inside . The terminal screws are hurting in my M4 mild steel , since this keeps the axes best without them.

Image

Now the idlers come to the series. First, the axes of 4mm silver steel. The length I from a small washer and solder one end hard on . For this I put the washer on the end of an axis , moisten it with flux and put a very small piece of hard solder into the disc .

Image

Then I warm the axis from below with a small gas torch until the solder clean axle and wheel connects .

Image

Image

Then the idlers of the series were . I first drilled with a 6mm drill.

Image

In this hole a 6mm brass rod is glued in and controlled erwärtmt .

Image

So I can turn off after 10 minutes and drill a 4mm shaft .

Image

Image

After I montert the axes and the idlers had assembled again , the chain can be adjusted track . This works easiest with two aluminum bars inserted into the drive .

Image

Image

Then I took care of the motor mounting plate . First makiert the positions for the cutouts and then opened with a small blade plate . So you can adjust the suspension now fitted with gearboxes.

Image

Image

Image
APAMOTEC Model technology in detail
tankman

Re: A tiger gets a new suspension and chain tensioner

Post by tankman »

Absolutely fantastic job your doing there.
Alan
User avatar
Edwin
Corporal
Posts: 394
Joined: Tue Jun 11, 2013 8:34 pm
Location: Rheinland Pfalz Germany
Contact:

Re: A tiger gets a new suspension and chain tensioner

Post by Edwin »

And Today the reconstruction of the Tiger is ready ...

But first I have to screw the engines in the new steel gears.

Image

Then I first the joy that once again only a single screw is a screw on the mounting plate and this is also about 1mm too far inside.

So the file out a hole slightly , and a second mating hole in gear and mounting plate attached to the I then cut a M3 thread .

Image

Image

Image

Thus , the transmission and now sits just at the right place .

Image

To check the chain again used a track bar.

Image

Before mounting two tracks Loctite on the mounting plate .

Image

So the transmission does not shift so much and still goes well again .

Supports where the axle I do not screw again . The old holes do not fit anymore and when I put the screws firmly wedged it gladly and clamps the axle. So I have my glue method. First, I need a piece of wrought epoxie .

Image

Side of the tub I paint a thick layer of Pattex .

Image

Then I push the support bearings on the axle lightly oiled and put a ring on Knetepoxie the camp.

Image

Then I Stülpe the countershaft cover and press on the swelling clay with a screwdriver inside of .

Image

But the bonding surface has to dry overnight before being charged , then it holds but is also outstanding and to get back on anyway.

So I can then drive the wheels and the strut on the gear units .

Image

Yet set the suspension and checked the chain track one last time.

Image

Image

The chain is a little short. With the chain tensioners I am at vordesten stop so the idlers are very high, but that may change its owner then quite quickly .

Image

So far everything is ready now and tomorrow goes back to its owner.
APAMOTEC Model technology in detail
Post Reply

Return to “Tiger I”