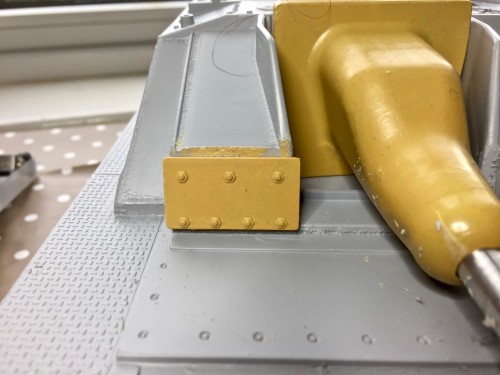
A little more work on the exterior of the Casemate. There's an extra armour plate that bolsters the front plate of the Casemate- to the left of the Sow's head.

- Asiatam StuG IV- extra frontal casement armour plate
I've seen the plate mounted on some actual WW2
StuG IVs, but not a good close up of the front. I can't believe the plate would overlap like that; but for the moment, though, it will have to do. I can always trim it later. It might have been handy if it had been made the right size in the first valve- ah,... but that would spoil the corrective fun.


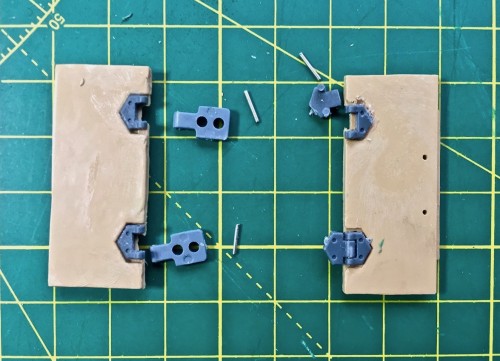
Now for some hinges for the Machine Gunner/Loader's hatch.

- StuG IV- making hinges for M. Gunner's hatch
Boy, these are not meant for old eyes and fingers! Still..nothing ventured, eh?
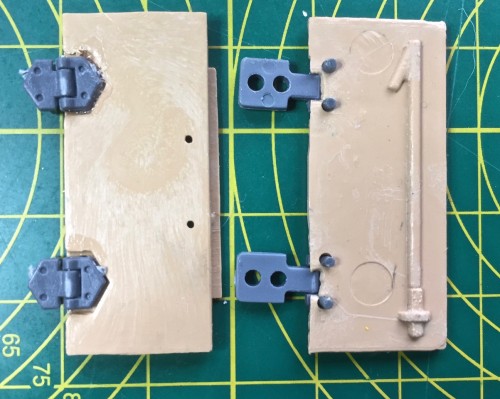
You can see the appalling crudity of the fact parts. There's something else as well. When the parts are sawn, or abraded, I could swear that these are minuscule wood fibres mixed in with the resin. Maybe that's why it's so difficult to get the parts to adhere to one another..


I really don't like this resin kits- well THIS resin kit. I've yet to try other brands, however.

- StuG IV Loaders' hatch hinges assembled
I usually suggest you 'Click to ENLARGE' the pics at this point, but these hatch parts are really ugly to behold

Now....if this were a Russian tank, then the components would tally quite closely with WW2 facotory standards

"Get your facts first, and then you can distort them as much as you please"- Mark Twain.

