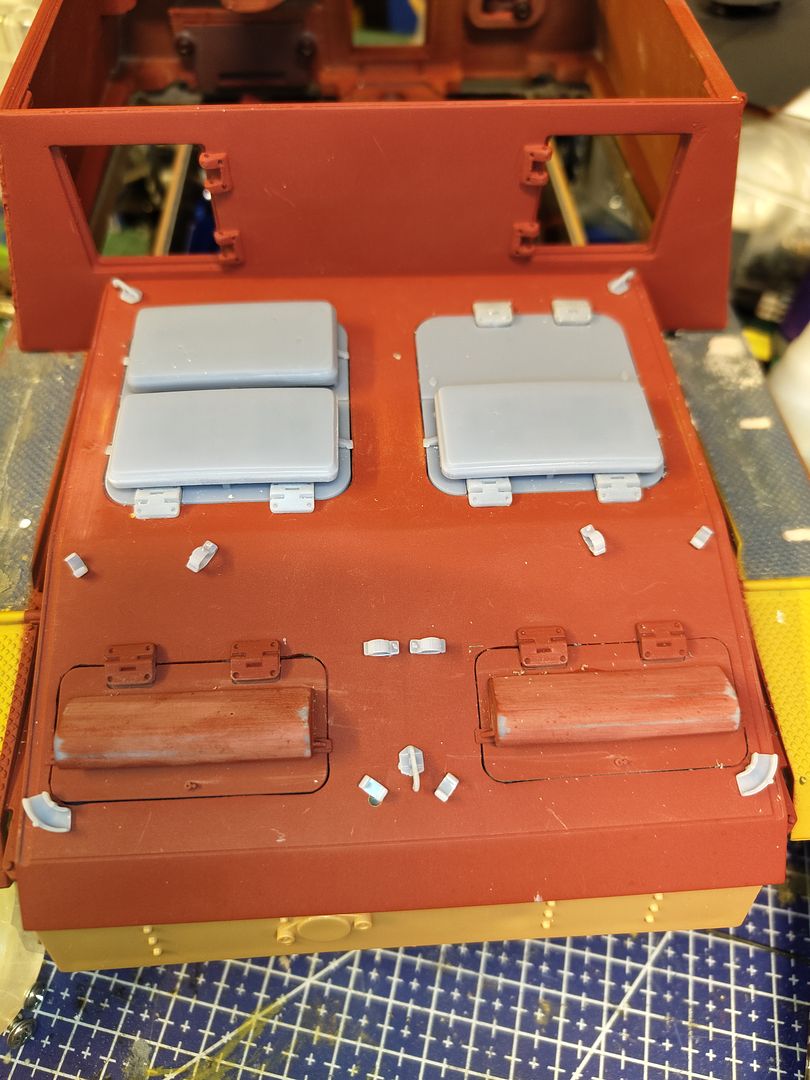
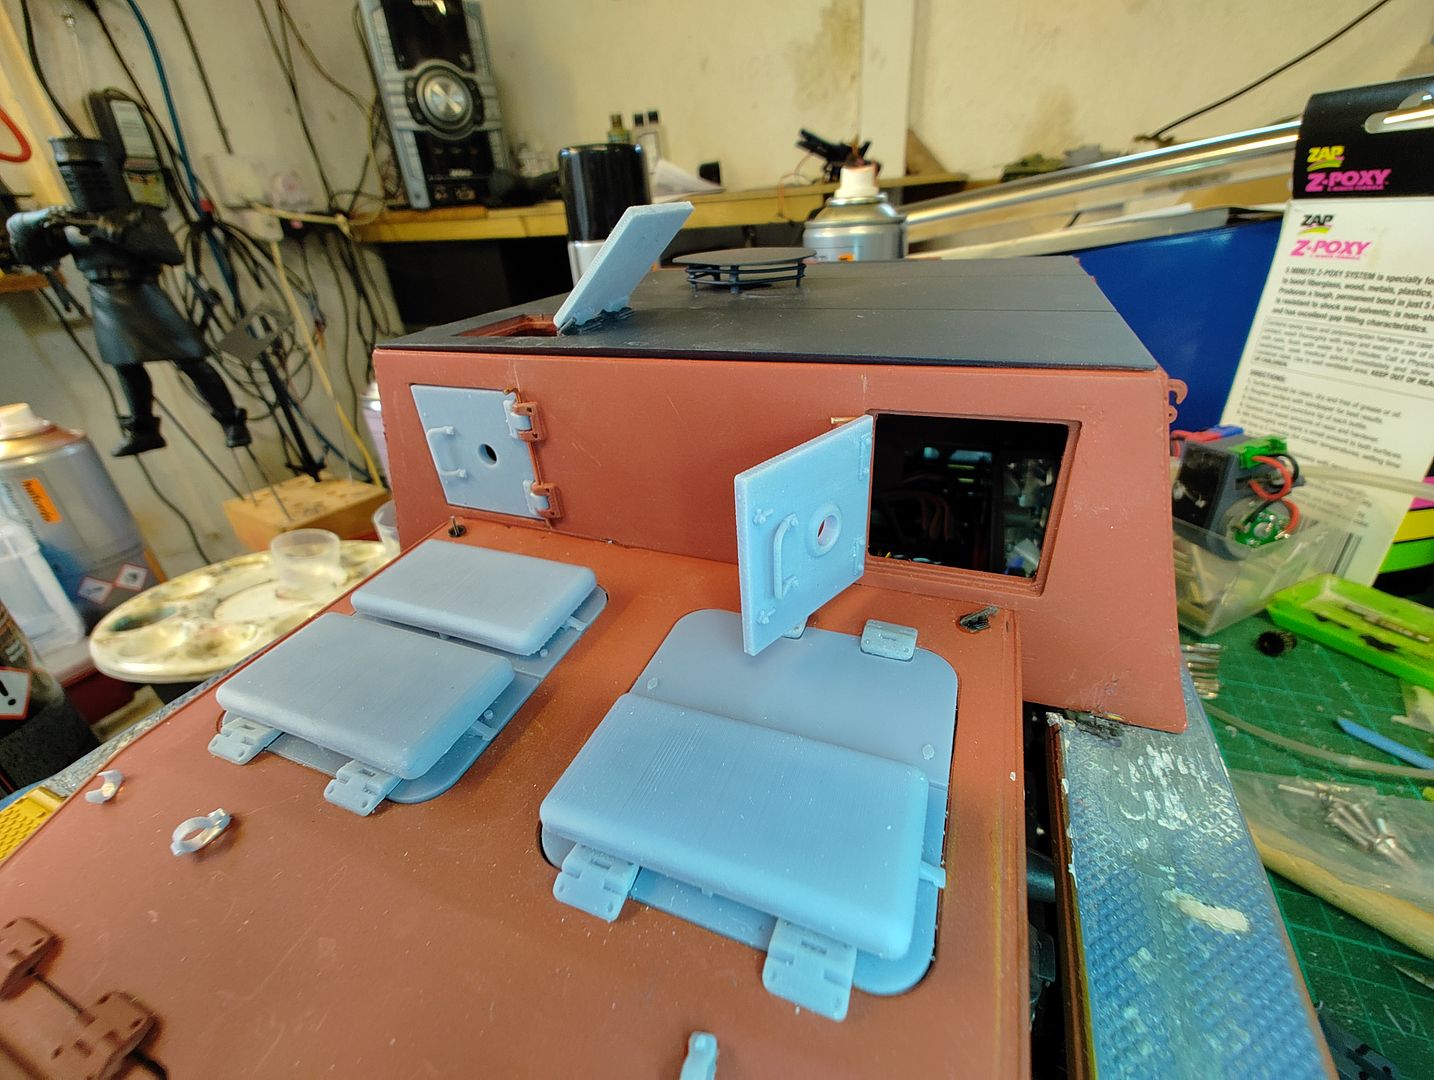
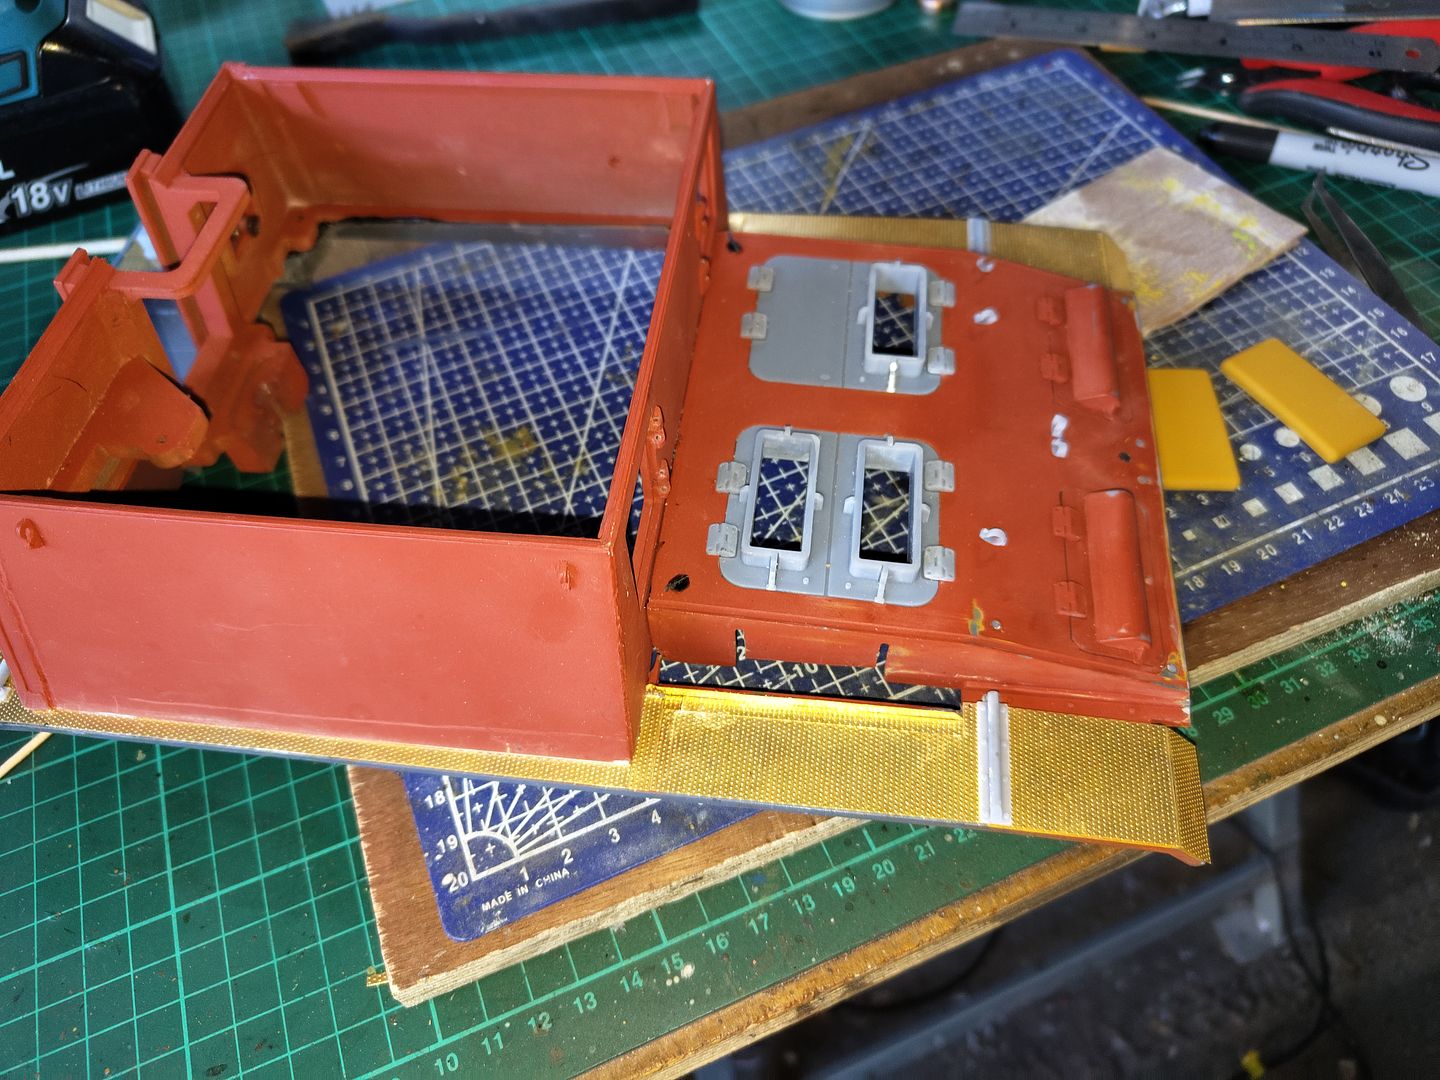
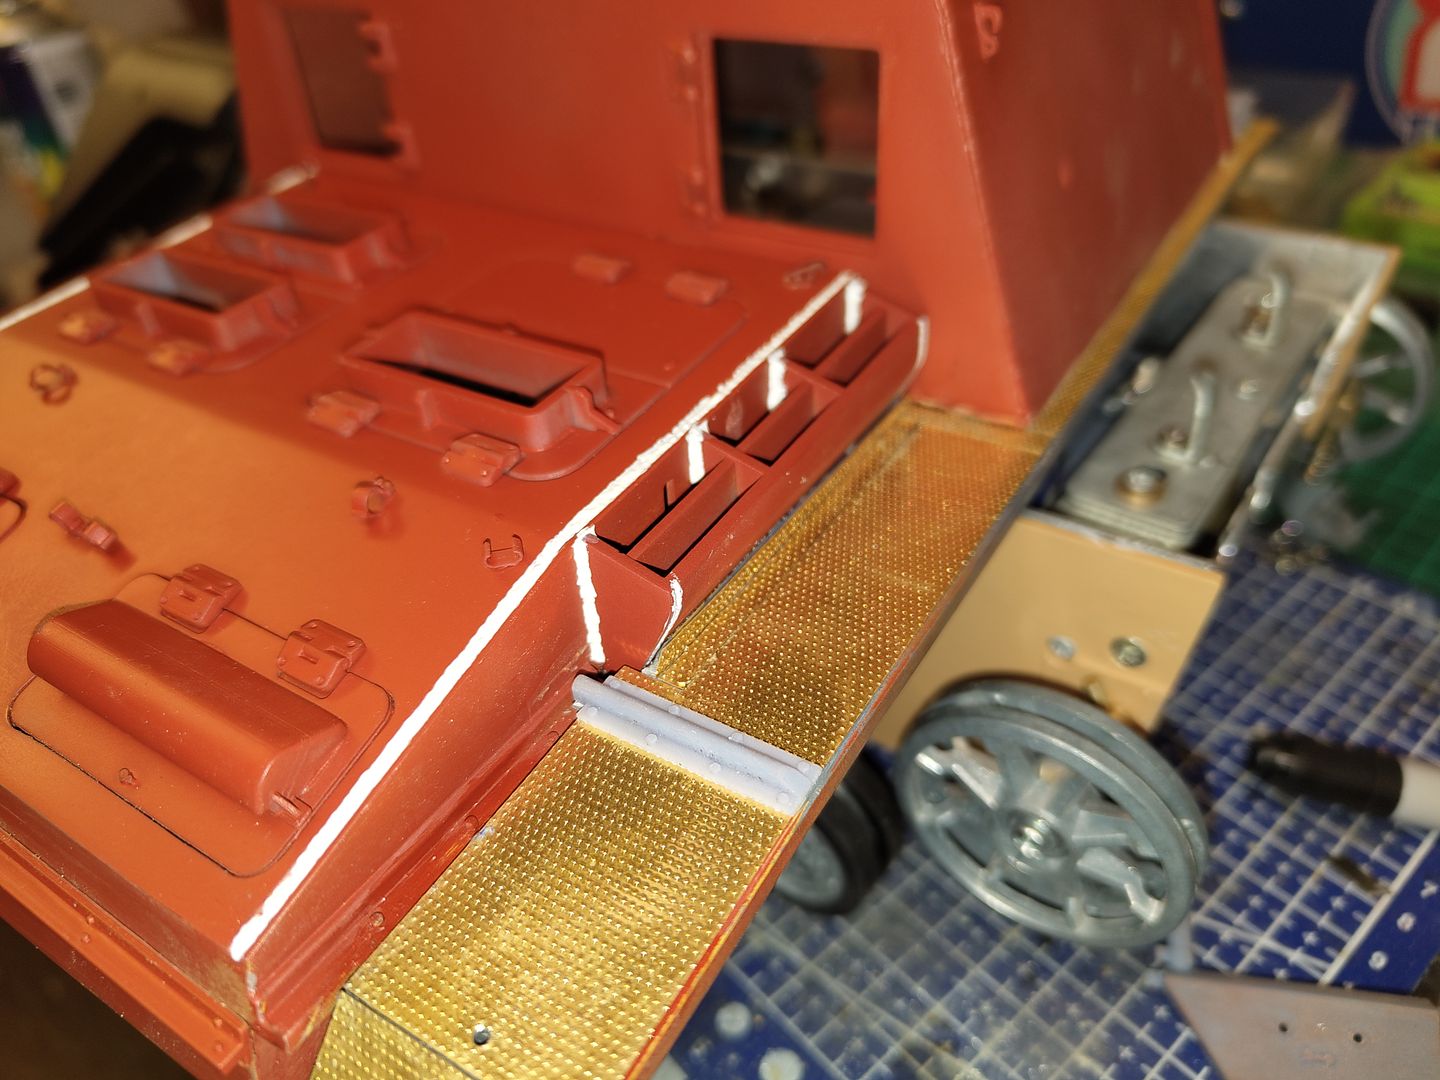
I have been busy butchering the back of the upper hull to replicate the sig as just adding some angle iron to the rear was not correct so I had to trim about 3mm from the bottom of the rear hatches at a slight angle towards the rear and fill the opening with some plasticard.
As you can see this now requires the rear part that sits on the back of the lower hull to be replaced.
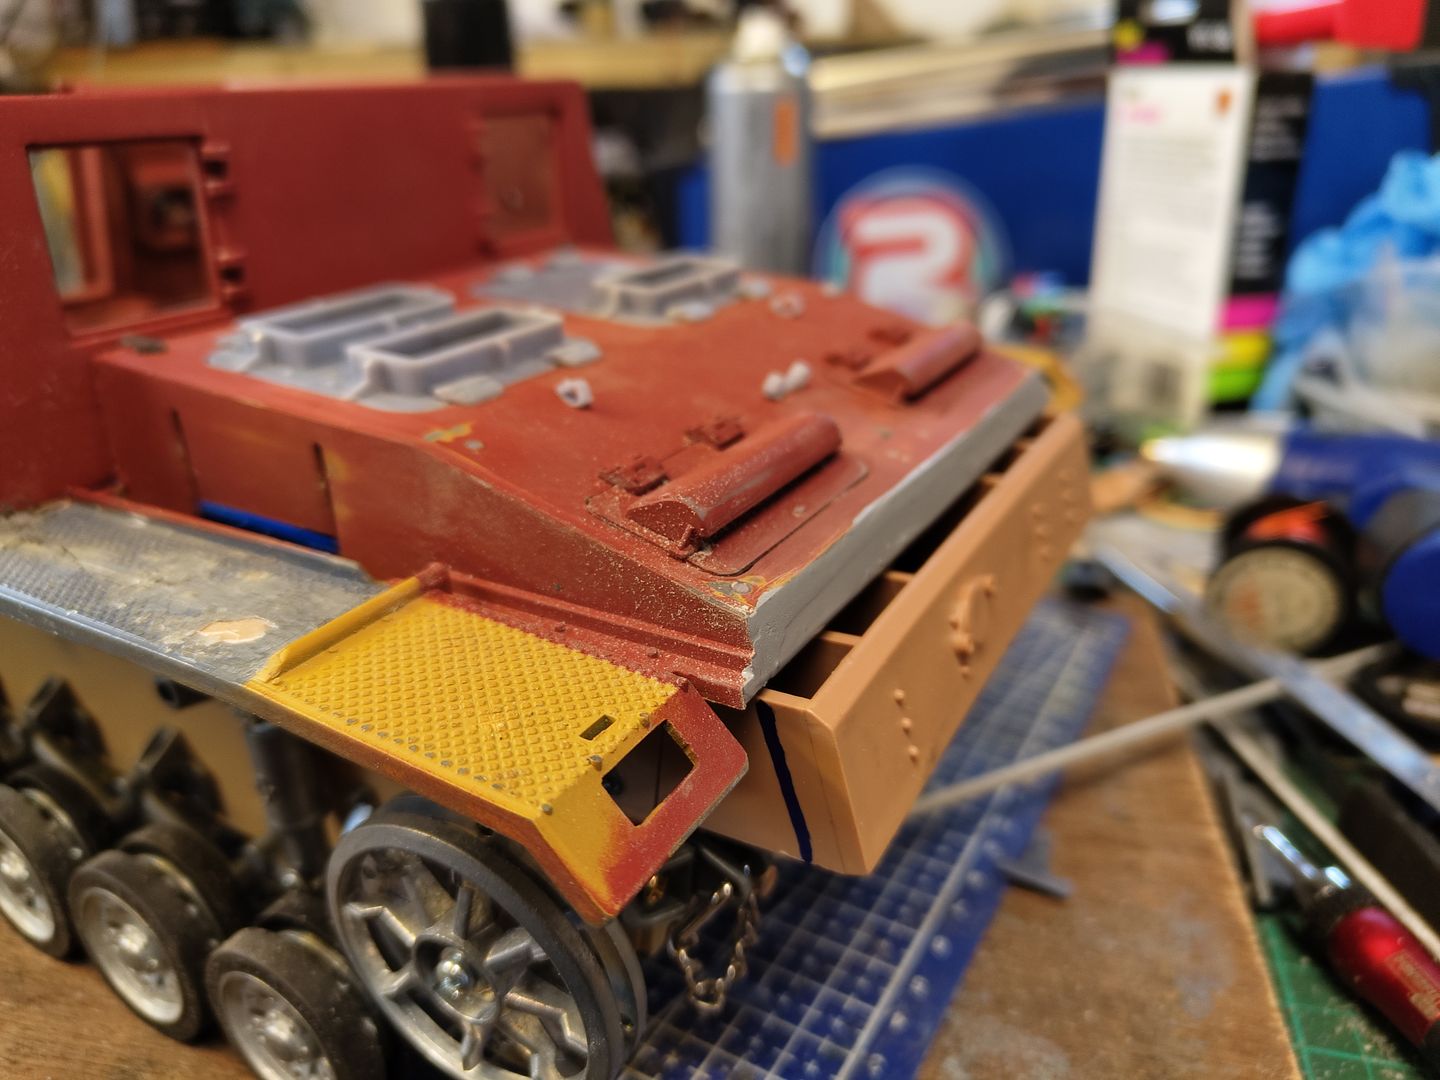
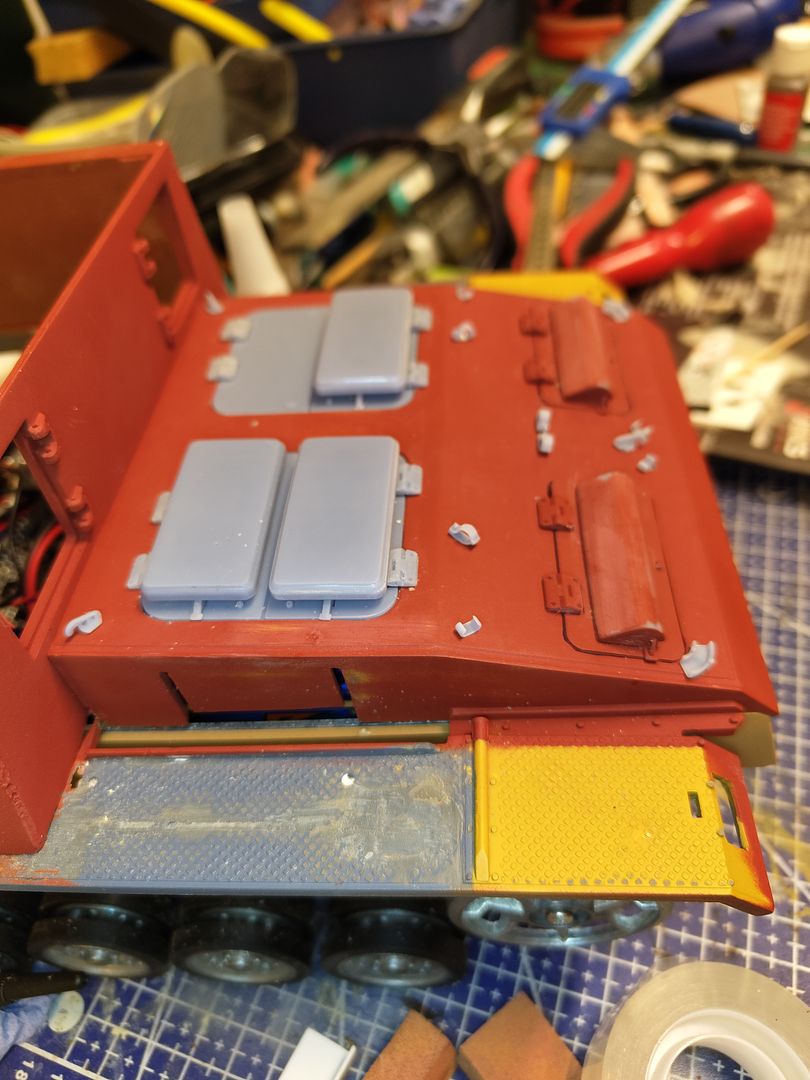
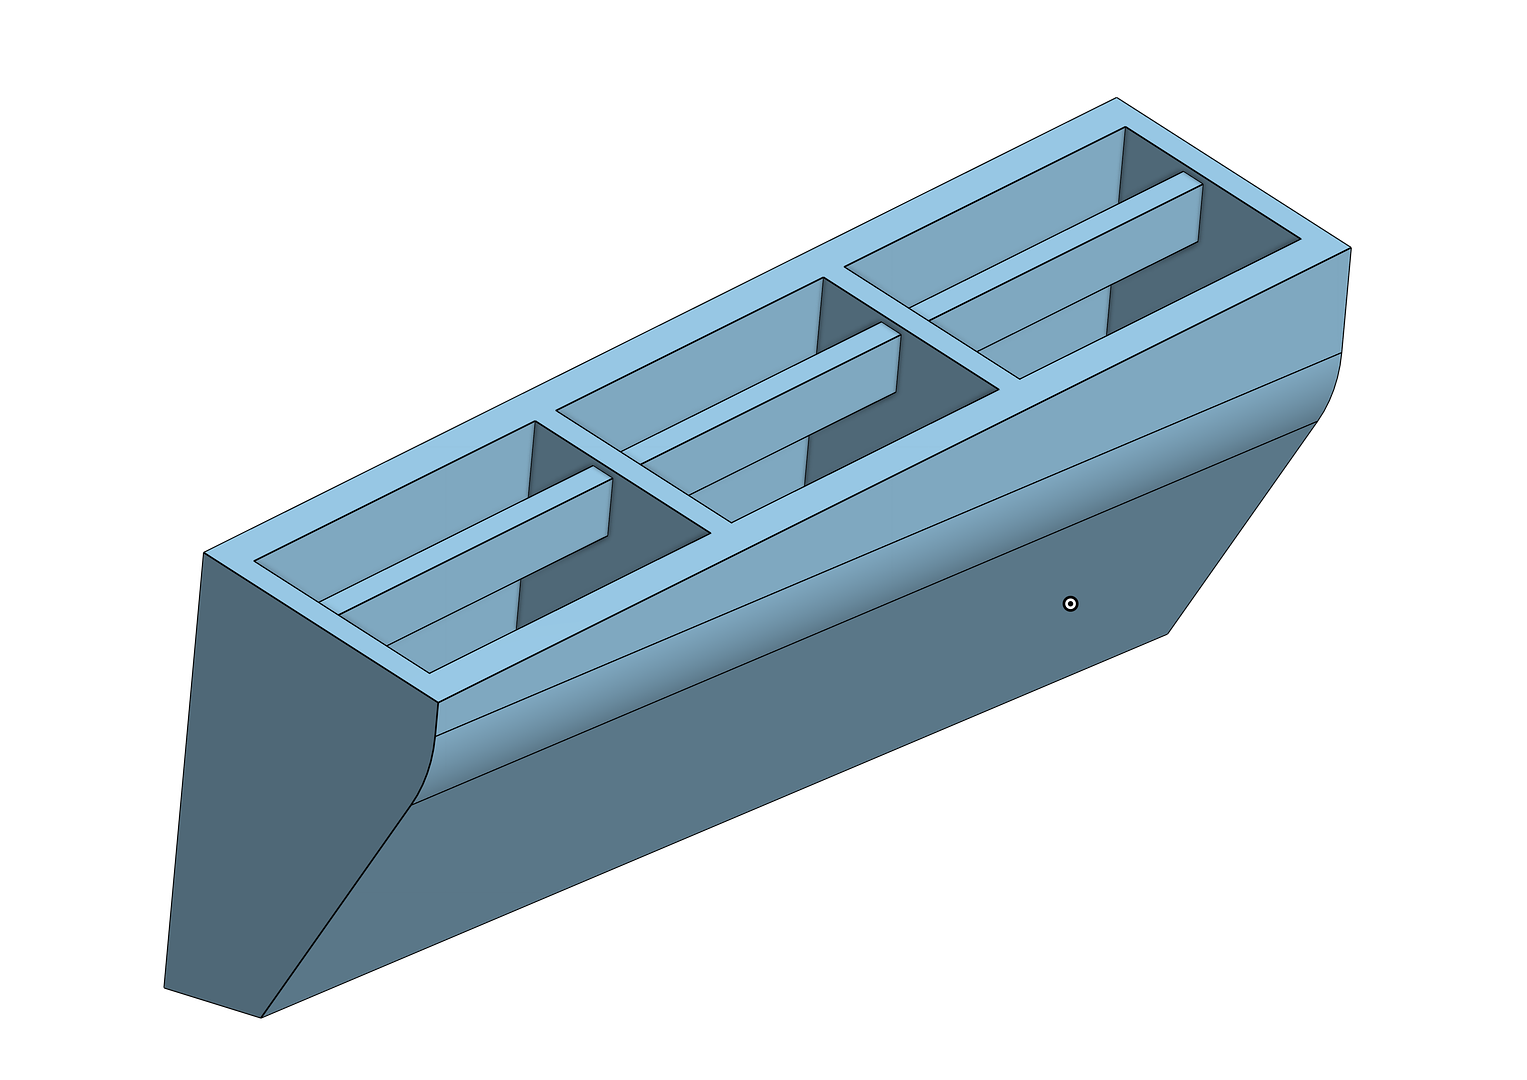
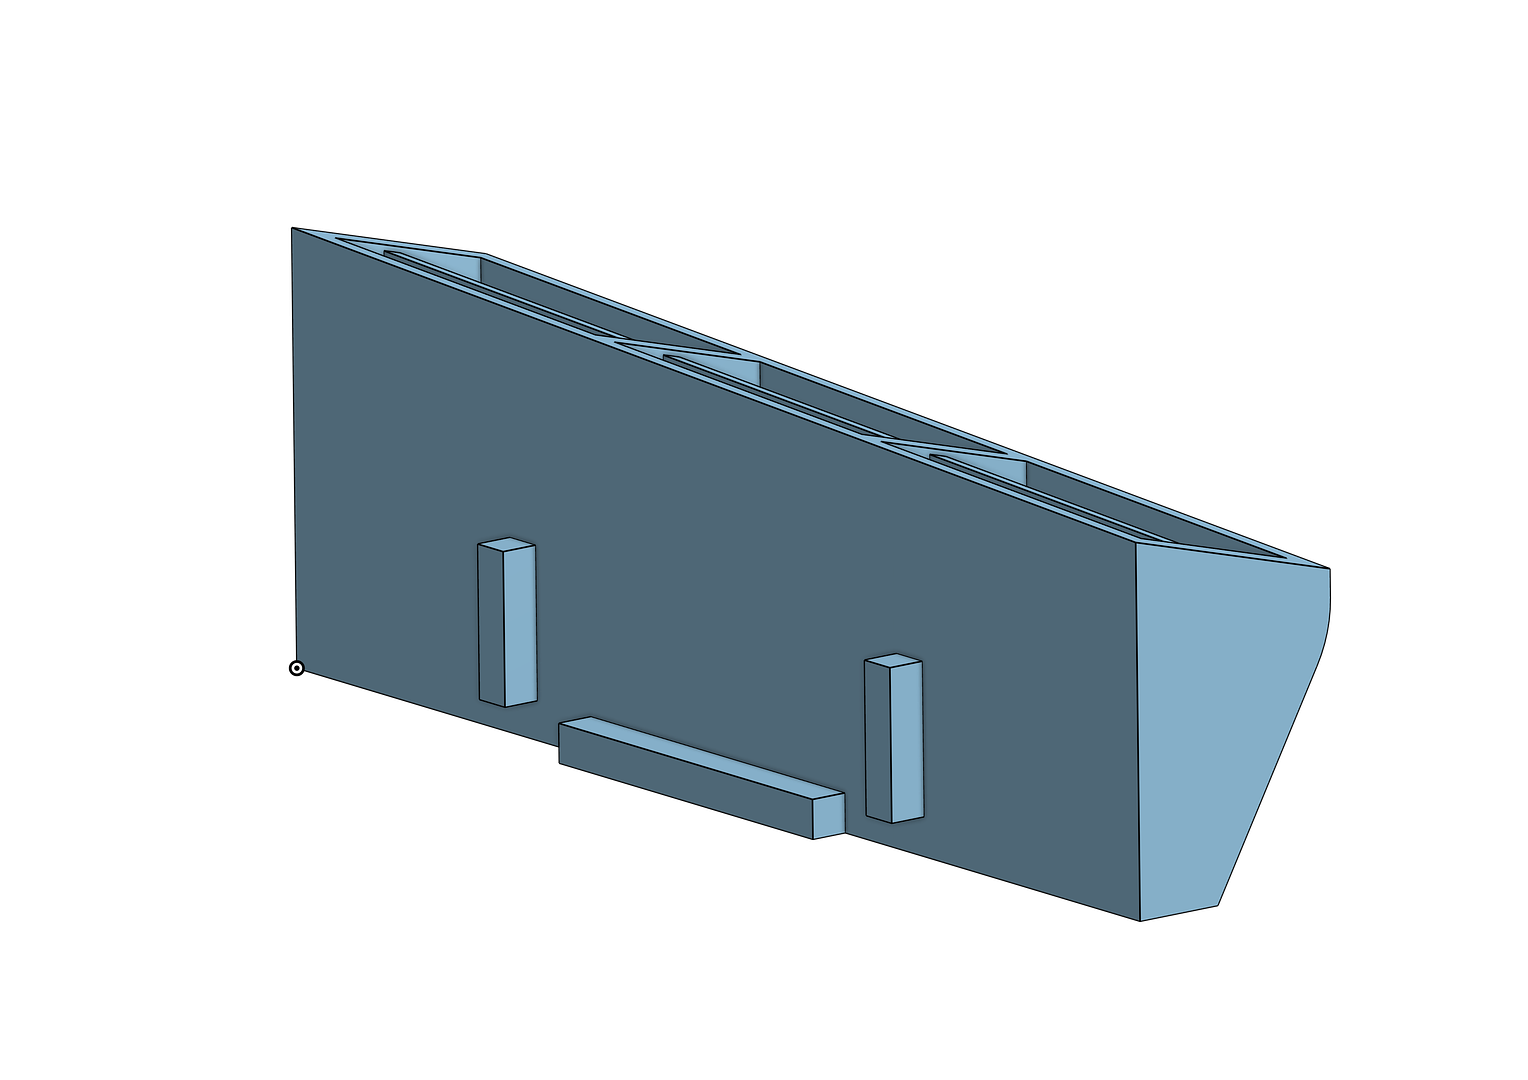
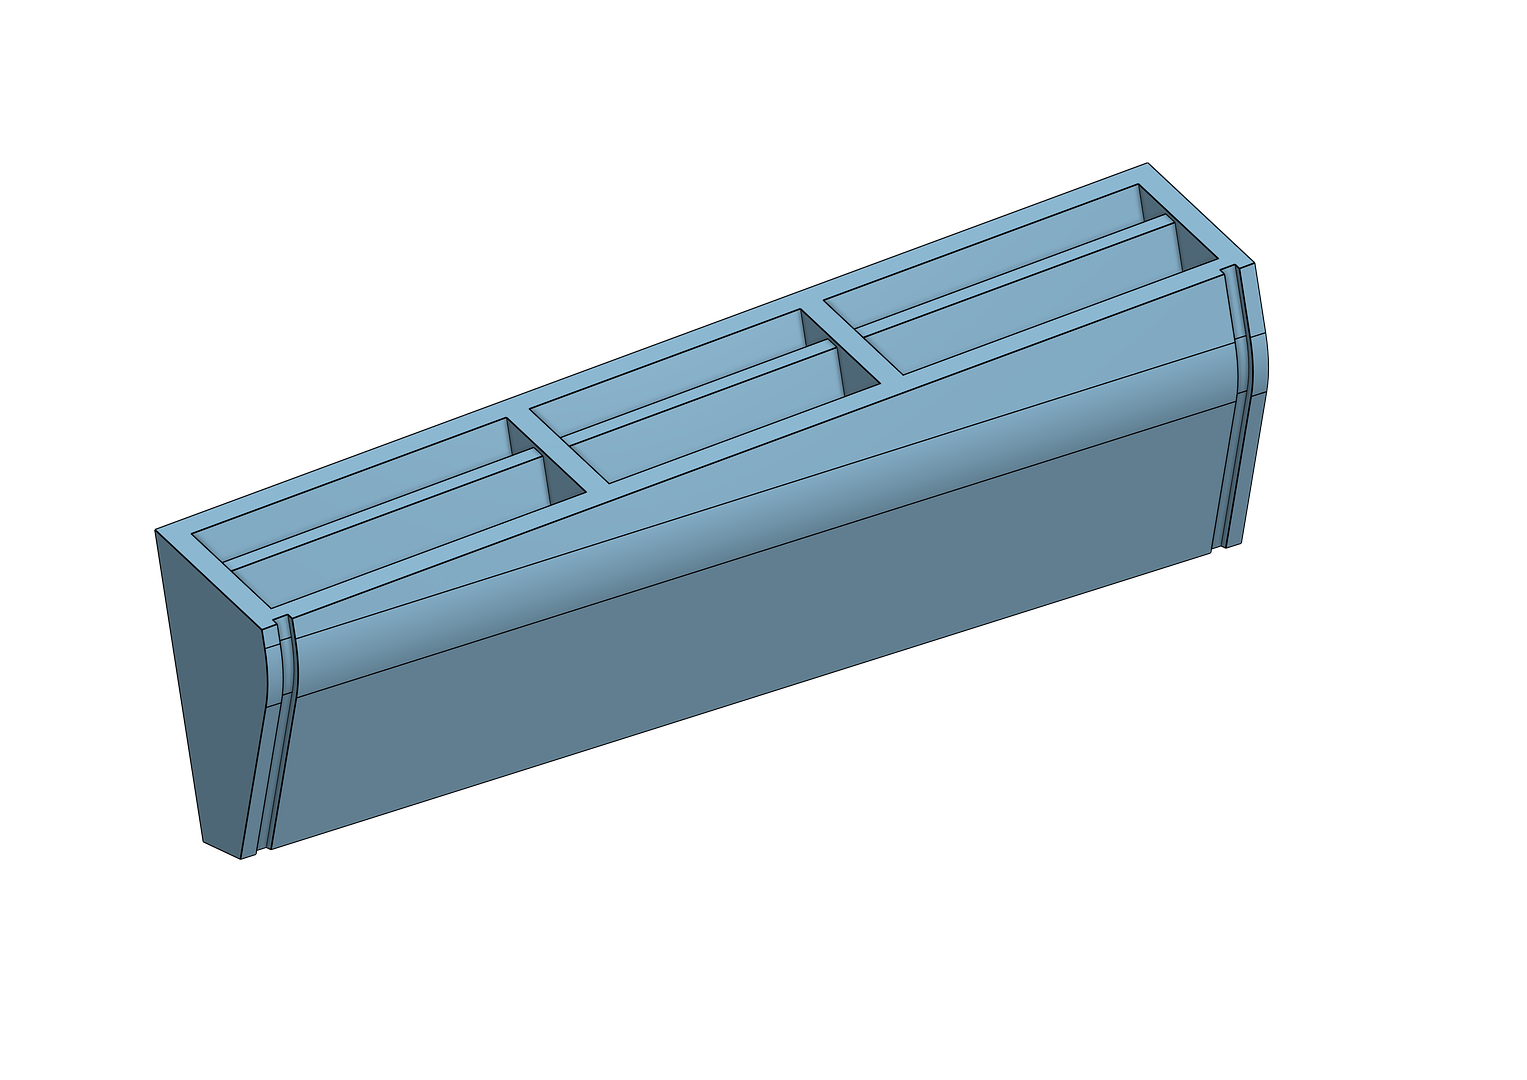
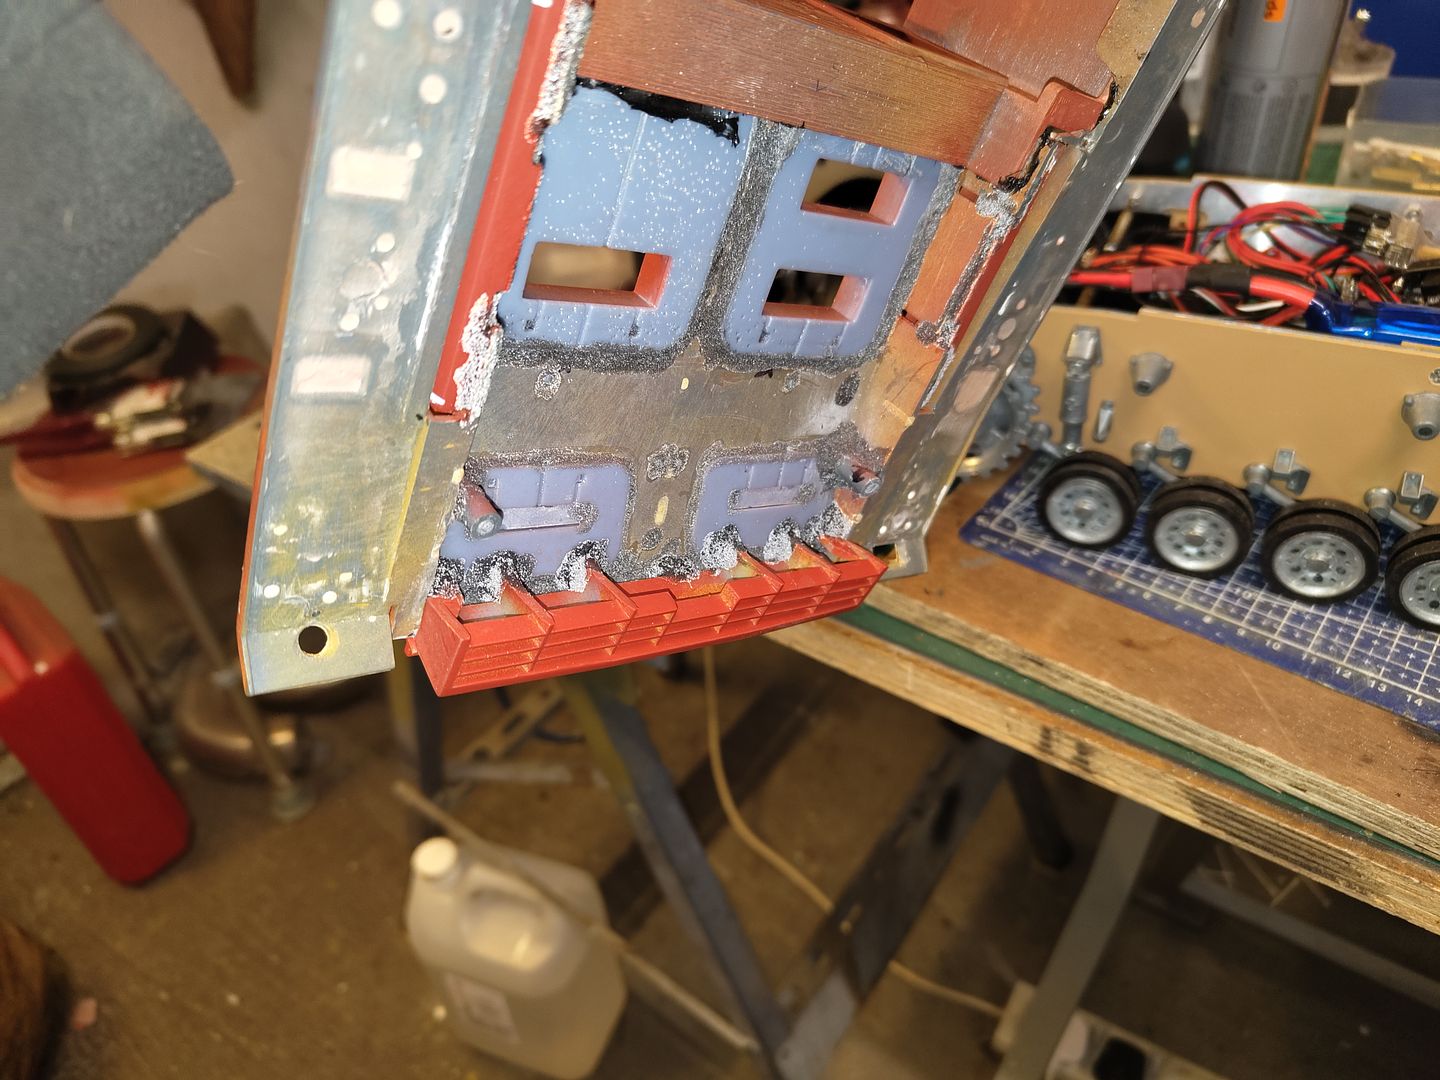
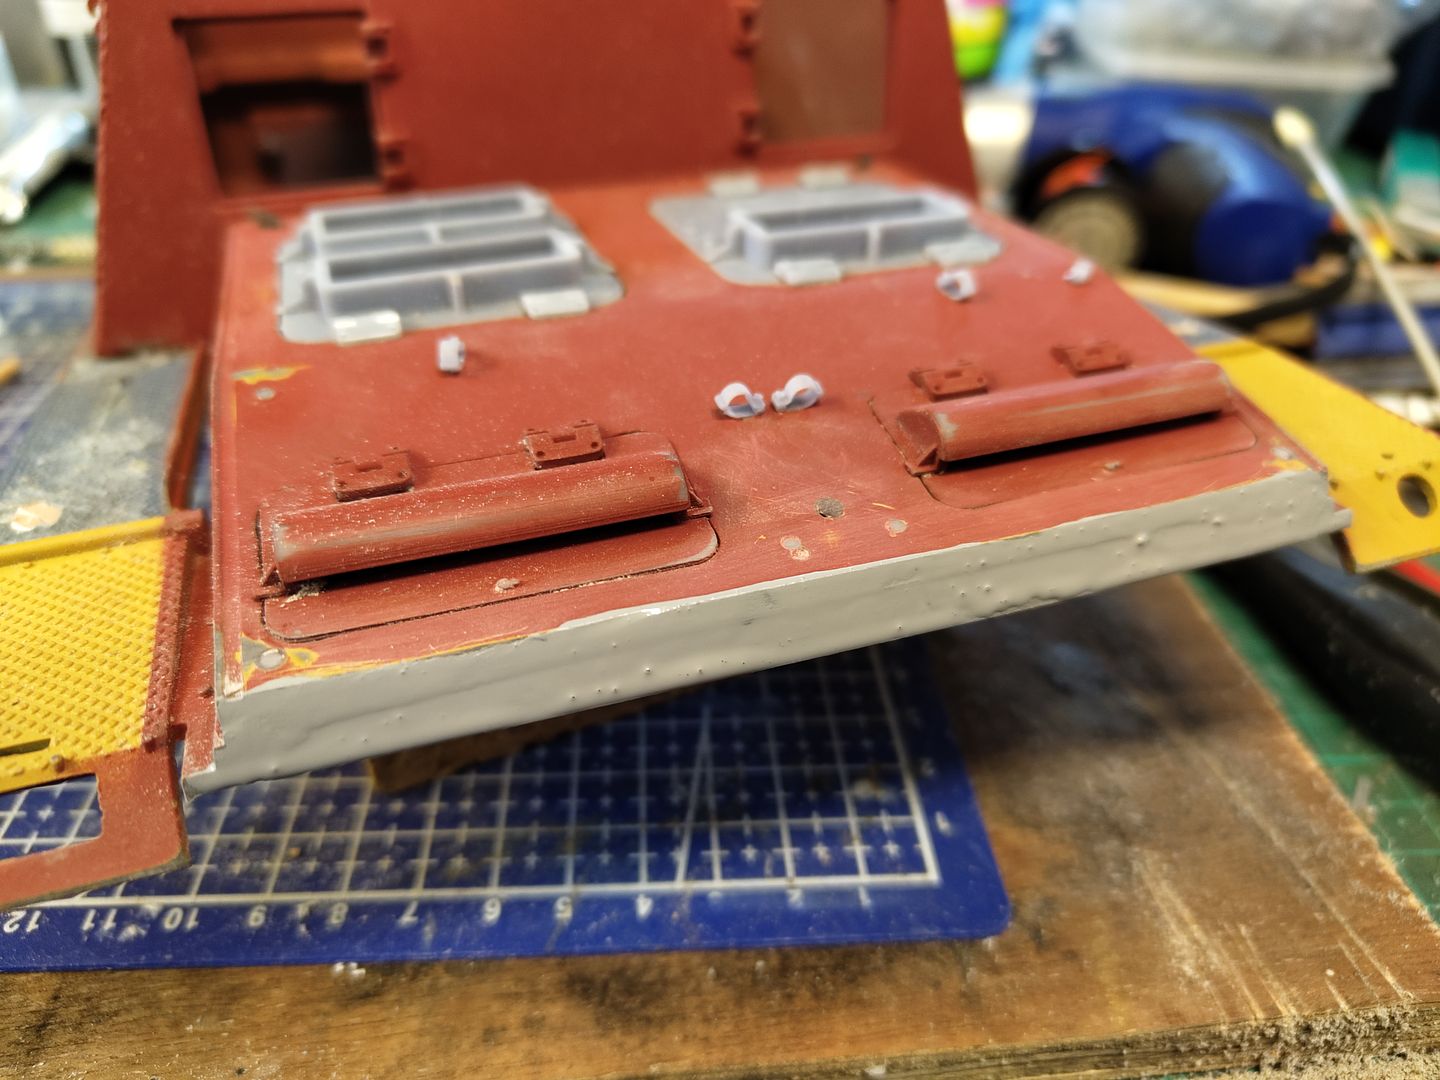
I tried to re design and print a part that fits on the lower hull in the same fashion but as pictures show it was shorter in height it was very wobbly and would need gluing in place and the joint would look odd.
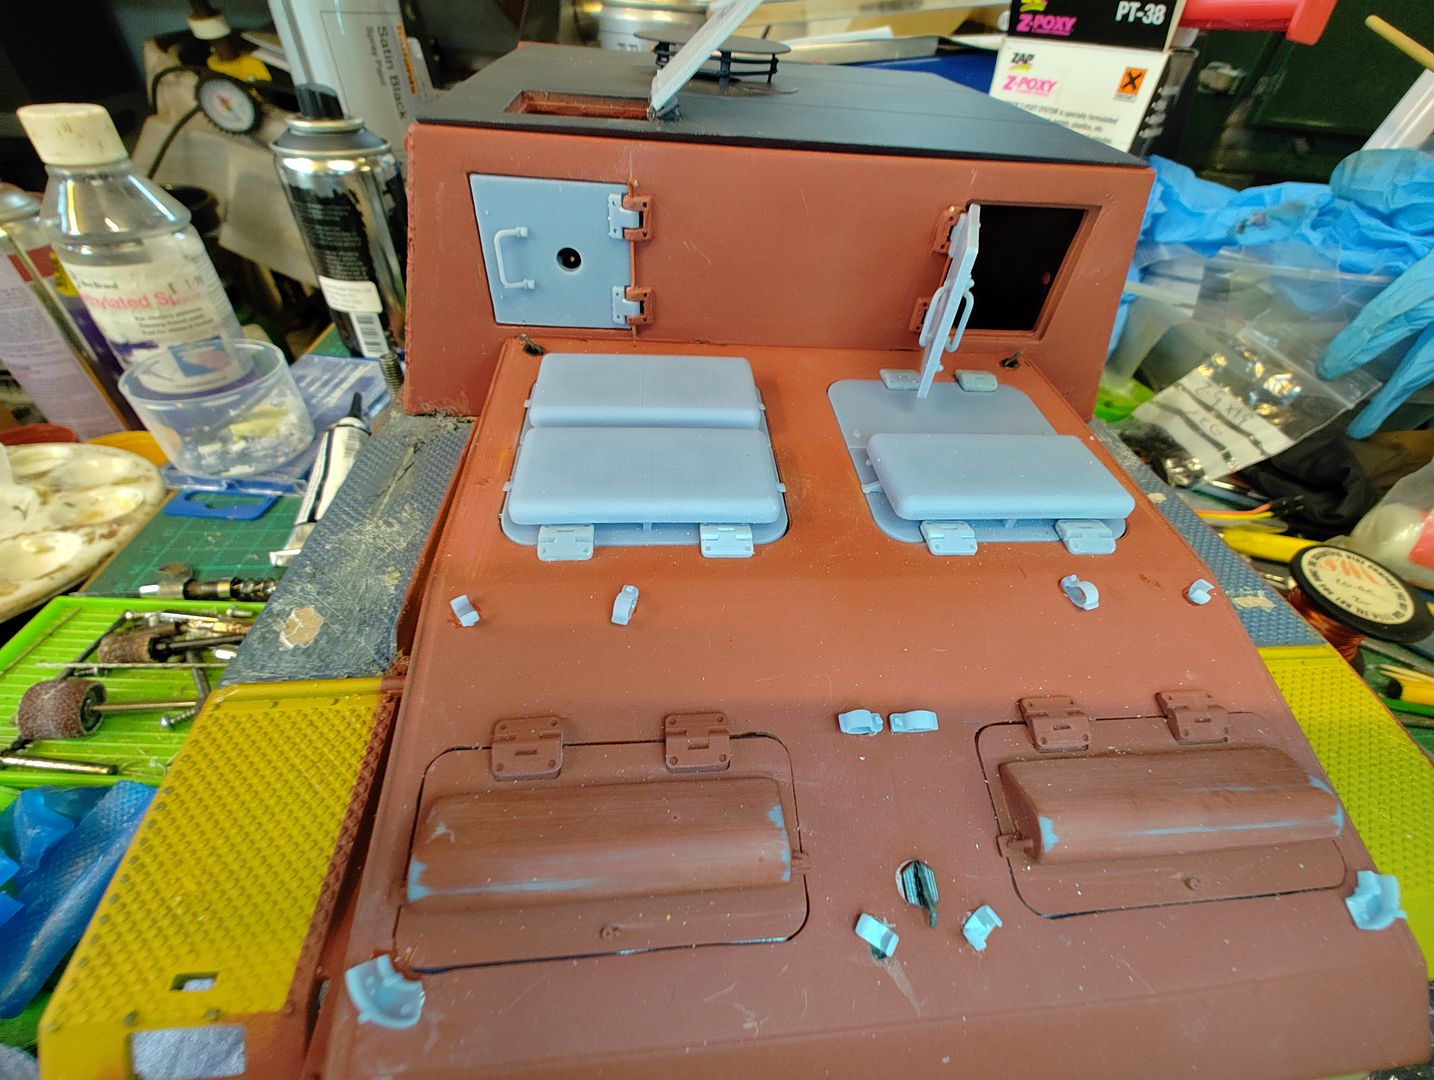
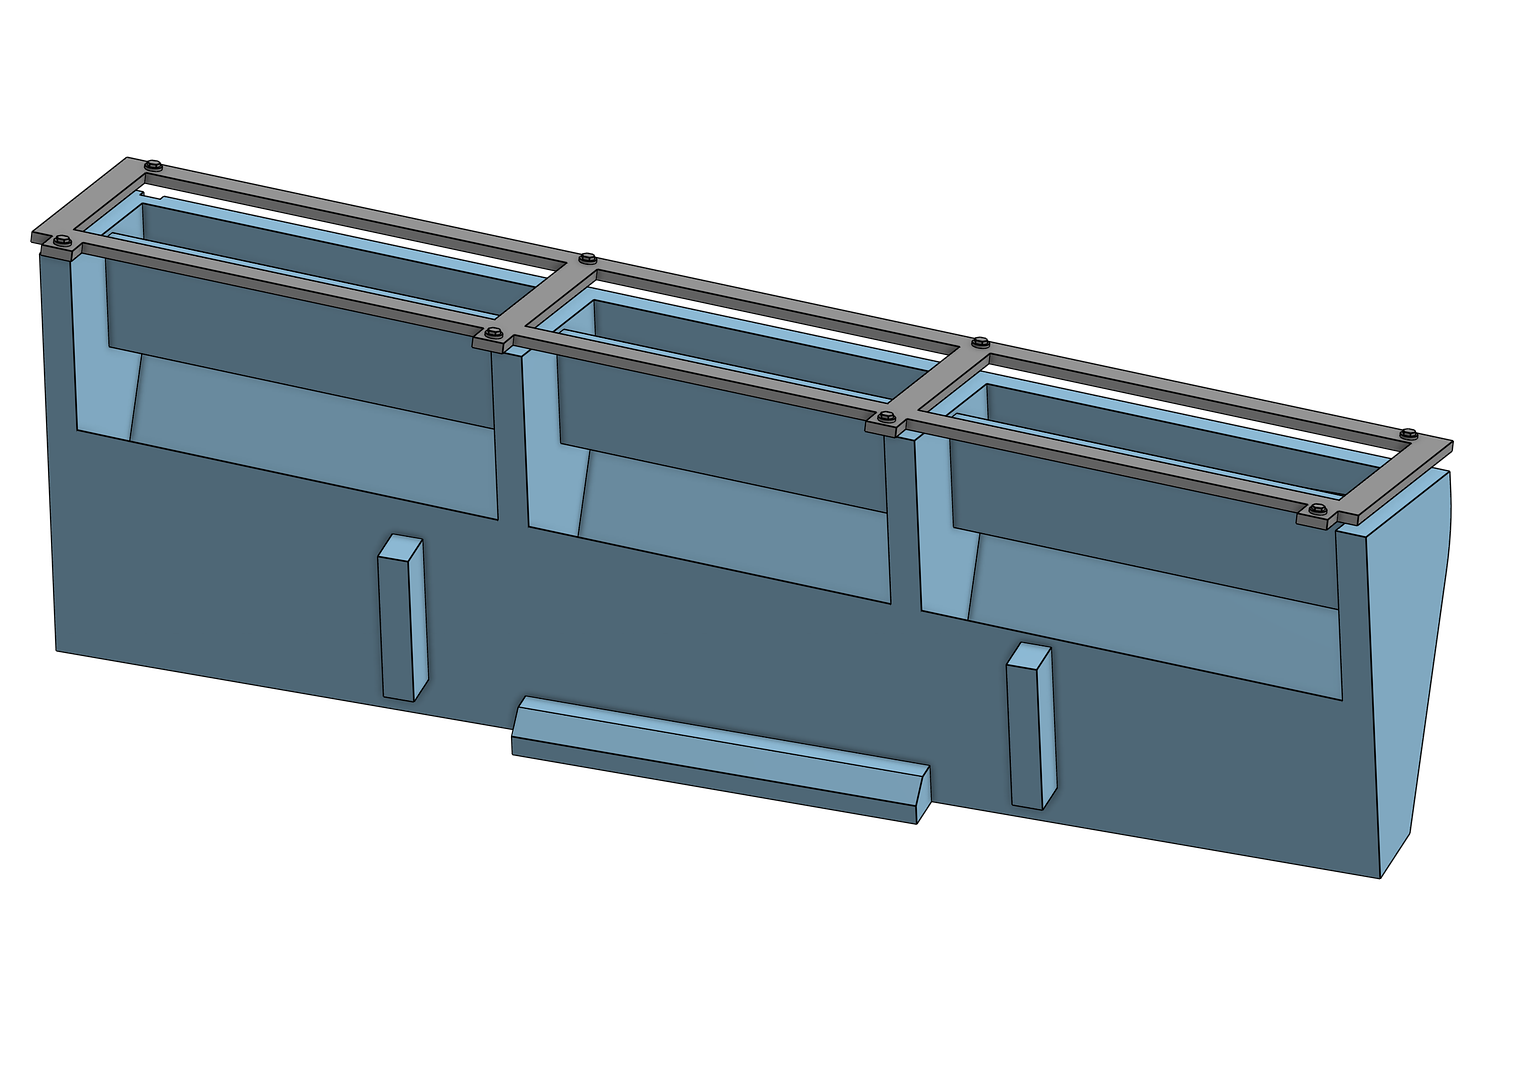
So I decided to attach it to the upper hull as one piece which is a much better solution.
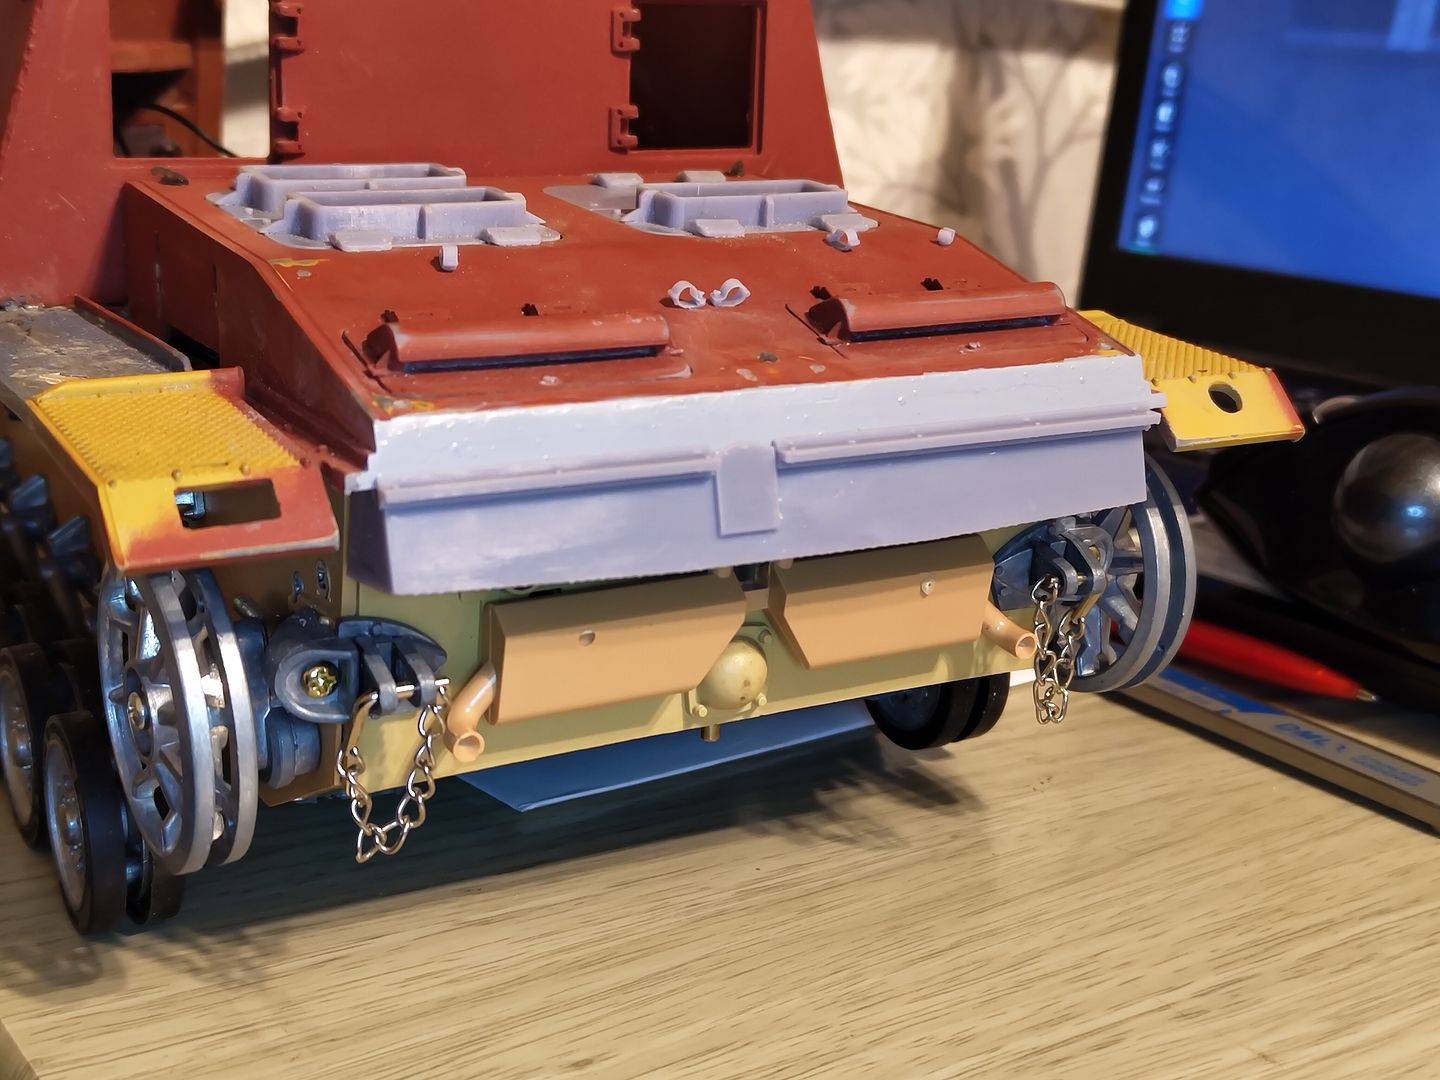
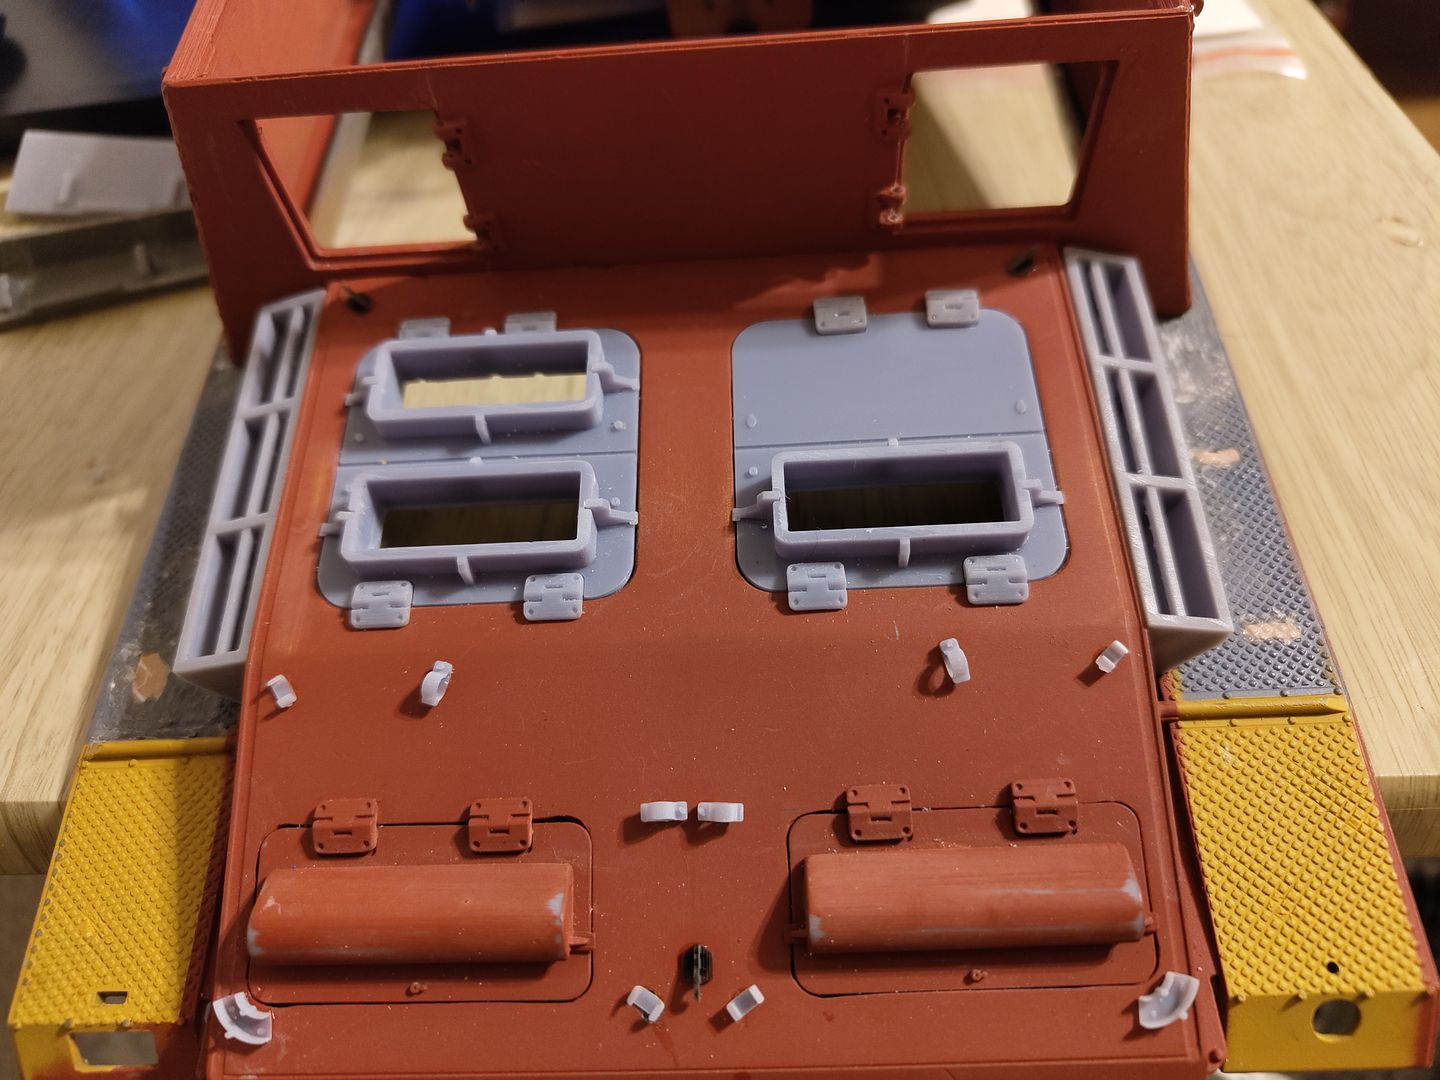
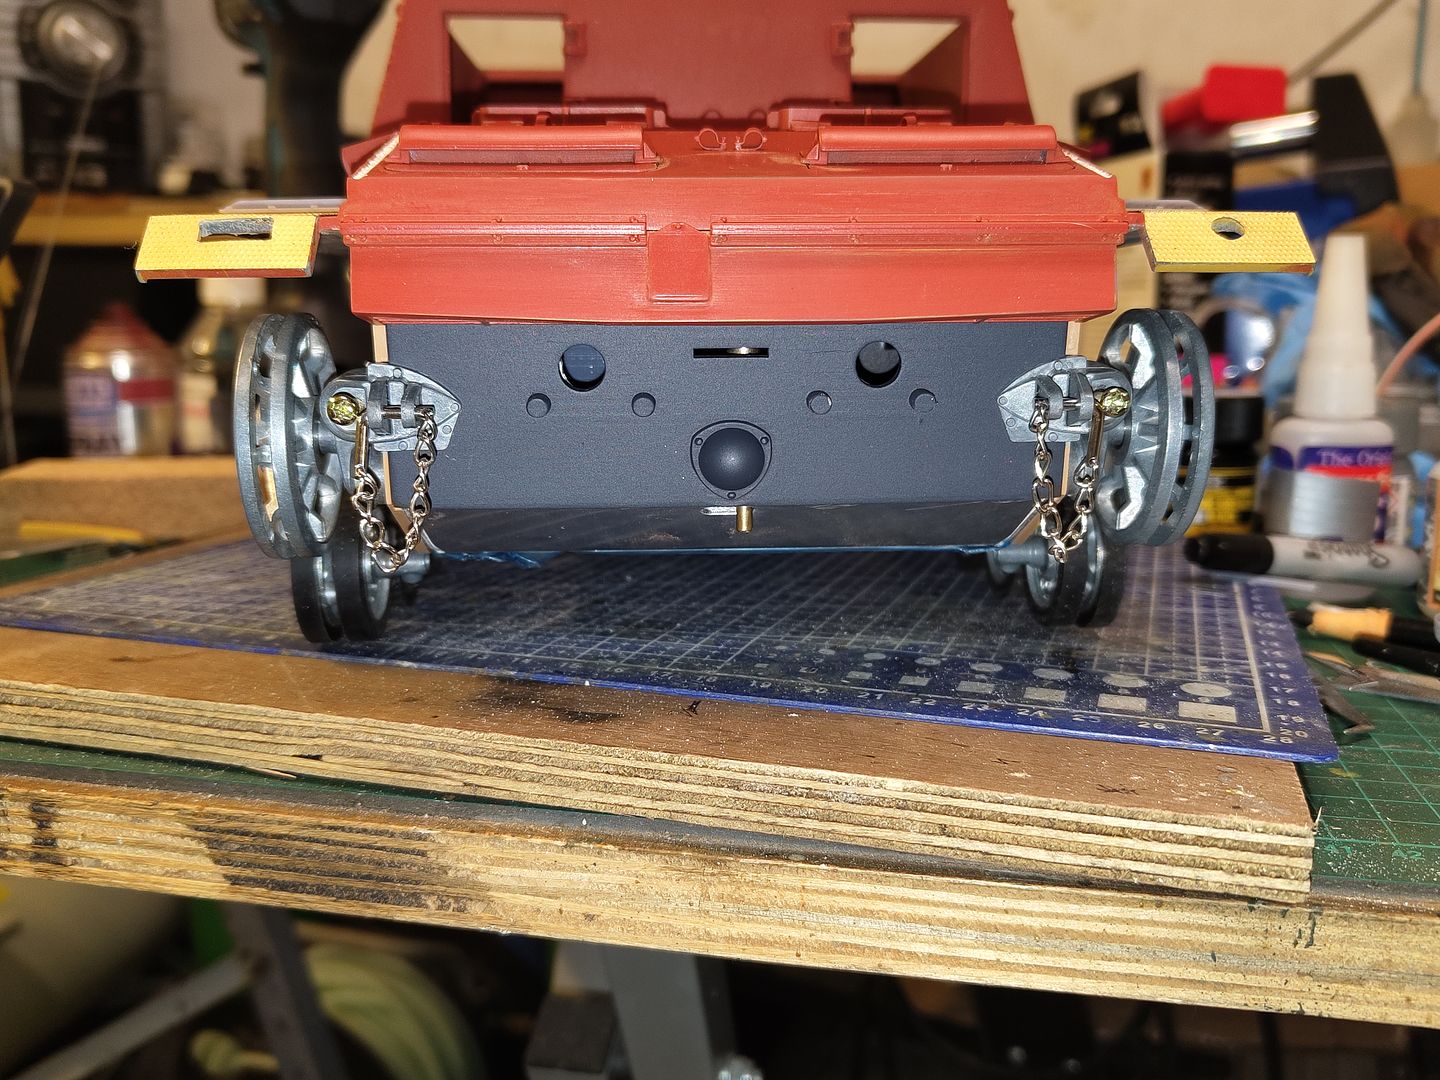
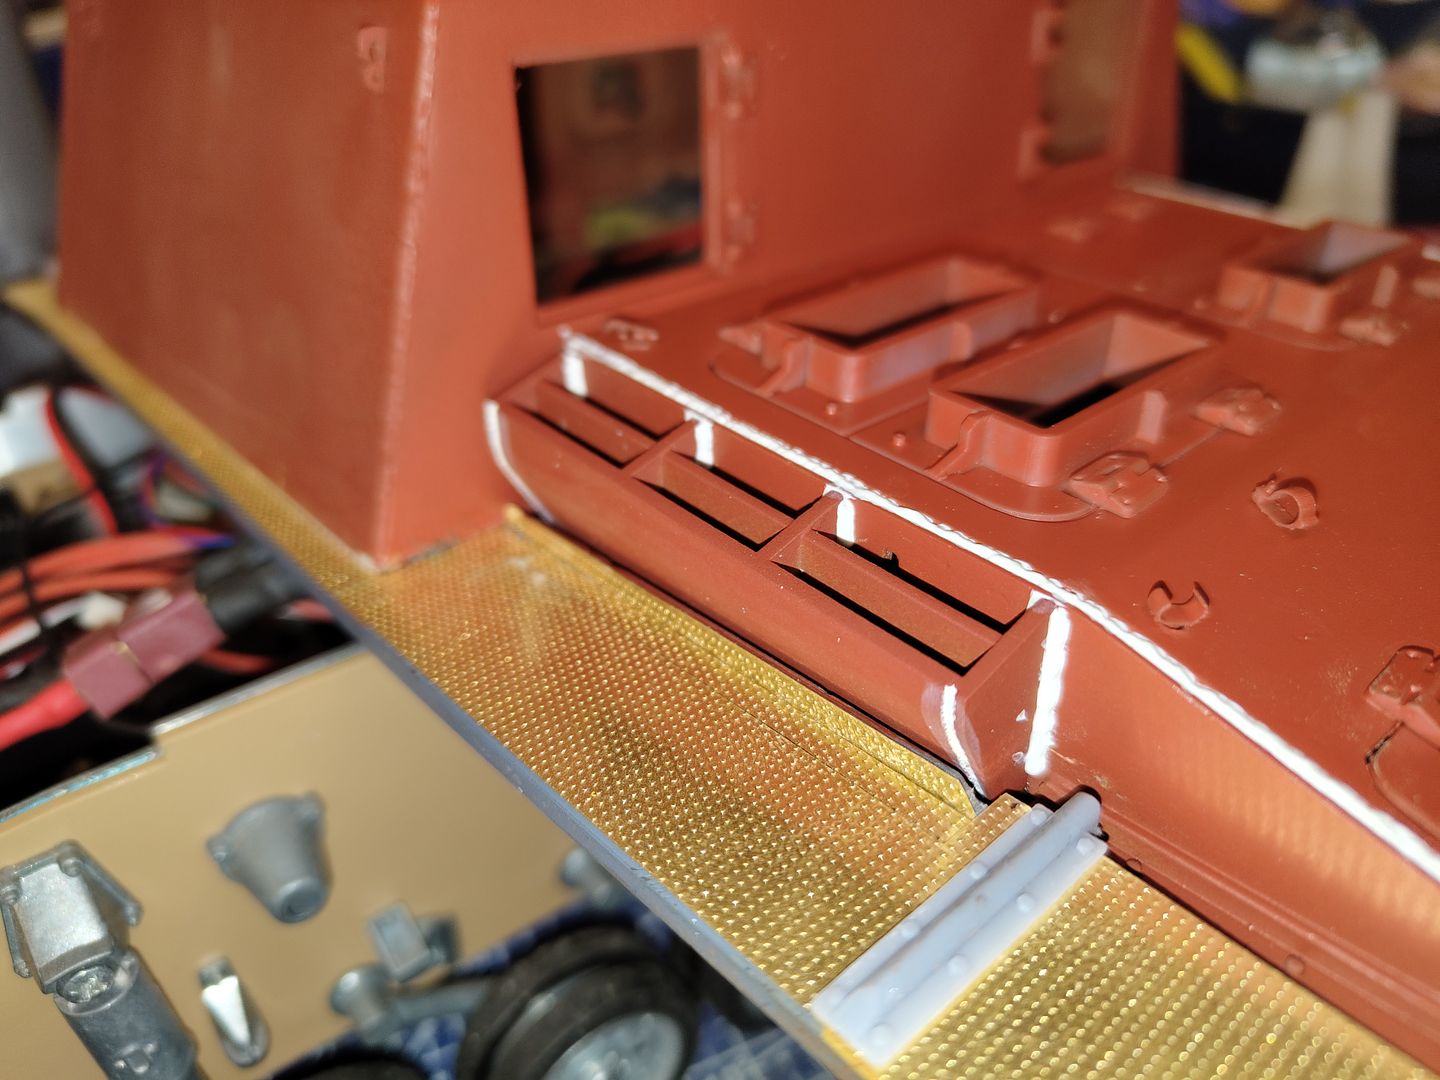
This looks a lot more like the real thing but needs a few tweaks plus the exhaust looks too low compared to the photos I have and the dome part at the rear has a square shaped flange and it should be more triangle shaped.
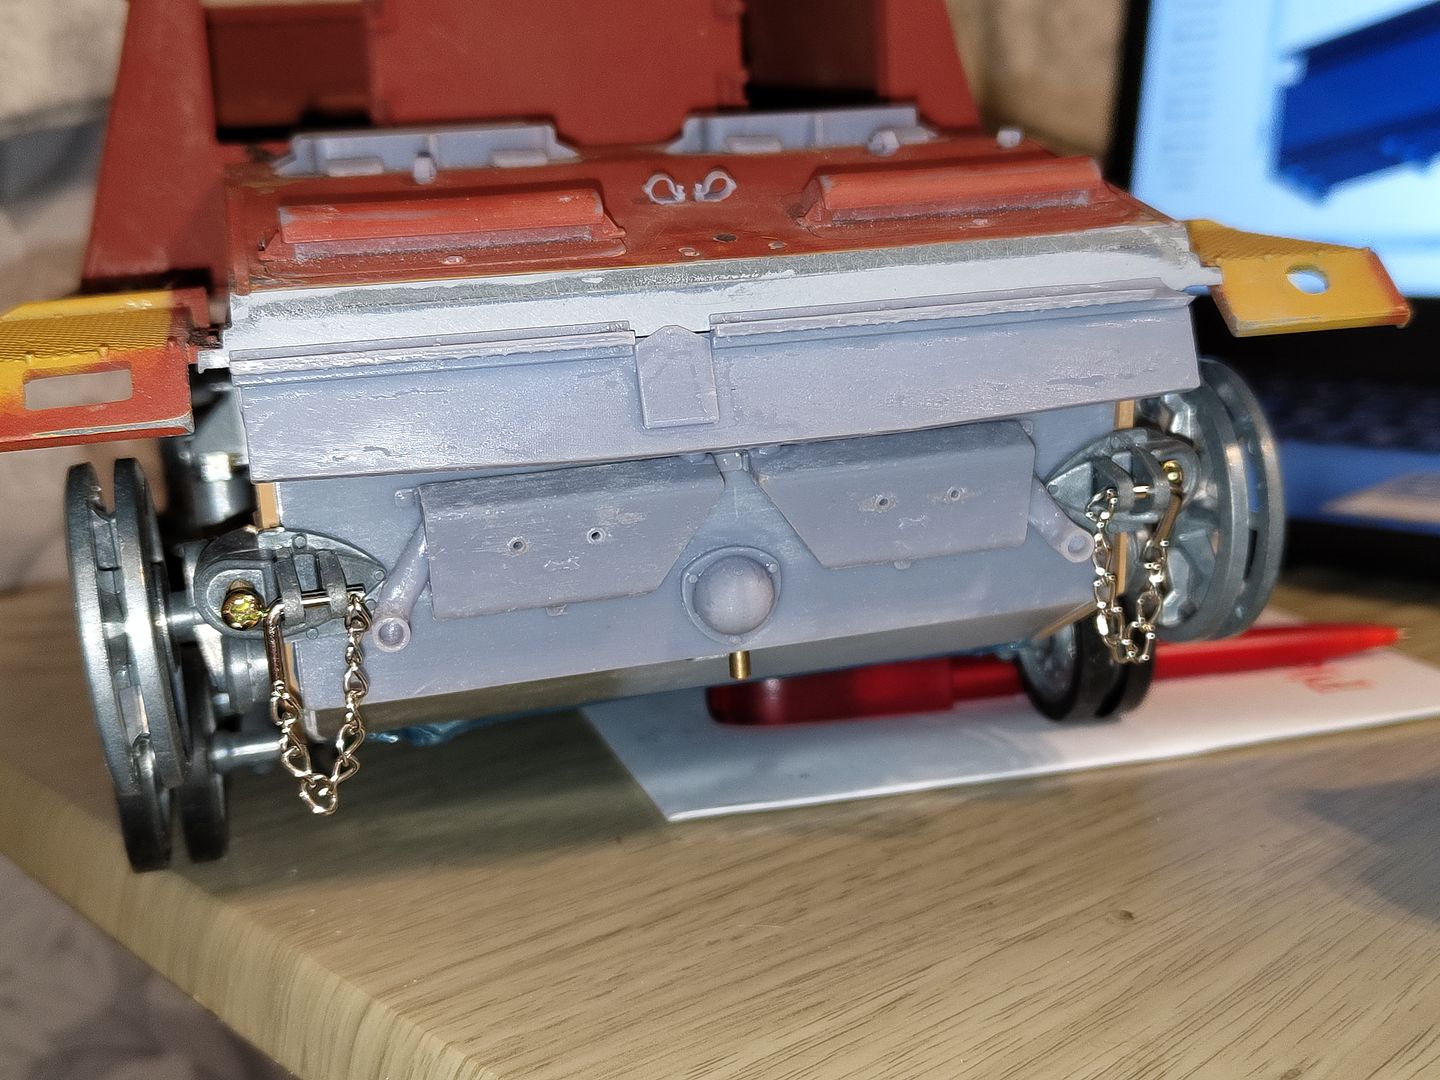
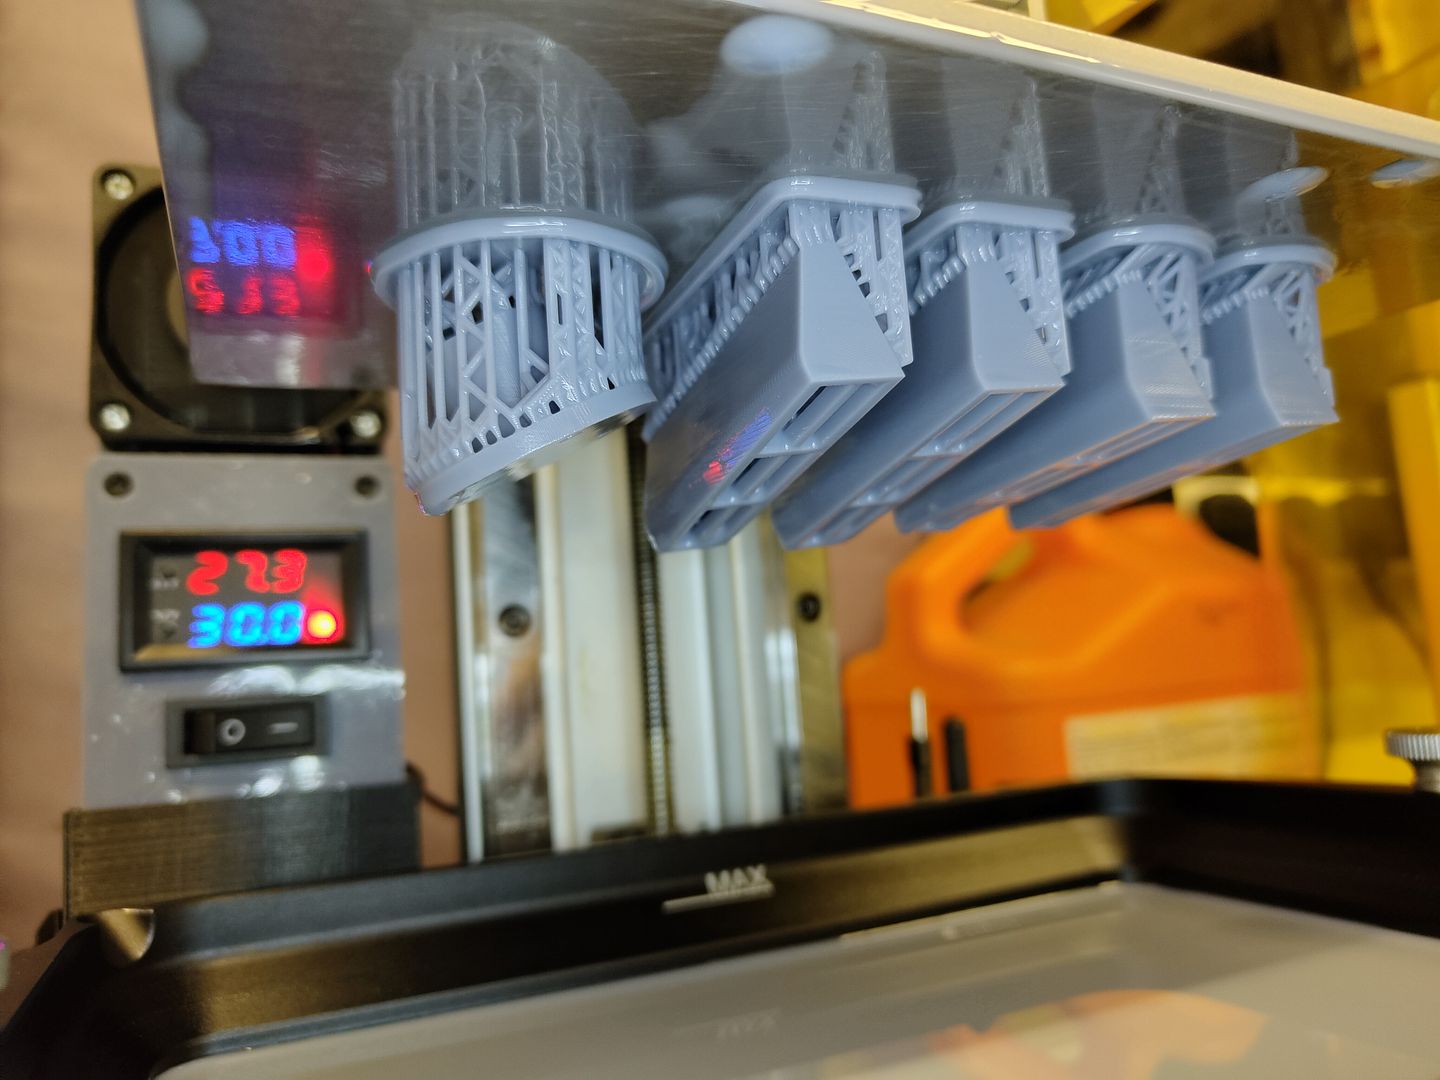
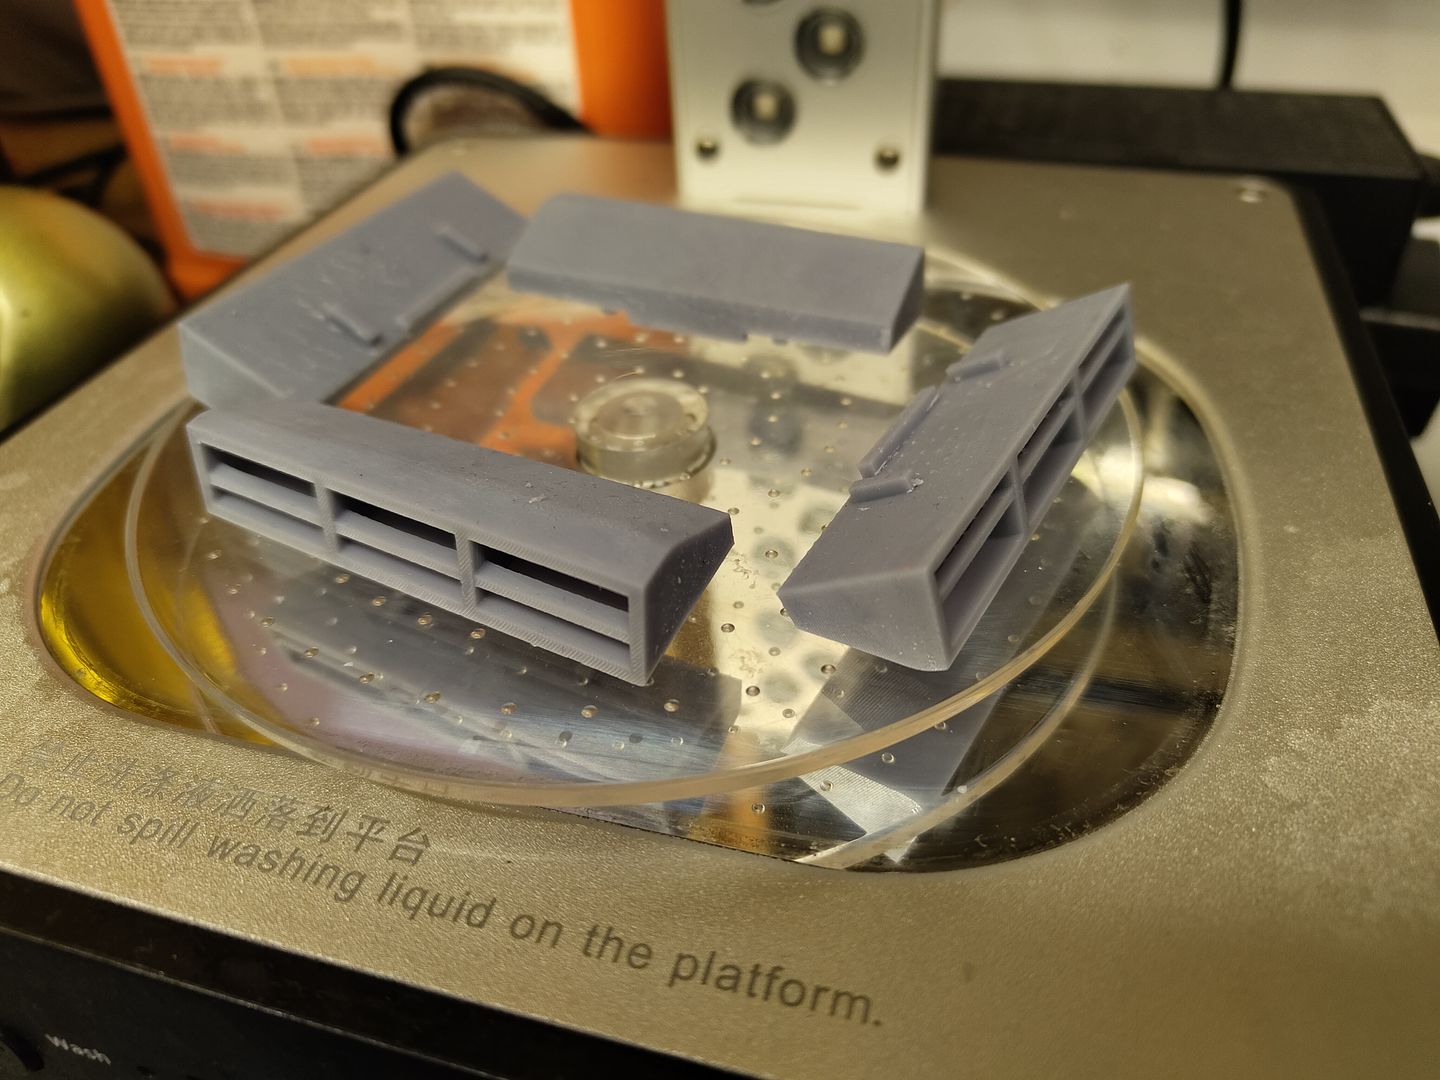
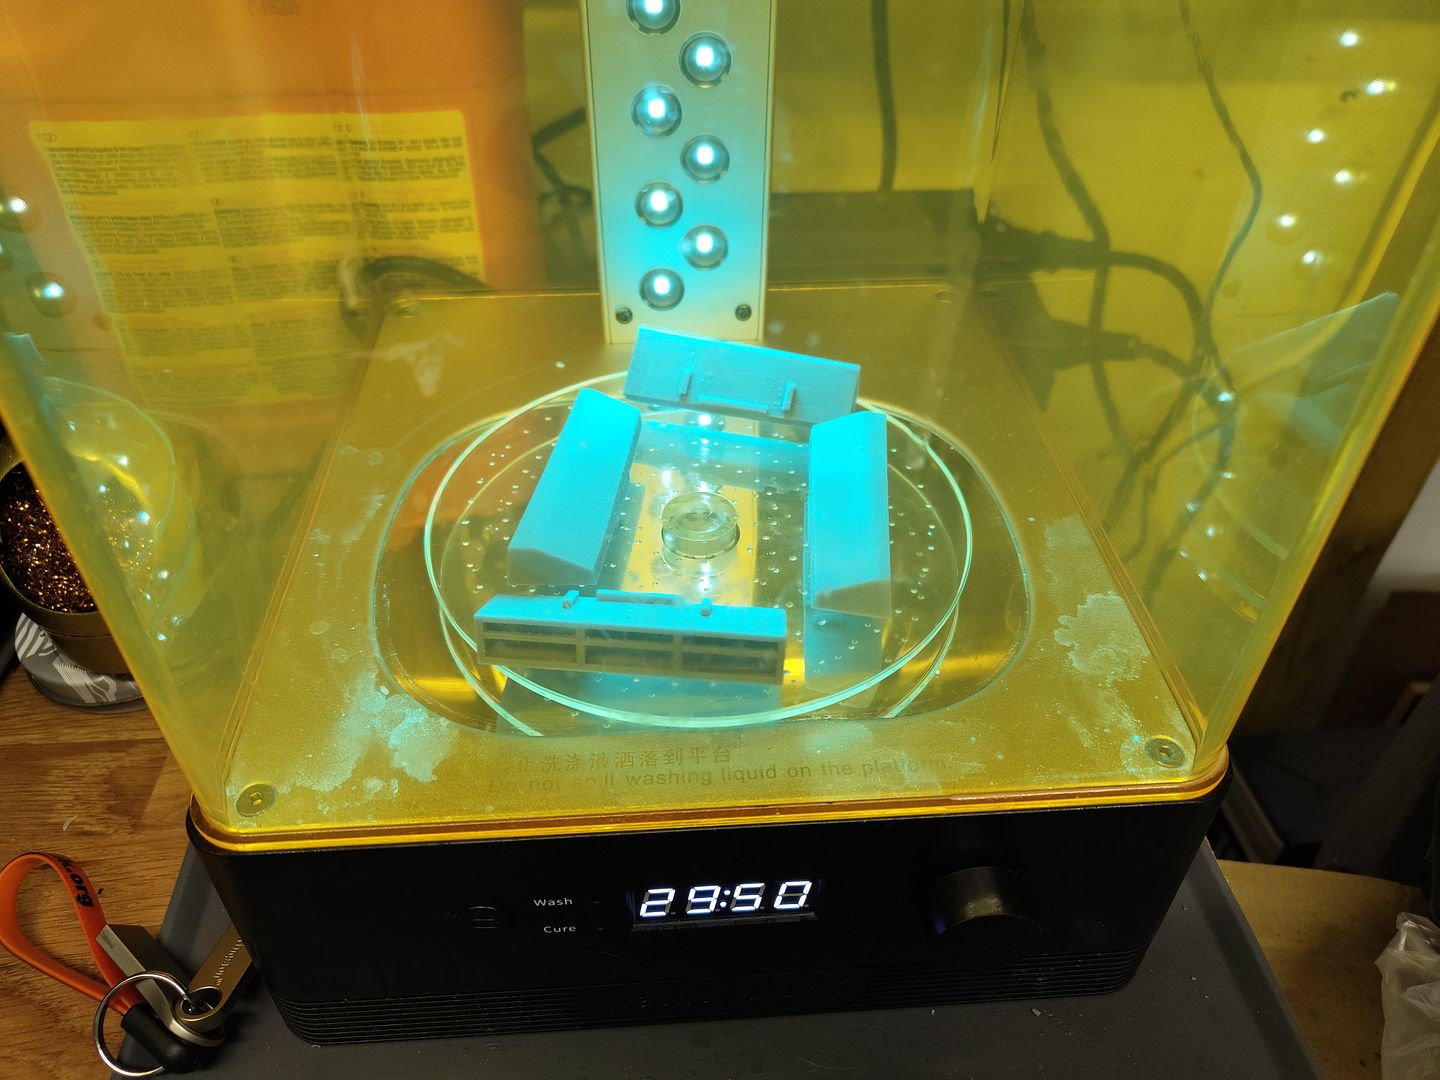
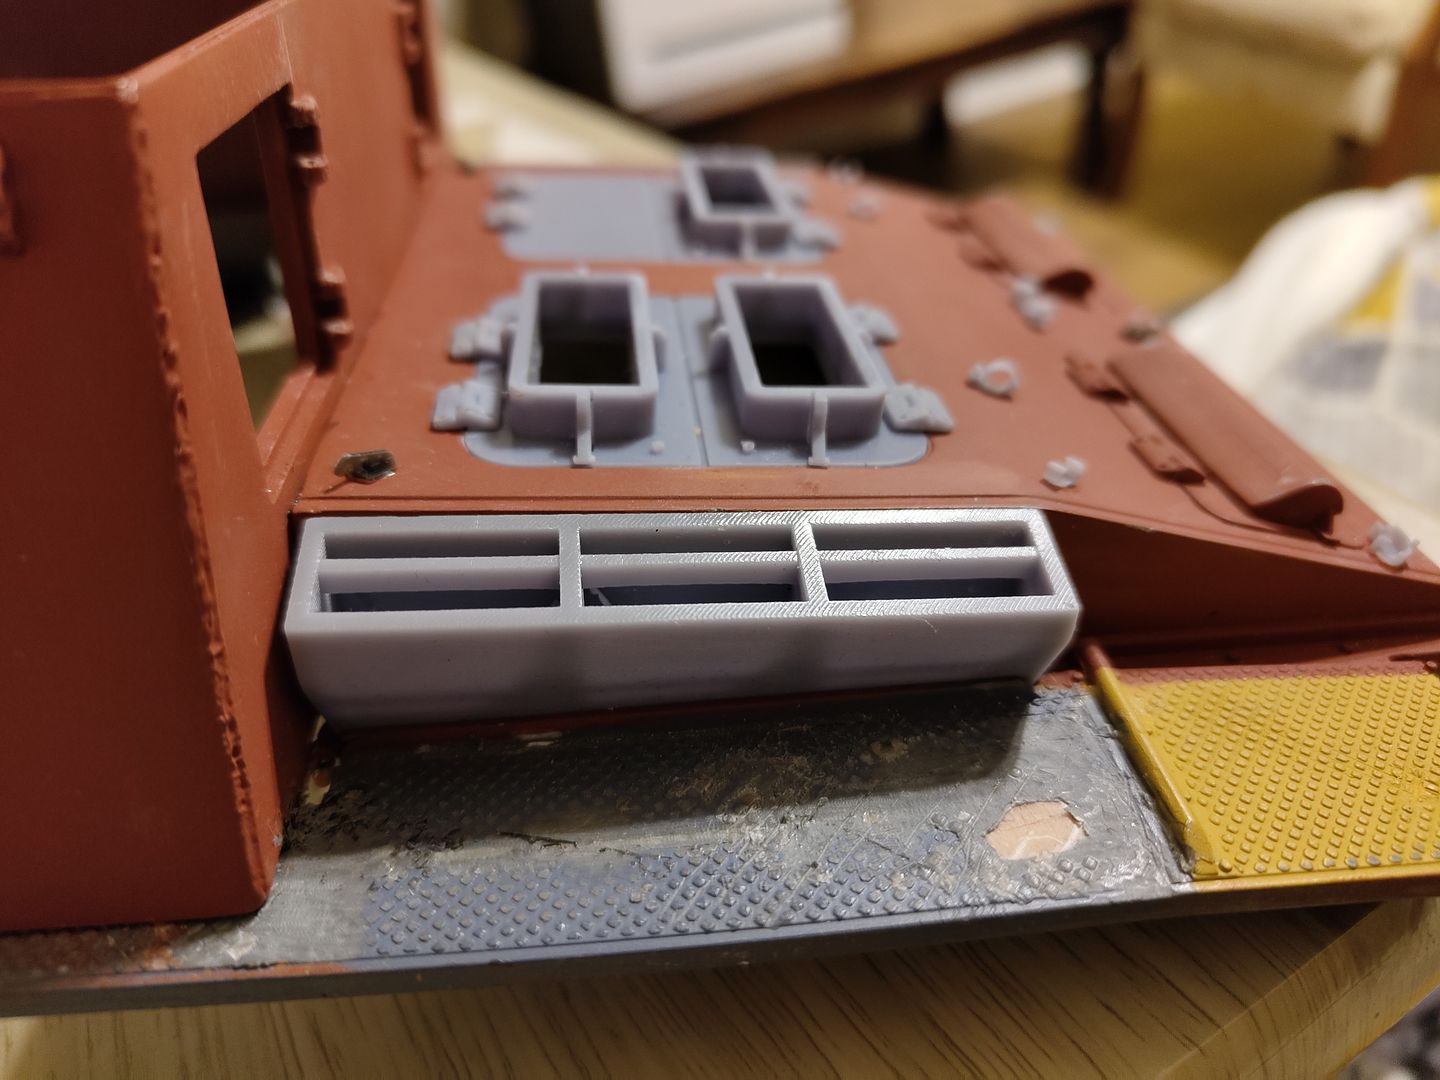
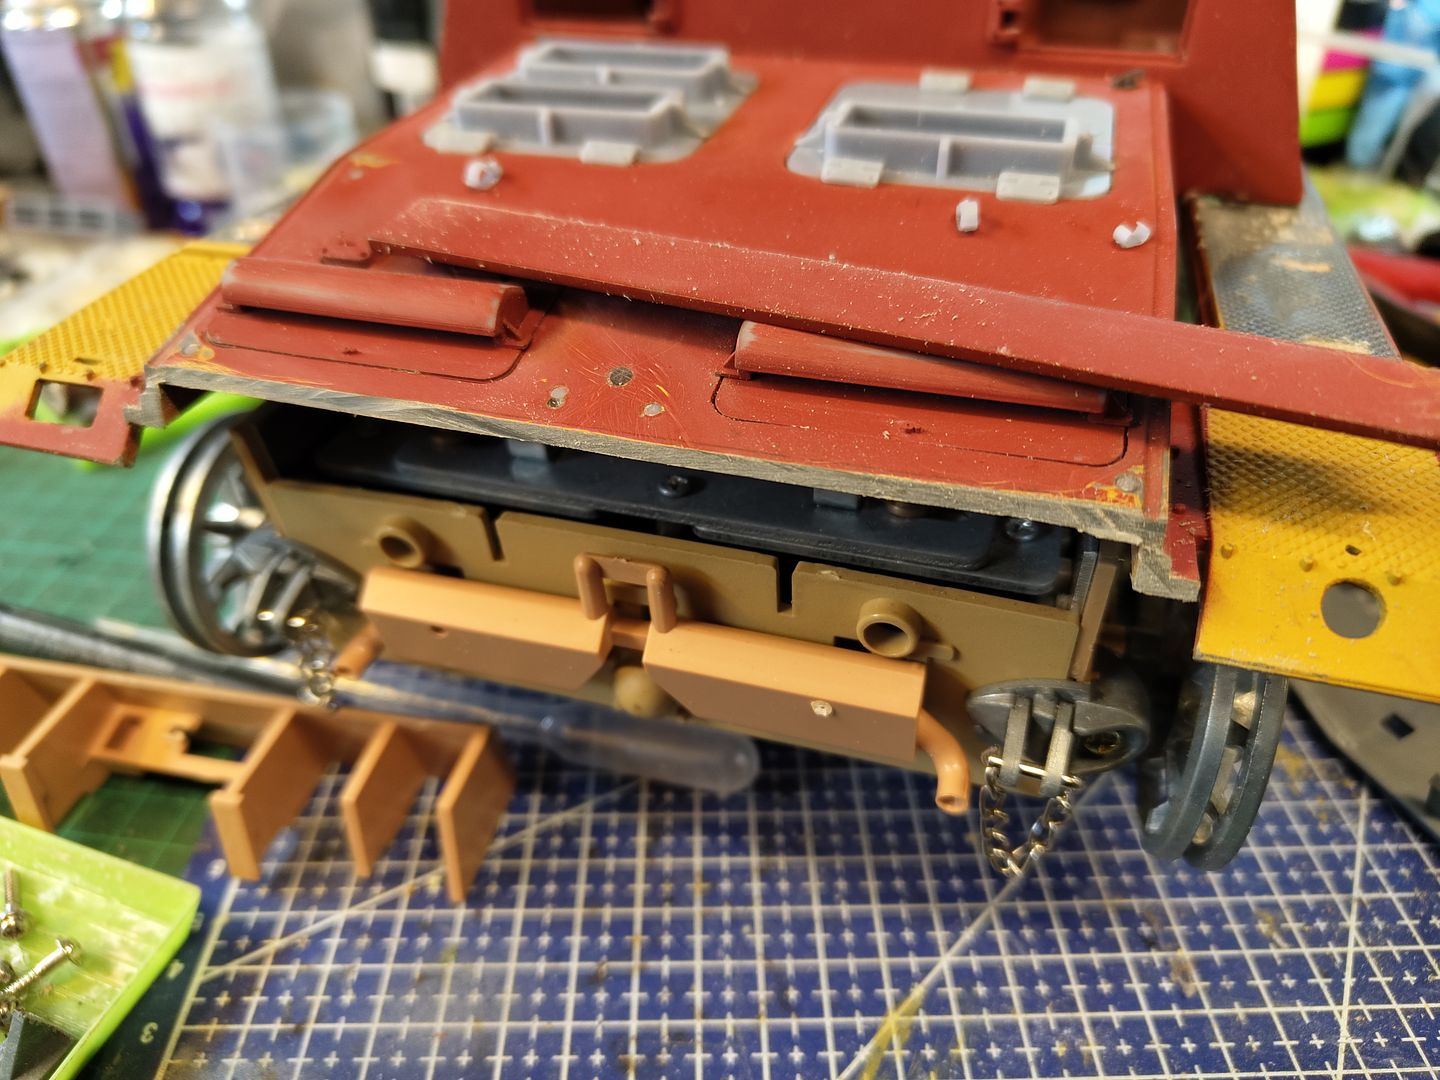
Now I must apologise for the poor quality of the print but they were very sticky when I was washing them off for some reason.
But it does look a lot better as I made a new rear panel (despite putting some notches in the wrong place

)
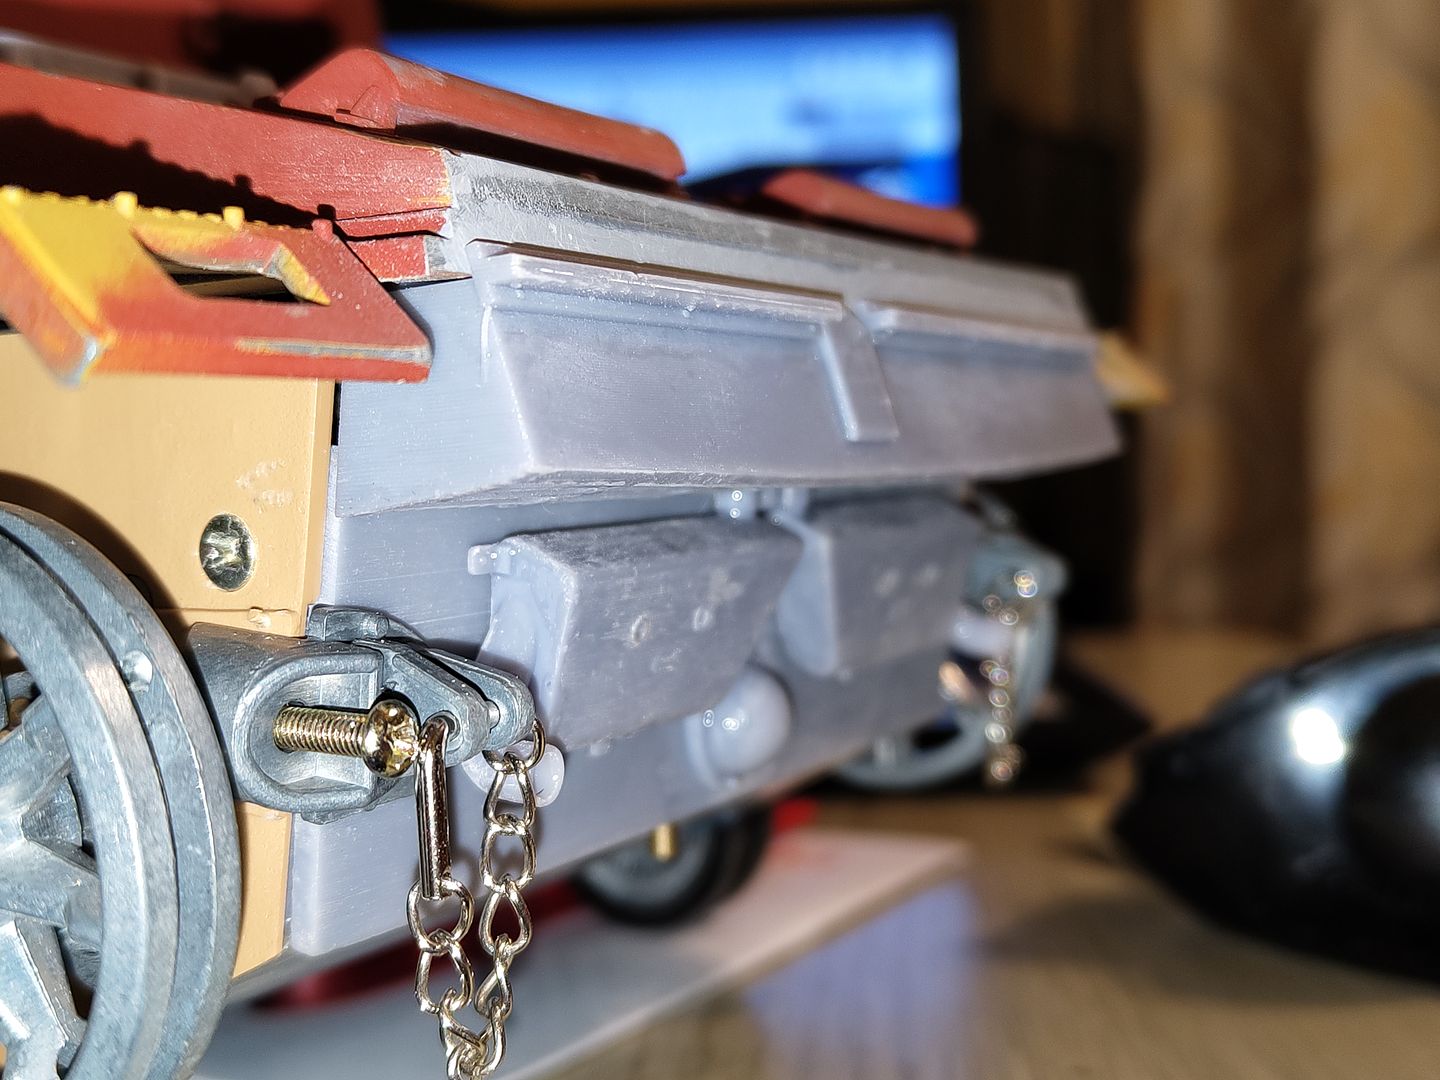
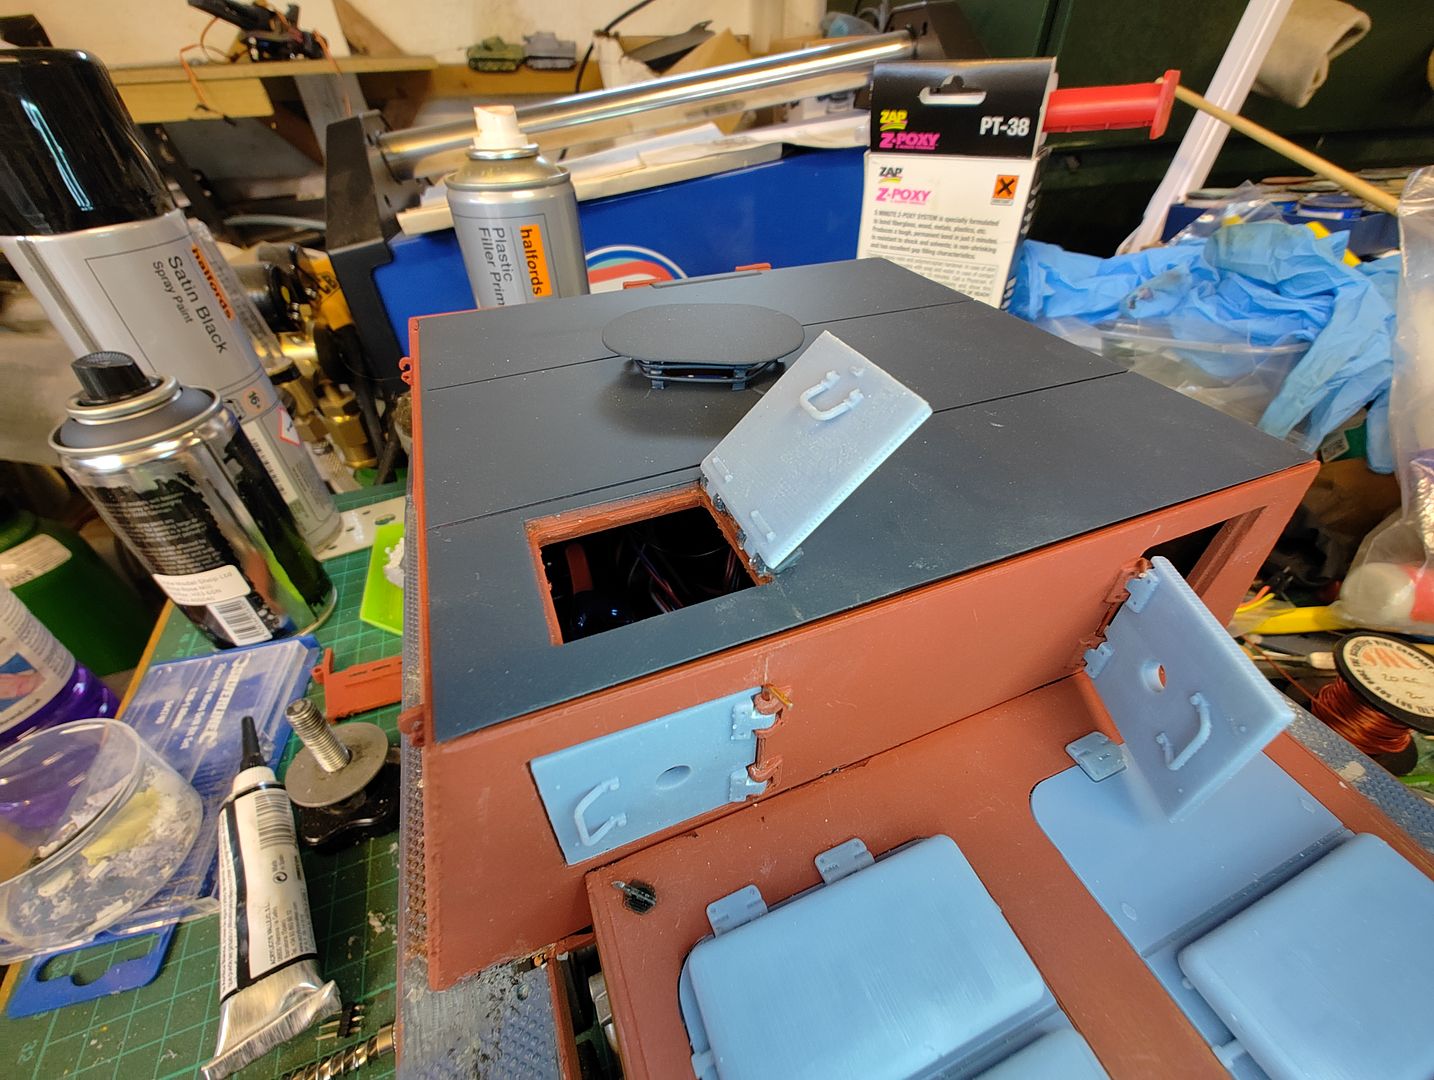
The exhaust has better detail than the original (when done properly

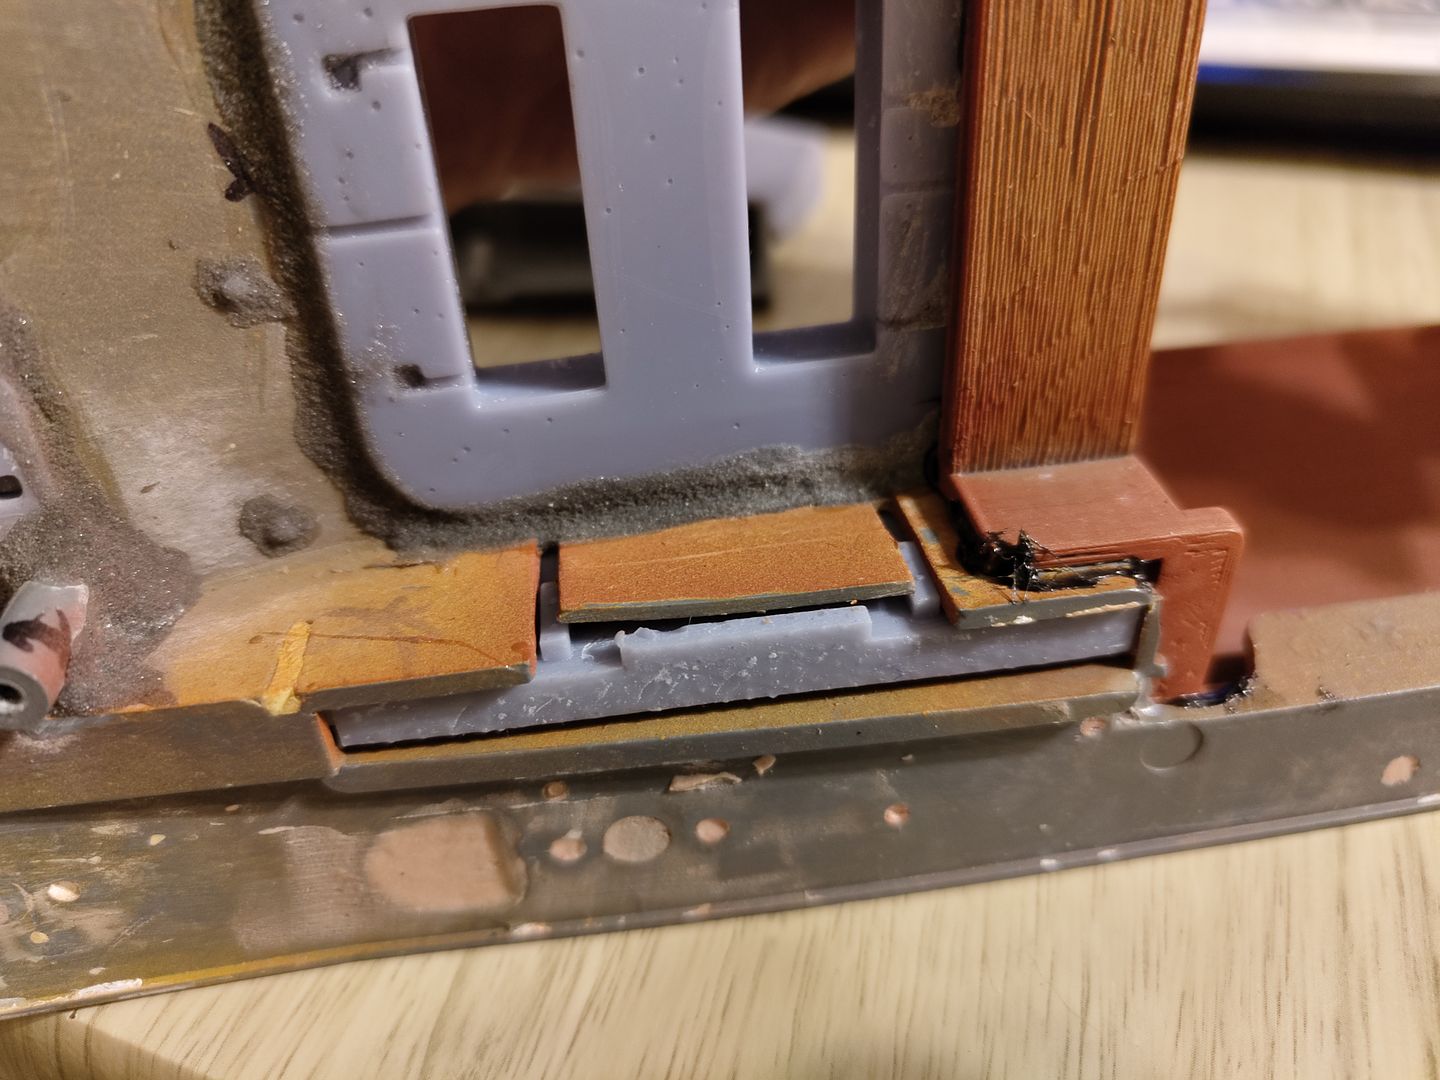
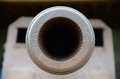
) and each side has an open pipe leading to a flange at the back that has a short piece of brass pipe inserted to attach the smoke unit to and only requires a small amount of filing of the aluminium chassis to clear the flanges
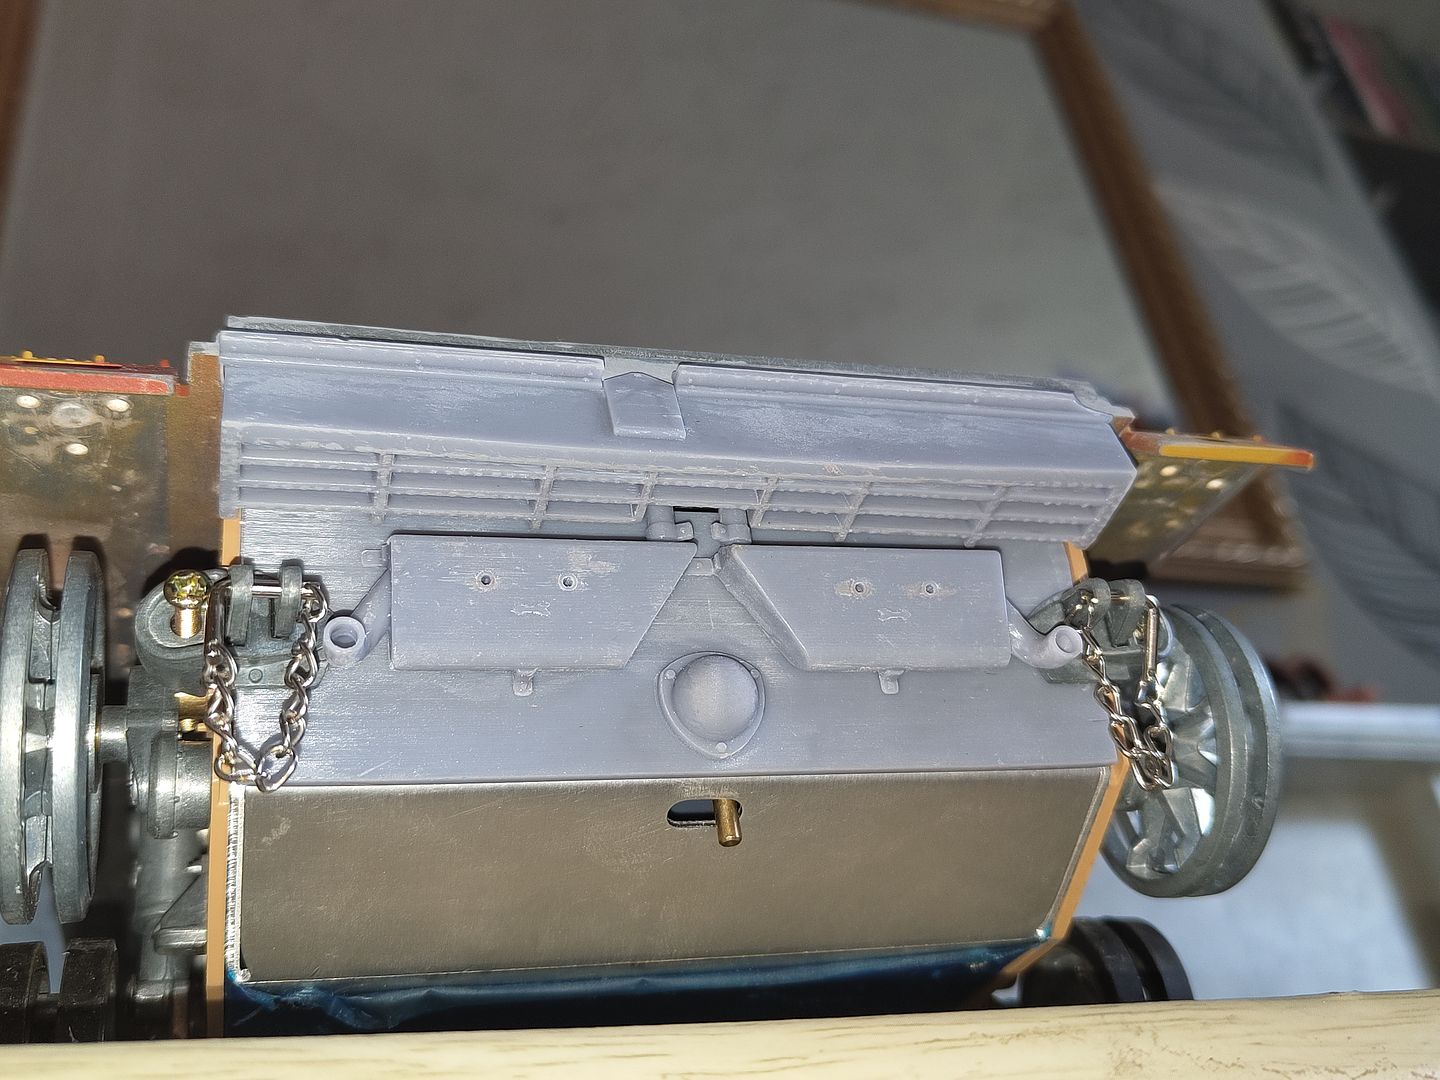
And the upper infill has better grill detail at the bottom.
All the parts need a bit of tweaking and reprinting hopefully with no more problems and they can be fitted properly and I can finally get round to the brass to cover the mudguards.
As usual when I get them sorted I will put the files on thingivers and I'm not sure if the lower parts will fit a Heng long lower hull but I'm sure if you try hard enough they will.