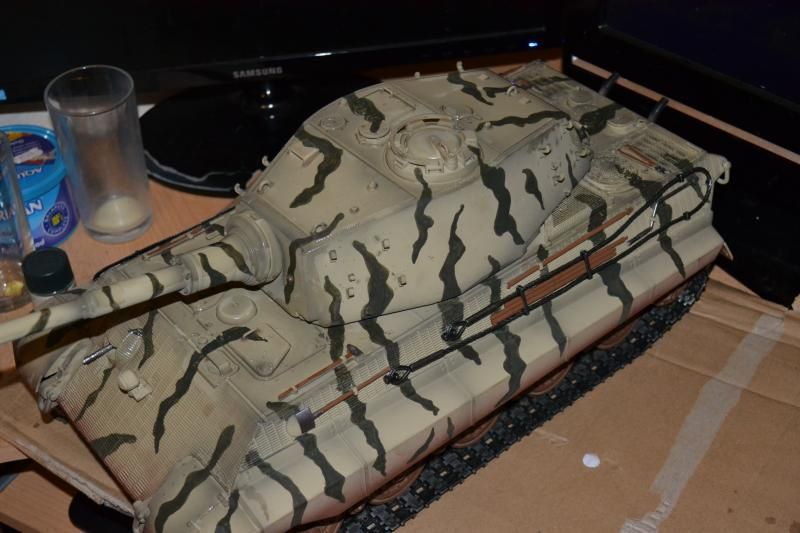
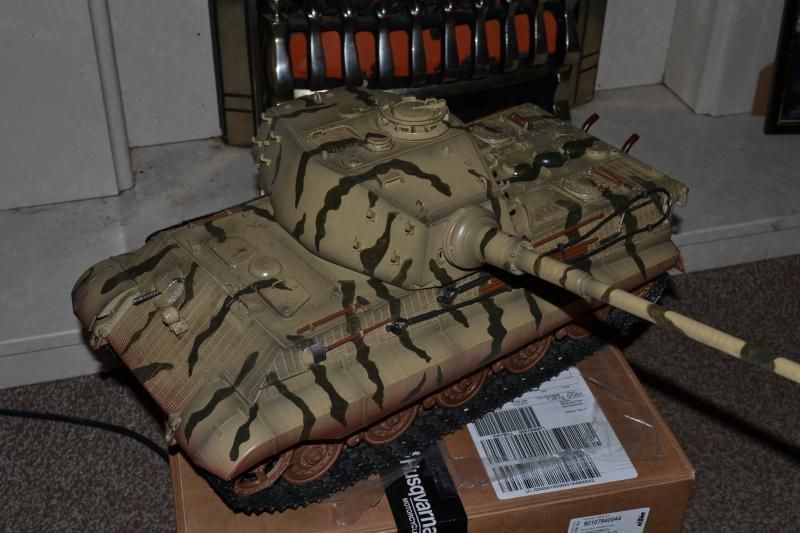
Spent the past few days pottering on with the King Tiger, I needed a trip to the model shop for some more paint supplies but as it was sunday it was closed, so we pottered on with what we could. I finished off the camo pattern, which in places was still thin and slightly patchy, but I liked the look of so opted to leave it. I then applied a filter of Tamiya Dark earth to help blend the green with teh dark yellow base colour and also begin adding slight streaking and grime marks, as well as very faint shodows.
Here shown with the glacis, turret top and gun barrel top having the filter applied, the rest of the tank still to be done.
I continued with the filter until the whole tank was done, here it is still wet, I allowed it to pool slightly in certain places to further add tonal variation to the different panels and areas of the vehicle.
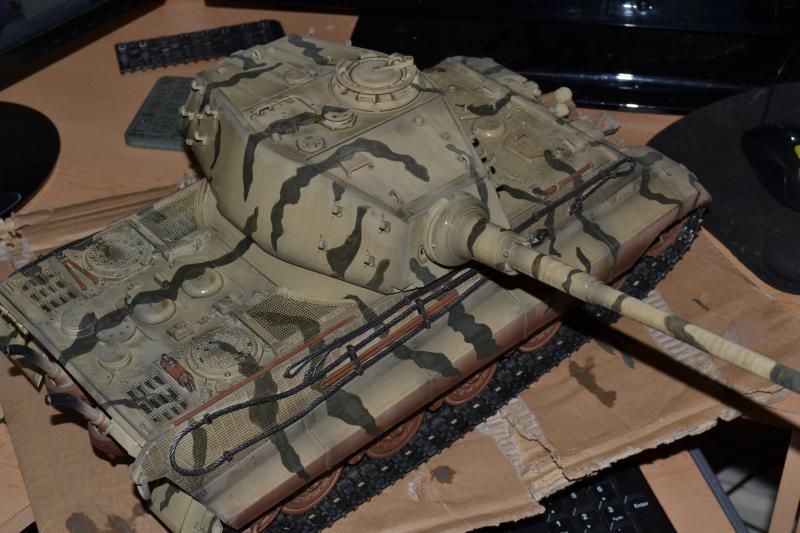
And here it is next morning, nice and dry. As you can see its took a little of the 'newness' away from the finish and toned the yellow down a bit.
Today I went to the model shop to get what I needed to continue the next step, clear varnish, one rattle can of matt, and one of gloss. and one semi gloss pot of Tamiya Black.
it's minus, something, I dunno, its cold though, outside, so the rattle can work wasn't the easiest, I had a pan of hot water with me to sit the can in between coats. I only gave it a couple, just enough to give a glossy enough finish for the pin wash and decals, which I intend to place on the tank, and then brush over freehand for a more realistic finish.
Once that was dry it was time for the wash of Tamiya semi gloss black, the reason I like semi gloss is it tends to flow better and sometimes the flat black dries a chalky grey when its been heavily watered down. the final result will be totally matt finished anyway, the varnish will see to that.
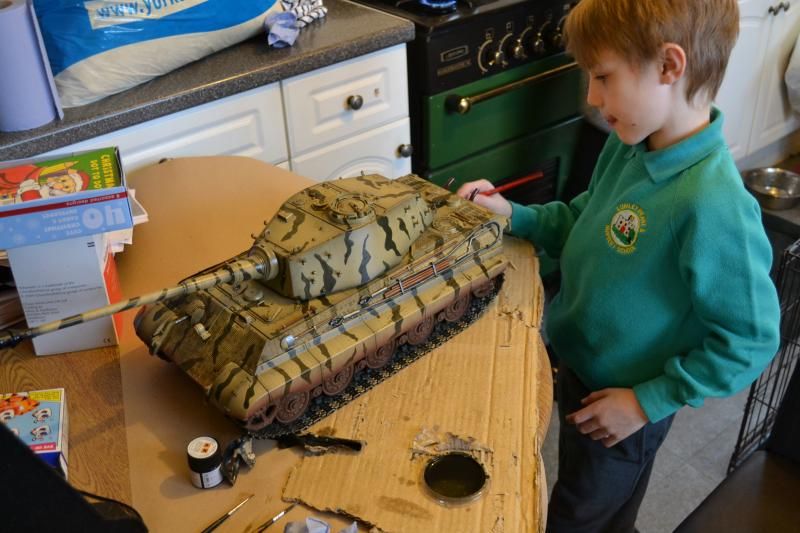
The job wasn't the usual, neat, careful affair I am used too, but that's kids for you. Here is Jack enjoying some well spent father son time!
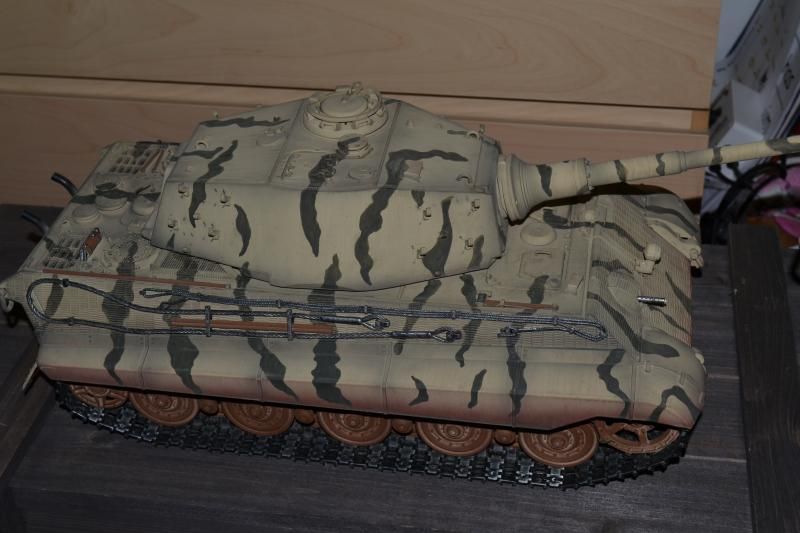
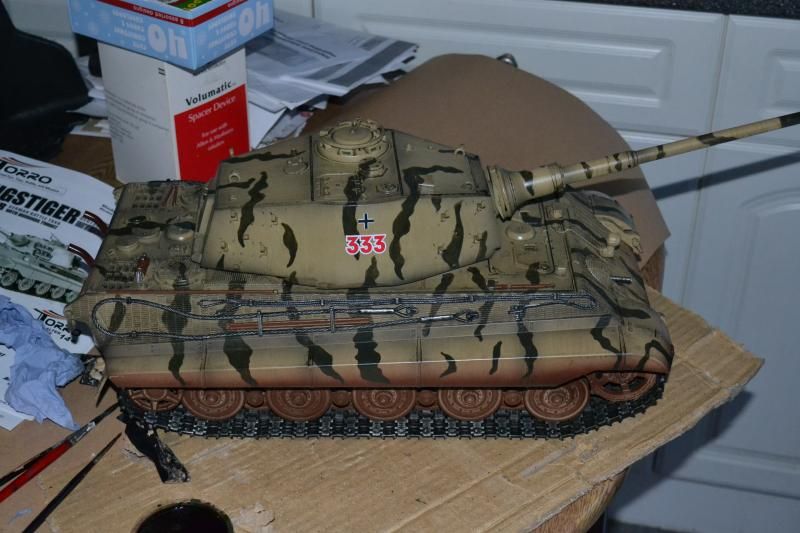
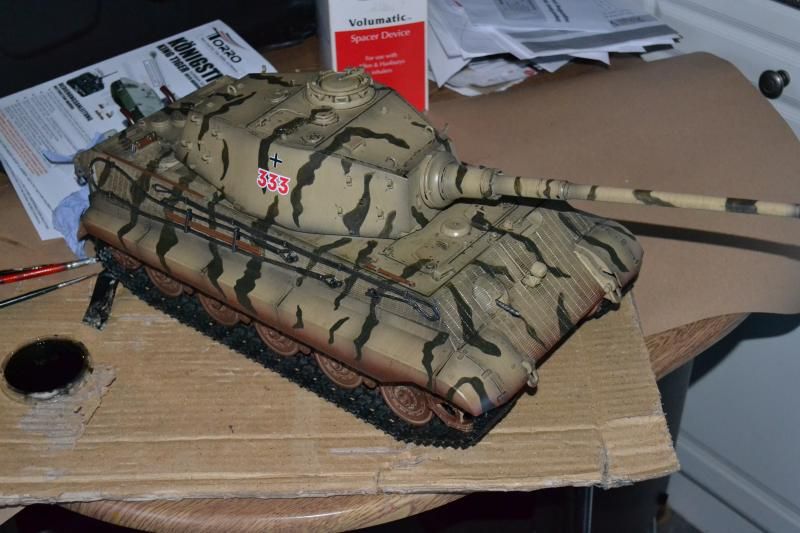
And here she is as she currently stands....
I need to have a little clean up with some thinners and a cotton bud once he goes to bed (I don't want him thinking he did it wrong) but apart from that I am pretty pleased with how she is coming along. Still got a long way to go, but I am finding the compromise between making her look realistic, and still having some childish fun, a really good one. In fact, it's taken me back to when I was young and starting out in modelling, and I looked at things through much more fun loving, innocent eyes. I think sometimes, we are all a bit guilty of turning a hobby into work and concentrating so hard on the final result we suck some of the fun out of the actual process.
Phil.