Page 1 of 1

New Tiger 1

Posted: Wed Jun 15, 2011 5:14 pm
by harlequin
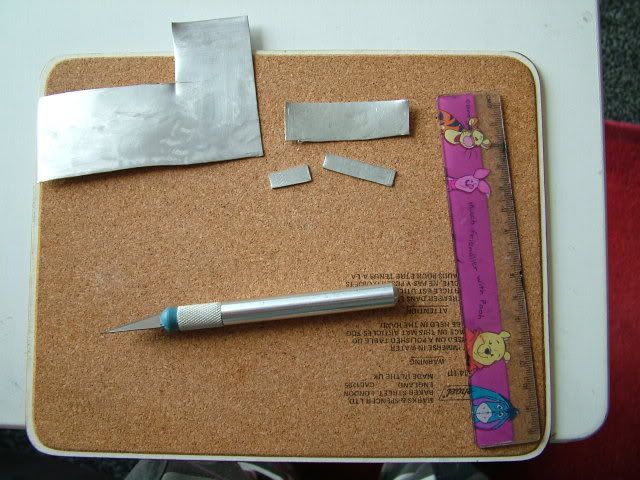
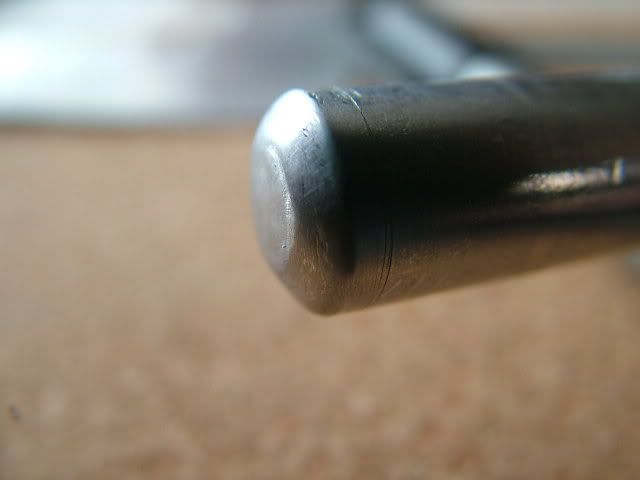
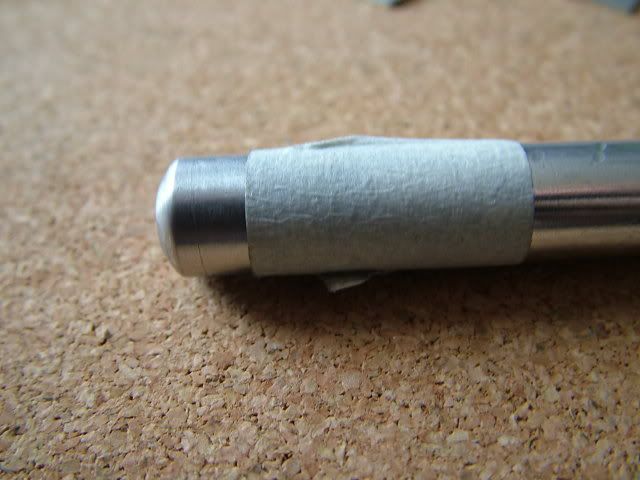
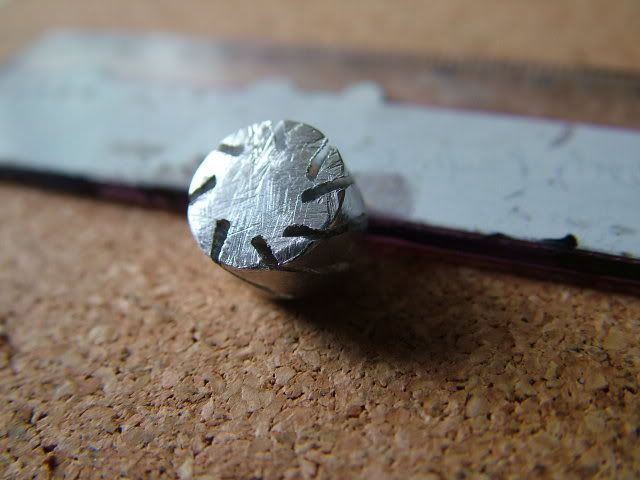
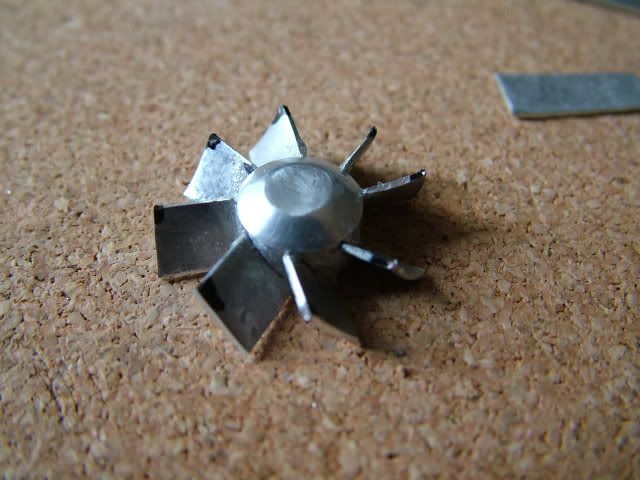
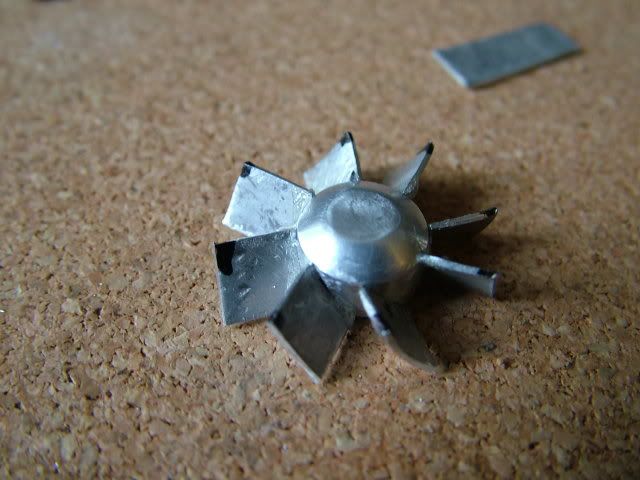
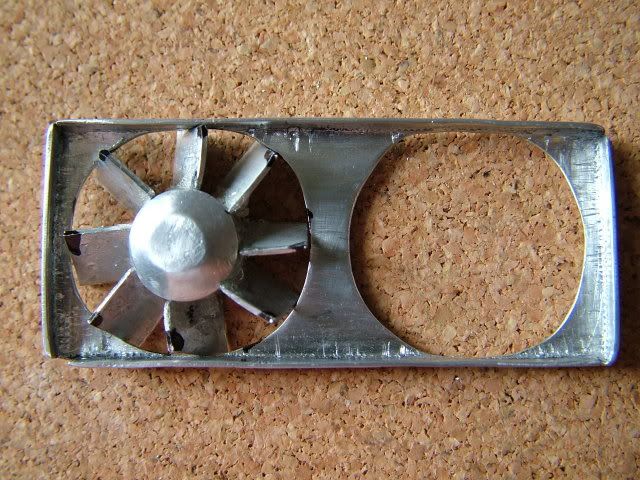
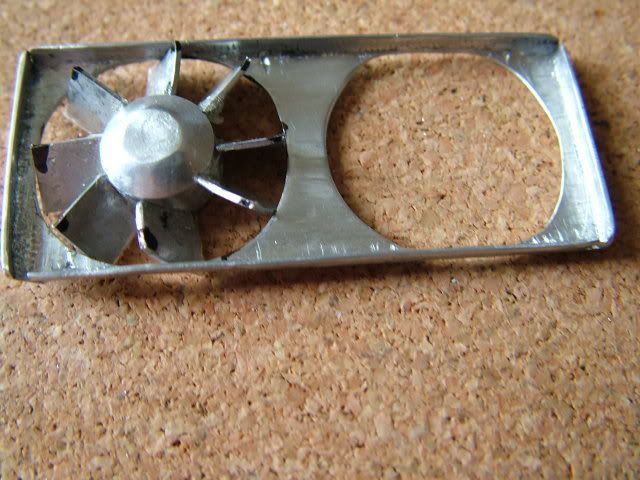
i am a new member and have not tried to build tanks before so this is a learning experience for me. i am starting with a heng long with asiatam hull ,mato wheels and all the usual good stuff i have posted a few bits and pieces in other sections of this forum but thaught i would start a new thread on my actual build here.I won't bore you with all the stuff that has been done before by all the other and far more qualified members here but just put up the stuff i have done that is different, not better i hasten to say just a different way to achieve the same thing . as i said i have or will do all the usual mods i have just finished cutting out the rear grills for engine and cooling fans they are now hinged and open and close i have boxed out the spaces underneath to accept my humble efforts at engine and cooling fans which i enclose now in a series of pictures i hope they will speak for themselves but i am more than happy to answer any questions you may have , also any ideas are welcome please bear in mind that this is my first attempt so dont be to harsh lads :S the fans are made from all aluminium as i dont want to paint them. the support frames are as you see just flat sheet bent to look the part i used a uk 10p piece for the holes as it seemed pretty close to scale as it sits in my tank.for the actual fans just flat sheet cut to size for the blades and the centre hub is a piece cut off the end of my hobby knife and filed to approx the shape of the real hub ,it will be a lot shorter by the time i have finished :haha: this is a work in progress and there is a lot of finishing to do on these pieces but its just to give you an idea of what im up to. pics follow .thanks for takin the time to look all the best Rob

Image
Image
Image
Image
Image
Image
Image
Image
Image
Image
Image
Image
Image
Image
Image
Image
thats all so far

Re: New Tiger 1

Posted: Wed Jun 15, 2011 9:16 pm
by [ICE]monkey
nice job so far , and as you said ,detail i havent seen at this scale
regards, ice

Re: New Tiger 1

Posted: Wed Jun 15, 2011 9:19 pm
by Dietrich
Hi Rob,
Very Nice Indeed so far and an excellent choice of hull Etc.. Now for the first of many questions that I am sure you will receive, throughout the build..... :haha:
Please can you tell me how you attached the fan blades to the end of your hobby knife ? and do you intend to actually 'Power' the fans with say 'PagerMotors' or intend to let them rotate in the 'breeze' of an electric fan positioned underneath ?
Alb.

Re: New Tiger 1

Posted: Wed Jun 15, 2011 9:20 pm
by sparks
That looks like a pretty good start :thumbup: , nice skills :clap: :clap:
sparks

Re: New Tiger 1

Posted: Thu Jun 16, 2011 12:34 am
by harlequin
I thank you gentlemen for your kind words,and look forward to getting to know some of you as this build goes along .all i was looking for was a good approximation of the fans rather than a bang on accurate scale copy as most of the time they will be covered. As i said i am more than happy to answer questions so feel free to ask ,Hi Alb thanks for dropping by mate i will try to talk you through how i did it, if you look at the photos once the end of the knife was cut off i covered the sides and bottom with masking tape (for reference the bottom of the spindle is flat and the top is the chamfered end )then i divided the "bottom" circle into eight pieces just as you would a cake by drawing a cross then dividing the segments so you have eight points on the circumference then i carried the lines down the sides of the part ,as in the pictures you can see the black ink lines .then working from the "top" down i added the angled lines simply by going from the top of one line to the bottom of the next its long winded to explain but if you look at the pictures you should be able to see what i am badly trying to explain.then i held the spindle in a small pair of mole grips and very carefully using a small junior hacksaw cut along the diagonal lines ,as i didnt want to paint these parts i under cut from the top to the bottom of the part as you can see in the next picture down when viewed from the the "bottom" the slots are much deeper into the part and at the top they are very shallow so when looking down on the fan you cant see the slots where the blades are pushed into it.in the next picture down you will see i cut the blade end at an angle so as you push it into the cut the bottom will go into the deeper part of the cut and give plenty of glue area to hold it in ,then its just a matter of adding the blades one at a time taking care to fit each one into a cut until you have all 8 blades fitted.then just repeat untill you have all 4 fans complete i hope this makes sense to you but if you still have a problem let me know and i will try to talk you through anything your not clear on, sorry for the rambling explanation mate not too good at this lark as for making them work im sure someone out there could do it but everything would have to be perfectly centered and the blades would need to be balanced or it would vibrate very badly and rattle itself to pieces eventually ,way beyond my skills :crazy: all i was looking for was a good approximation of what they look like also on the real Tiger 1 the fans were designed to suck air rather than blow. i think the small amount of air that my mini fans could shift would be negligible to cooling and with the heat from the motors would probably add to the temperature :S hope this has been of some use to ya mate anything else i can help you with let me know all the best Rob