This started out as a ‘Simply get an Old Dog of a Tiger’ running again…and ..on its first run out on a mown lawn two suspension pegs sheared off completely and I stripped a gear of nearly all its teeth in the gearbox
I wanted an Asiatam Hull but they are simply too expensive for me and I will never be able to get one so I decided to ‘Build-My-Own-Hull’ with the intention of making it as strong as I possibly could AND obviously still fit in the electronics and a new Cannon which I will cover in a LATER POST,when I get the parts at Xmas
I have spent hours experimenting with the airsoft and finally came to the conclusion that it is basically RUBBISH!!!. All the credit for the Cannon goes to S Perry from his thread on RC Universe, he did a lot of work to achieve the results
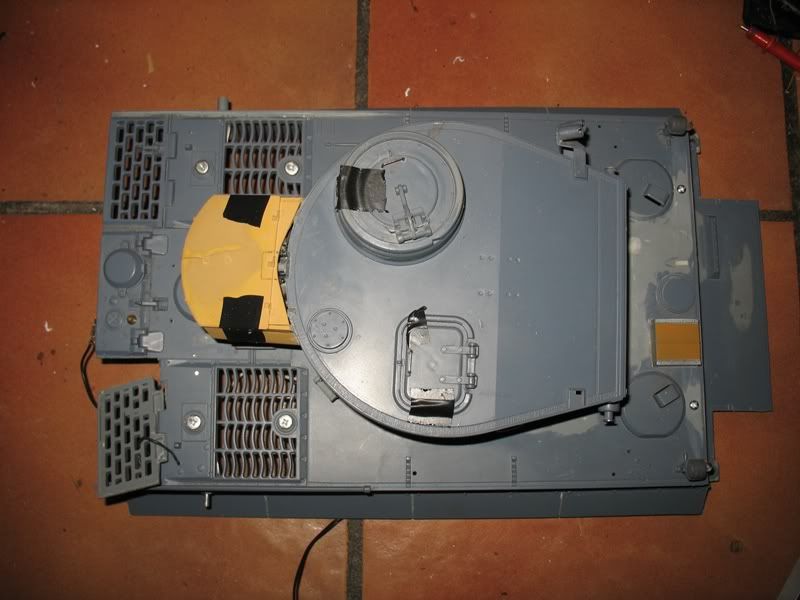
I did the usual mods to the Cuppola, the gun mantle,pistol port and drivers vision slit....and I also took the opportunity to convert the turret basket to the Panzer III one which was standard fitment until November 1942
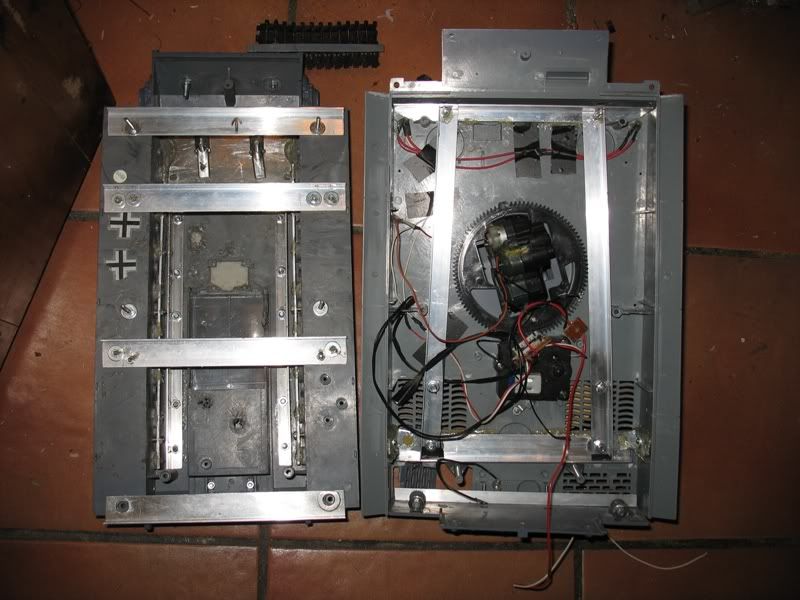
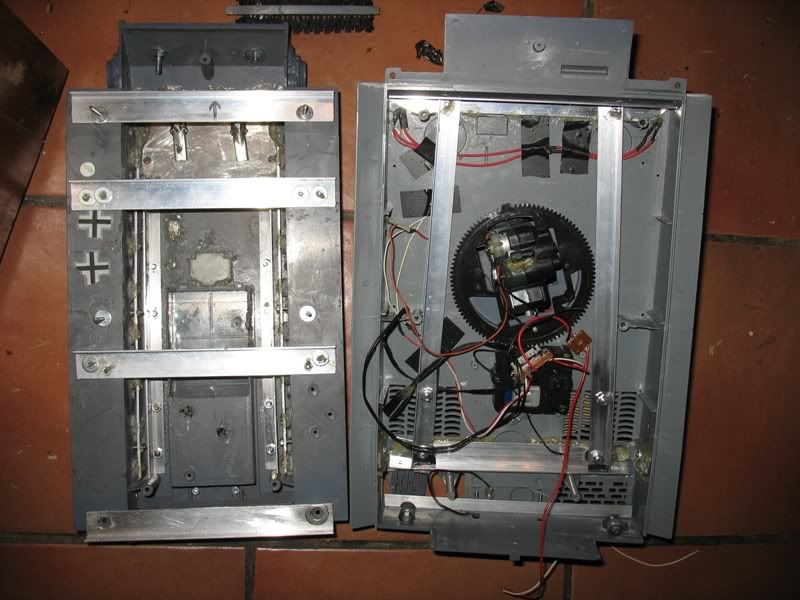
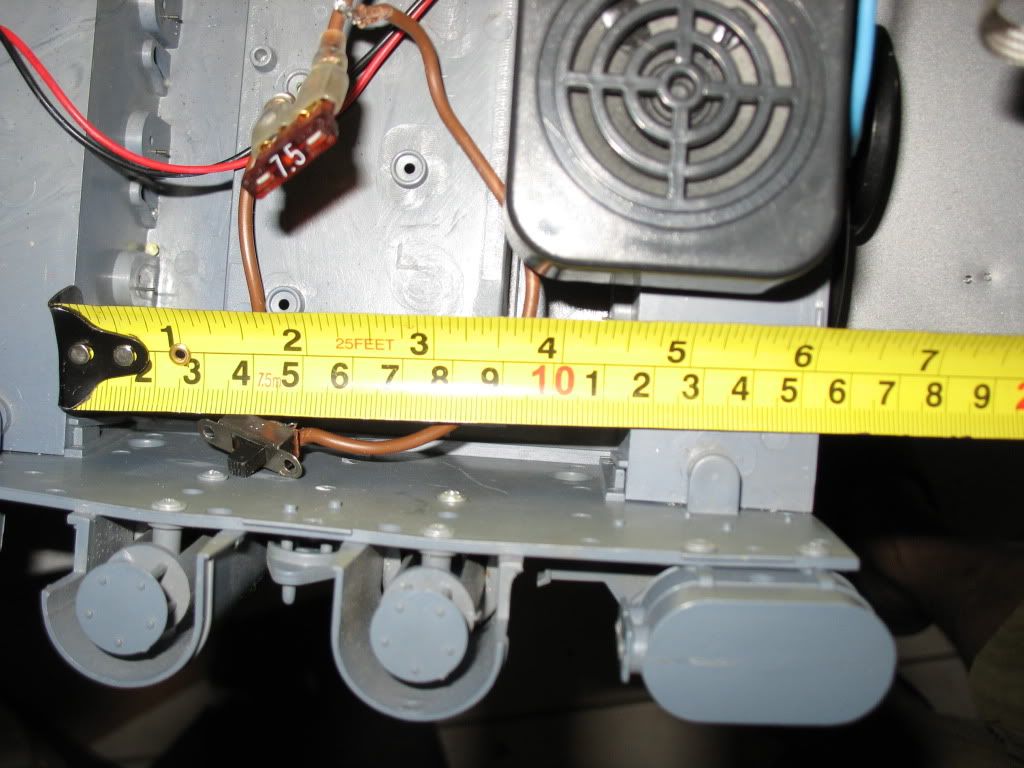
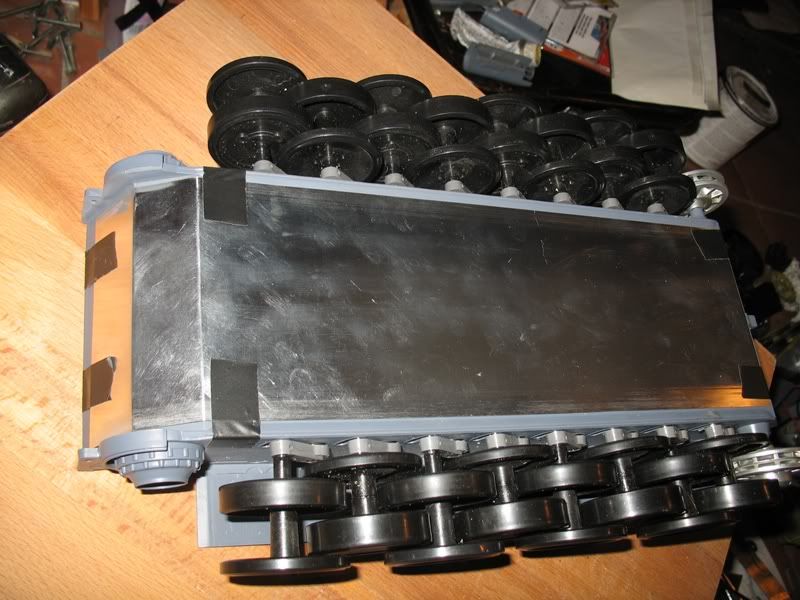
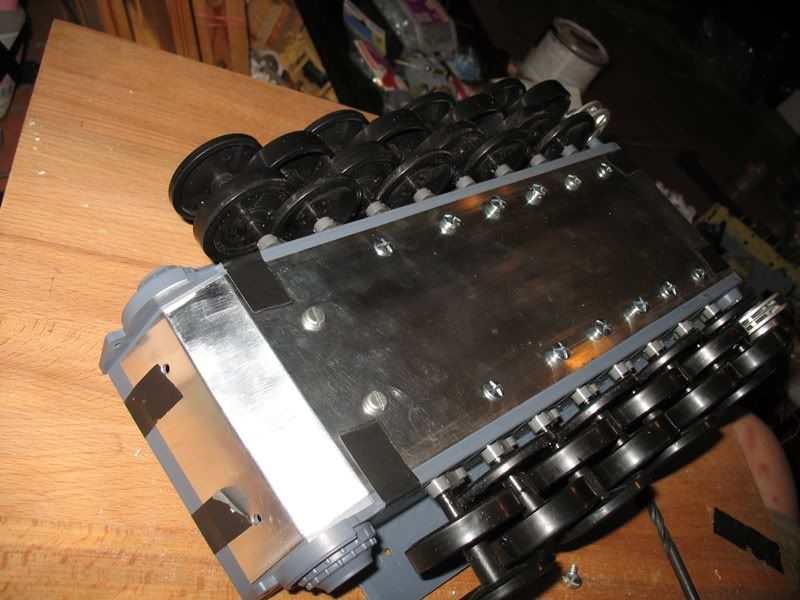
Now to the Hull….the pictures are mostly self explanatory but I will do a running commentary between the photos to explain why and how I added the strengthening. I started out with a problem in that the hull had contracted and bent in at the front, as you can see its about 6-7mm difference
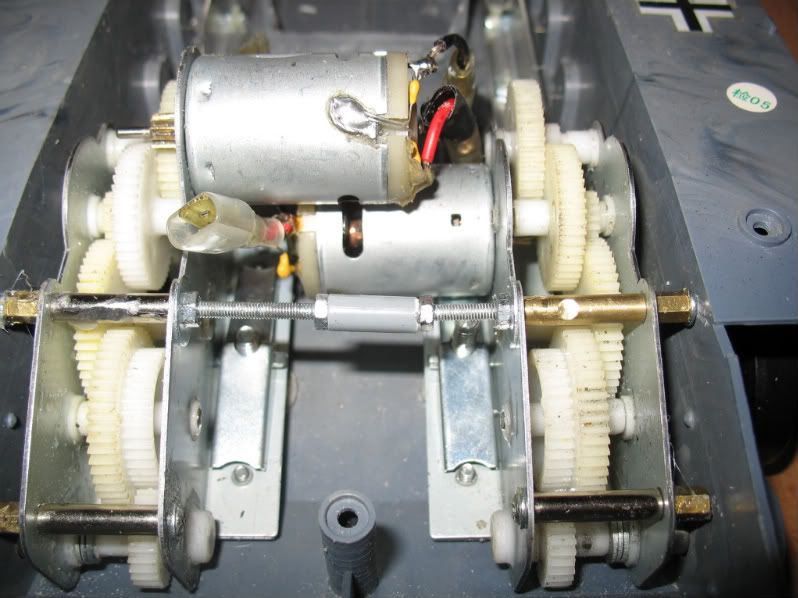
So this was the first thing to correct...so I used the gearboxes and adjustable spacers to bend it back into the correct shape..
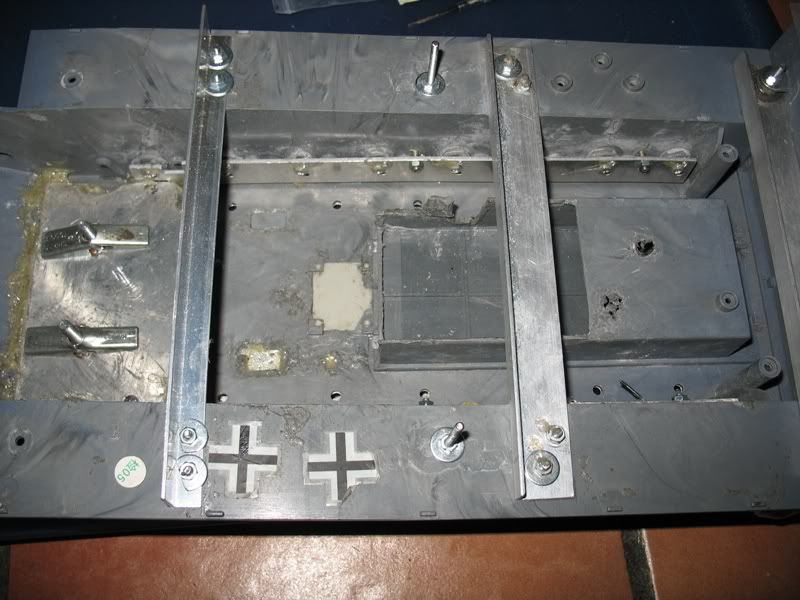
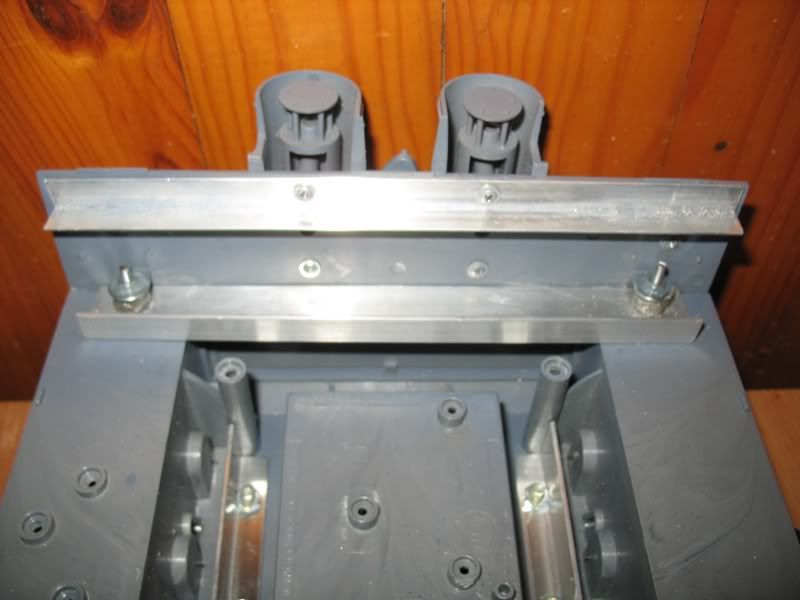
Now using the front pair of deck attachment holes in the hull I drilled 2 holes in a piece of aluminium angle strip and bolted it into place, the next photo shows the hull at a later stage but it shows the angle strip nicely.
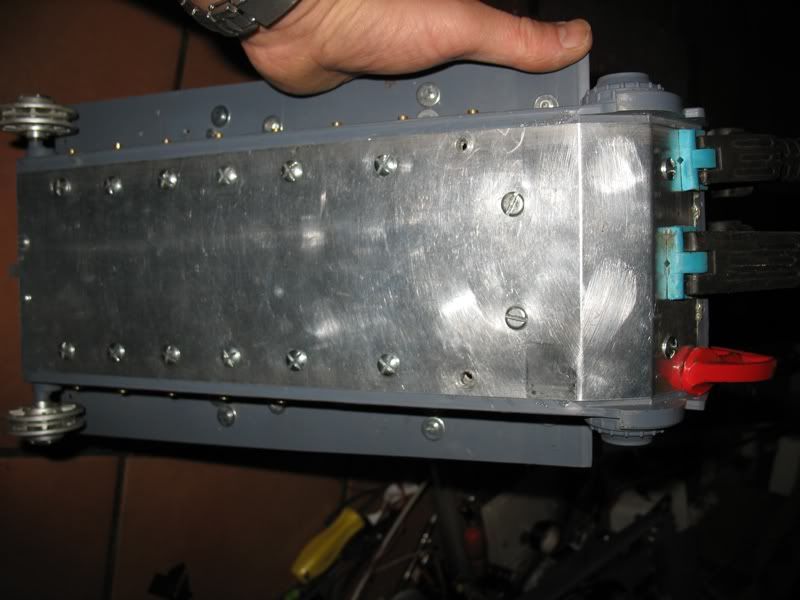
I liked the look of the Asiatam hull, particularly the aluminium sheet that protects the hull bottom, but I decided that it ended too short and that it should also protect the front of the hull. So I bought a sheet of aluminium and having measured the hull I cut the sheet to match,and used the hull itself as a guide for the bends.
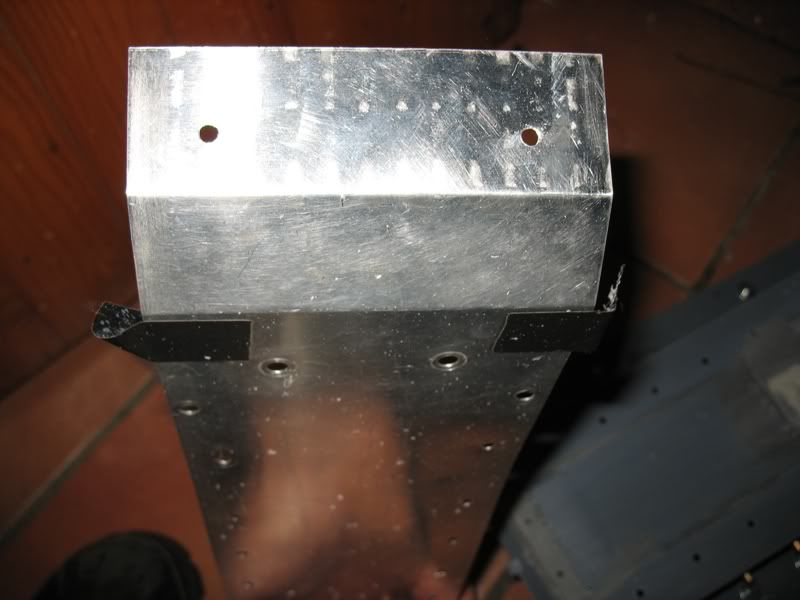
This was drilled to match the front spare track holes and to line up with longitudinal supports that I made from more aluminium strip.
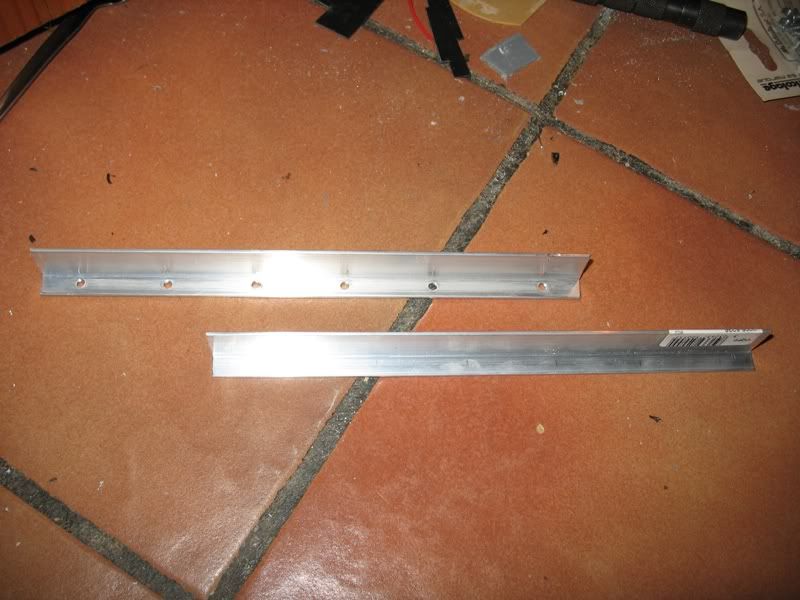
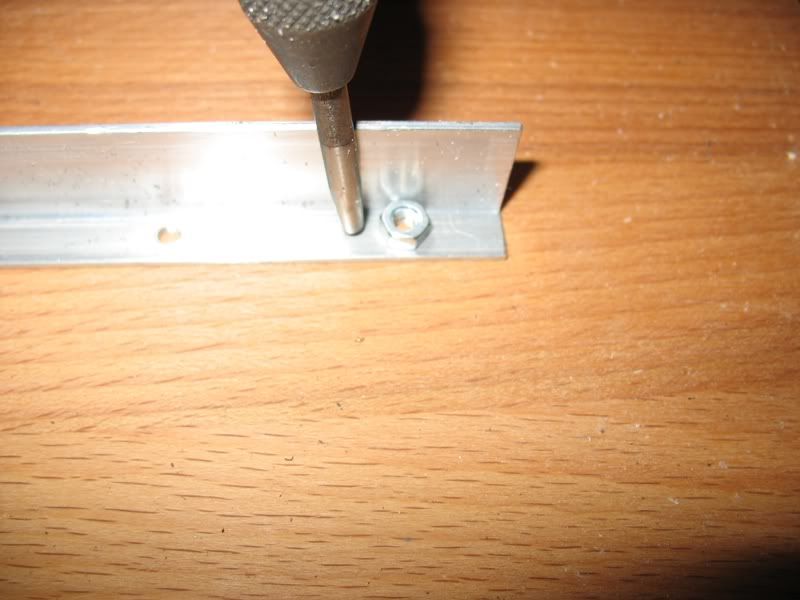
I also threaded the aluminium strip and ensured that the nuts would also be hard up against the vertical part to prevent the nut turning when the bolt was tightened.
This shows the 2 strips fitted into place which adds superb strength against bending of the hull front to back and the next photo the hull protection plate bolted into place.
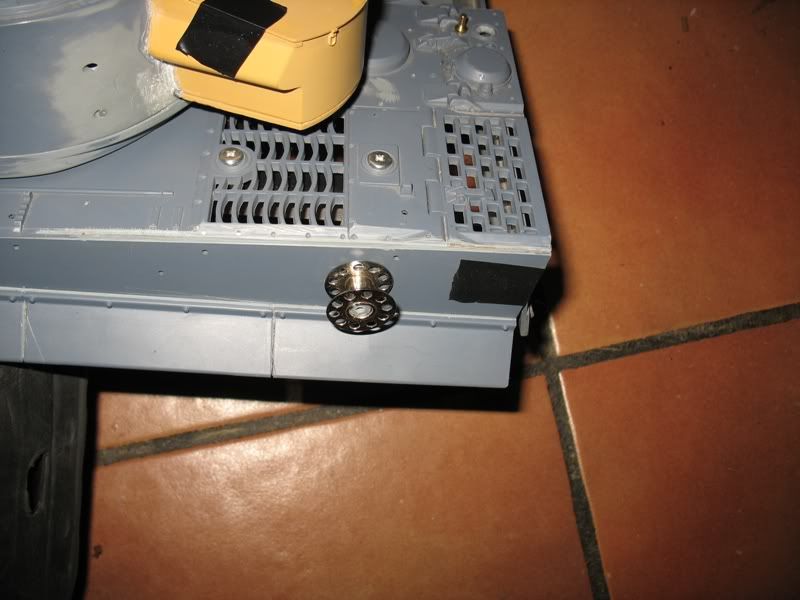
The front 'end' of the hull plate can be effectively hidden behind the spare tracks where they are mounted to the hull I also use real track instead of the 'lump of plastic' supplied by Heng Long.
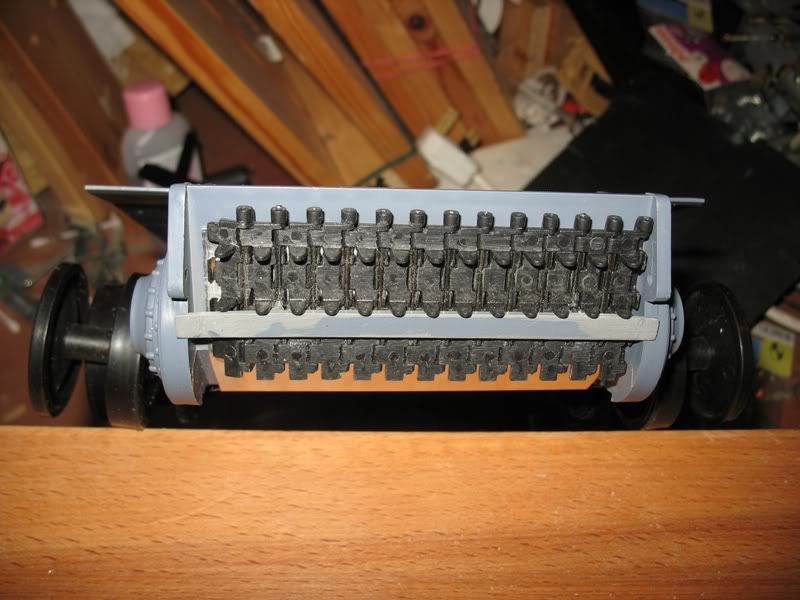
I also use a flexible glue, like Evo-stik to add extra strength to the joint between the aluminium and plastic.
Now it was time for more cross angle strip across the hull from side to side to add more strength.
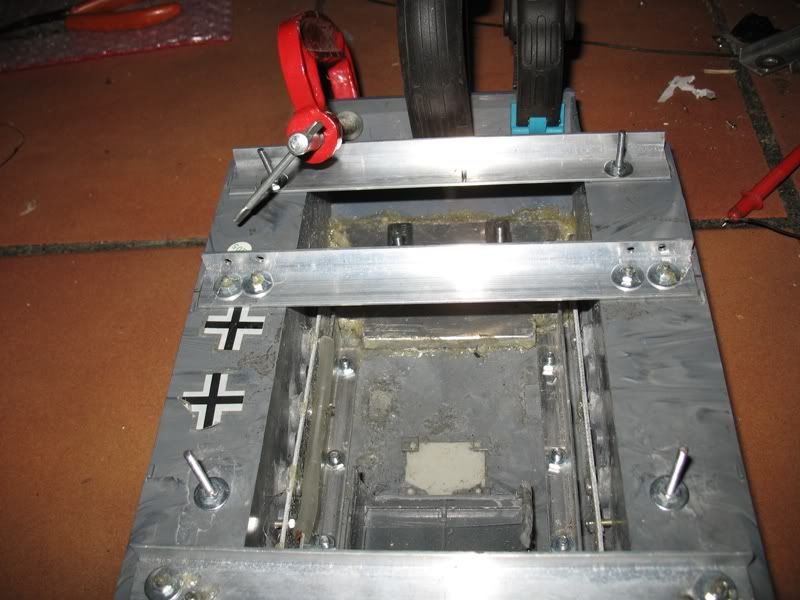
NOTE:- THE METAL STRENGTHENING bars are IN ADDITION to the metal suspension mount bars..
The strips are a combination of 1mm and 1.5mm aluminium with sides varying from 10mm to 20mm as I had some lying around and the other was cheap
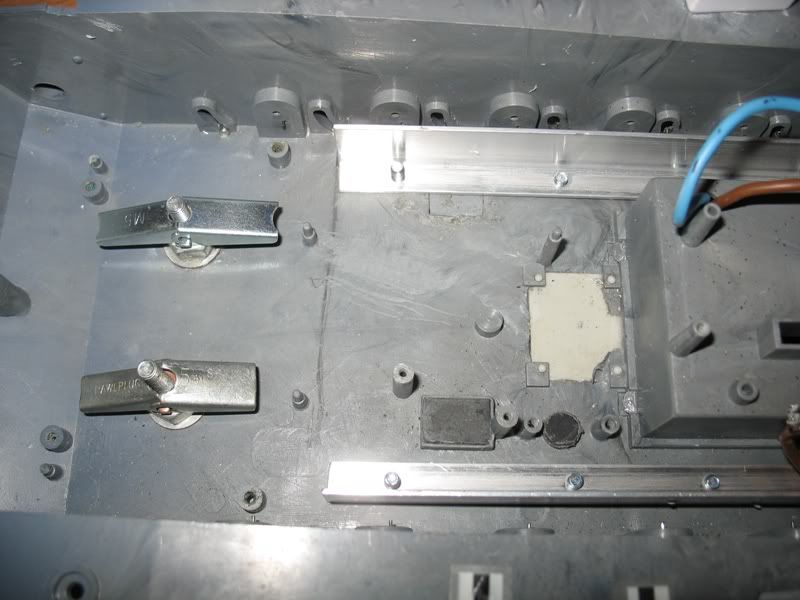
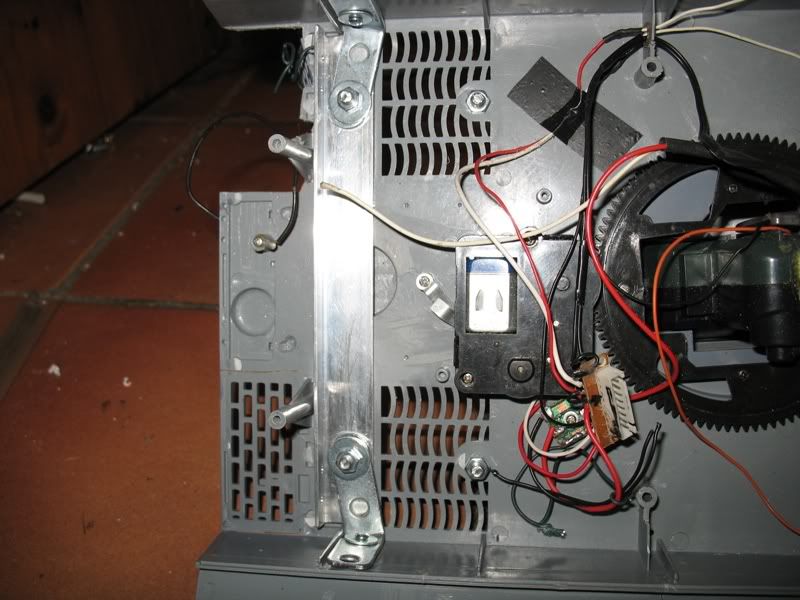
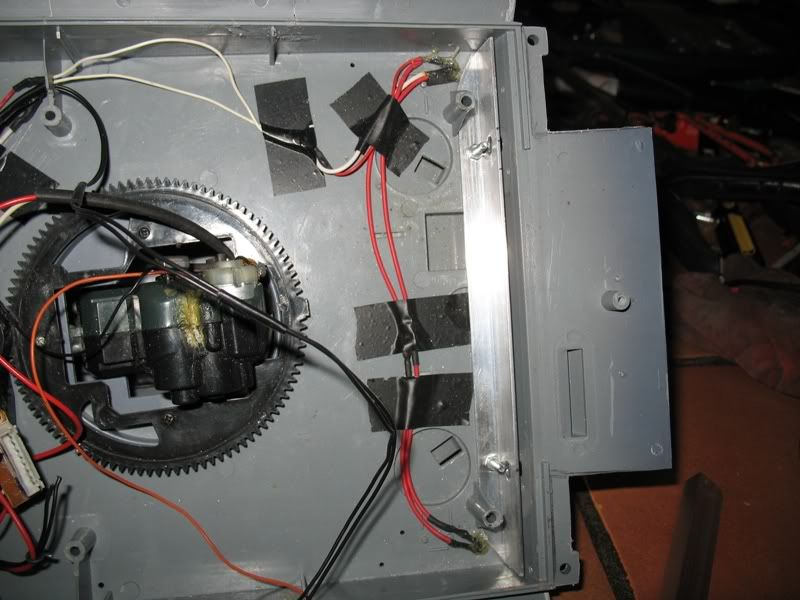
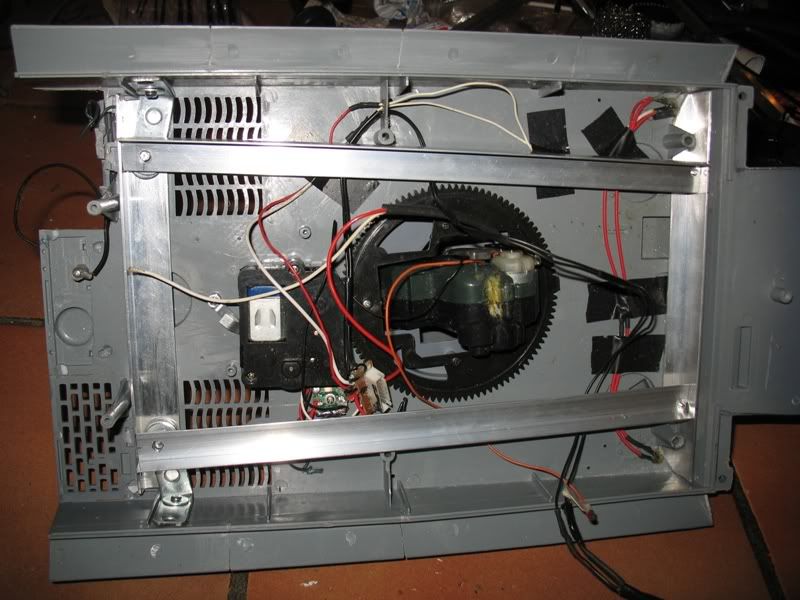
I felt that the gearbox area now needed to be strengthened so I had an old piece of 7mm thick aluminium Alloy that I had had for years , it is not quite the right shape but it is all that I had, so it was drilled and glued into place.The thickness is perfect to replace the original plastic mounting lugs,which were cut off flush with the hull base. I am also using 'Rawl Bolts' plaster board attachments as they are VERY STRONG, spreading the load and supporting the gearboxes in an excellent manner.
I have not totally removed all of the original battery carrier,just enough to allow it to slide in and out.In my opinion leaving part of it in makes the hull stronger !
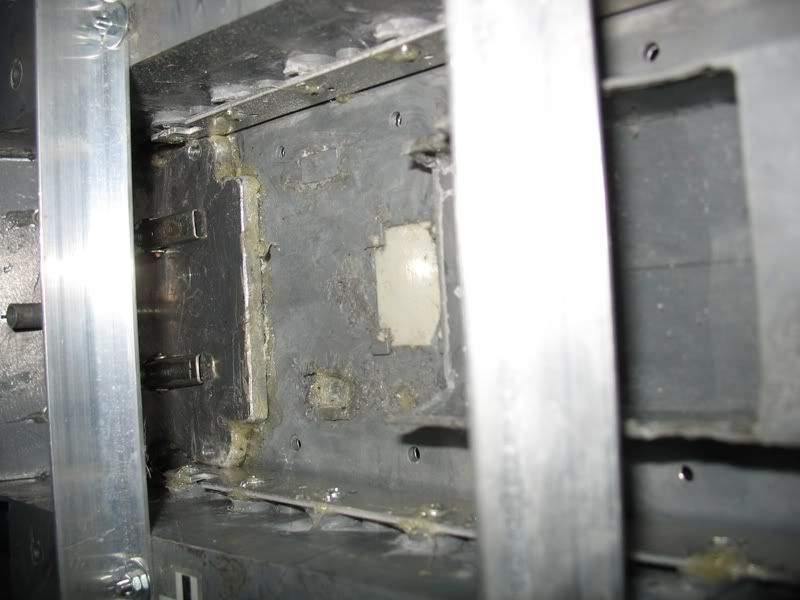
Even the rear bulkhead has been reinforced to add as much strength as possible to the hull.
 .
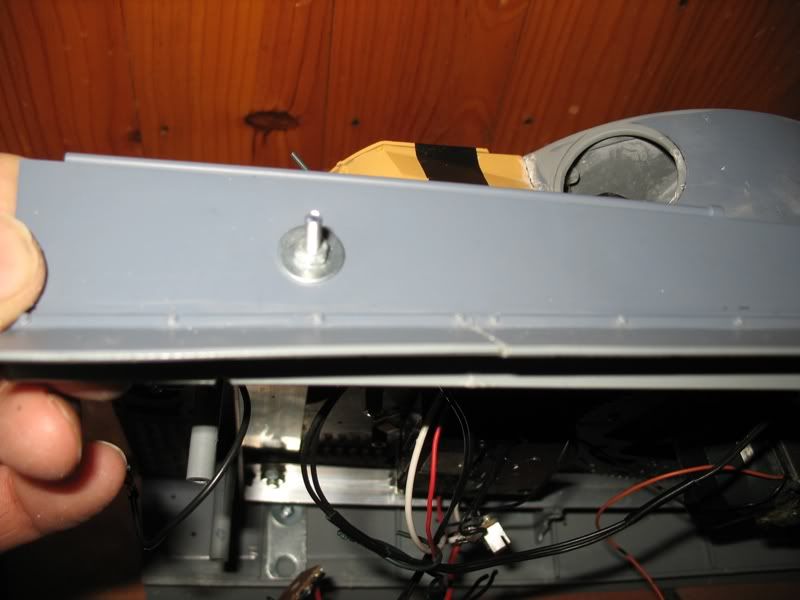
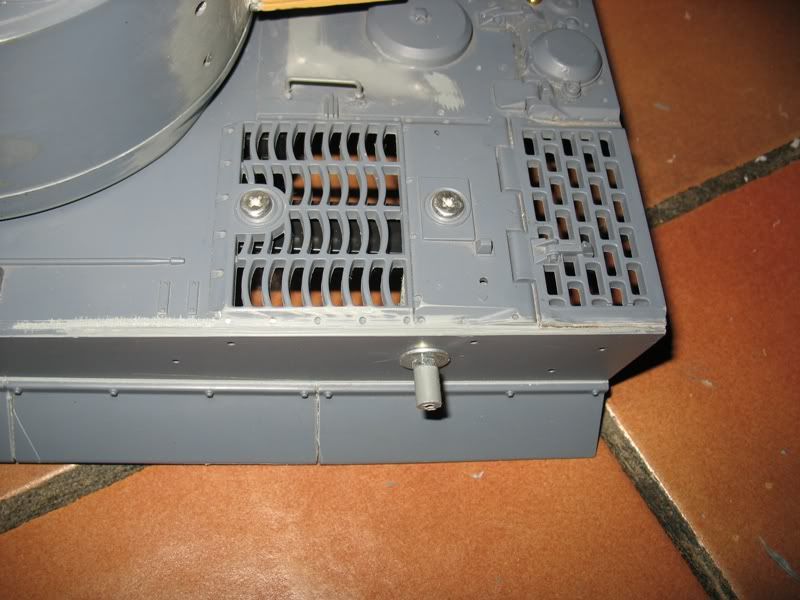
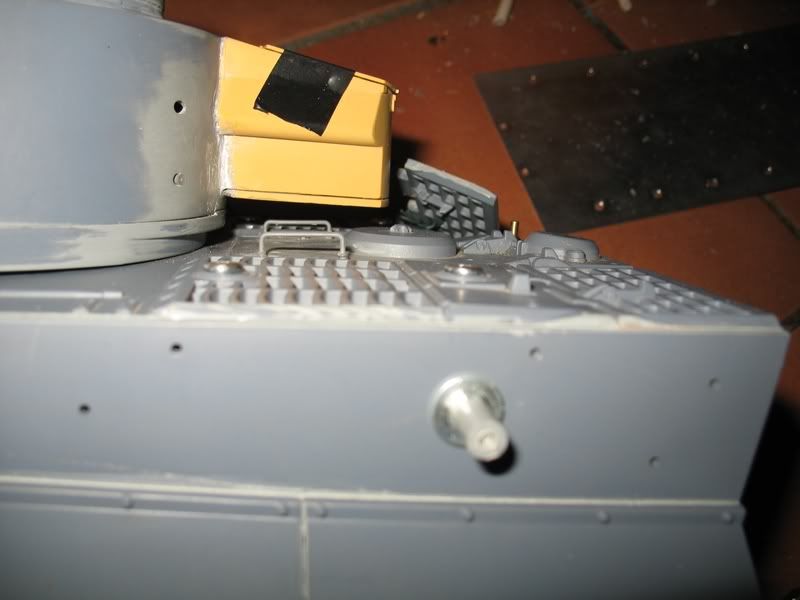
.I have also added 4 extra long bolts that sit up through the hull and fit into the inacessable mounting points in the deck.These holes have been enlarged in the deck so that the long bolts can slide in and out AND perfectly locate the hull and the deck. The two parts will be held shut by 3 Neodynium Magnets On will be located. at the single central front hull mount and 2 at the rear hull mounts.
I then thought that I was finished until I picked up the deck and realised how much it flexed and moved if you held it in a corner or moved it between your hands........SO.....it was now time to reinforce this as well.
I looked at it for some time before I came up with what I think is a way of strengthening it WITHOUT ruining the look, in other words I had to hide or camoflage the supports.Looking at the rear of the deck I saw the 2 large crosshead style mounts that on the real Tiger secure the deck covers over the engine and cooling system. I drilled these out to 5mm and then fitted ground down, crosshead bolts through the holes.This enabled me to bolt a further piece of aluminium angle to the underside of the deck.
This did stiffen up the deck but not enough so I added 2, 90 degree steel brackets over the aluminium.
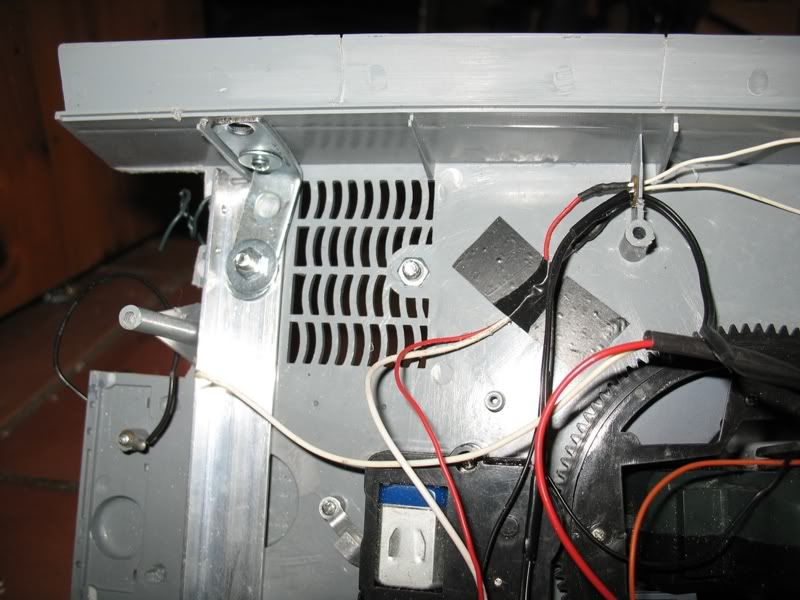
This meant that to work properly I had to drill two holes,one per hull side to bolt the angled steel to.
These bolts now stick out in plain view AND LOOK UGLY...... so the right hand side will be fitted inside of a wooden 'log' that will be secured with 'chain and the left hand side will be used as a mount for a cylinder case of rolled wire.
and then painted to colour it correctly...
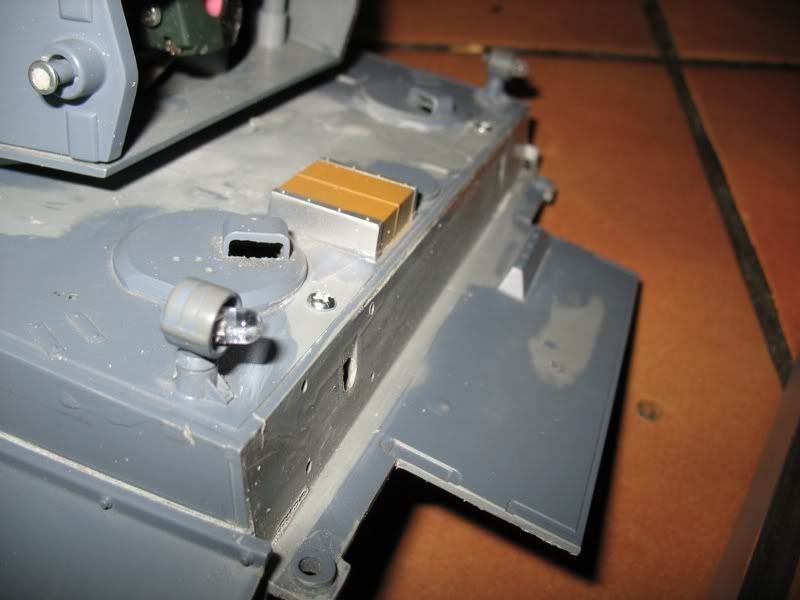
Then I looked at the front of the deck......the two 'ends' for the electric wires to the light are perfectly positioned,so they were drilled out to allow the fitting of 2 x 3mm bolts which were perfect for mounting a second aluminium angle underneath and out of sight. The screw heads will be covered in plastic putty and returned to their original shape to completely hide them.

Now the addition of two lengths of angle from front to back was a simple matter.
S0 now the hull and deck look like this.............