Page 1 of 5
My Tiger1
Posted: Thu Dec 07, 2023 9:45 pm
by airmancurran1
Re: My Tiger1
Posted: Thu Dec 07, 2023 9:57 pm
by jarndice
How are you with positive comments?
Re: My Tiger1
Posted: Thu Dec 07, 2023 10:00 pm
by airmancurran1
jarndice wrote: ↑Thu Dec 07, 2023 9:57 pm
How are you with positive comments?
I'm strong enough to take them.

Re: My Tiger1
Posted: Thu Dec 07, 2023 11:30 pm
by jarndice
Just remember this is meant to help others who are trying to get their efforts right first time without knowing where to start.

The spare radio aerial holders (Long plastic tubes on the rear flanks of your Tiger) The Tiger 1 had one (Except for the Command Tiger which had a multitude of aerials and an additional spare aerial holder across the rear plate,) and it was on the right flank (All left and right is from the drivers position looking forward) and the real one was not flush but elevated by a few MMs, It is easy to remove the wrongun, Get the blade of a craftknife under the end and gently slice along its length pulling it up as you go, It will peel off,
Turret mounted Spare tracks, The most that were fitted was 7, 3 on the escape hatch side 4 on the pistol port side, No problem with them on the front glascis although it was not an official mod indeed the German Tank industry carried out research into the effectiveness of spare tracks being used as added armour, They discovered it was not only not effective but actually potentially weakened the inbuilt armour,
Headlights, You are using Heng Longs idea of the Tigers Headlights and they are horrible

but it is less of a problem than you might suppose because the number and placement of them varied across the years of its manufacture and often were removed by the crew before going into combat(The Tank Museums Tiger 1 131 was captured with its headlights absent)
I love the armoured barreled Cupola mounted MG34 So often the drilled barrel is seen on models,
The paint job is really good although I avoid decals wherever possible and use stencils which of course is how it was done on the real thing. If you check the Forum you can find out more about stencils (Supplier),
I am desperately hoping you are taking these comments in the positive way in which I intend them, Overall it is a very good example of a Tiger 1 early.
Re: My Tiger1
Posted: Thu Dec 07, 2023 11:44 pm
by airmancurran1
jarndice wrote: ↑Thu Dec 07, 2023 11:30 pm
Just remember this is meant to help others who are trying to get their efforts right first time without knowing where to start.
The spare radio aerial holders (Long plastic tubes on the rear flanks of your Tiger) The Tiger 1 had one (Except for the Command Tiger which had a multitude of aerials and an additional spare aerial holder across the rear plate,) and it was on the right flank (All left and right is from the drivers position looking forward) and the real one was not flush but elevated by a few MMs, It is easy to remove the wrongun, Get the blade of a craftknife under the end and gently slice along its length pulling it up as you go, It will peel off,
Turret mounted Spare tracks, The most that were fitted was 7, 3 on the escape hatch side 4 on the pistol port side, No problem with them on the front glascis although it was not an official mod indeed the German Tank industry carried out research into the effectiveness of spare tracks being used as added armour, They discovered it was not only not effective but actually potentially weakened the inbuilt armour,
Headlights, You are using Heng Longs idea of the Tigers Headlights and they are horrible
but it is less of a problem than you might suppose because the number and placement of them varied across the years of its manufacture and often were removed by the crew before going into combat(The Tank Museums Tiger 1 131 was captured with its headlights absent)
I love the armoured barreled Cupola mounted MG34 So often the drilled barrel is seen on models,
The paint job is really good although I avoid decals wherever possible and use stencils which of course is how it was done on the real thing. If you check the Forum you can find out more about stencils (Supplier),
I am desperately hoping you are taking these comments in the positive way in which I intend them, Overall it is a very good example of a Tiger 1 early.
I appreciate this. It was help like this that got my model to where it is now. With the Spare tracks I went with the early version. The ,four tracks, on the other side was Moved more forward to allow ease of opening the hatch, however it was discontinued early on because it was troublesome opening the engine hatch. As for the Head lights, Yeah, I'm waiting for replacements to come in the mail. Yes the MG mount is for the AA version for being mounted " behind the lines". As for the long tubes on the tank, they are molded to the hull. I'm not going to try and remove them. That could get ugly. This was the info I went with for the track placement.
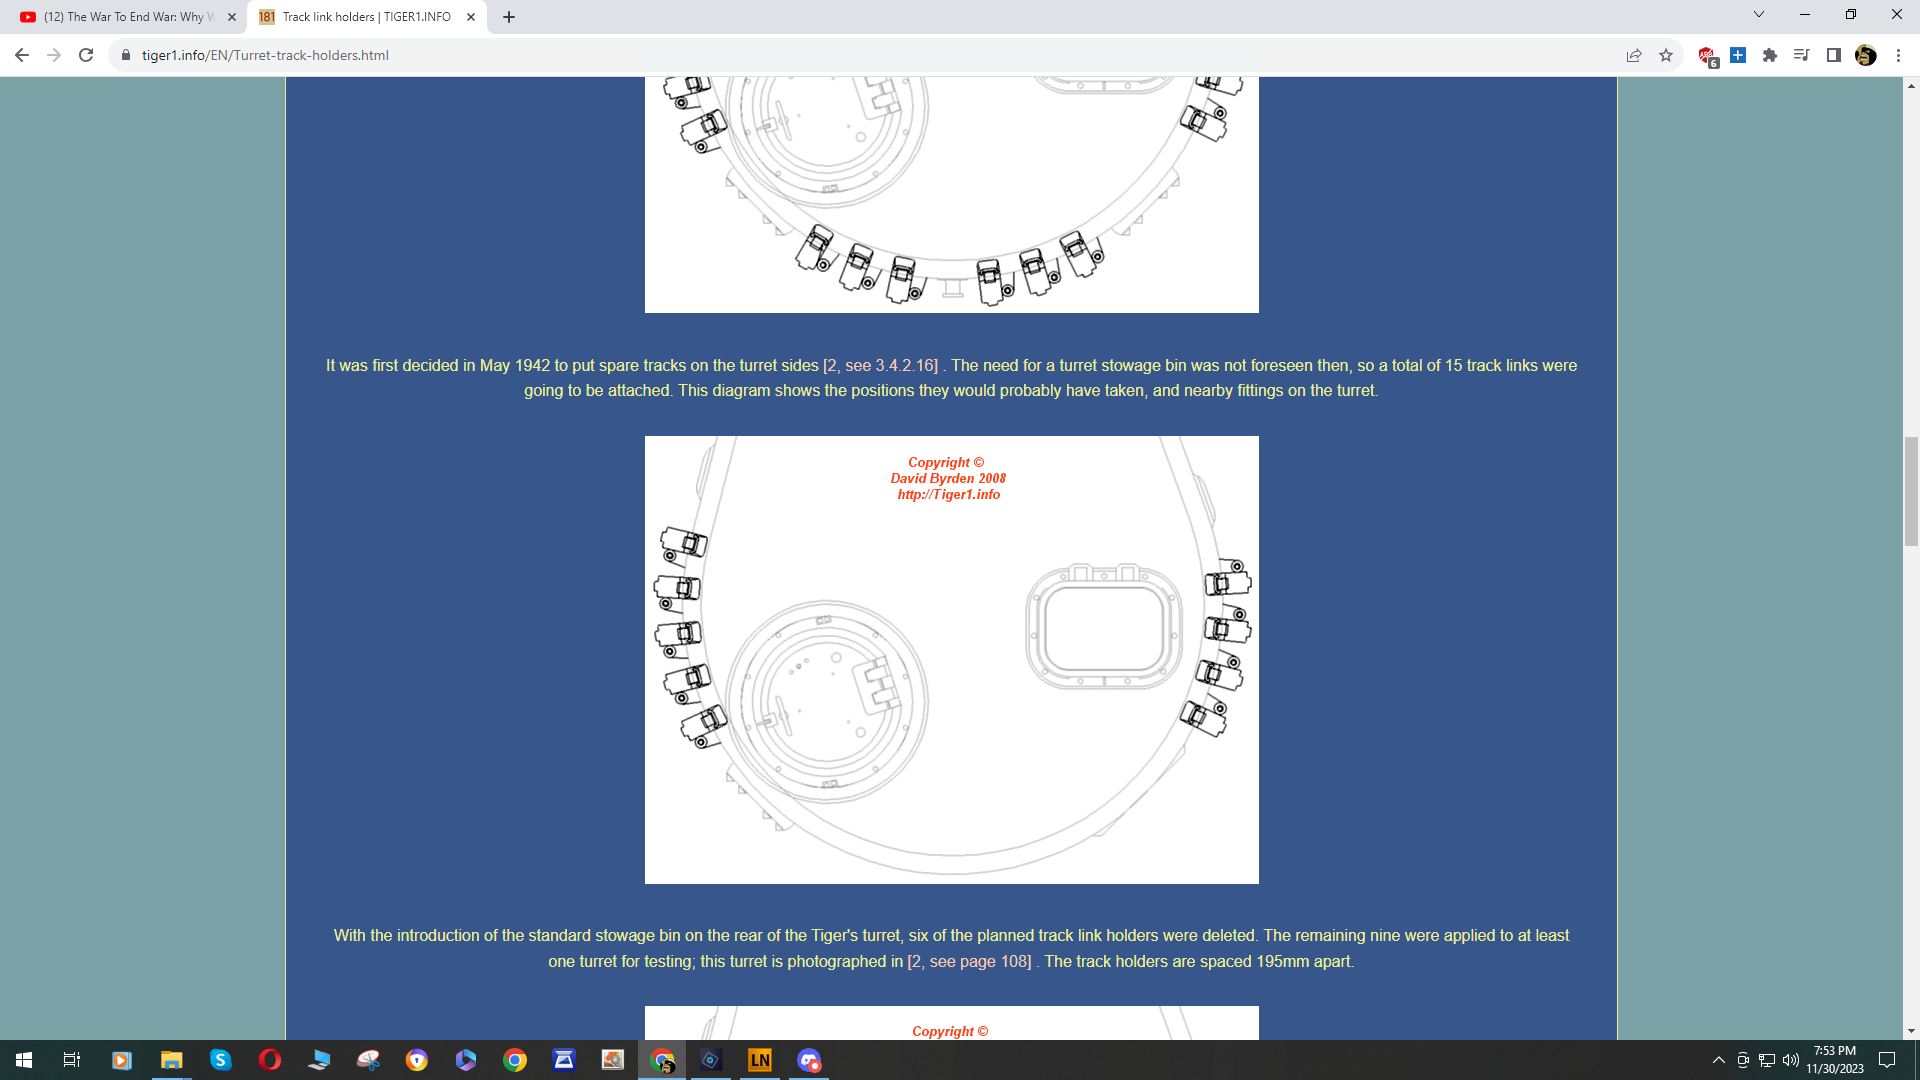
- Screenshot (4881).png (231.65 KiB) Viewed 12812 times
Re: My Tiger1
Posted: Fri Dec 08, 2023 9:25 am
by Meter rat
Having followed Chris’s work over on Hobby Squawk. I think he is “breaking himself in gently “ and doing one mod at a time. I know it took a lot of courage to drill holes in a brand new model. And not a certain amount of gentle ribbing. I know on my first tank I did nothing but repaint. Mr Chef has a tutorial on his winter Tiger build on how to remove the second aerial tube.
Re: My Tiger1
Posted: Fri Dec 08, 2023 2:48 pm
by airmancurran1
Meter rat wrote: ↑Fri Dec 08, 2023 9:25 am
Having followed Chris’s work over on Hobby Squawk. I think he is “breaking himself in gently “ and doing one mod at a time. I know it took a lot of courage to drill holes in a brand new model. And not a certain amount of gentle ribbing. I know on my first tank I did nothing but repaint. Mr Chef has a tutorial on his winter Tiger build on how to remove the second aerial tube.
Thanks Ian. I'll have to find that tutorial. If, re doing that aerial tube isn't painful, then I'll give it a go. As far as drilling the holes goes, I felt like " Emmet Otter" after he put a hole in the washtub to make the washtub bass.
Re: My Tiger1
Posted: Fri Dec 08, 2023 11:09 pm
by Meter rat
airmancurran1 wrote: ↑Fri Dec 08, 2023 2:48 pm
Thanks Ian. I'll have to find that tutorial. If, re doing that aerial tube isn't painful, then I'll give it a go. As far as drilling the holes goes, I felt like " Emmet Otter" after he put a hole in the washtub to make the washtub bass.
Look under Mr C’s winter build. However all you would need is a Stanley Knife. With a new blade. Very gently score along the length of the tube, repeatedly, one pass at a time and it will come off with minimal damage. A bit of touching up with the paint. Job done.
Re: My Tiger1
Posted: Sat Dec 09, 2023 2:30 am
by airmancurran1
Ok Boys. The offending Tube has been removed. This wasn't easy. Da Tings I do for Luv Ovah'eah!
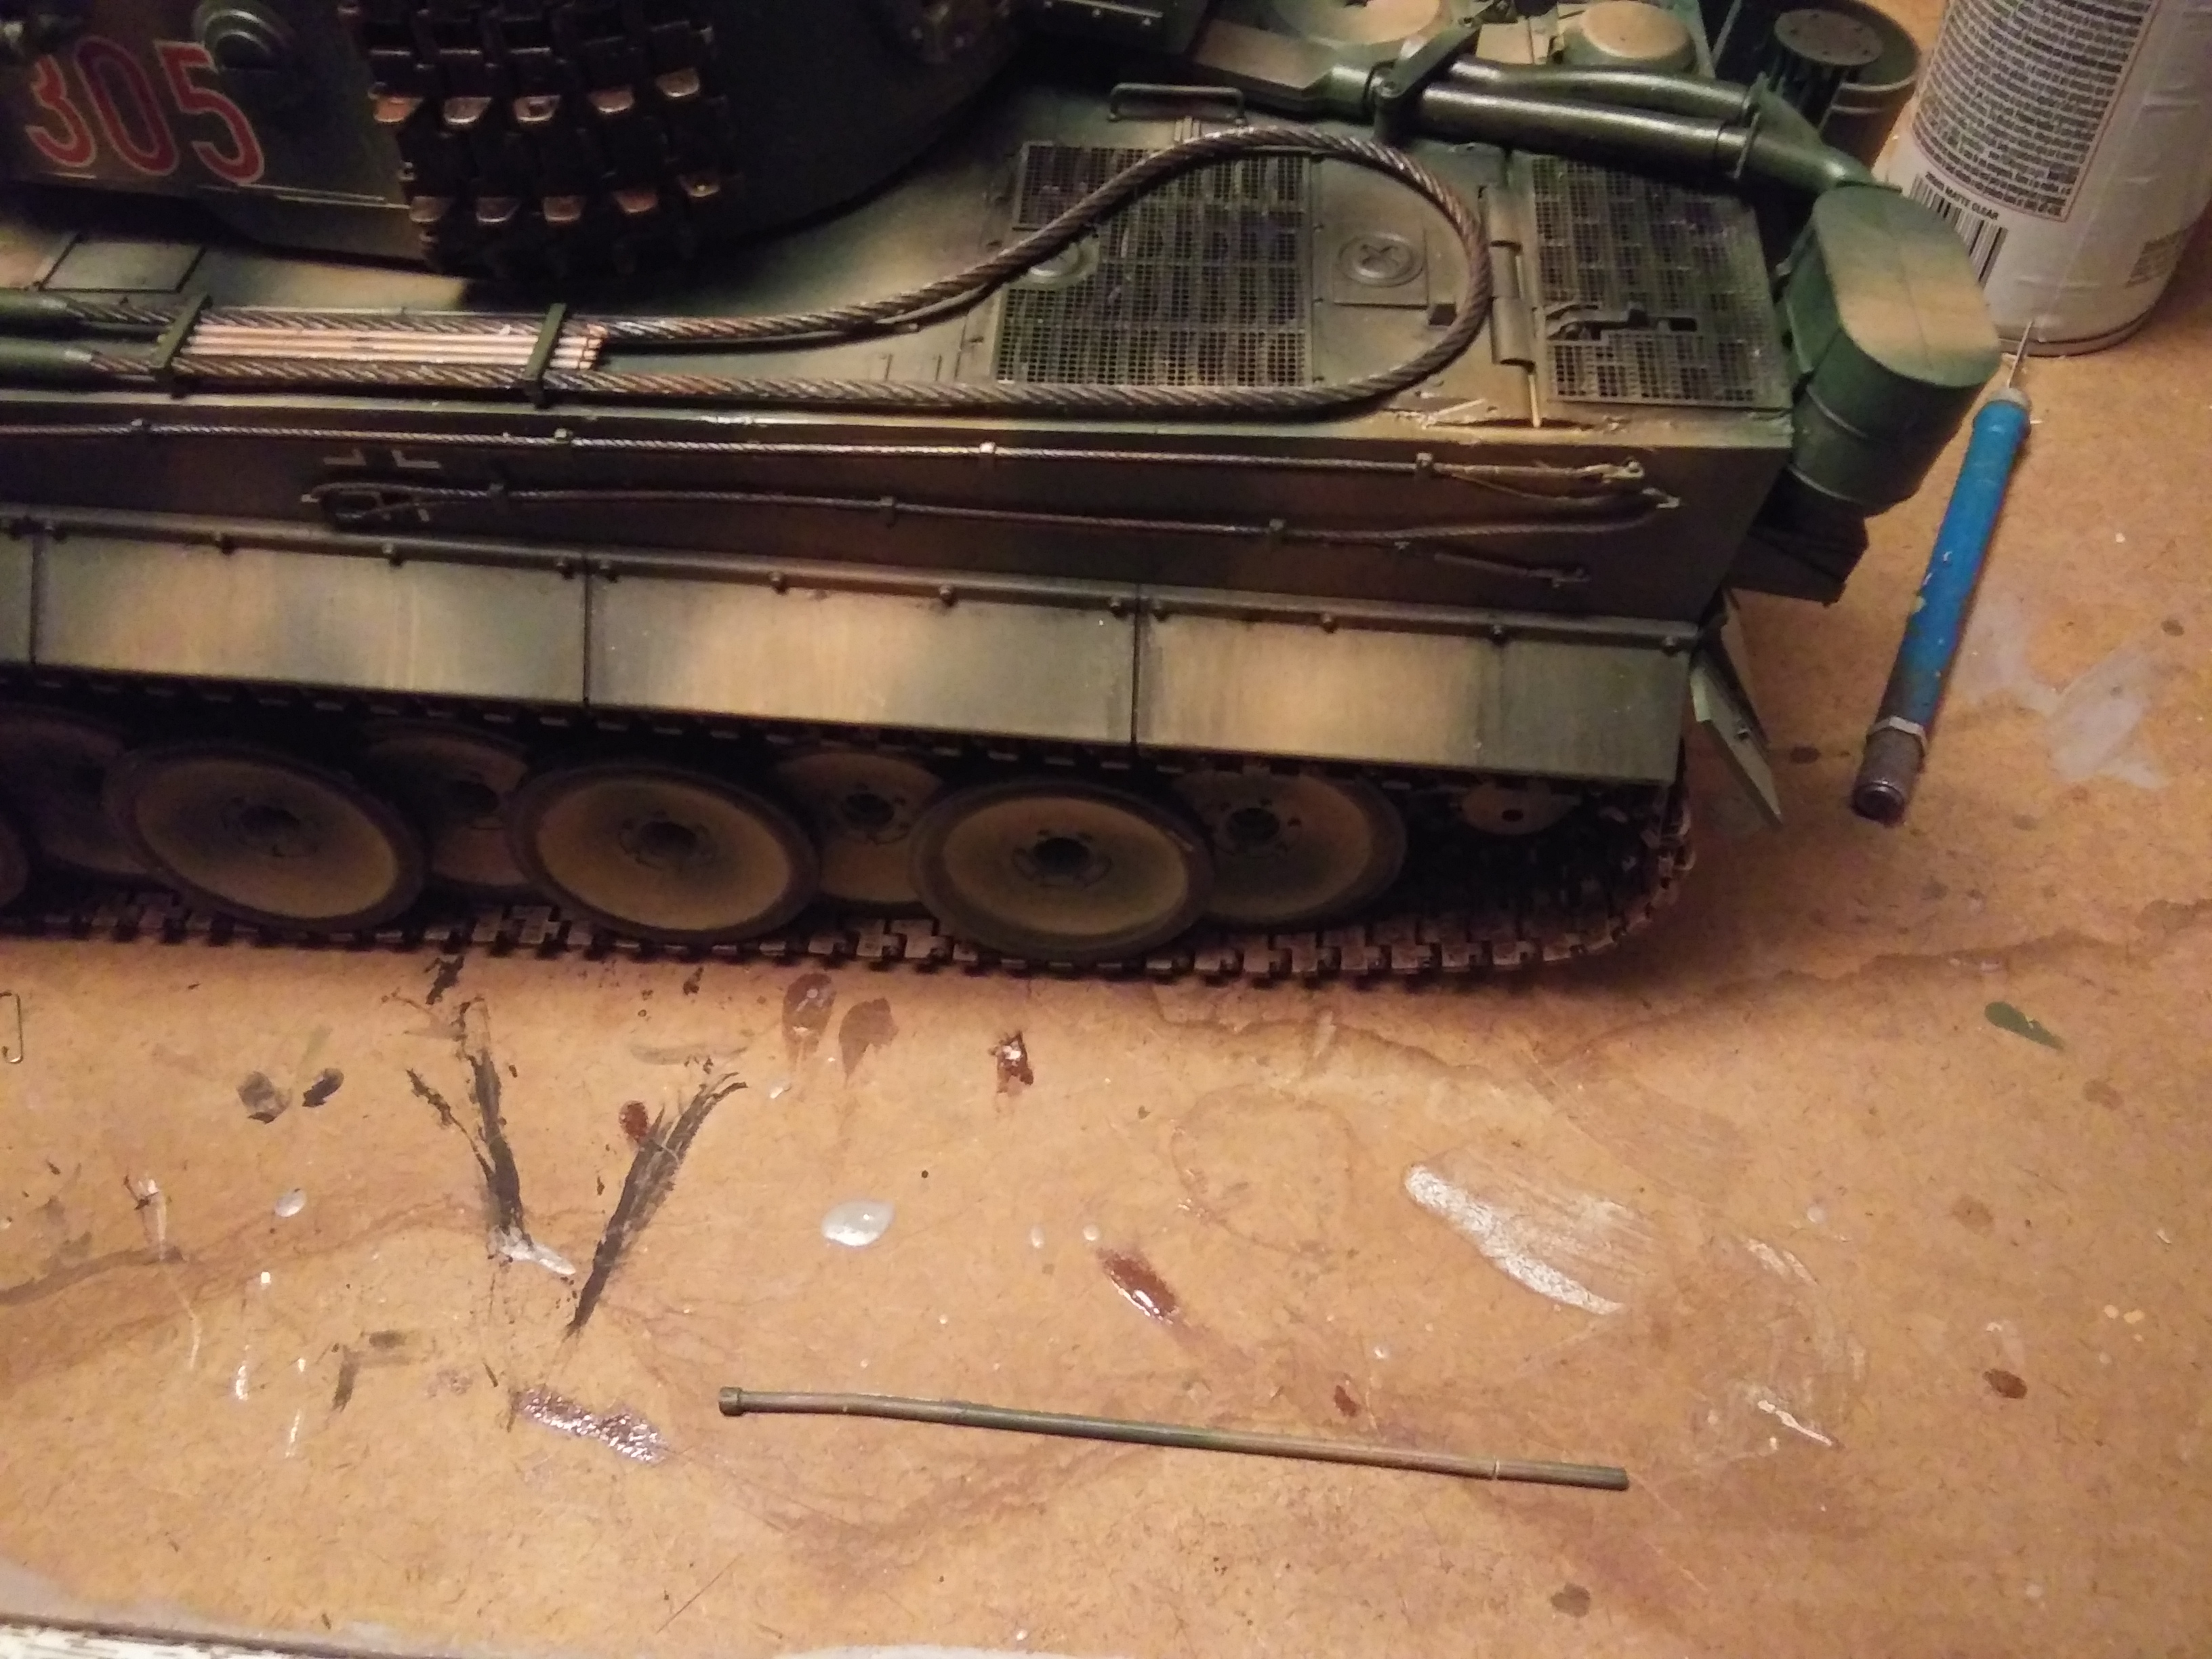
- 20231208_213759.jpg (2.34 MiB) Viewed 12735 times
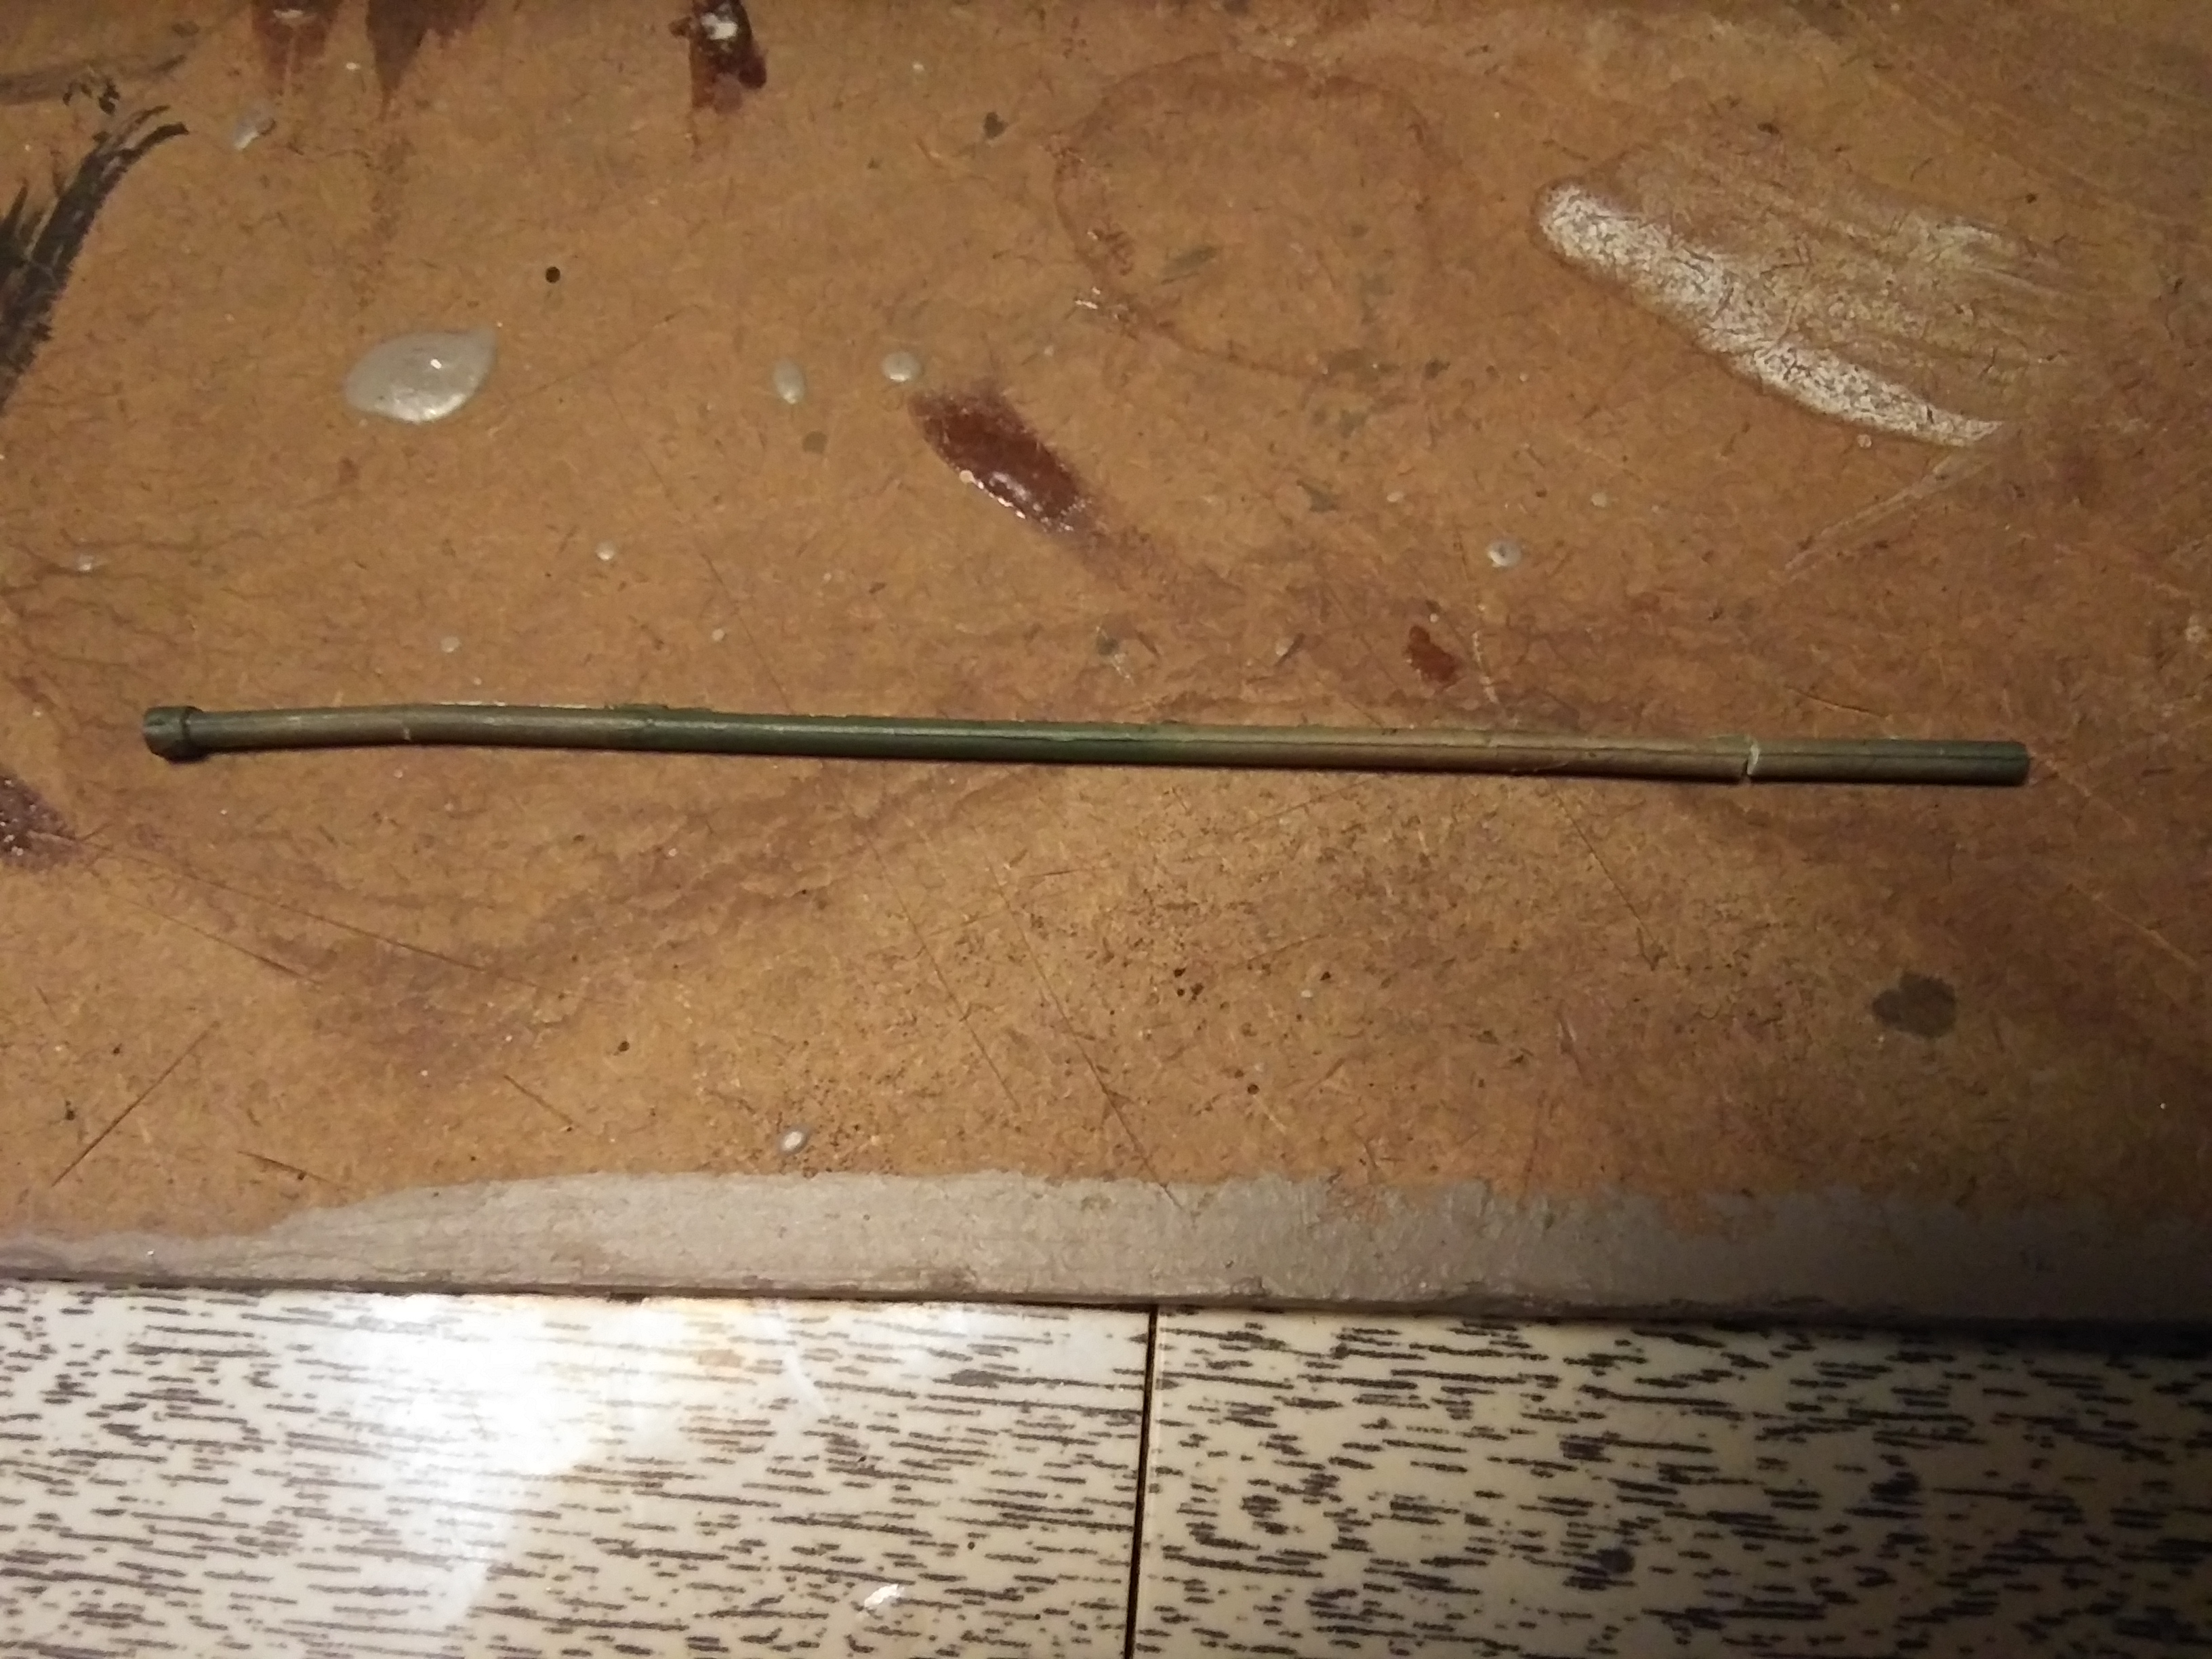
- 20231208_213753.jpg (2.55 MiB) Viewed 12735 times
Re: My Tiger1
Posted: Sat Dec 09, 2023 2:55 am
by HERMAN BIX
An instant improvement that cost nothing & makes a difference.
Overall a great looking Tiger.