Meter rat wrote: ↑Wed Sep 06, 2023 8:18 pm
Love this build. I did not have the confidence to try Zimmerit on my Tiger. Thank you for sharing this build with us..
Thanks for your comment, it's a pleasure! I thought the same thing, so I took some sheets of zimmerit already shaped and ready to be glued! ATAK comes to the rescue of model makers with these kits, which I find really convenient!

All you need to do is apply some glue! I think it's worth a try.
There will be small areas left to make zimmerit with milliput, and I think I can!
If I can do it, surely you can too!

Ad Lav wrote: ↑Wed Sep 06, 2023 8:59 pm
Good work so far and the Atak Zimmerit is perfect. Used it on my Tiger I and very happy with the fitment.
Thank you!

I hope to do a good job with this kit when it comes time to apply the zimmerit!
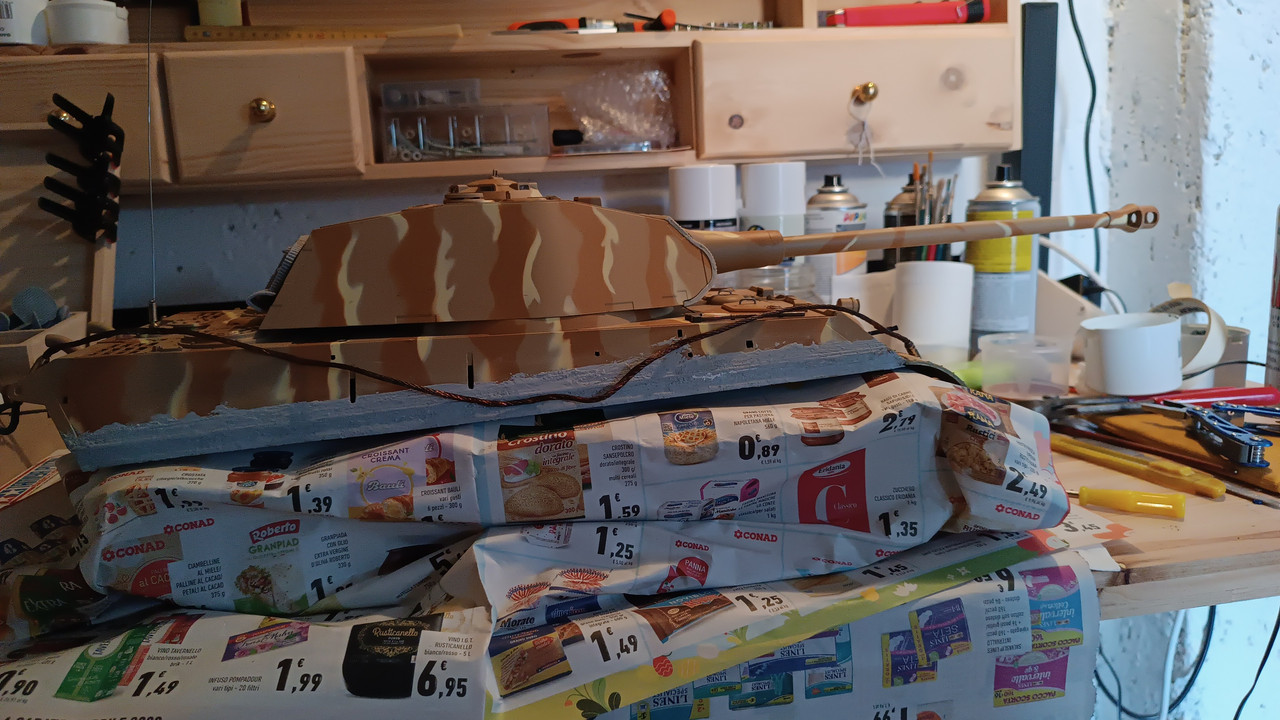
It's time to continue:
First of all, better to clarify, even for those who are about to buy a Heng Long kingtiger.
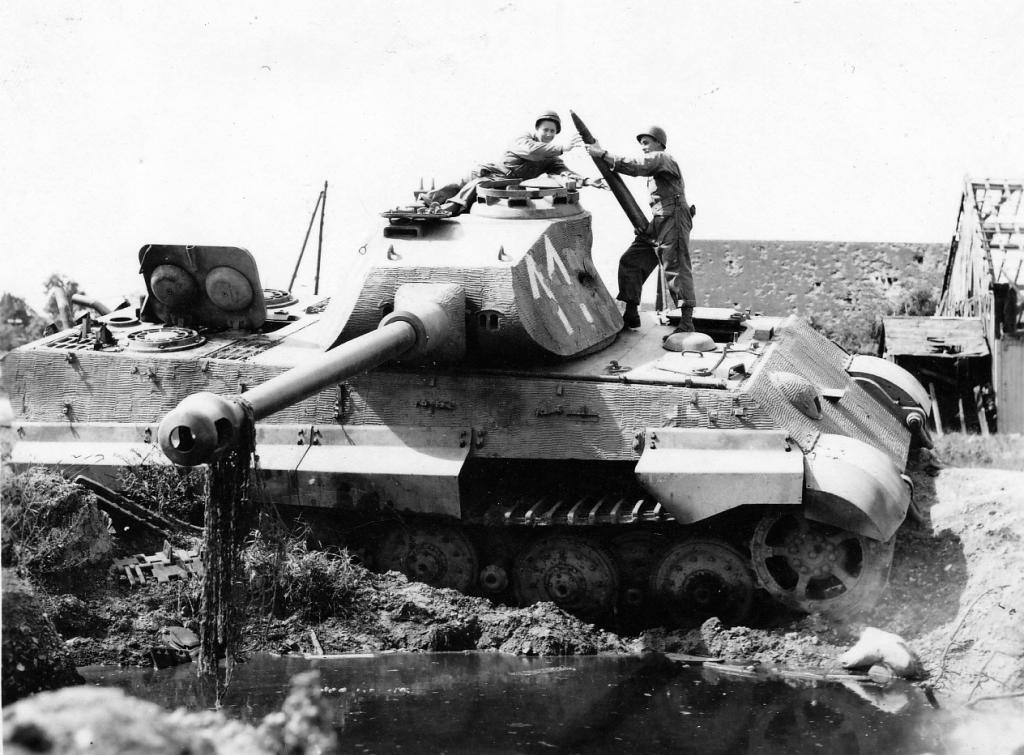
To do this, a panzer rear view helps a lot.
The side armor is one with the fenders. This can be seen from the empty space that is left.

There are two ways forward, and I will highlight them in
GREEN and
RED, also in the image below.
 THE EASY WAY:
This is the simplest and most immediate solution.
You can only remove the lower part of the fender, the protruding one, leaving the side armor intact.
Although the initial protrusion of the entire fender structure remains evident, and you are not fussy about realism, it is the happiest and least stressful solution. Follow the green cut of the image, and the job is done. Nothing to rebuild.
THE HARD WAY:
This is the complete removal of the fender structure. This means that in case of complete removal of the fender, you will have the entire lower part of the side armor missing.
It will mean that you will have to get some plasticard / forex, and rebuild the missing piece. This method requires more effort, but the end result is much more realistic.
Since complicating life is an eternal delight of mankind,
I have chosen the red route.

Unfortunately removing the fenders is a step I did some time ago so I no longer have any action photos.
Surely though, having removed the one-piece mudguard, I can show you how it was before, and then show you the after:
With fenders

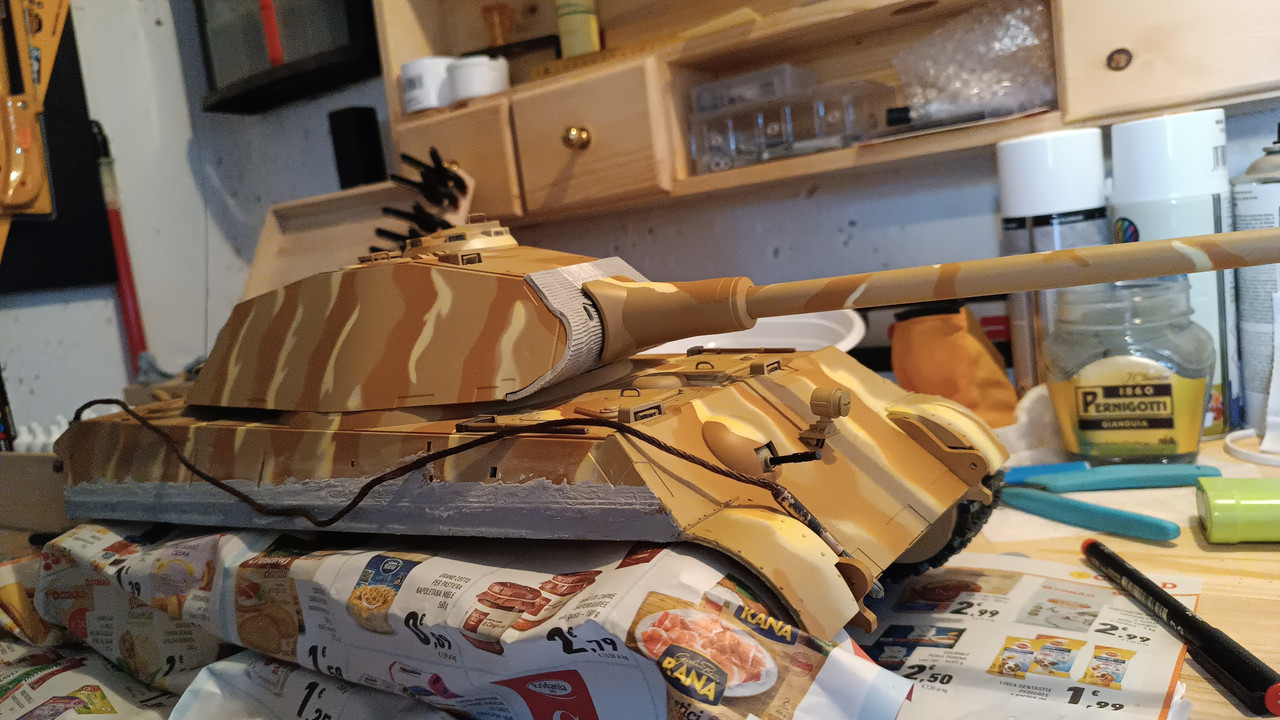
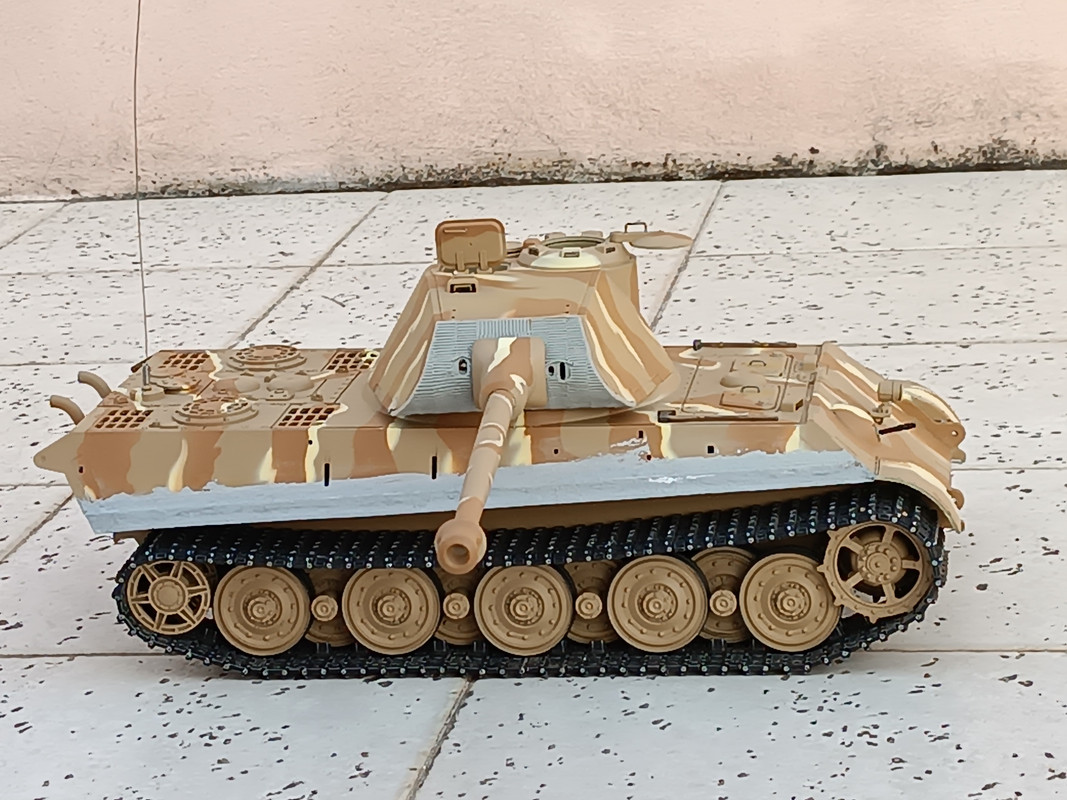
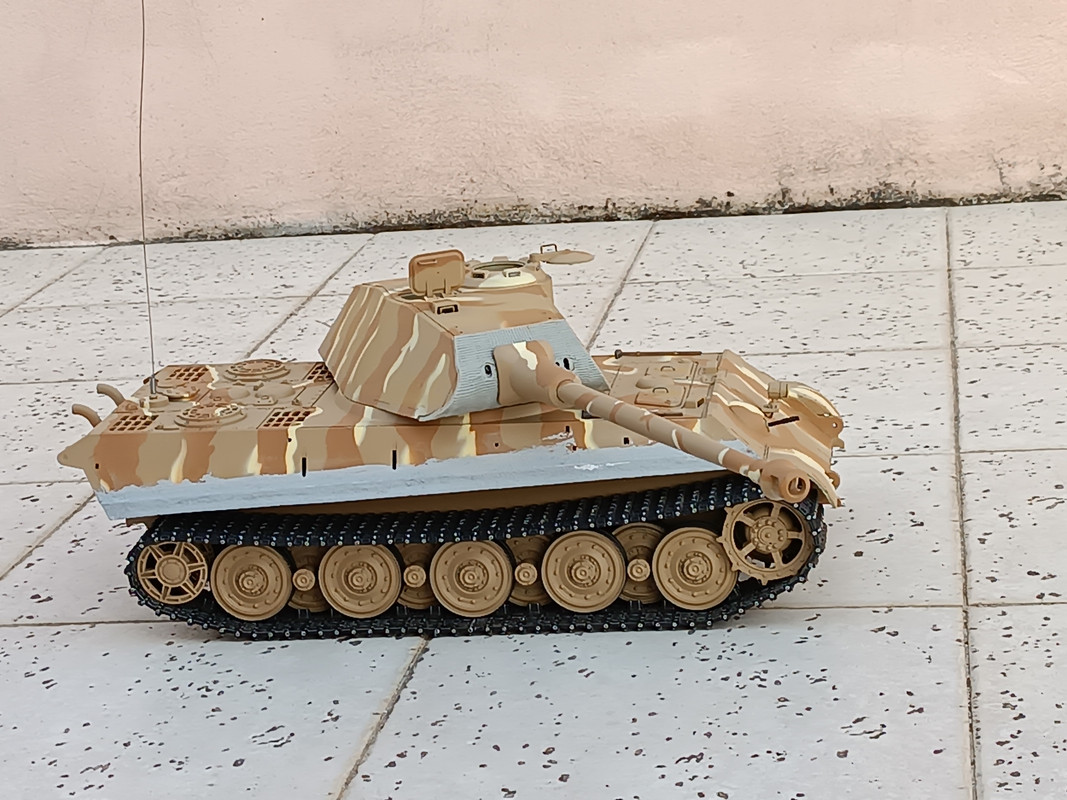
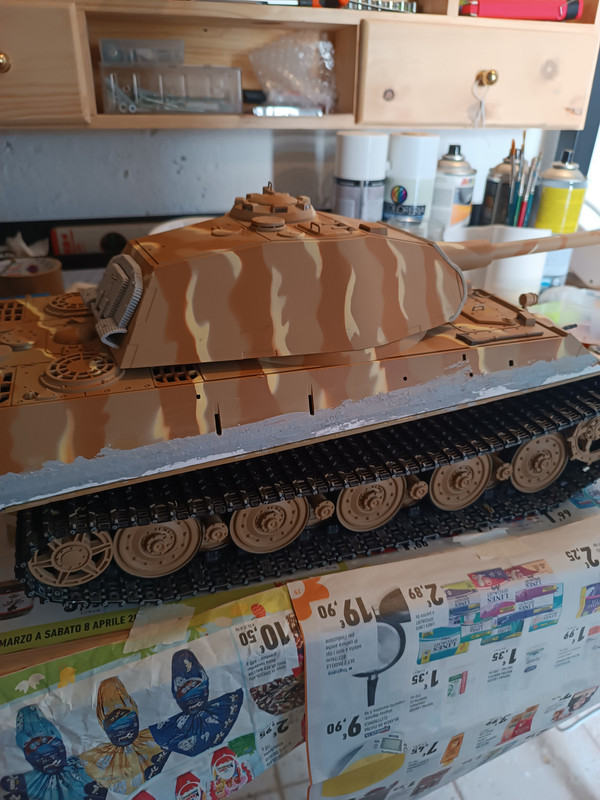
Without fenders
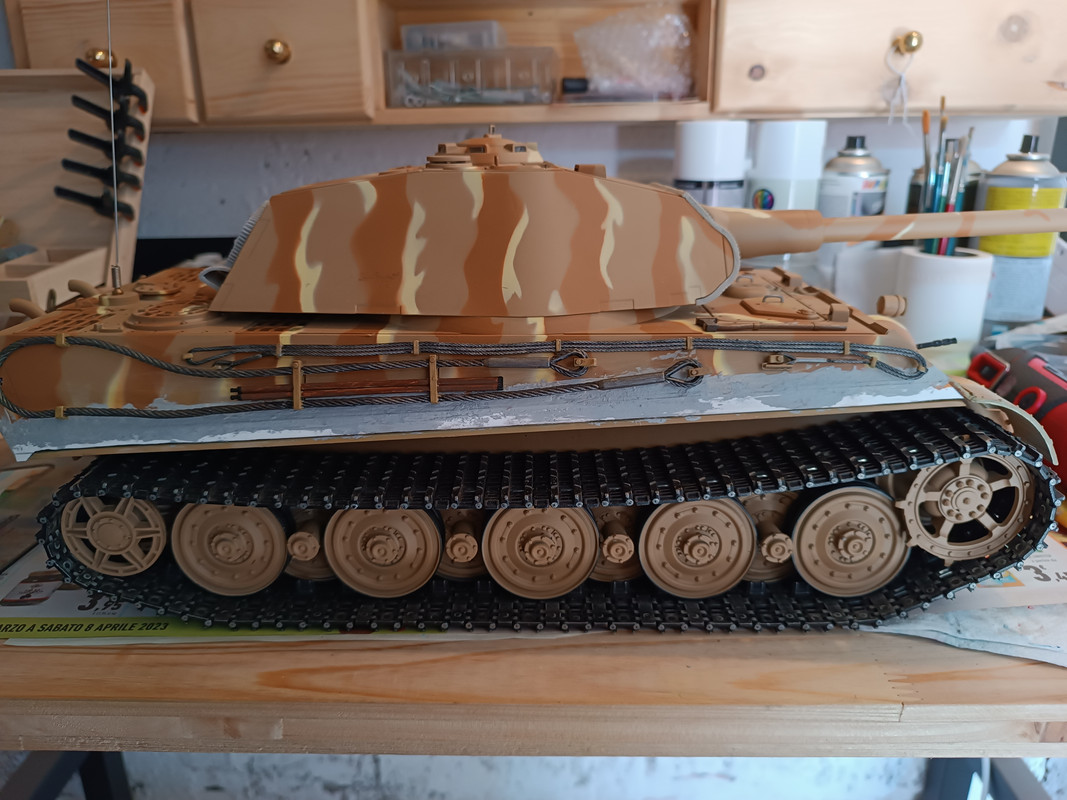
This is obviously a matter of personal taste, but I like the Kingtiger early much better without the fenders.
The turret with its sinuous and elegant lines, in my opinion, does not go well with the mudguards, which mitigate its dimensions and are bulky.
The hull of the tank appears leaner, which helps the turret to be more prominent.
How did I remove the fender?
I simply used a cutter, starting to make repeated passes on the joint line with the hull, and then increasing the cutting pressure more and more. It's a job that takes time, and above all, be careful not to cut yourself.
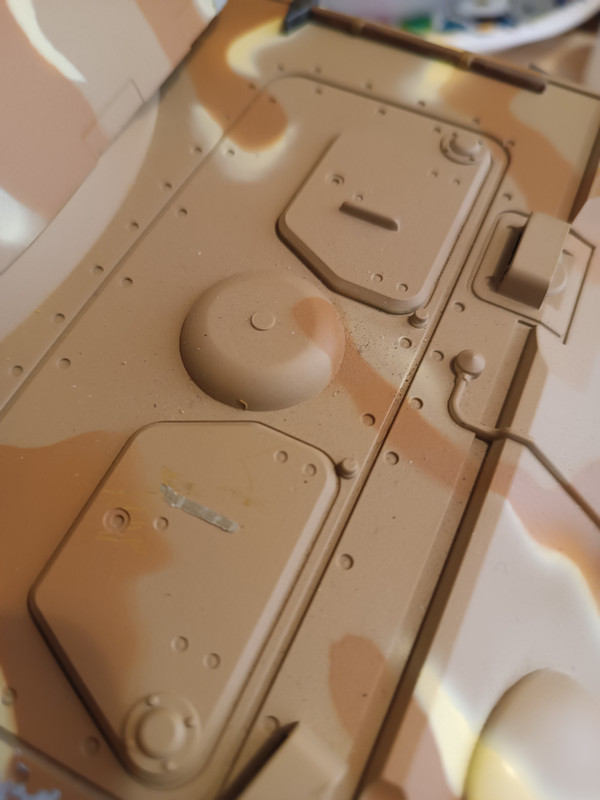
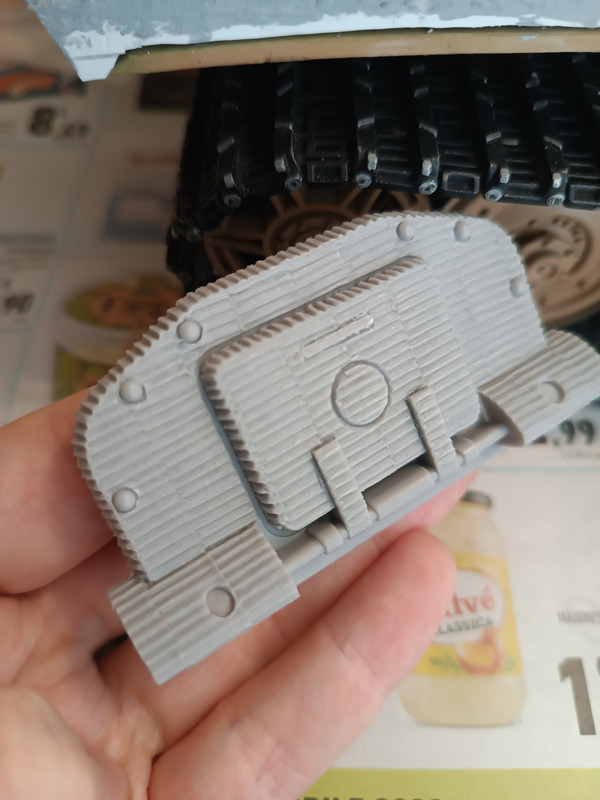
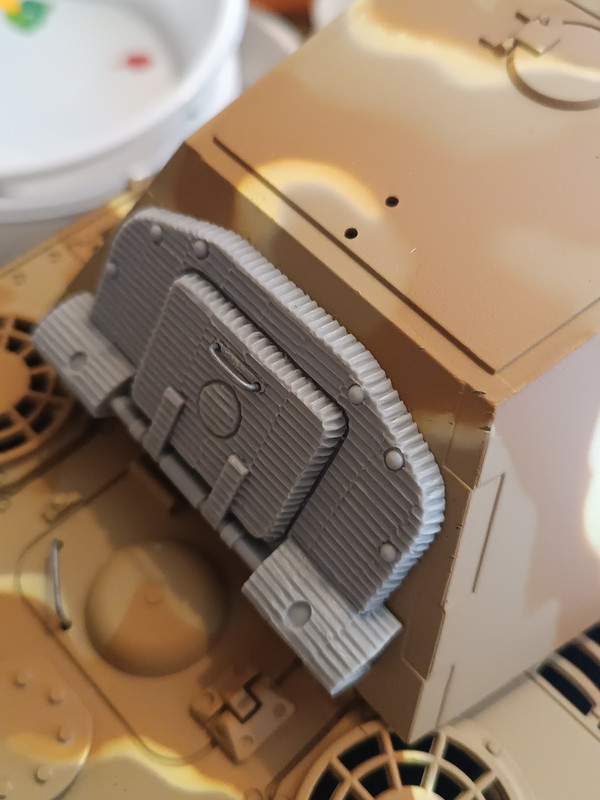
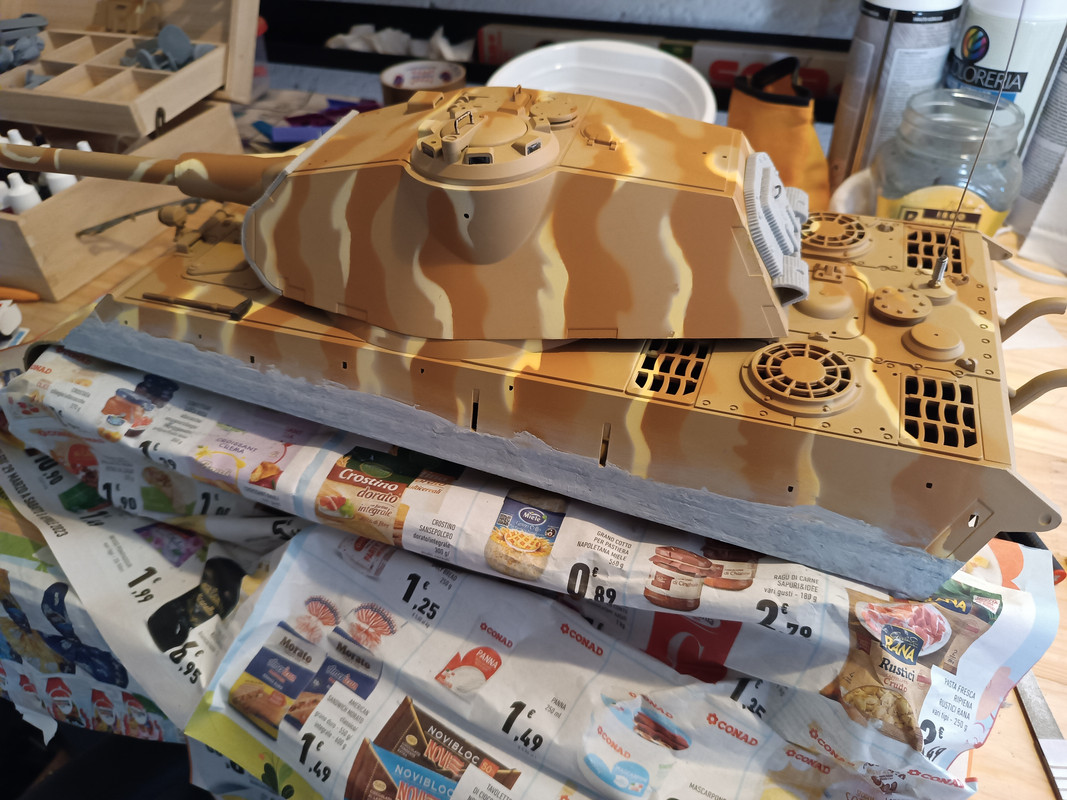
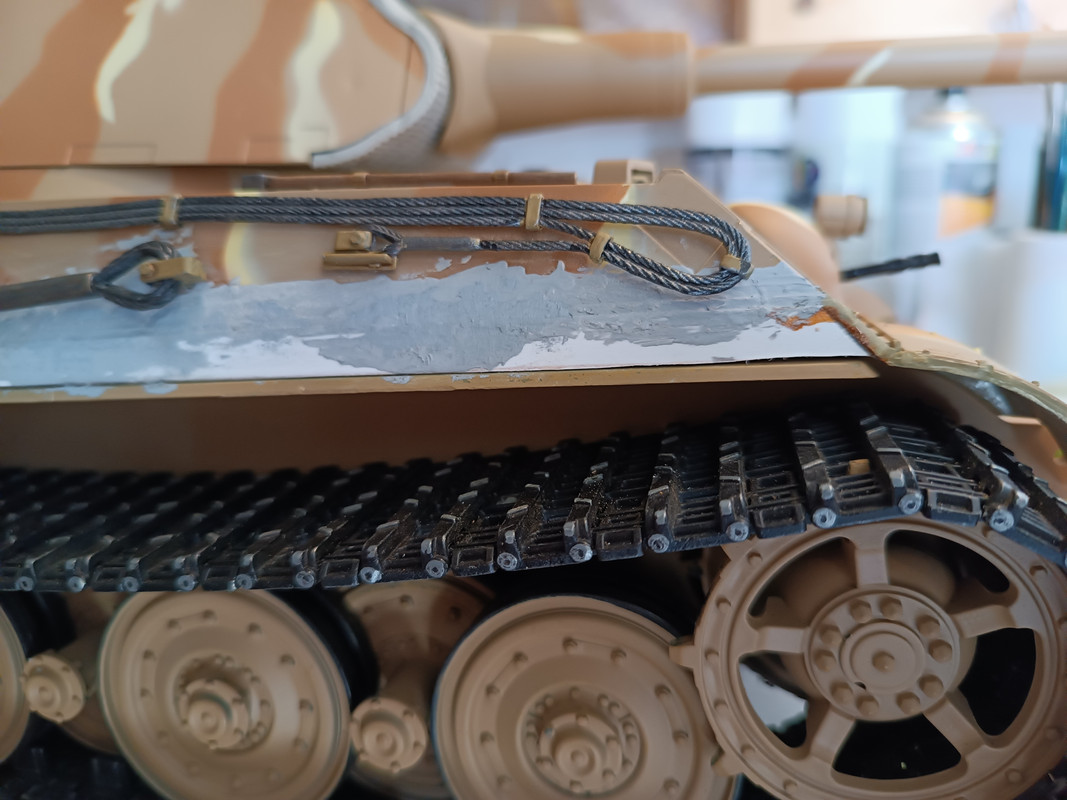
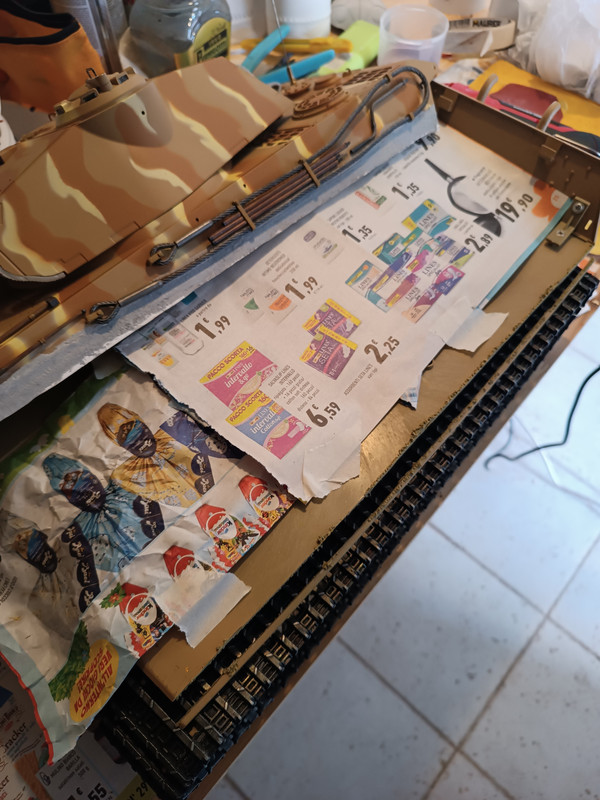
The result is what you see in the picture: the white part is Forex shaped with a cutter. You have to consider that initially it was a missing part.
Of course, behind the forex itself, I glued plastic brackets to increase its structural strength with the hull.
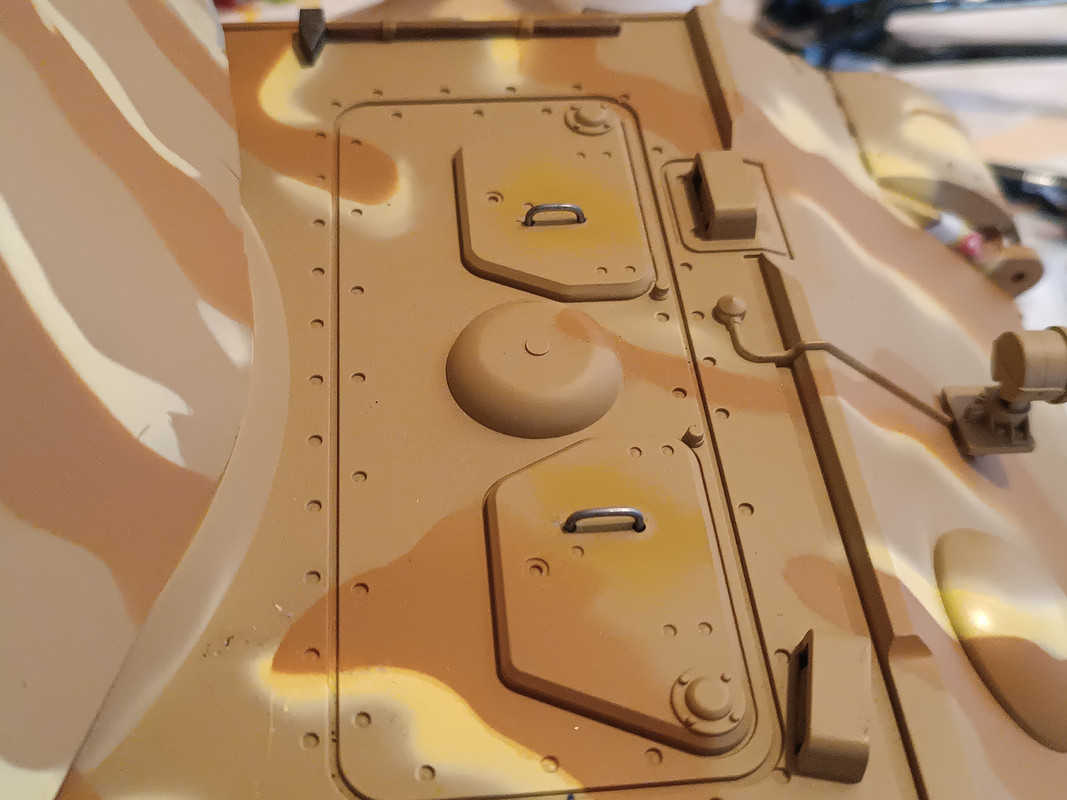
Now the side armor rests precisely on the ledge, or the "roof" of the track.
You could settle it, you can do it if you want, but I couldn't stand to see that huge seam between the lower and upper hulls of the tank, especially once the tiger is painted.
It obviously can't be grouted, unless you accept the fact that you can never open your tank again. And I think it's a risky choice for this type of radio-controlled model.
So...
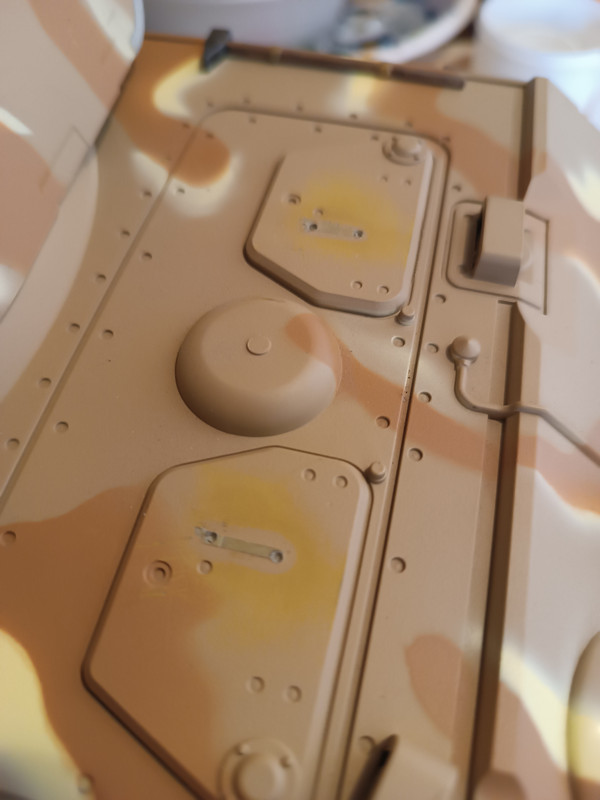
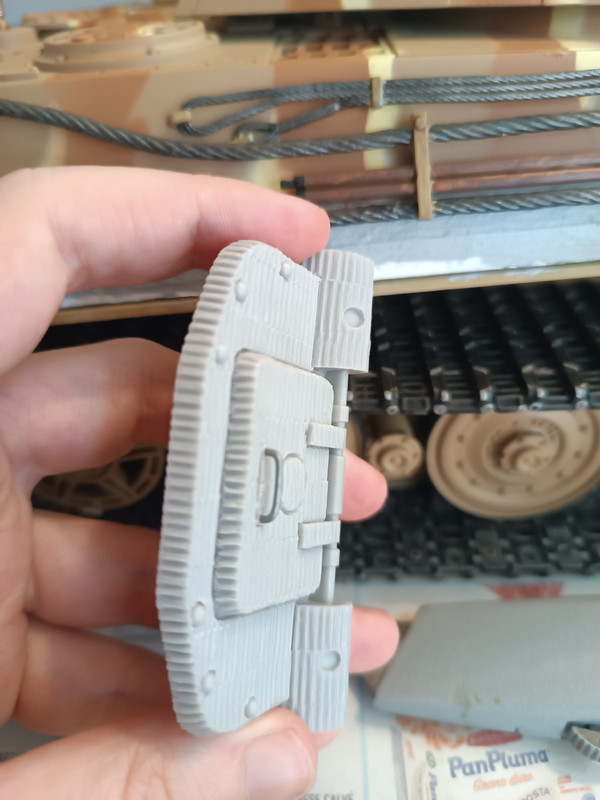
You have to make the lower part (the yellow one) an integral part of the side armor.
I start by tracing a 2/3 mm line along the roof of the track with a pencil.
I cut it out, trying to be precise, with a circular saw bit for plastic, for the mandrel.
It is necessary to take your time, because this piece of plastic will be needed later.
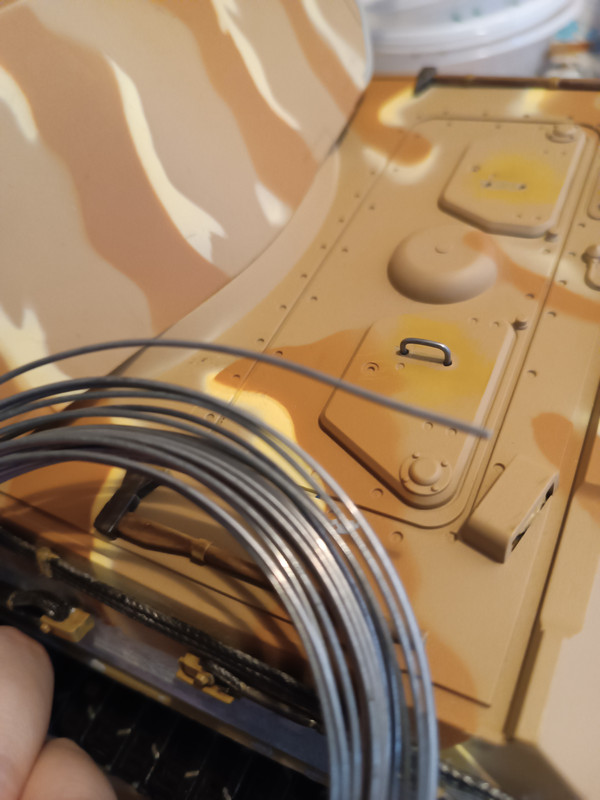
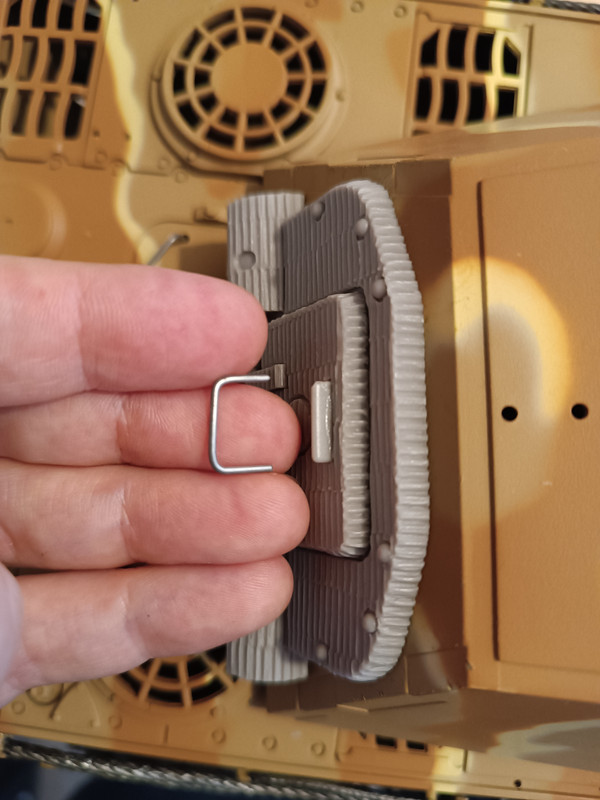
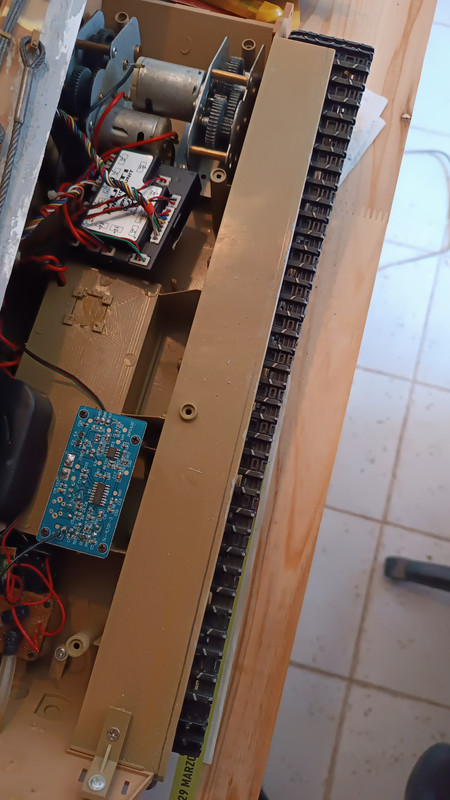
In fact, I glue it back under the side armor, holding it in place with some clothespins.
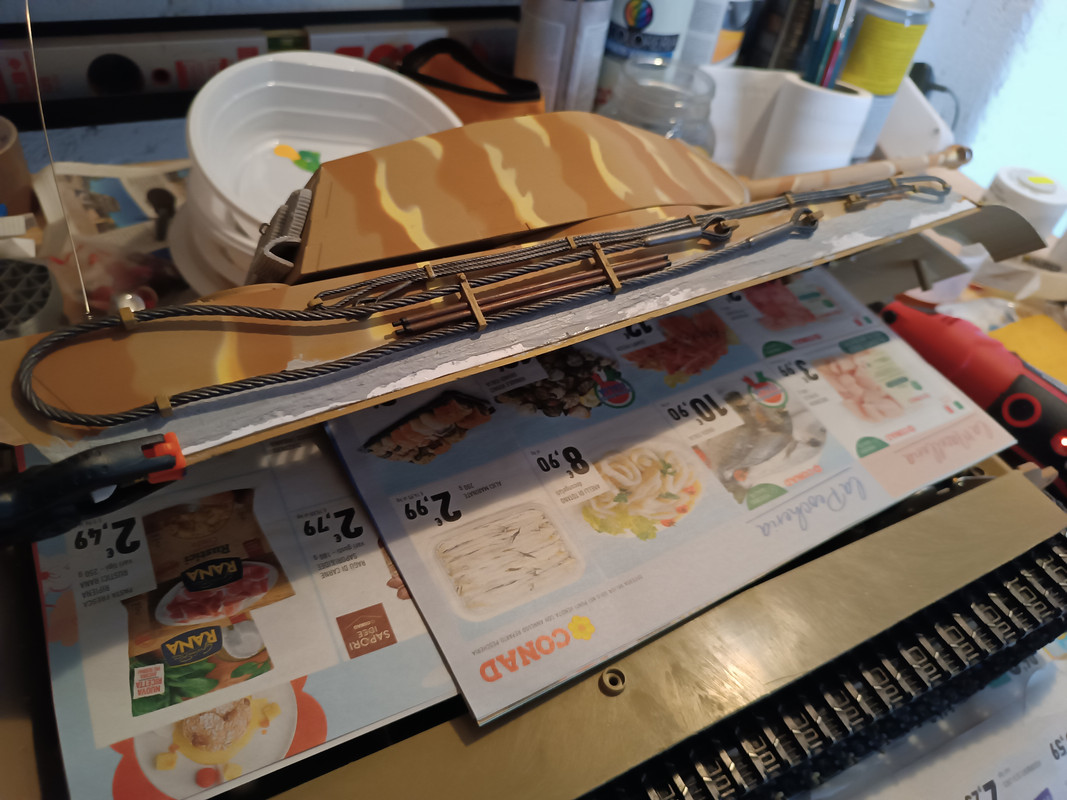
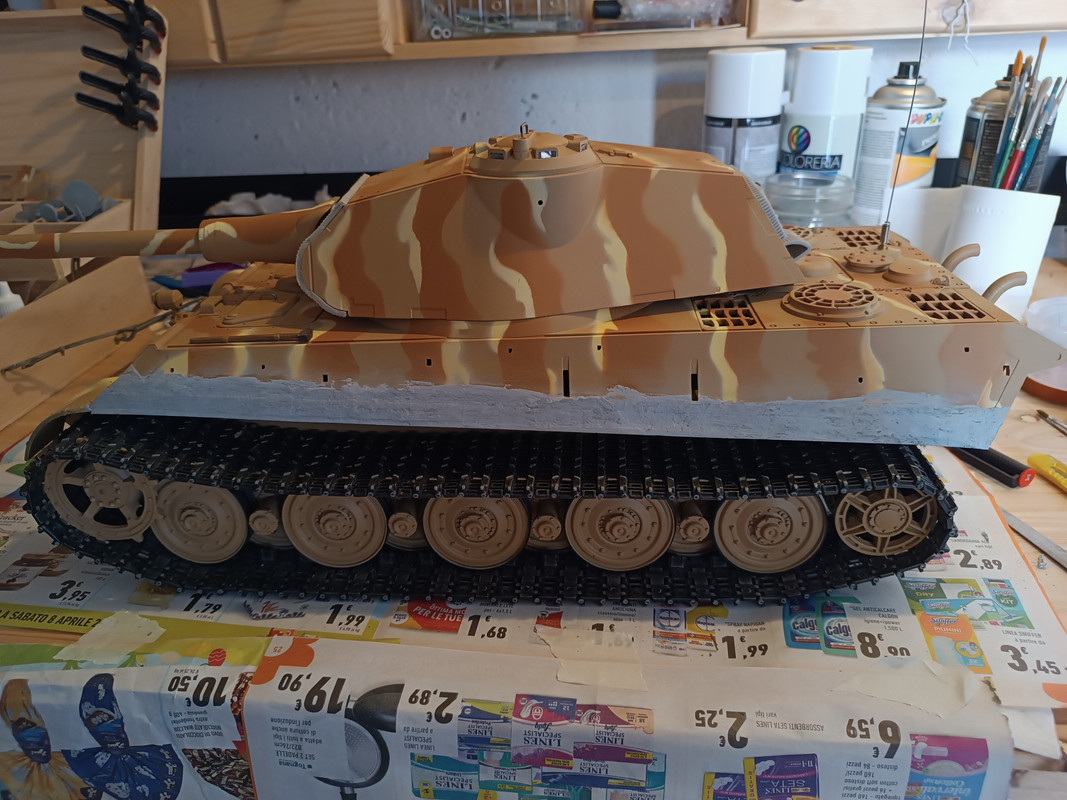
The side armor is now one piece, solid!
There are no obvious aesthetic differences for now, but structural differences, yes!
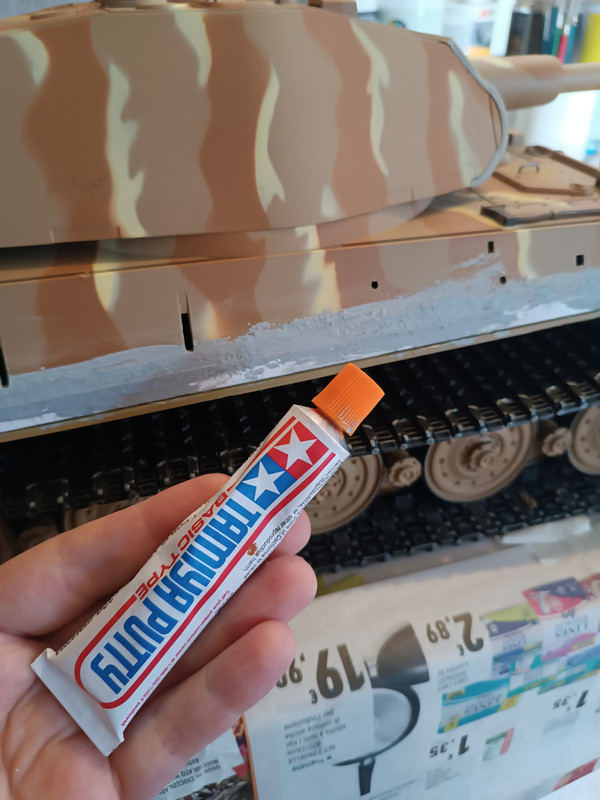
All that remains is to grout, and I will do it in the next steps.
You may have wondered: Wasn't it enough to create the forex part a few mm larger, downwards?
The answer is no:
You should have pushed the stop downwards, deforming it, or let the side armor tilt more, spoiling itself, trying to contain the roof of the track.
Now, however, the upper part of the tank rests on the lower part, covering the roof of the track within itself.
It's not as difficult as it seems: it was one pass after another and it took me just over an hour, doing everything calmly and letting the super attack dry, calmly and for both sides.
I hope I was clear!
Take care!