https://cults3d.com/en/3d-model/art/pan ... -iv-ausf-j
I have started to build it as I am doing my Sig33b while the large parts are getting built on the printer so I am probably biting off more than I can chew at the moment
I am using Petg filament for the build with some resin printed parts for some of the more detailed parts.
I am more than happy with the quality of the model so far even though I have already re done some of the parts to be more to my liking and changes needed to suit the brummbar it will eventually become.
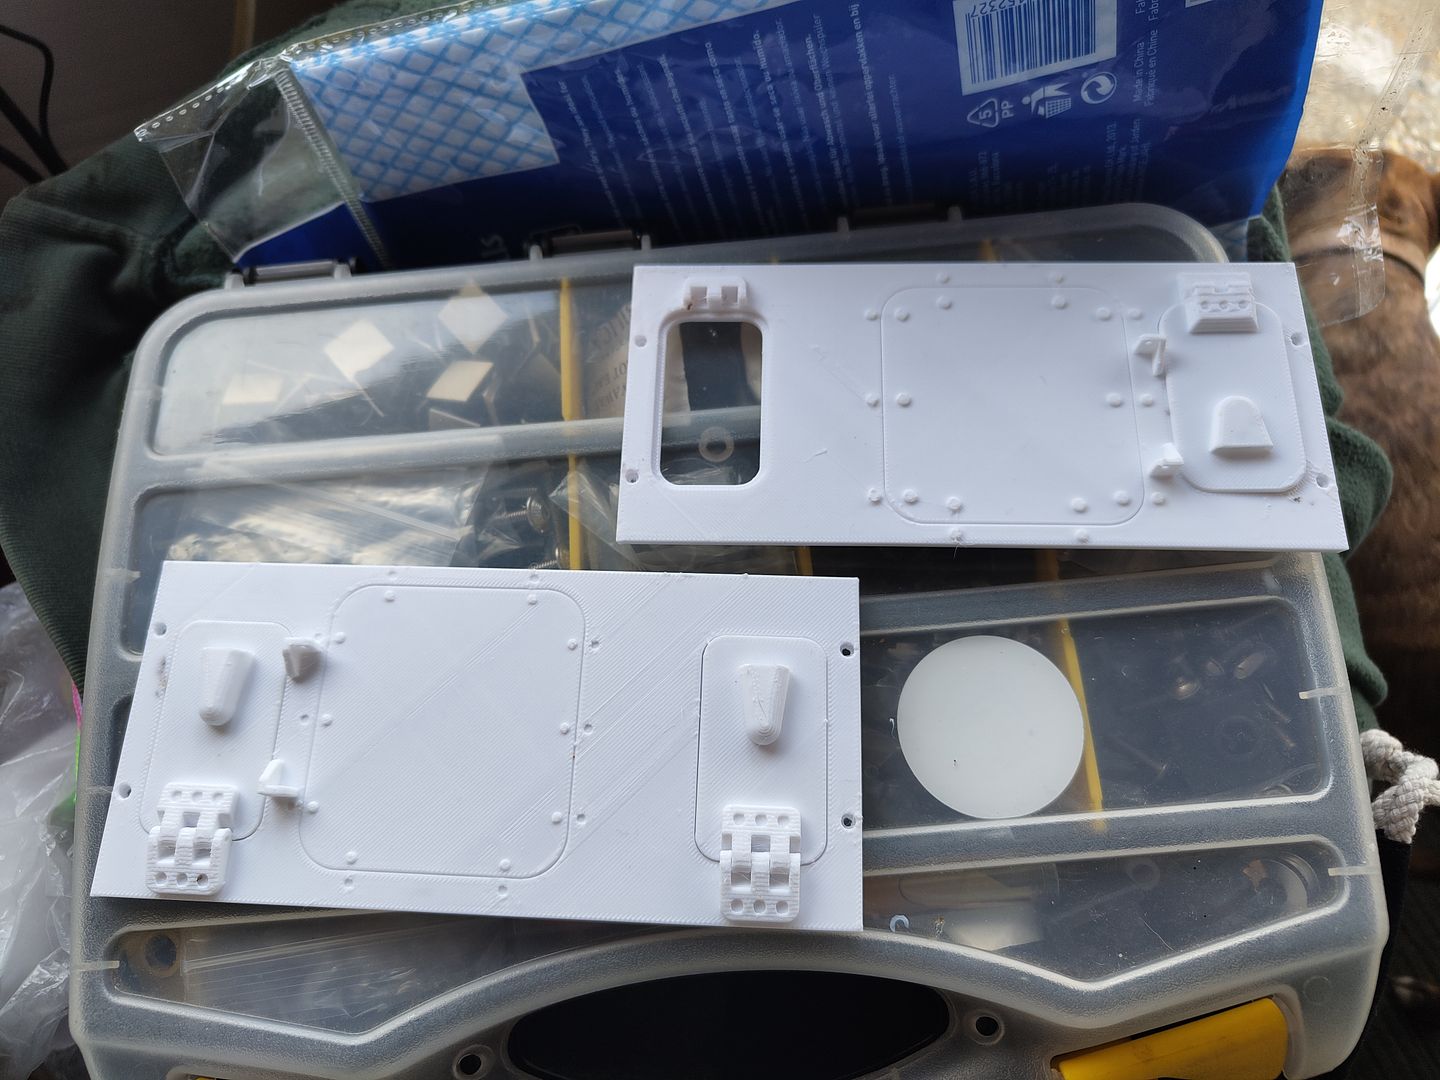
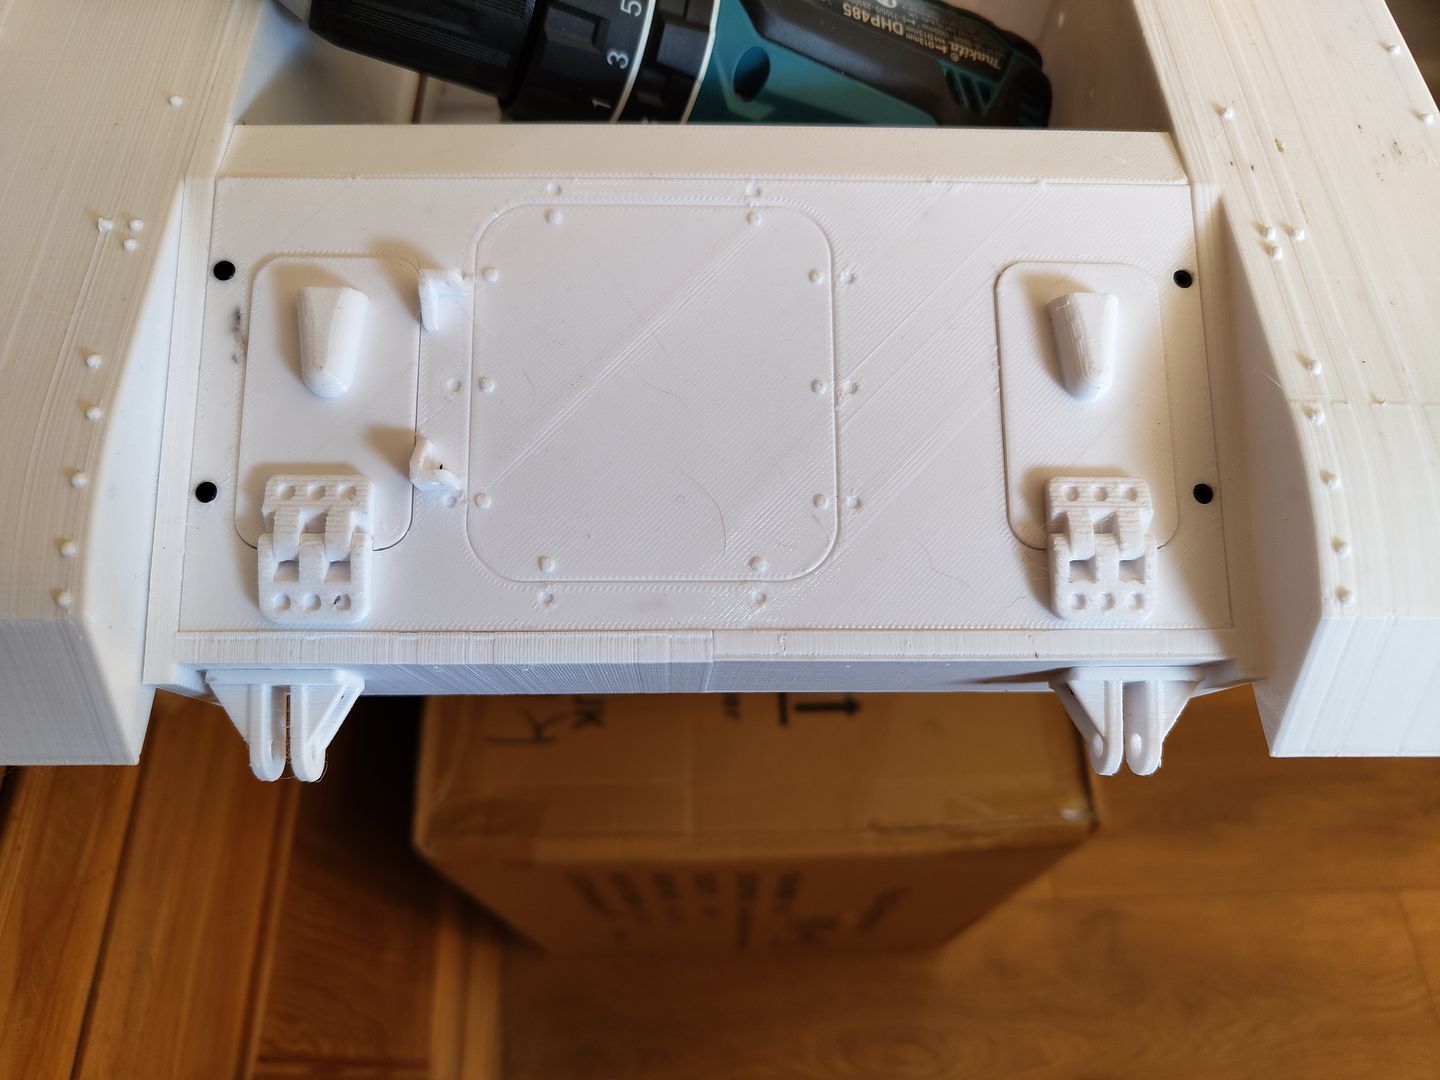
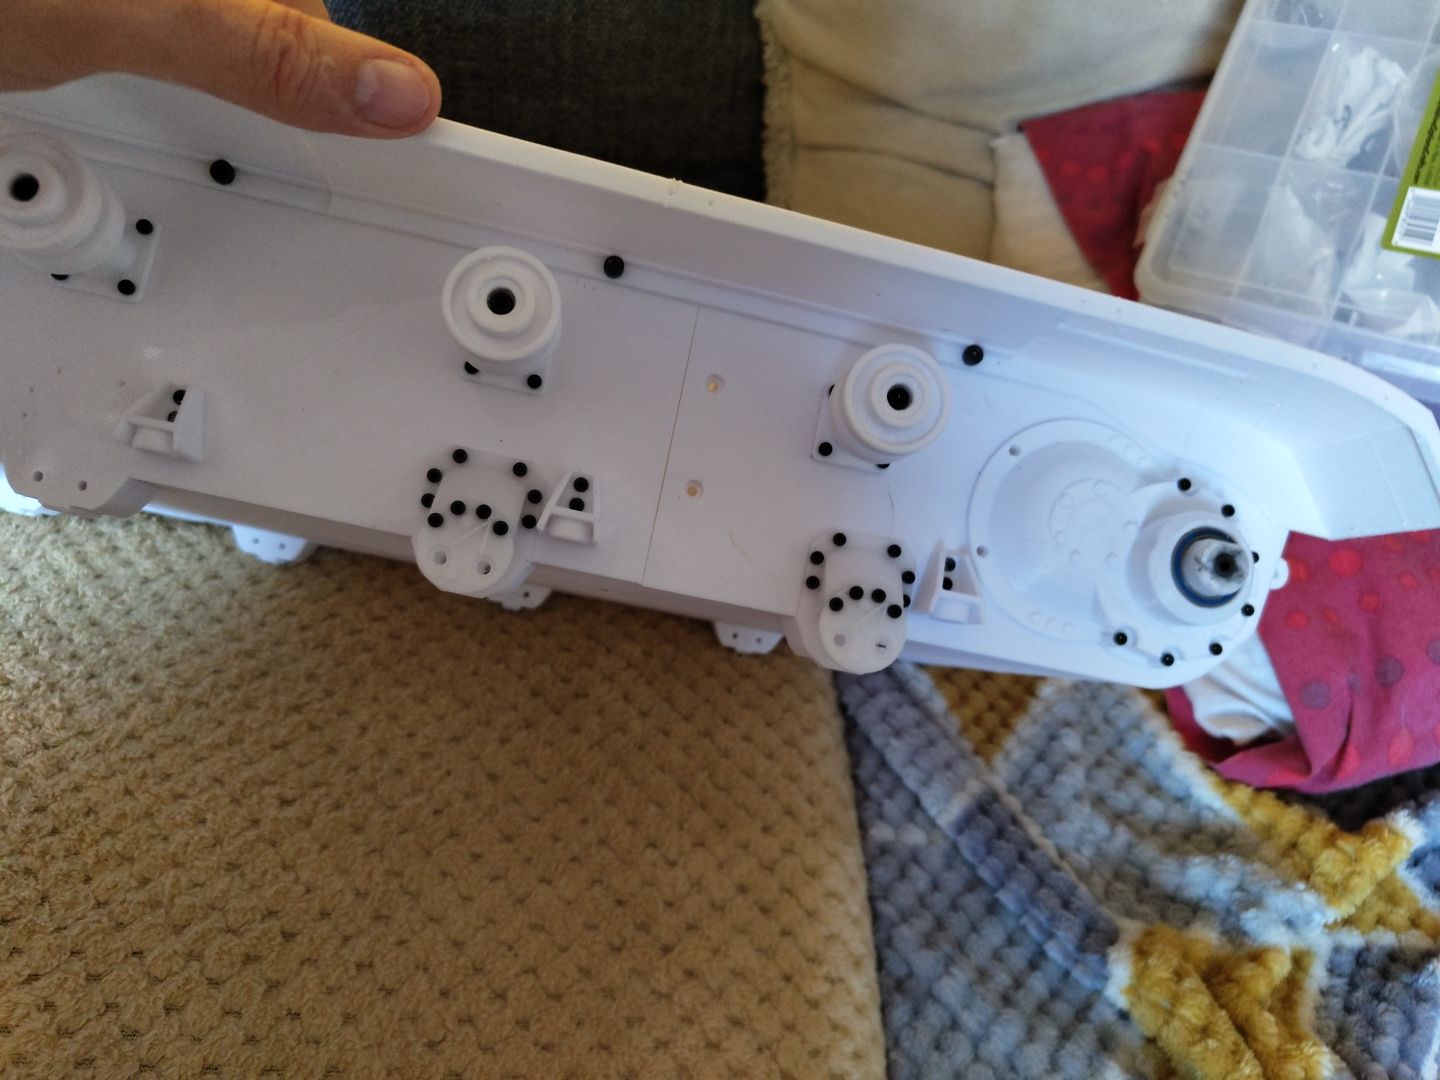
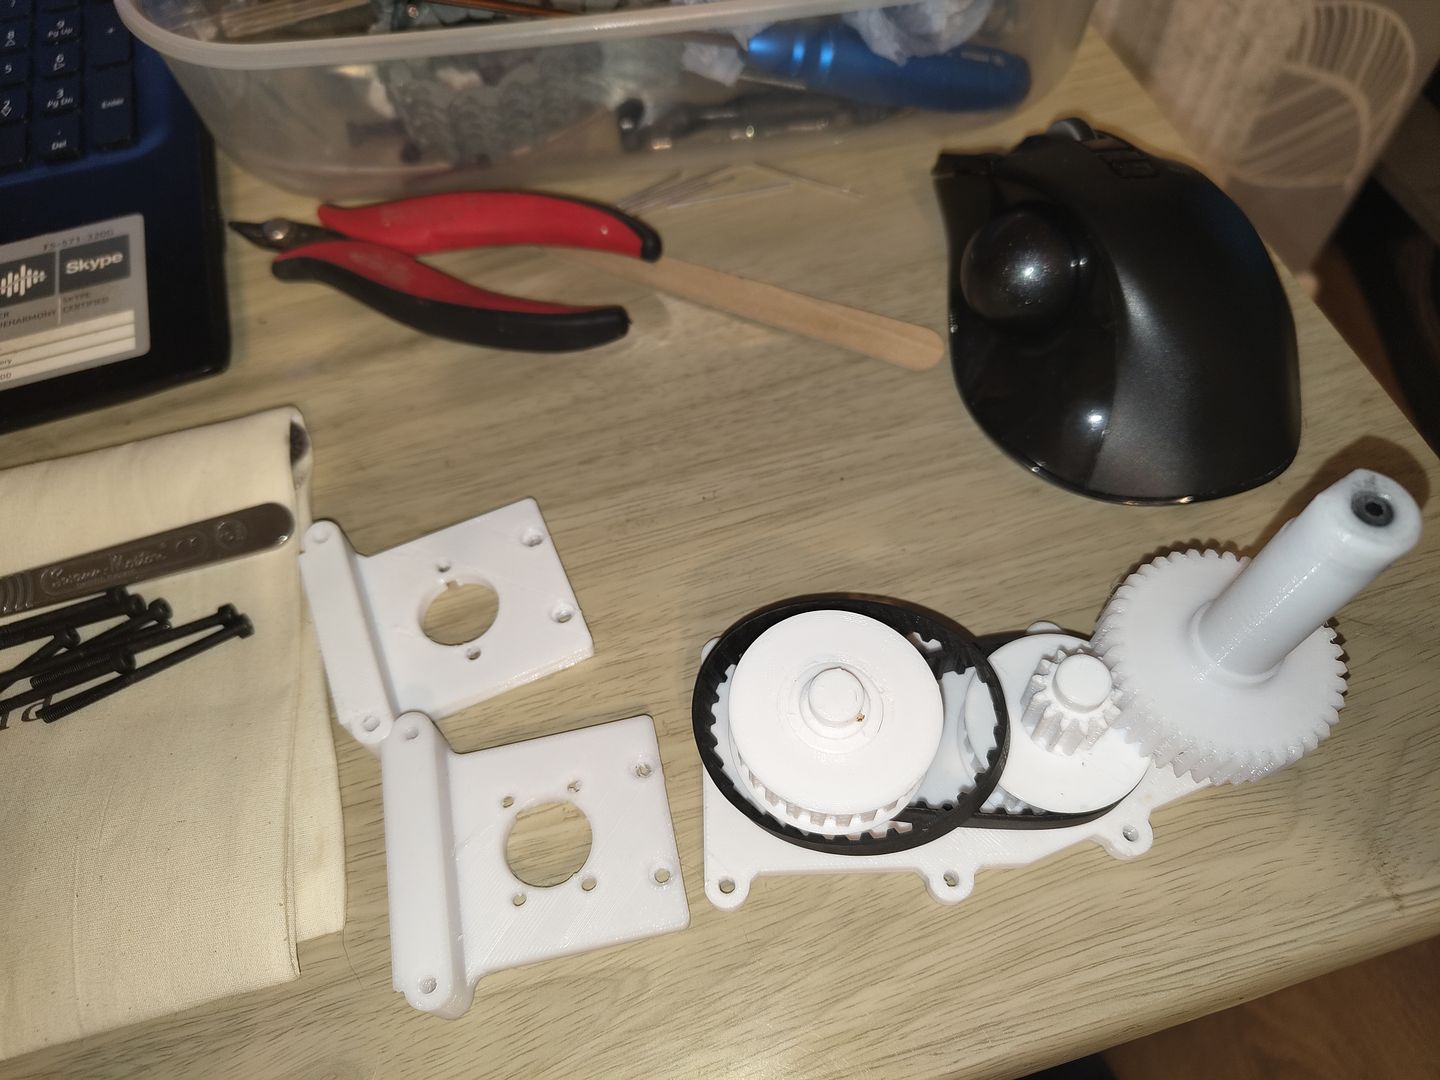
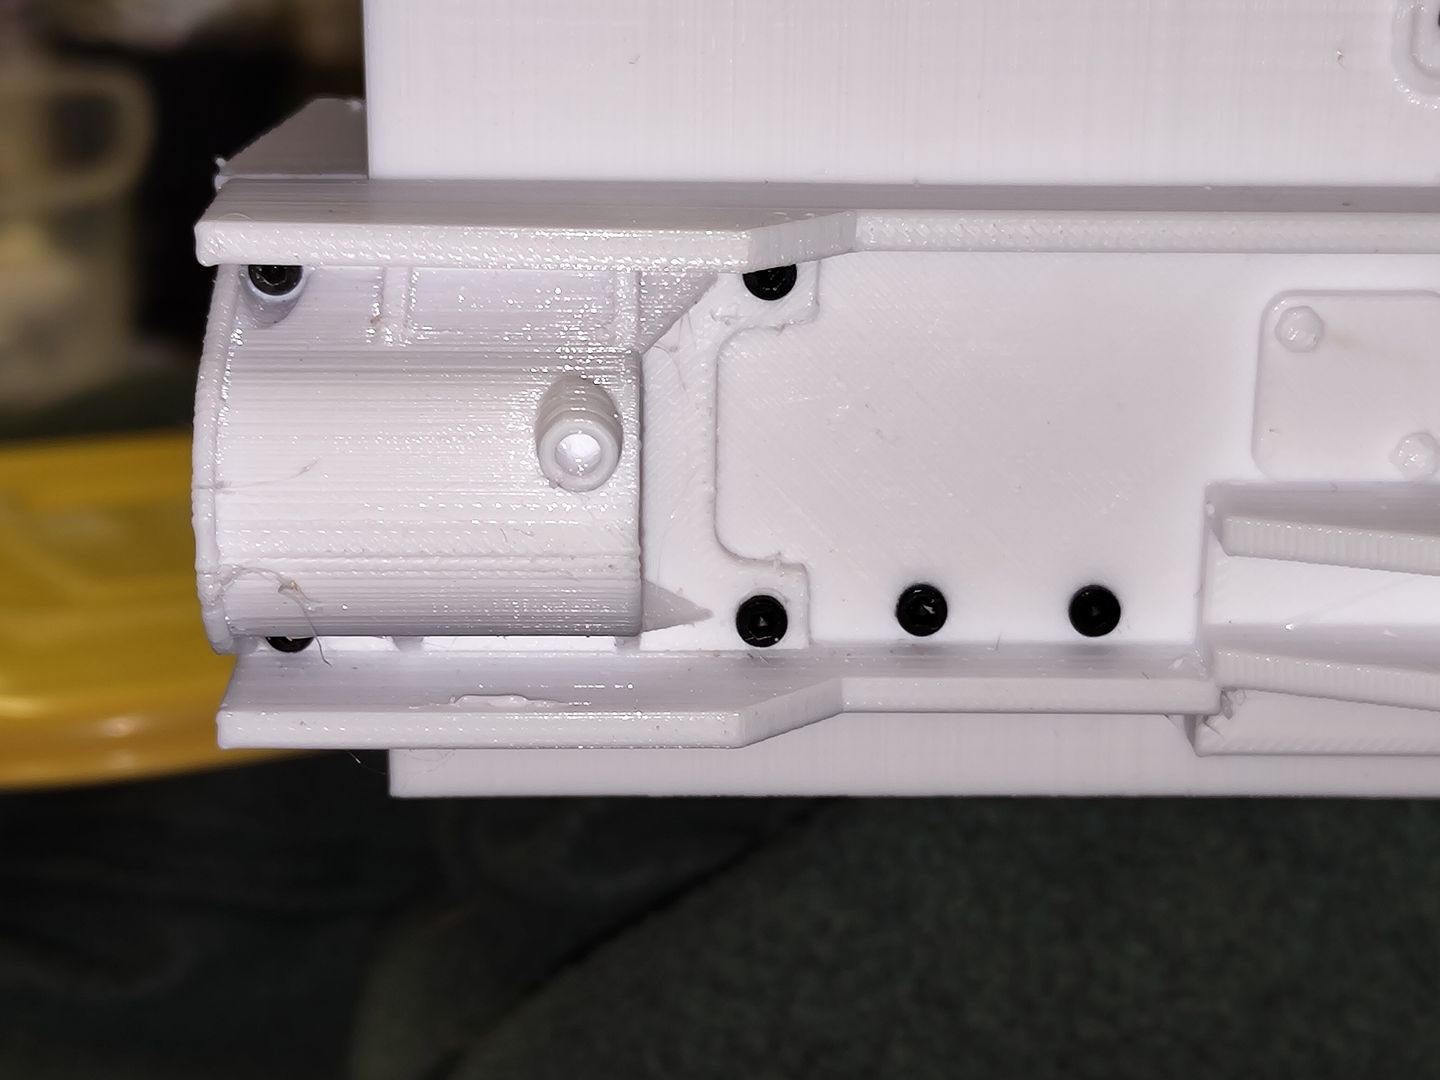
the first modification is the front top section as the model didn't have any bolt detail on the hinges only on the gearbox cover hinge.
so I drew up a new one.
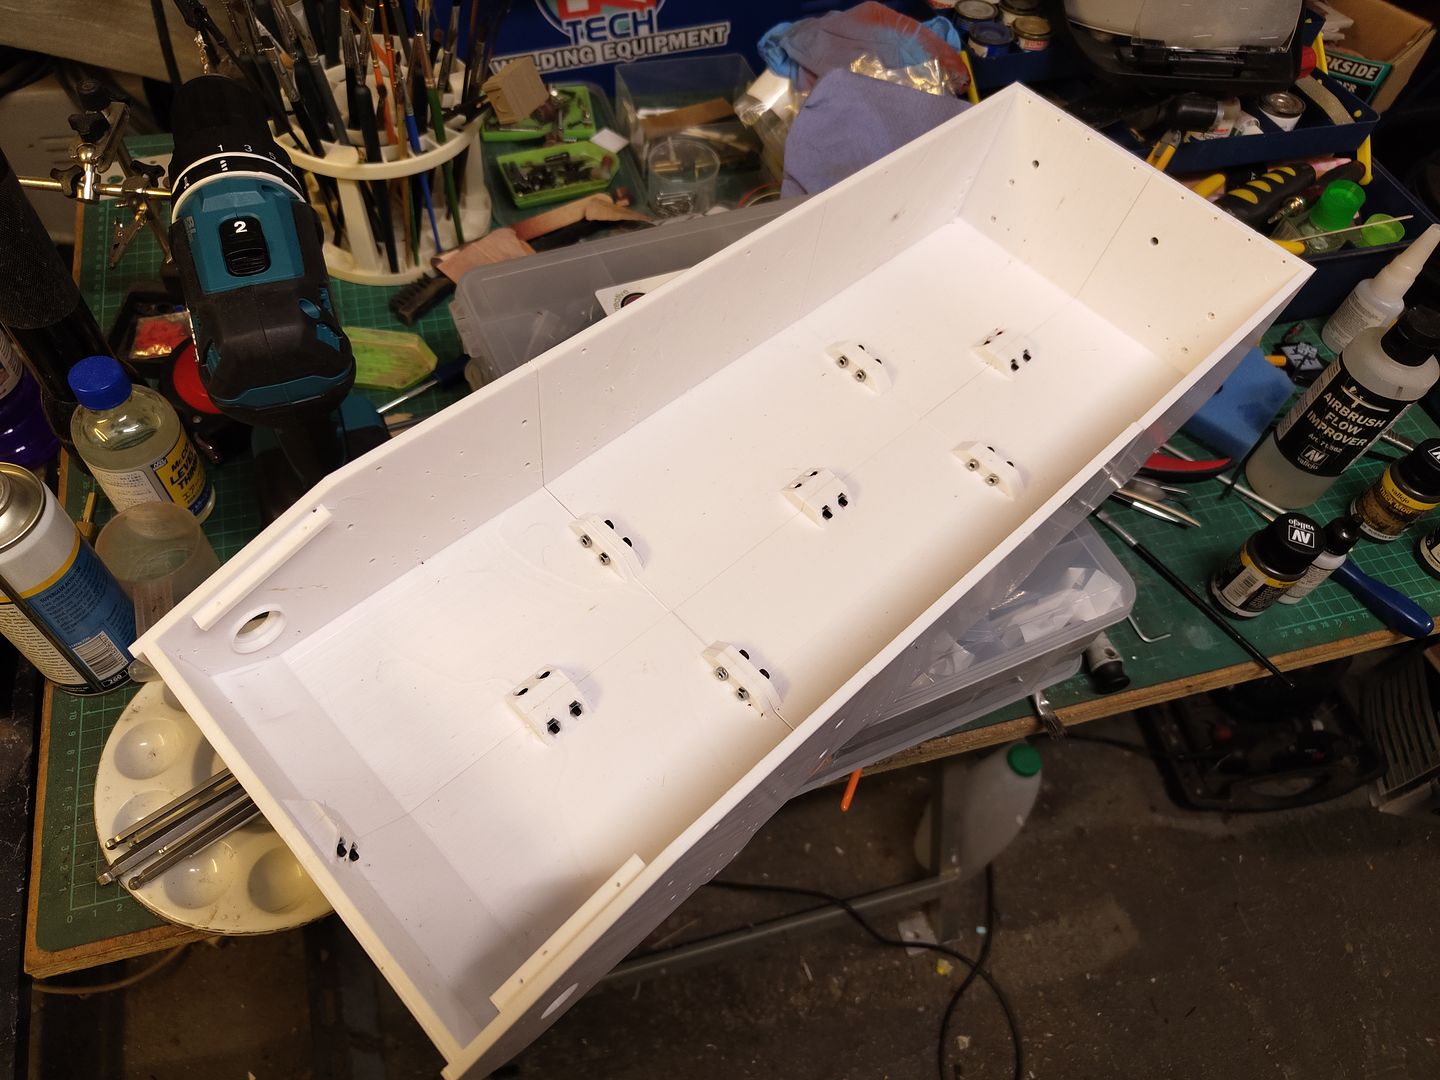
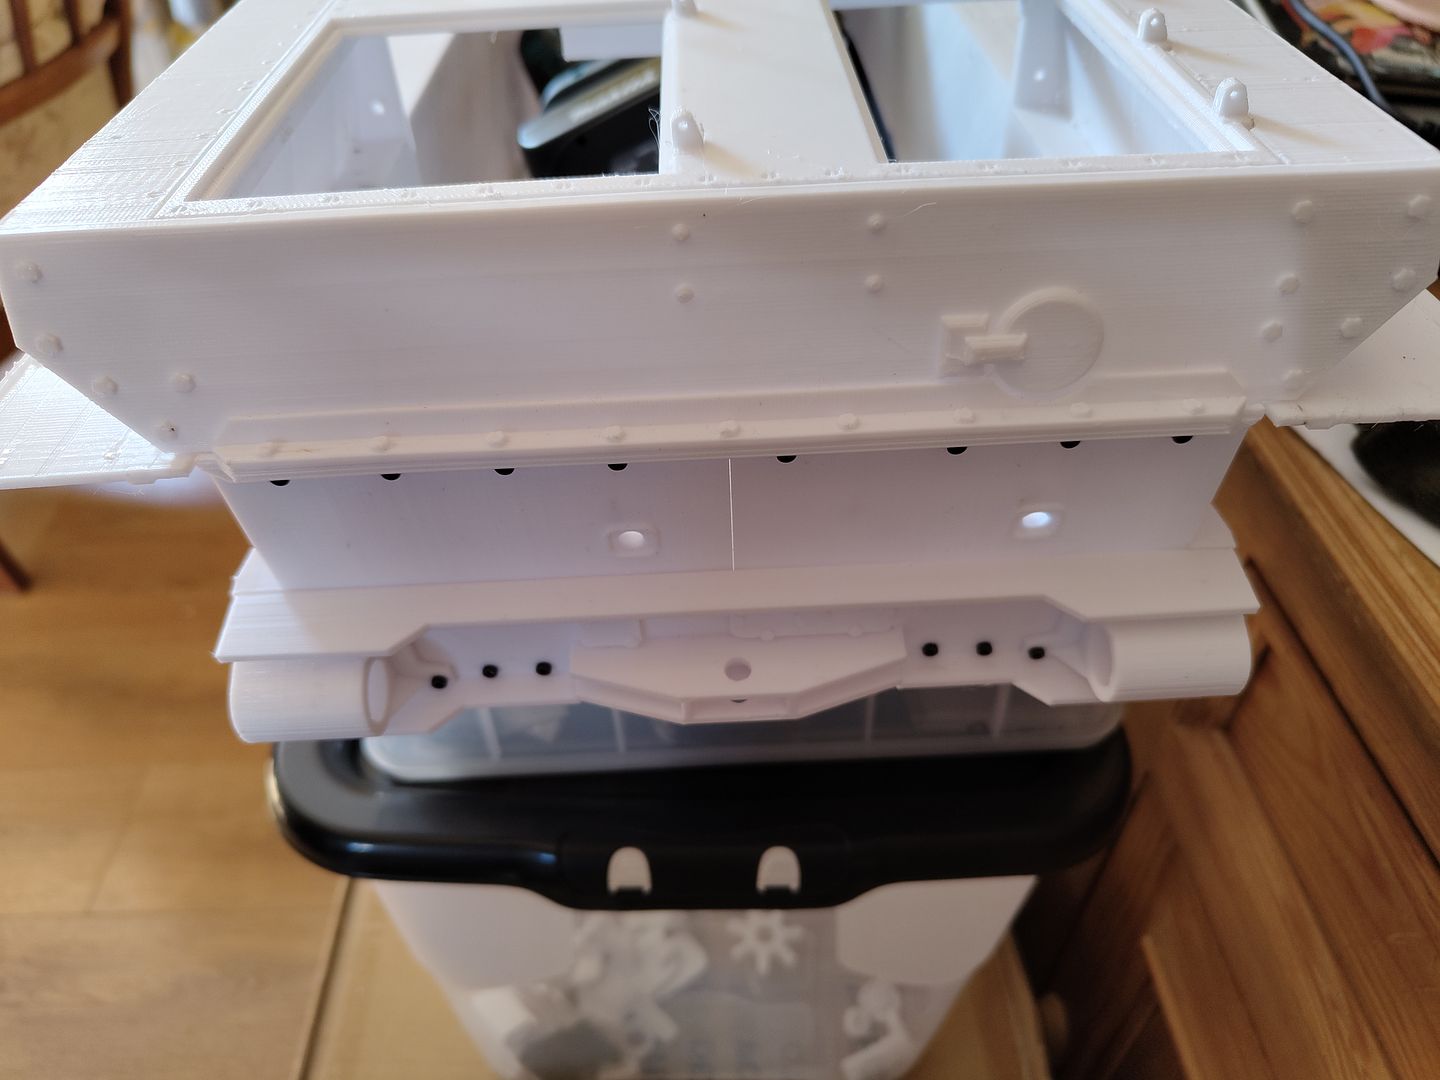
My only problem part was the rear engine vents as they took up all of the printer bed they snapped when I tried to remove it from the bed.
But with the other engine cover parts and a bit of super glue you would never know.
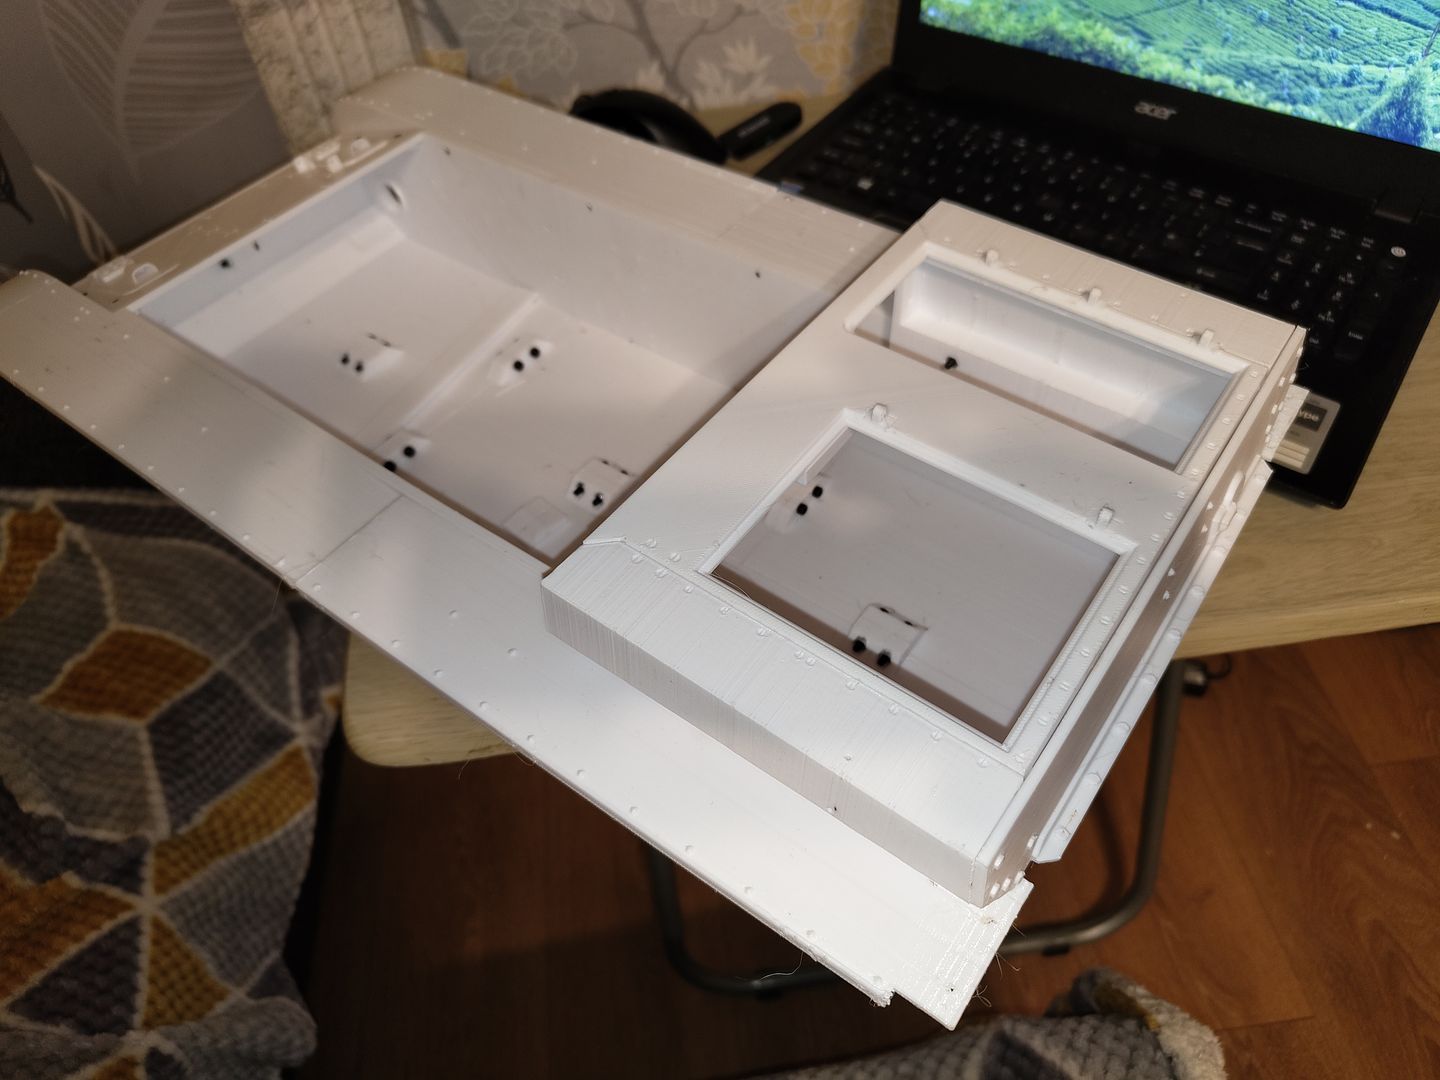
The rear top part had a protrusion near the small round hatch detail for an antenna mount but I removed it in the printer slicer.
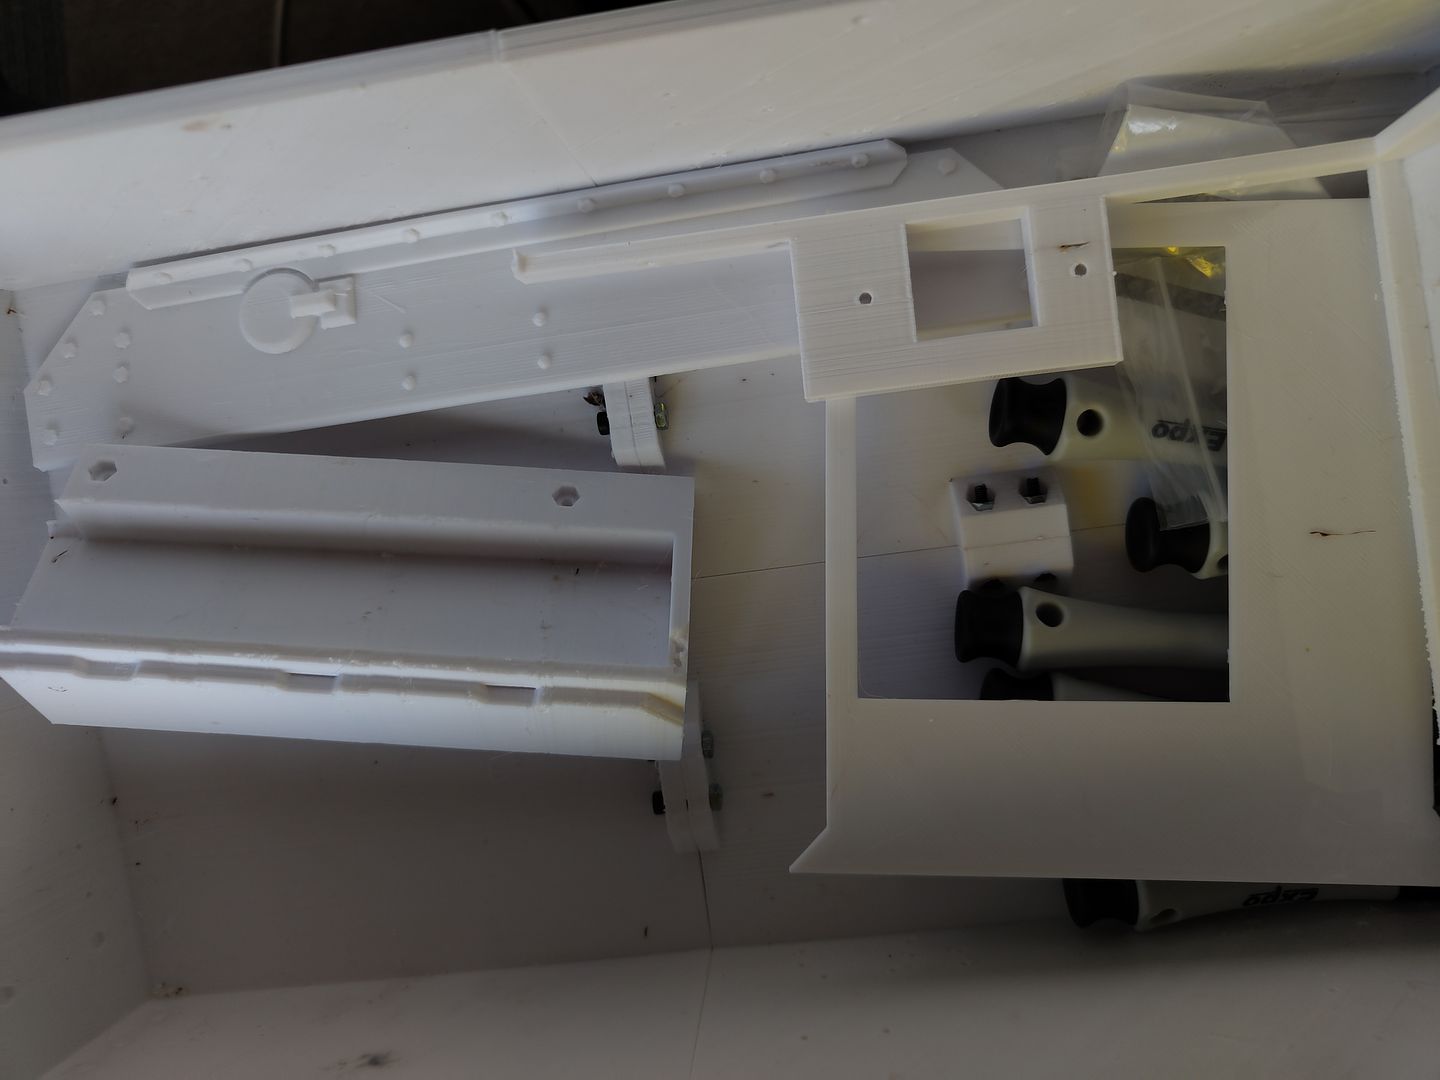
The track adjuster mounts also had some detail missing for the lever that is fitted on it so I redrew them with an opening to fit one that will get resin printed in ABS like resin.
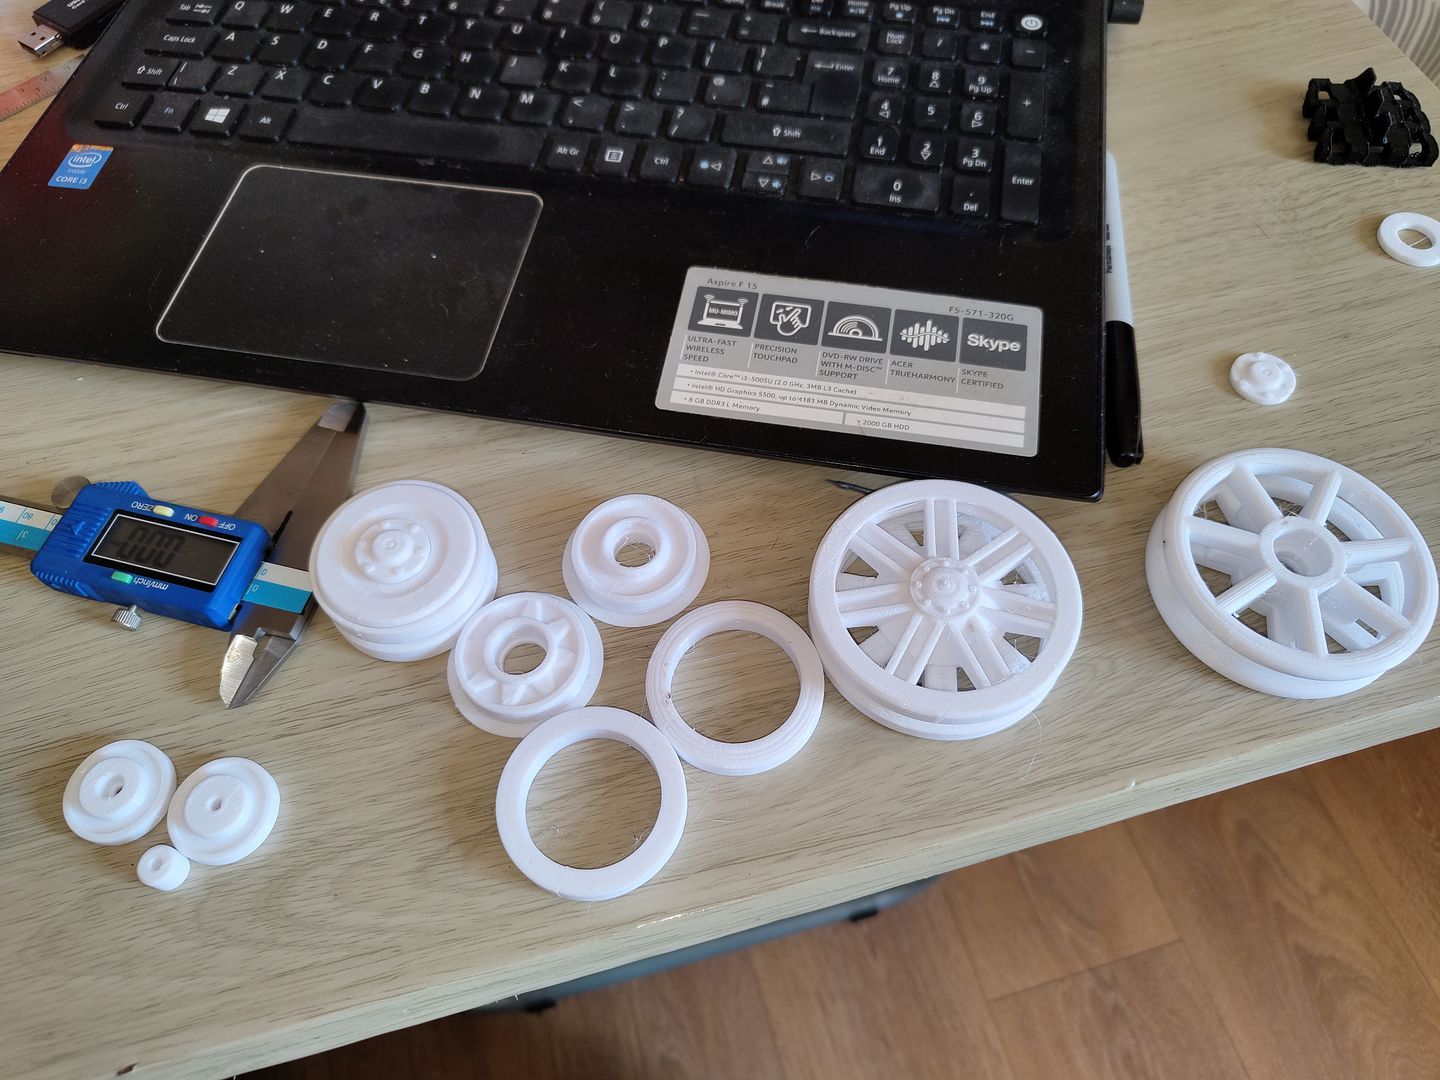
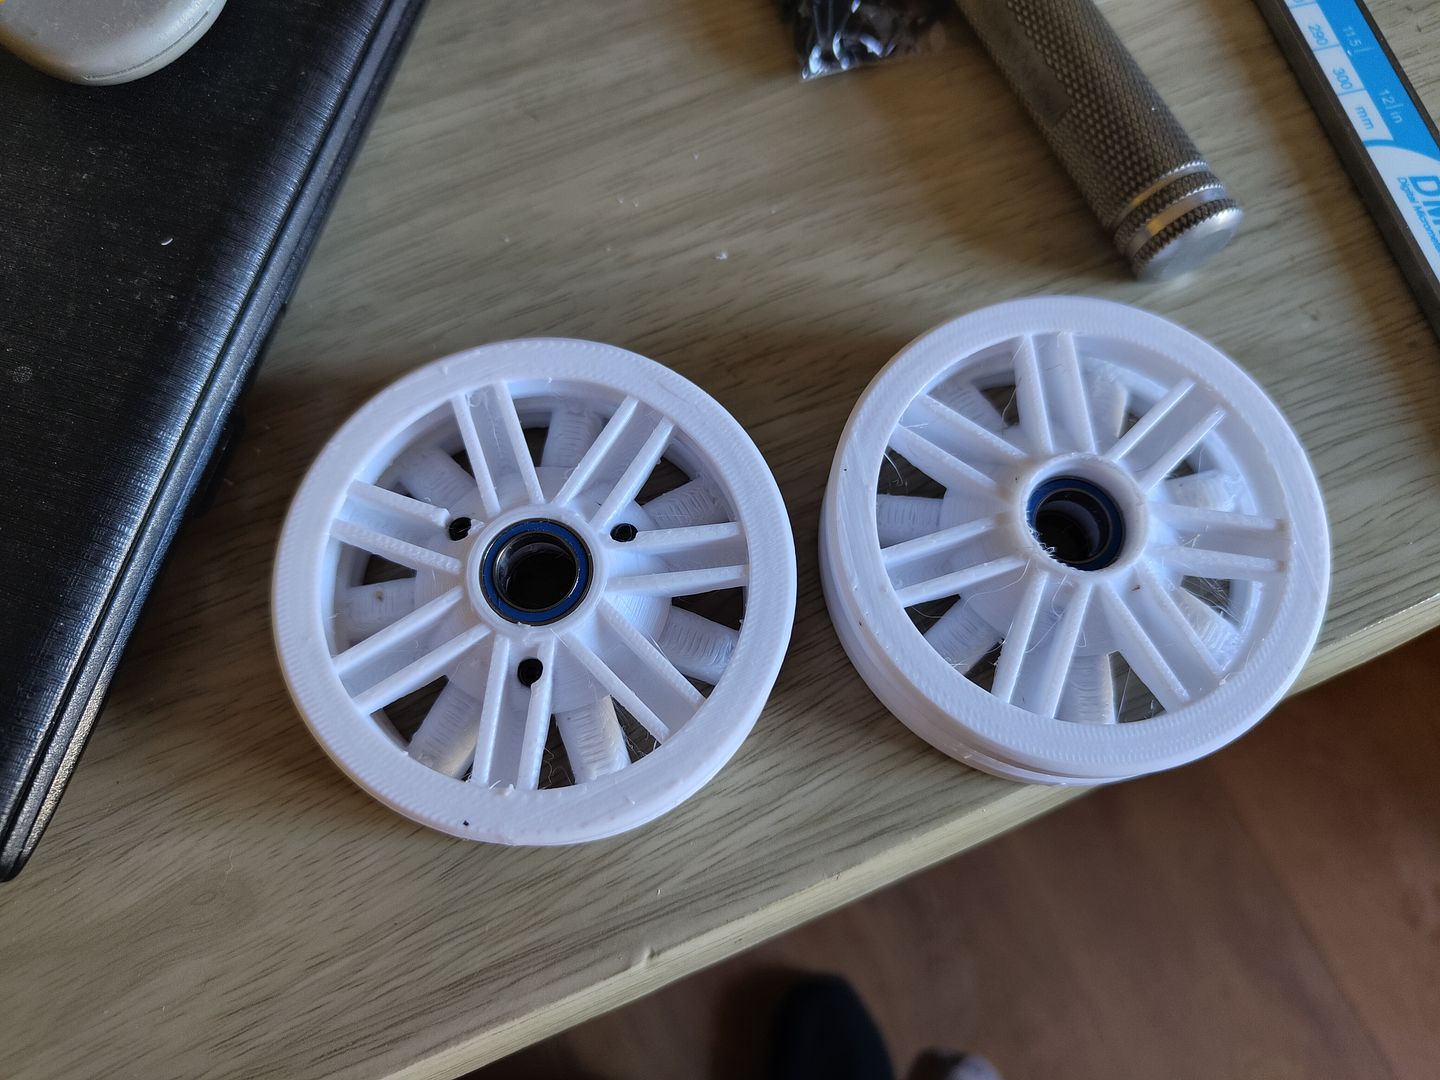
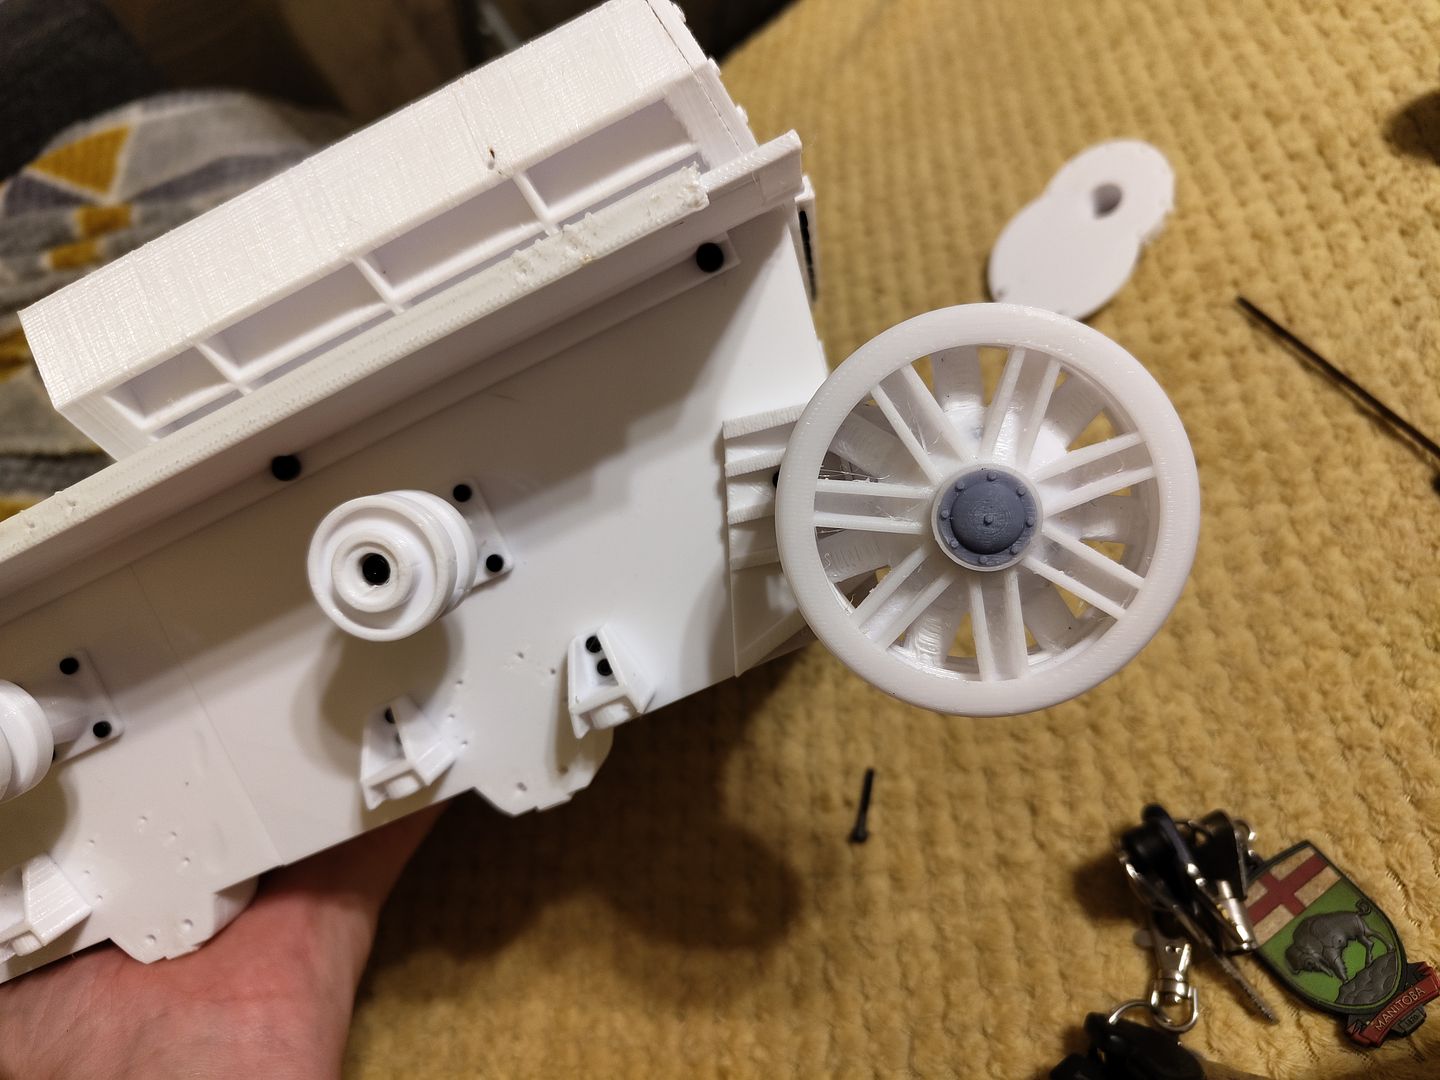
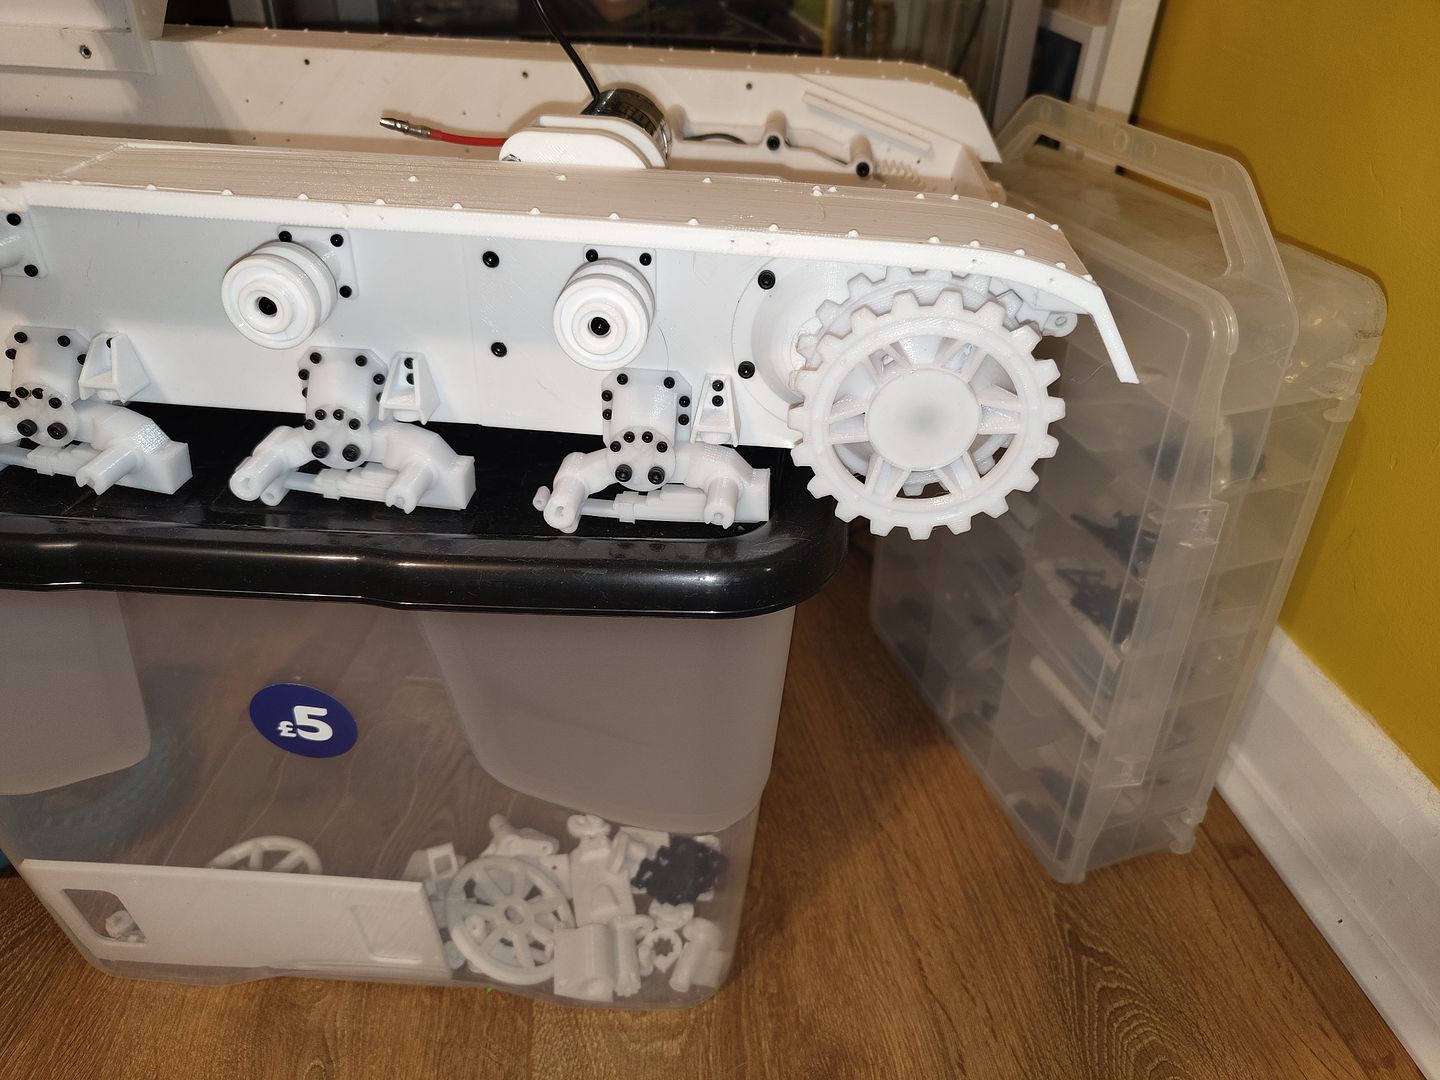
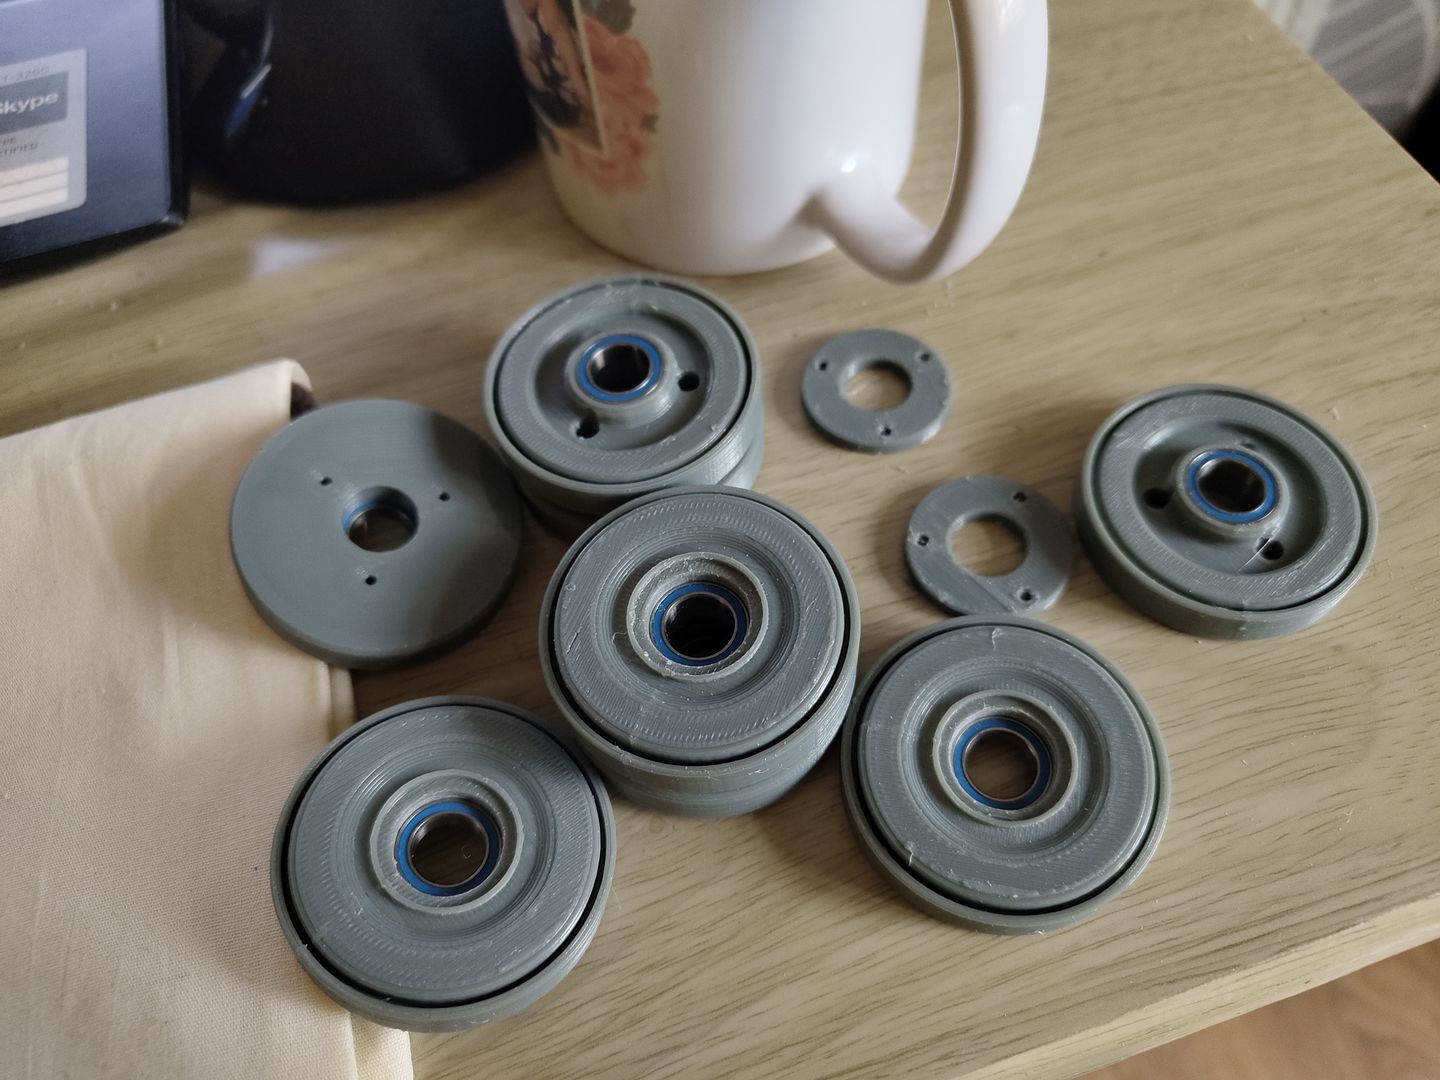
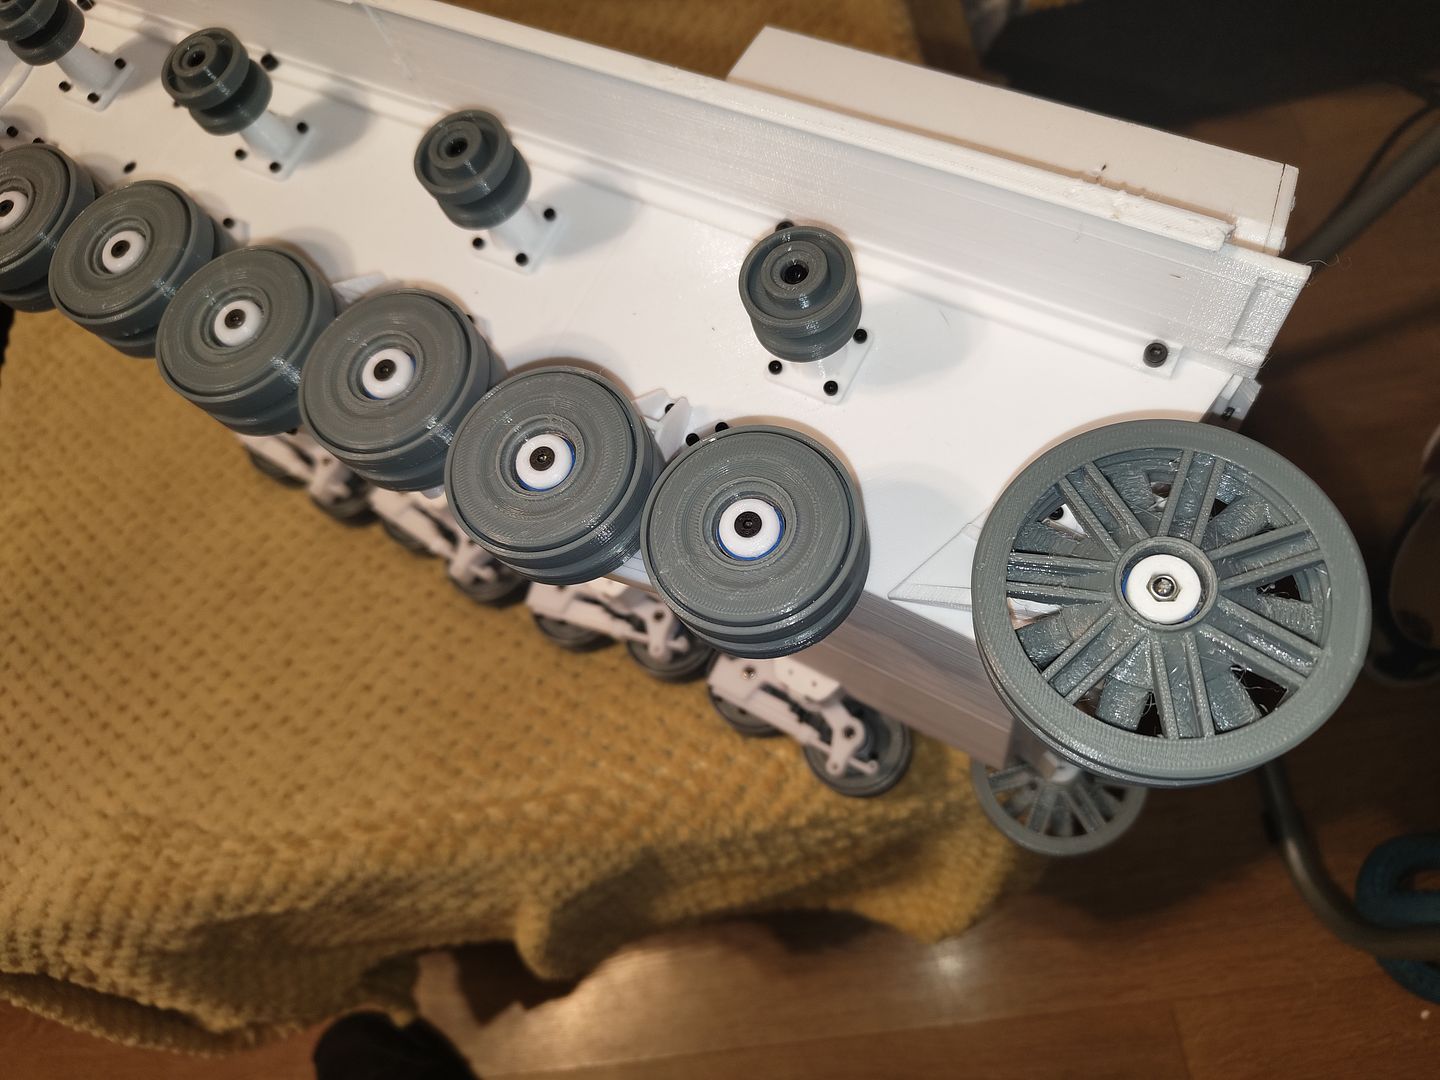
The model has rubber tired road wheels and the tubular steel rear wheels so I printed one of each so I could measure them to make it have all steel road wheels and the non tubular type rear wheels.
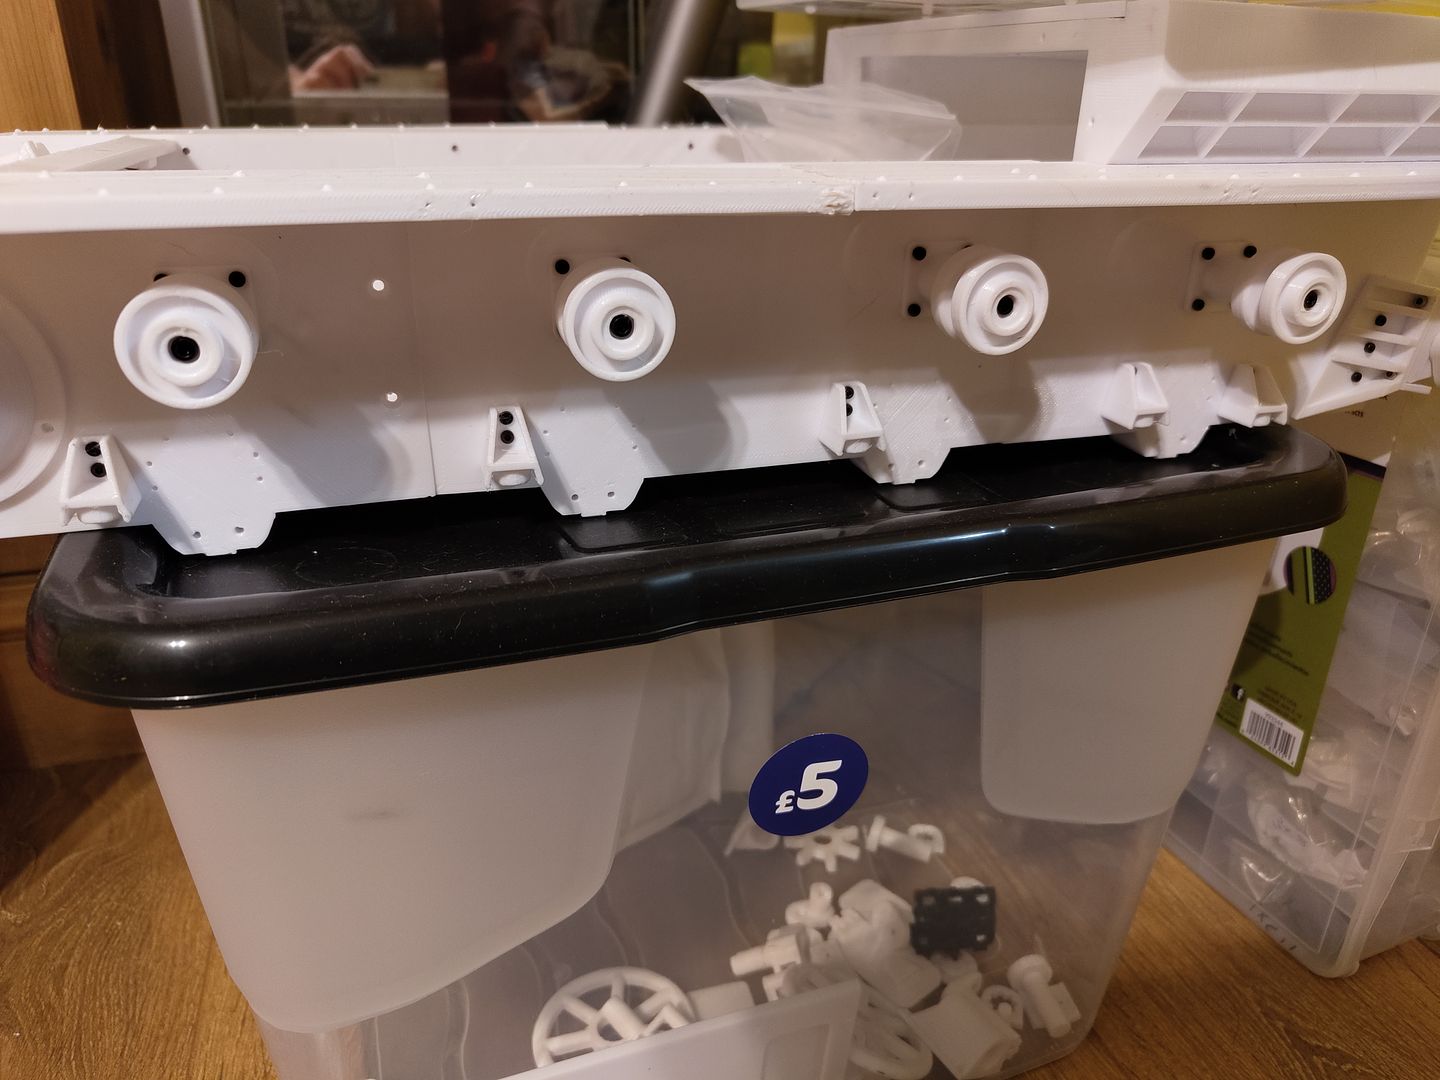
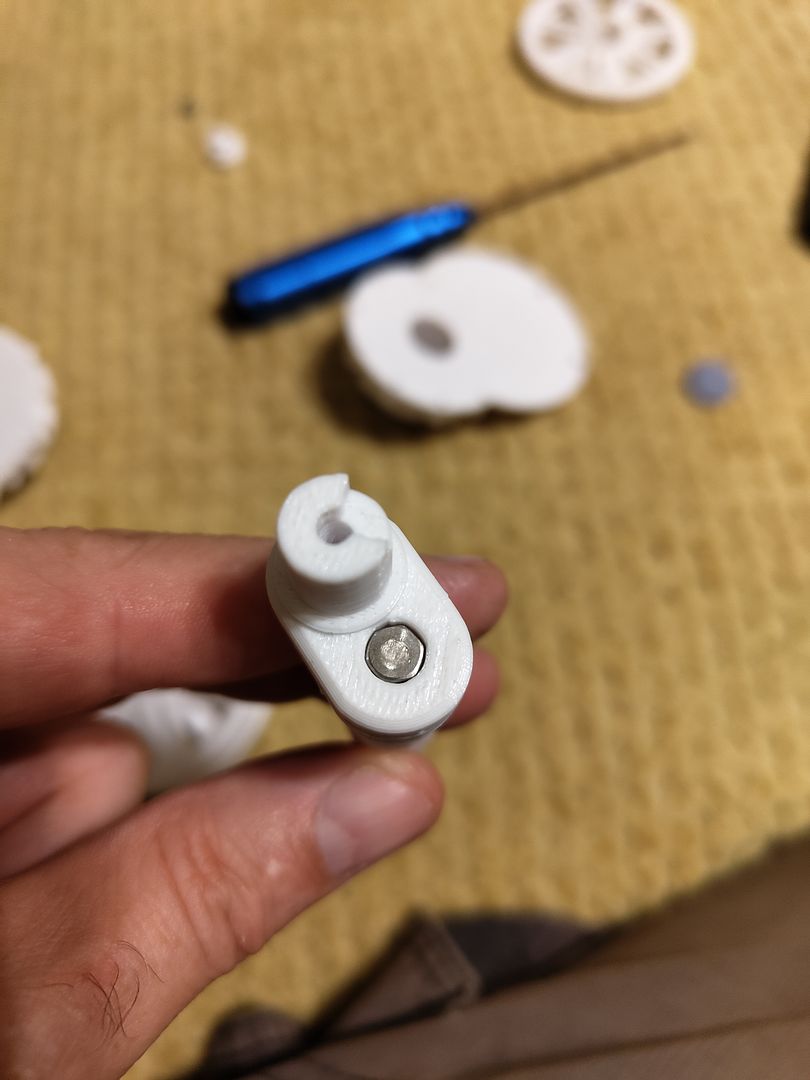
I redrew the track return rollers as the model had no covers to hide the screws holing them on.
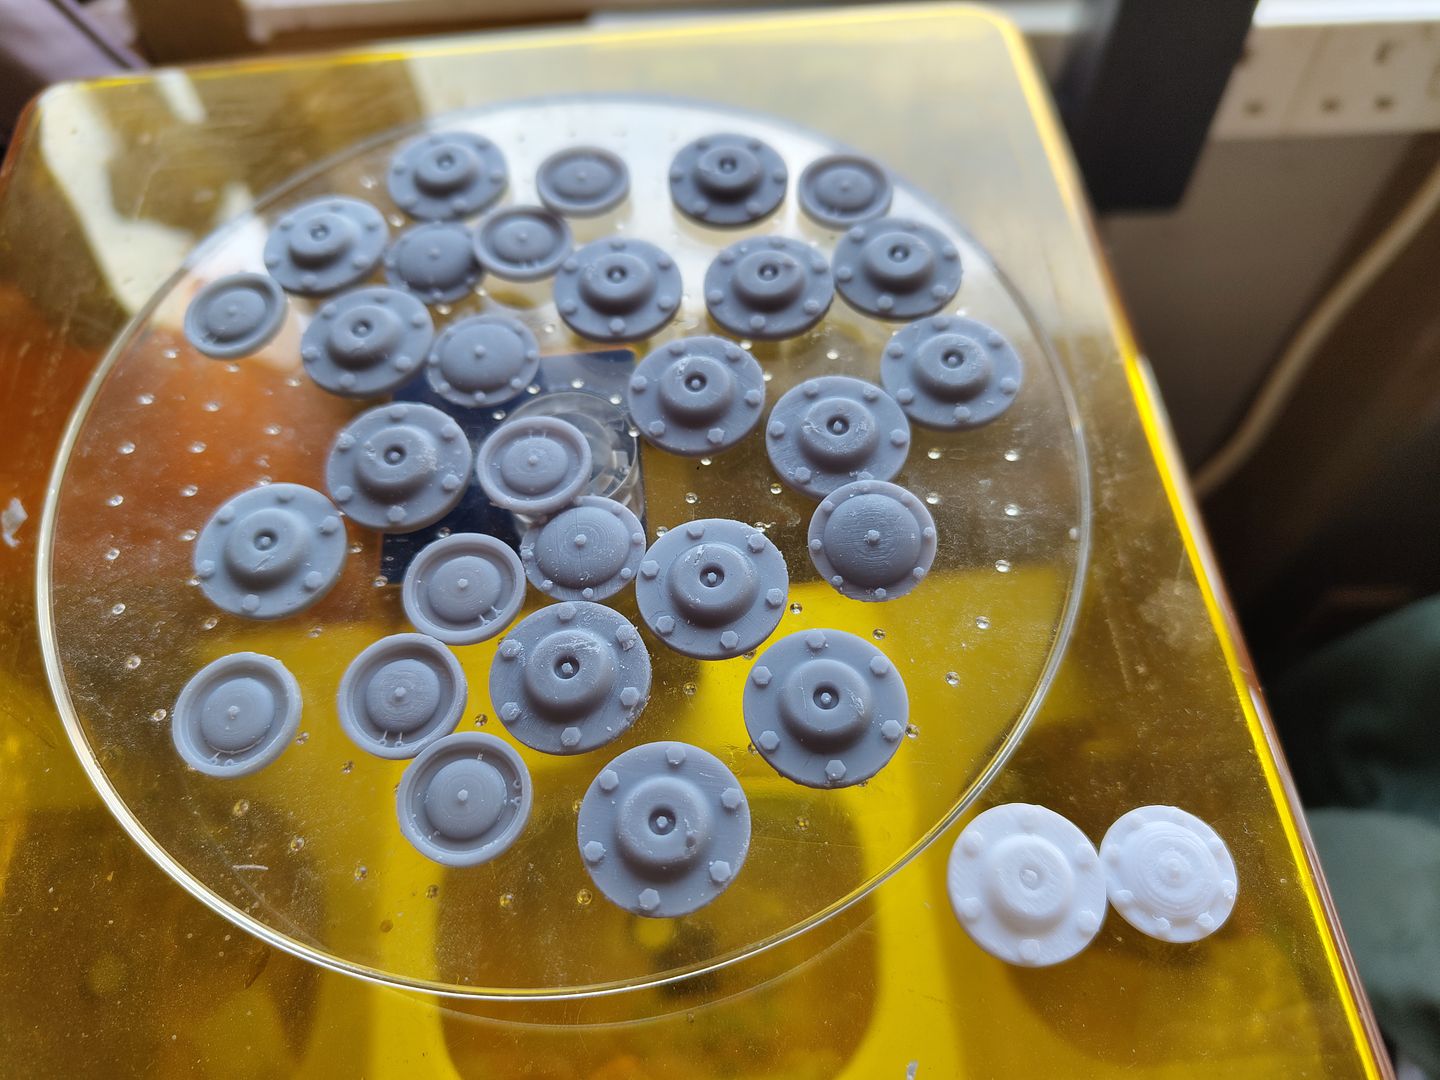
I drew up some covers for all the wheels and fired up the resin printer and just to compare them to the couple I printed on the other printer.
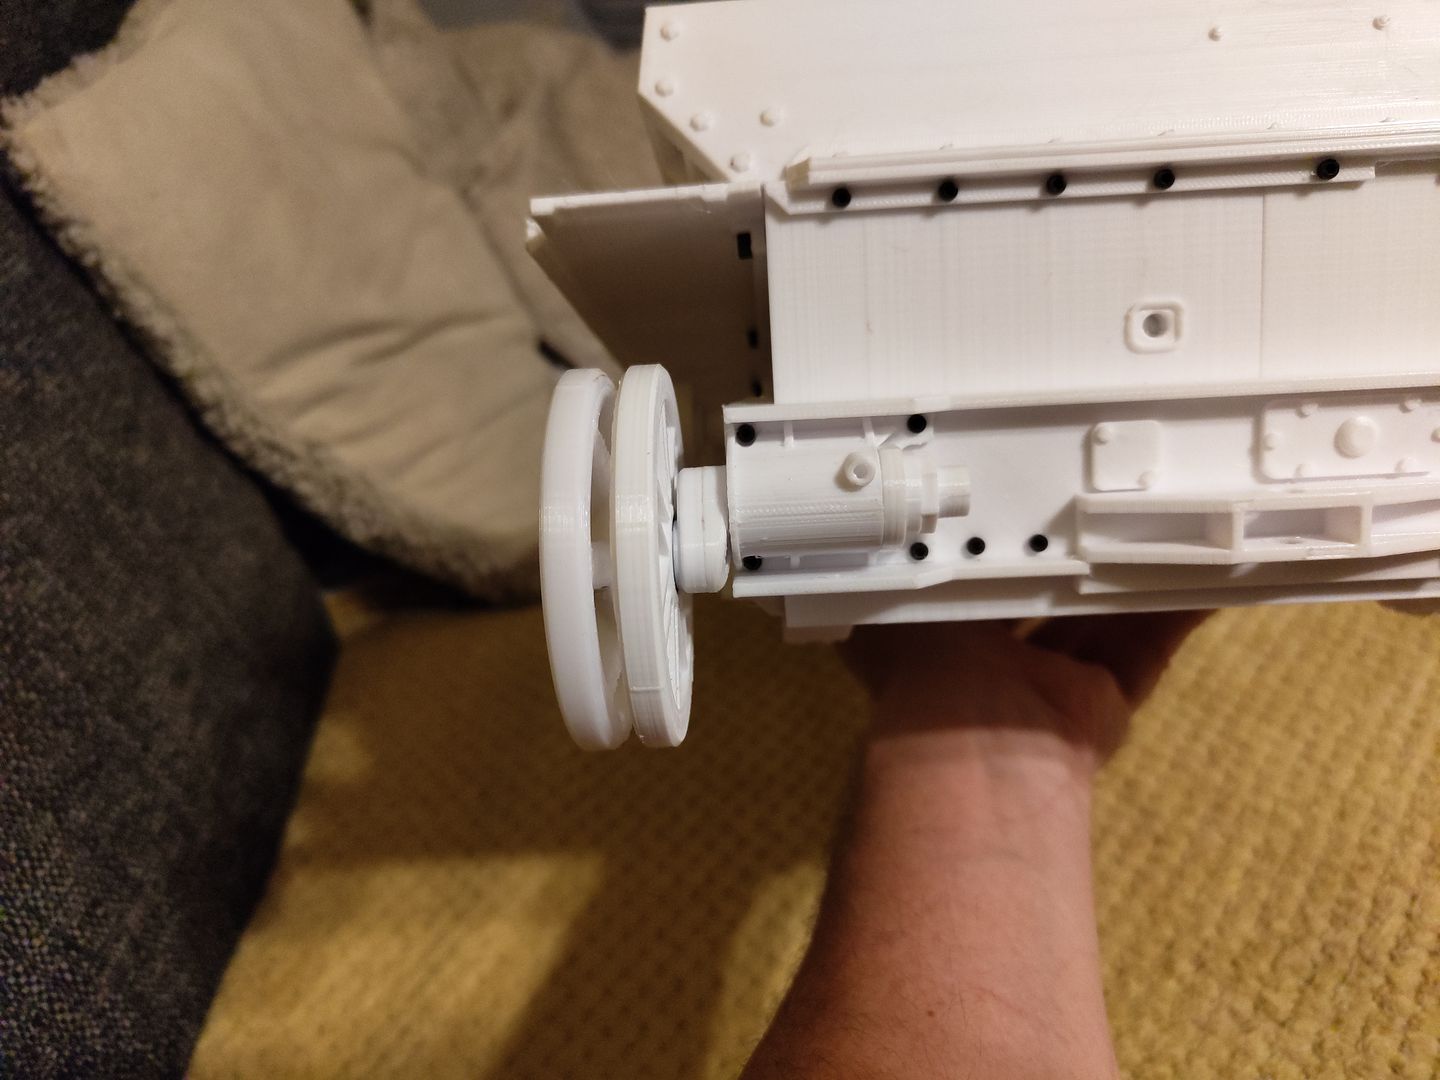
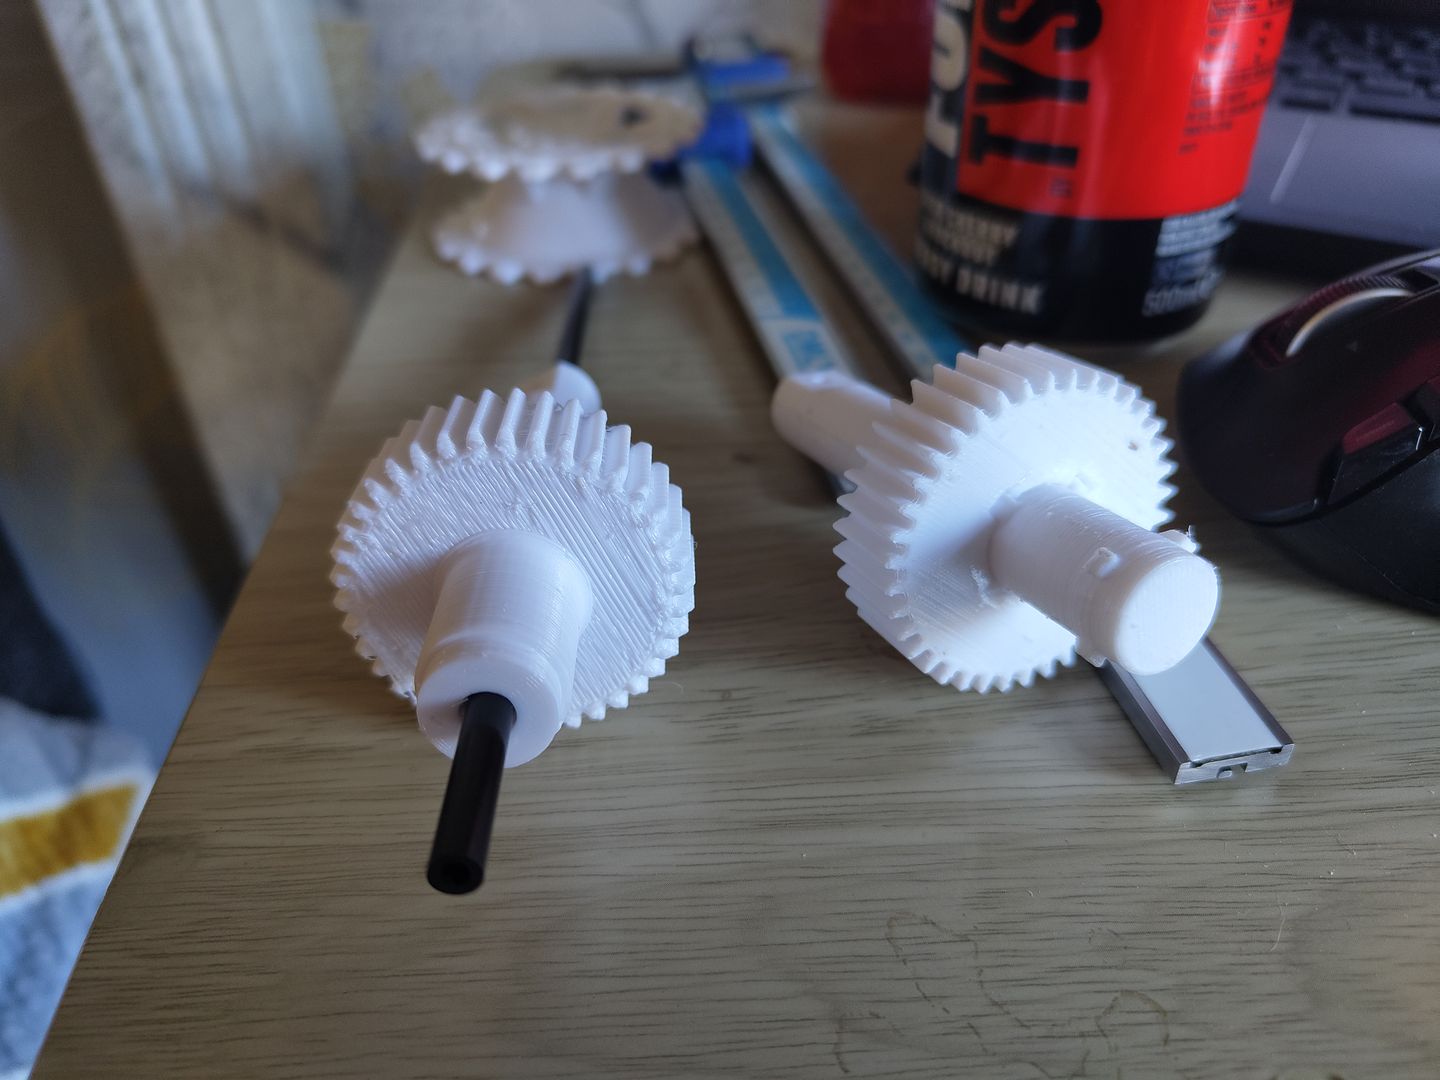
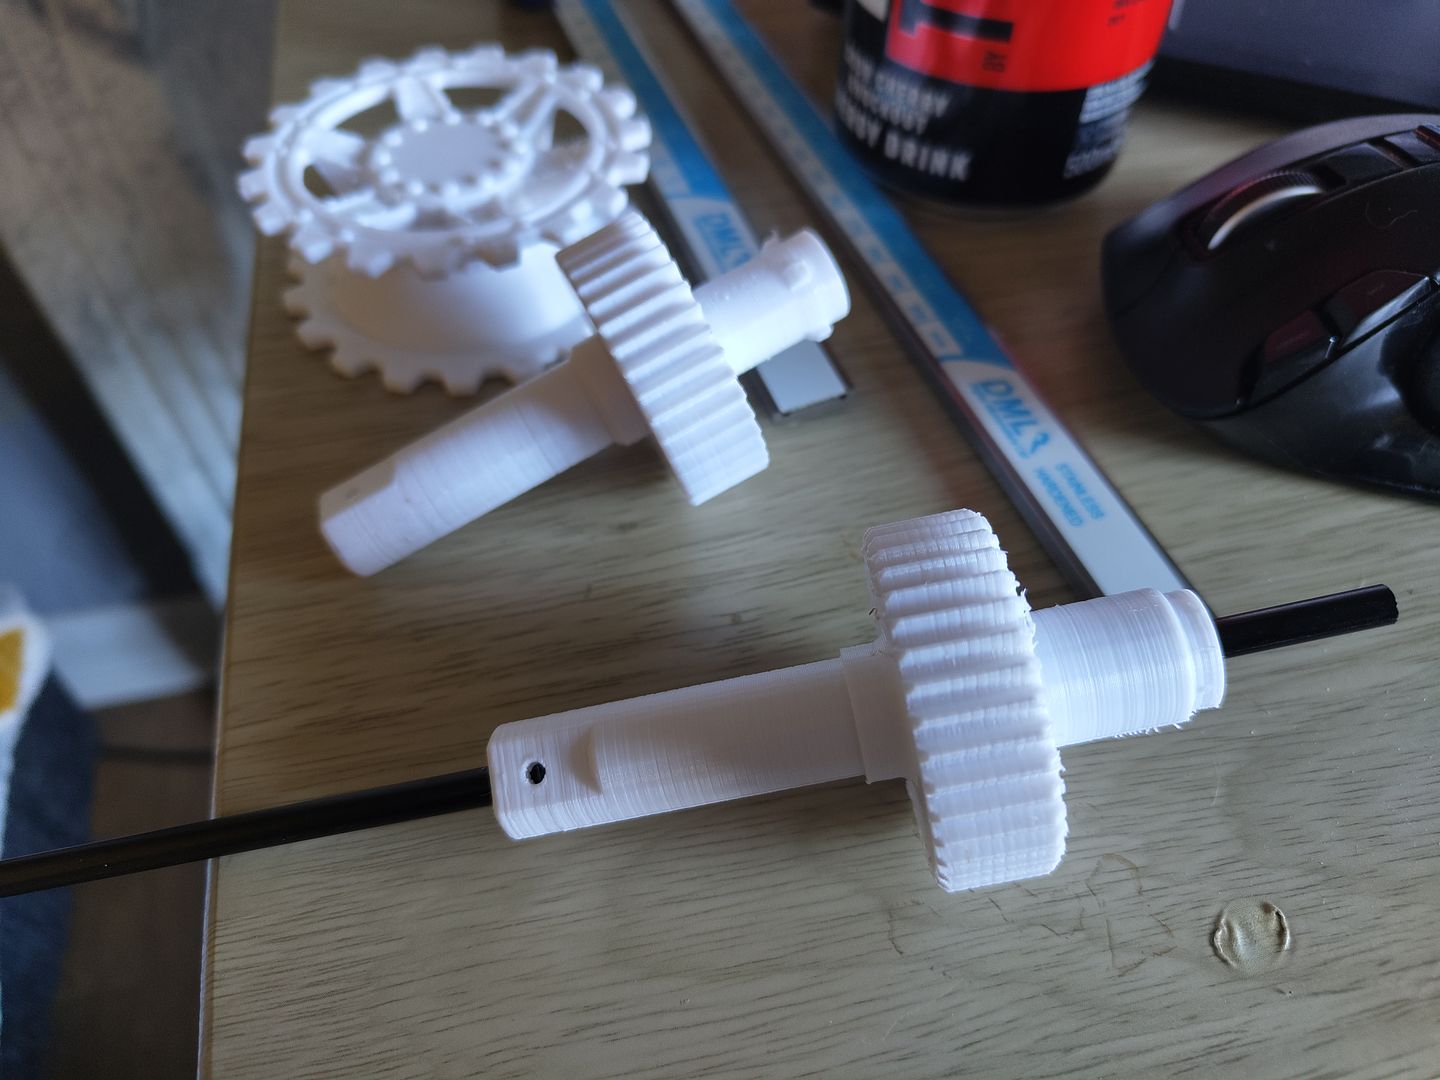
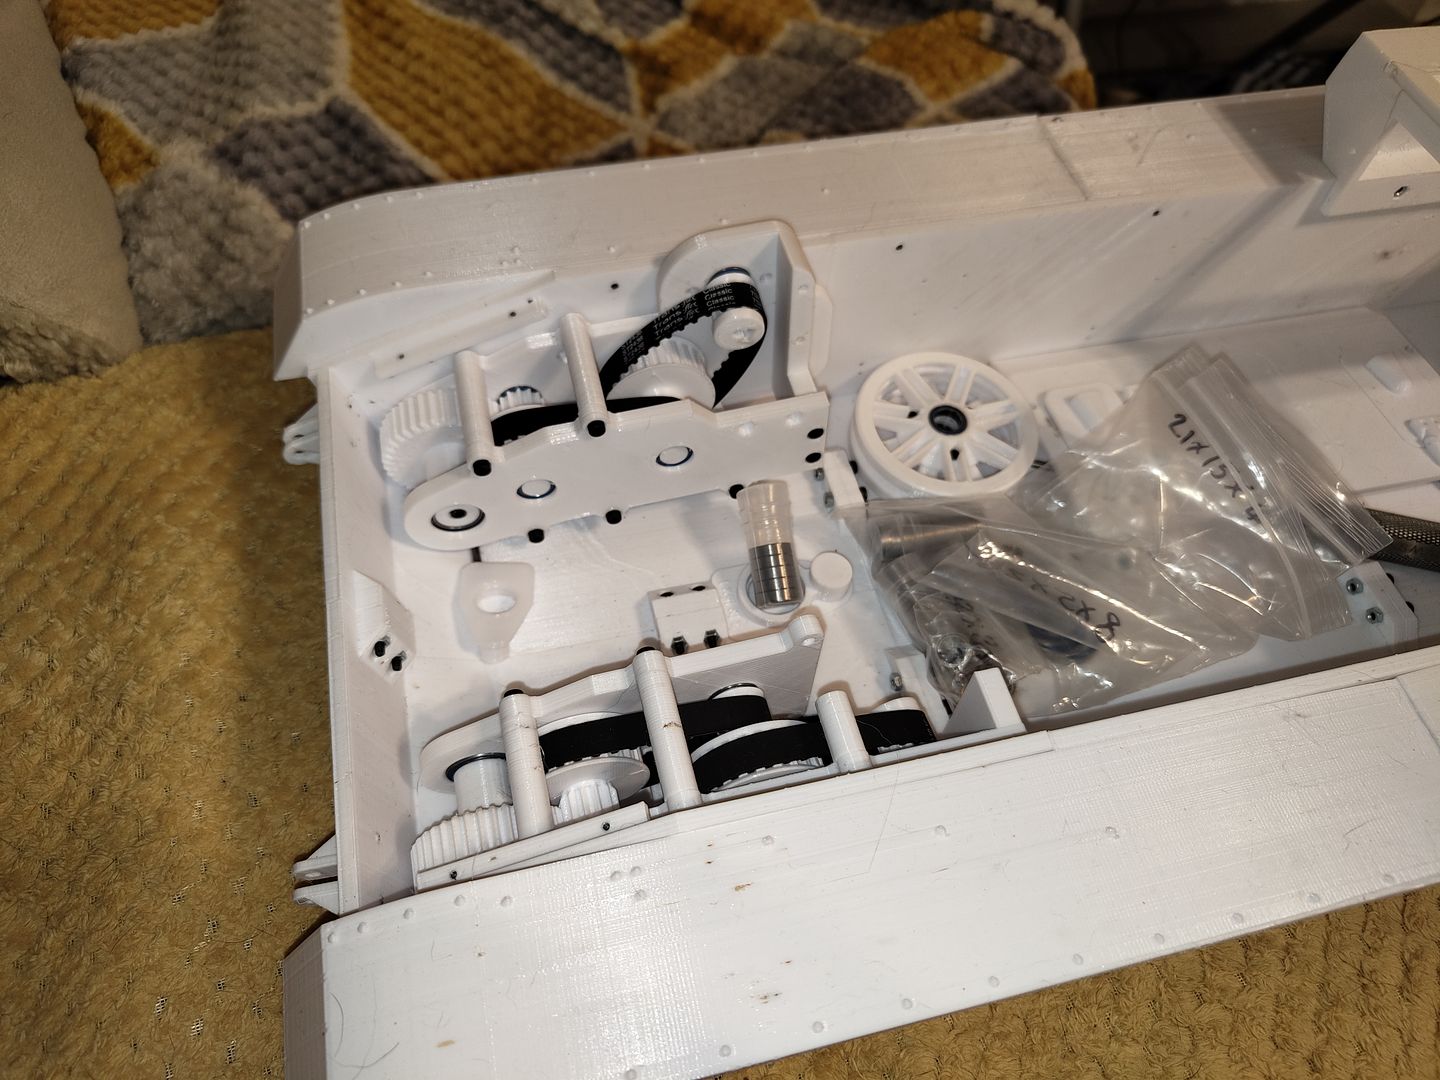
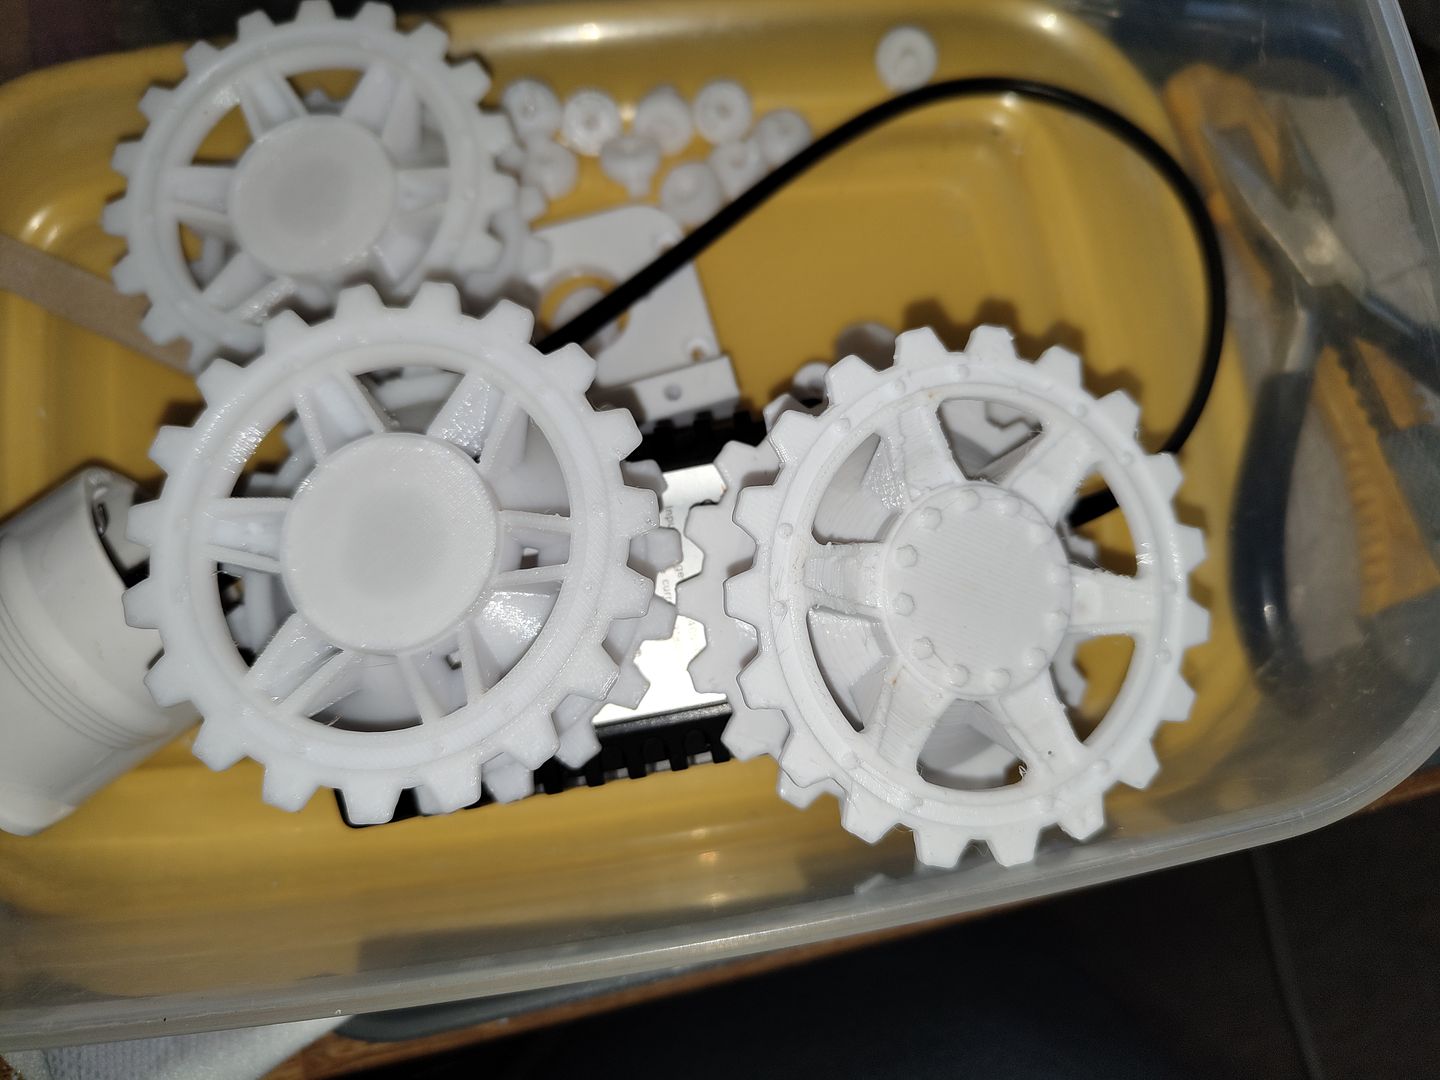
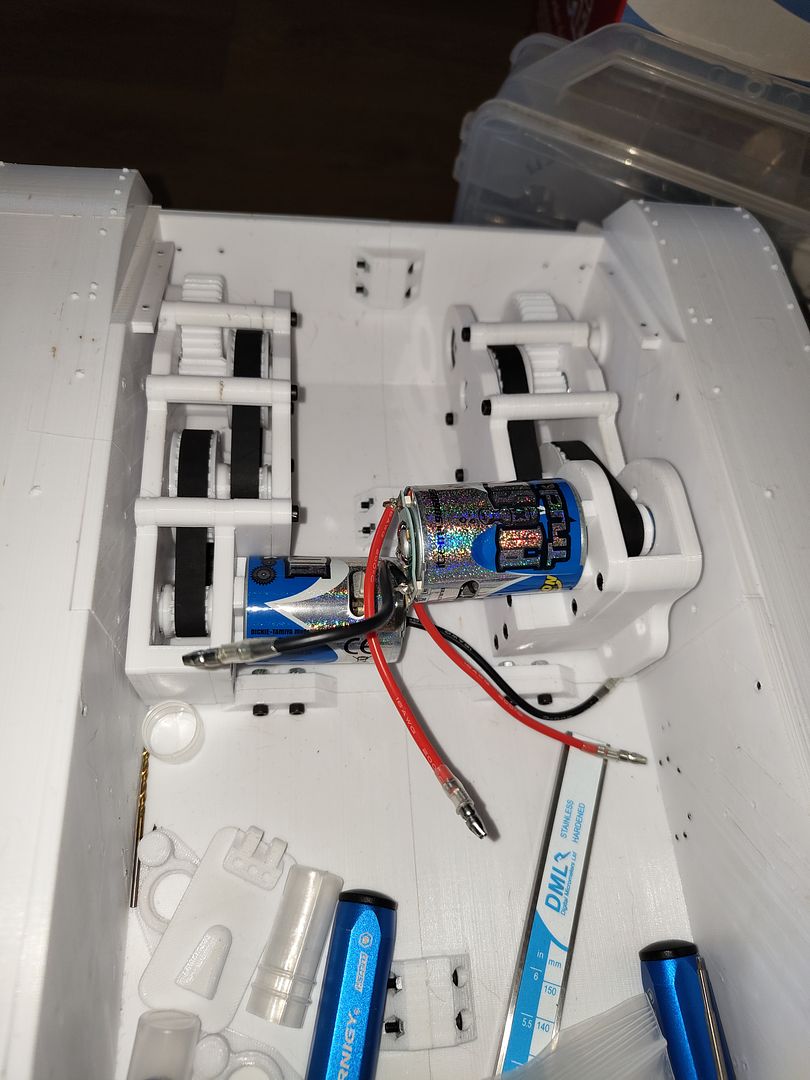
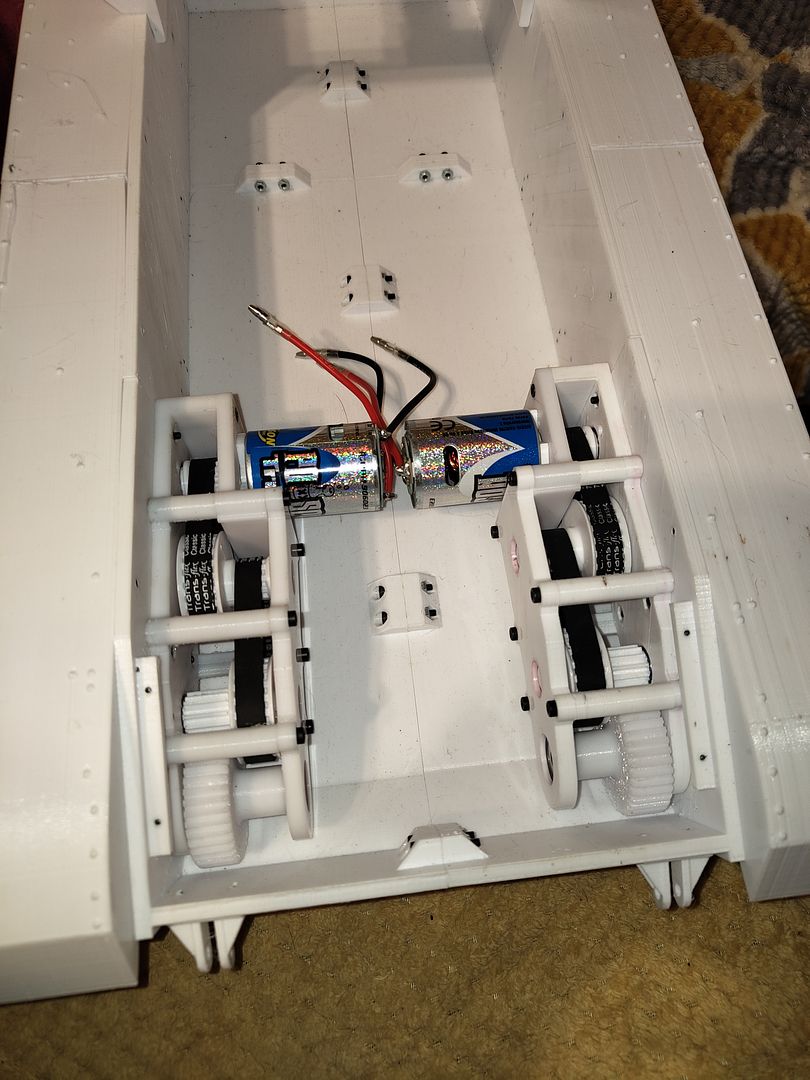
That's about as far as I have got with it the printer is burning the midnight oil printing gearbox parts as I want to get the hull into a rolling chassis less the tracks before I start to design and build the upper parts of the Brummbar but as I have a 1/16 kit under my belt it shouldnt take long to draw up its just a case of getting it to fit my printer bed.