s.I.G 33 Converion

All things 3D printing. Printers, design, CAD, hints and tips, models built.
User avatar
baldrick131
Lance Corporal
Posts: 140
Joined: Fri Oct 04, 2019 8:46 pm
Location: March cambridgeshire
Contact:

Re: s.I.G 33 Converion

Post by baldrick131 »

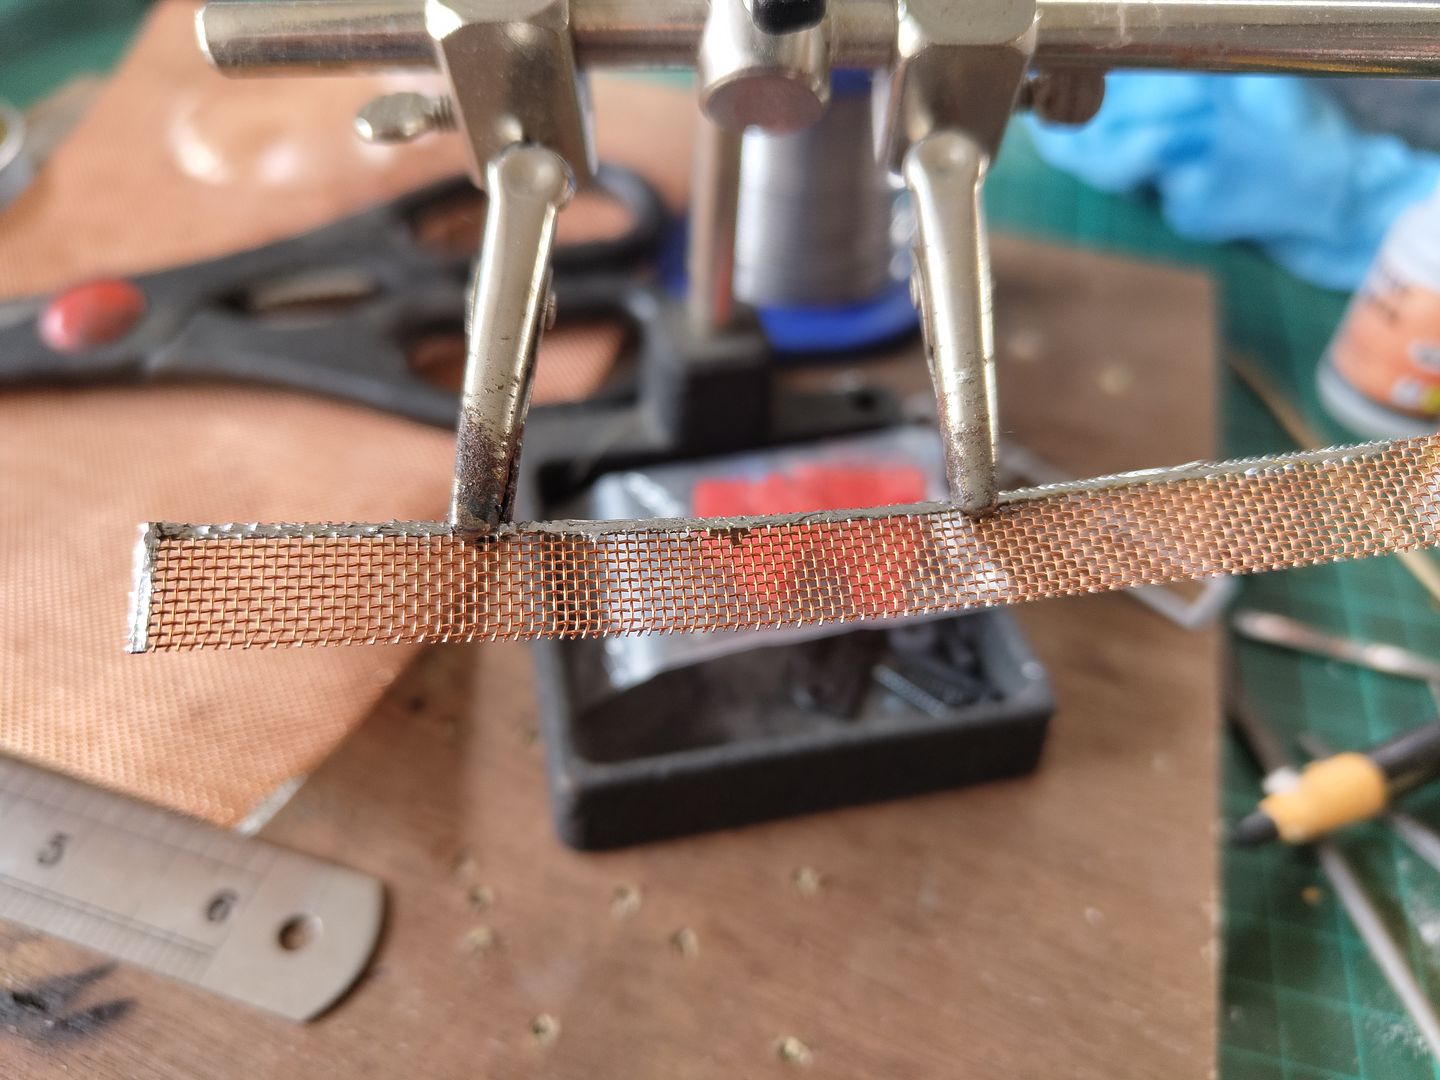
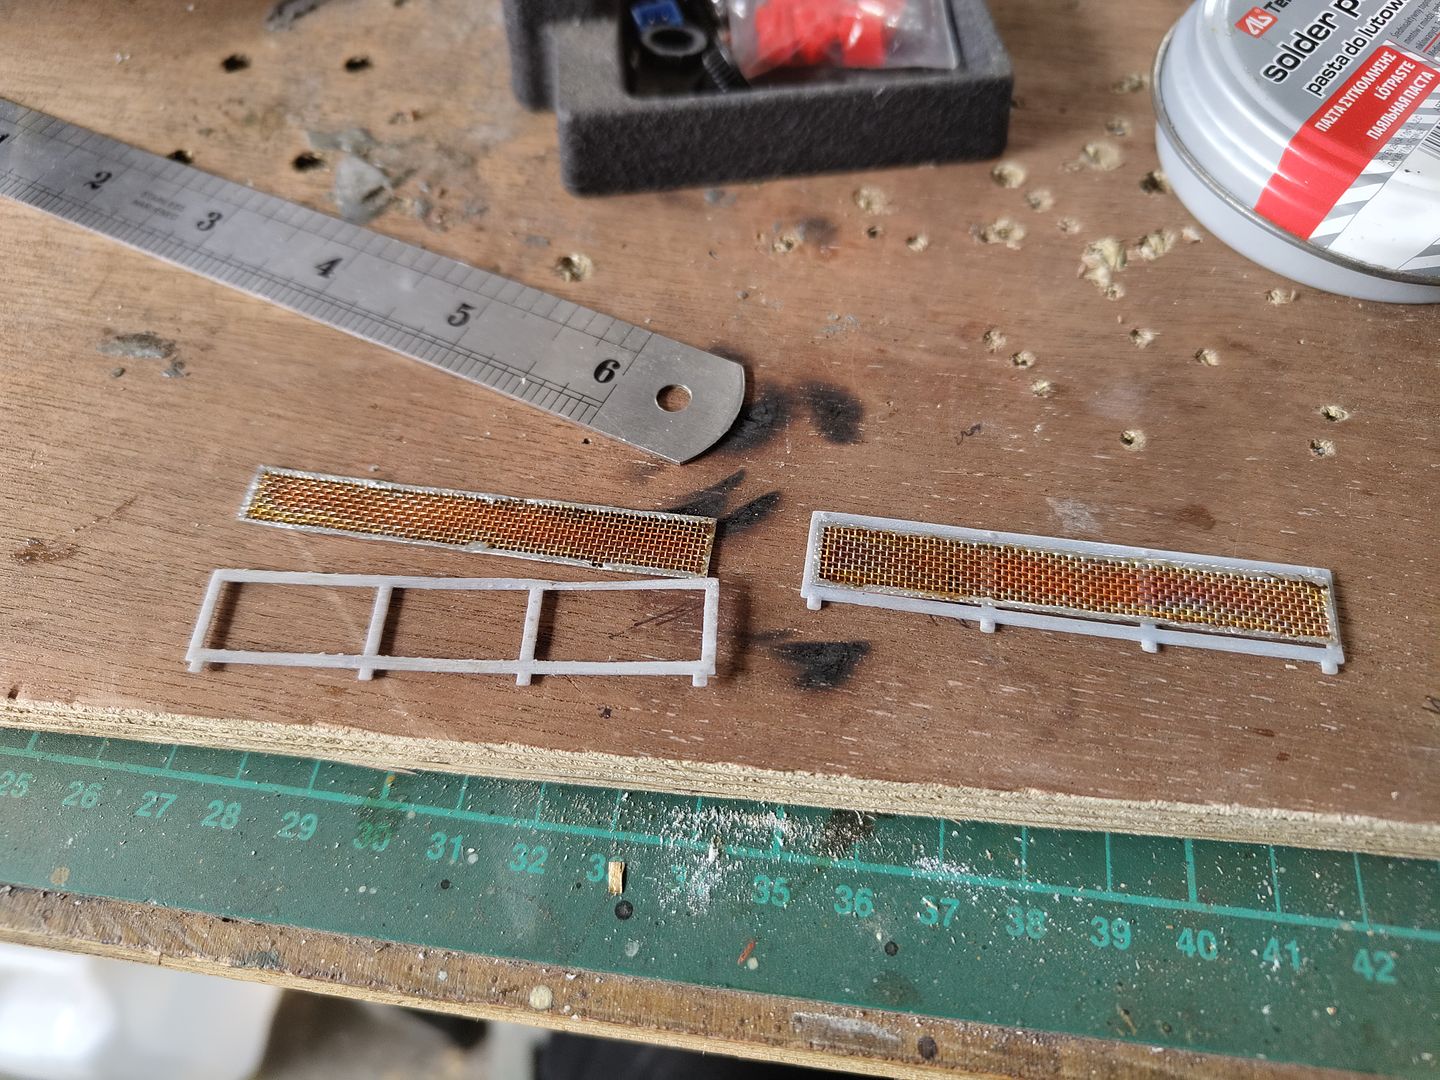
I have been making the vent grills from some copper wire mesh I had laying around I started by cutting a strip the right width and carefully running a bead of solder along the edges.Image
Then cut to length and carefully solder along the edges again and as the real ones sit over the top of the frames I made them so they just sit on the ends so I could glue them in 4 places.
Image
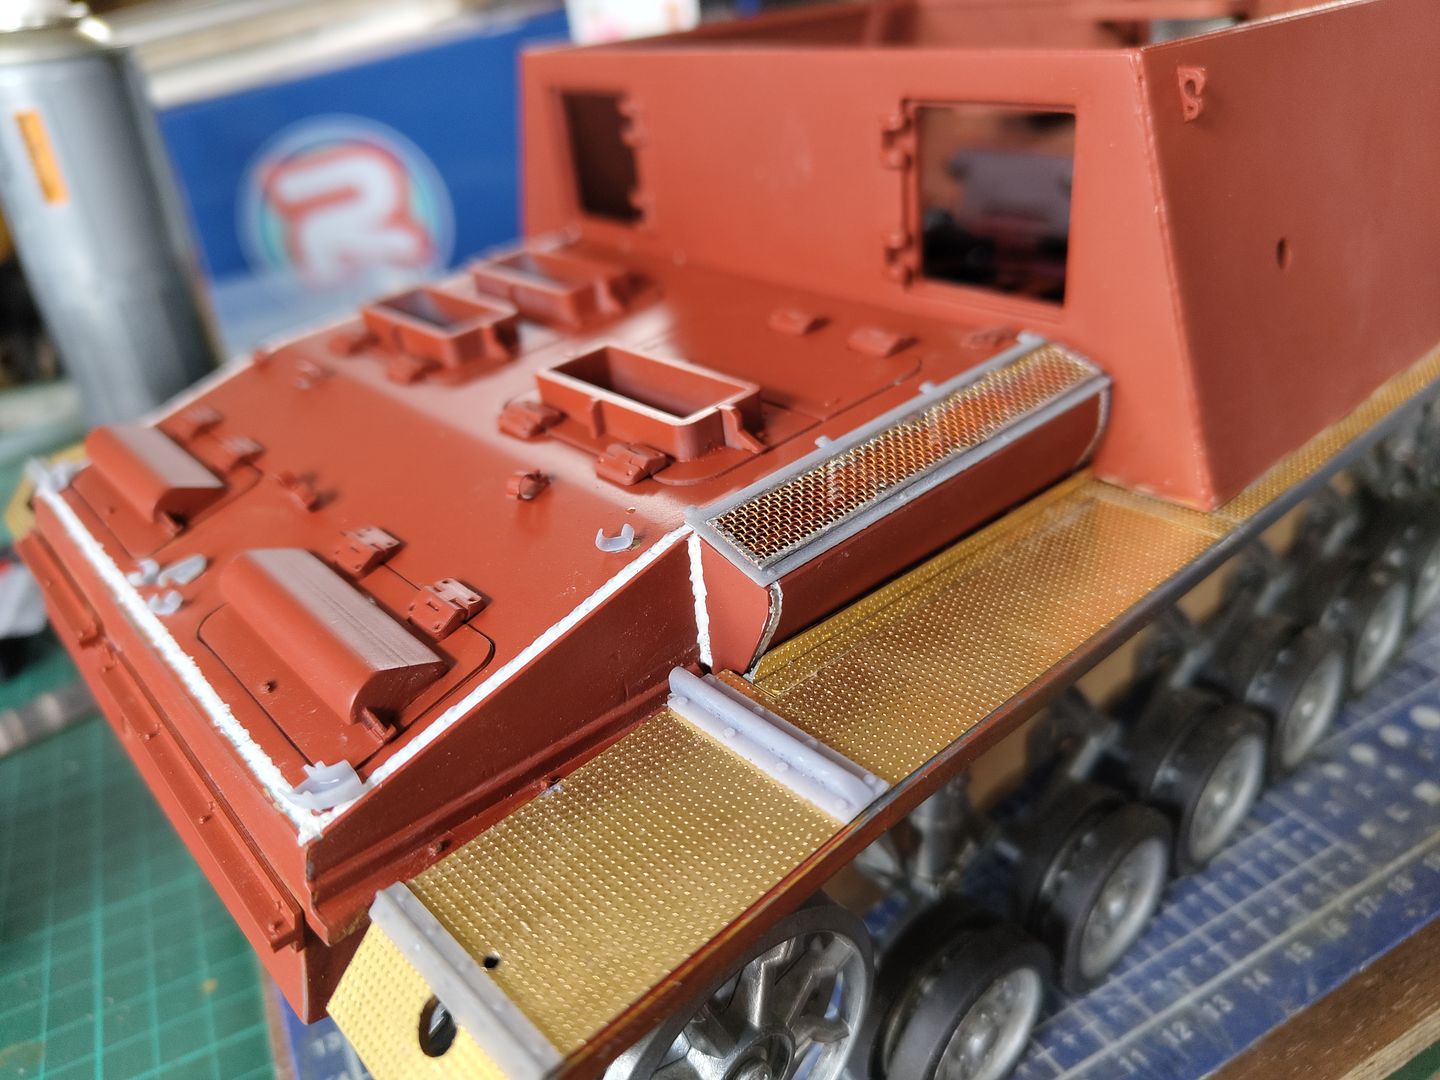
And this is how they look and are ready to apply some paint.
Image
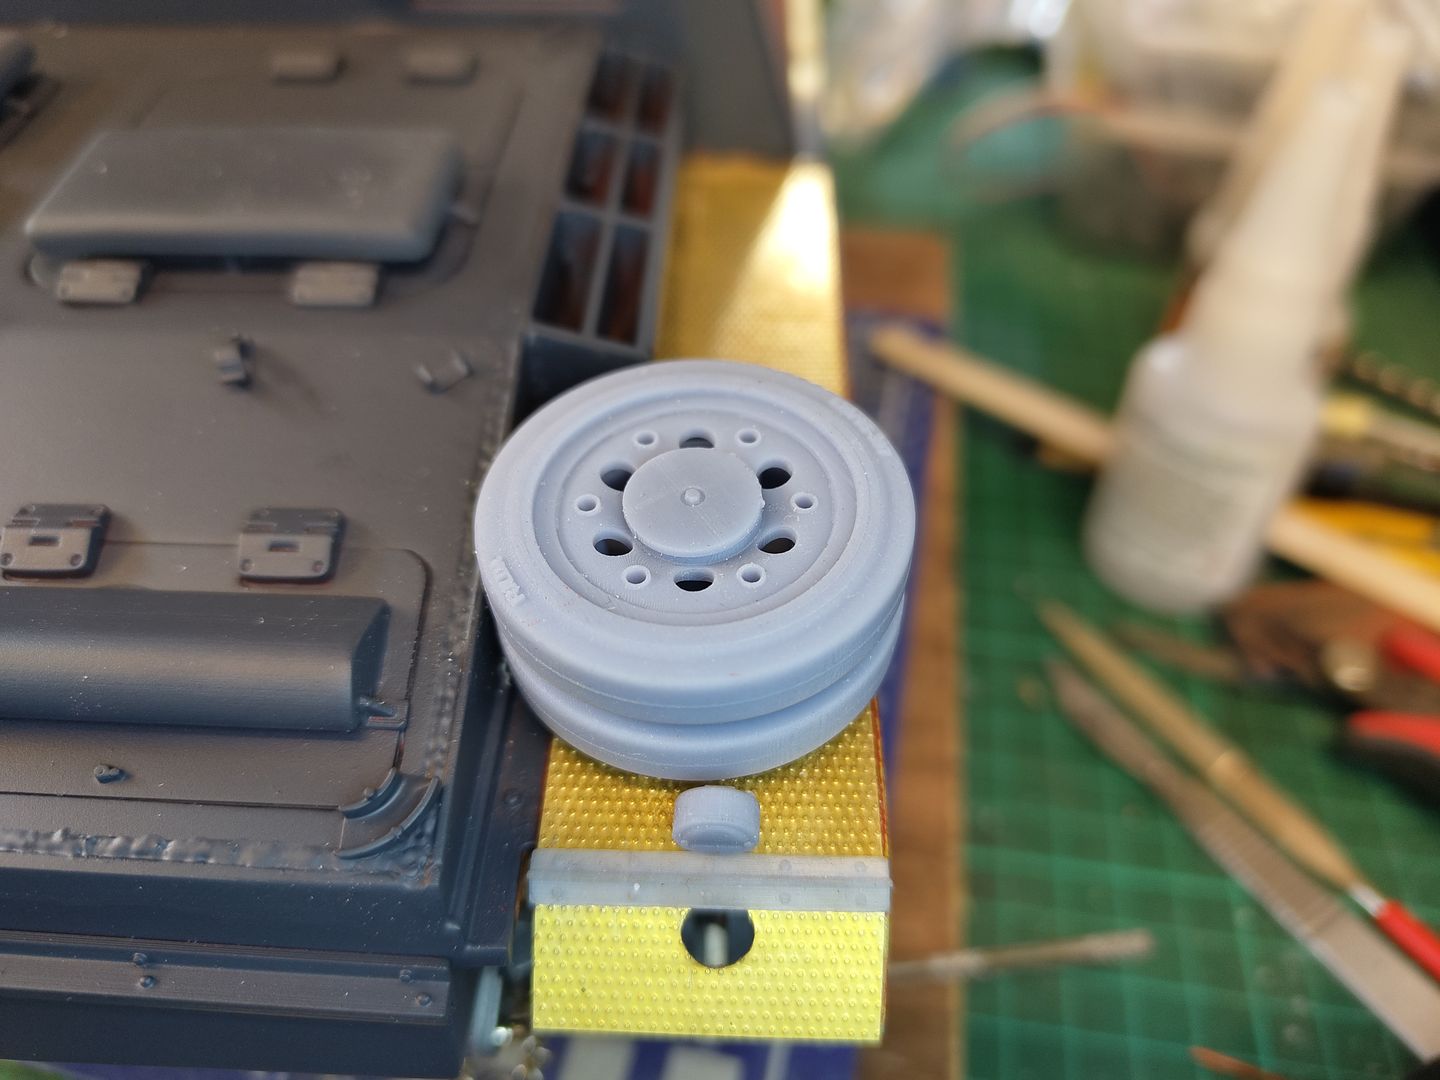
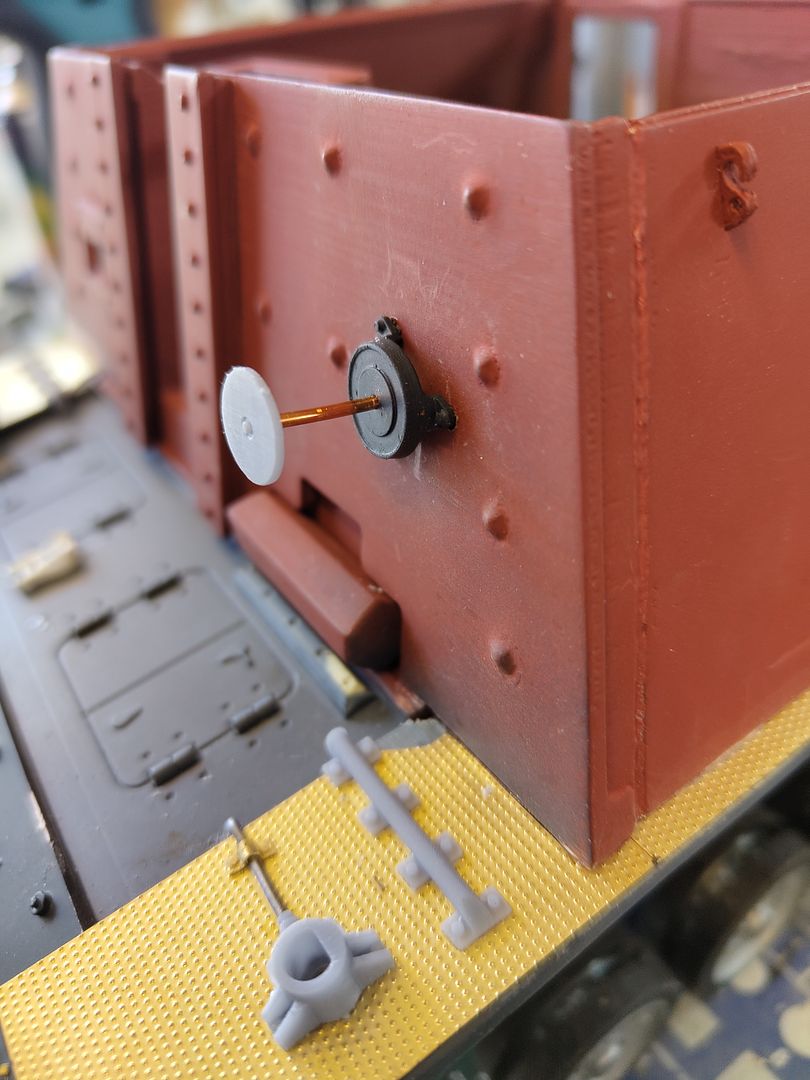
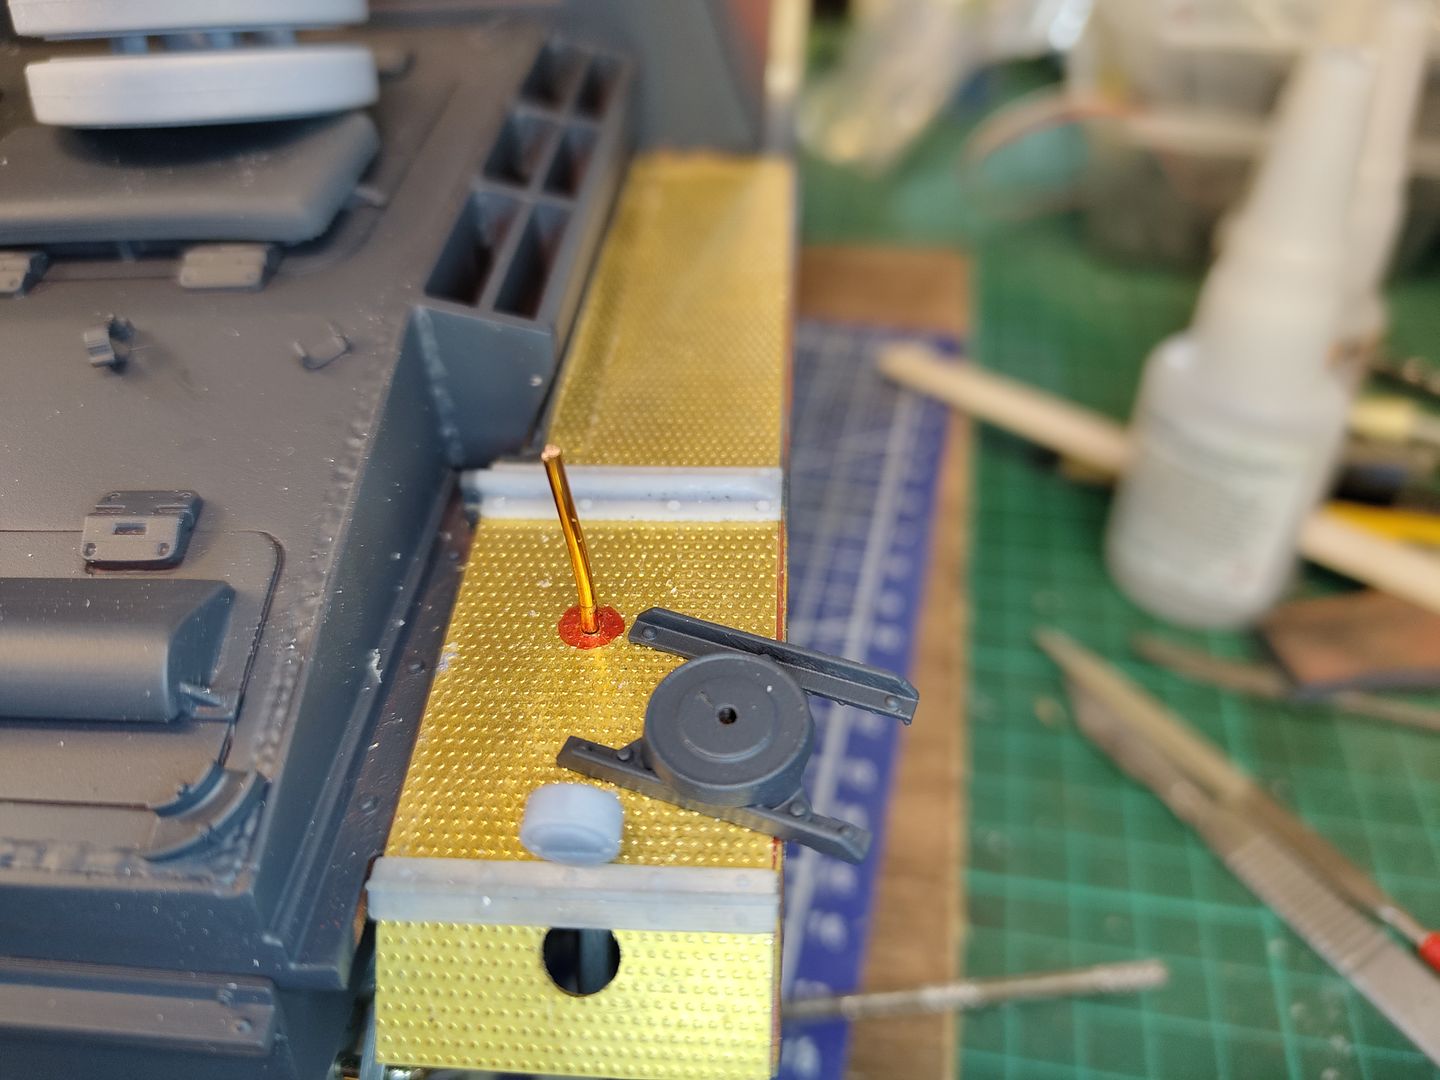
After the paint had dried it was time to add the wheel mounts on the mudguards I pre painted the brackets with a hole instead of the ones with the post on because I drilled a hole in the mudguard and glued a piece of wire in it before placing the bracket over and gluing down.
Image
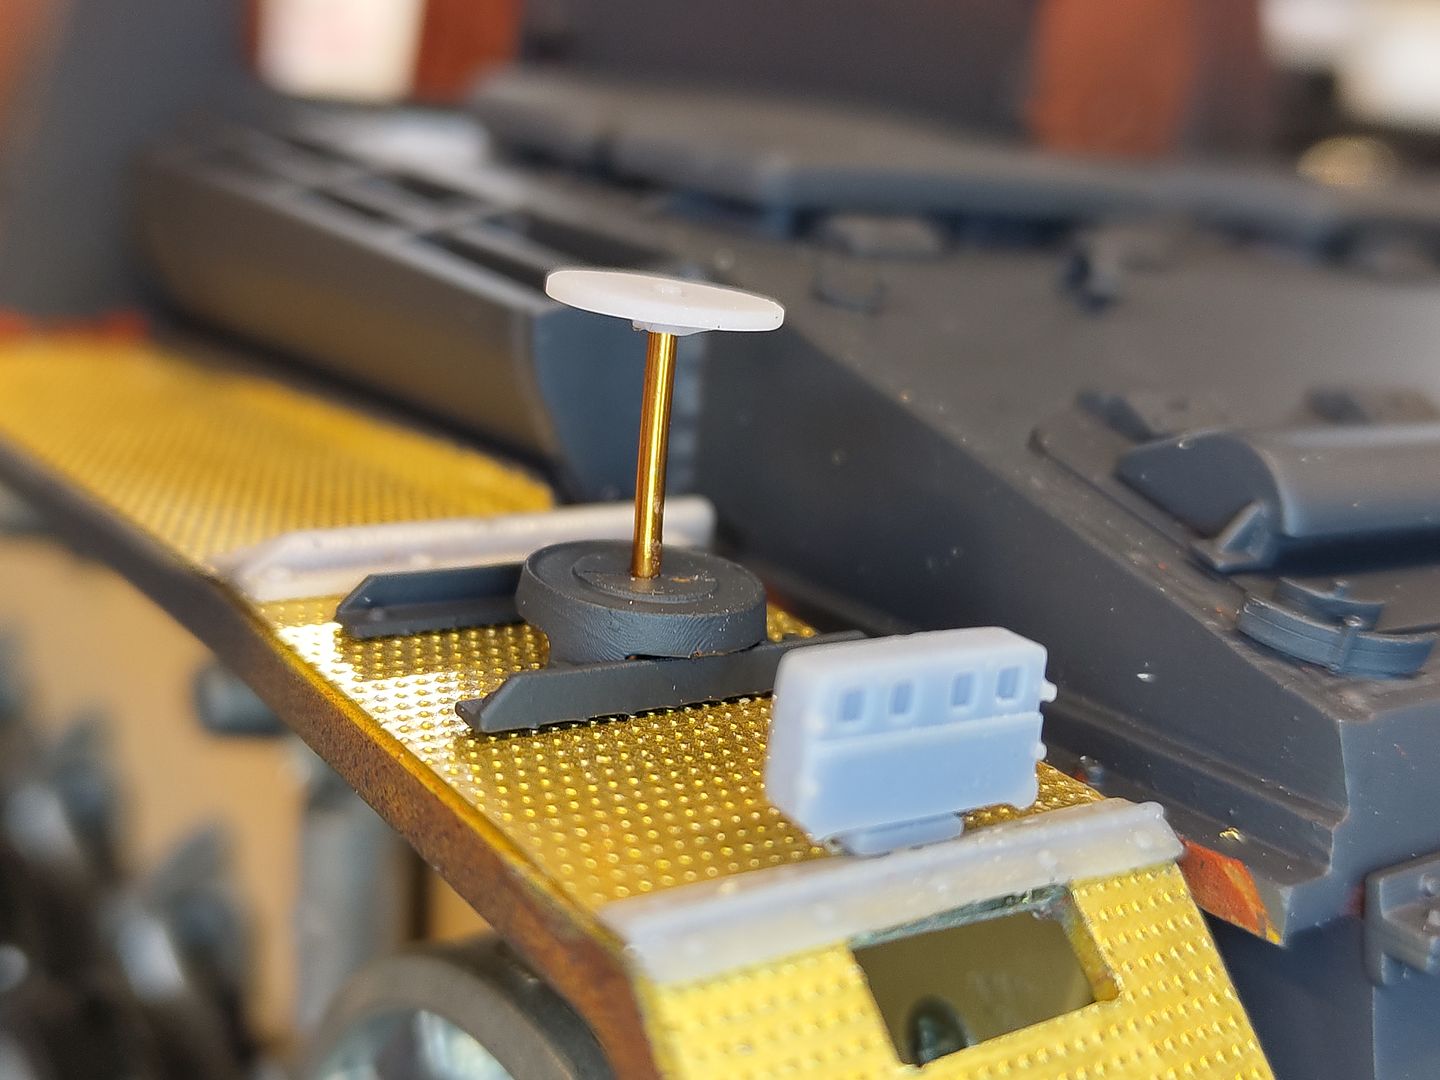
When the wire is cut to length the wheel can be added and a capping plate placed on top of just the cap for an empty mount.
Image
Image
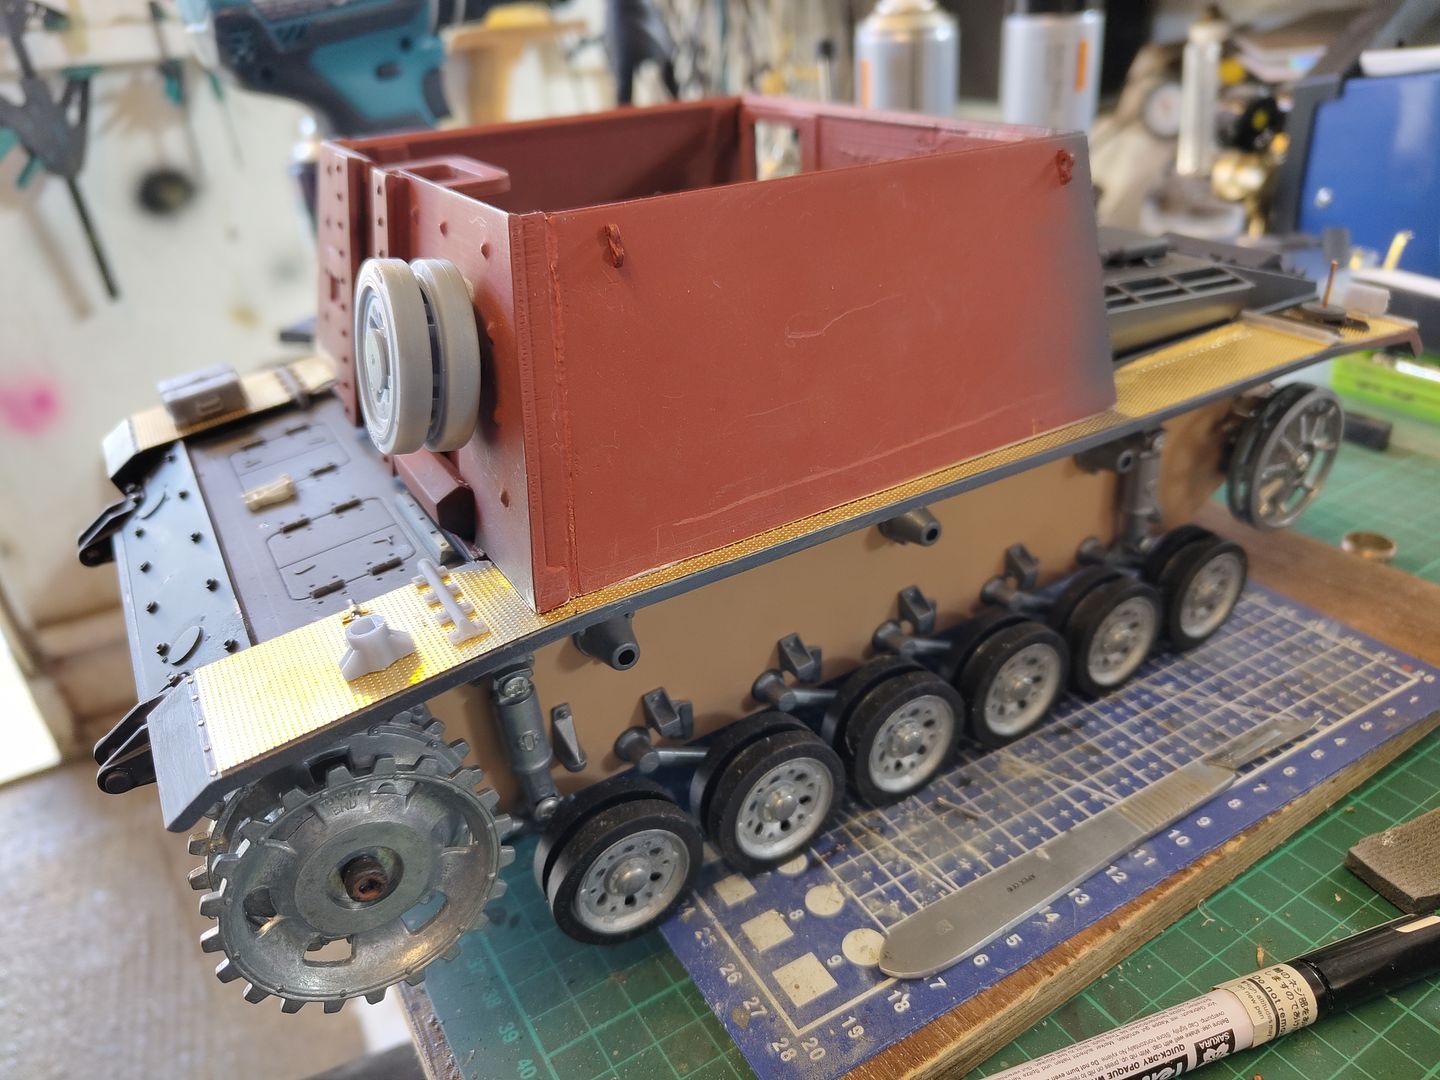
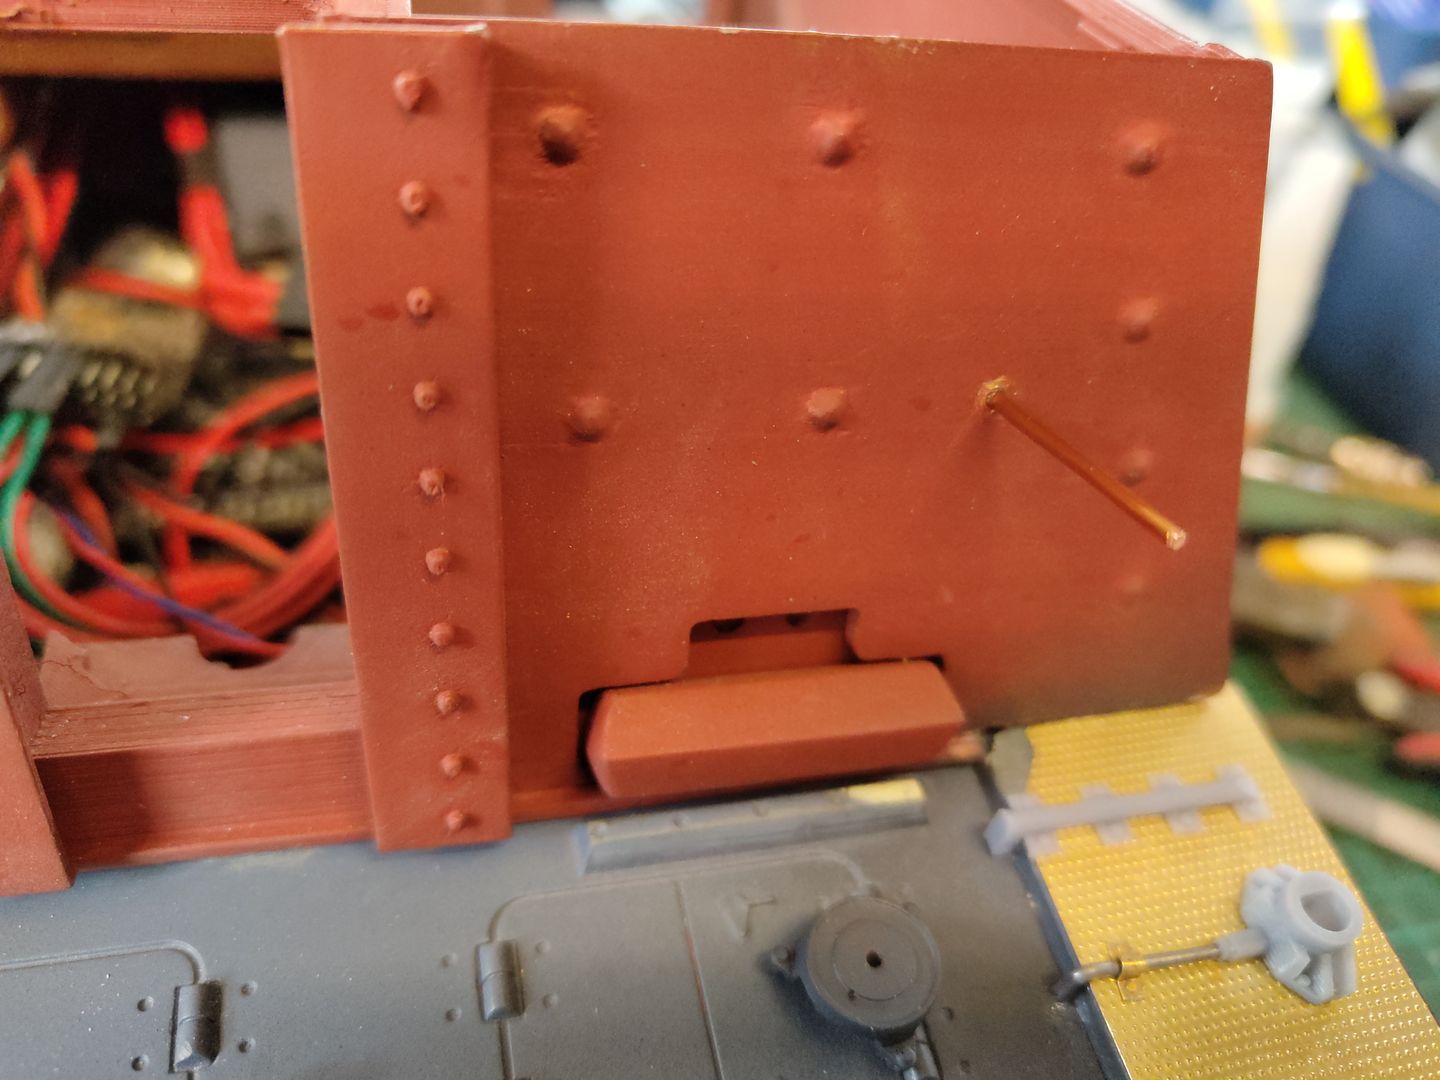
I also wanted to place a spare wheel above the drivers vision slot so I drilled and glued a piece of wire then glued a mount on the hull.
Image
Image
Image
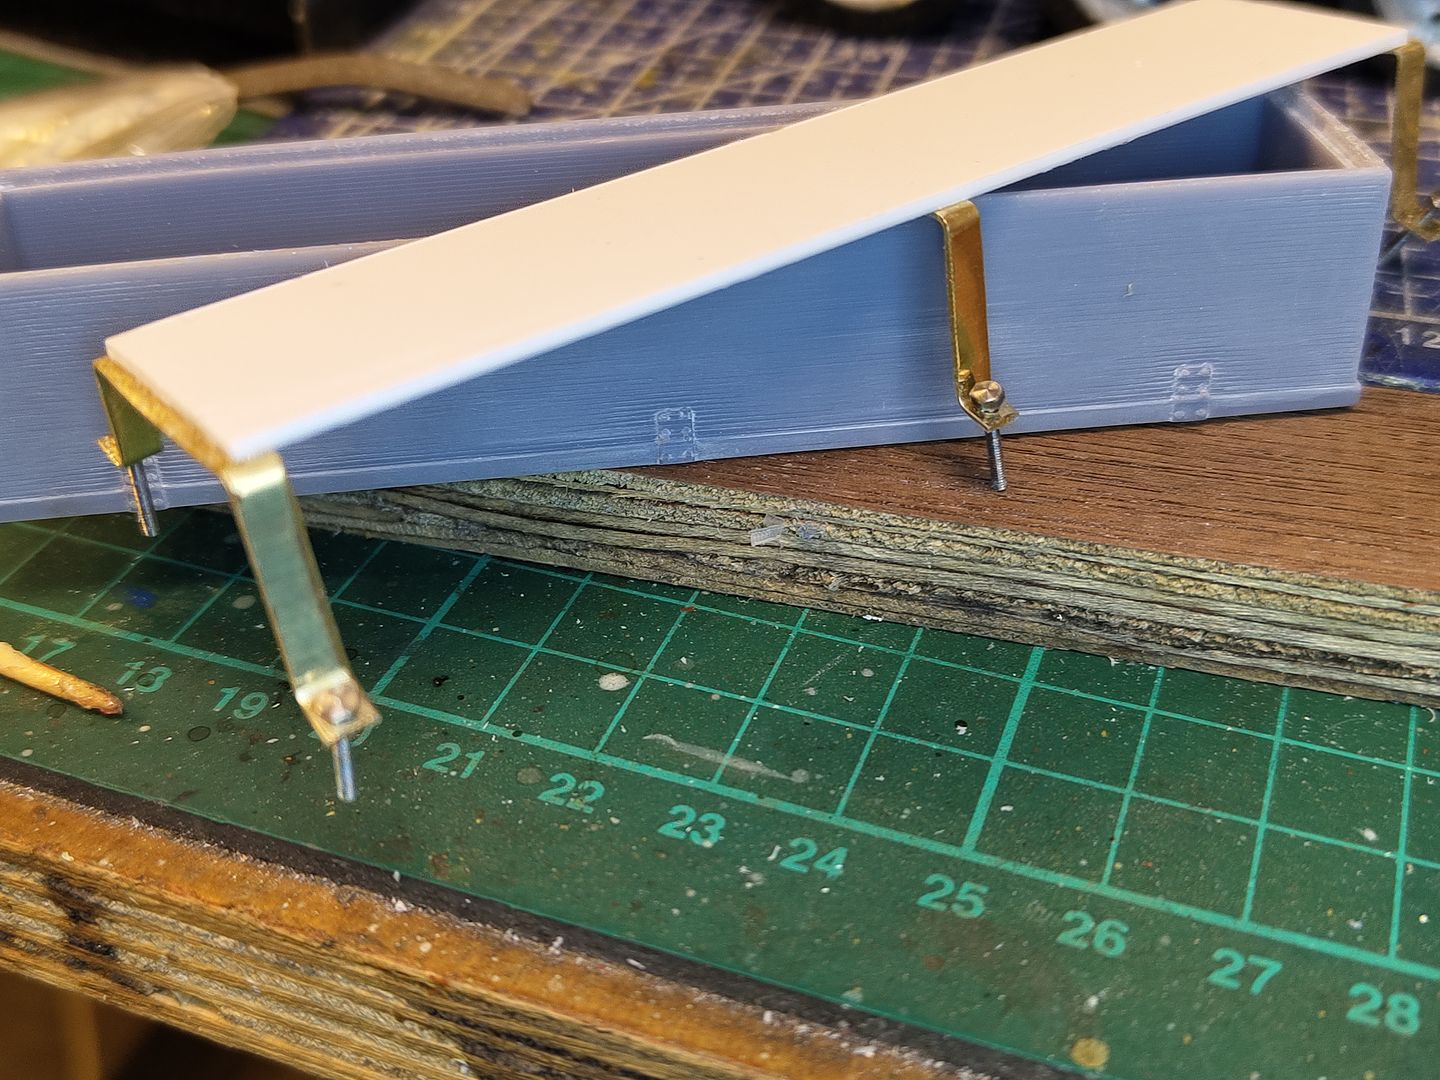
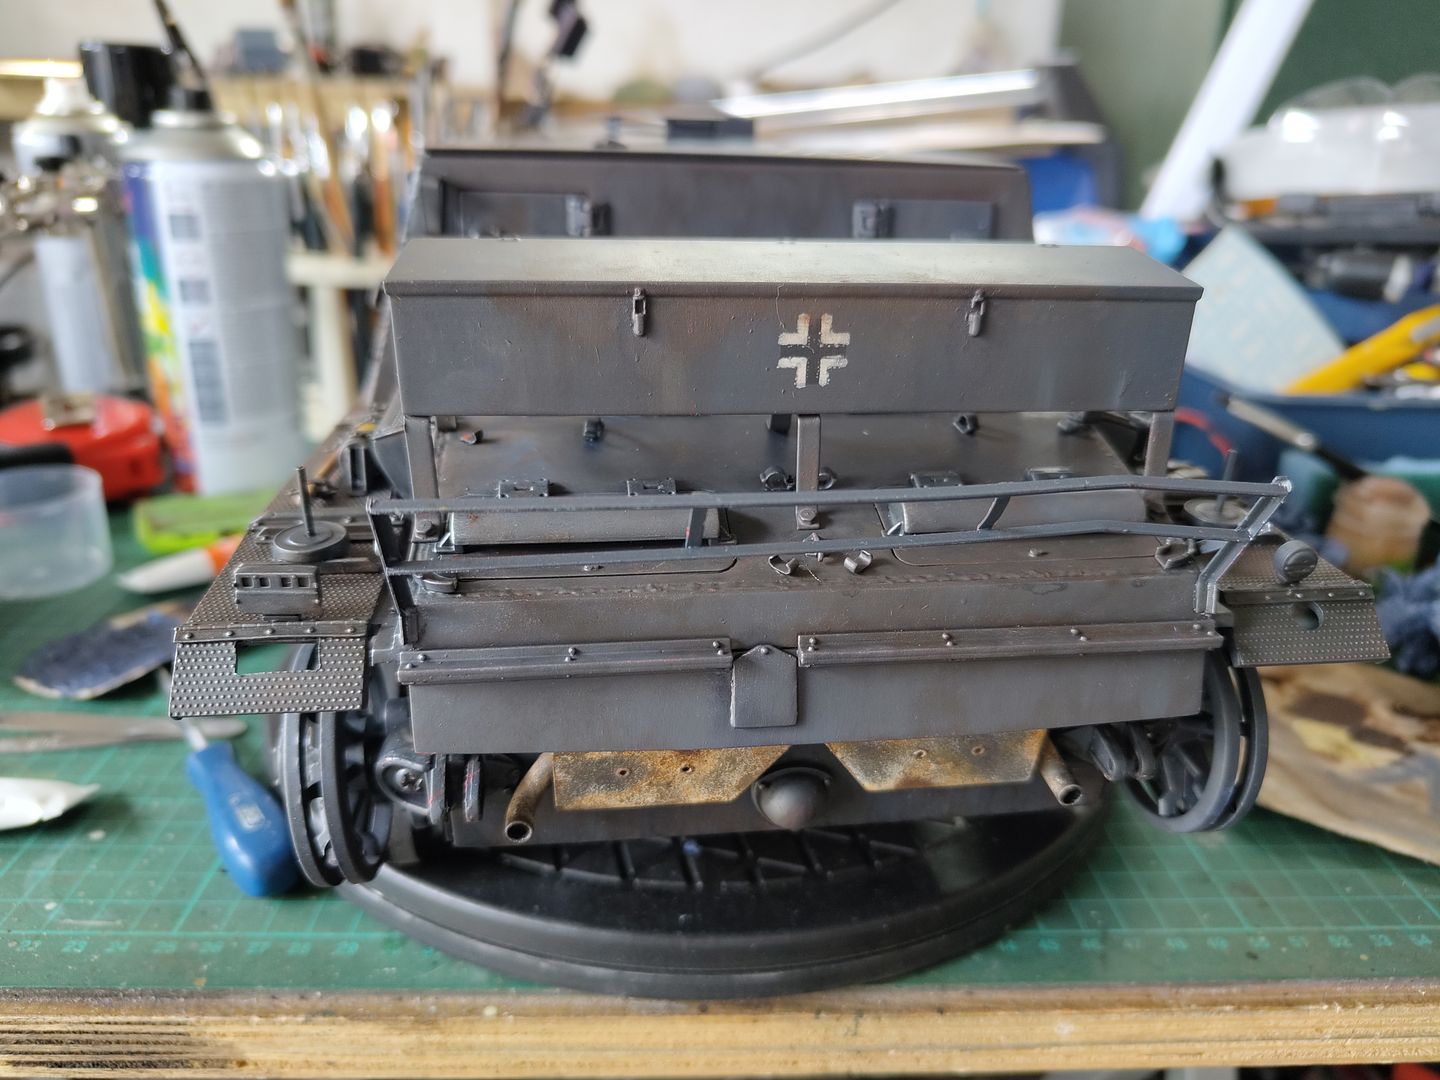
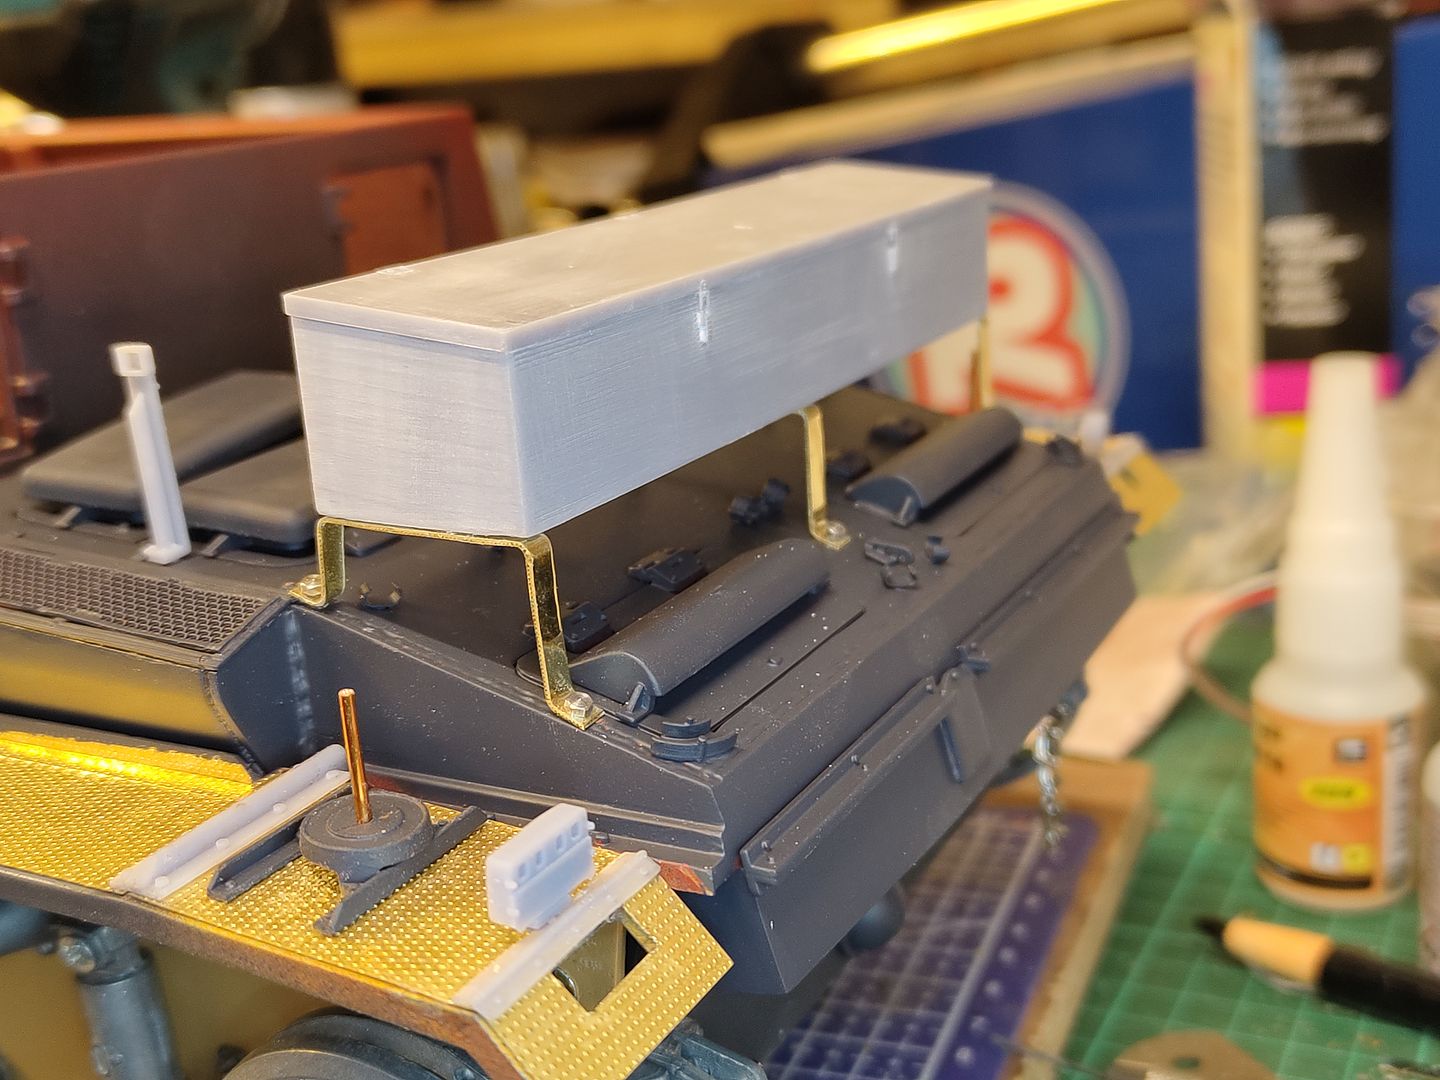
I have designed a box to fit over the back of the rear deck as a hollow upper shell that I printed with a recess to put a piece of plasticard and I cut up and folded some legs and drilled some mounting holes and transferred the holes in the rear deck after which I glued some small bolts in the legs because I want to just push them into the holes and it hold itself in place so I can easily remove when I want to.
Image
Image
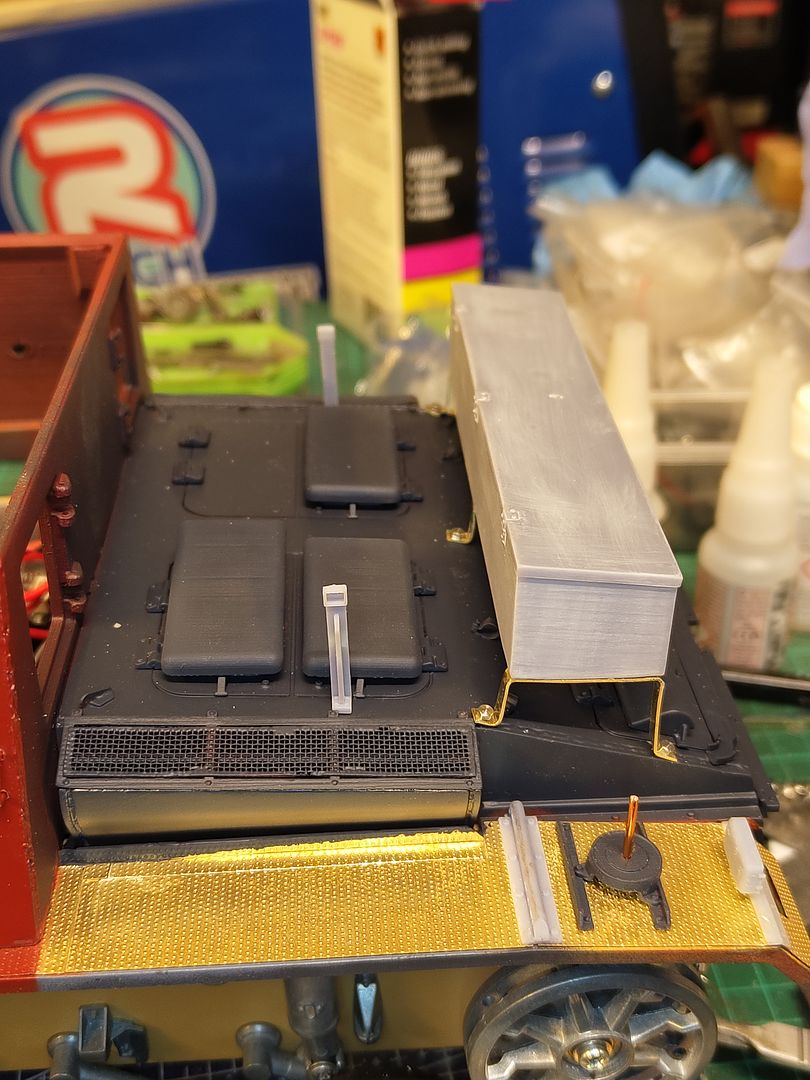
I also designed a post that is for another box but I'm just having the posts fitted.
Image
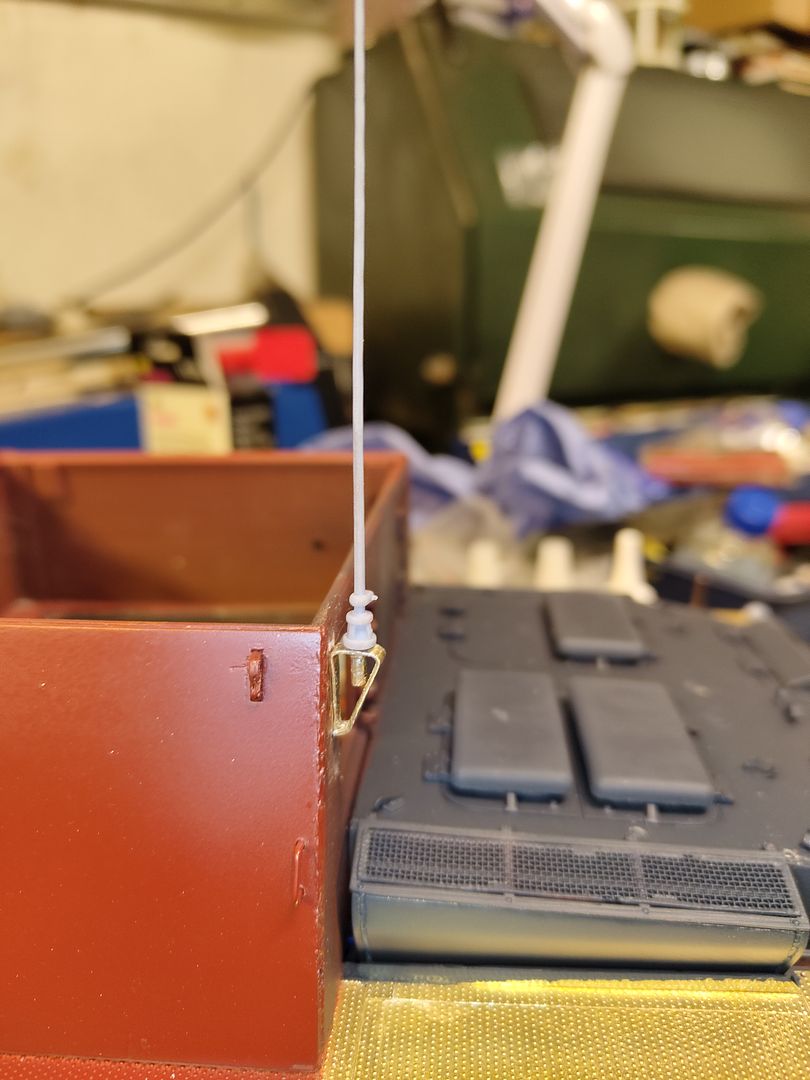
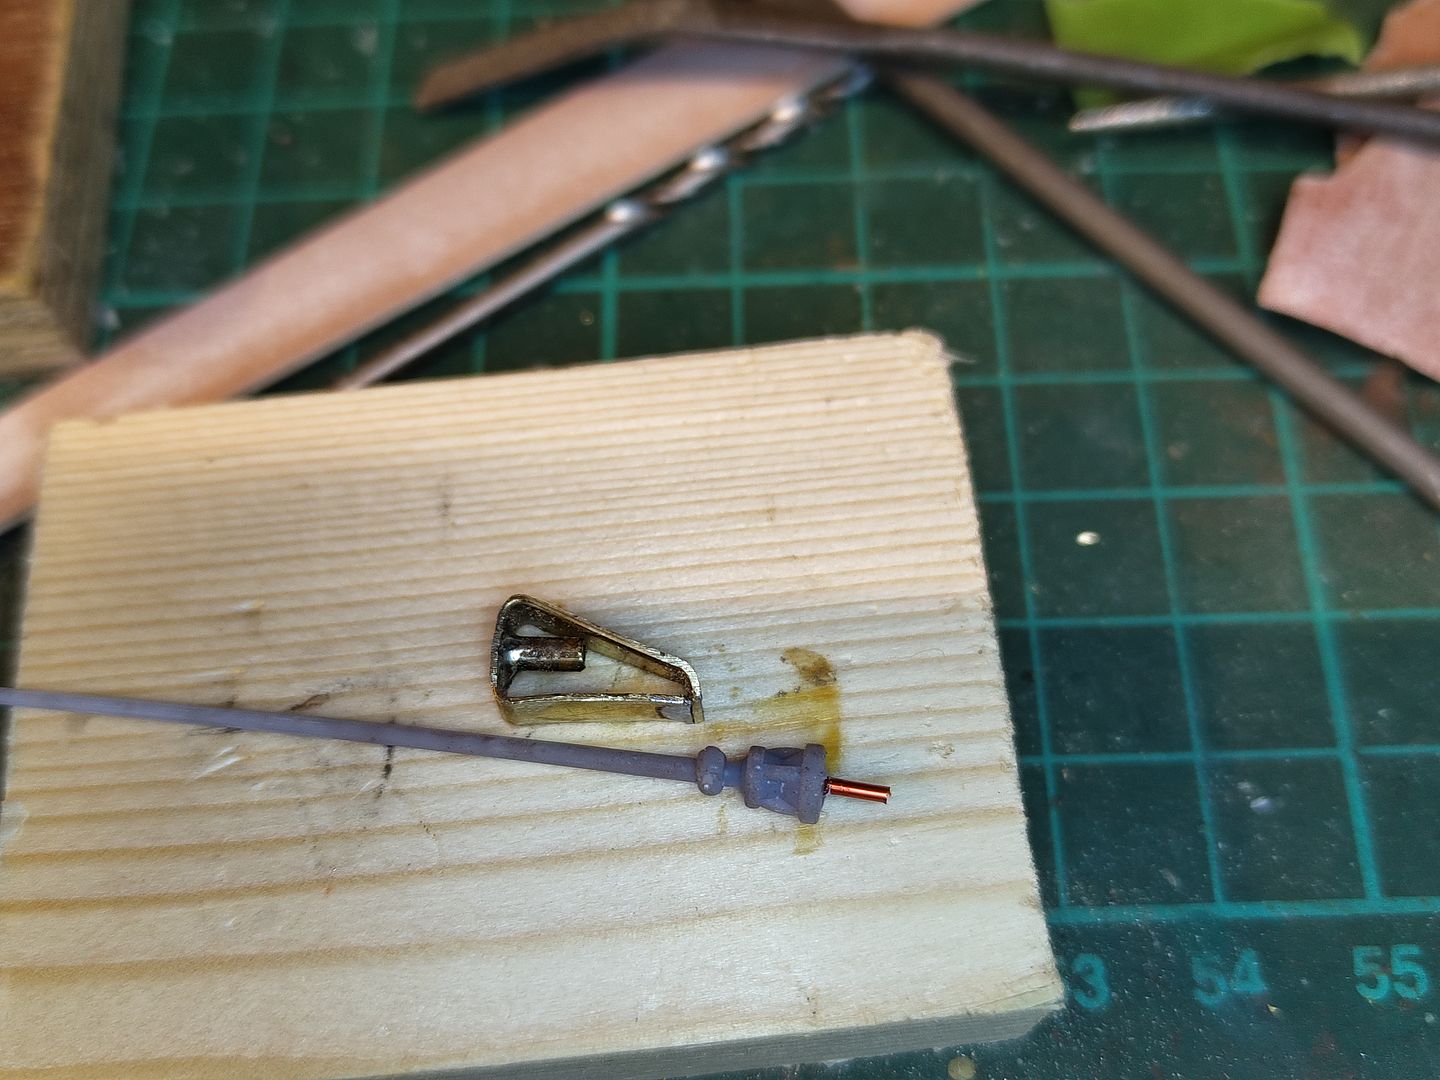
I found a model for an Ariel and printed it and drilled a small hole in the bottom and glued a piece of wire in it so I made a mount for it out of brass parts with a bit of tube so the Ariel can be placed and removed easily.
Image
Image
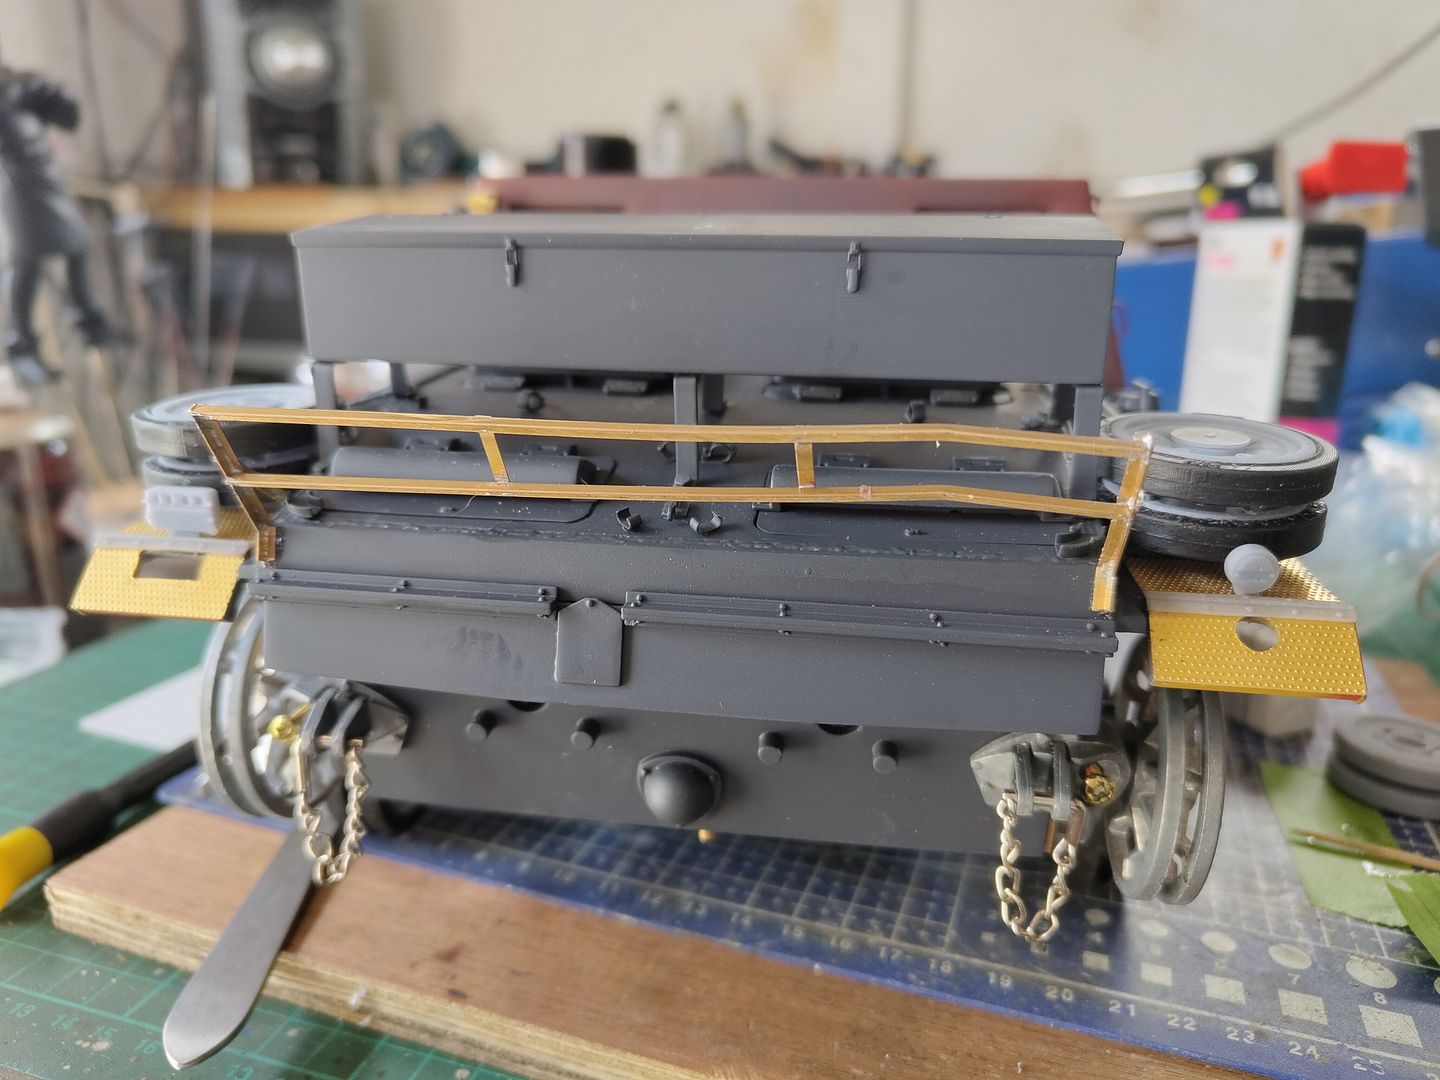
I've got to make some tool clamps for the tools and fit them to the mudguards and I'm going to make a small frame to put at the rear for putting fuel cans and boxes on when some brass angle turned up and that should be the upper hull finished then to get a few bits done on the lower hull to get it ready to paint up.
User avatar
HERMAN BIX
Brigadier
Posts: 10331
Joined: Sun Jan 12, 2014 12:15 am
Location: Gold Coast,Australia

Re: s.I.G 33 Converion

Post by HERMAN BIX »

This is a fantastic project and so well thought out.
You will have plenty of interest from the mob to have a kit made I reckon.
Top job
HL JAGDPANTHER,HL TIGER 1,HL PzIII MUNITIONSCHLEPPER, HL KT OCTOPUS,HL PANTHER ZU-FUSS,HL STuG III,HL T34/85 BEDSPRING,
HL PZIV MALTA,MATORRO JAGDTIGER,HL F05 TIGER,TAMIYA KT,HL PANTHERDOZER,HL EARLY PANTHER G,TAIGEN/RAMINATOR T34/76,
HL AN-BRI-RAM SU-85
User avatar
jee
Staff Sergeant
Posts: 812
Joined: Thu Apr 22, 2021 4:16 am
Location: Siberia
Contact:

Re: s.I.G 33 Converion

Post by jee »

HERMAN BIX wrote: Tue Apr 11, 2023 11:09 pm This is a fantastic project and so well thought out.
You will have plenty of interest from the mob to have a kit made I reckon.
Top job
luckily for the "mob" he is sharing everything for free (with many thanks from me in any case)
Regards,
Jaap :wave:
User avatar
baldrick131
Lance Corporal
Posts: 140
Joined: Fri Oct 04, 2019 8:46 pm
Location: March cambridgeshire
Contact:

Re: s.I.G 33 Converion

Post by baldrick131 »

jee wrote: Wed Apr 12, 2023 4:20 am
HERMAN BIX wrote: Tue Apr 11, 2023 11:09 pm This is a fantastic project and so well thought out.
You will have plenty of interest from the mob to have a kit made I reckon.
Top job
luckily for the "mob" he is sharing everything for free (with many thanks from me in any case)
Thanks for the compliment and that reminds me to upload the box and post stls.
Just added them on thingiverse.
https://www.thingiverse.com/thing:5556458
User avatar
baldrick131
Lance Corporal
Posts: 140
Joined: Fri Oct 04, 2019 8:46 pm
Location: March cambridgeshire
Contact:

Re: s.I.G 33 Converion

Post by baldrick131 »

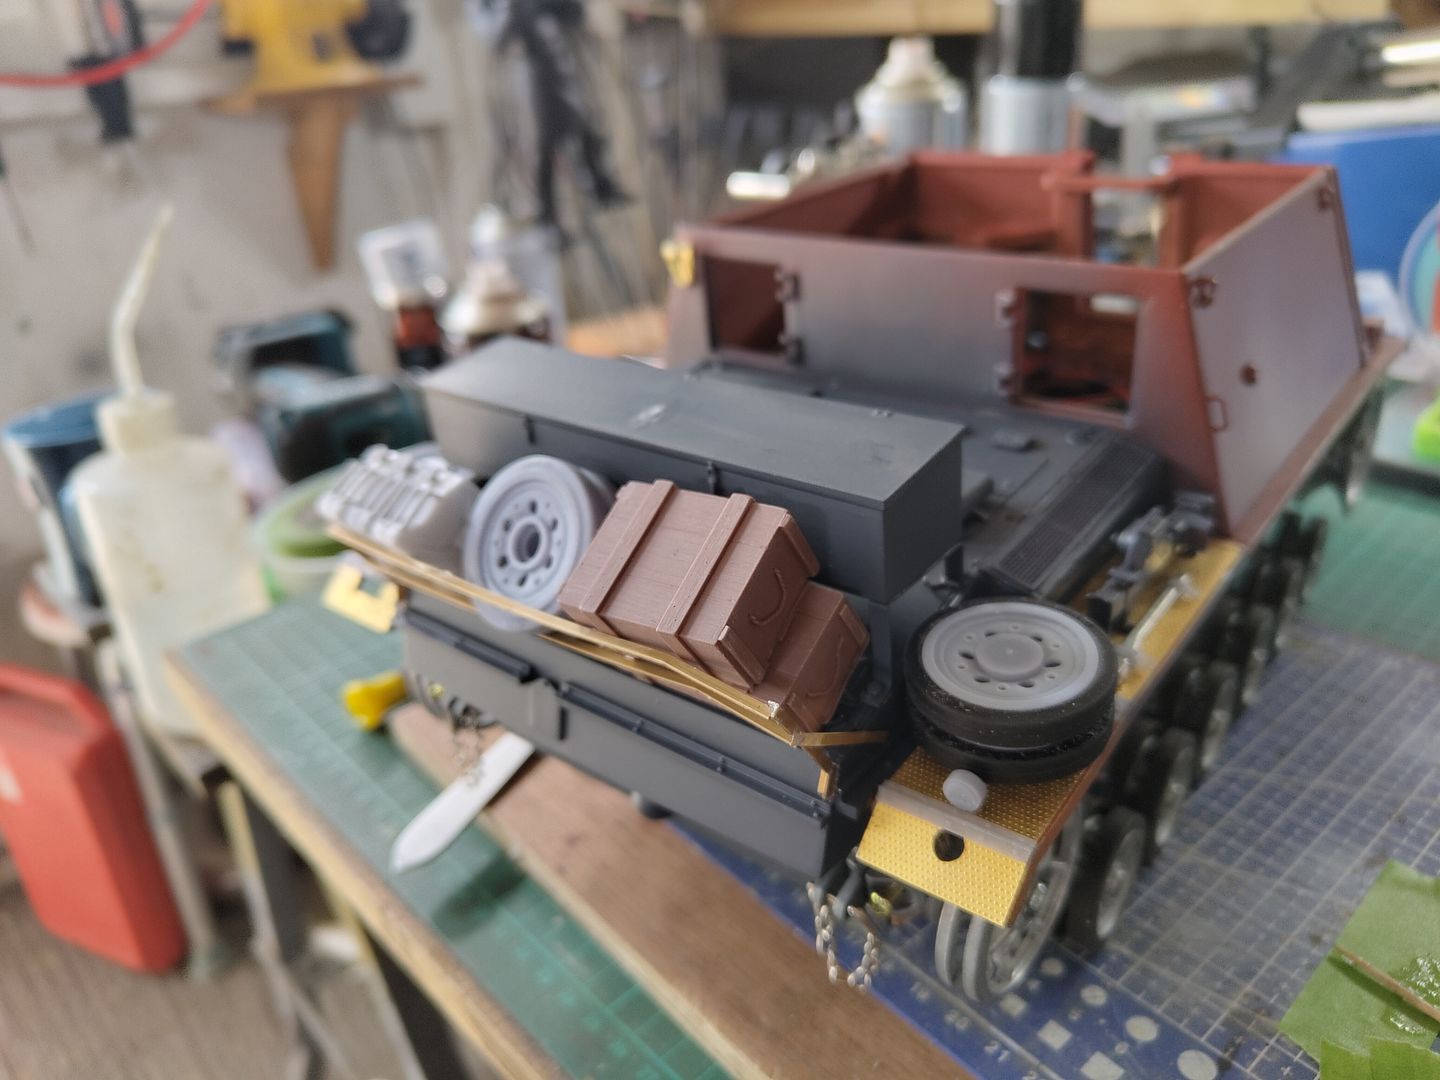
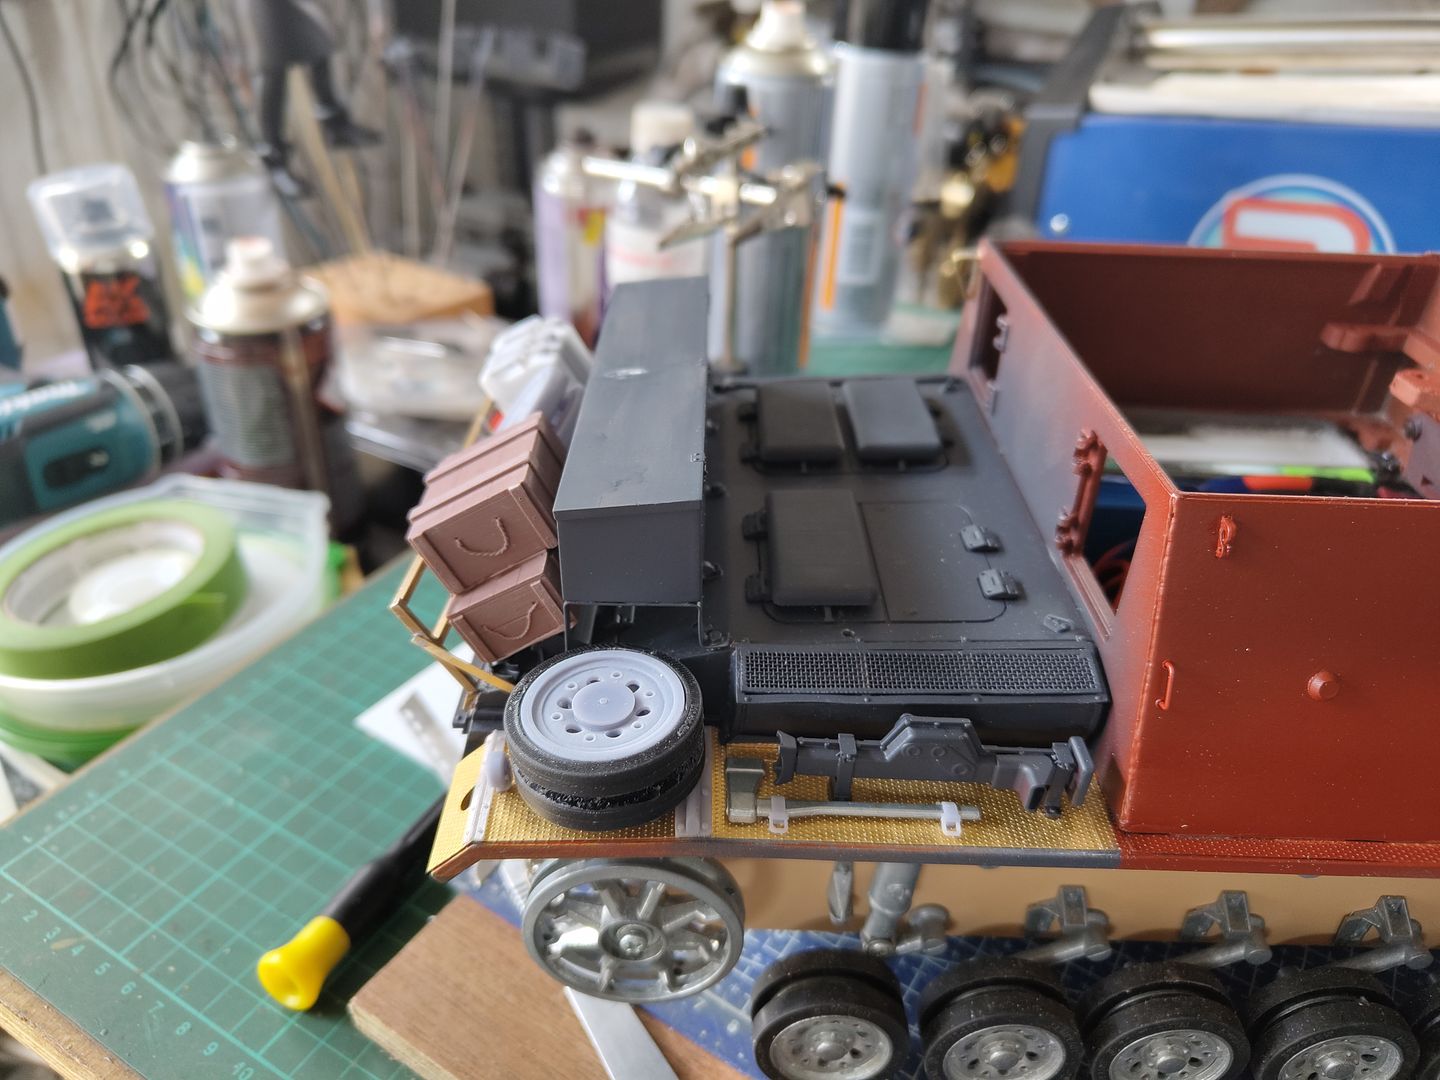
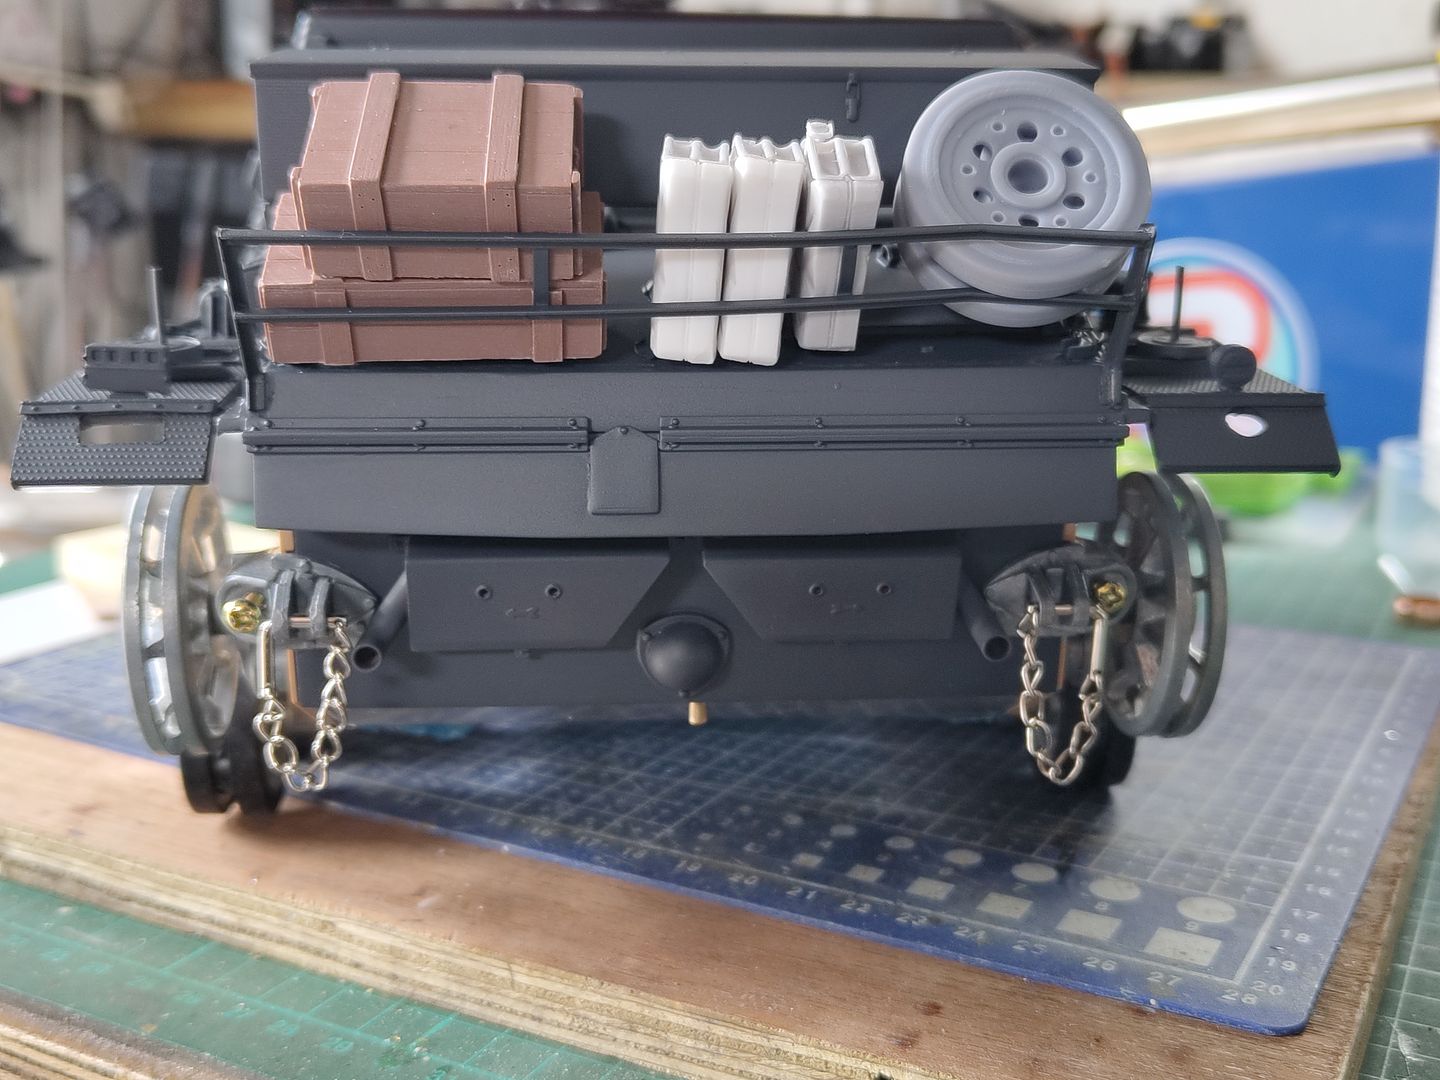
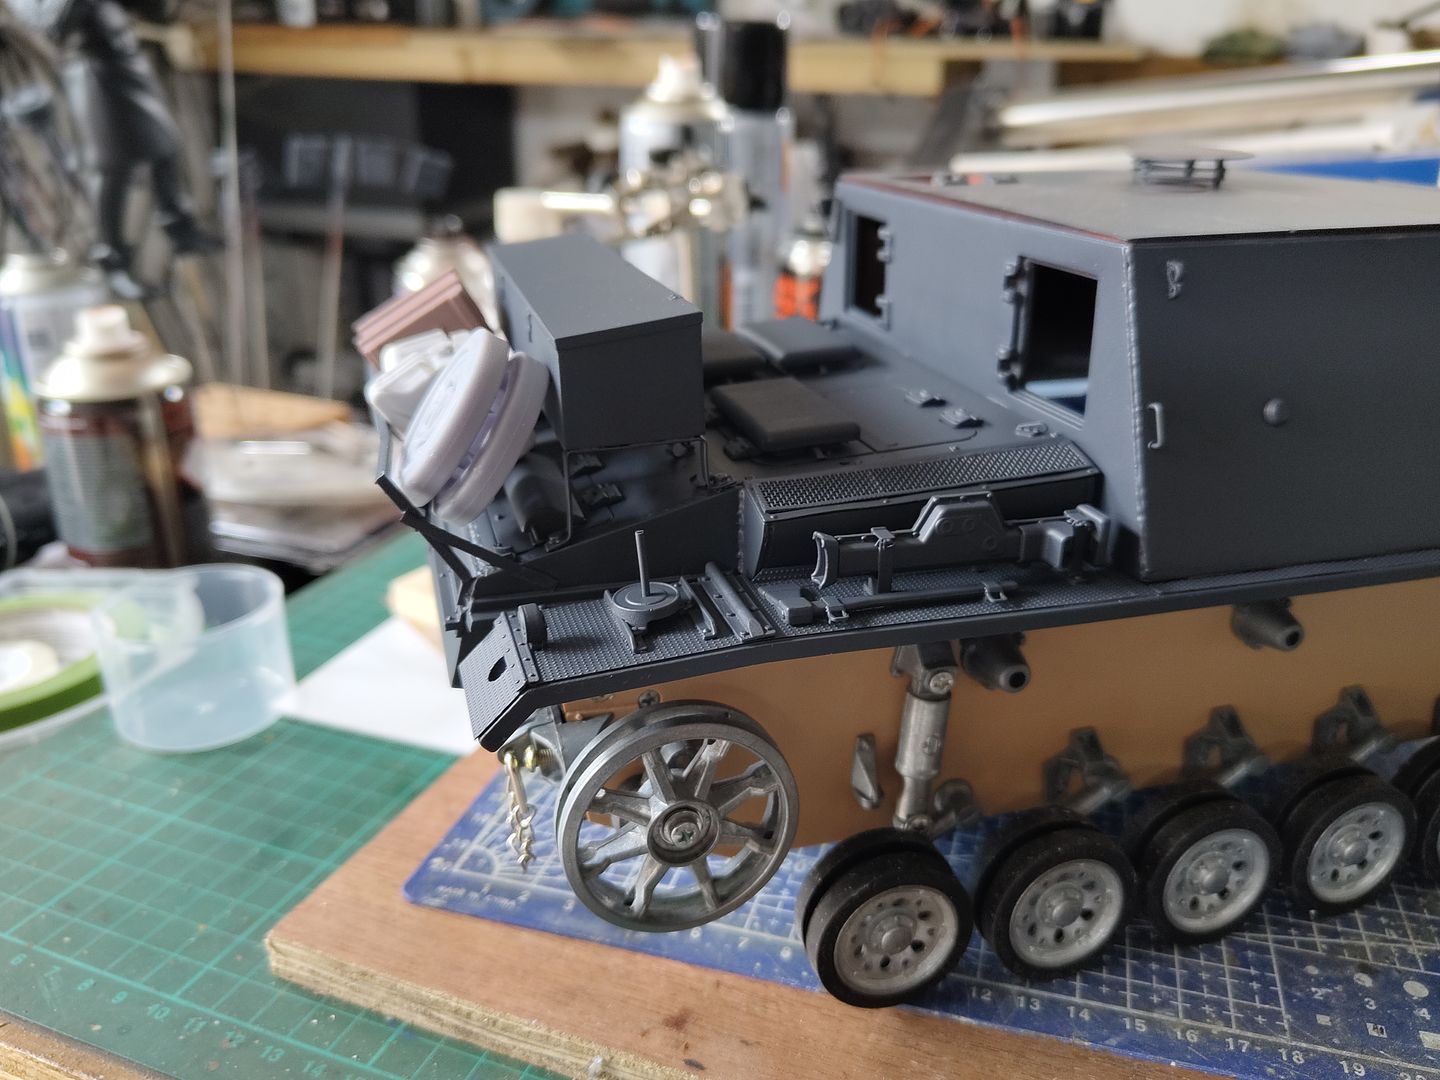
I've just finished making and fitting a rear rack out of some brass angle and strips of sheet to put some crates and jerry cans on.
Image
Image
I downloaded some tool clamps and printed them off to put on some tools I had leftover from the Brummbar.
I have printed off some rubber tires for the wheels using Resione F69 and really pleased with the outcome.
Image
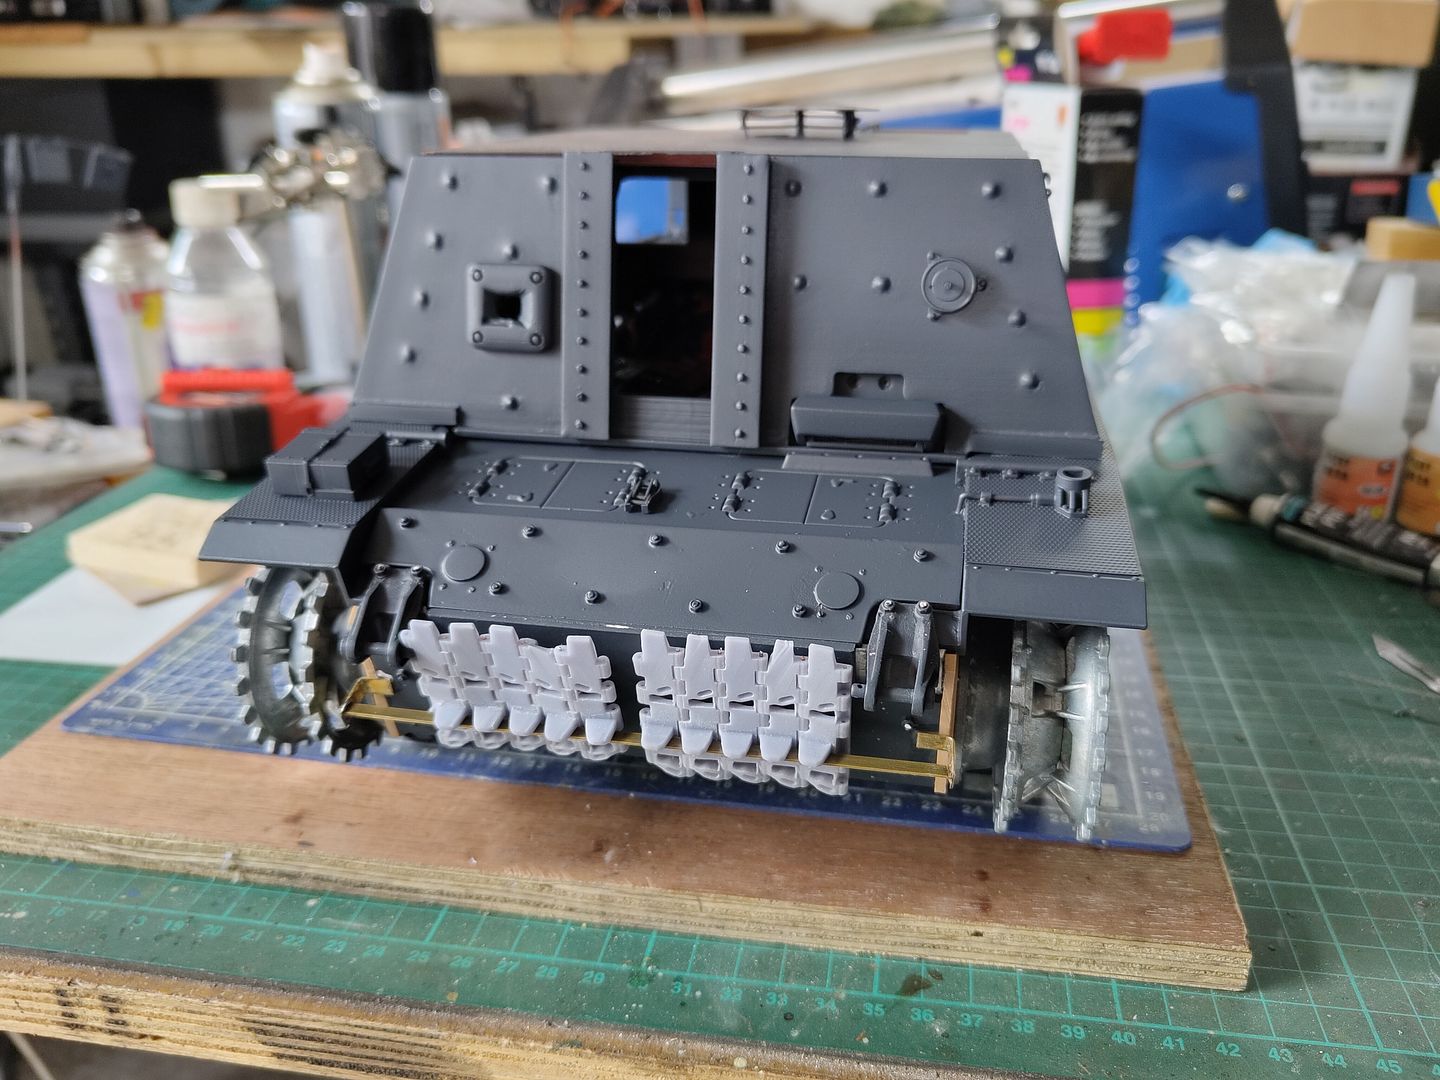
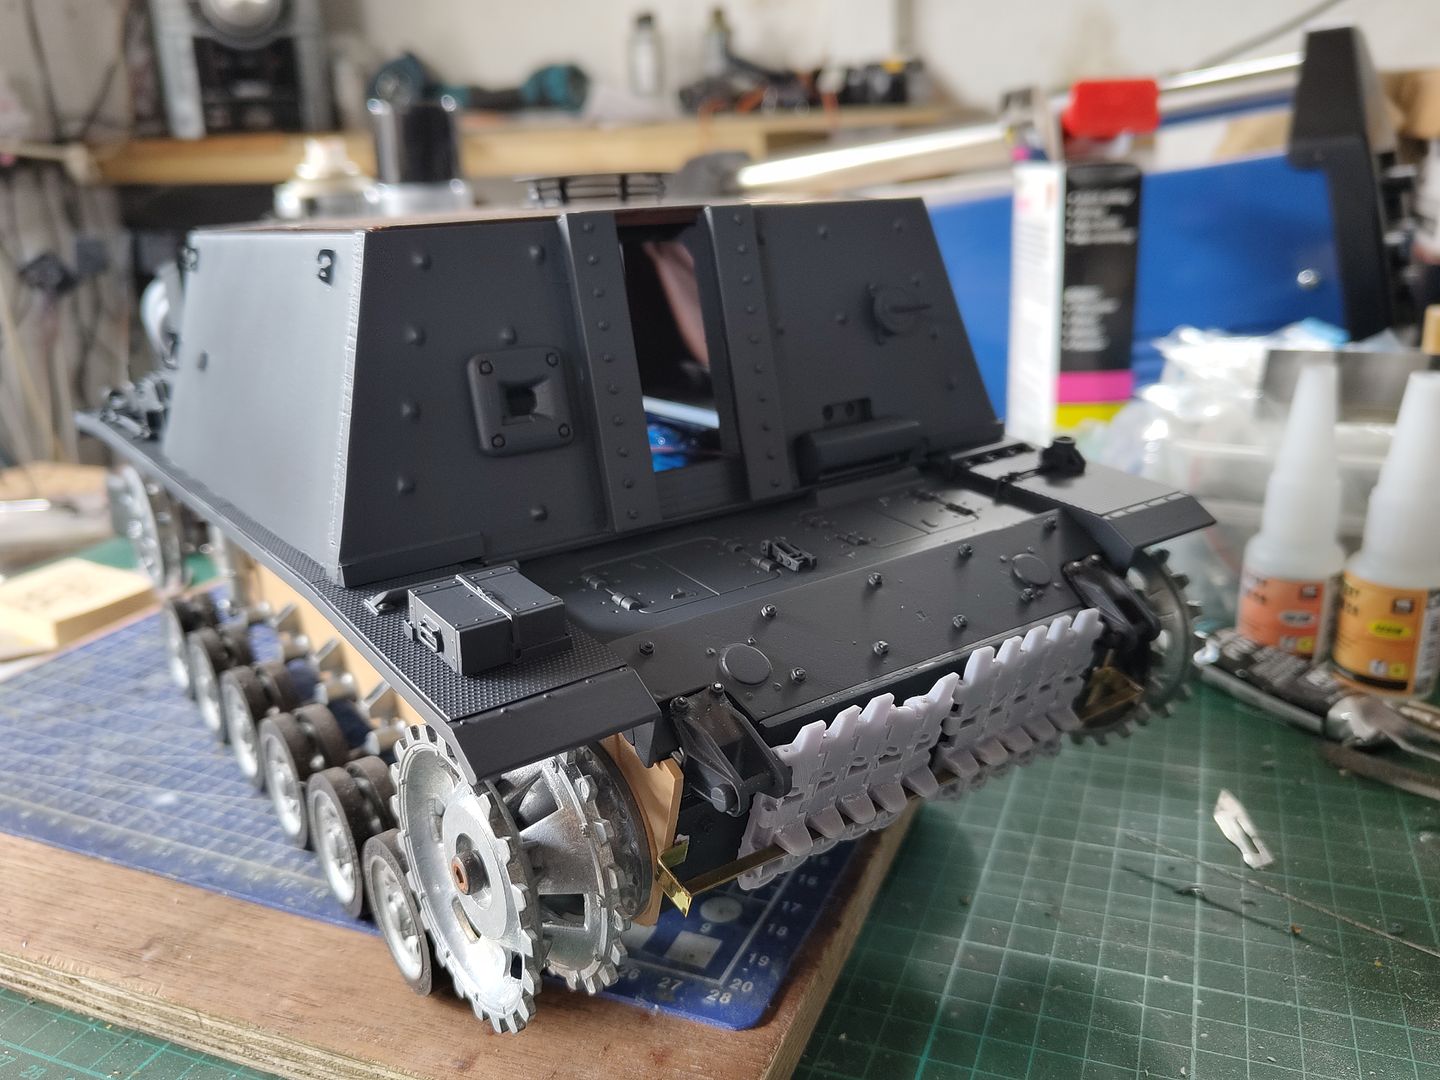
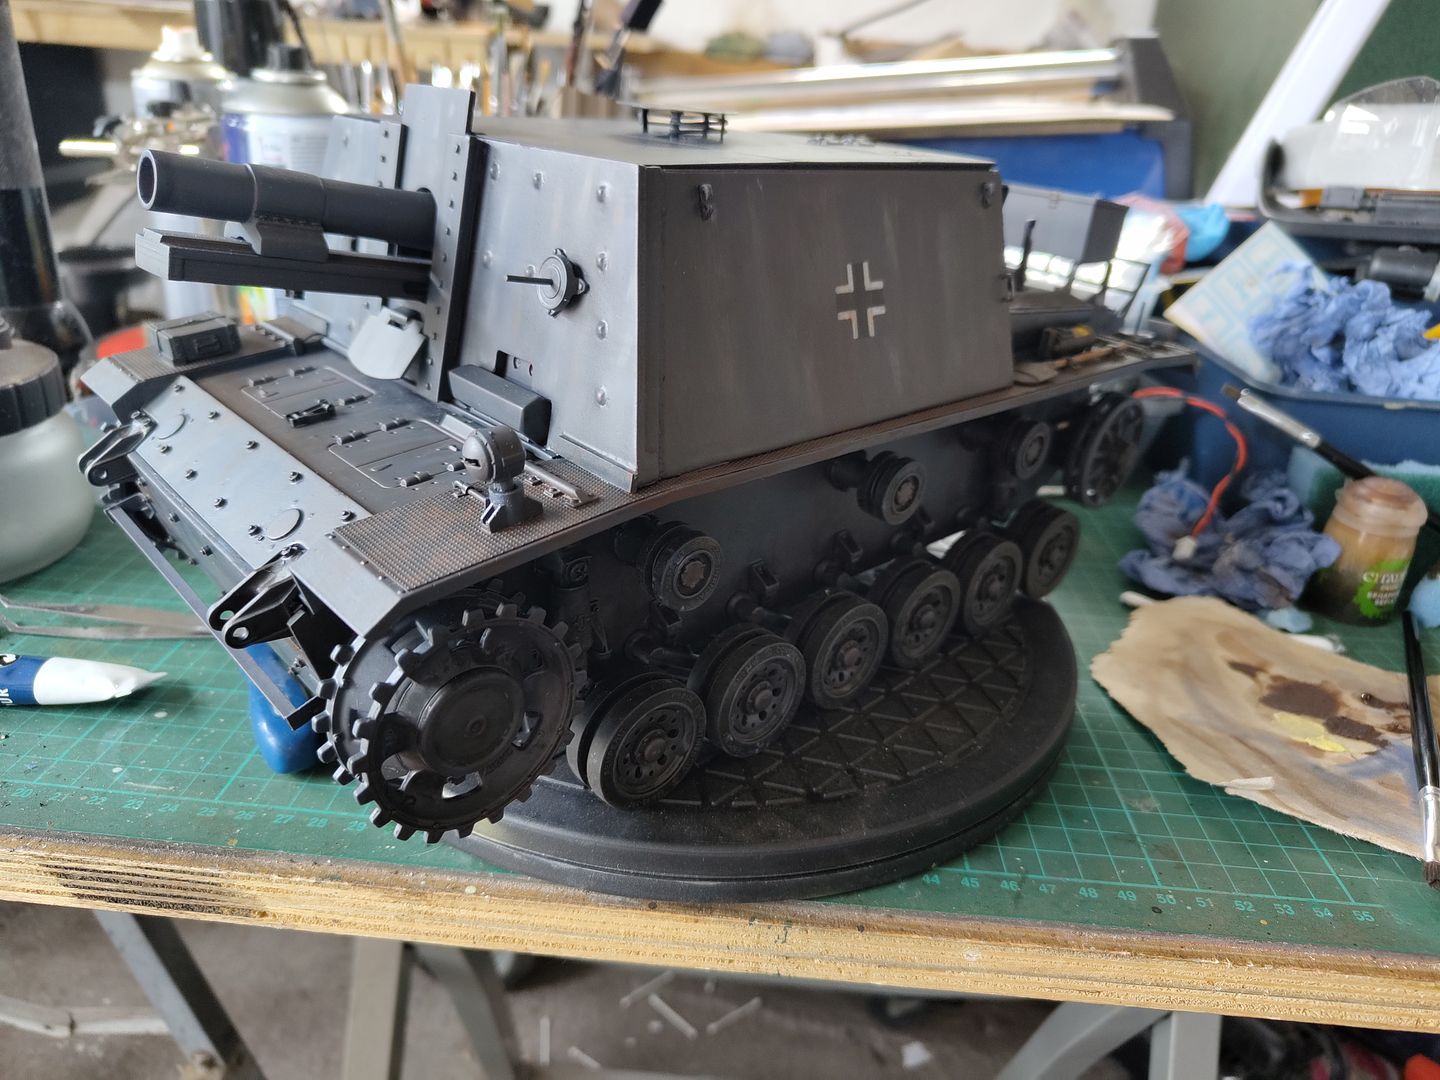
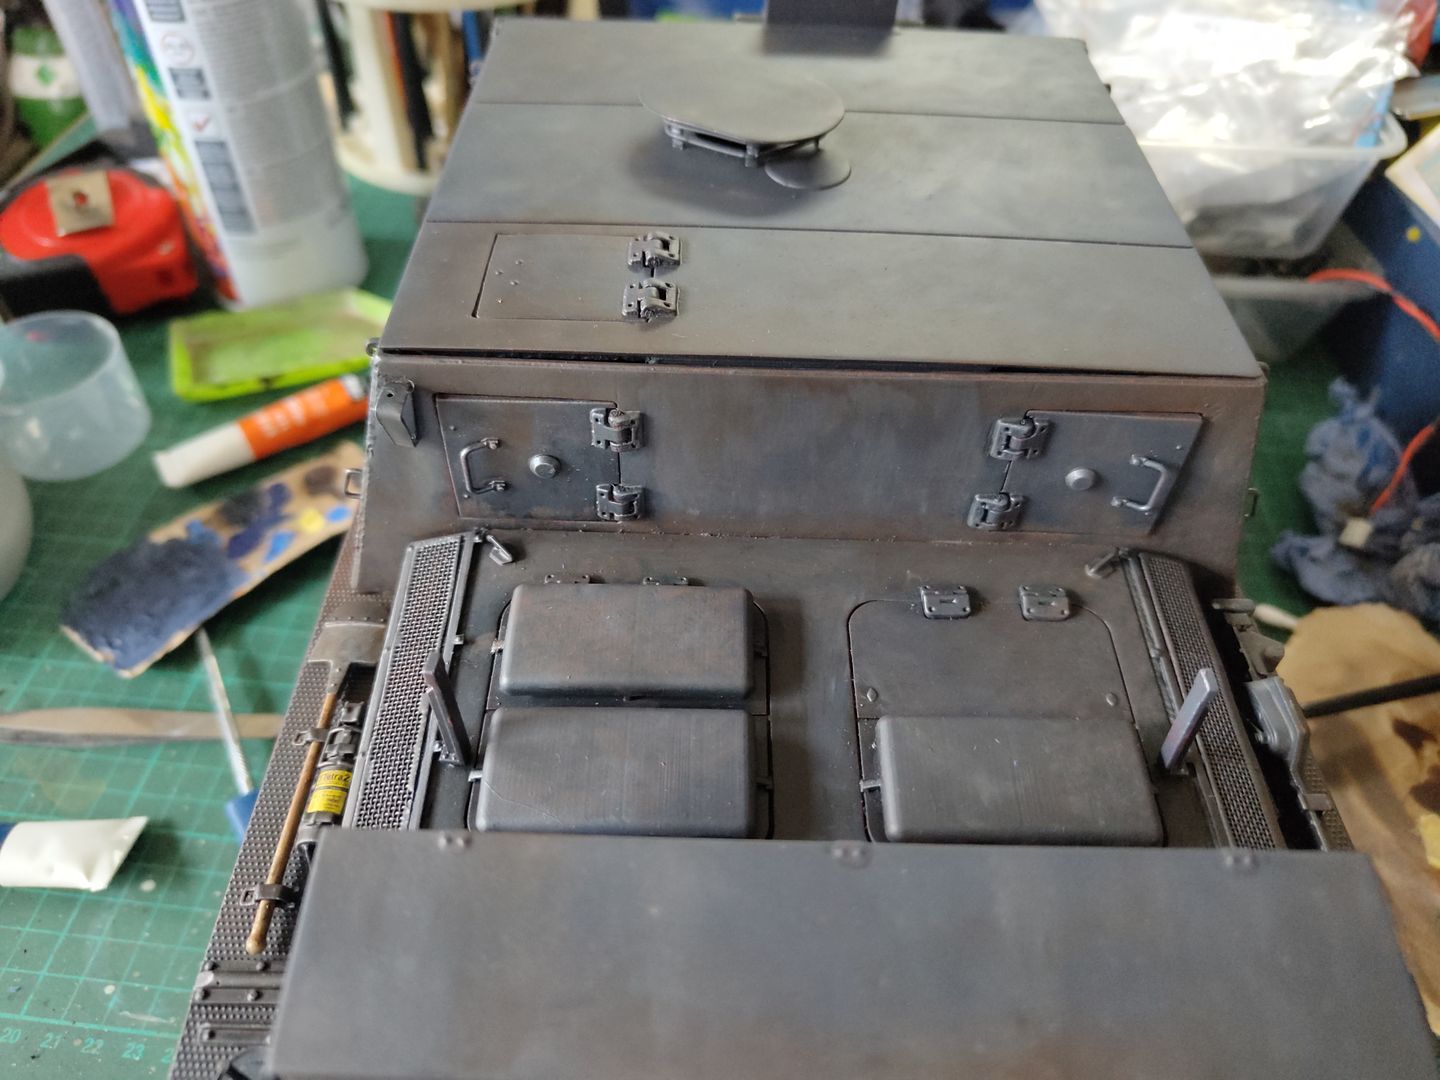
I used up my last tin of paint to put a coat of grey over the upper hull.
Image
Image
I also made a spare track bar and put together some printed winter track links I printed a while ago.
Image
Image
I need to get some more paint to paint the lower hull and then the fun starts with the winter weathering and looking for a figure to print to put on it.
User avatar
baldrick131
Lance Corporal
Posts: 140
Joined: Fri Oct 04, 2019 8:46 pm
Location: March cambridgeshire
Contact:

Re: s.I.G 33 Converion

Post by baldrick131 »

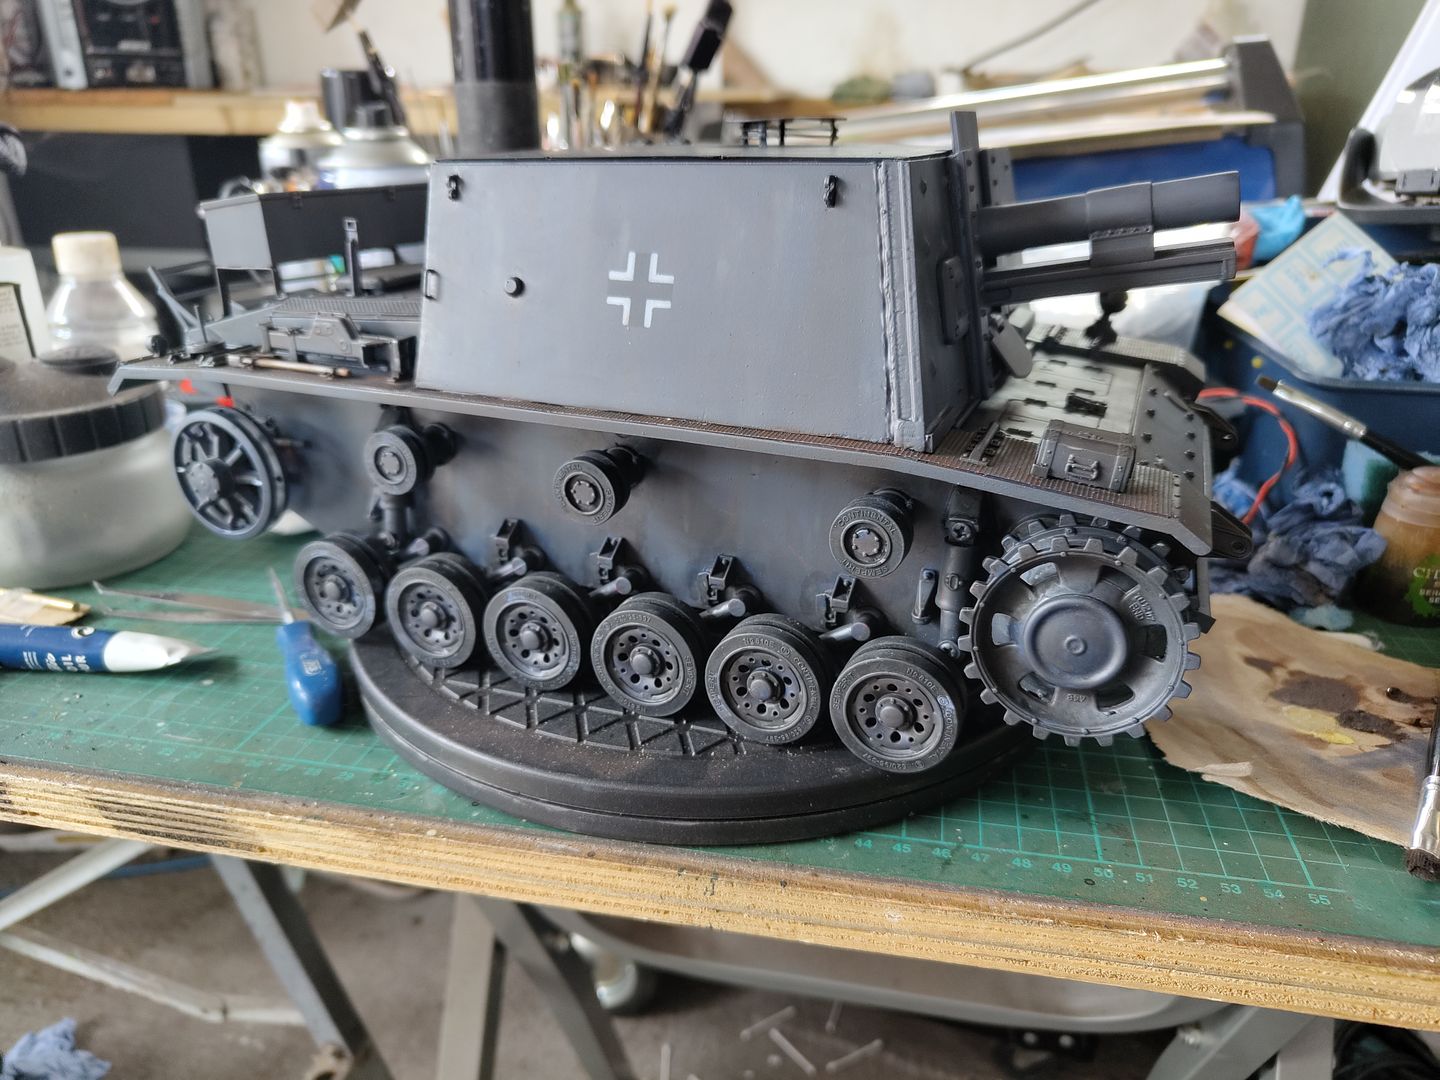
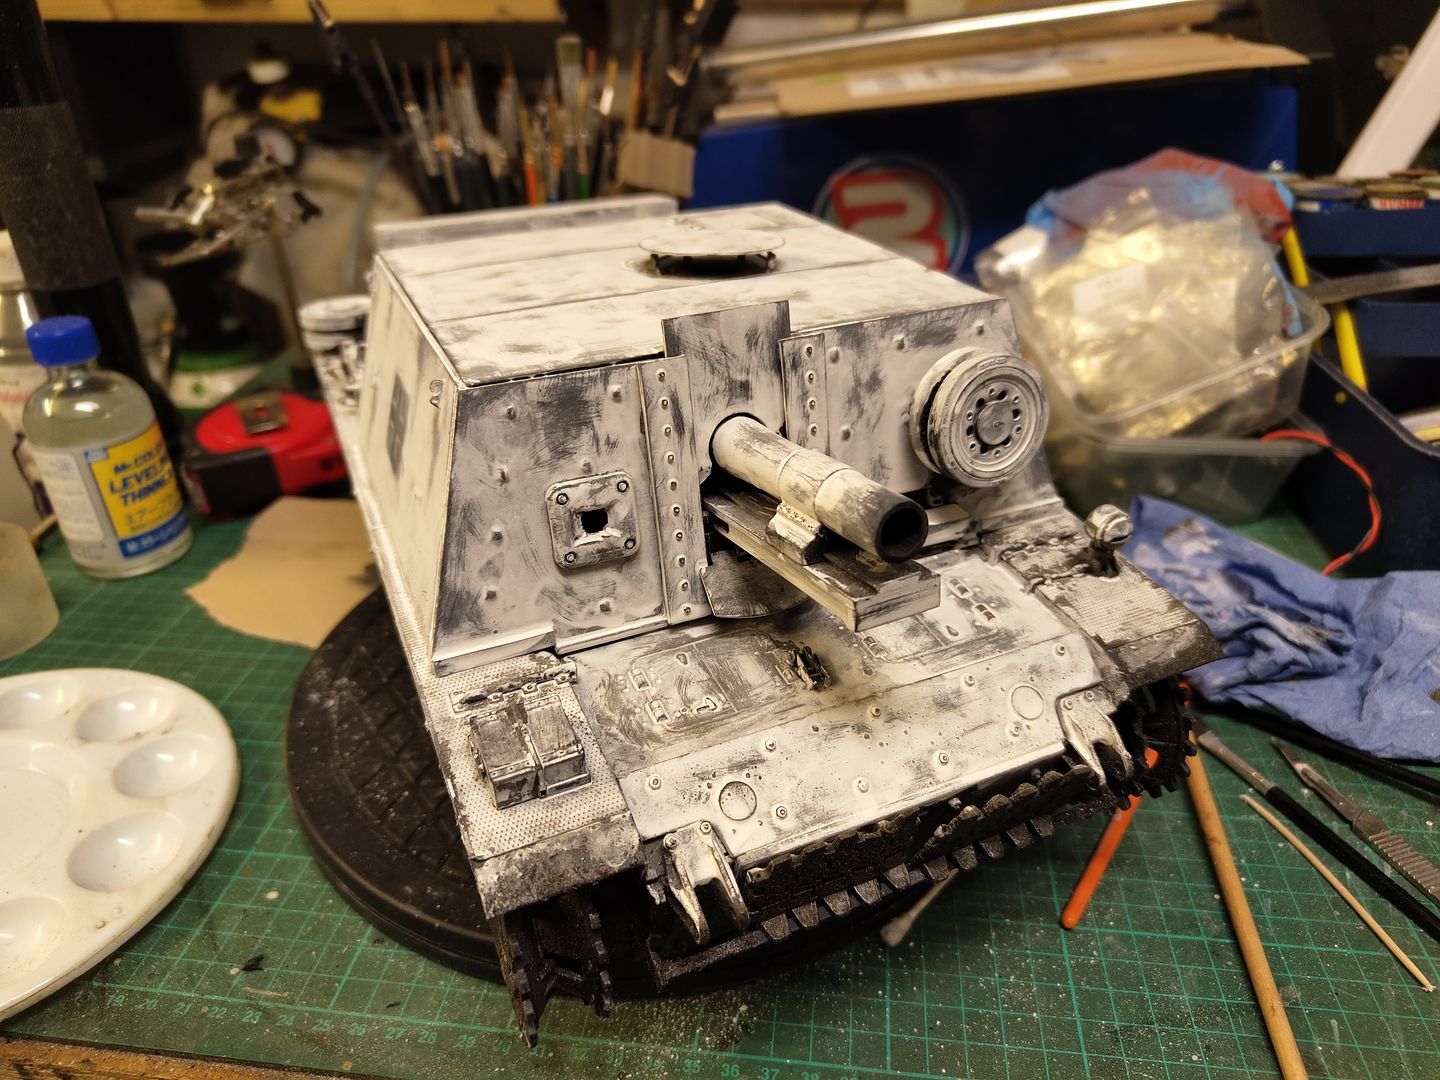
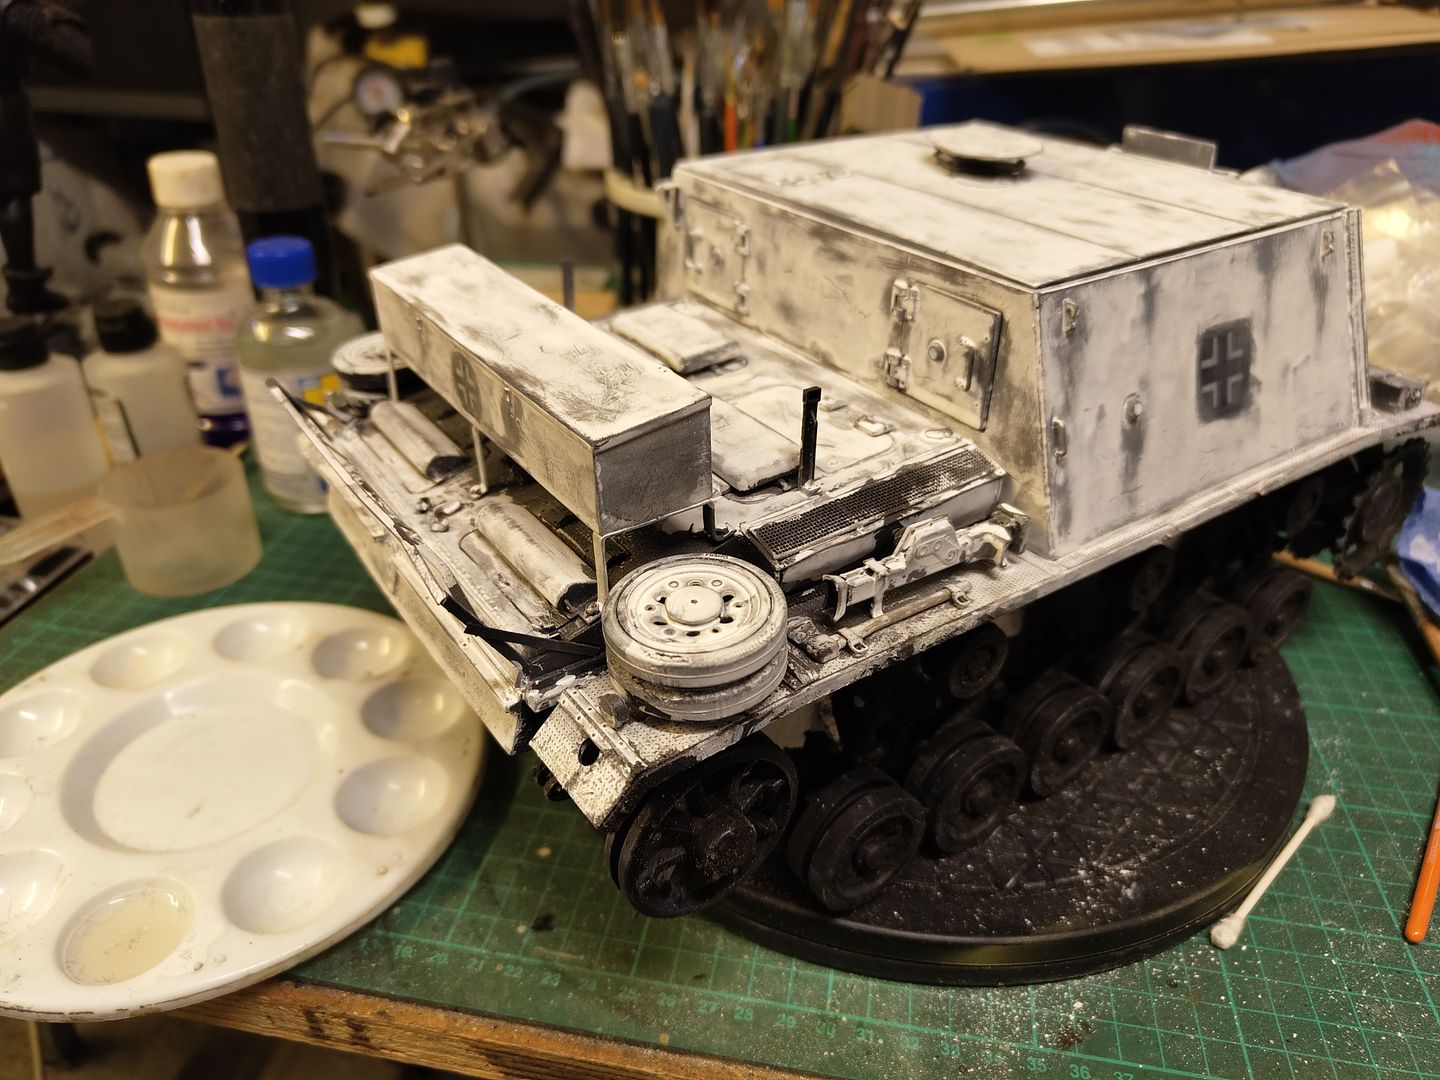
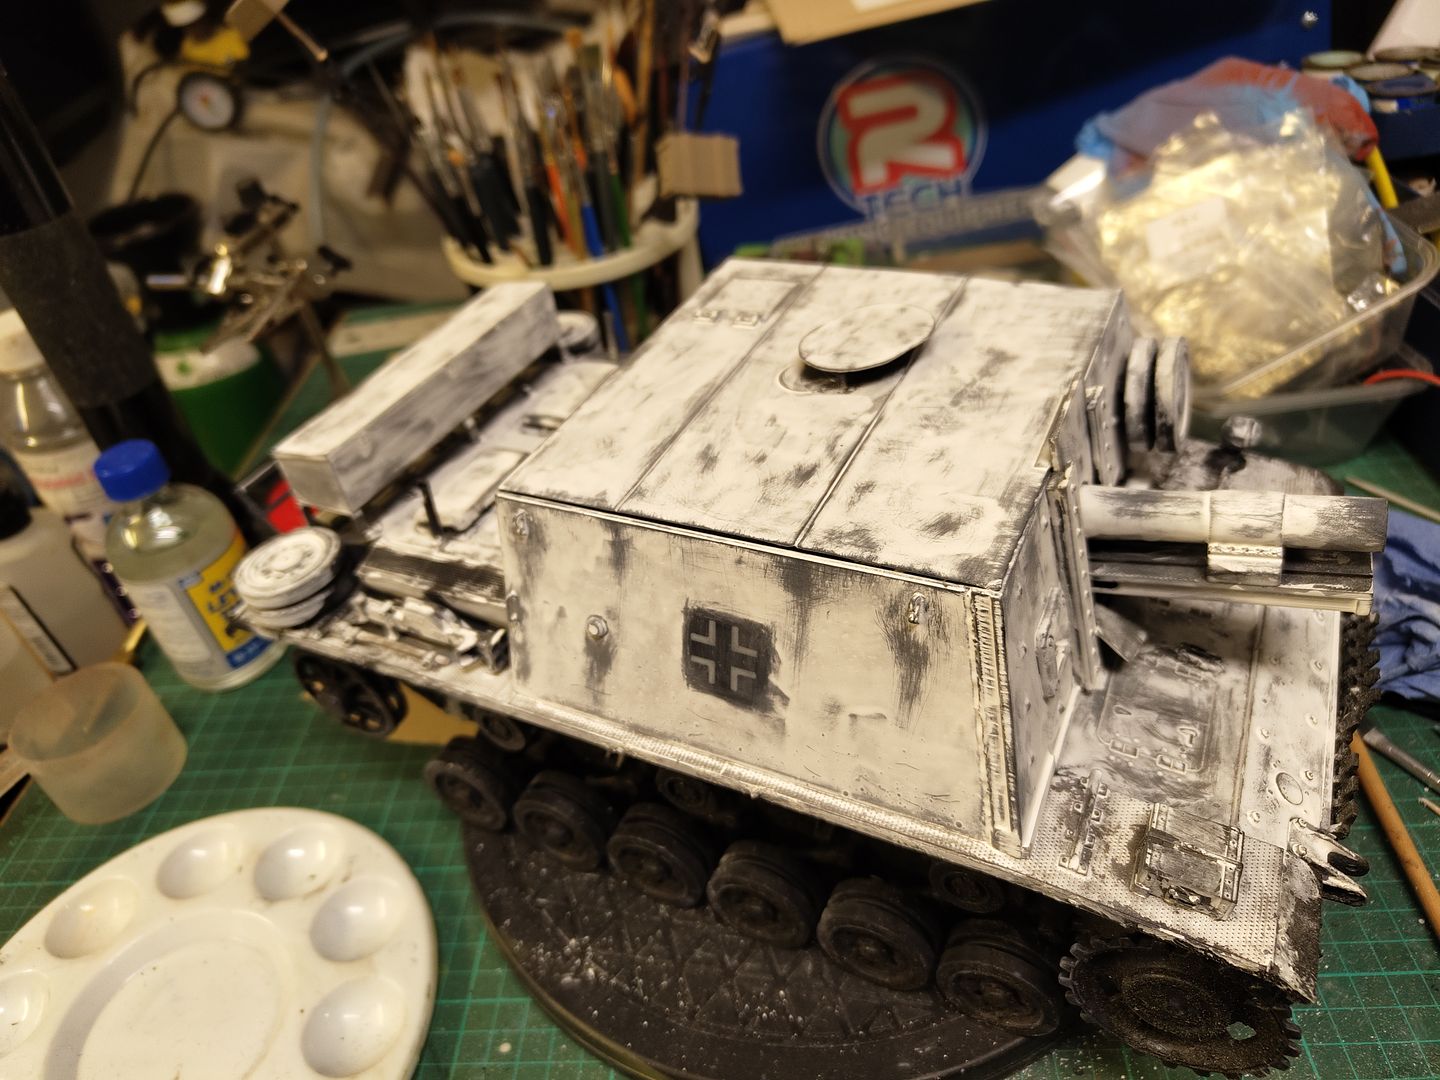
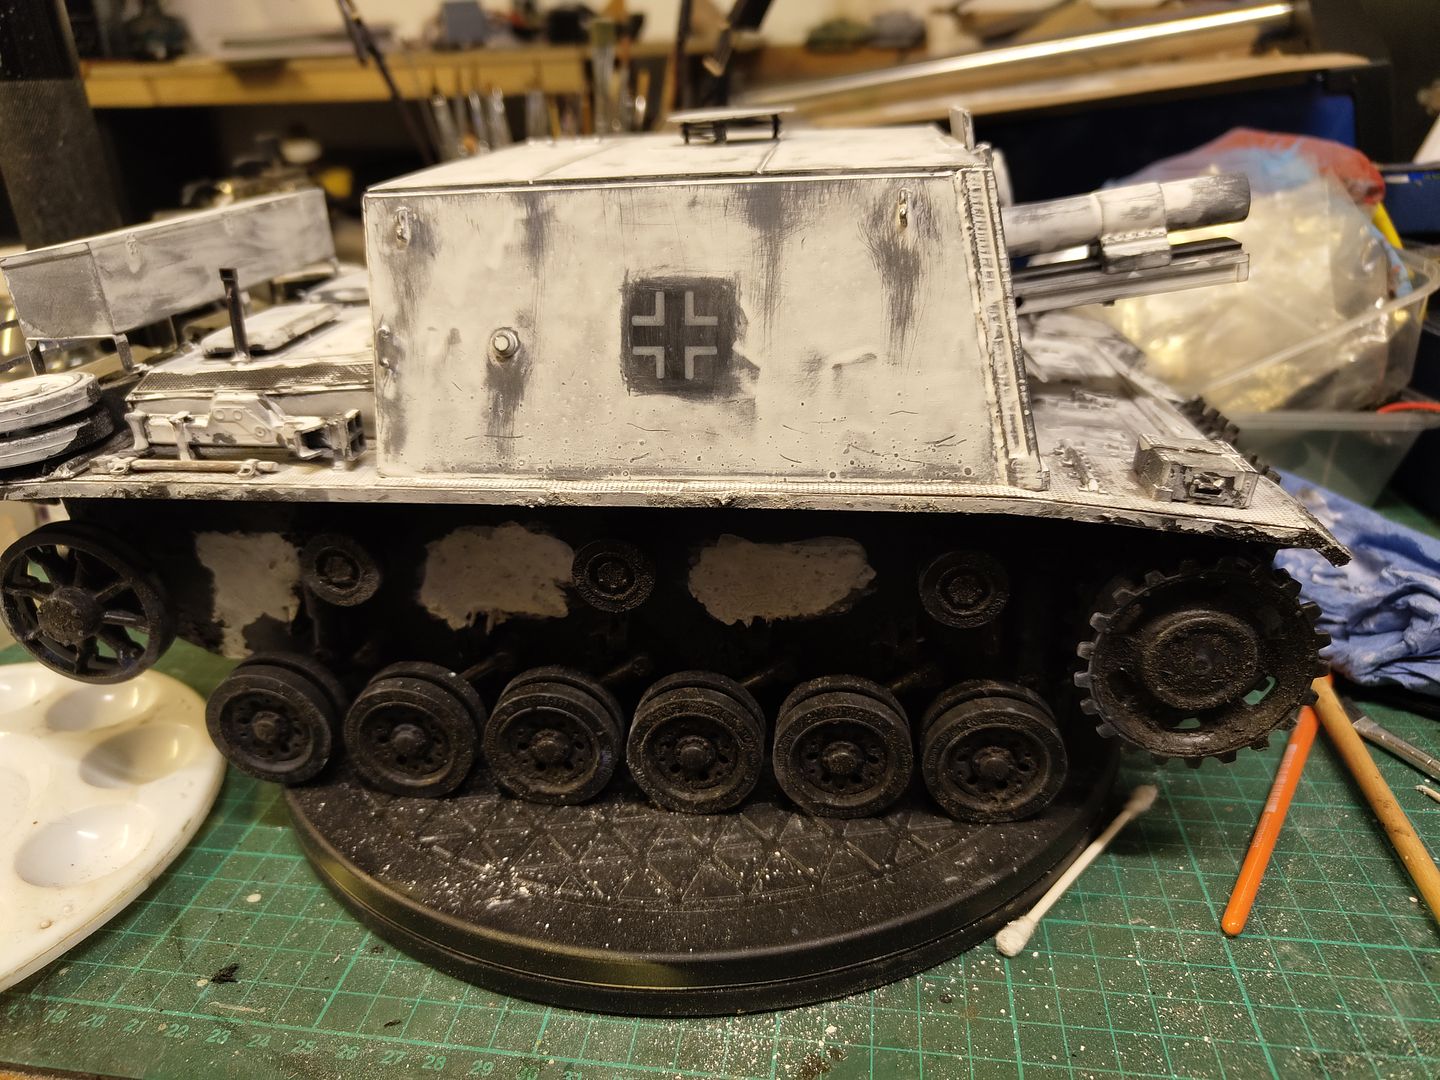
I've been busy with the painting of the sig and put the white wash ready for the final work to get it finished.
So here are a few pictures of the progress.
Image
I knocked up some stencils on my printer and painted on the crosses
Image
Also added some weathering.
Image
Image
Next the white wash was added then rubbed back before putting some Matt lacquer over it
Image
Image
Image
Image
Now to finish off with a bit of weathering and adding some stowage on the rack and put some odd bits of snow on it and the tracks.
User avatar
Herr Dr. Professor
Lieutenant
Posts: 3642
Joined: Mon Apr 22, 2019 10:48 pm
Location: Southern Wisconsin USA

Re: s.I.G 33 Converion

Post by Herr Dr. Professor »

Ah, Baldrick, that is a lovely piece of ugliness. And my hat's off to you for sharing the means to get there. I've been watching all along and will continue. :clap:
User avatar
Model Builder 4
2nd Lieutenant
Posts: 2329
Joined: Sun Jul 26, 2015 3:46 pm
Location: South Wales valleys
Contact:

Re: s.I.G 33 Converion

Post by Model Builder 4 »

Very nice baldrick, you've made a grand job of it :clap: :thumbup:

Cheers,Lee.
Me ? Addicted ? Never !! :crazy:
User avatar
HERMAN BIX
Brigadier
Posts: 10331
Joined: Sun Jan 12, 2014 12:15 am
Location: Gold Coast,Australia

Re: s.I.G 33 Converion

Post by HERMAN BIX »

Ohh yes Sir thats a fine bit of modelling.
Can you detail your choice of white wash products please mate.

Just saying.............every home should have one of these ;)
HL JAGDPANTHER,HL TIGER 1,HL PzIII MUNITIONSCHLEPPER, HL KT OCTOPUS,HL PANTHER ZU-FUSS,HL STuG III,HL T34/85 BEDSPRING,
HL PZIV MALTA,MATORRO JAGDTIGER,HL F05 TIGER,TAMIYA KT,HL PANTHERDOZER,HL EARLY PANTHER G,TAIGEN/RAMINATOR T34/76,
HL AN-BRI-RAM SU-85
User avatar
baldrick131
Lance Corporal
Posts: 140
Joined: Fri Oct 04, 2019 8:46 pm
Location: March cambridgeshire
Contact:

Re: s.I.G 33 Converion

Post by baldrick131 »

HERMAN BIX wrote: Thu May 18, 2023 11:17 am Ohh yes Sir thats a fine bit of modelling.
Can you detail your choice of white wash products please mate.

Just saying.............every home should have one of these ;)
I ordered a kit from here and this is the white wash.
http://www.precisioniceandsnow.com/stor ... _50ml.html
Brushed on a couple of coats over a couple of days to give it time to dry it looks translucent when applied but goes white when dry it's easily removed completely with water but I just used fine steel wool gently and a stiffish paint brush to scrub at it then gave it a couple of light coats of Vallejo Matt acrylic clear coat to seal it.
Post Reply

Return to “3D Printing”