s.I.G 33 Converion

All things 3D printing. Printers, design, CAD, hints and tips, models built.
User avatar
baldrick131
Lance Corporal
Posts: 140
Joined: Fri Oct 04, 2019 8:46 pm
Location: March cambridgeshire
Contact:

Re: s.I.G 33 Converion

Post by baldrick131 »

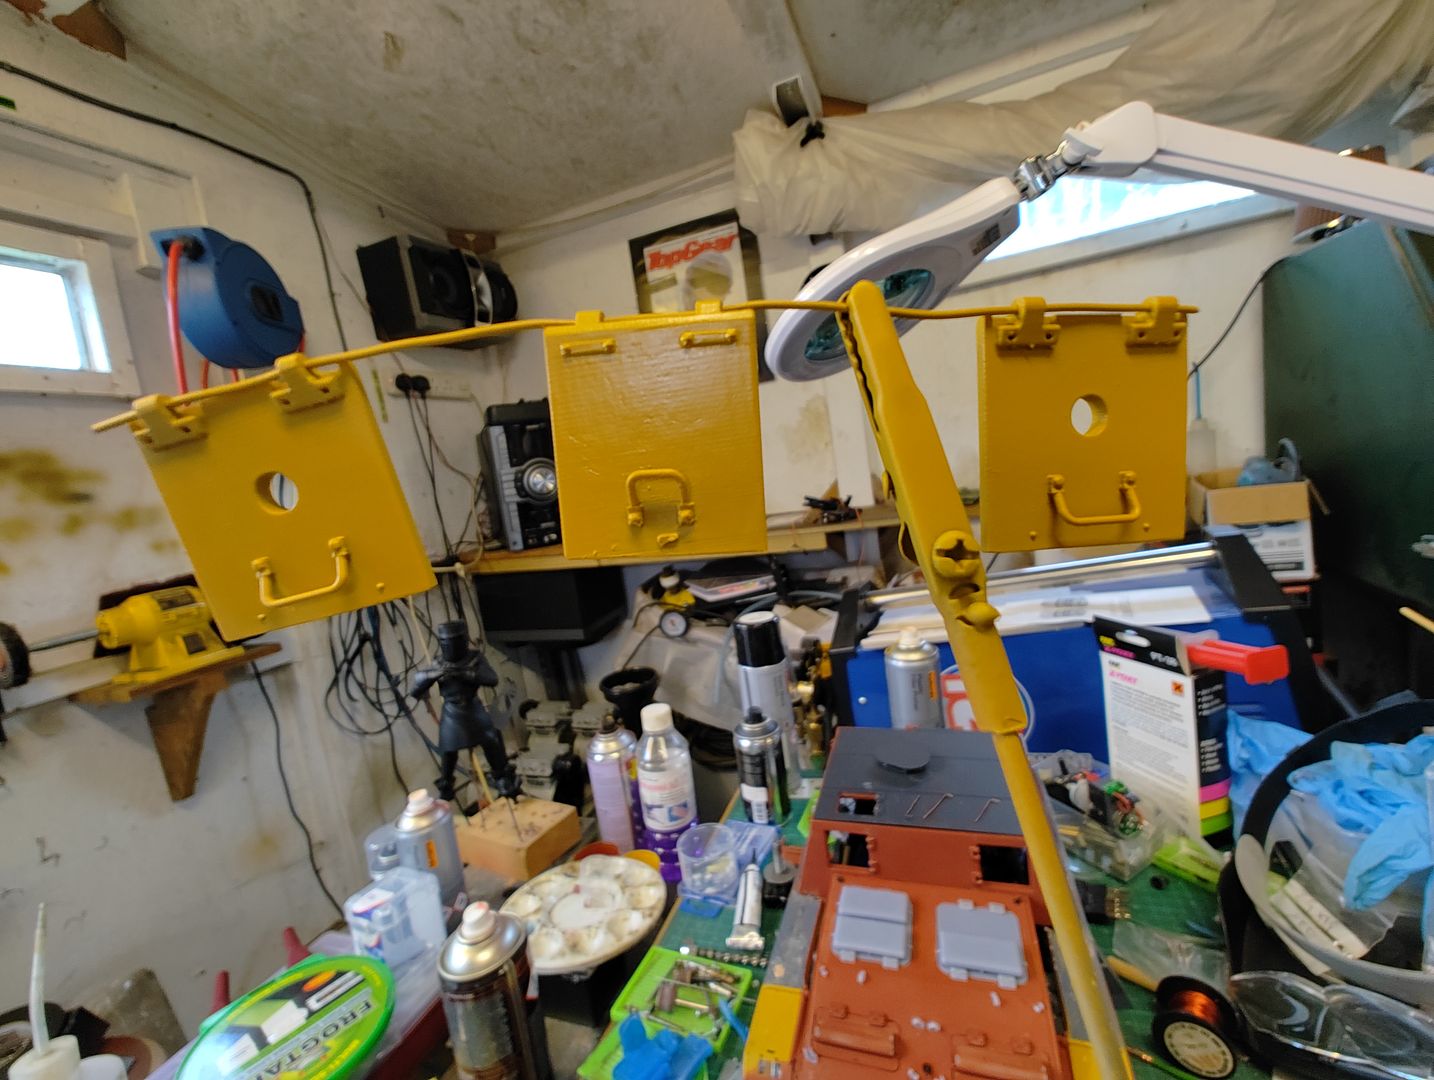
I've not been working on the tank for a while as I'm making a heater unit for my resin printer to allow me to do better prints now it's turned colder but I have designed some new hatch doors with detail added that I can print on the resin printer with the abs type resin but can't print them until I've finished the heater.
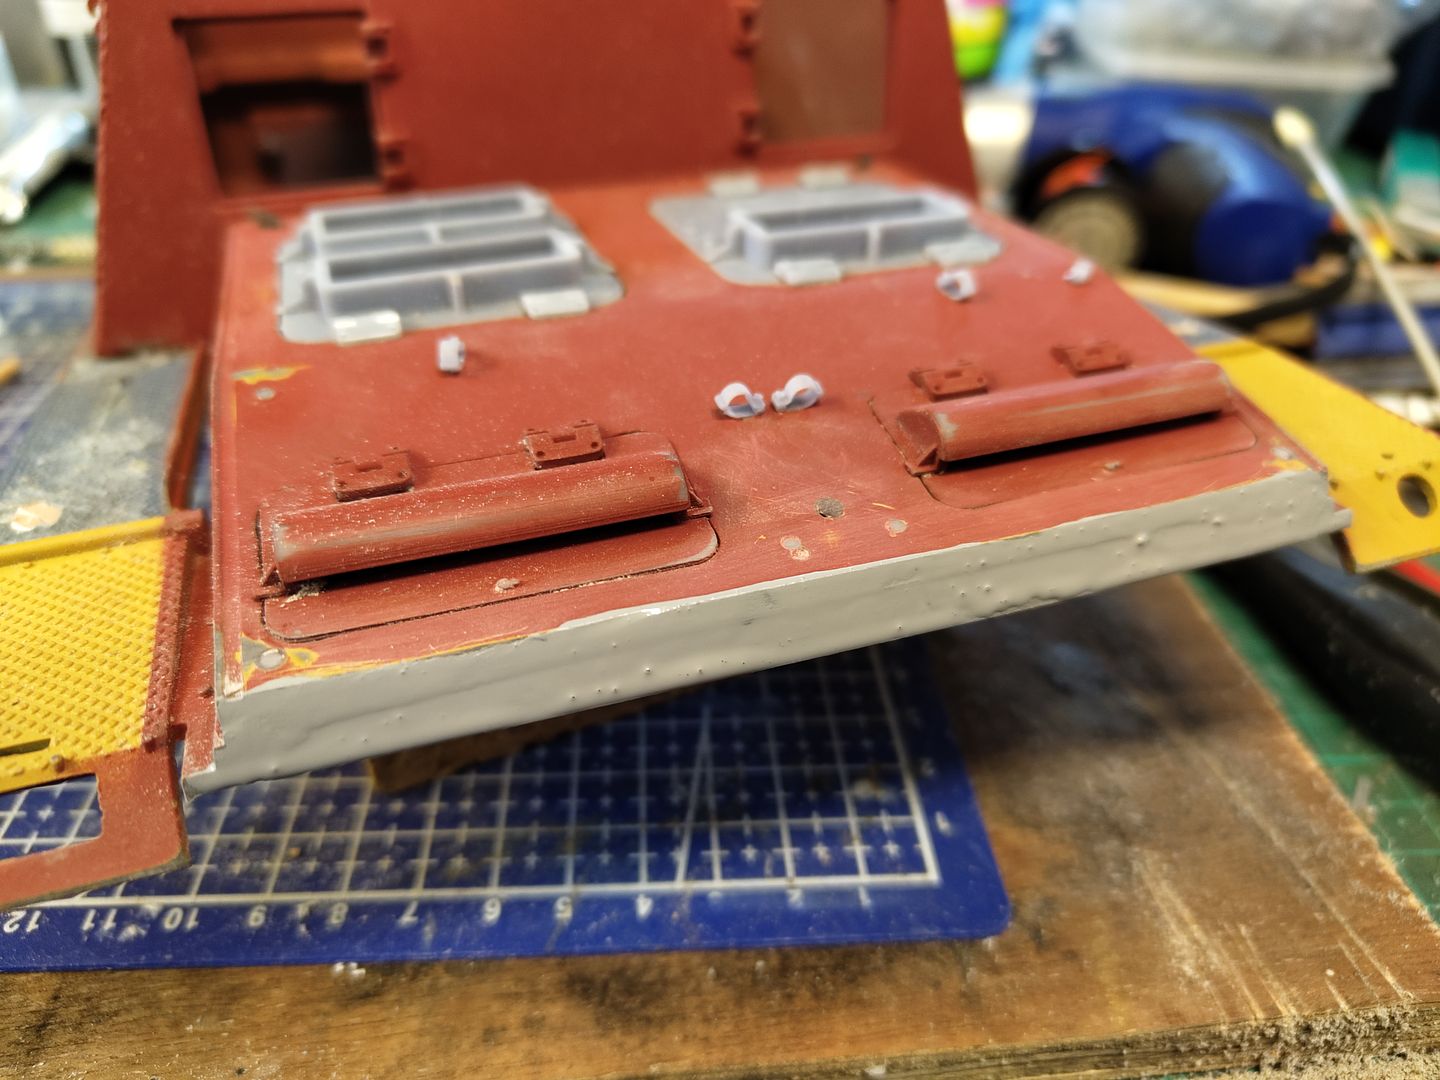
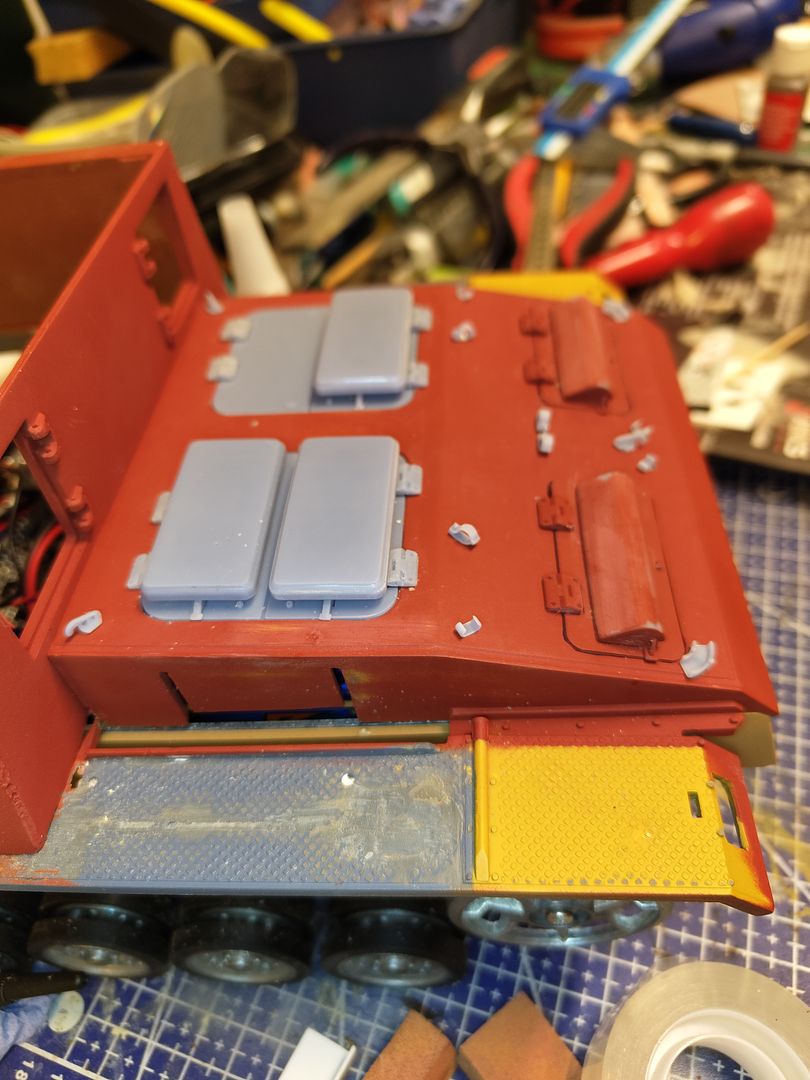
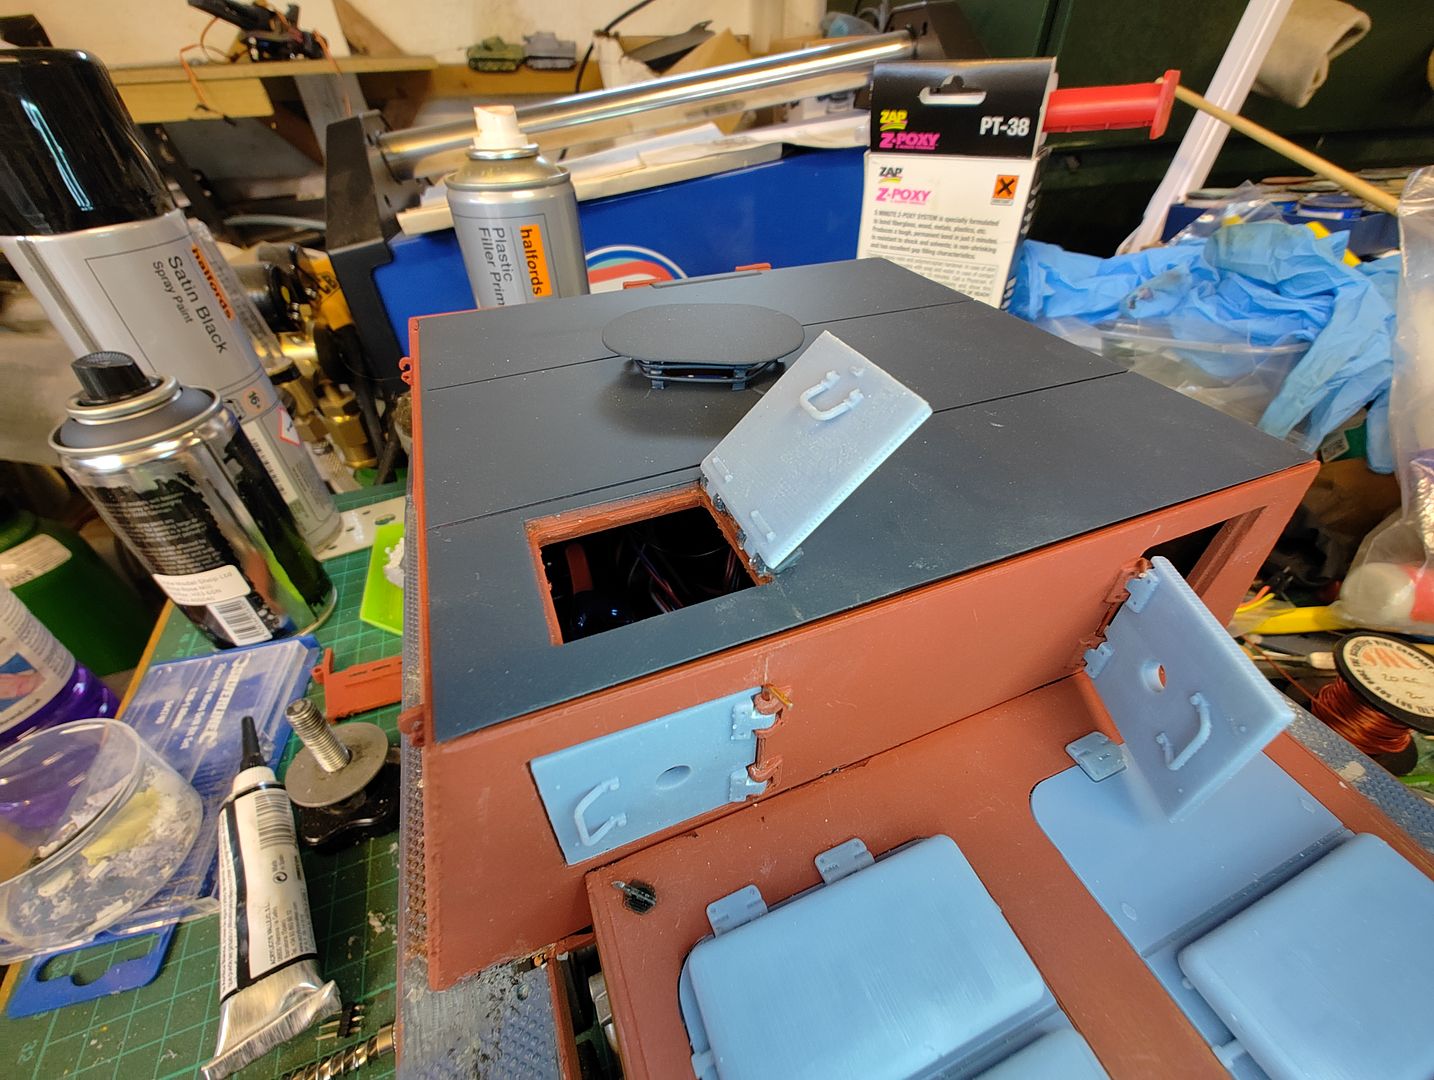
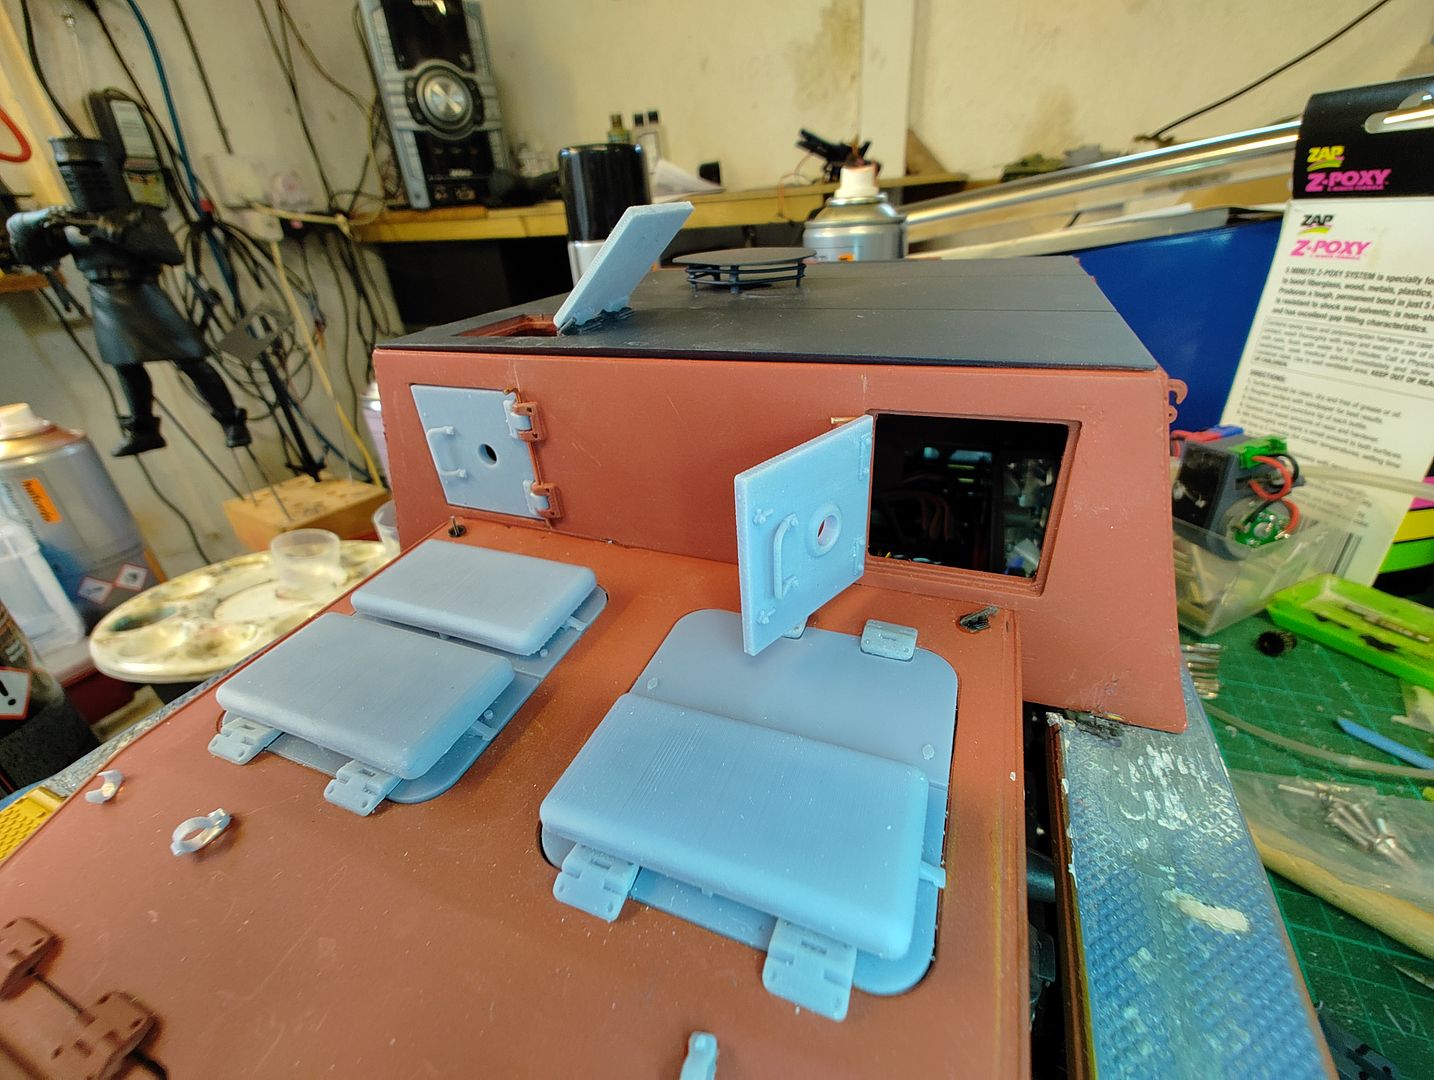
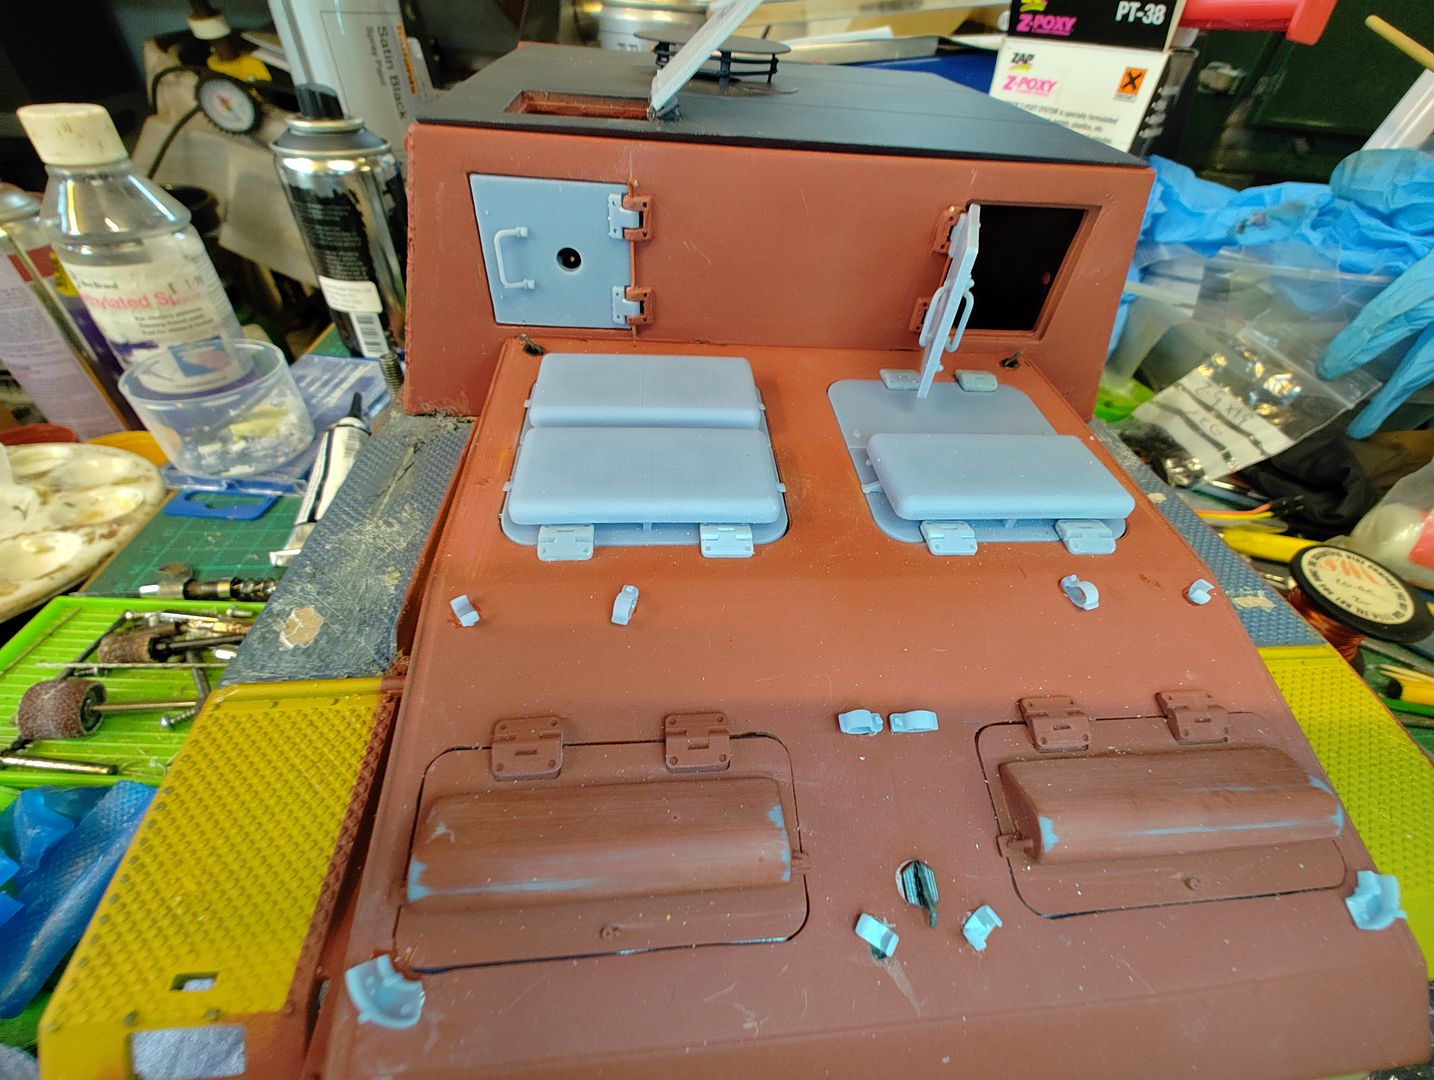
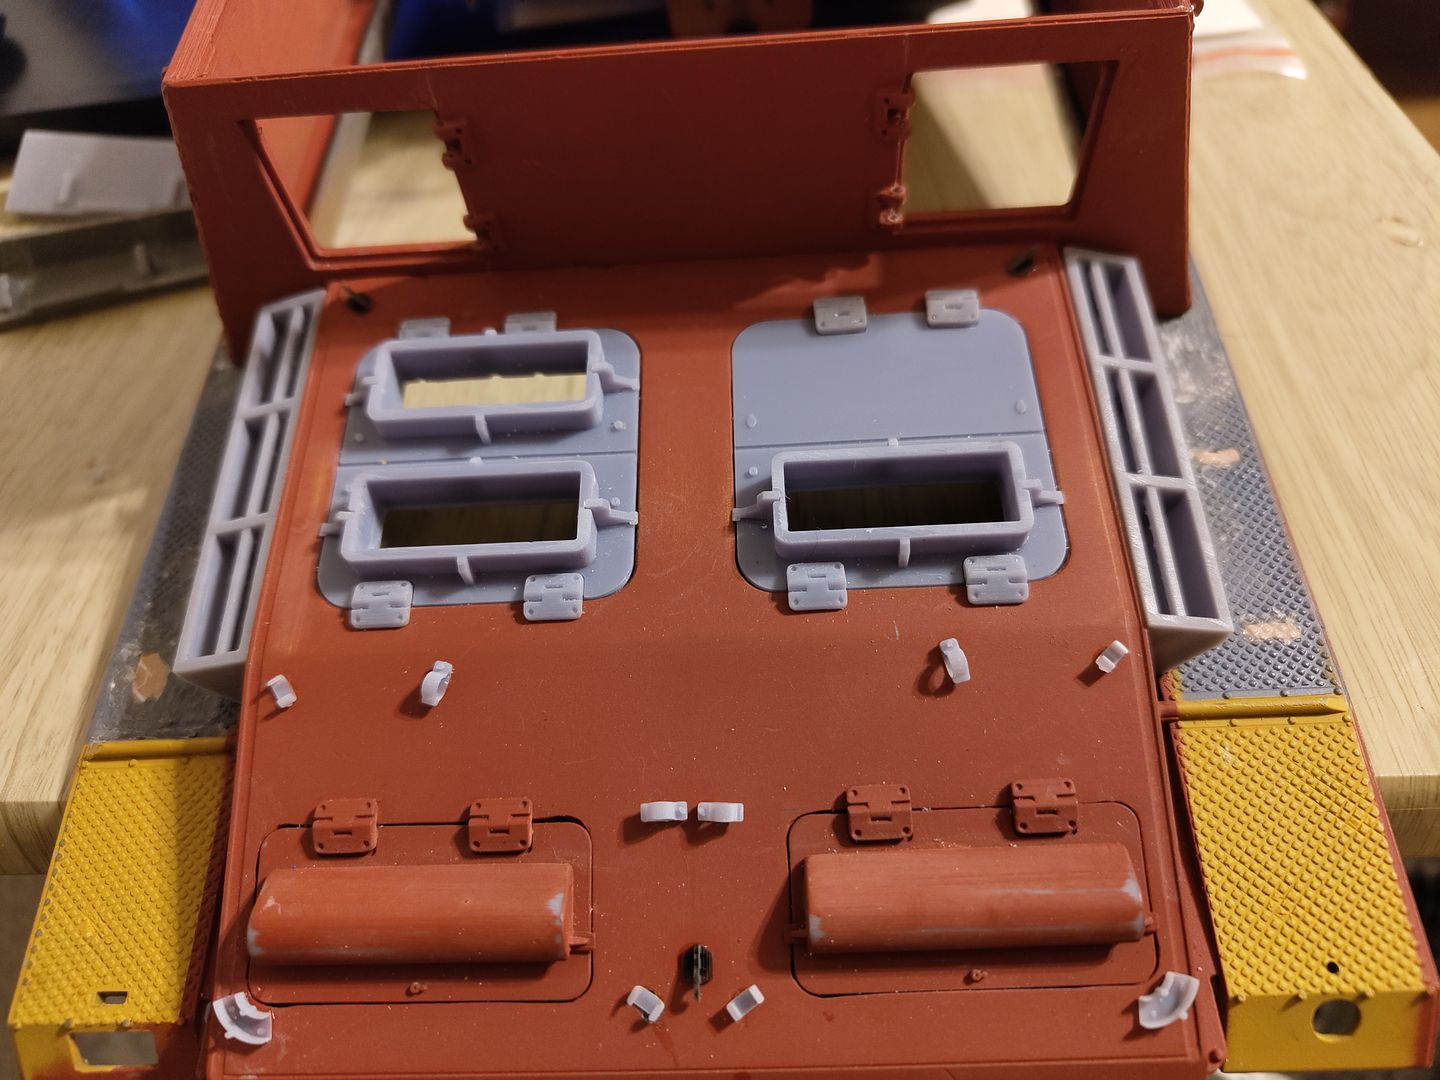
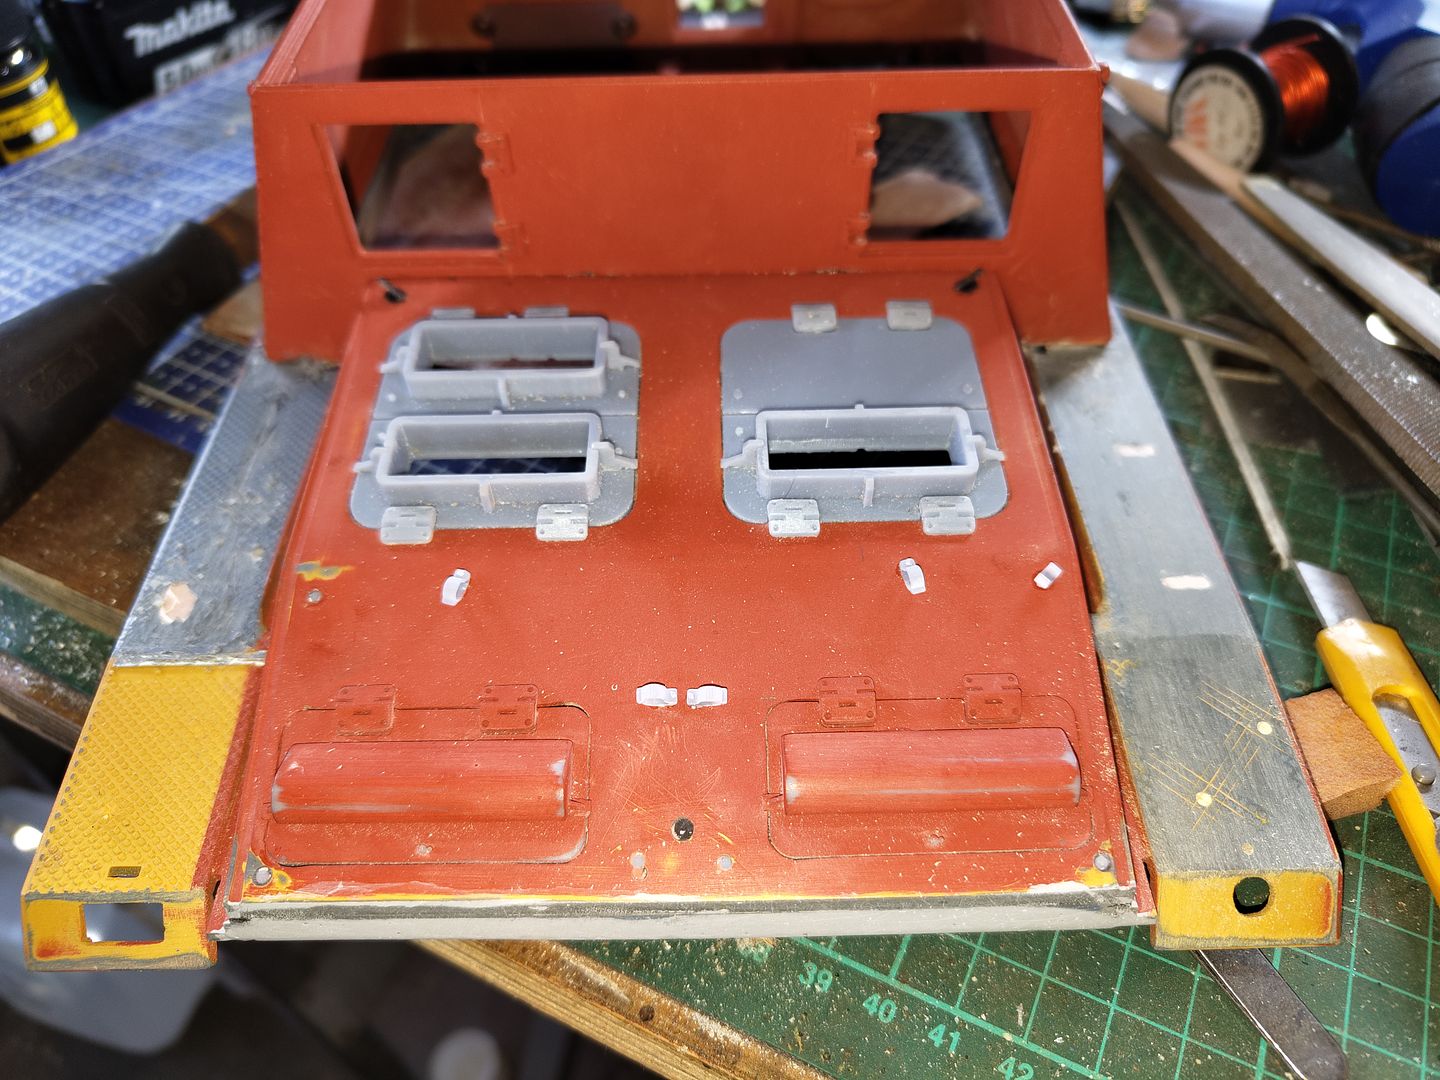
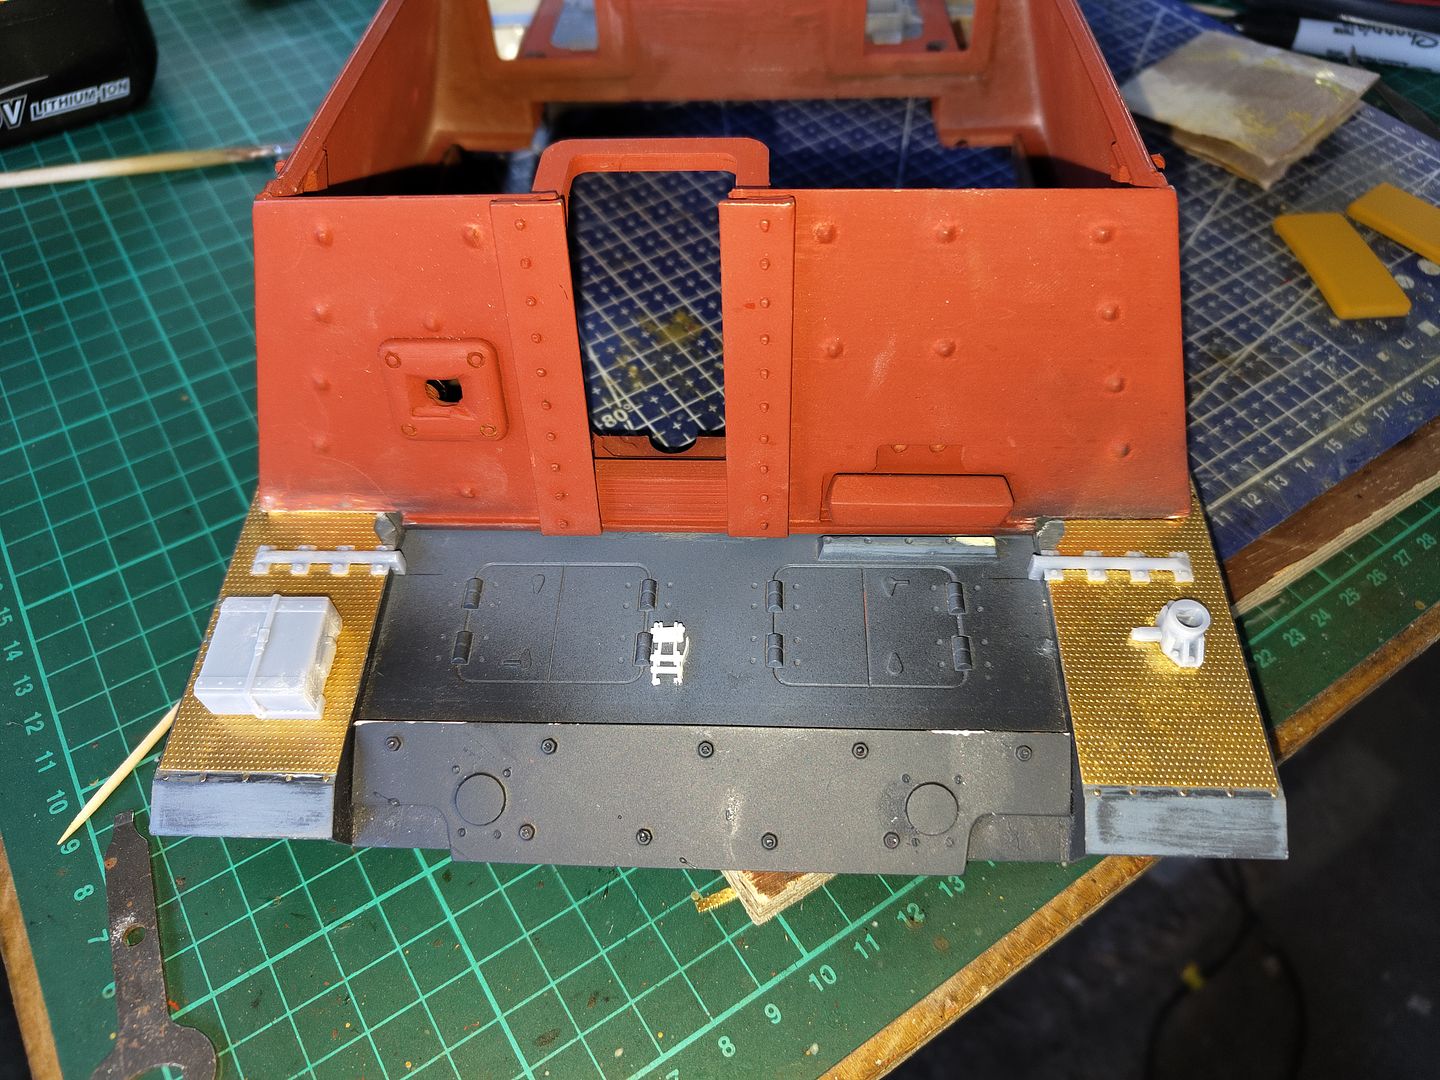
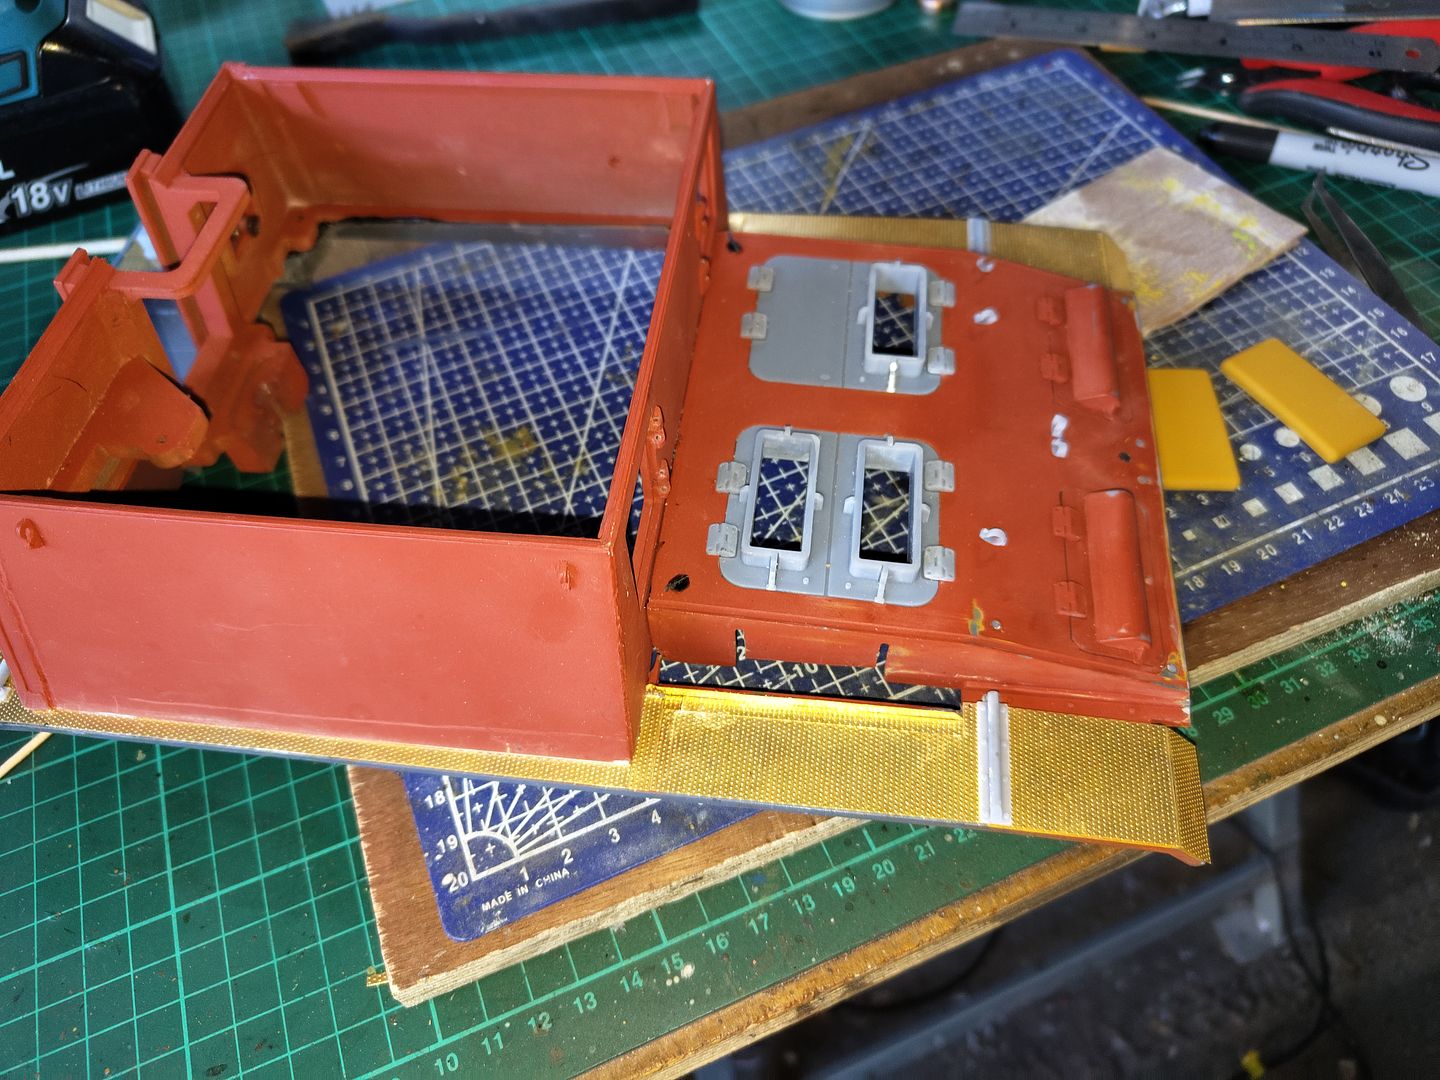
I have fitted the engine covers and temperately fitted the rear deck parts to see what they look like fitted and to see if any changes are required.
Image
Image
And it's looking not bad at all I've just got some fresh milliput and will try to make the checker plate look better where the moulded tools were removed.
I am also going to work on the 2 vents at the side of the rear deck by Dremeling them out and adding a bit of plasticard and etched grills to get them ready to fit back on.
Now to finish the heater so I can print the new hatches to fit.
User avatar
c.rainford73
Major
Posts: 6104
Joined: Thu Aug 25, 2016 7:34 pm
Location: Connecticut USA

Re: s.I.G 33 Converion

Post by c.rainford73 »

Really nice work, good to see it progressing again
Tanks alot.... :wave:
User avatar
HERMAN BIX
Brigadier
Posts: 10331
Joined: Sun Jan 12, 2014 12:15 am
Location: Gold Coast,Australia

Re: s.I.G 33 Converion

Post by HERMAN BIX »

Groundbreaking model, every home should have one ;)
HL JAGDPANTHER,HL TIGER 1,HL PzIII MUNITIONSCHLEPPER, HL KT OCTOPUS,HL PANTHER ZU-FUSS,HL STuG III,HL T34/85 BEDSPRING,
HL PZIV MALTA,MATORRO JAGDTIGER,HL F05 TIGER,TAMIYA KT,HL PANTHERDOZER,HL EARLY PANTHER G,TAIGEN/RAMINATOR T34/76,
HL AN-BRI-RAM SU-85
User avatar
baldrick131
Lance Corporal
Posts: 140
Joined: Fri Oct 04, 2019 8:46 pm
Location: March cambridgeshire
Contact:

Re: s.I.G 33 Converion

Post by baldrick131 »

A new year and finally got chance to work on the sig (I'm far to easily distracted I'm afraid)
But I have got the heater on my resin printer working so keeping the insides at a toasty 30 degrees C has made printing better at this time of year.
My main achievement is re-working the hatches to add more detail when using resin with incorporated handles and some other detail at the opposite side of the hinges.
Image
I'm using Anycubic ABS like resin so I can open the hinge pin holes with a drill without breaking them plus the handles are less likely to snap off.
Image
I had to re design the hooks a bit to make them smaller so the left hand door could clear it plus sand a small amount off the bottom of the door.
I also need to find a way of tidying up the mud guards where the tools were removed.
(Yes the phrase "None shall Pass!" Is what distracted me :headbang: )
Image
So I chucked some filler primer on them ready to get them painted.
Image
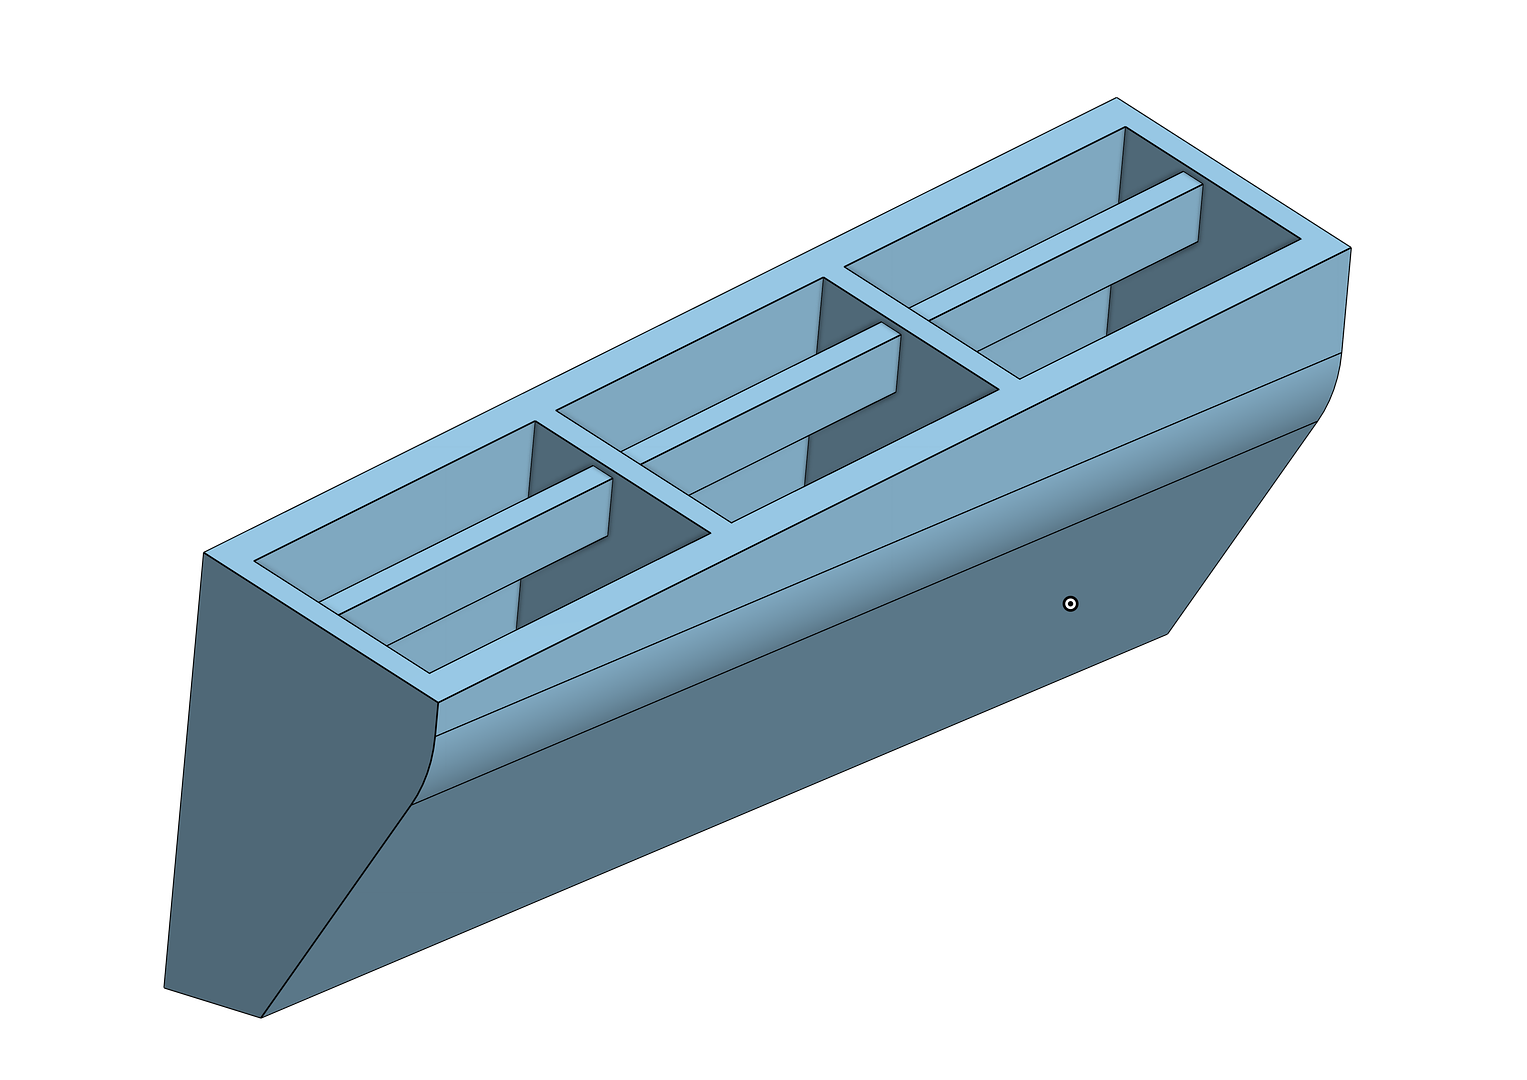
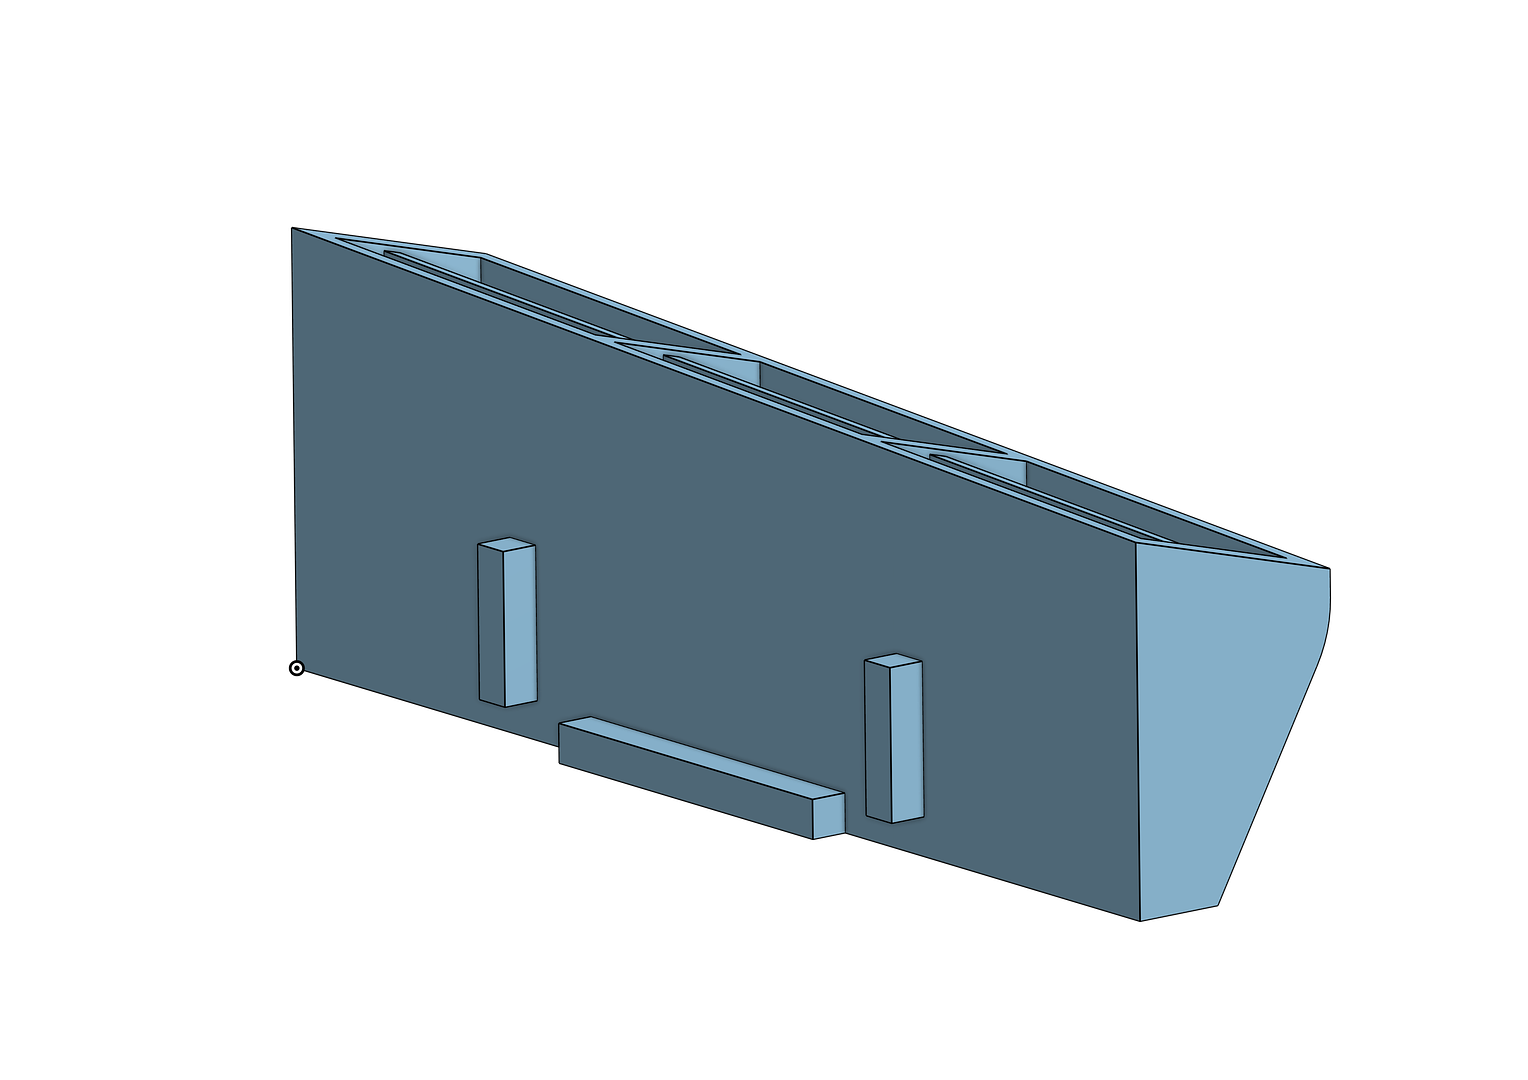
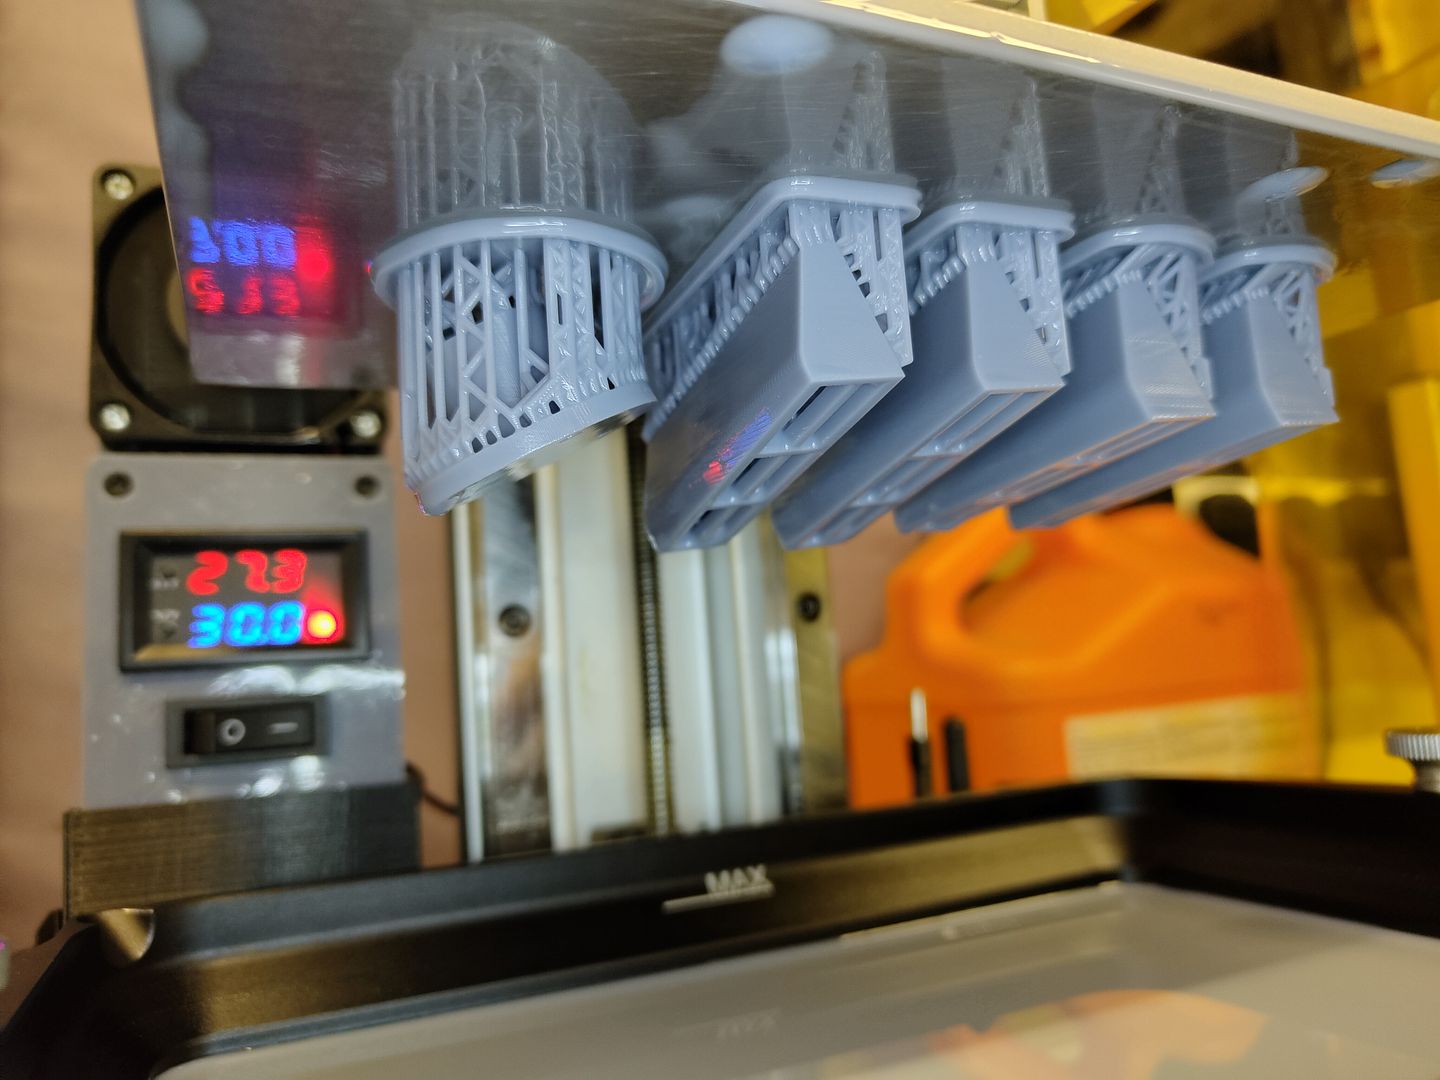
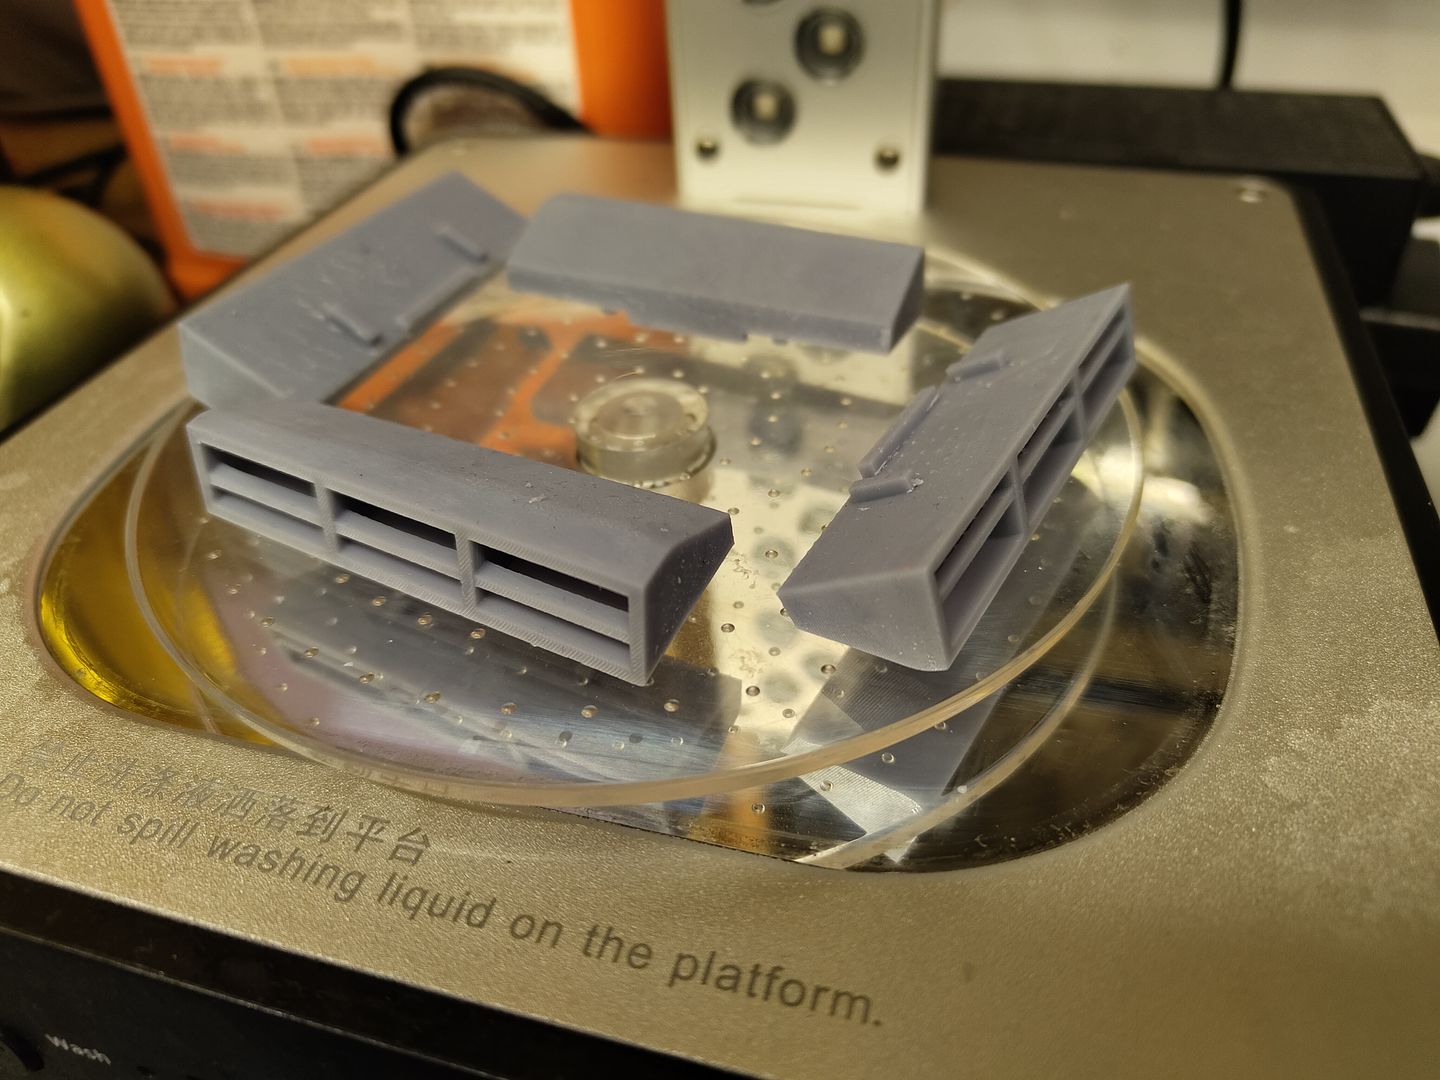
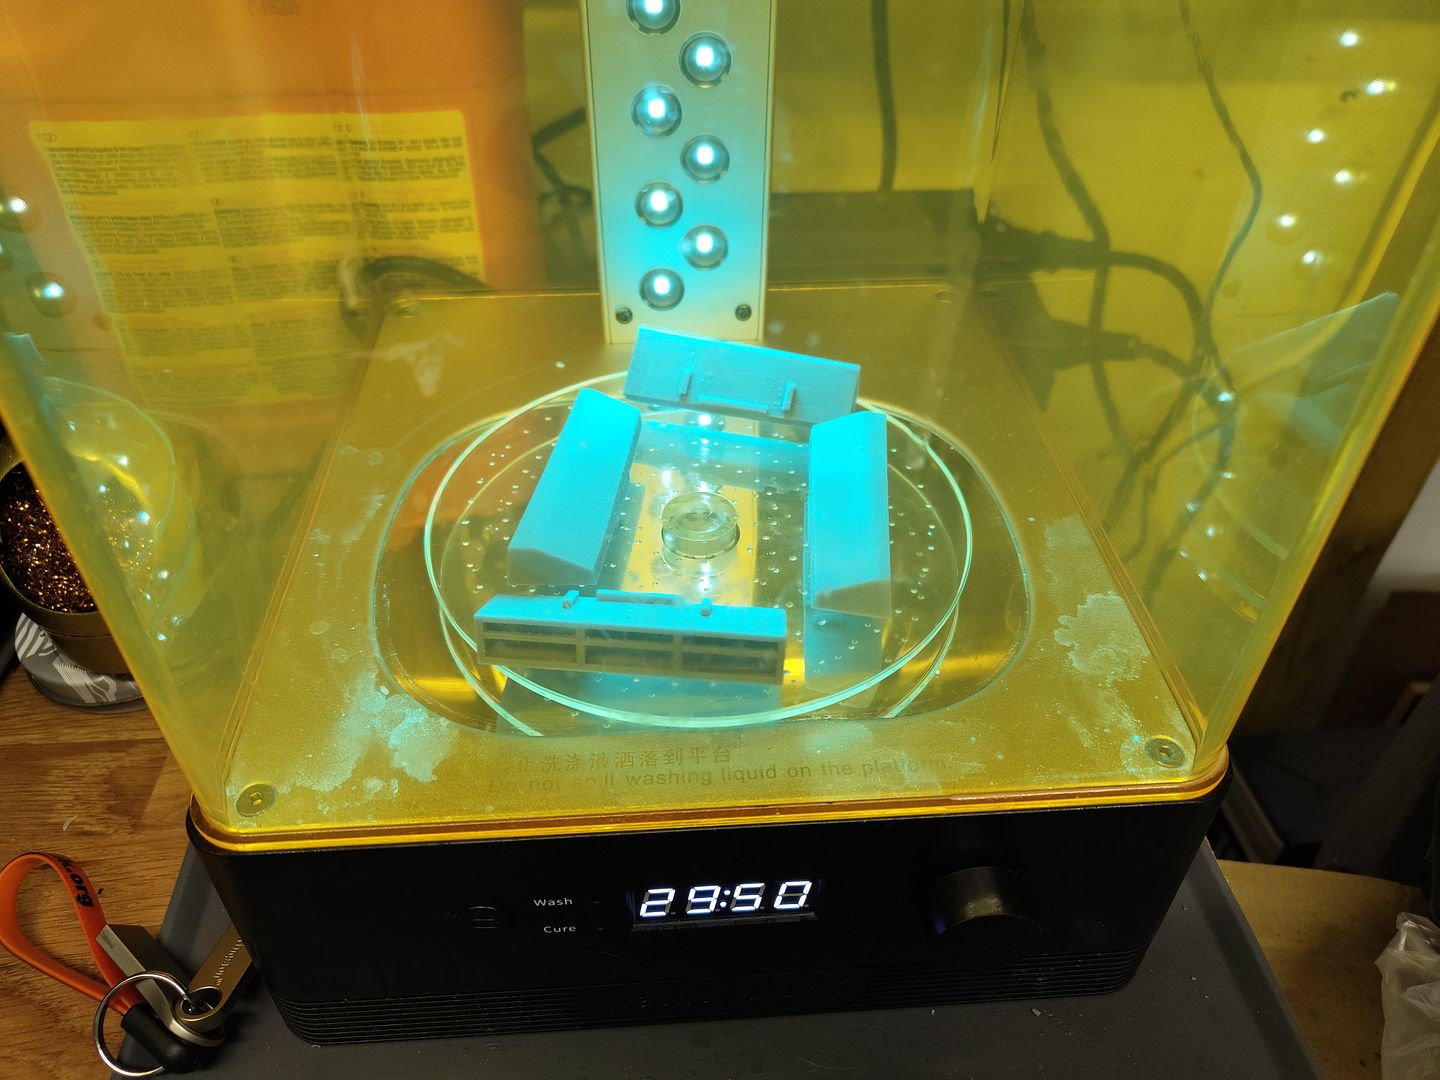
Seeing as its still chilly in the shed I decided to have a go at printing more detailed side vents for it and currently waiting for the printer to finish the first ones to see how they fit.
Image
They should just clip in place of the original ones.
Image
User avatar
baldrick131
Lance Corporal
Posts: 140
Joined: Fri Oct 04, 2019 8:46 pm
Location: March cambridgeshire
Contact:

Re: s.I.G 33 Converion

Post by baldrick131 »

That didn't take long!
Image
Just finished printing.
I hope they fit 8O
Image
Now to give them a sun tan and give them a try on the tank tomorrow,
Image
I might make a few detail changes before I'm happy with them.
Scrub that I couldn't wait!
Image
A bit of a gat next to the case mate so will move it closer and make it 1mm shorter to fit the etched grill parts I got.
Image
And make the guide tabs thinner.
Image
I added some channels to add weld detail into at the ends to add to the detail.
Image
User avatar
jee
Staff Sergeant
Posts: 812
Joined: Thu Apr 22, 2021 4:16 am
Location: Siberia
Contact:

Re: s.I.G 33 Converion

Post by jee »

looks awesome!
Regards,
Jaap :wave:
User avatar
baldrick131
Lance Corporal
Posts: 140
Joined: Fri Oct 04, 2019 8:46 pm
Location: March cambridgeshire
Contact:

Re: s.I.G 33 Converion

Post by baldrick131 »

I found a solution to my untidy mudguard problem by chance I was looking for other detail parts for the build and found these.
Image
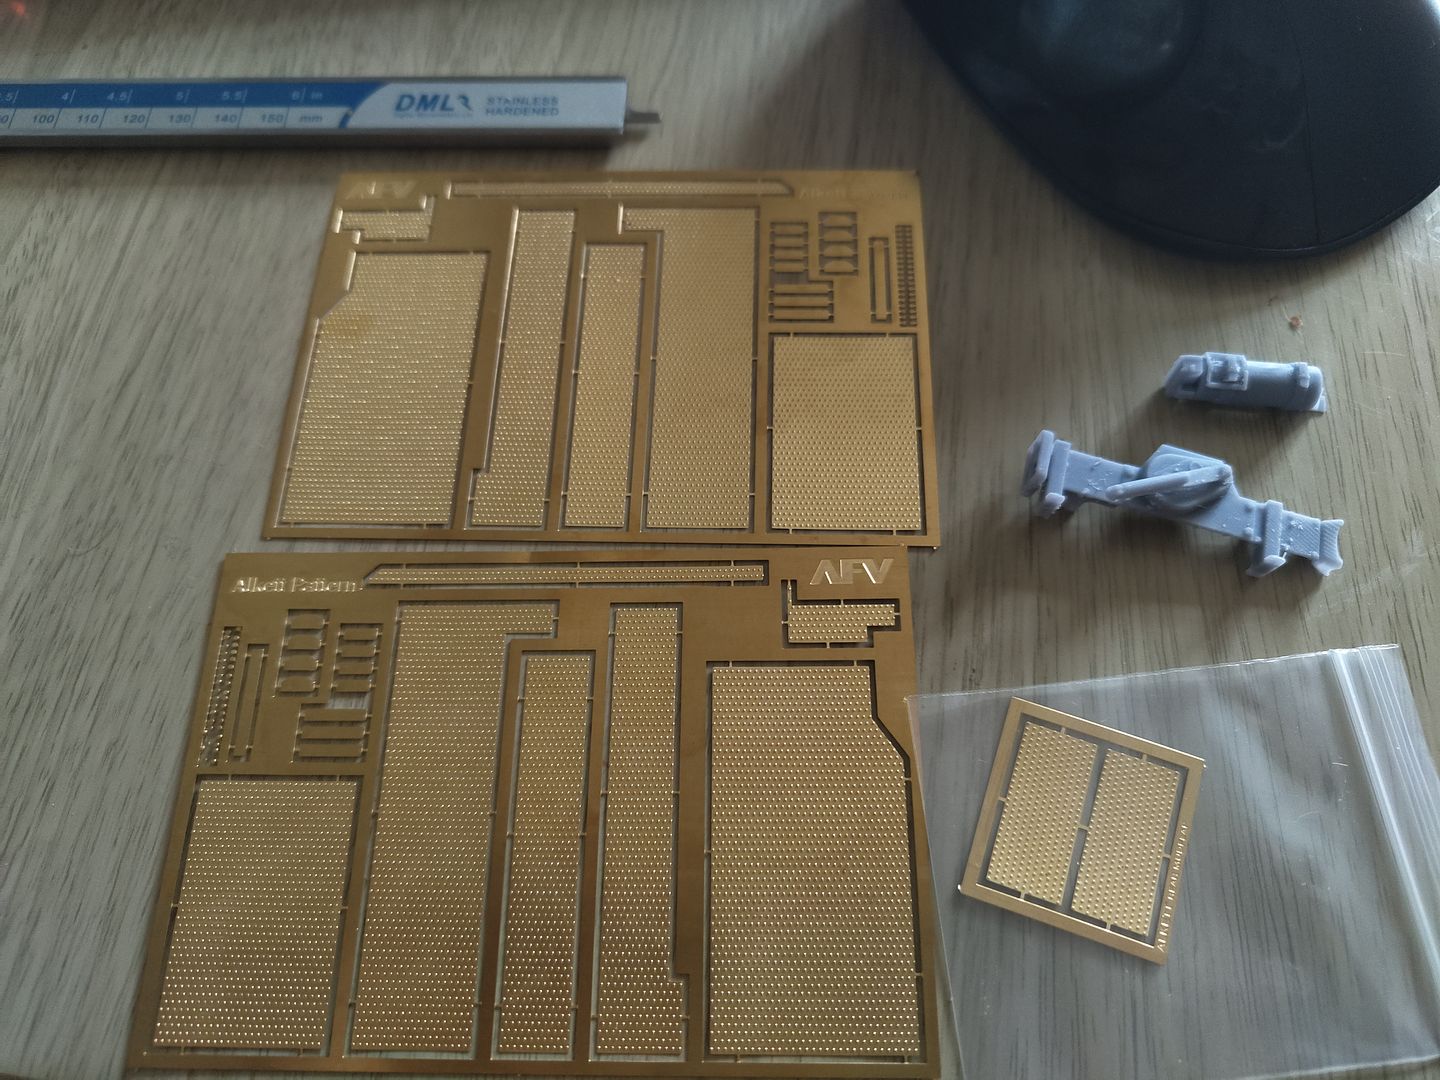
The jack and fire extinguisher are printed by me from 1/72nd scale parts gotten off of the cults3d website scaled up 218.8% they turned out ok but will print new ones with better supports.
The etched parts will need trimming to fit around the super structure but will look great when fitted.
they were purchased from here.
https://www.afvmodeller.com/product/116 ... kit-16039/
they have quite a few 1/16th scale parts mostly resin parts but as I have printer it is more economical to make my own.
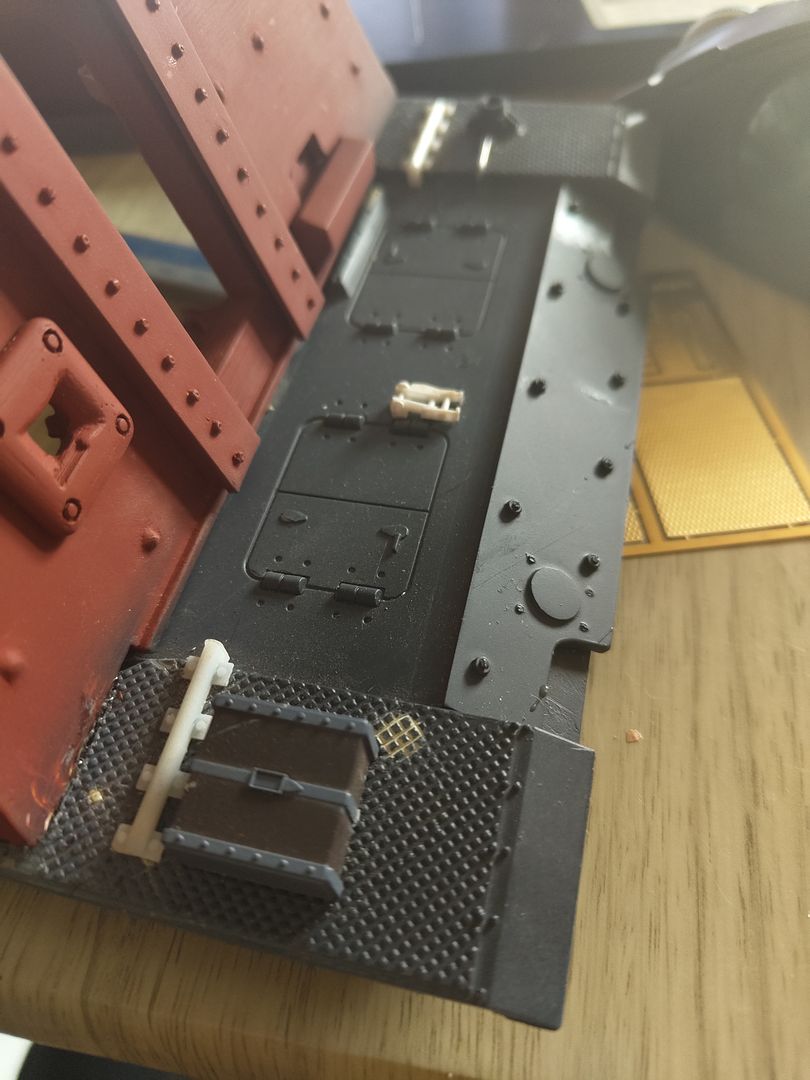
So it does mean I am going to have to remove all the parts I have already fitted to the plastic mudguards but as they were printed parts thats not a big problem.
Image
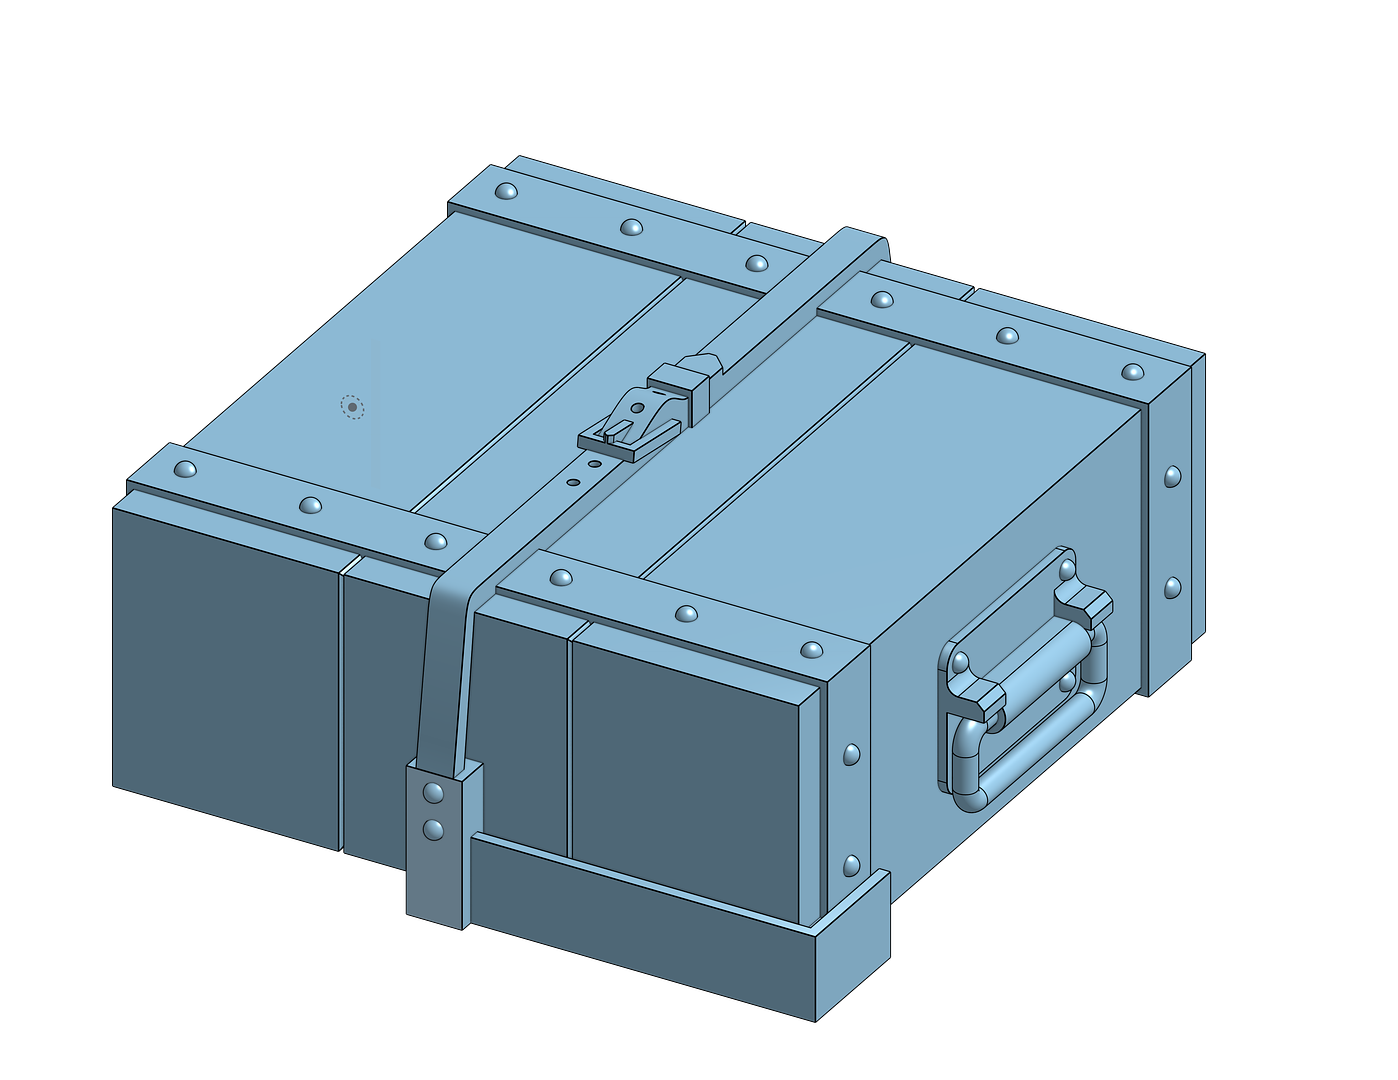
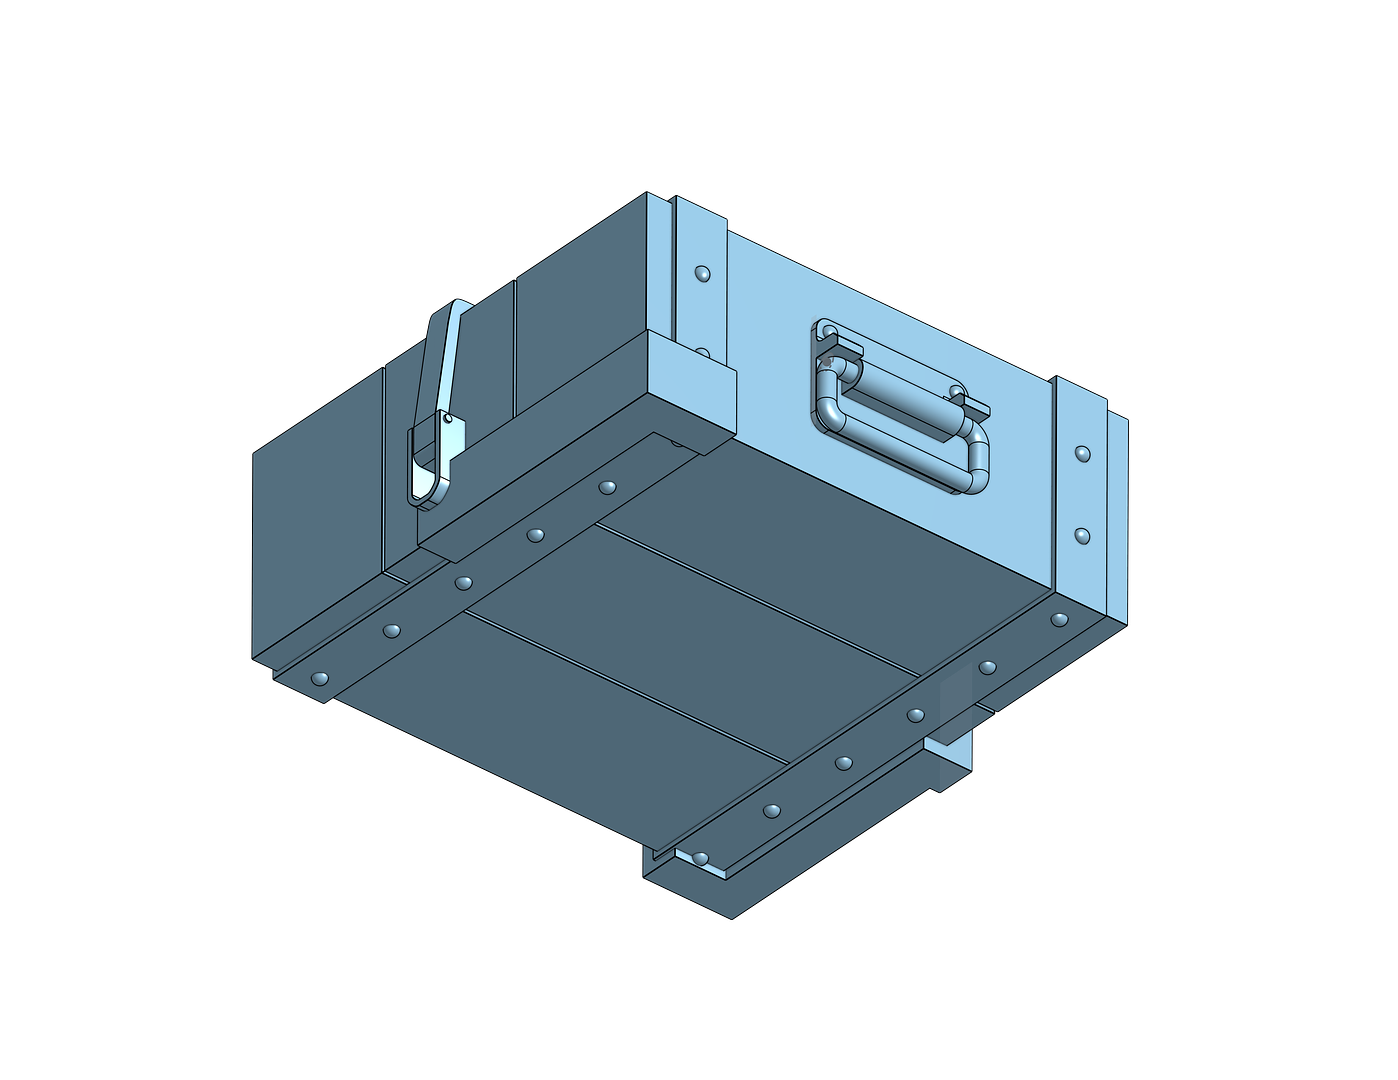
Apart from the wood block for the jack as I had used the one that came with the hull and it really looks a bit pants and I couldn't find an STL for one any ware and I'm not paying a lot for a resin one so I got on Onshape and created my own.
Image
Image
So I will be printing it off later with the other parts.
Image
Next to replicate will be the two pieces of angle iron that run along the back of the hull and the cover for the starter crank port and the box over the rear.
User avatar
baldrick131
Lance Corporal
Posts: 140
Joined: Fri Oct 04, 2019 8:46 pm
Location: March cambridgeshire
Contact:

Re: s.I.G 33 Converion

Post by baldrick131 »

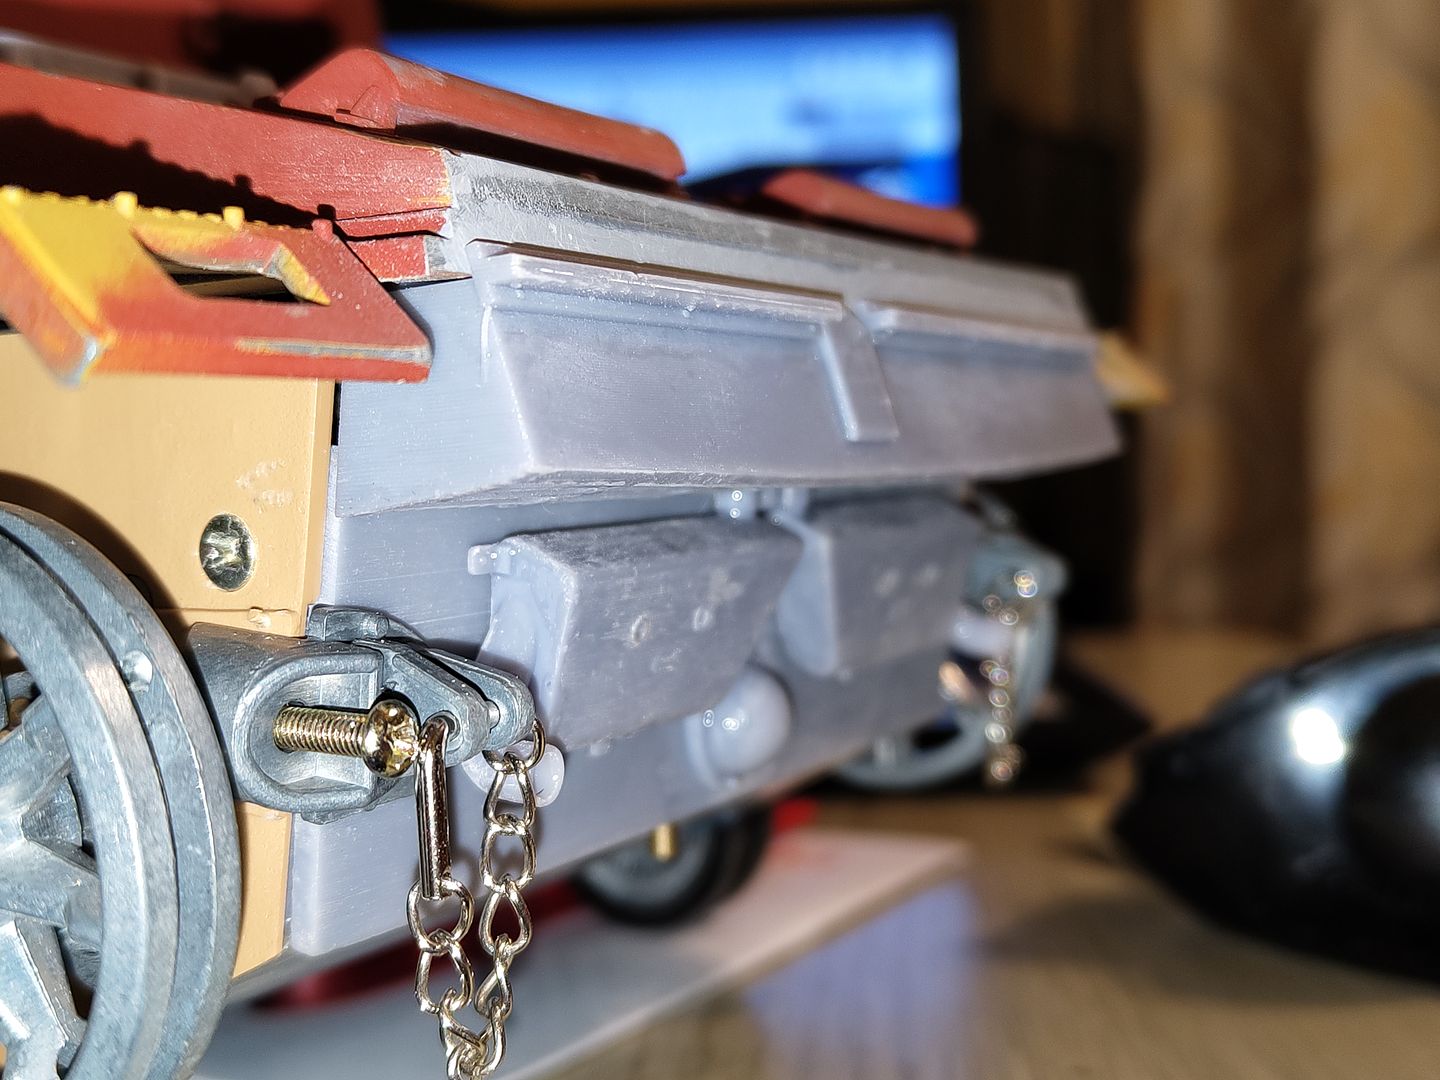
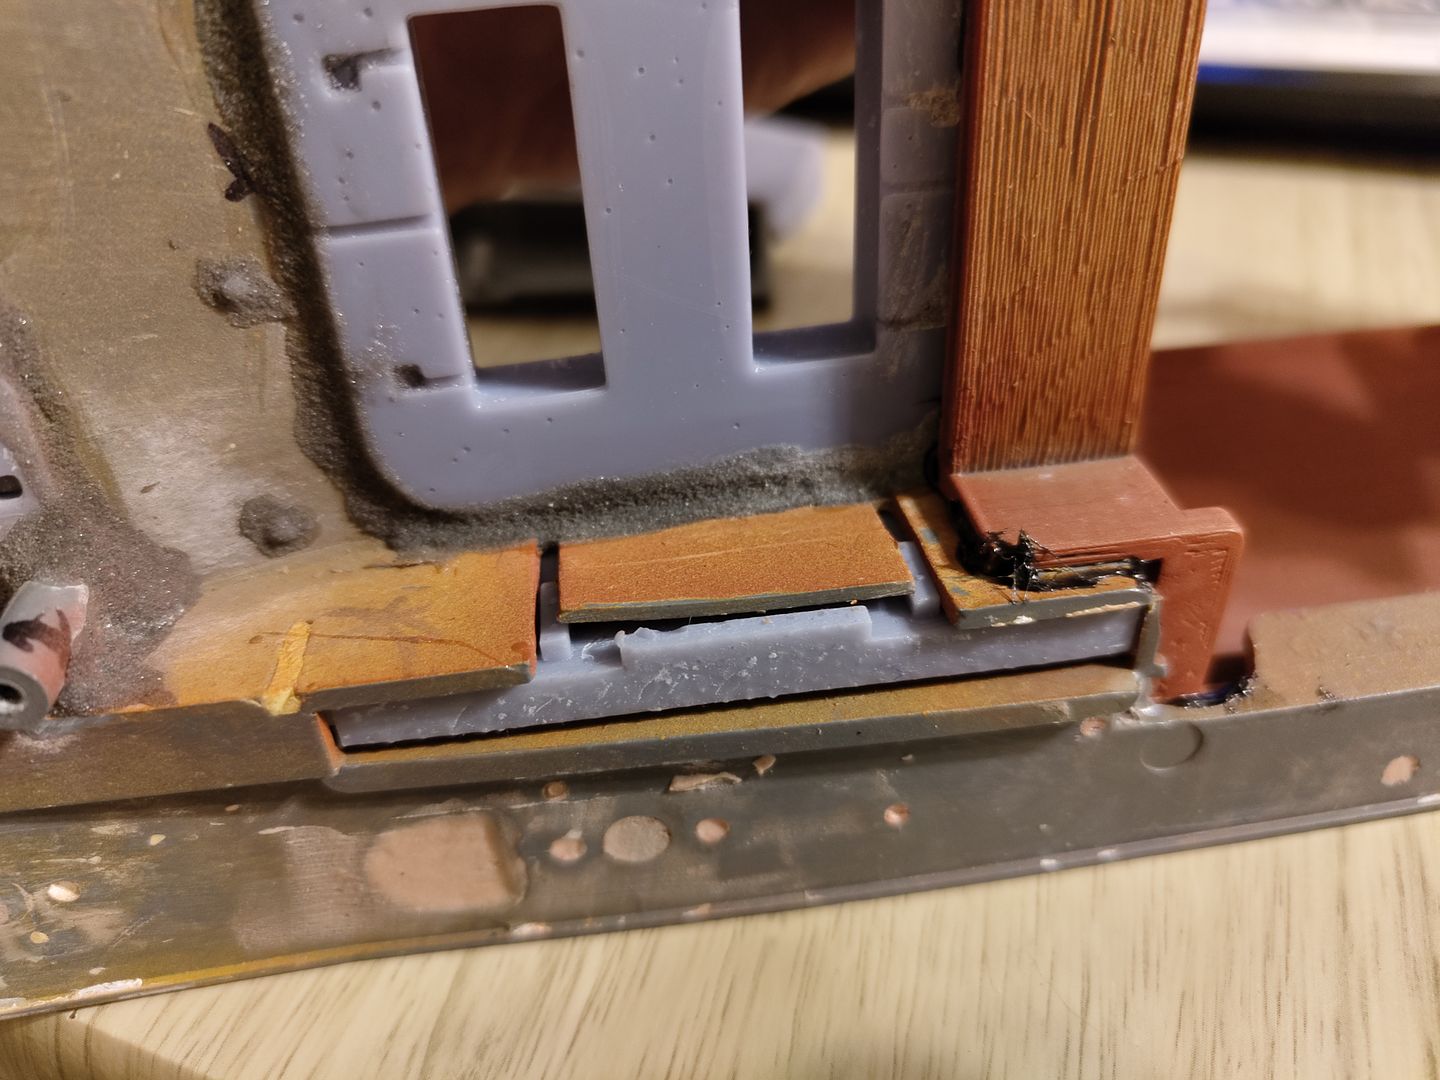
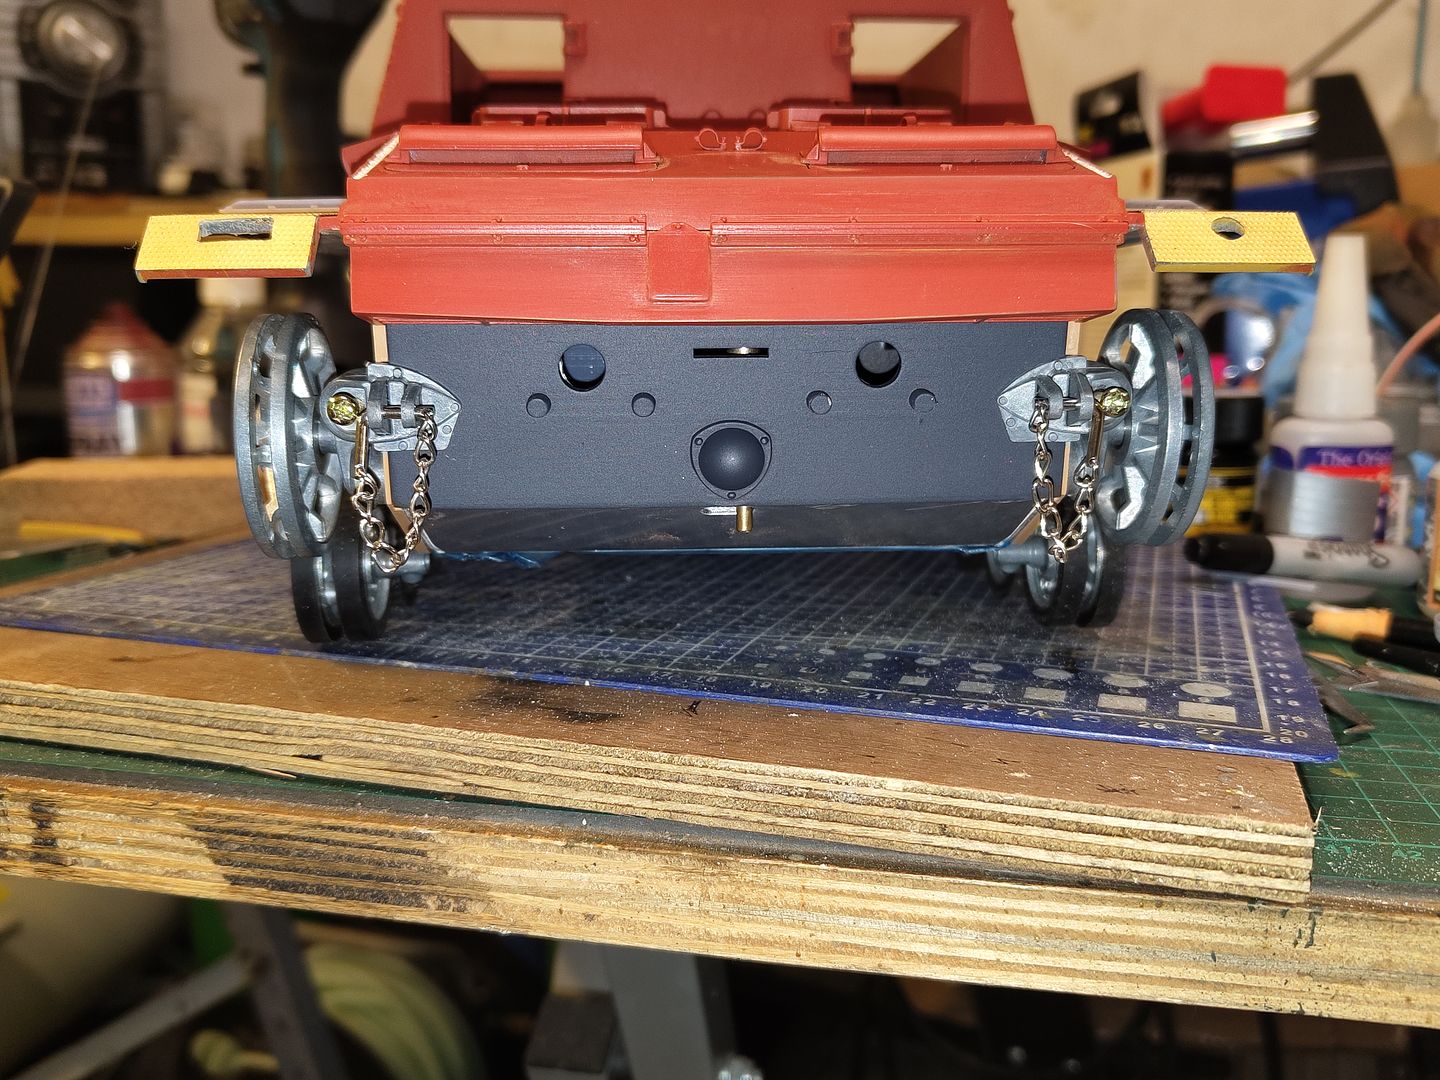
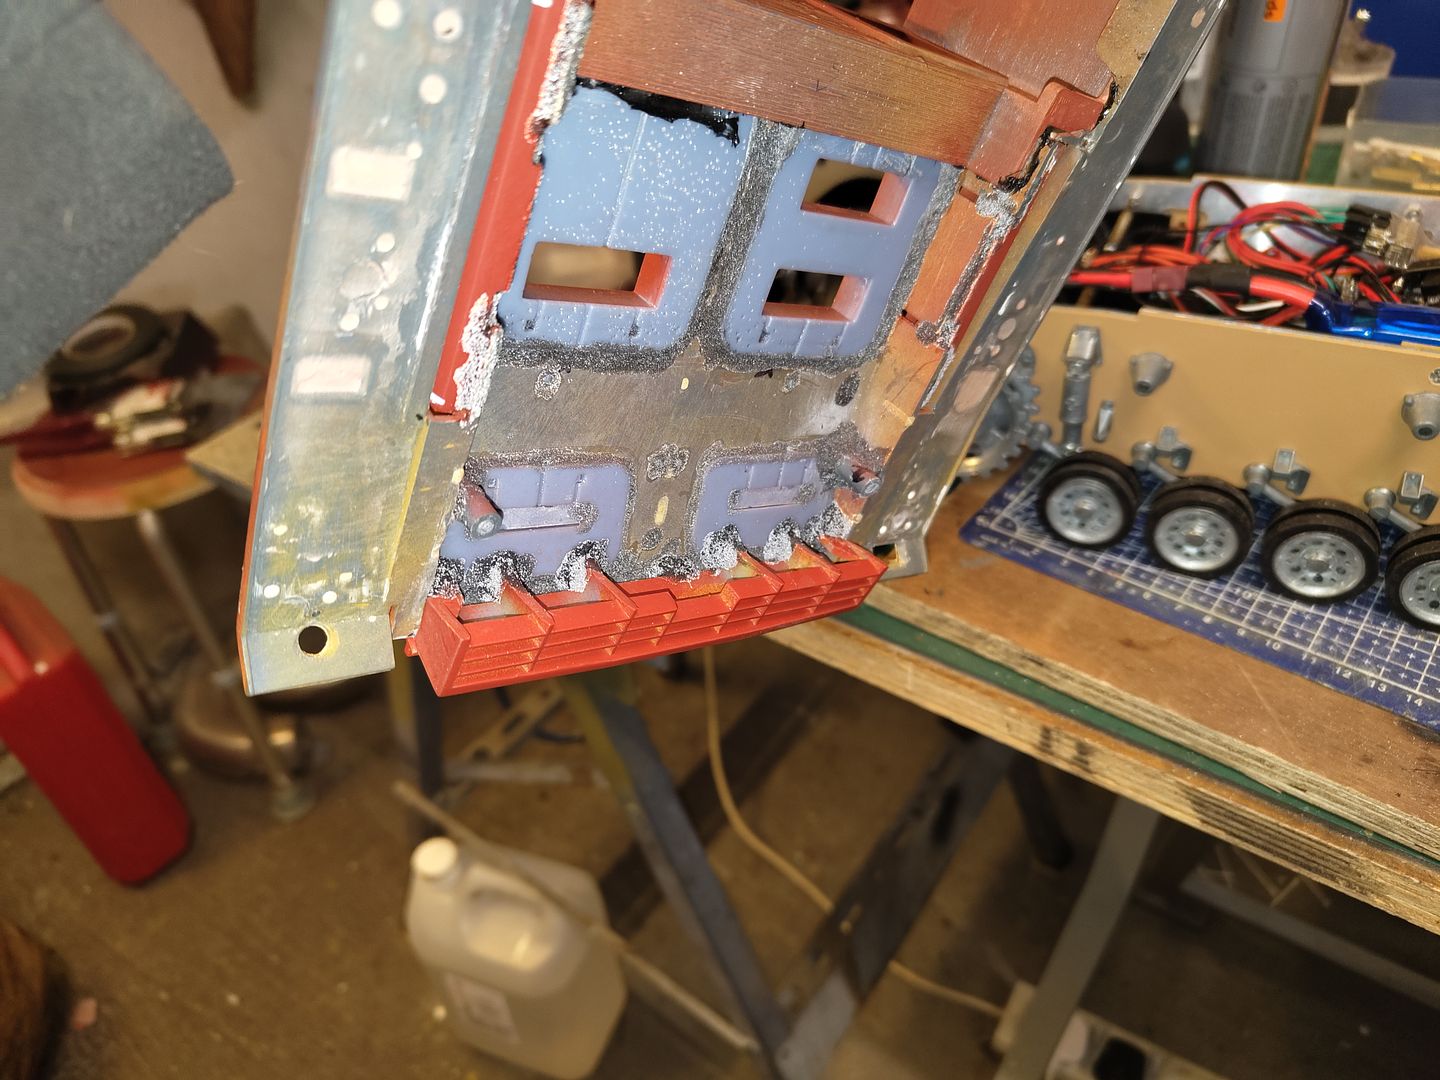
I have been busy butchering the back of the upper hull to replicate the sig as just adding some angle iron to the rear was not correct so I had to trim about 3mm from the bottom of the rear hatches at a slight angle towards the rear and fill the opening with some plasticard.
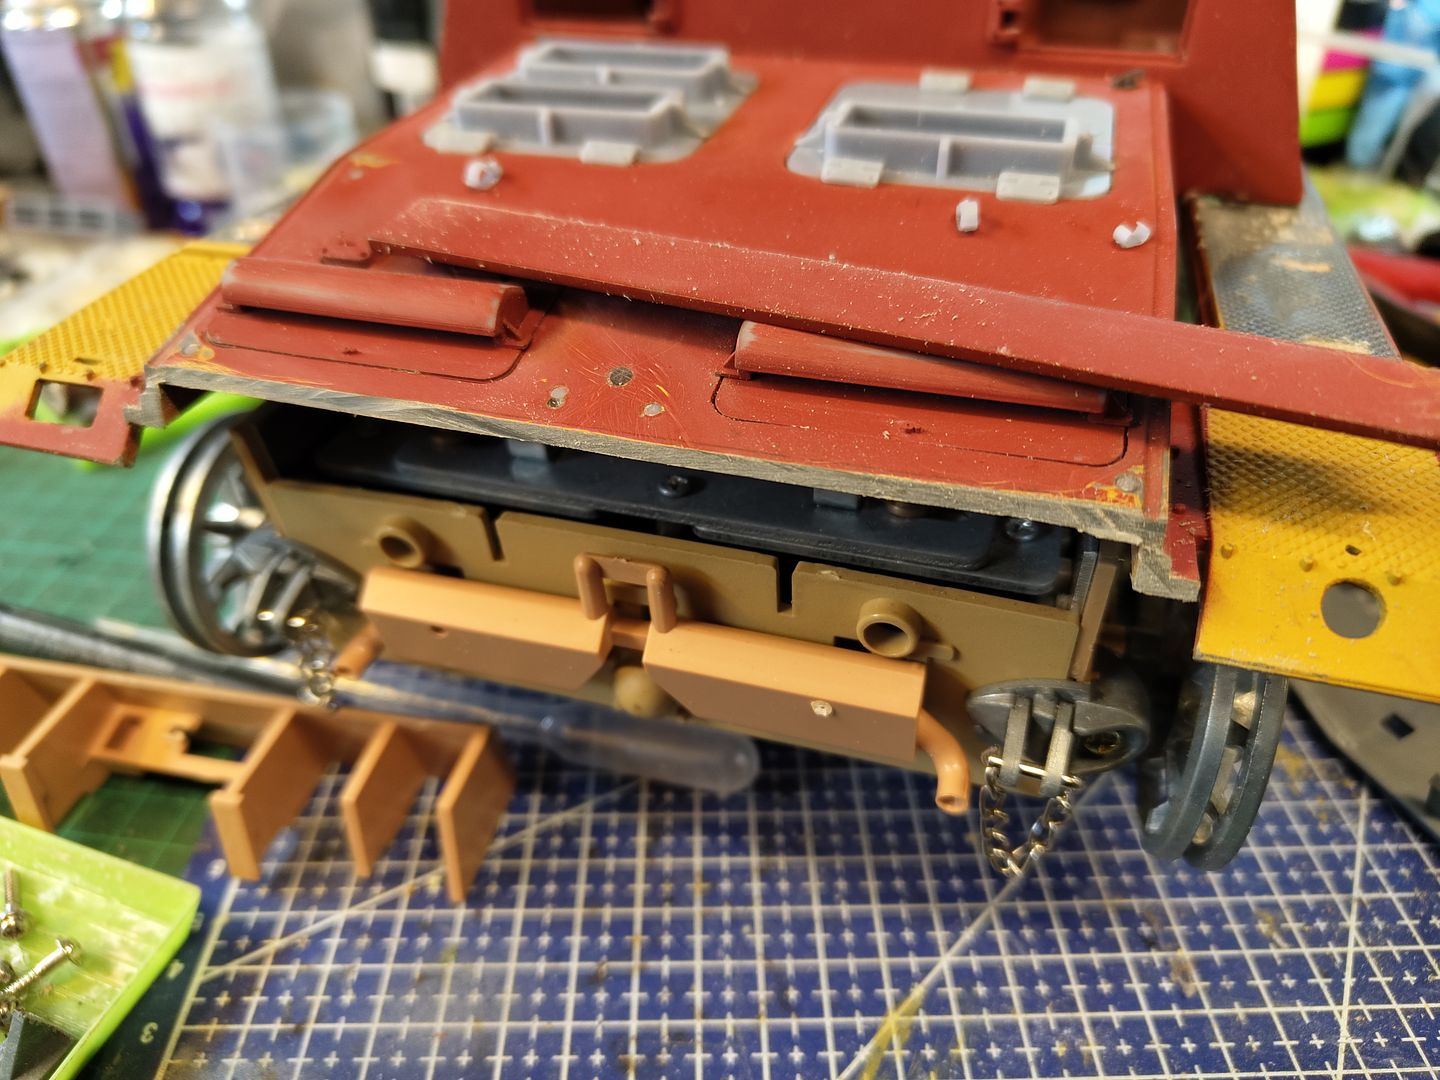
Image
Image
As you can see this now requires the rear part that sits on the back of the lower hull to be replaced.
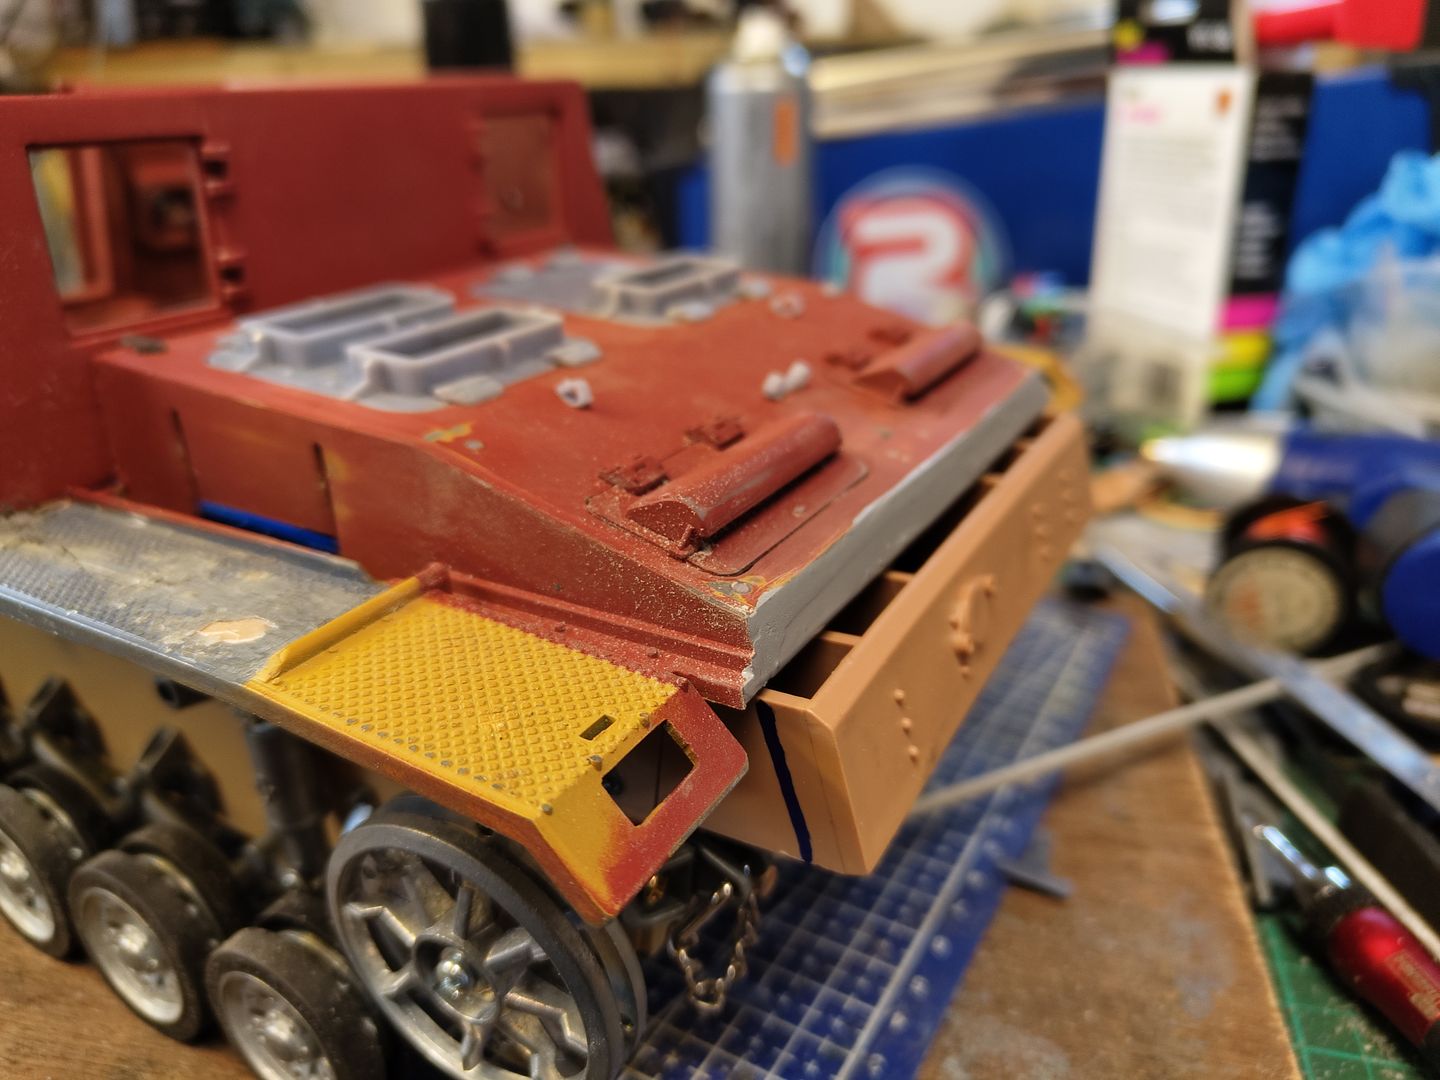
Image
I tried to re design and print a part that fits on the lower hull in the same fashion but as pictures show it was shorter in height it was very wobbly and would need gluing in place and the joint would look odd.
So I decided to attach it to the upper hull as one piece which is a much better solution.
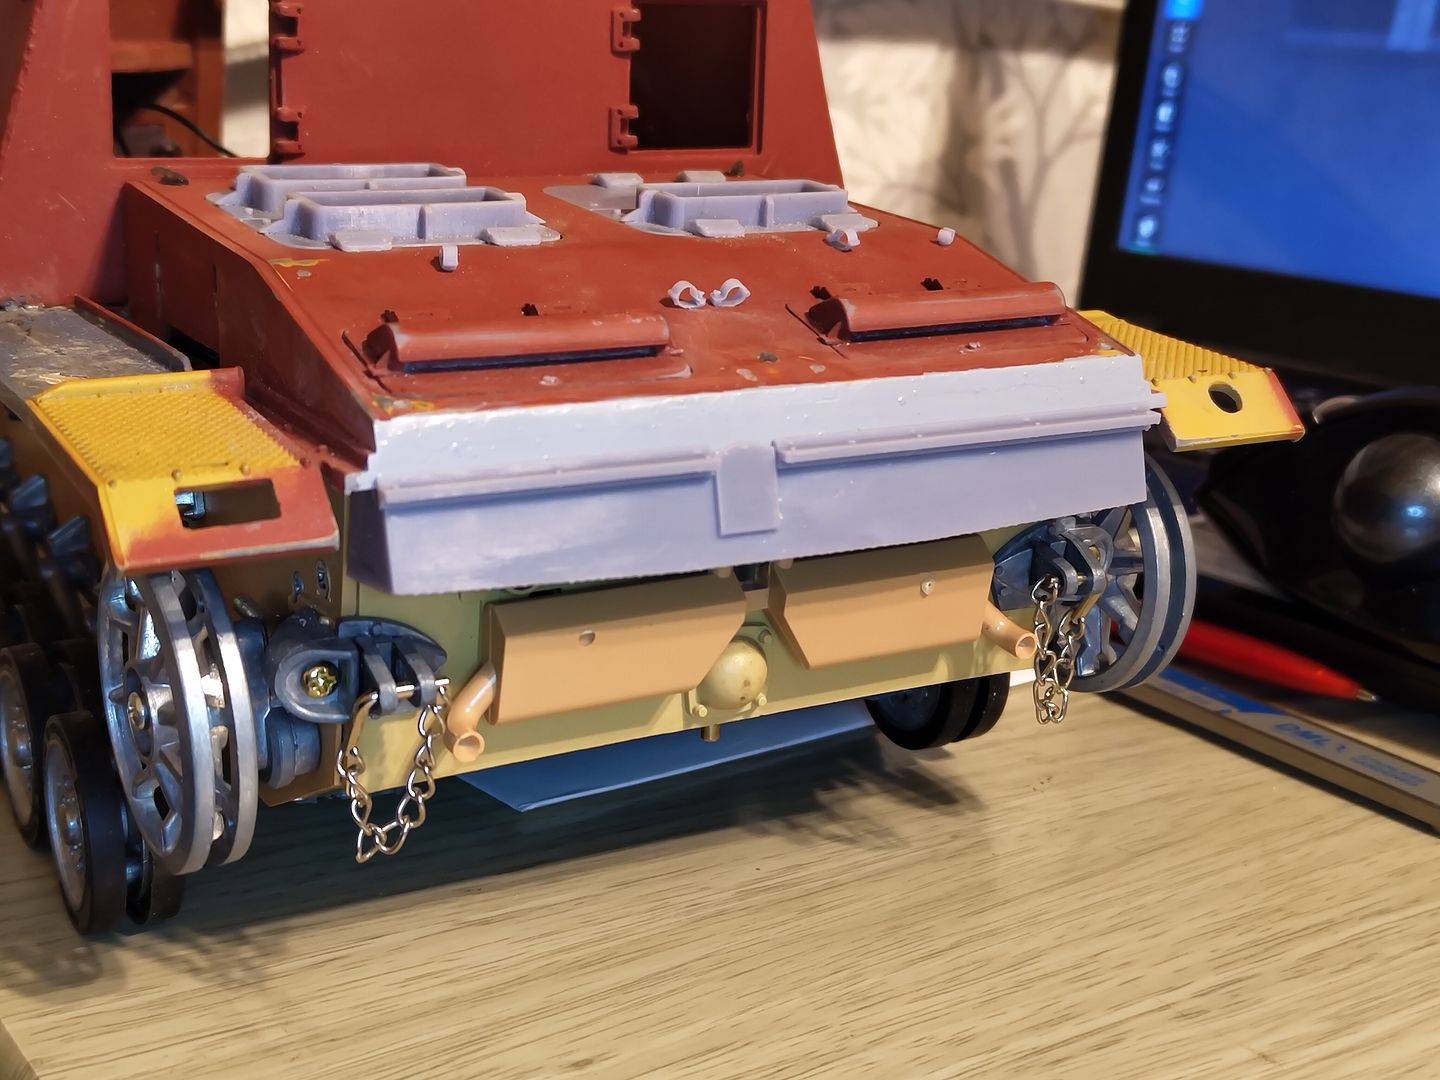
Image
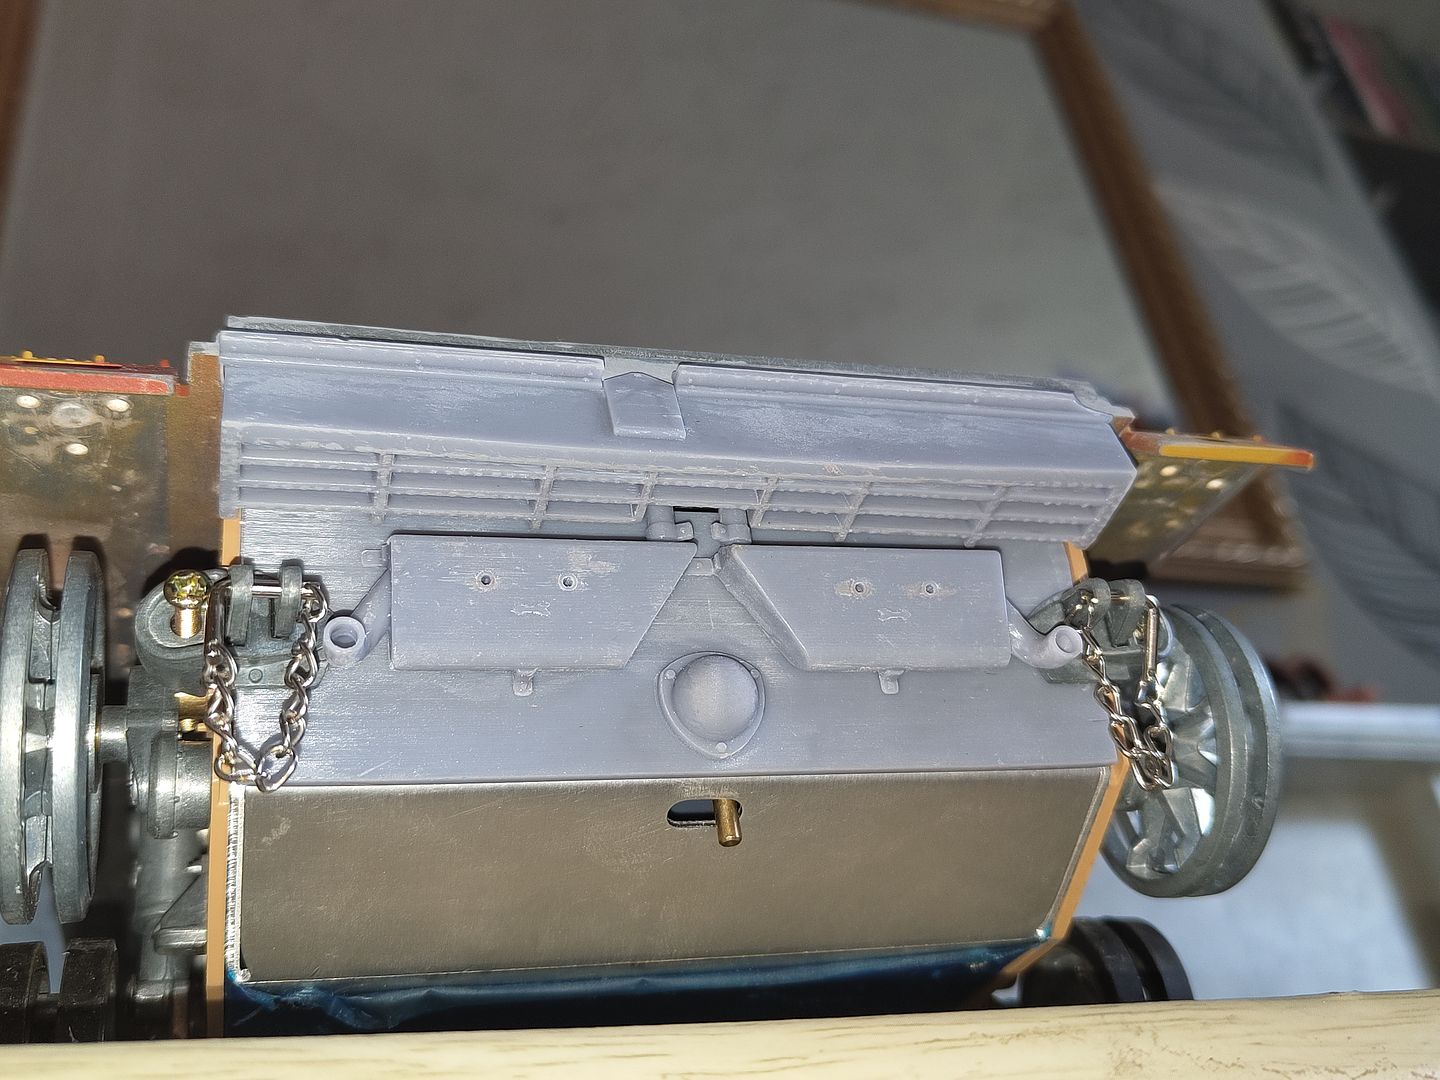
This looks a lot more like the real thing but needs a few tweaks plus the exhaust looks too low compared to the photos I have and the dome part at the rear has a square shaped flange and it should be more triangle shaped.
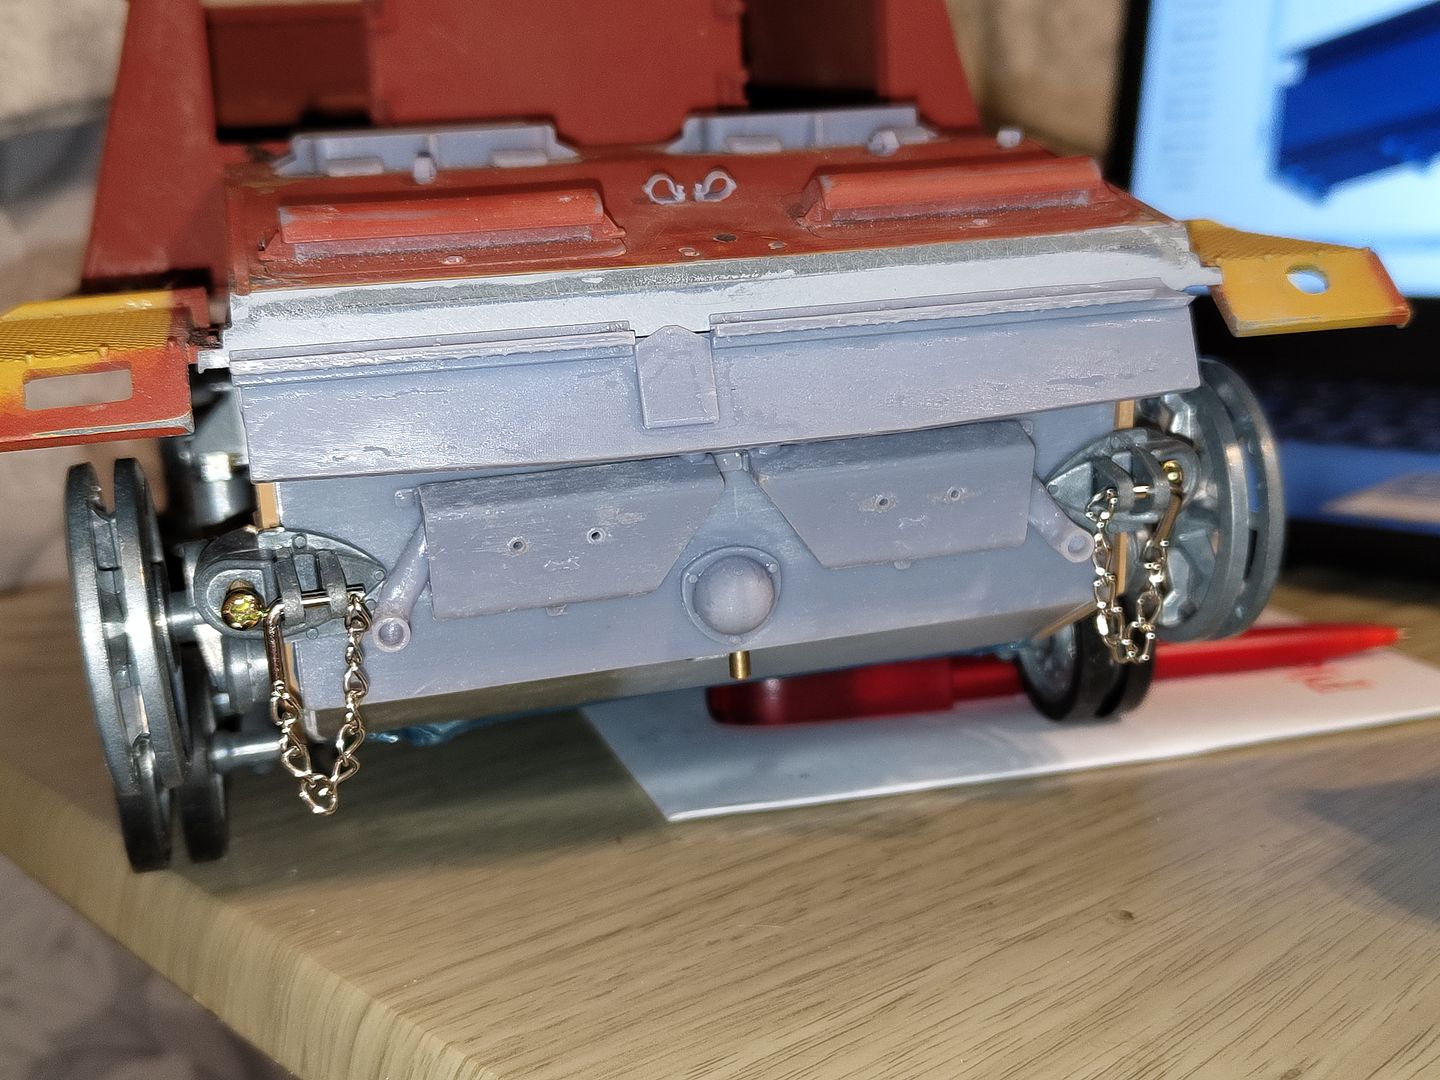
Image
Now I must apologise for the poor quality of the print but they were very sticky when I was washing them off for some reason.
But it does look a lot better as I made a new rear panel (despite putting some notches in the wrong place :headbang: )
Image
The exhaust has better detail than the original (when done properly :wtf: ) and each side has an open pipe leading to a flange at the back that has a short piece of brass pipe inserted to attach the smoke unit to and only requires a small amount of filing of the aluminium chassis to clear the flangesImage
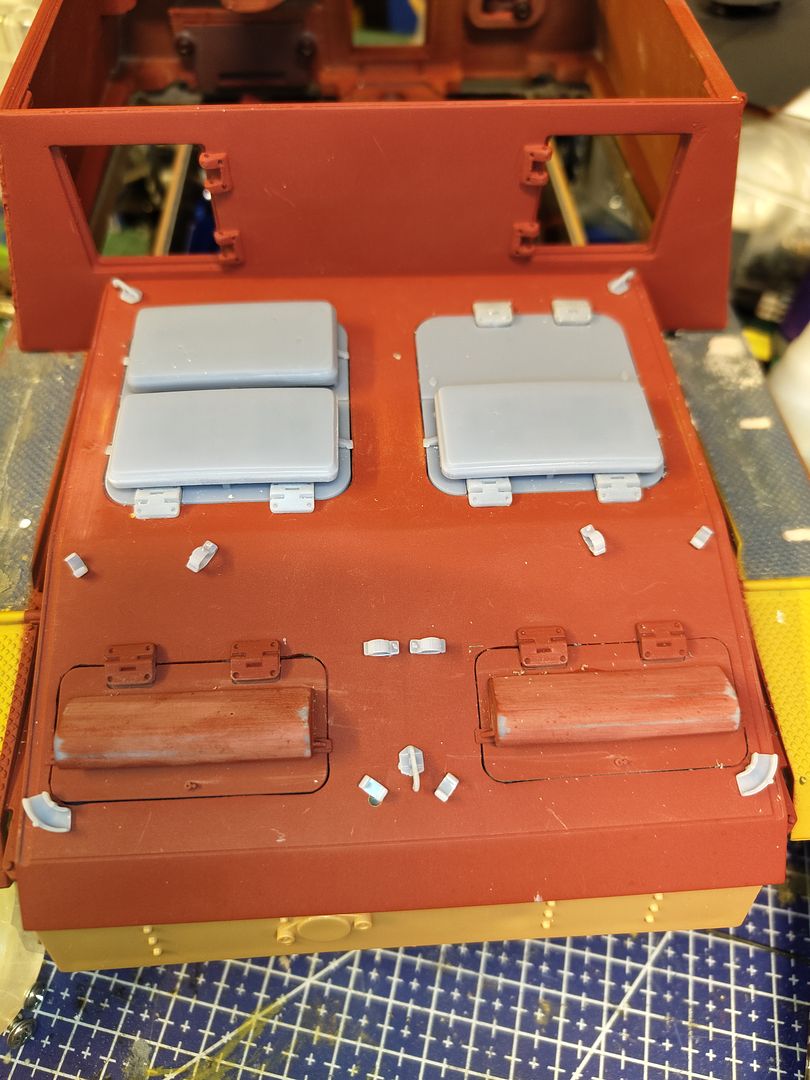
And the upper infill has better grill detail at the bottom.
All the parts need a bit of tweaking and reprinting hopefully with no more problems and they can be fitted properly and I can finally get round to the brass to cover the mudguards.
As usual when I get them sorted I will put the files on thingivers and I'm not sure if the lower parts will fit a Heng long lower hull but I'm sure if you try hard enough they will.
User avatar
baldrick131
Lance Corporal
Posts: 140
Joined: Fri Oct 04, 2019 8:46 pm
Location: March cambridgeshire
Contact:

Re: s.I.G 33 Converion

Post by baldrick131 »

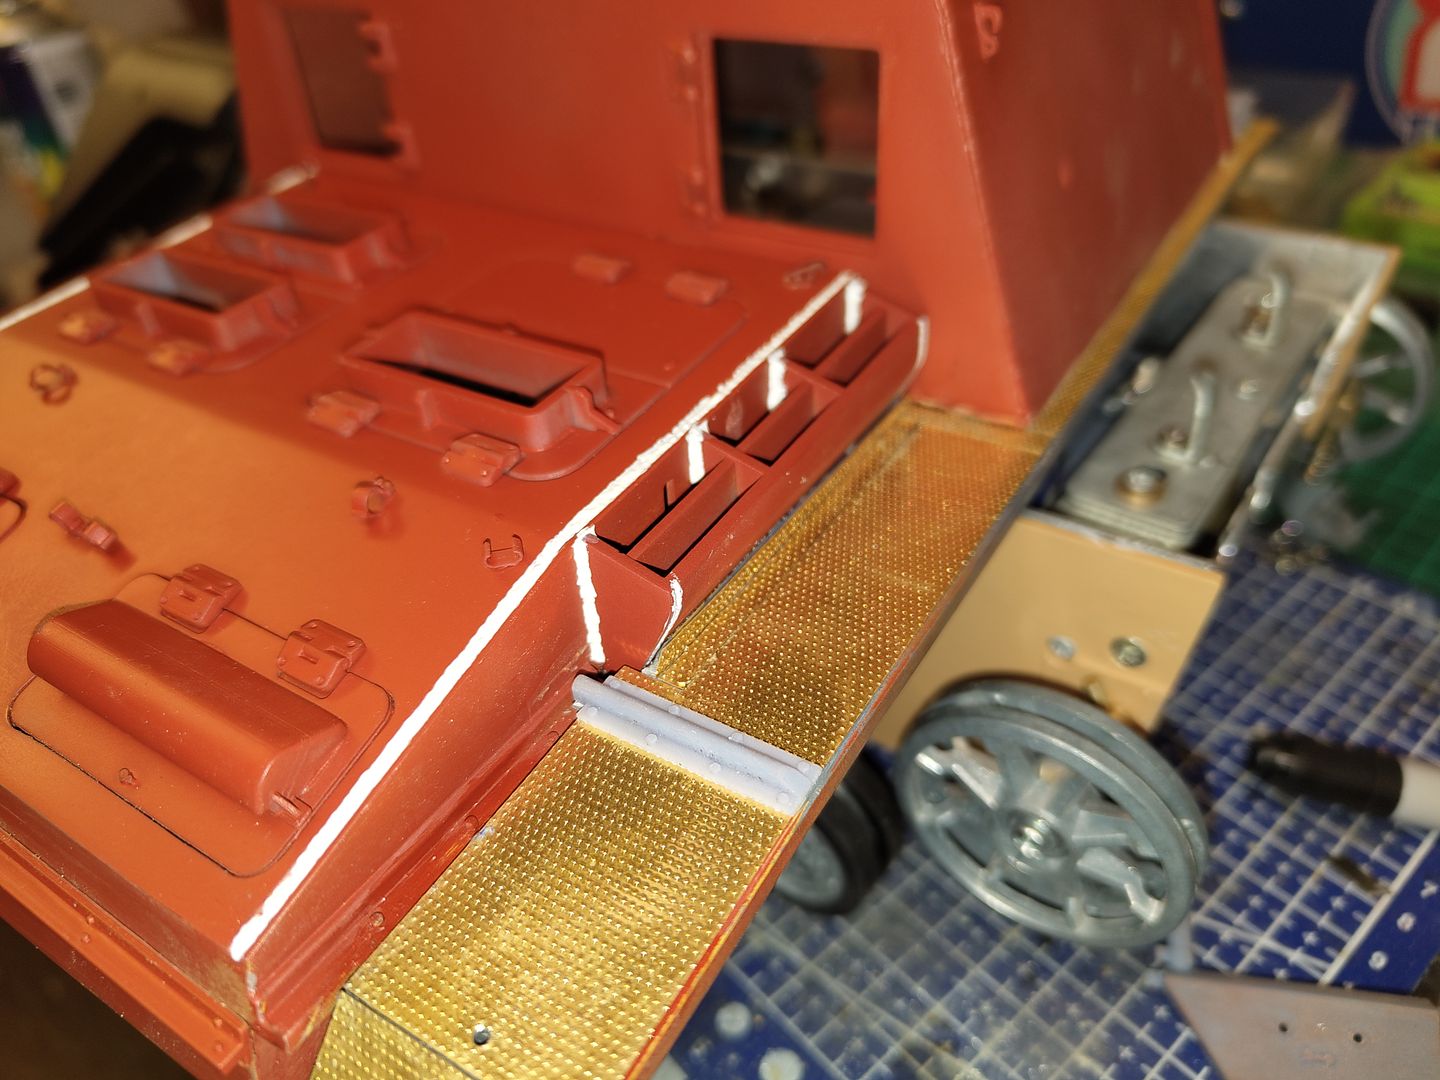
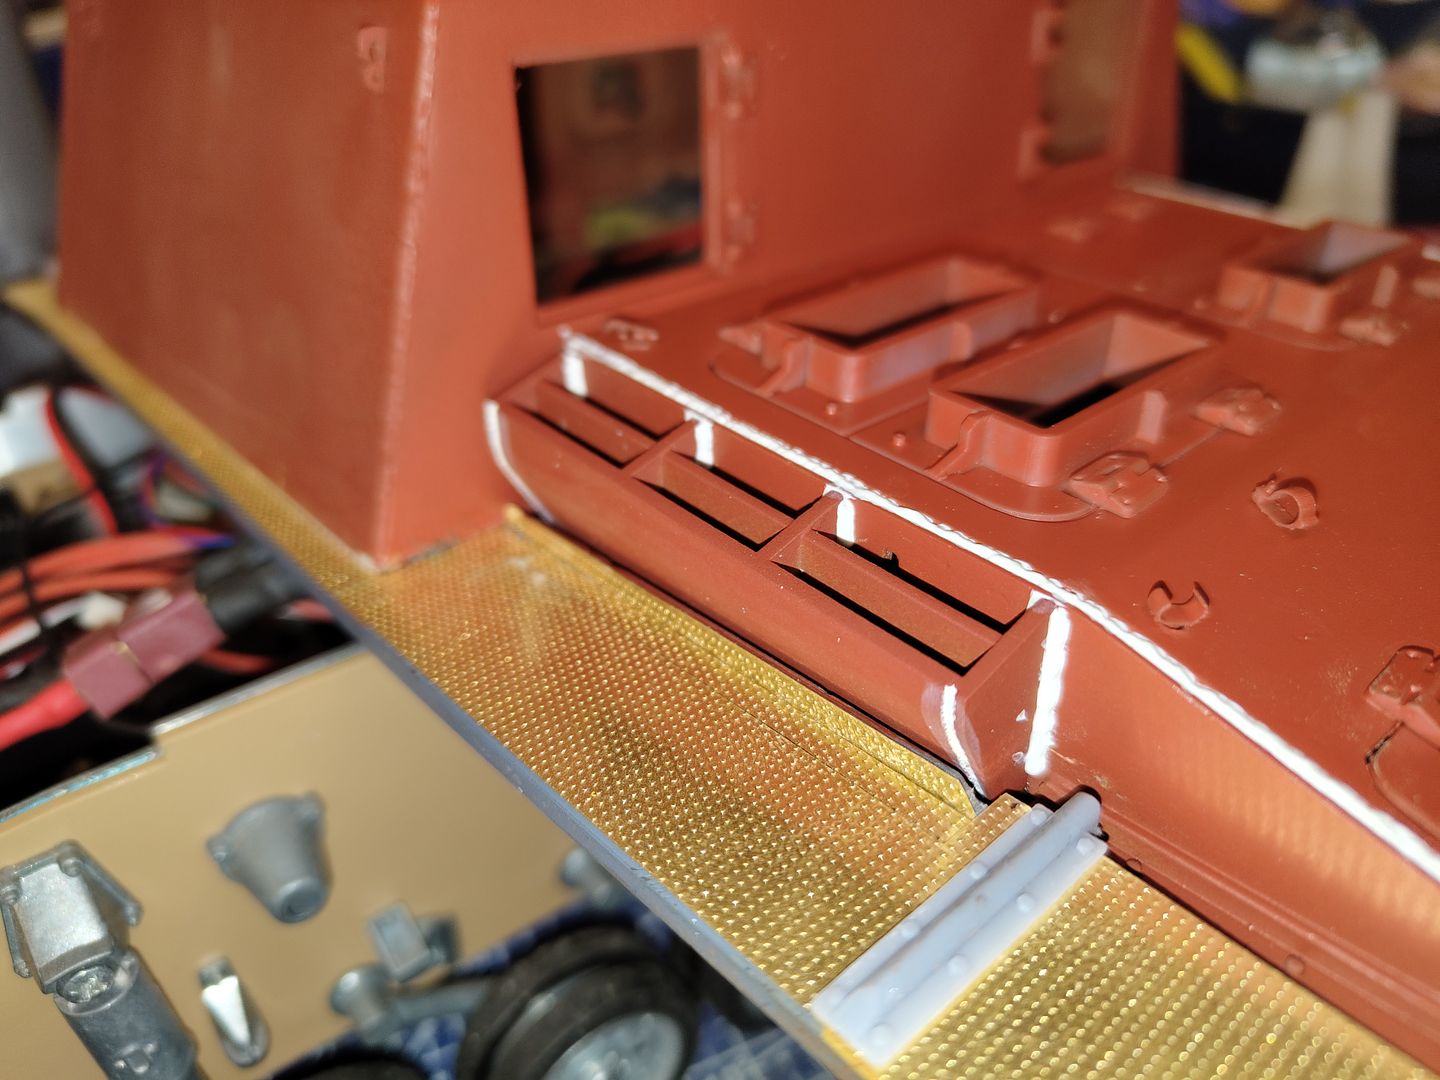
First time in a while I actually got to do a bit of work in the shed and it was finally time to get to grips with the mudguards and set about filing the original ones flat.
Image
And with a bit of modification the AFV Model parts etched set was grafted in place.
Image
Image
Certainly looks a lot better with them fitted.
User avatar
baldrick131
Lance Corporal
Posts: 140
Joined: Fri Oct 04, 2019 8:46 pm
Location: March cambridgeshire
Contact:

Re: s.I.G 33 Converion

Post by baldrick131 »

I have been doing a bit more work on the rear section.
Image
I have glued the new rear section to the upper hull and fitted the new rear panel for the lower hull.
Image
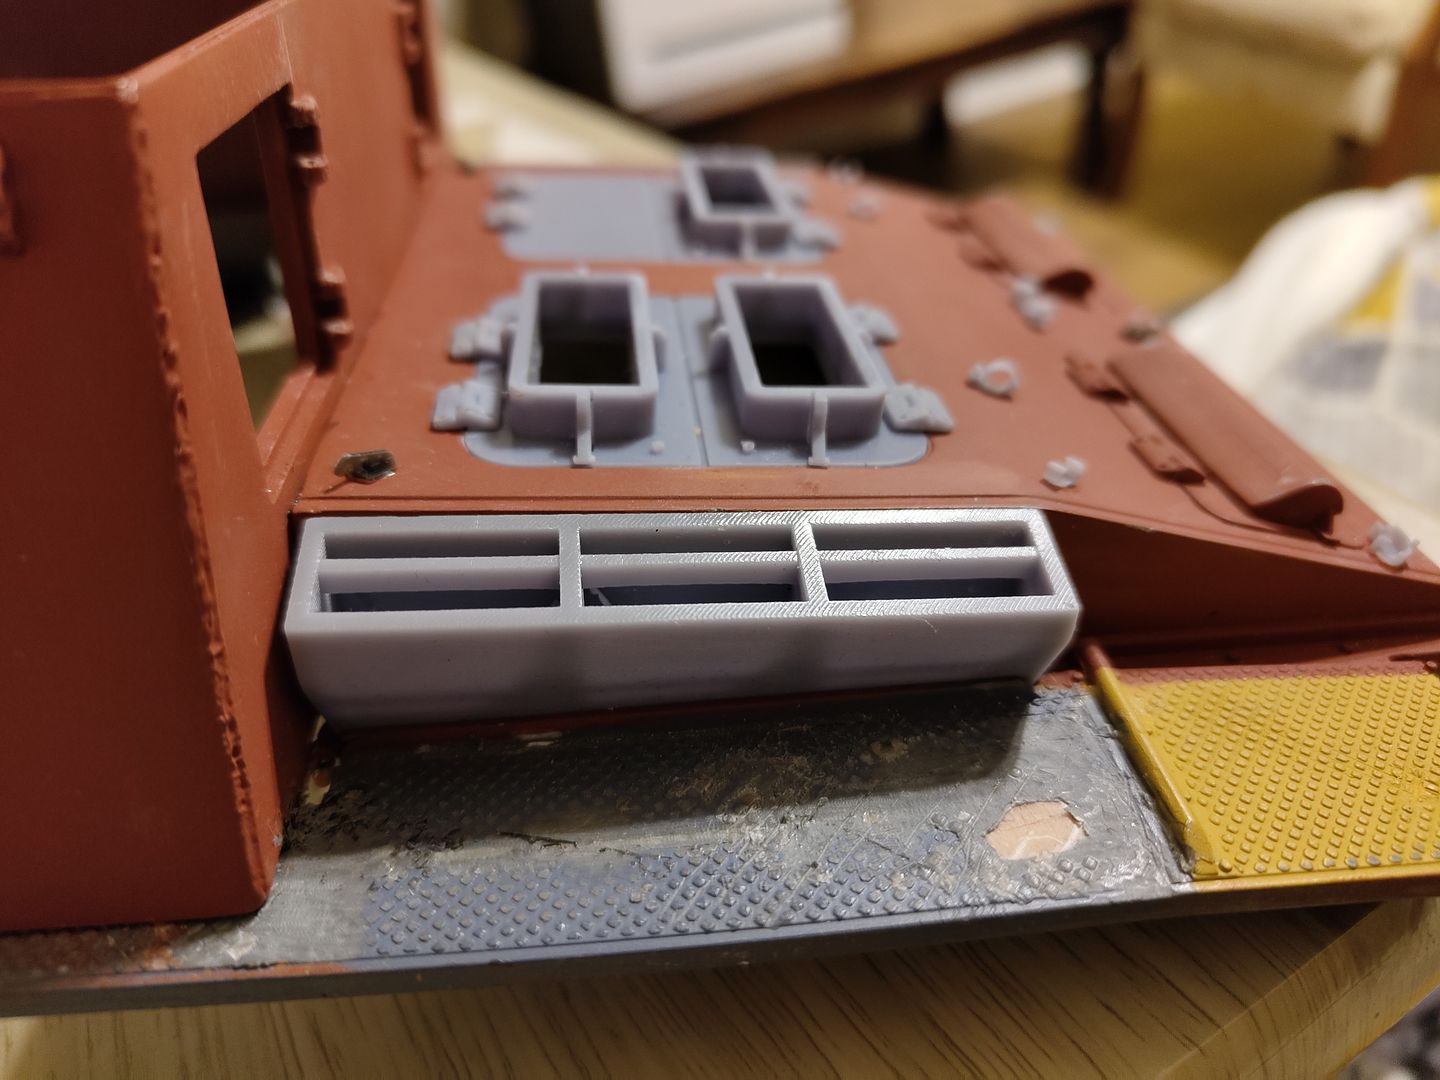
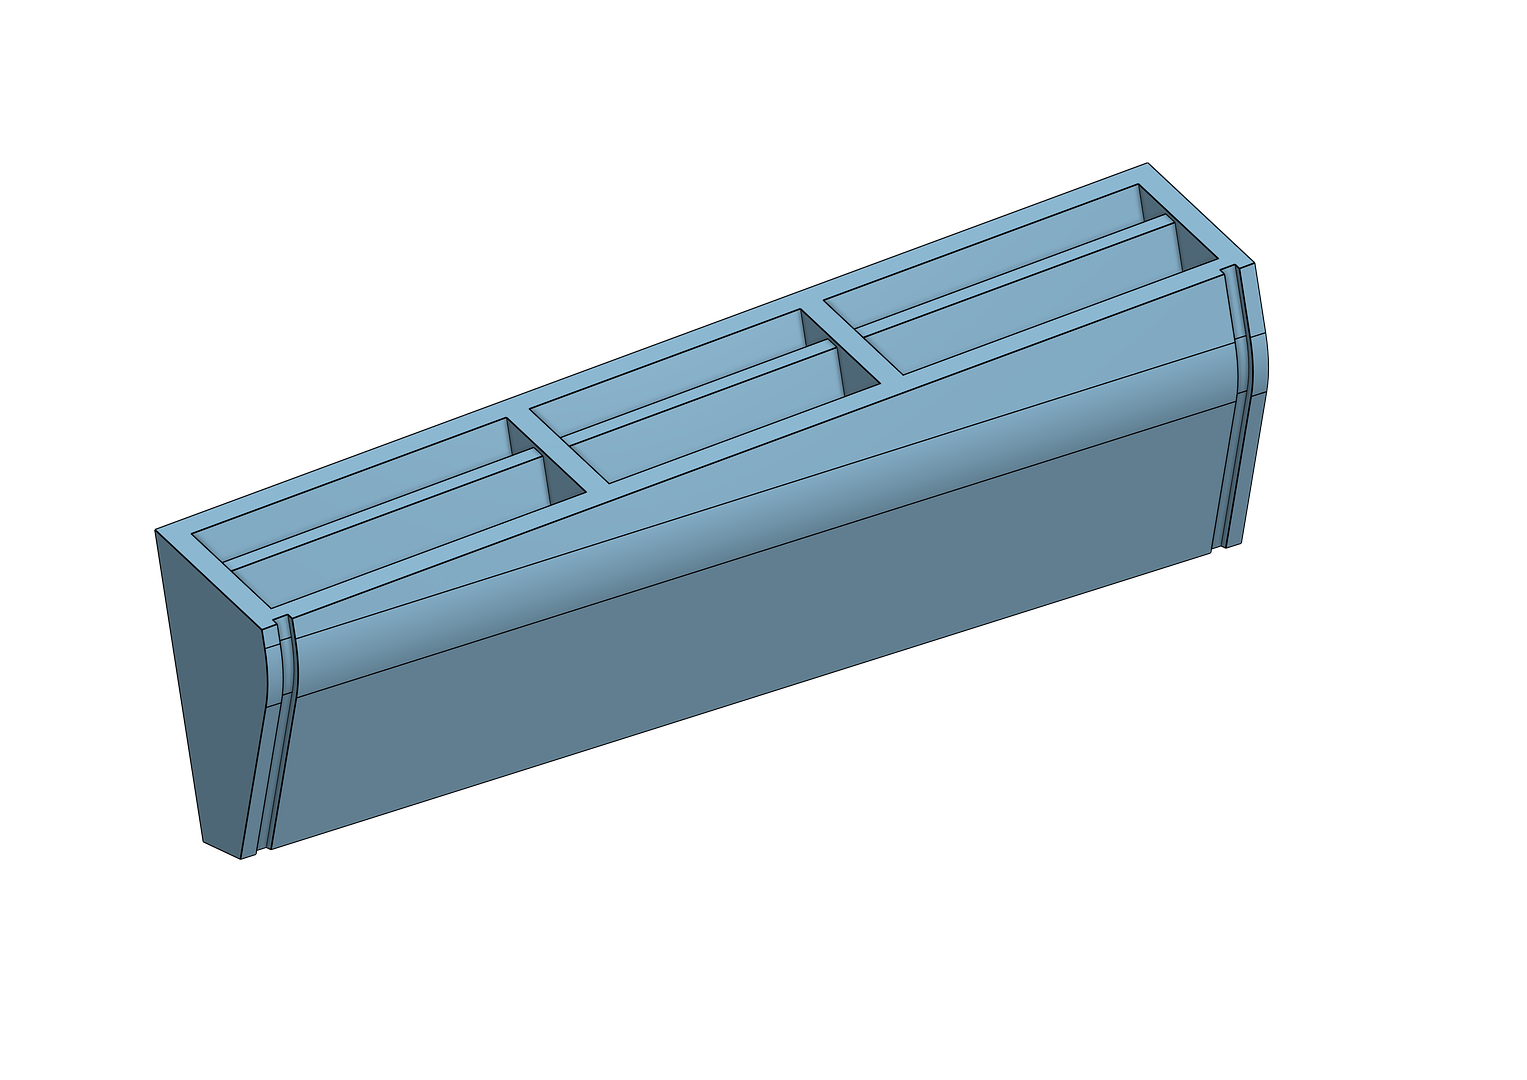
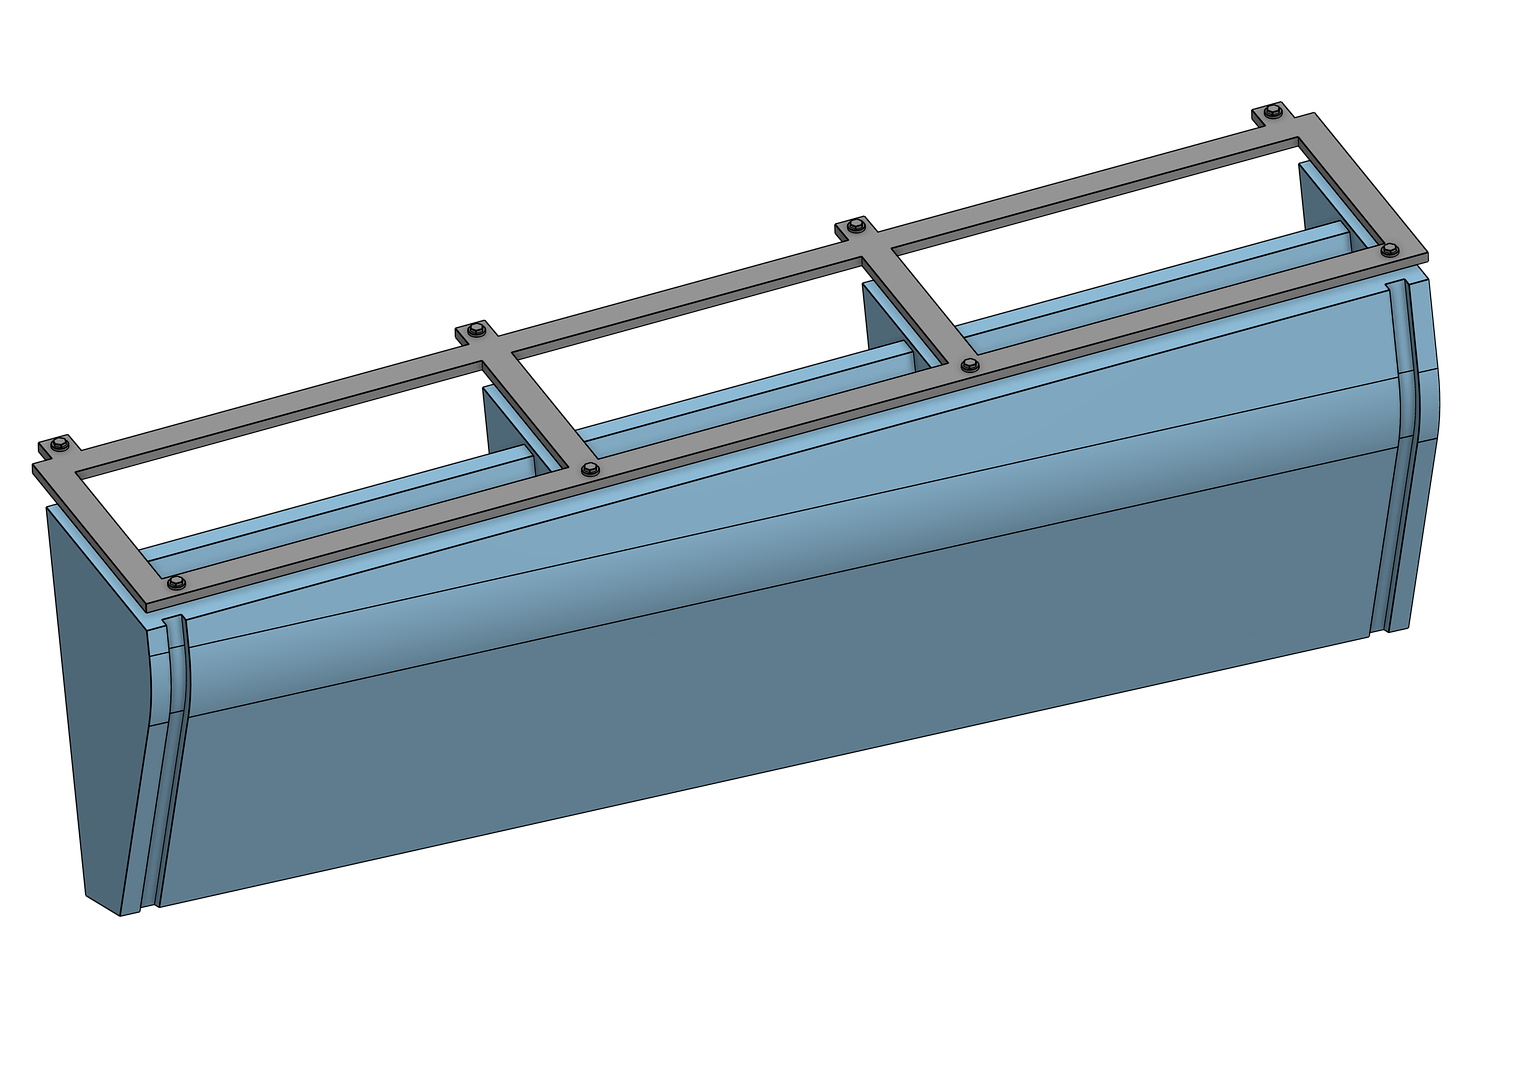
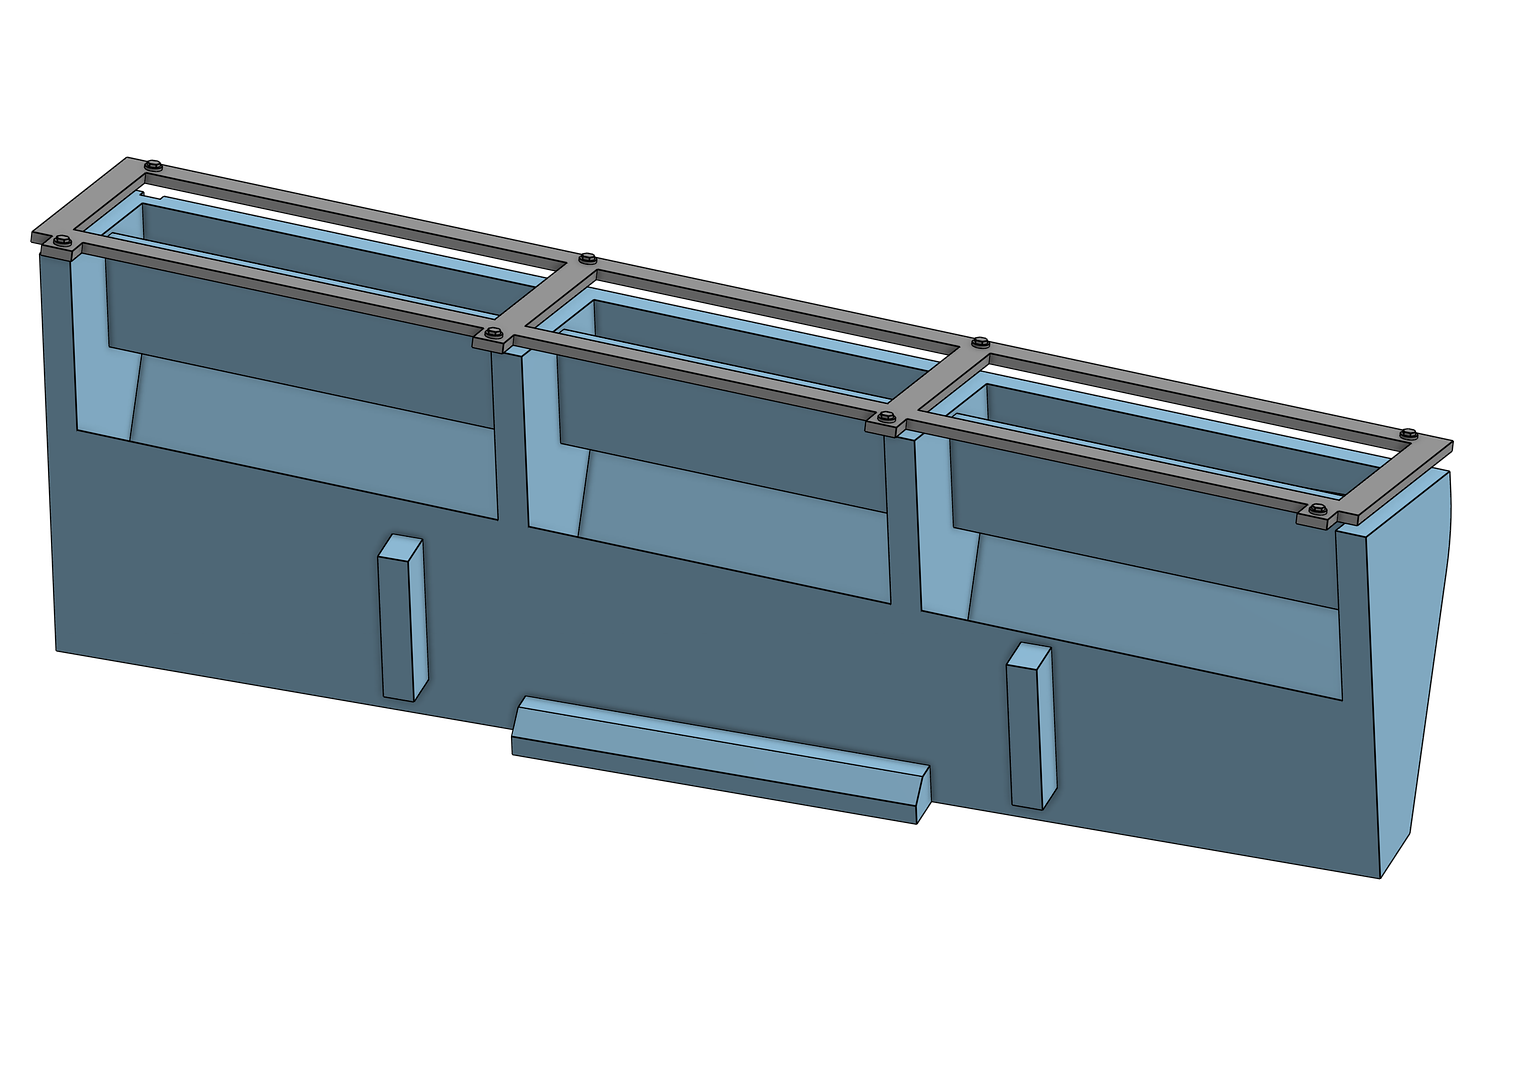
I redesigned the side vents again and made them without a section that goes against the hull and a top cover frame that goes over the edge of the hull like the real thing.
Image
Image
They turned out to be better than I expected especially when I added some weld detail.
Image
Image
I just wanted to let you know I have uploaded the files for the rear parts I have fitted to thingiverse.
https://www.thingiverse.com/thing:5556458/files
Post Reply

Return to “3D Printing”