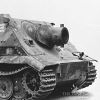
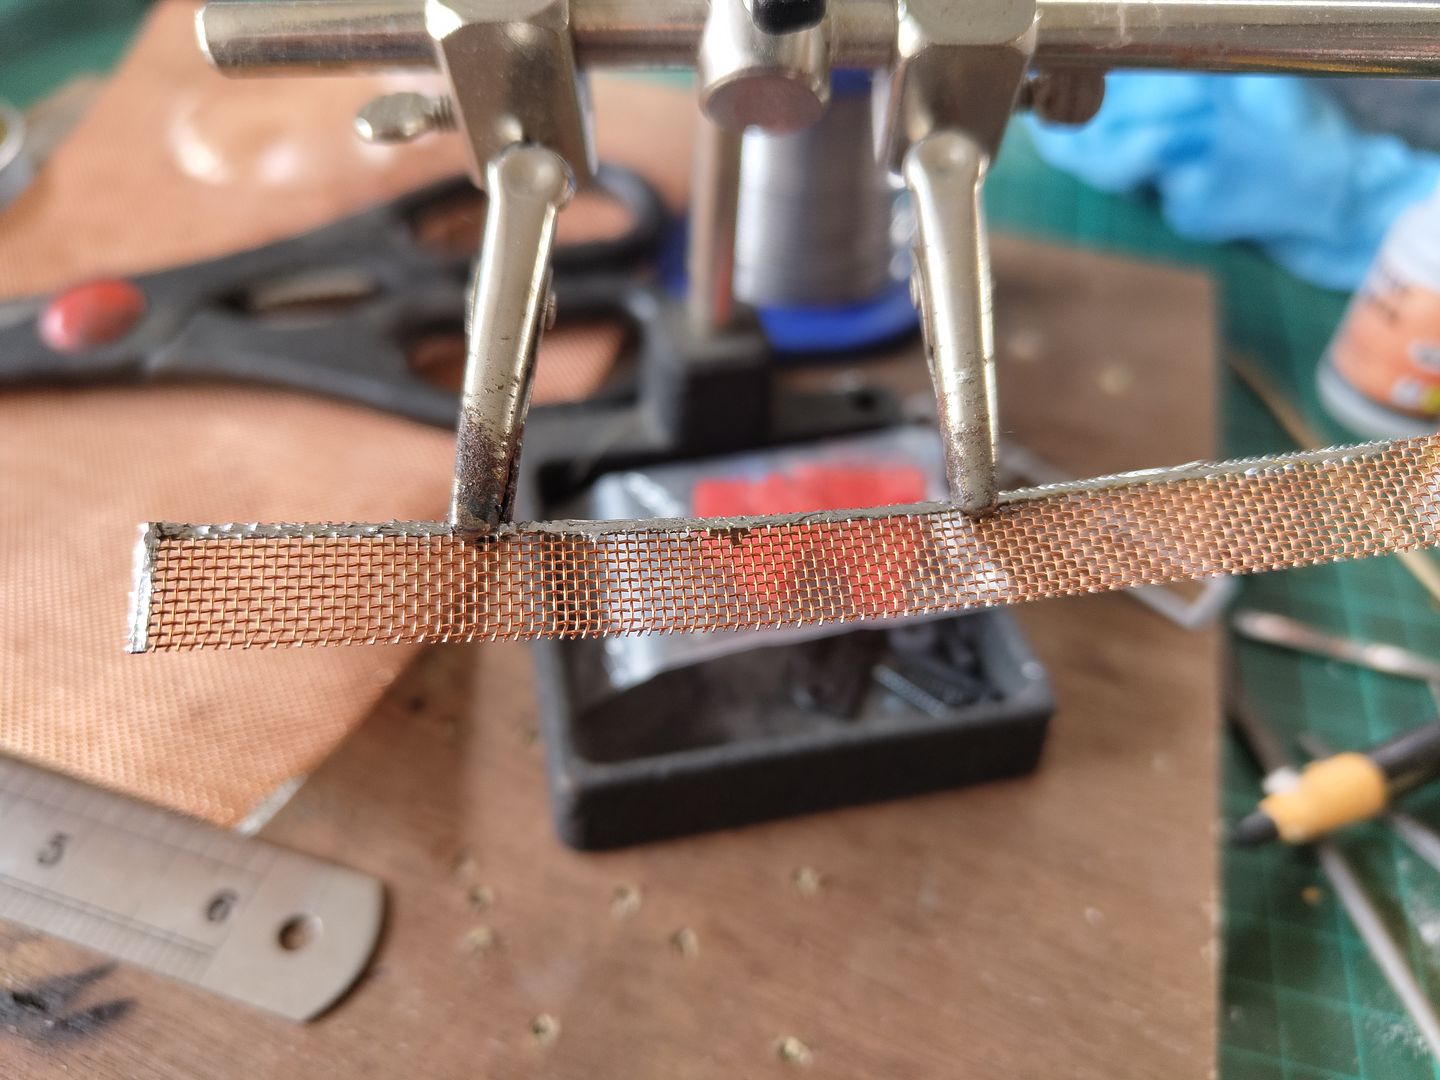
Then cut to length and carefully solder along the edges again and as the real ones sit over the top of the frames I made them so they just sit on the ends so I could glue them in 4 places.
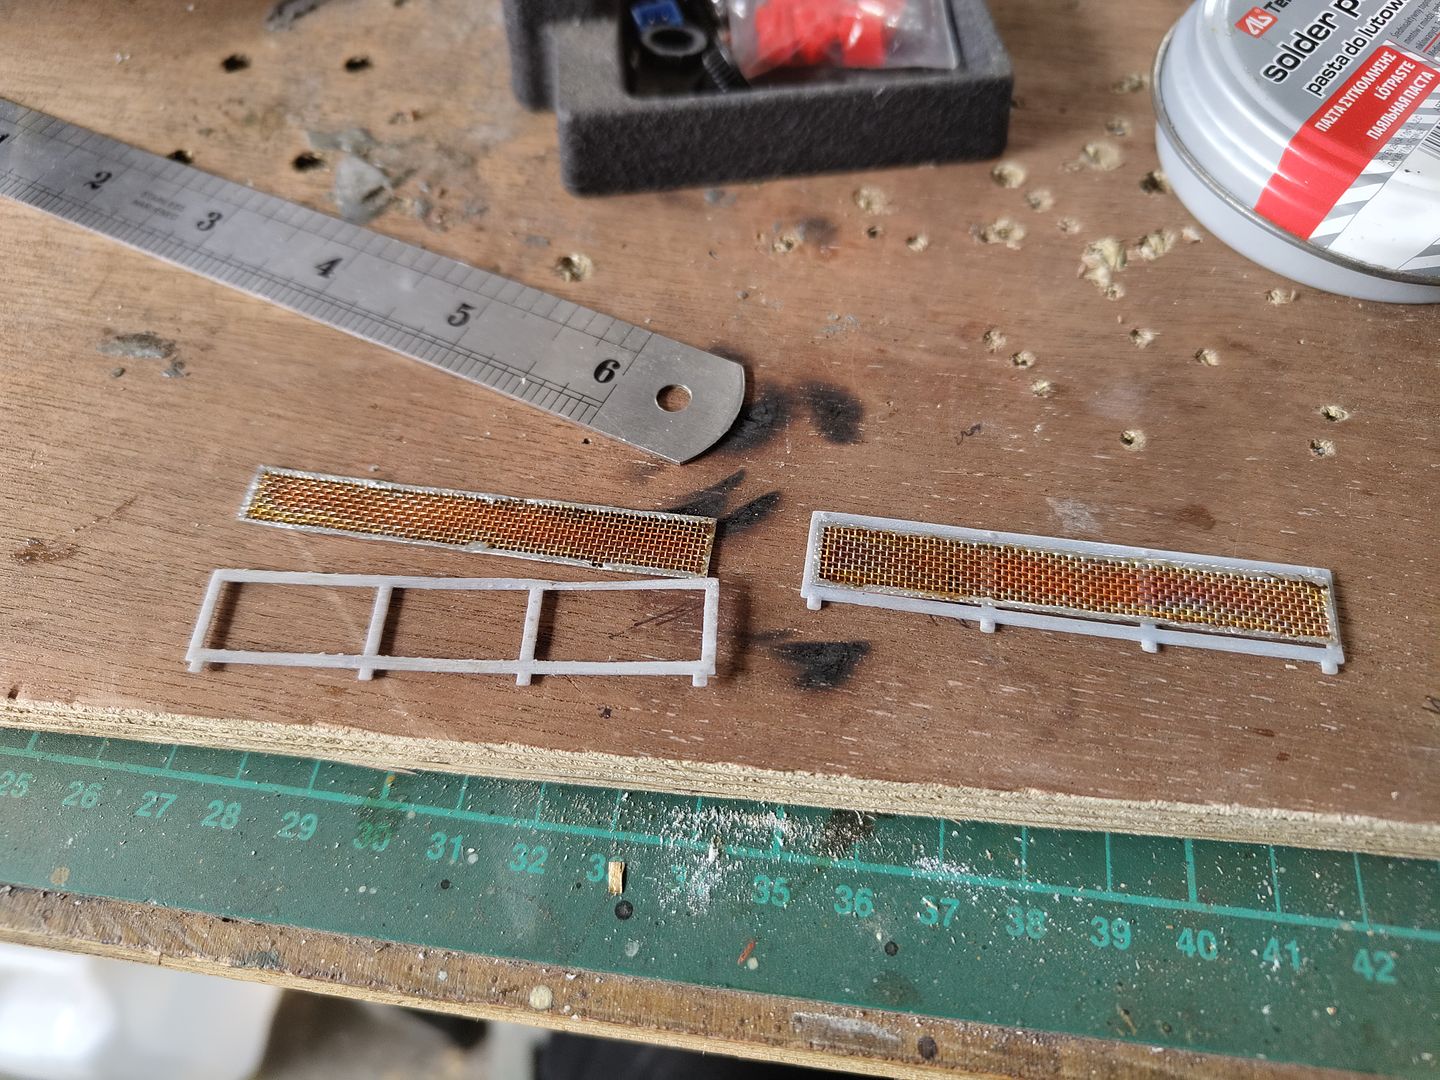
And this is how they look and are ready to apply some paint.
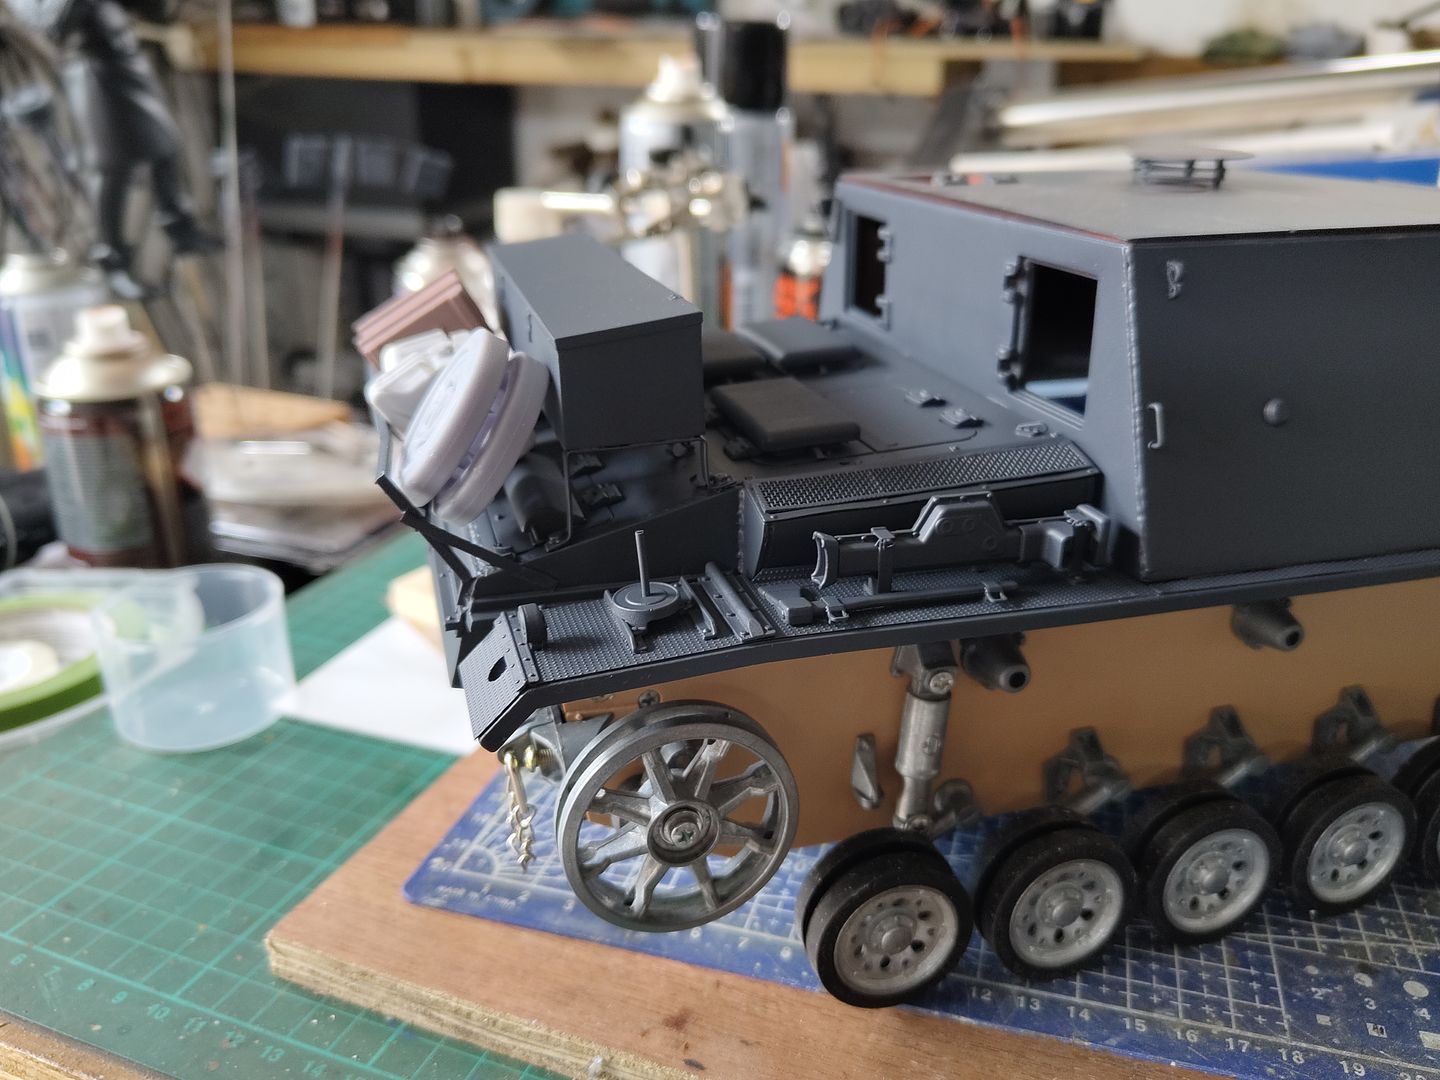
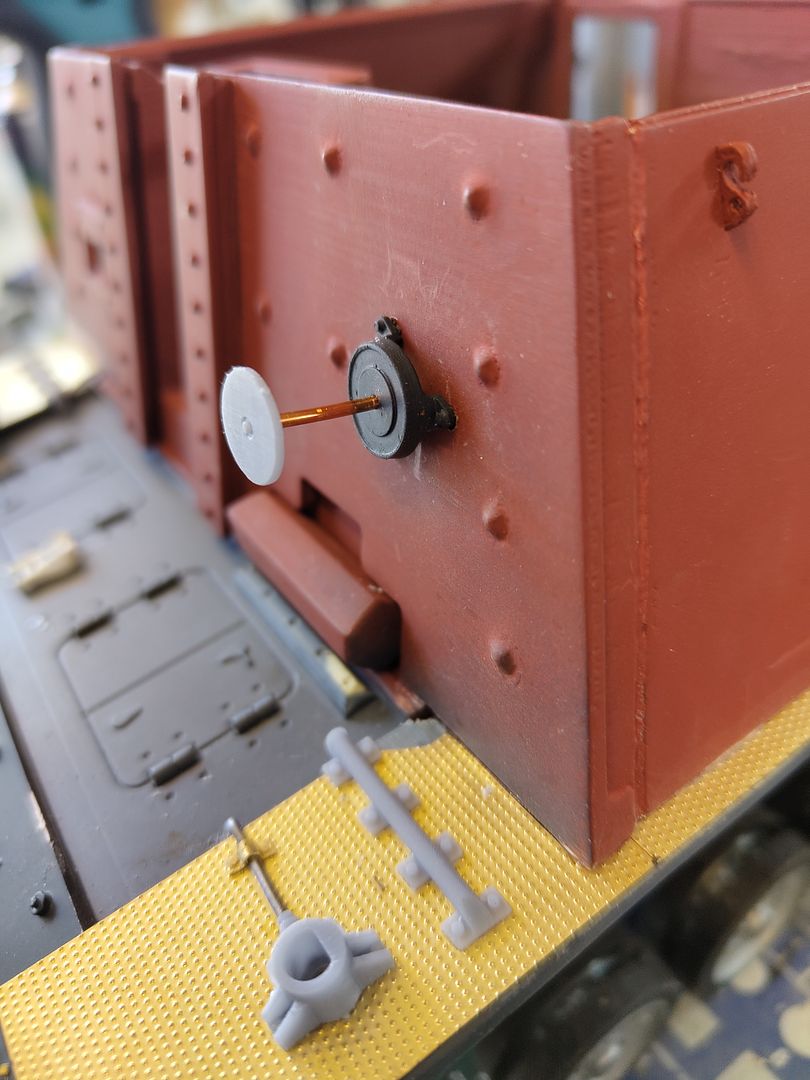
After the paint had dried it was time to add the wheel mounts on the mudguards I pre painted the brackets with a hole instead of the ones with the post on because I drilled a hole in the mudguard and glued a piece of wire in it before placing the bracket over and gluing down.
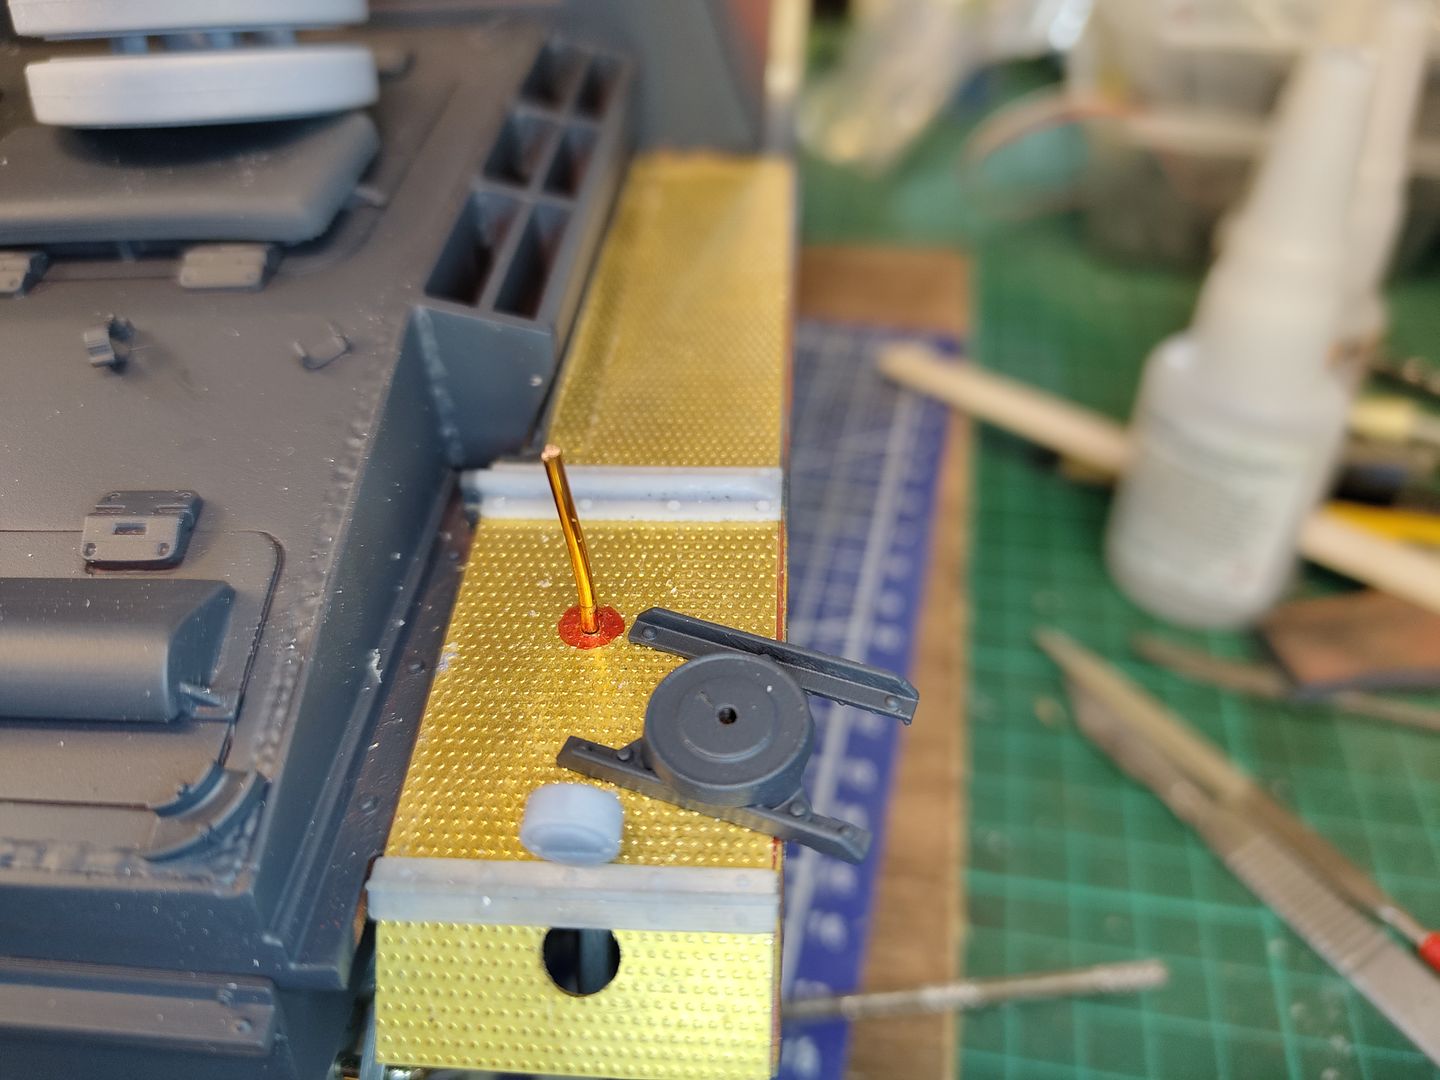
When the wire is cut to length the wheel can be added and a capping plate placed on top of just the cap for an empty mount.
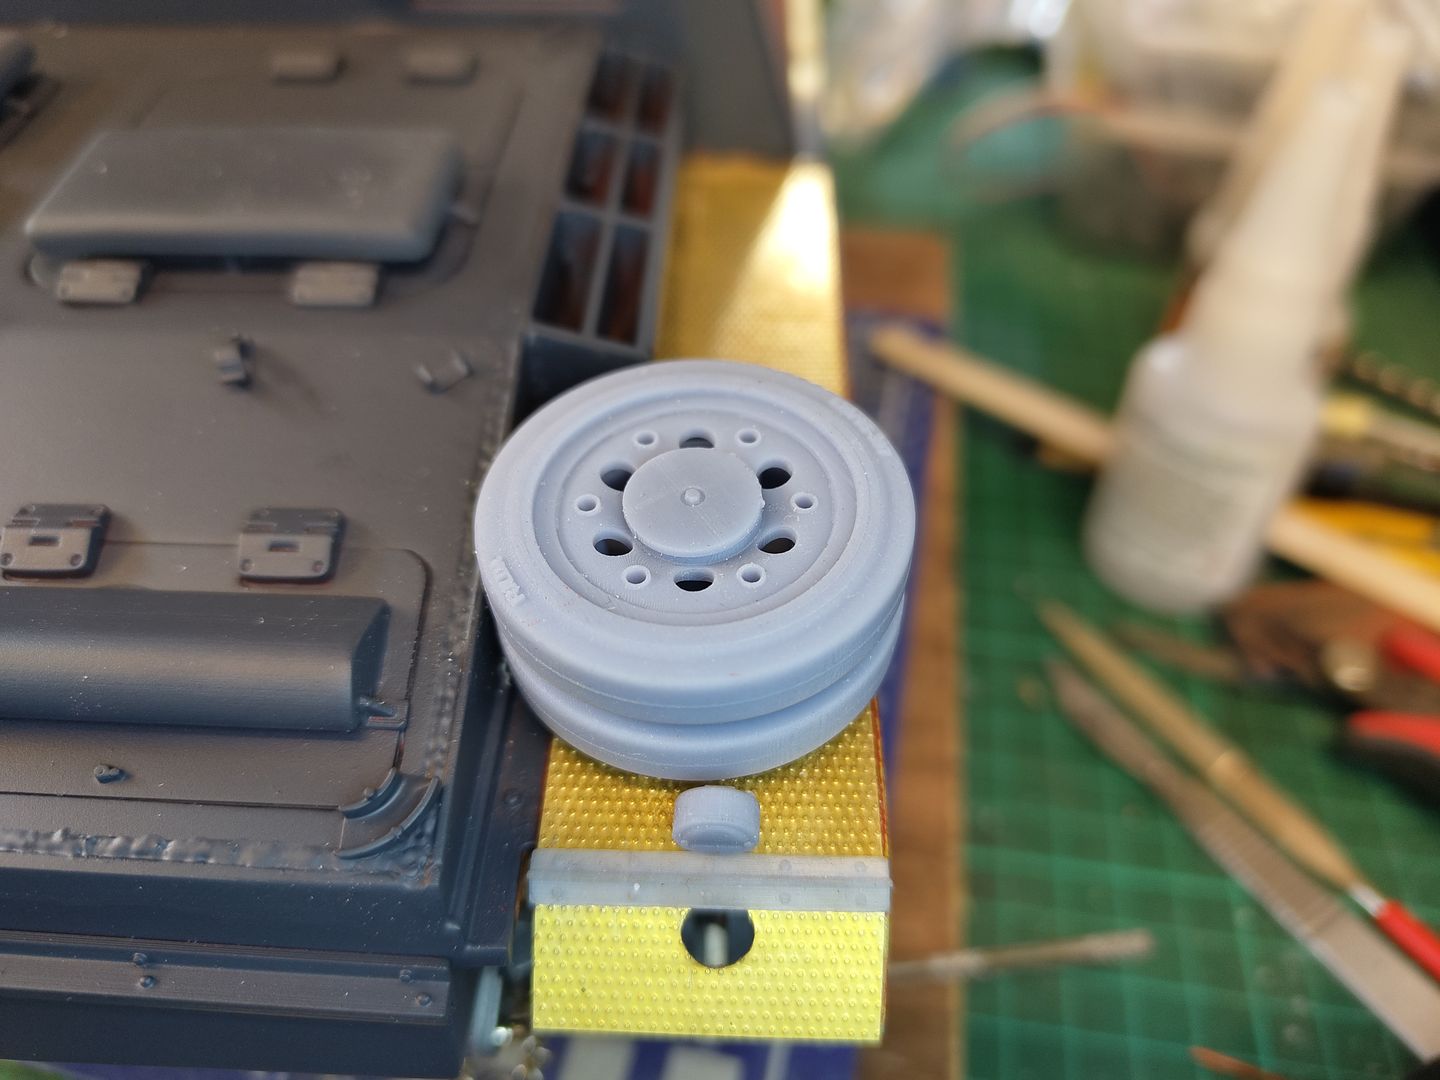
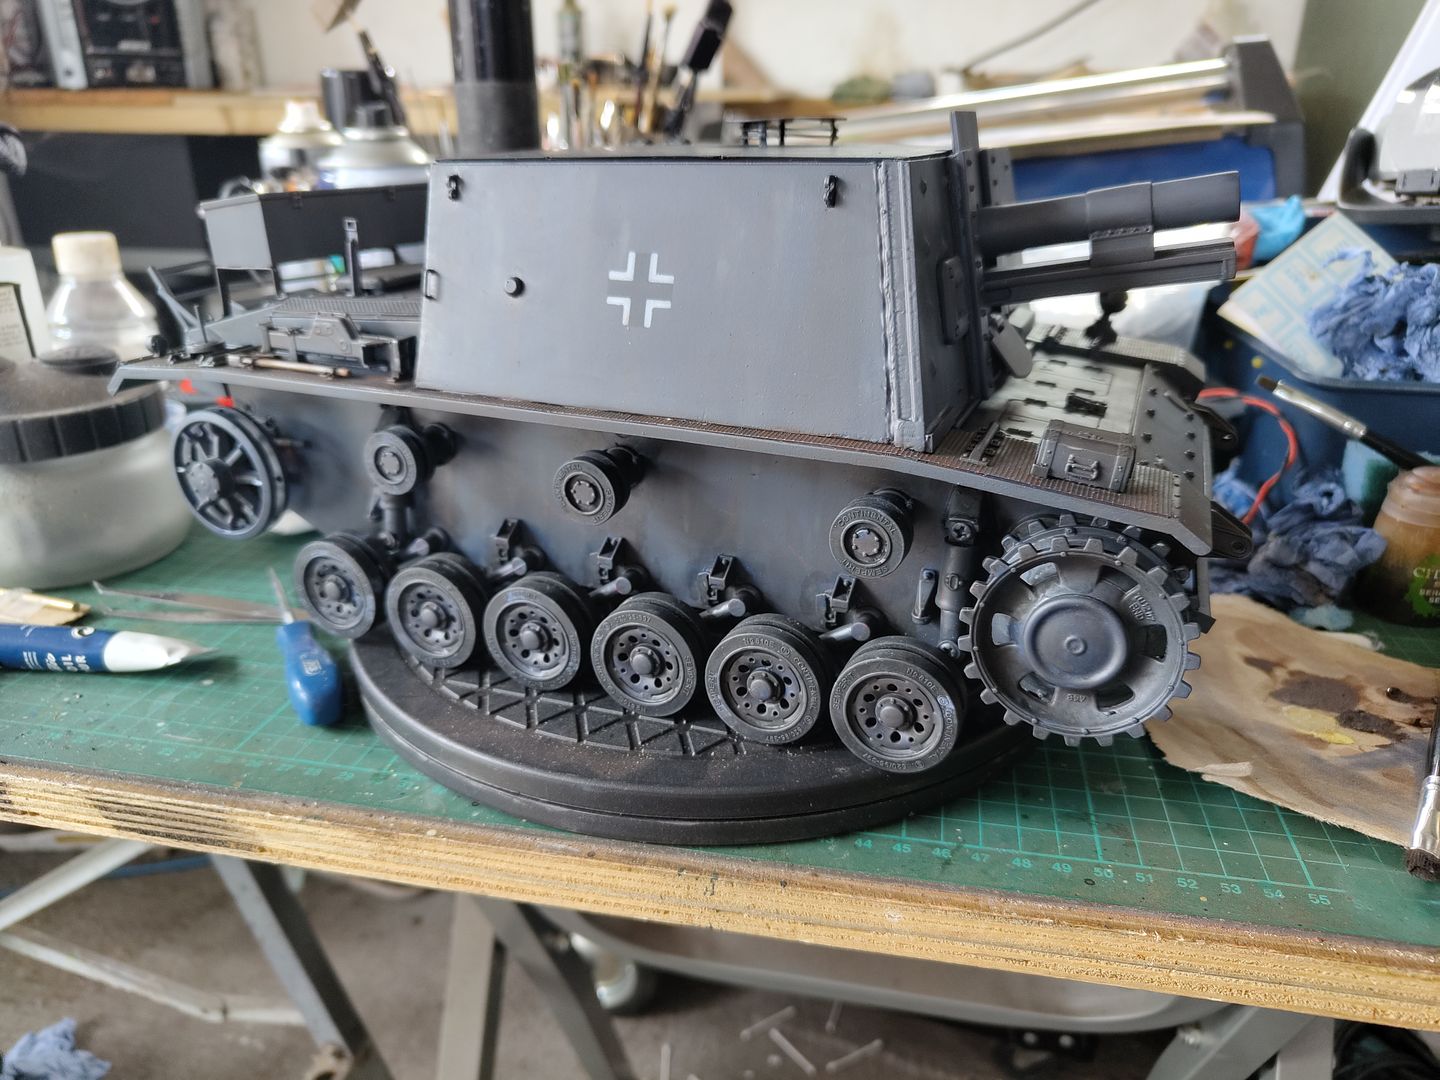
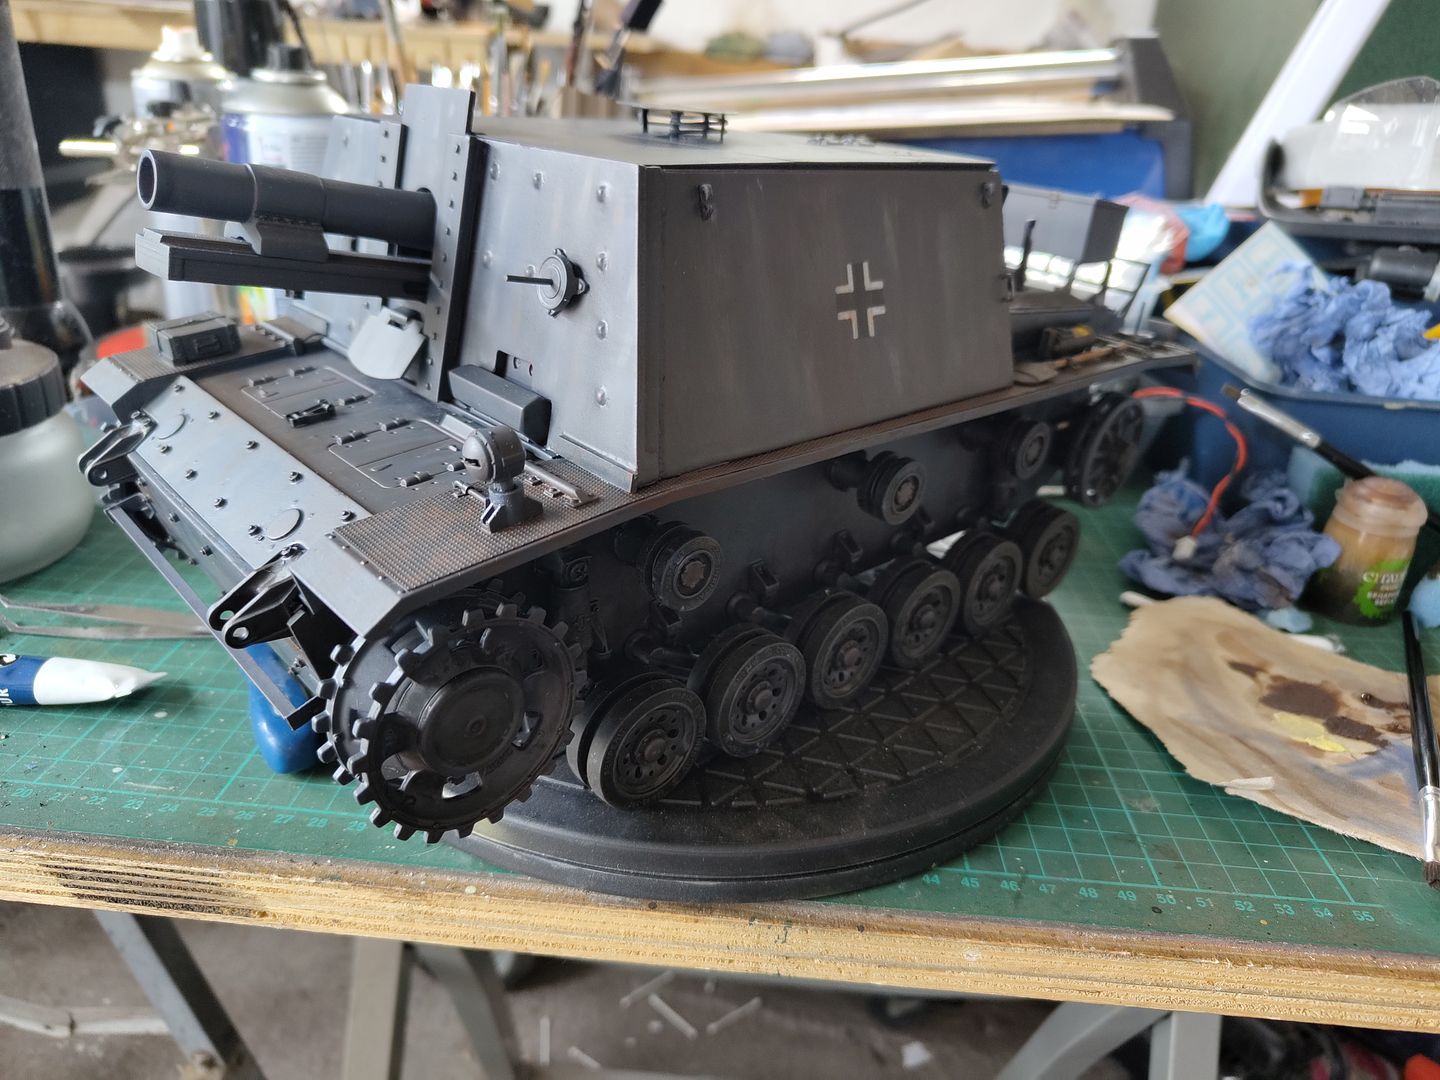
I also wanted to place a spare wheel above the drivers vision slot so I drilled and glued a piece of wire then glued a mount on the hull.
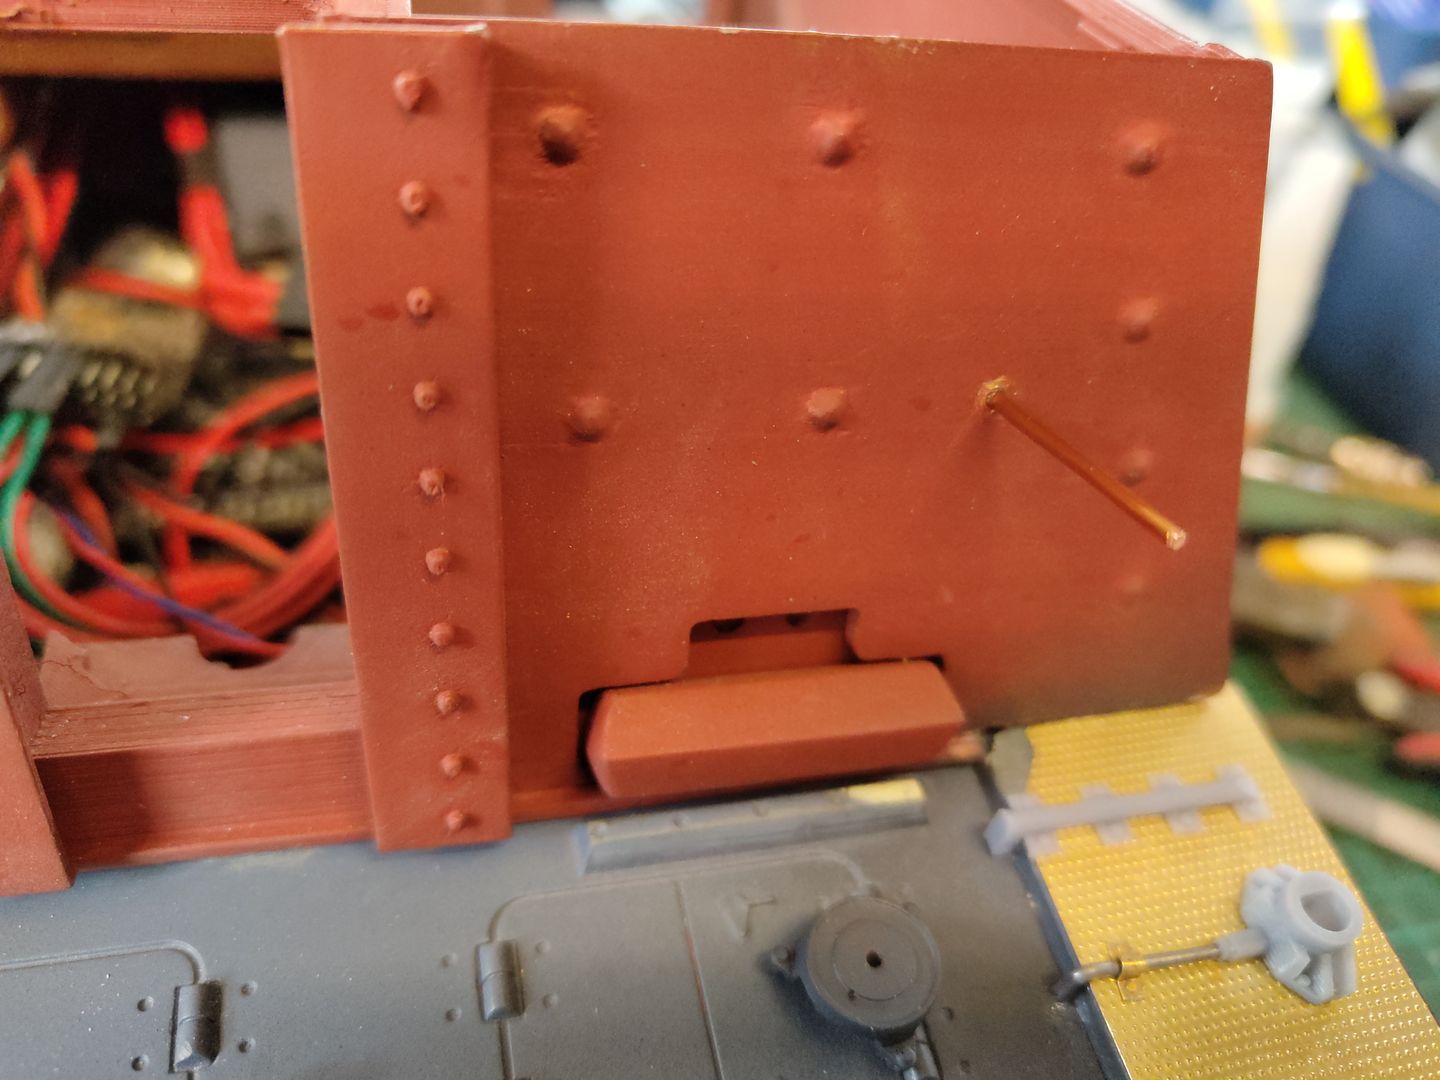

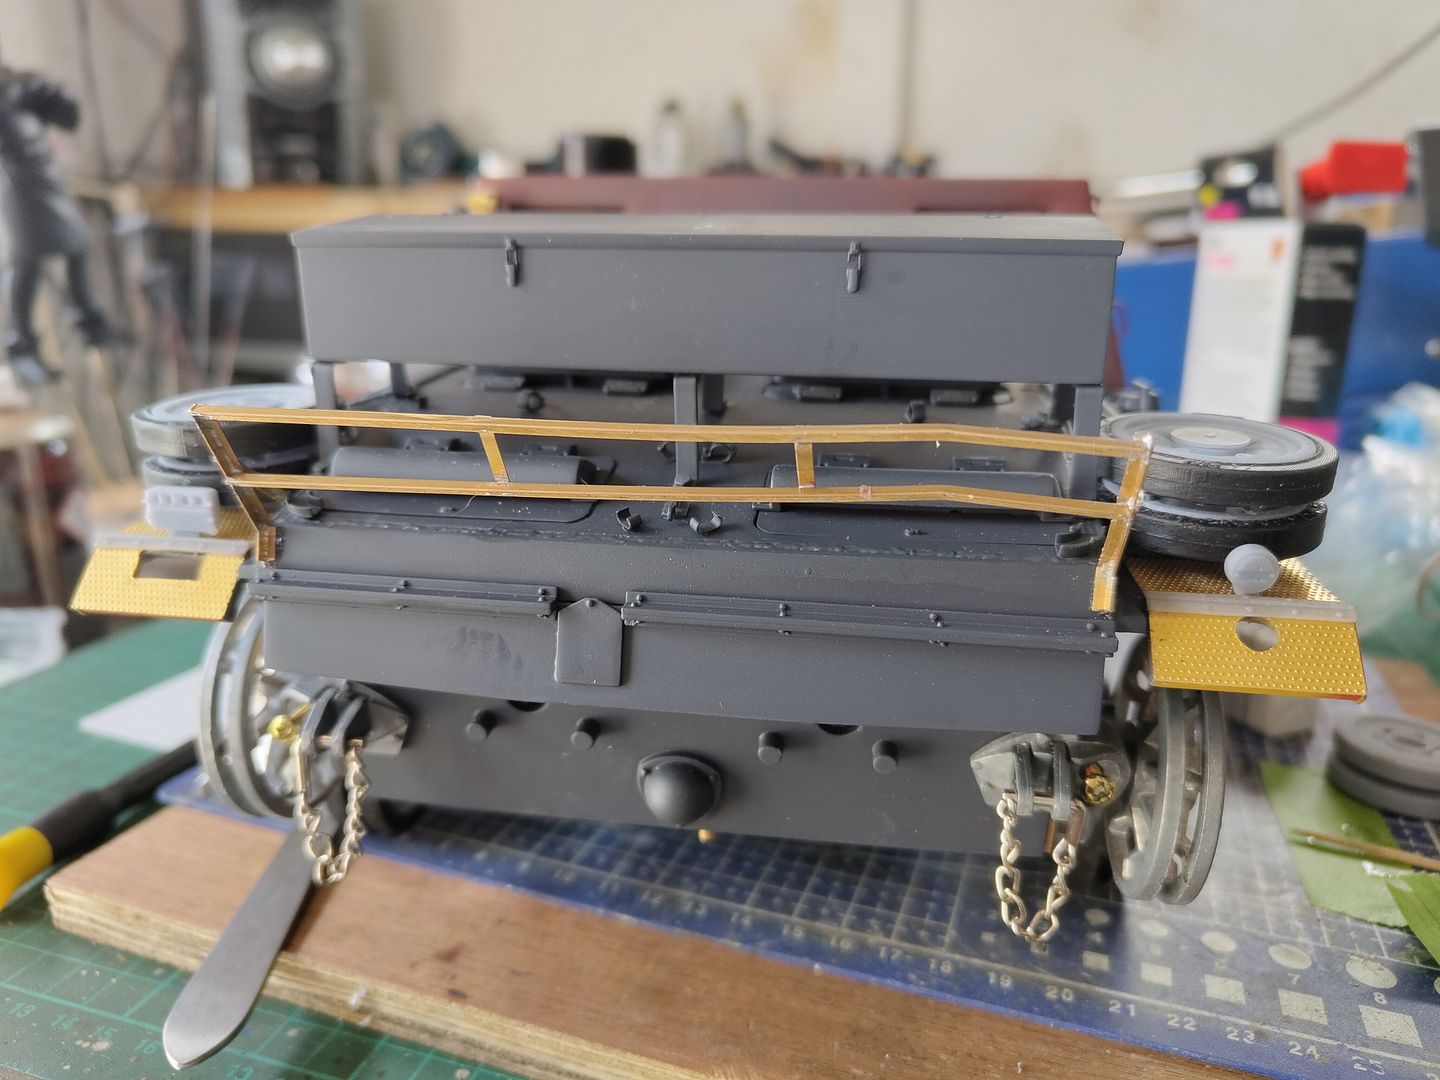
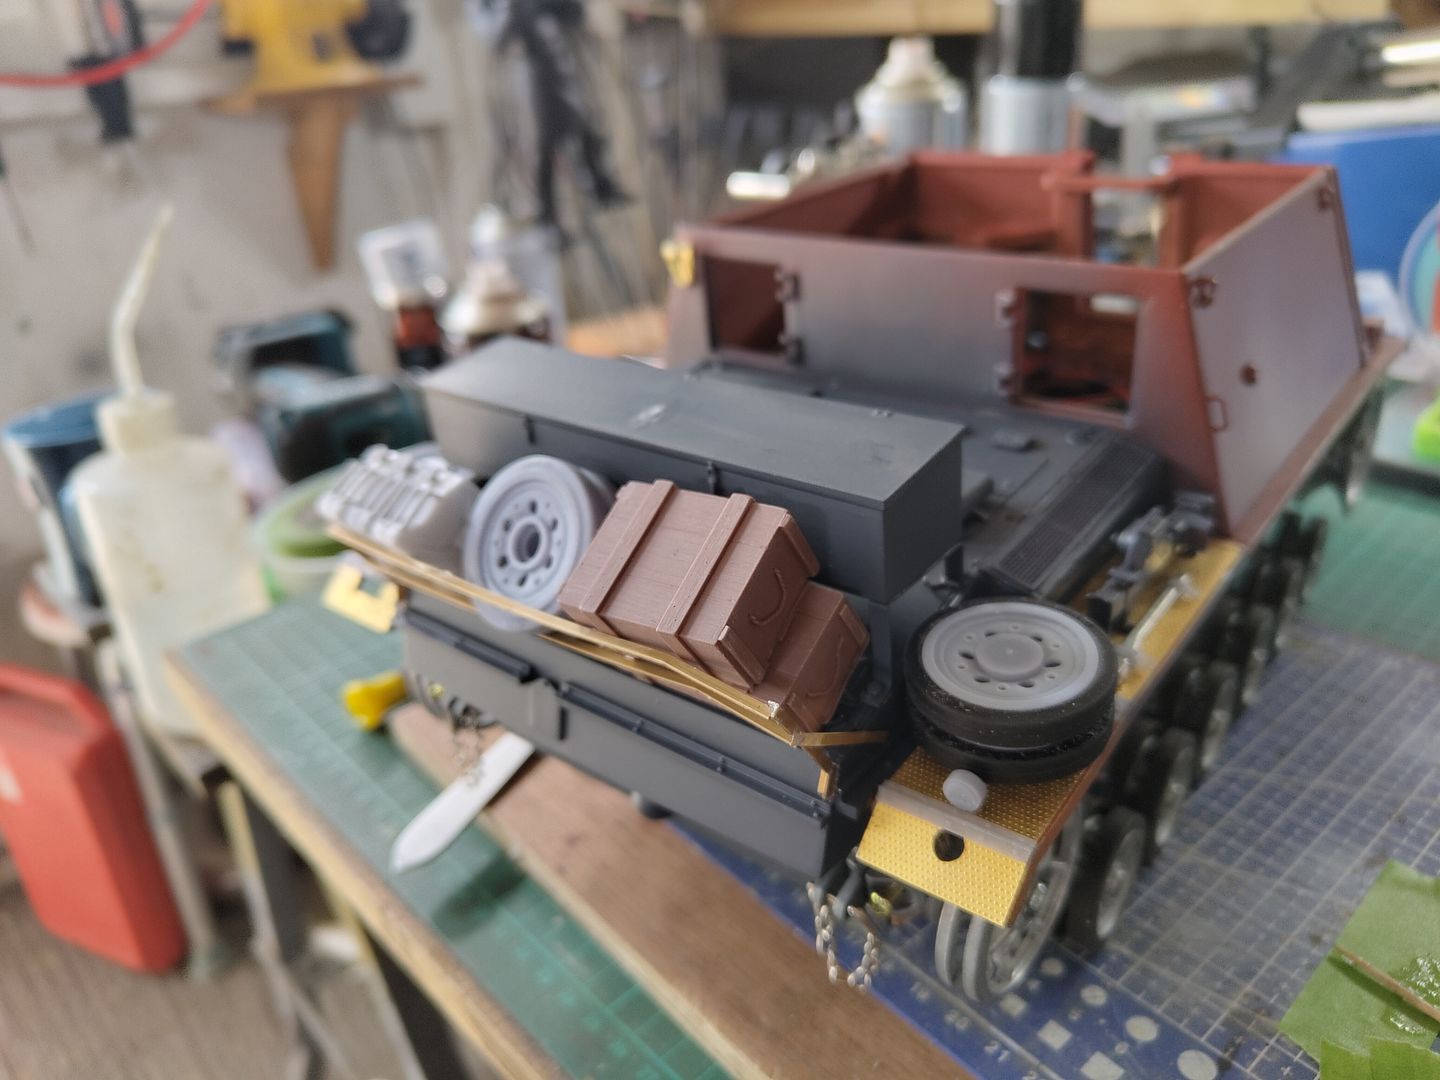
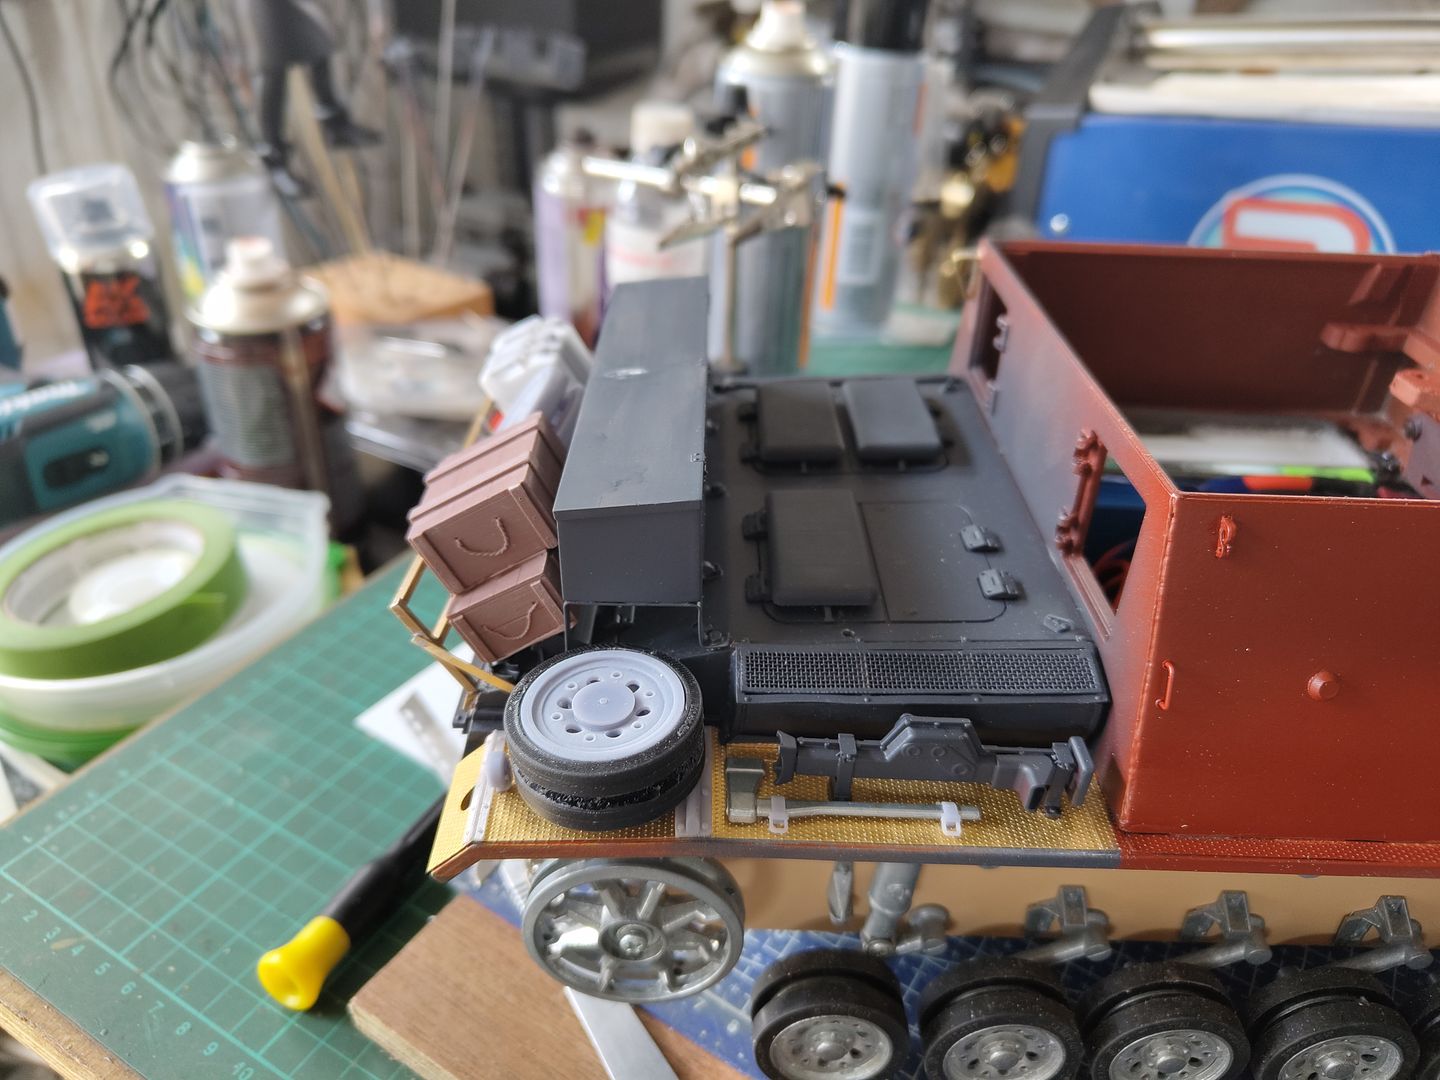
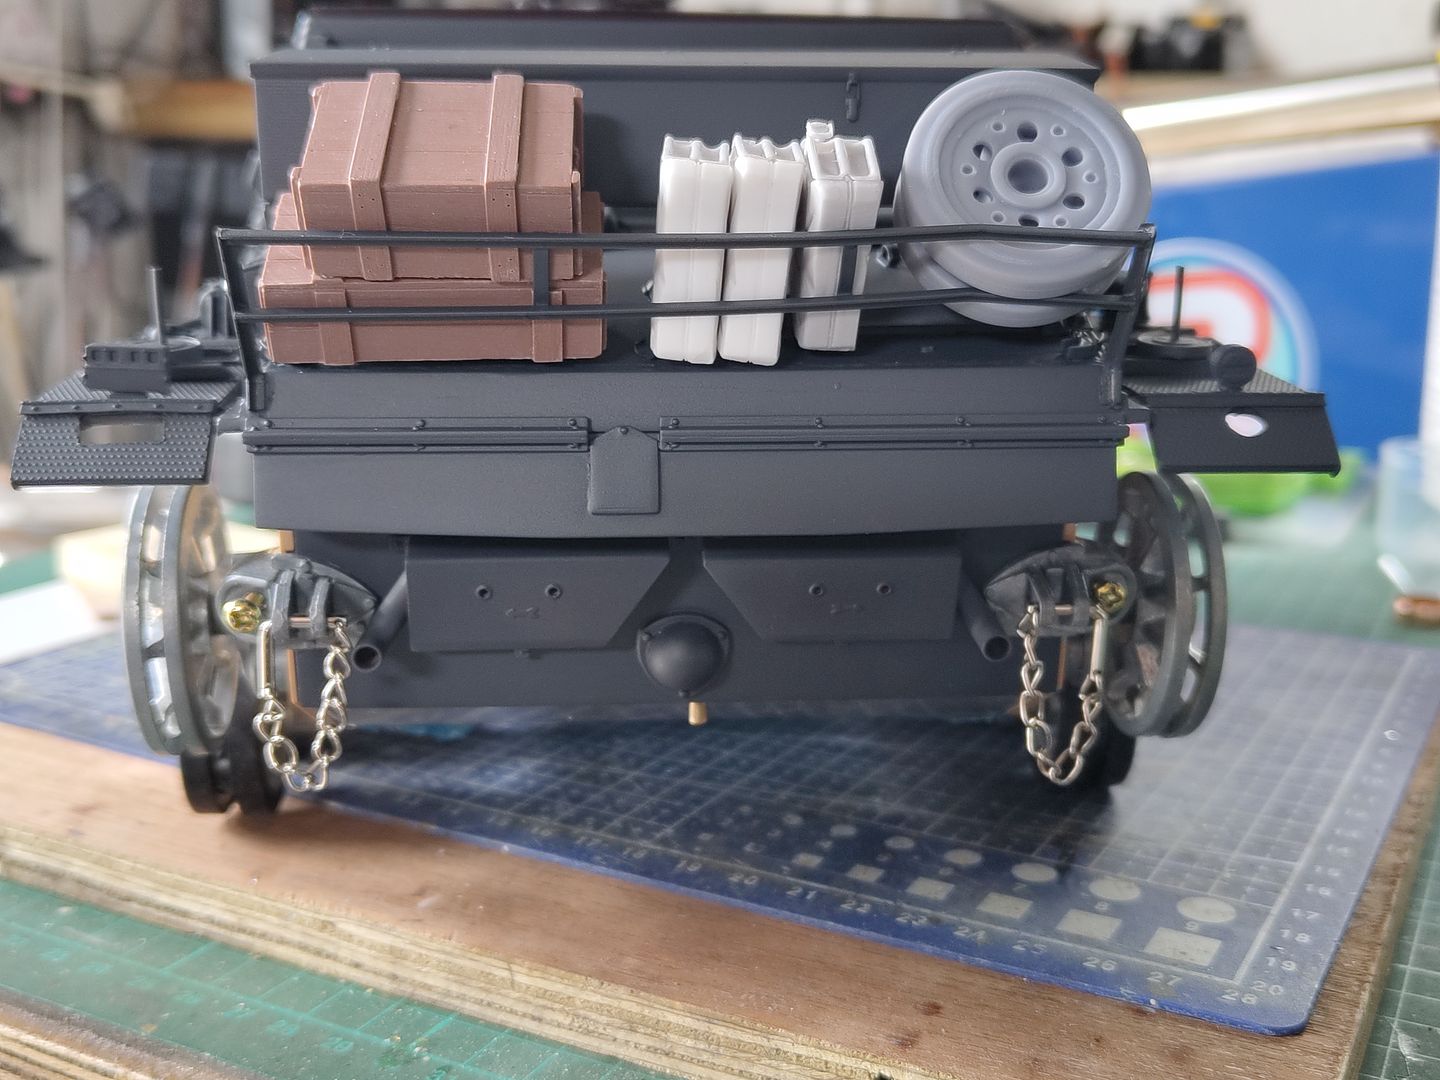
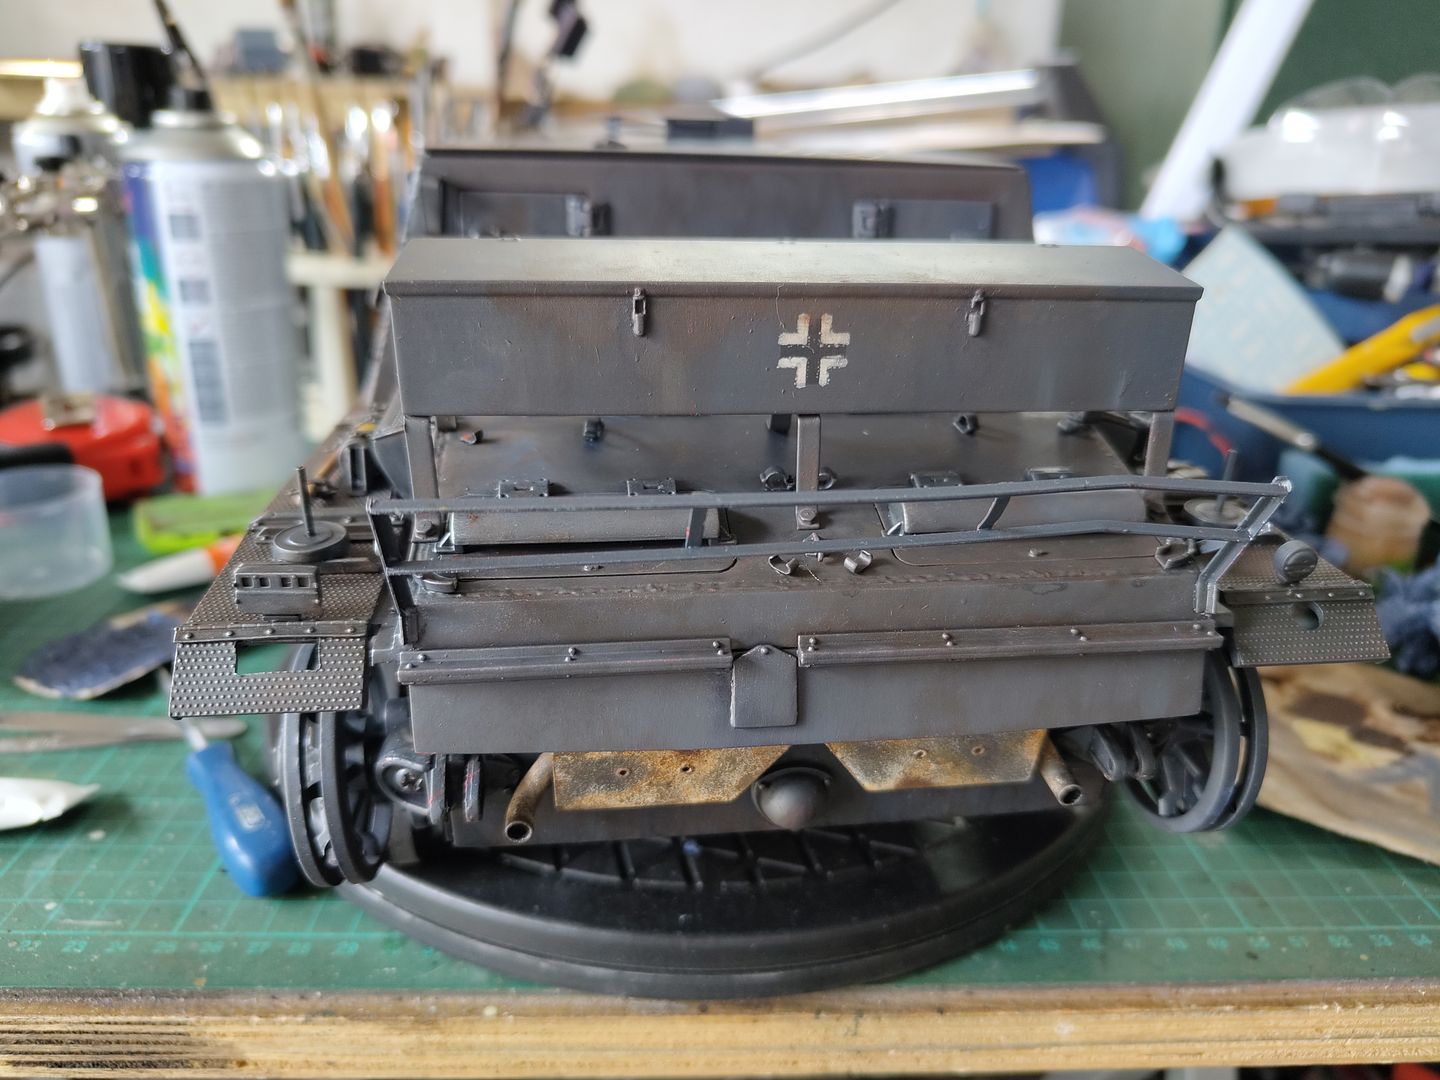
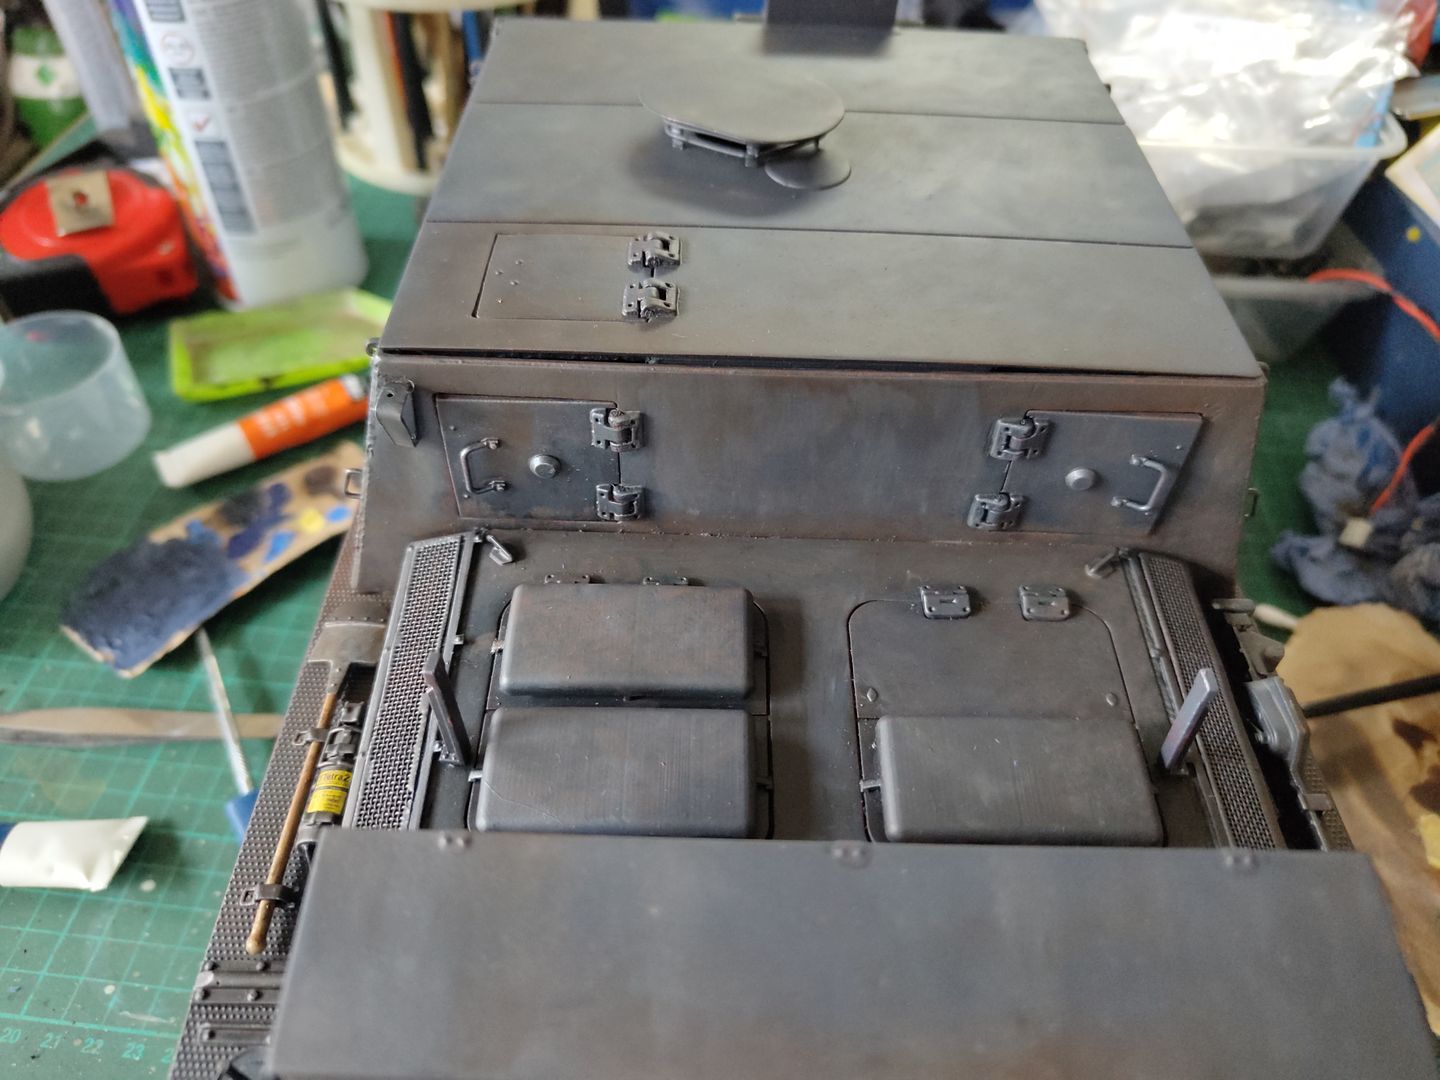
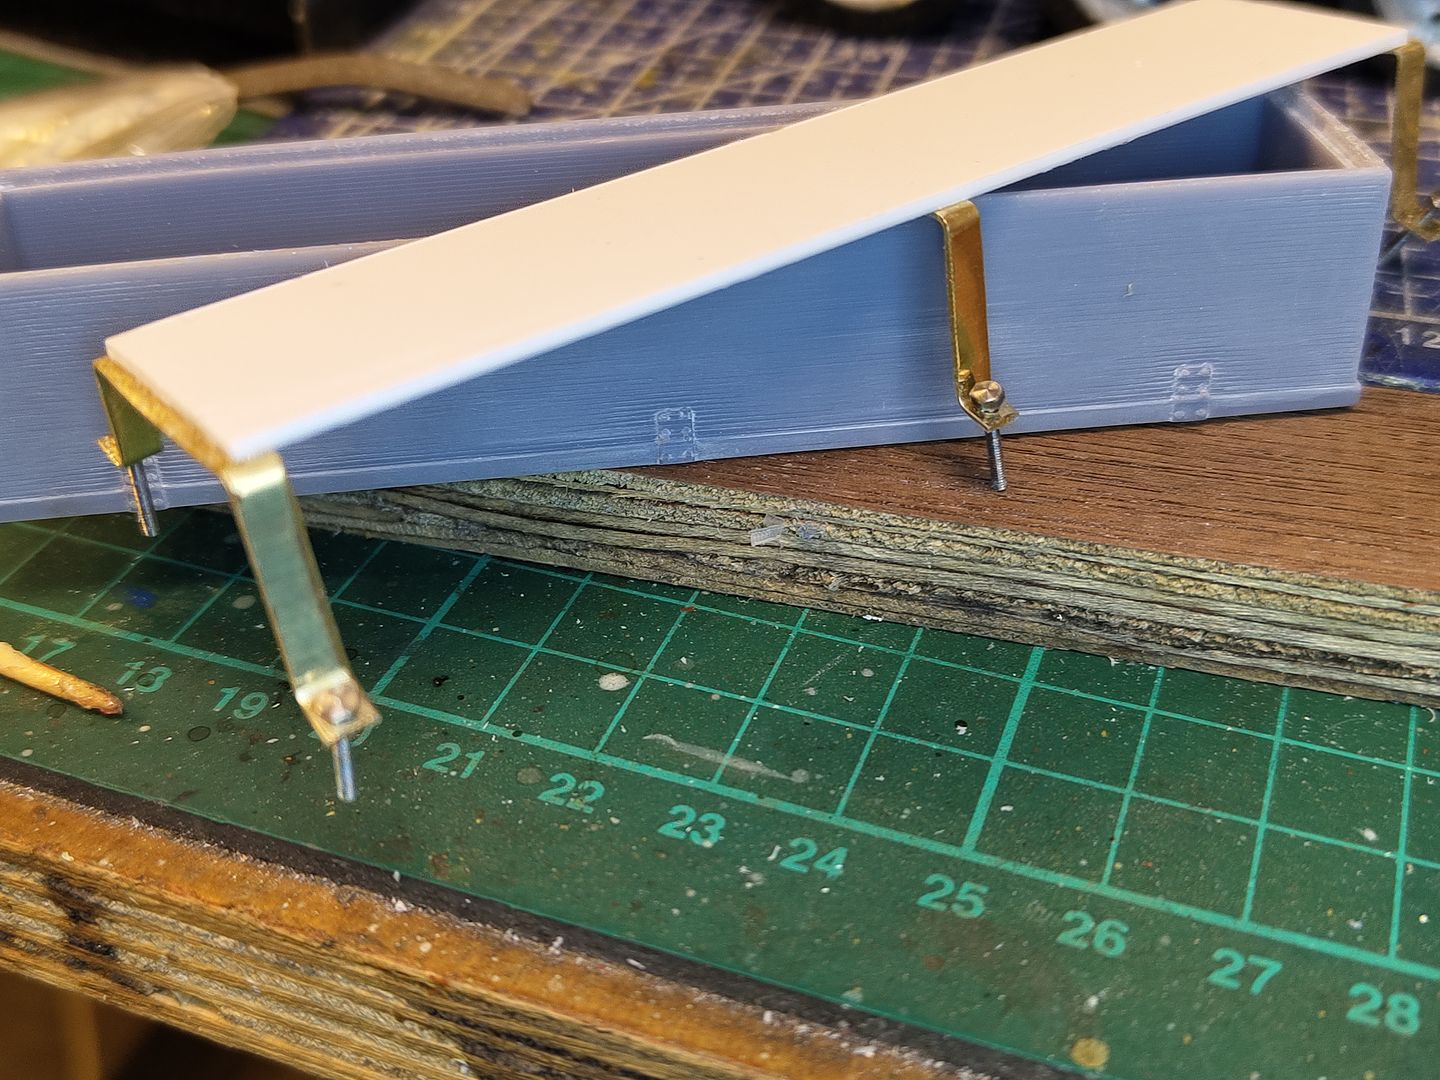
I have designed a box to fit over the back of the rear deck as a hollow upper shell that I printed with a recess to put a piece of plasticard and I cut up and folded some legs and drilled some mounting holes and transferred the holes in the rear deck after which I glued some small bolts in the legs because I want to just push them into the holes and it hold itself in place so I can easily remove when I want to.
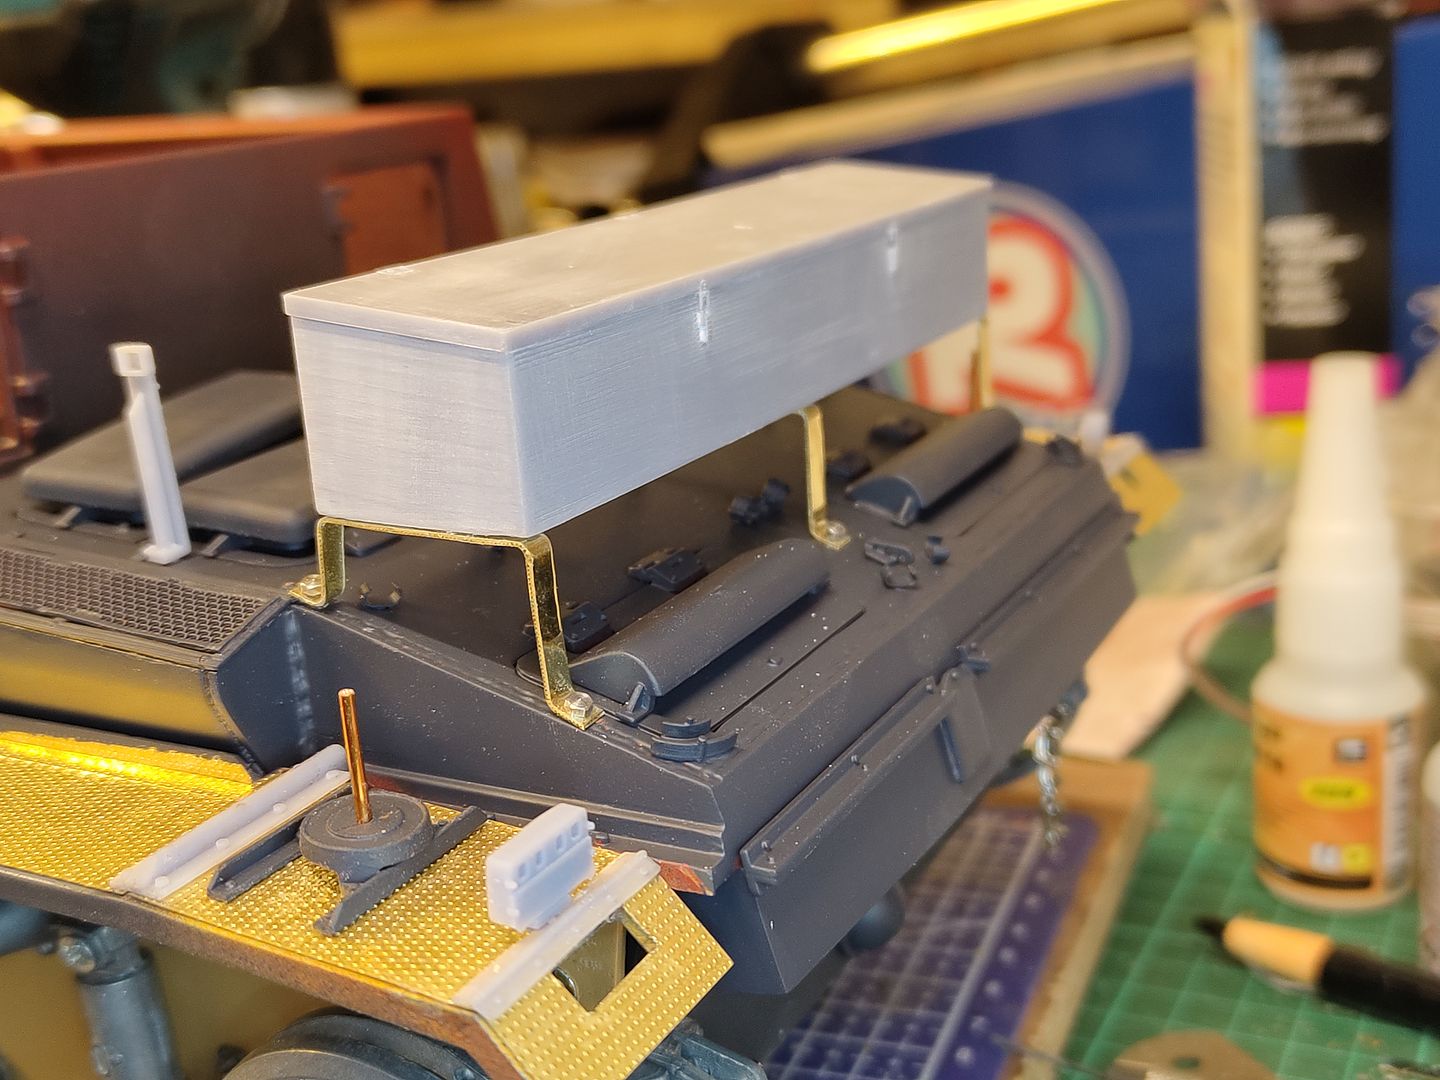
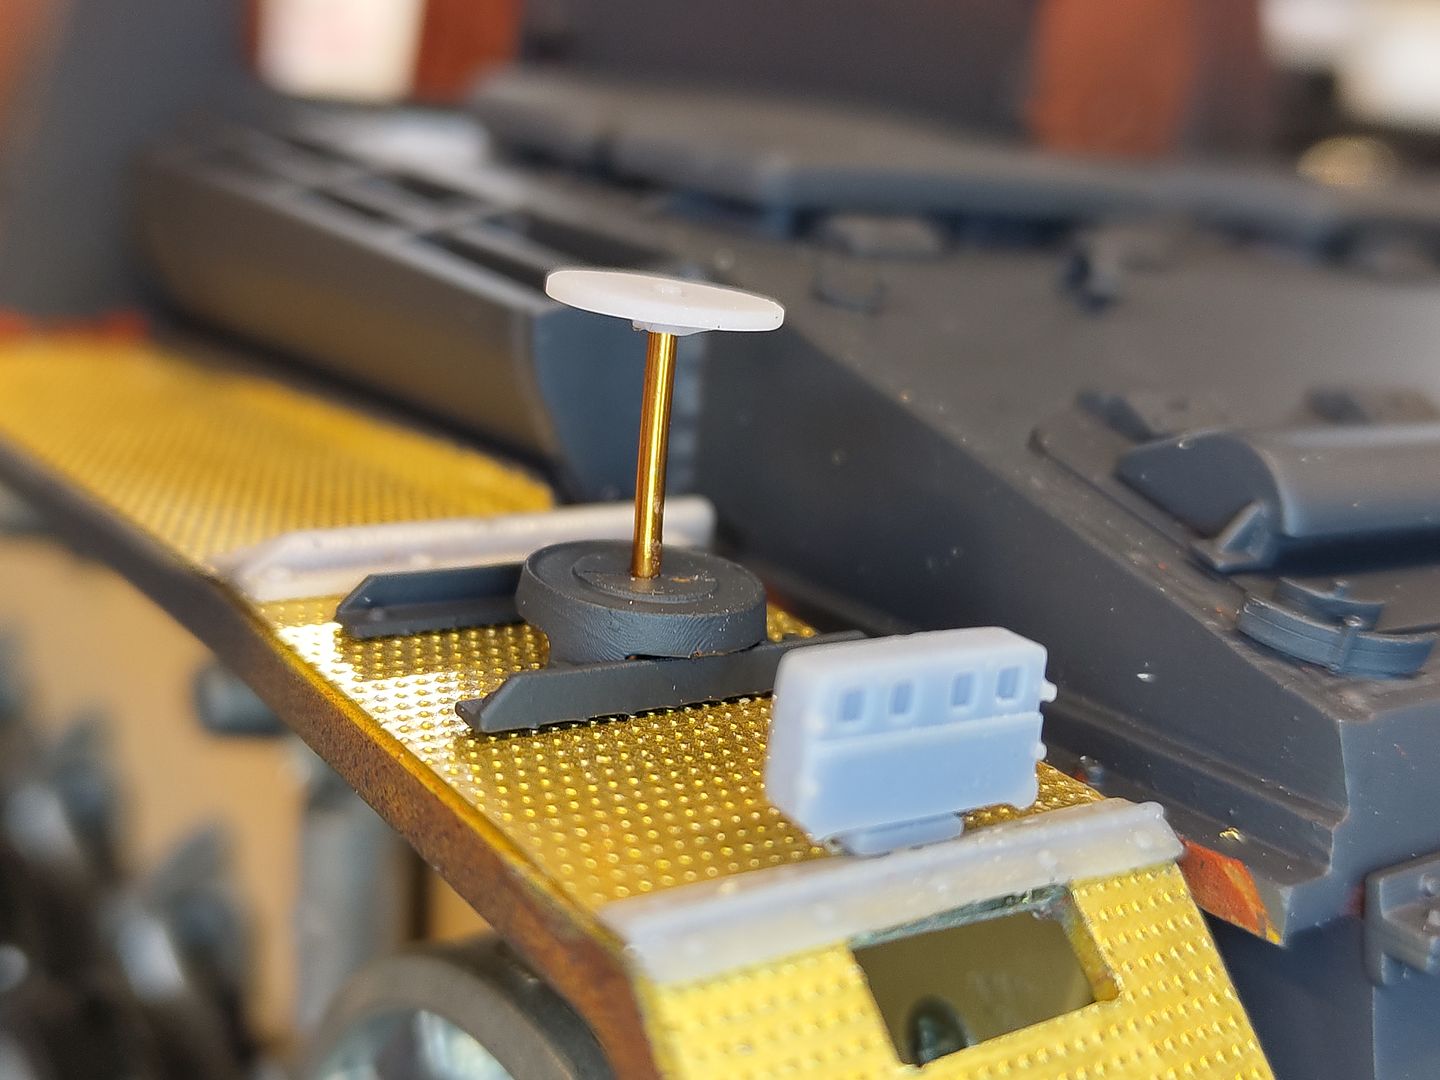
I also designed a post that is for another box but I'm just having the posts fitted.
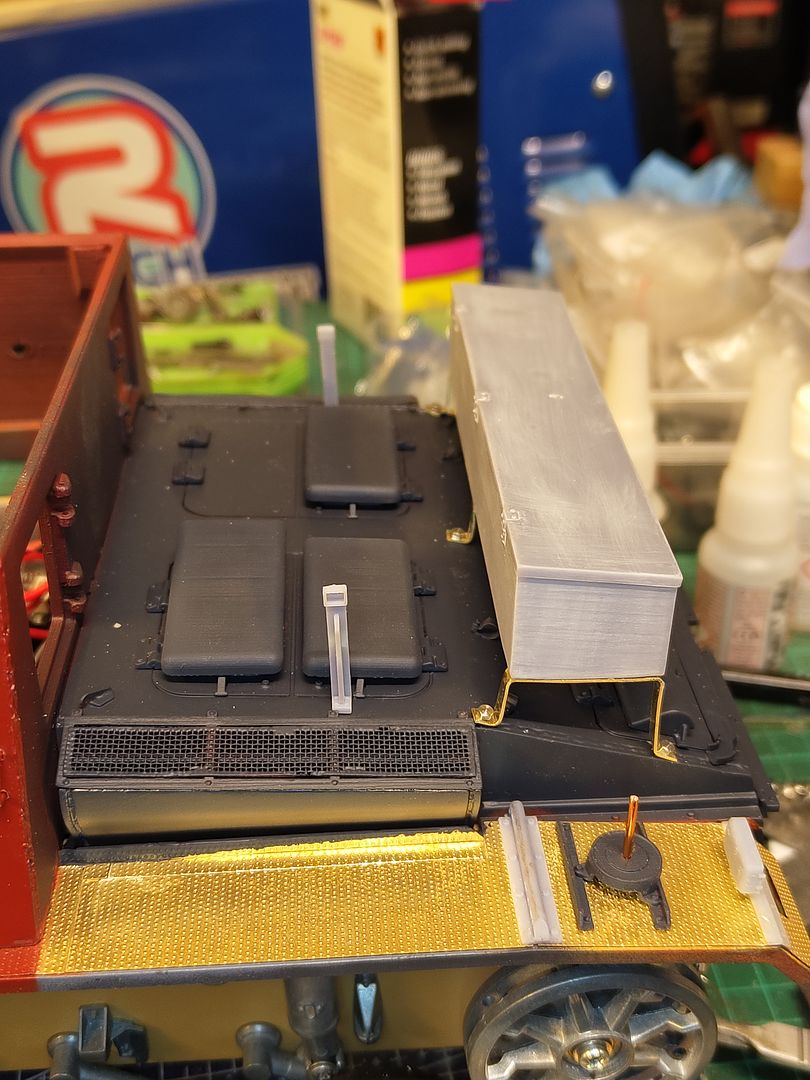
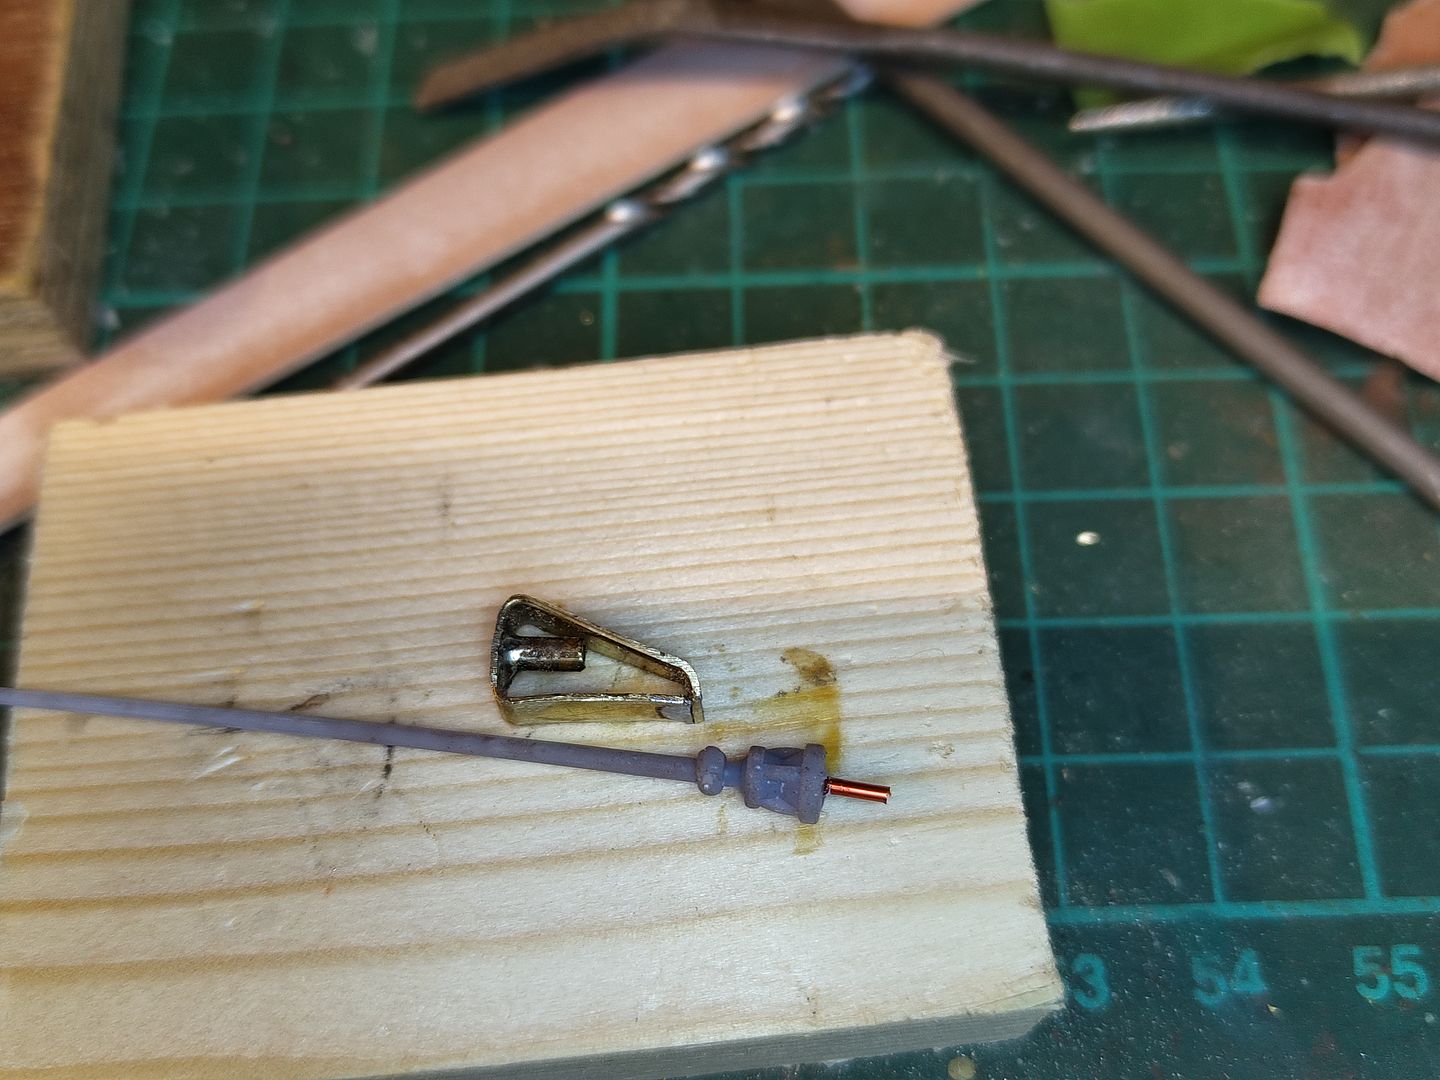
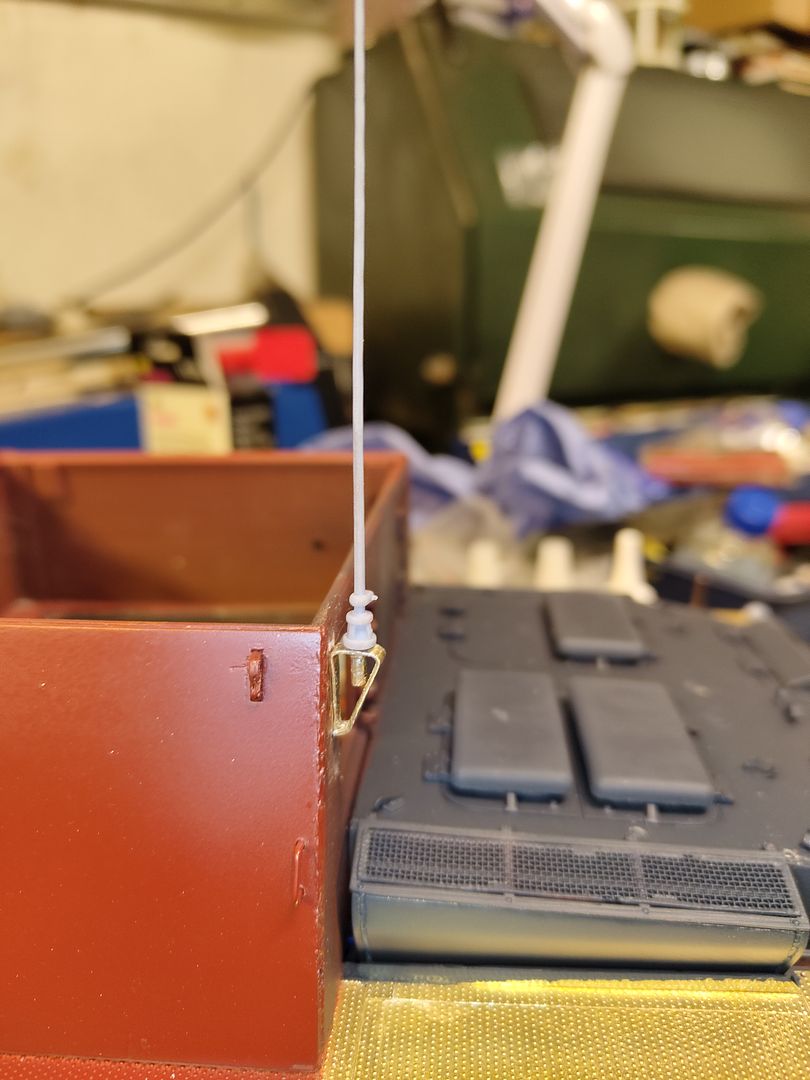
I found a model for an Ariel and printed it and drilled a small hole in the bottom and glued a piece of wire in it so I made a mount for it out of brass parts with a bit of tube so the Ariel can be placed and removed easily.
I've got to make some tool clamps for the tools and fit them to the mudguards and I'm going to make a small frame to put at the rear for putting fuel cans and boxes on when some brass angle turned up and that should be the upper hull finished then to get a few bits done on the lower hull to get it ready to paint up.