Page 1 of 19
DUKW Scratch Builds 1/16 & 1/9.25
Posted: Sun Mar 27, 2022 12:59 am
by Ecam
UK friendly / Imgur removed
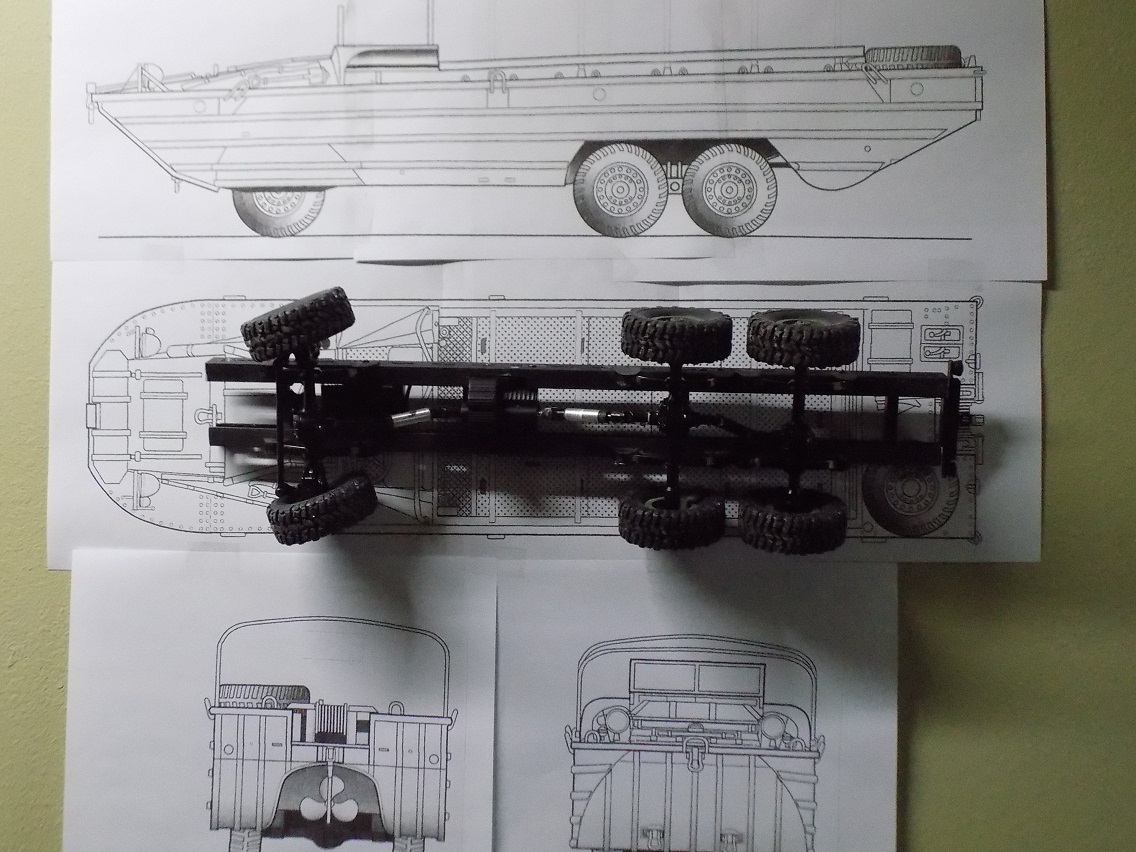
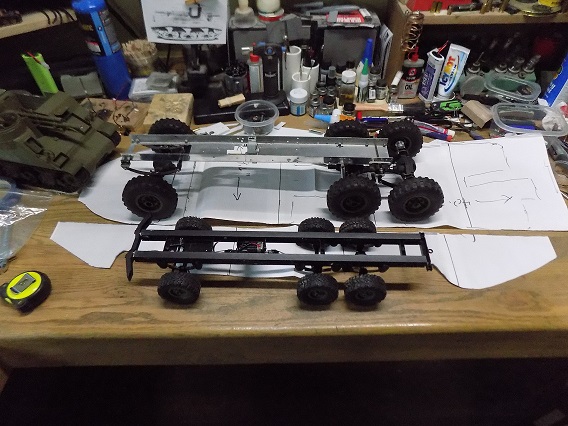
It's going to be a little while until I get these started (M7 has to clear the bench first. Pictured are the 1/35 reference model, the roughly 1/16 (based on two of the HL trucks when they first came out). And the huge frame, axle and propeller kit that was offered by my brother. This may also be some of the first published pictures of Mike's work.
- D1.JPG (373.68 KiB) Viewed 952 times
- D3.JPG (402.13 KiB) Viewed 952 times
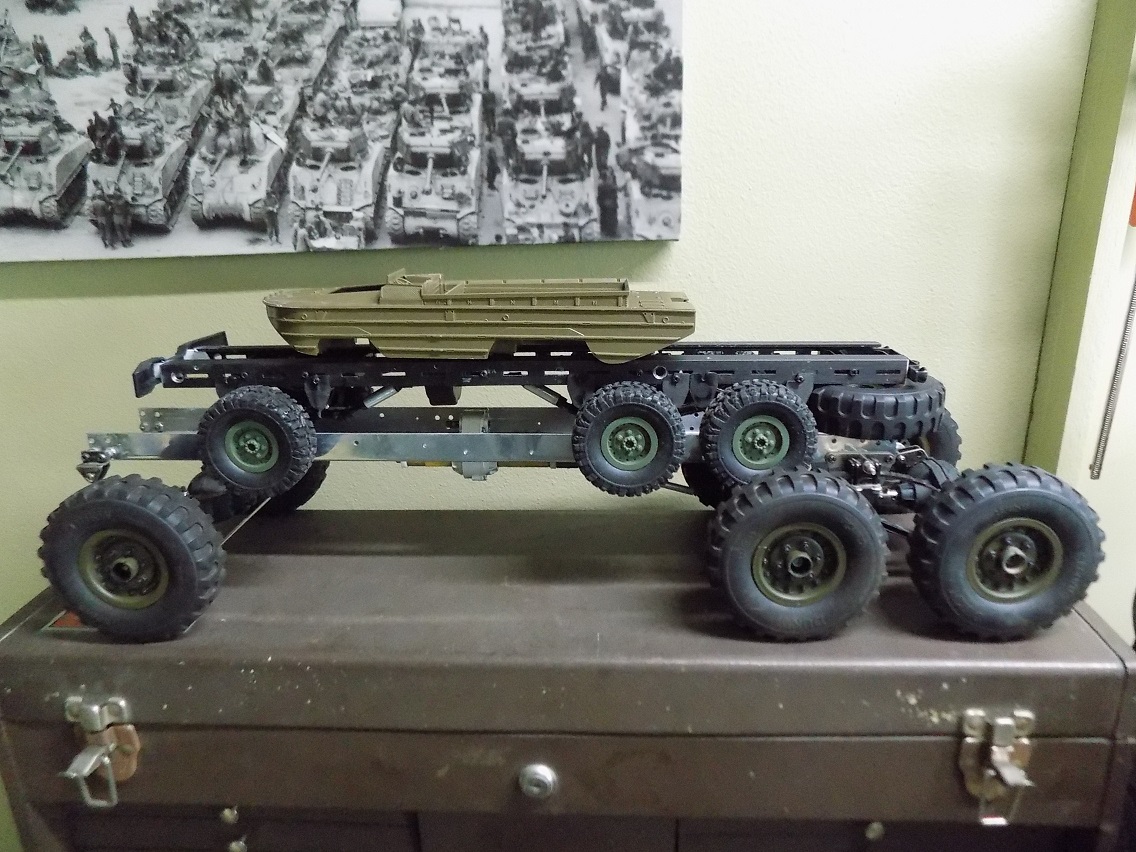
In this picture the Priest is in showing the scale.
- D2.JPG (166.63 KiB) Viewed 952 times
Re: DUKW Scratch Builds
Posted: Sun Mar 27, 2022 8:29 am
by Model Builder 4
Following along with these builds Eric, this surely is an ambitious project especially the larger of the three, that one is going to be hugh as you say


have you calculated the length of that one yet

The 1/16 version should be approximately 21½ inches long give or take, are you planning on making them sea worthy ( or pond worthy
) now that would be a sight to behold

Cheers,Lee.
Re: DUKW Scratch Builds
Posted: Mon Mar 28, 2022 12:58 am
by Ecam
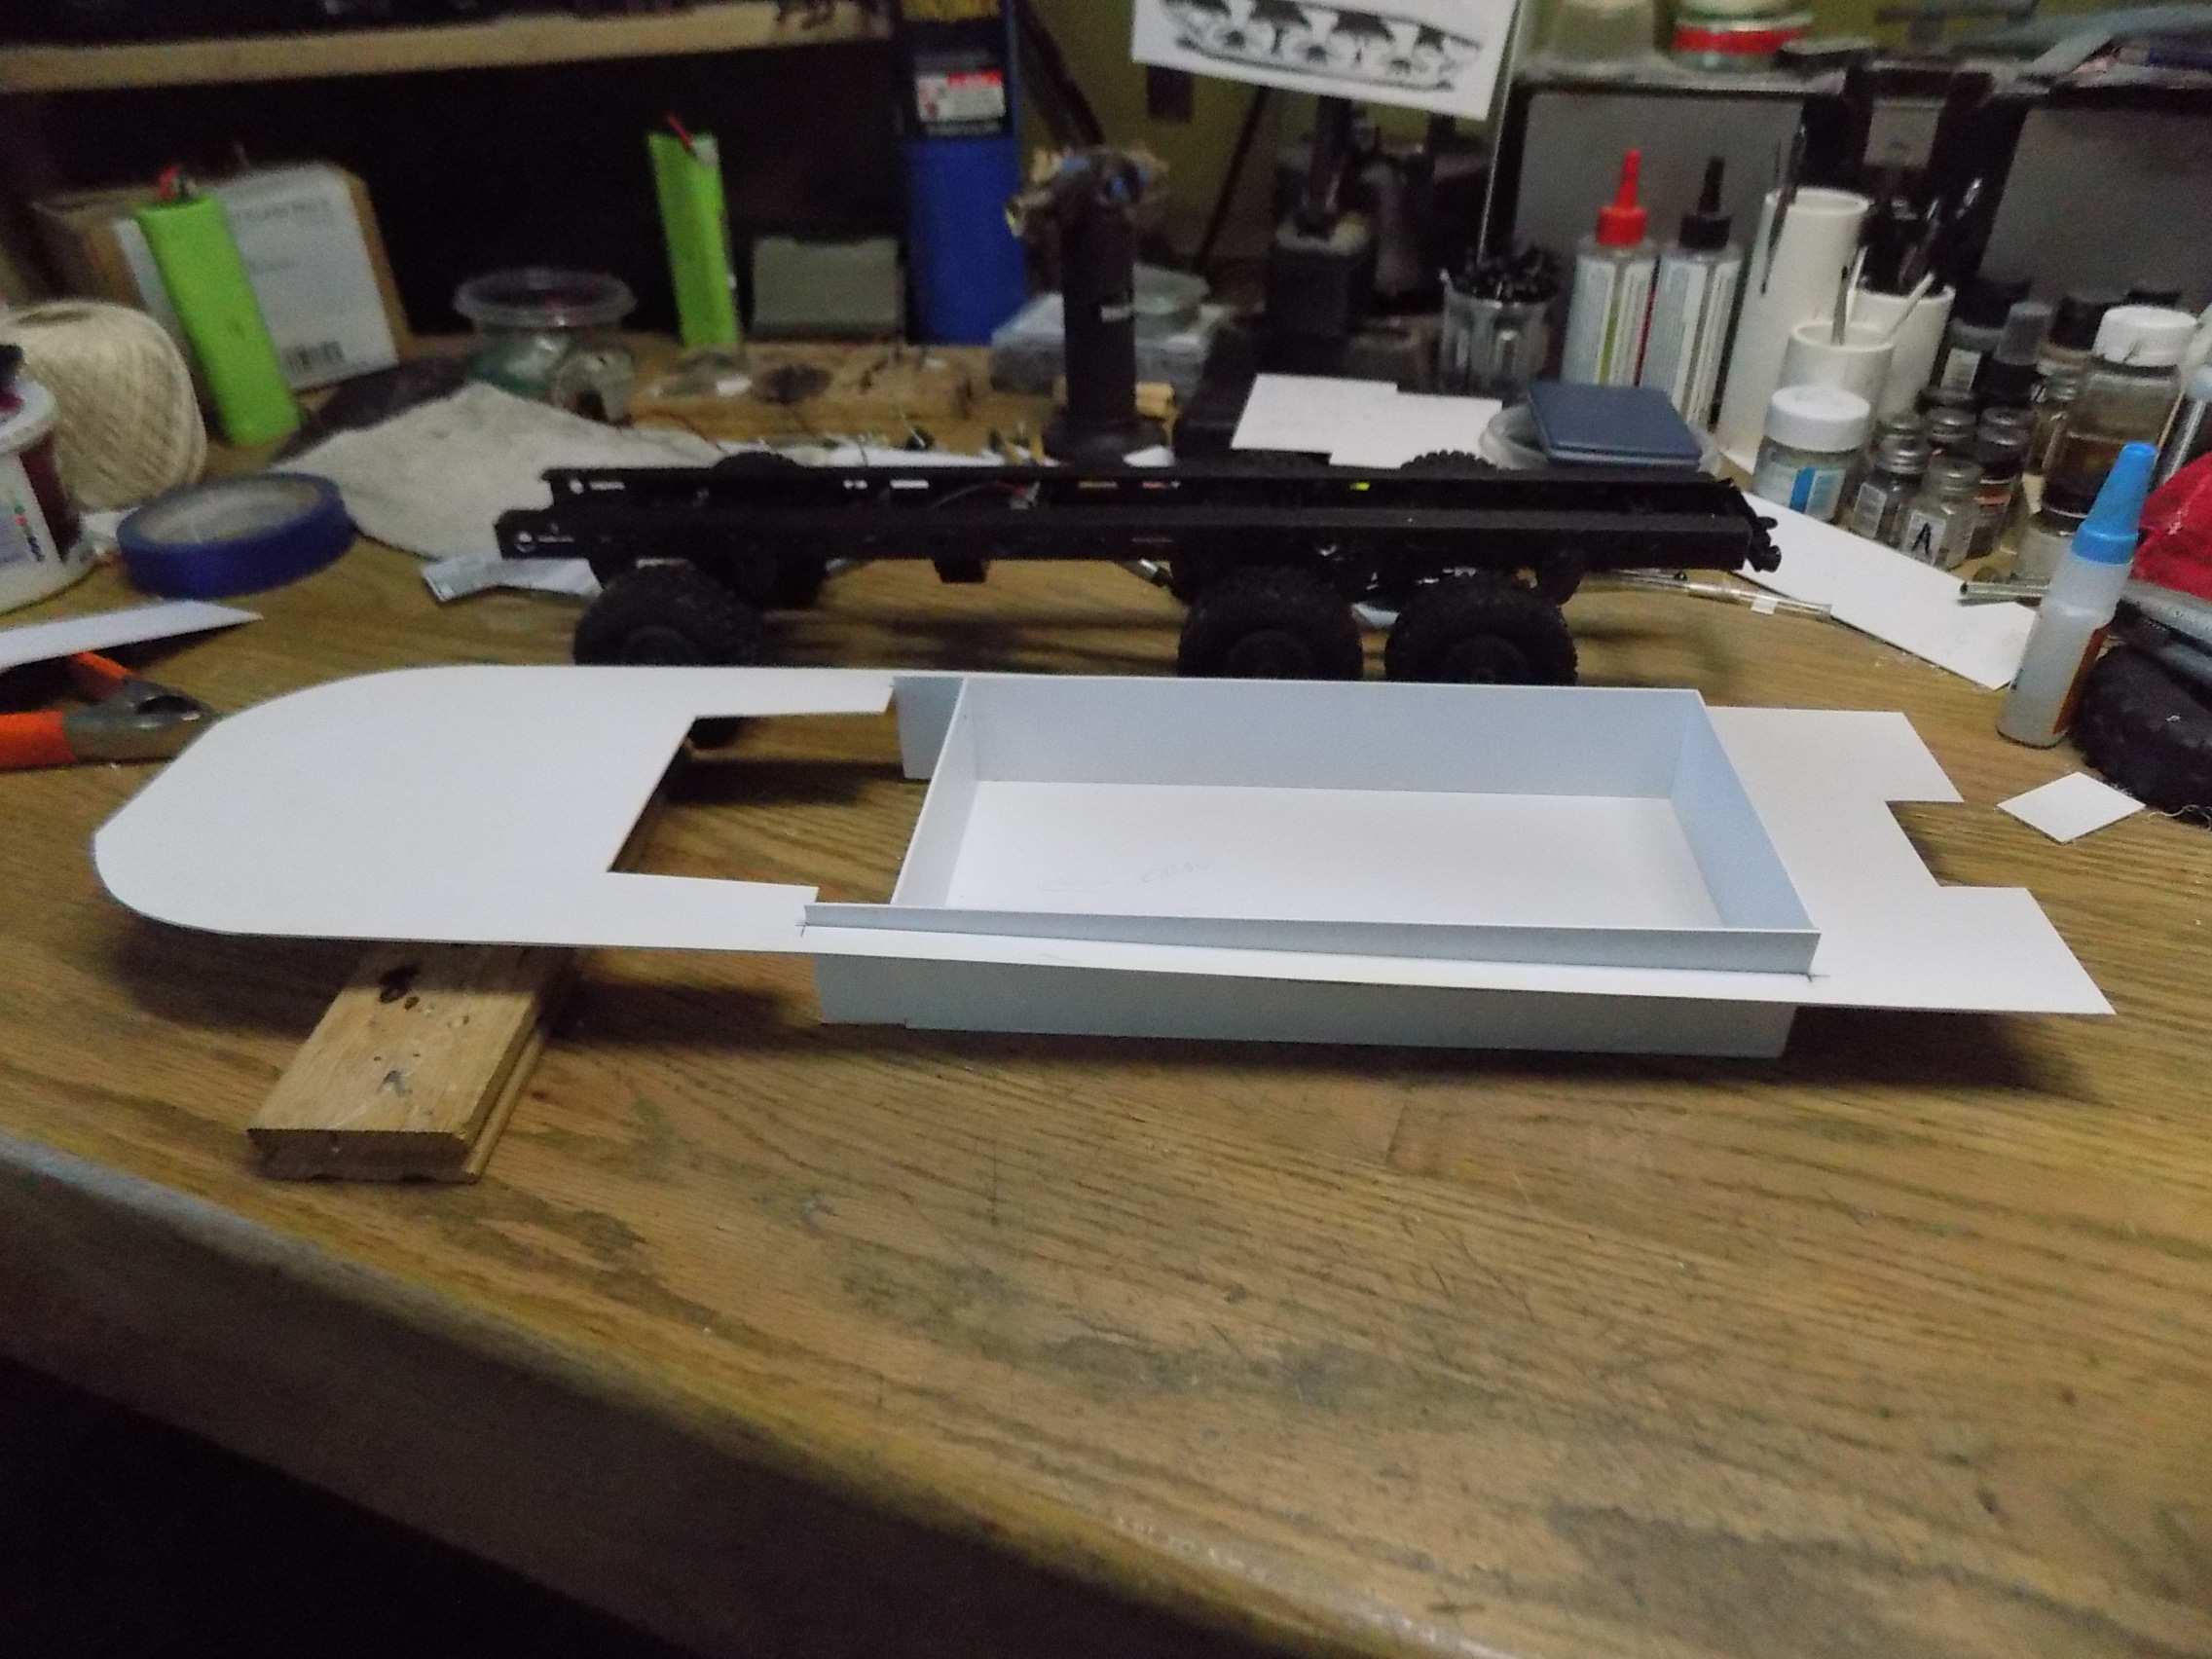
Big one (monster) should be about 40 inches. What is a duck that can't swim? Mike did a bunch of calculating and measuring 5 years ago when he started this project. I spent the first part of the morning calculating and intend only to add 3/8" to the wheel base. The width is set by the axles, tires are what they are so the wheelbase is about all I can change to get things as close as I can. I calculated scales of tires, track and WB and came up with an average scale of 1/9.25.
Couldn't resist starting a little. I intend on doing the two simultaneously, but the experiment to build the hull will fall to the 1/16th before the big one.
- D4.JPG (421.33 KiB) Viewed 951 times
- D5.JPG (999.29 KiB) Viewed 951 times
(12/21/22)
Edit to question above:
Full size the DUKW measured 372" (31 feet) scaled to 1/16th that ends up 23.25 inches. That is how my plans enlarged (218%). That is also how my kit came out including the forward winch hawse.
Re: DUKW Scratch Builds
Posted: Mon Mar 28, 2022 4:38 pm
by Ecam
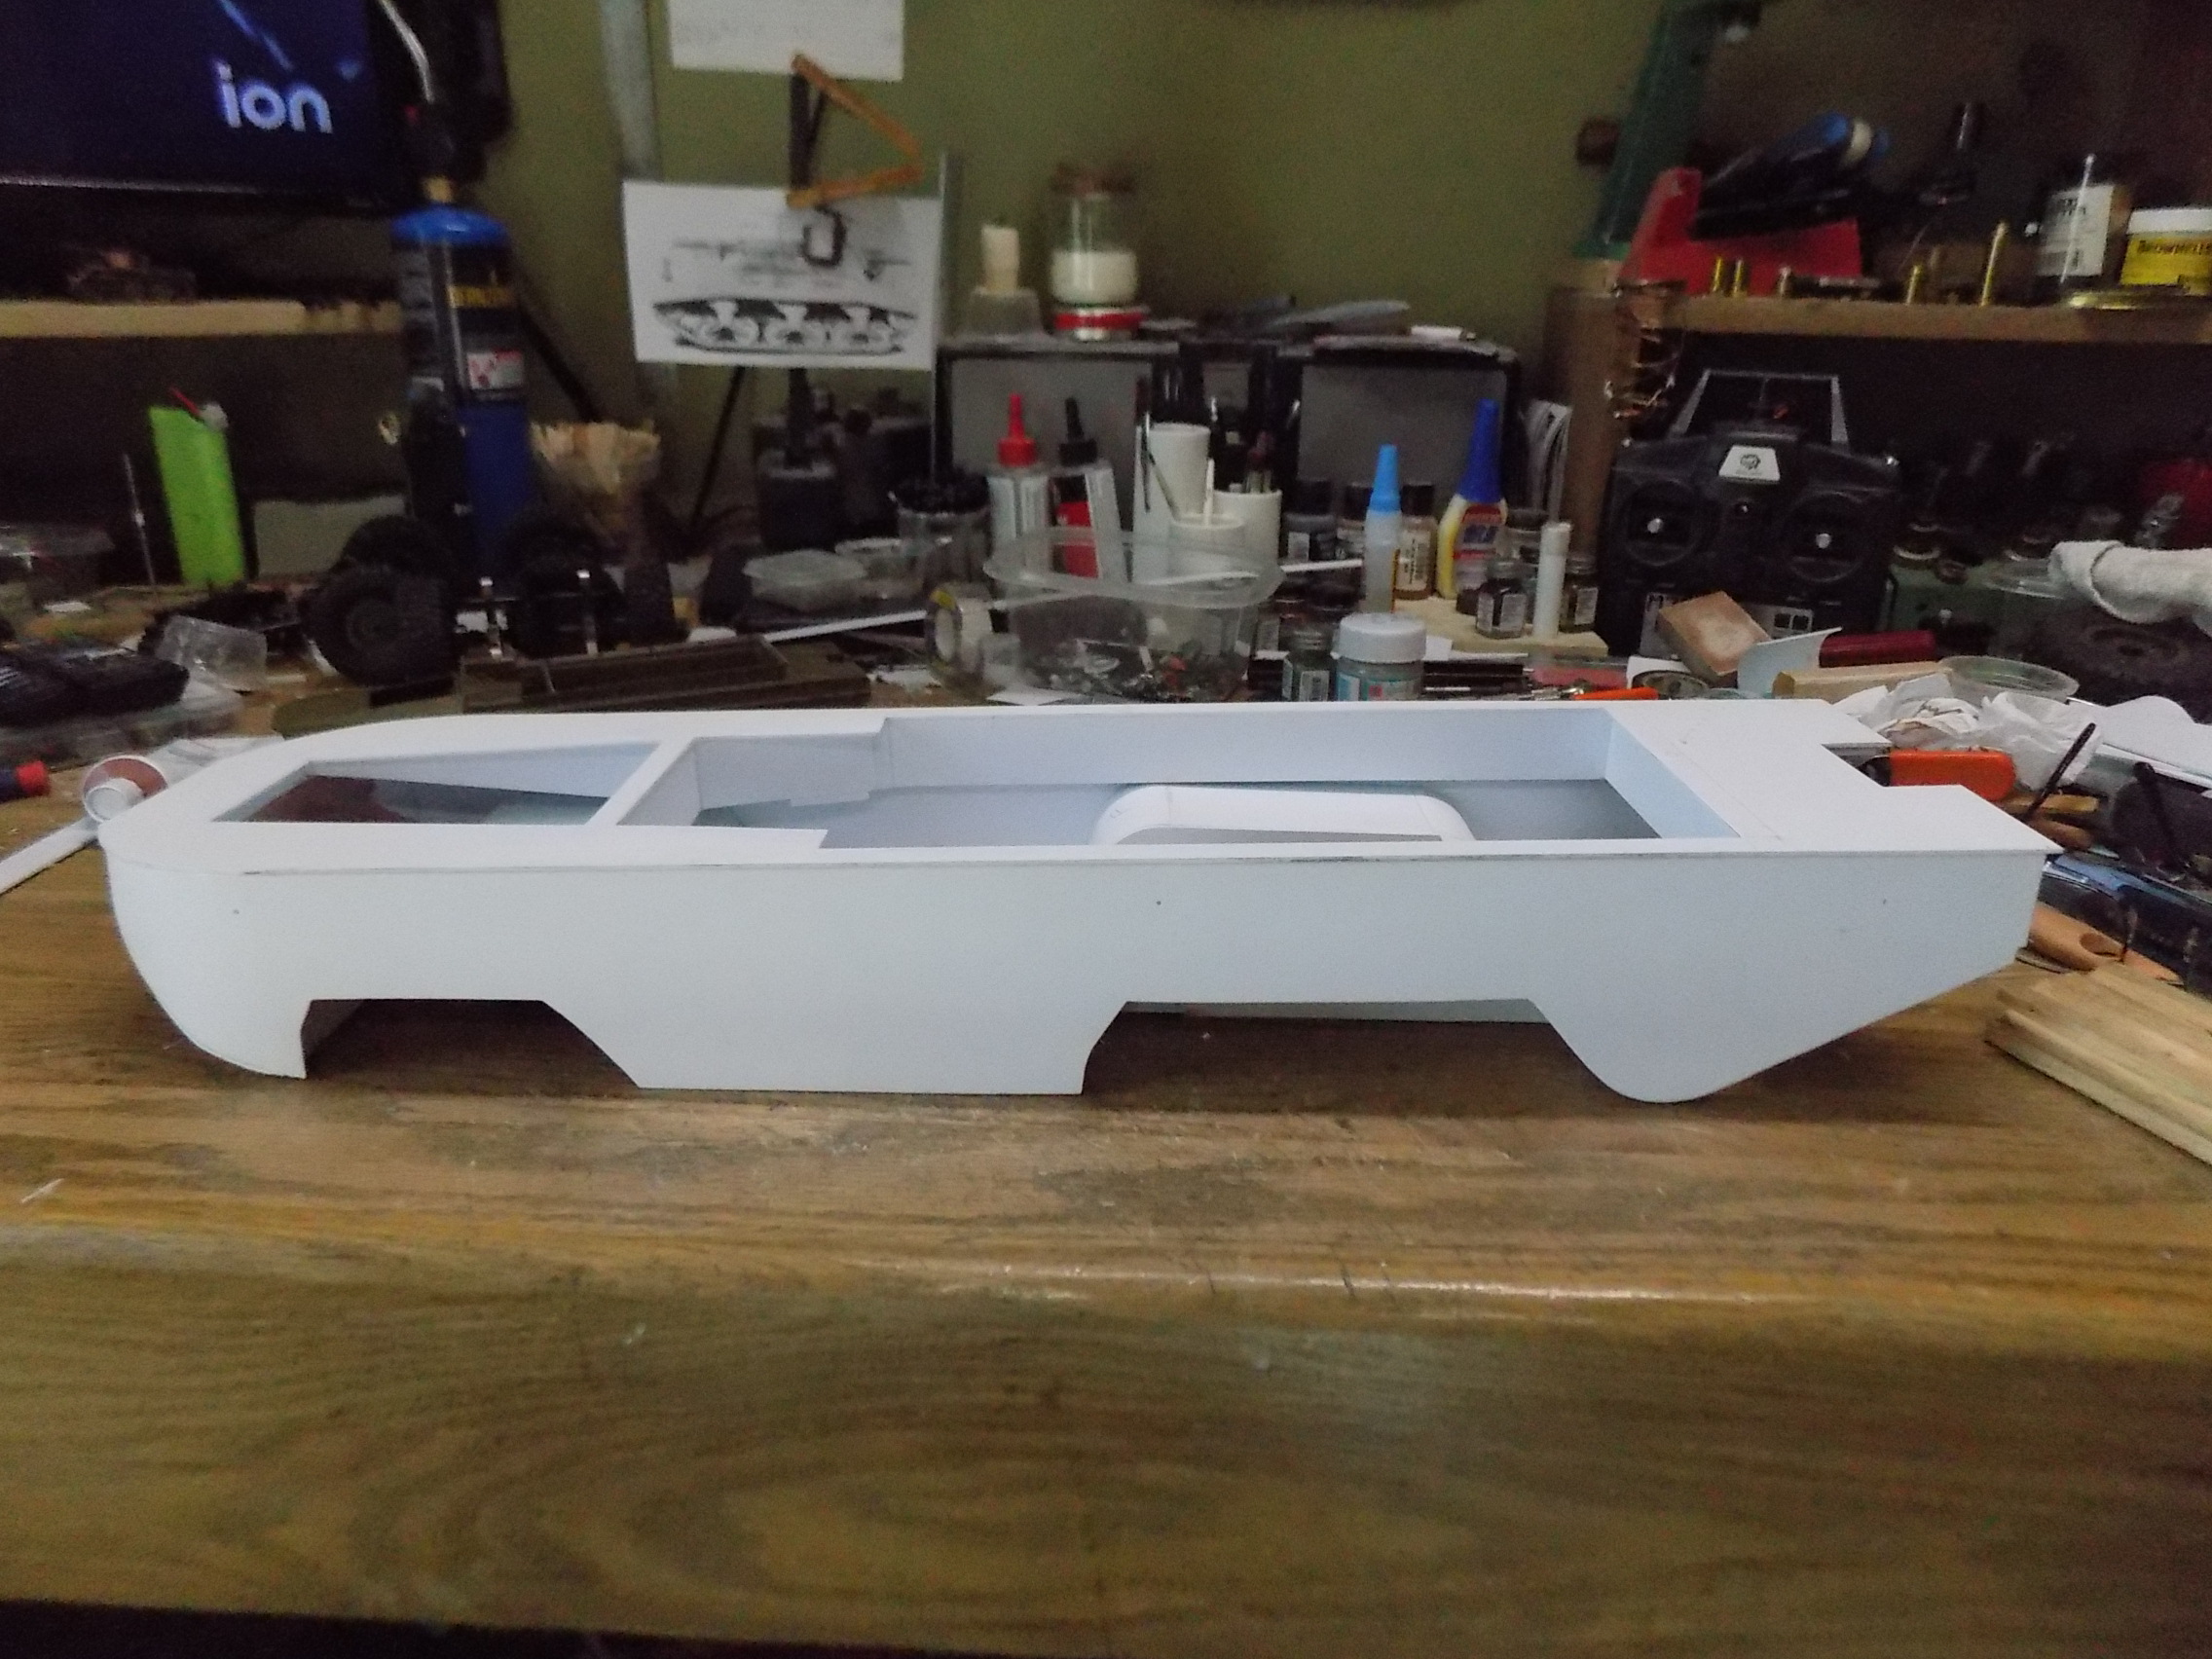
A little of last night's work.
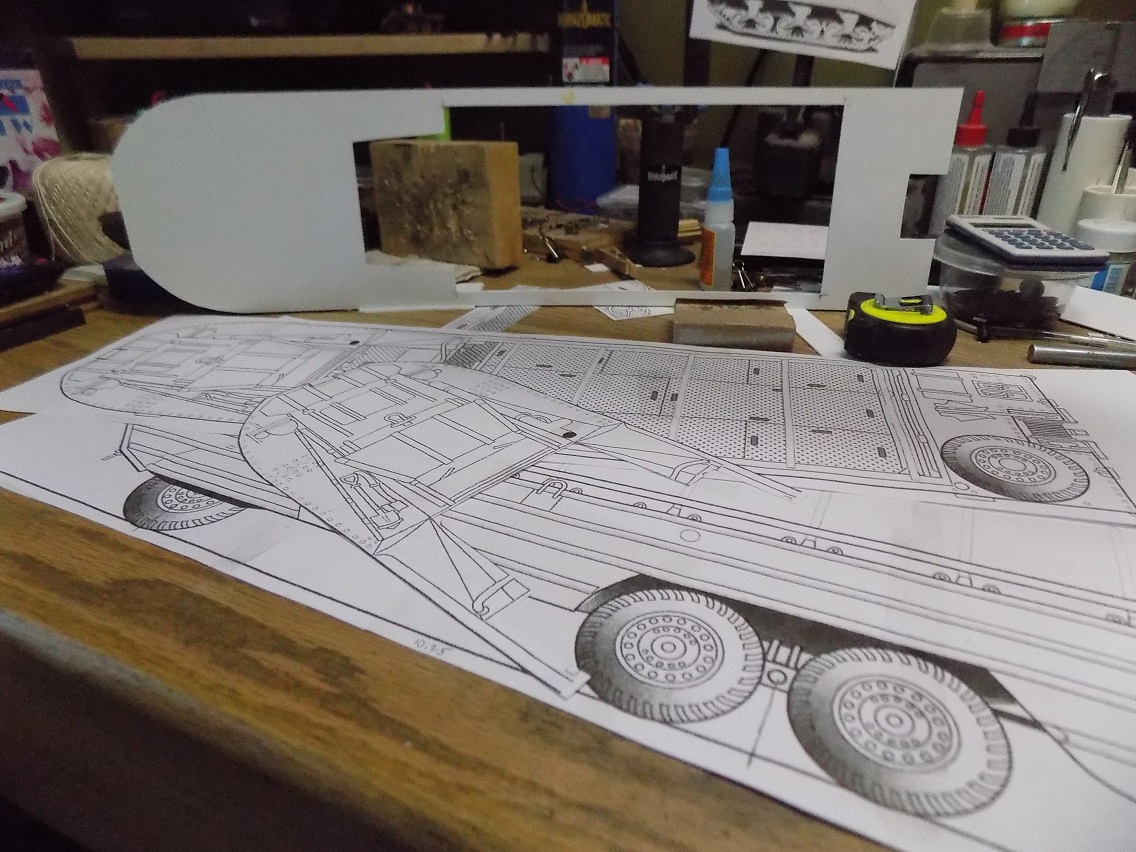
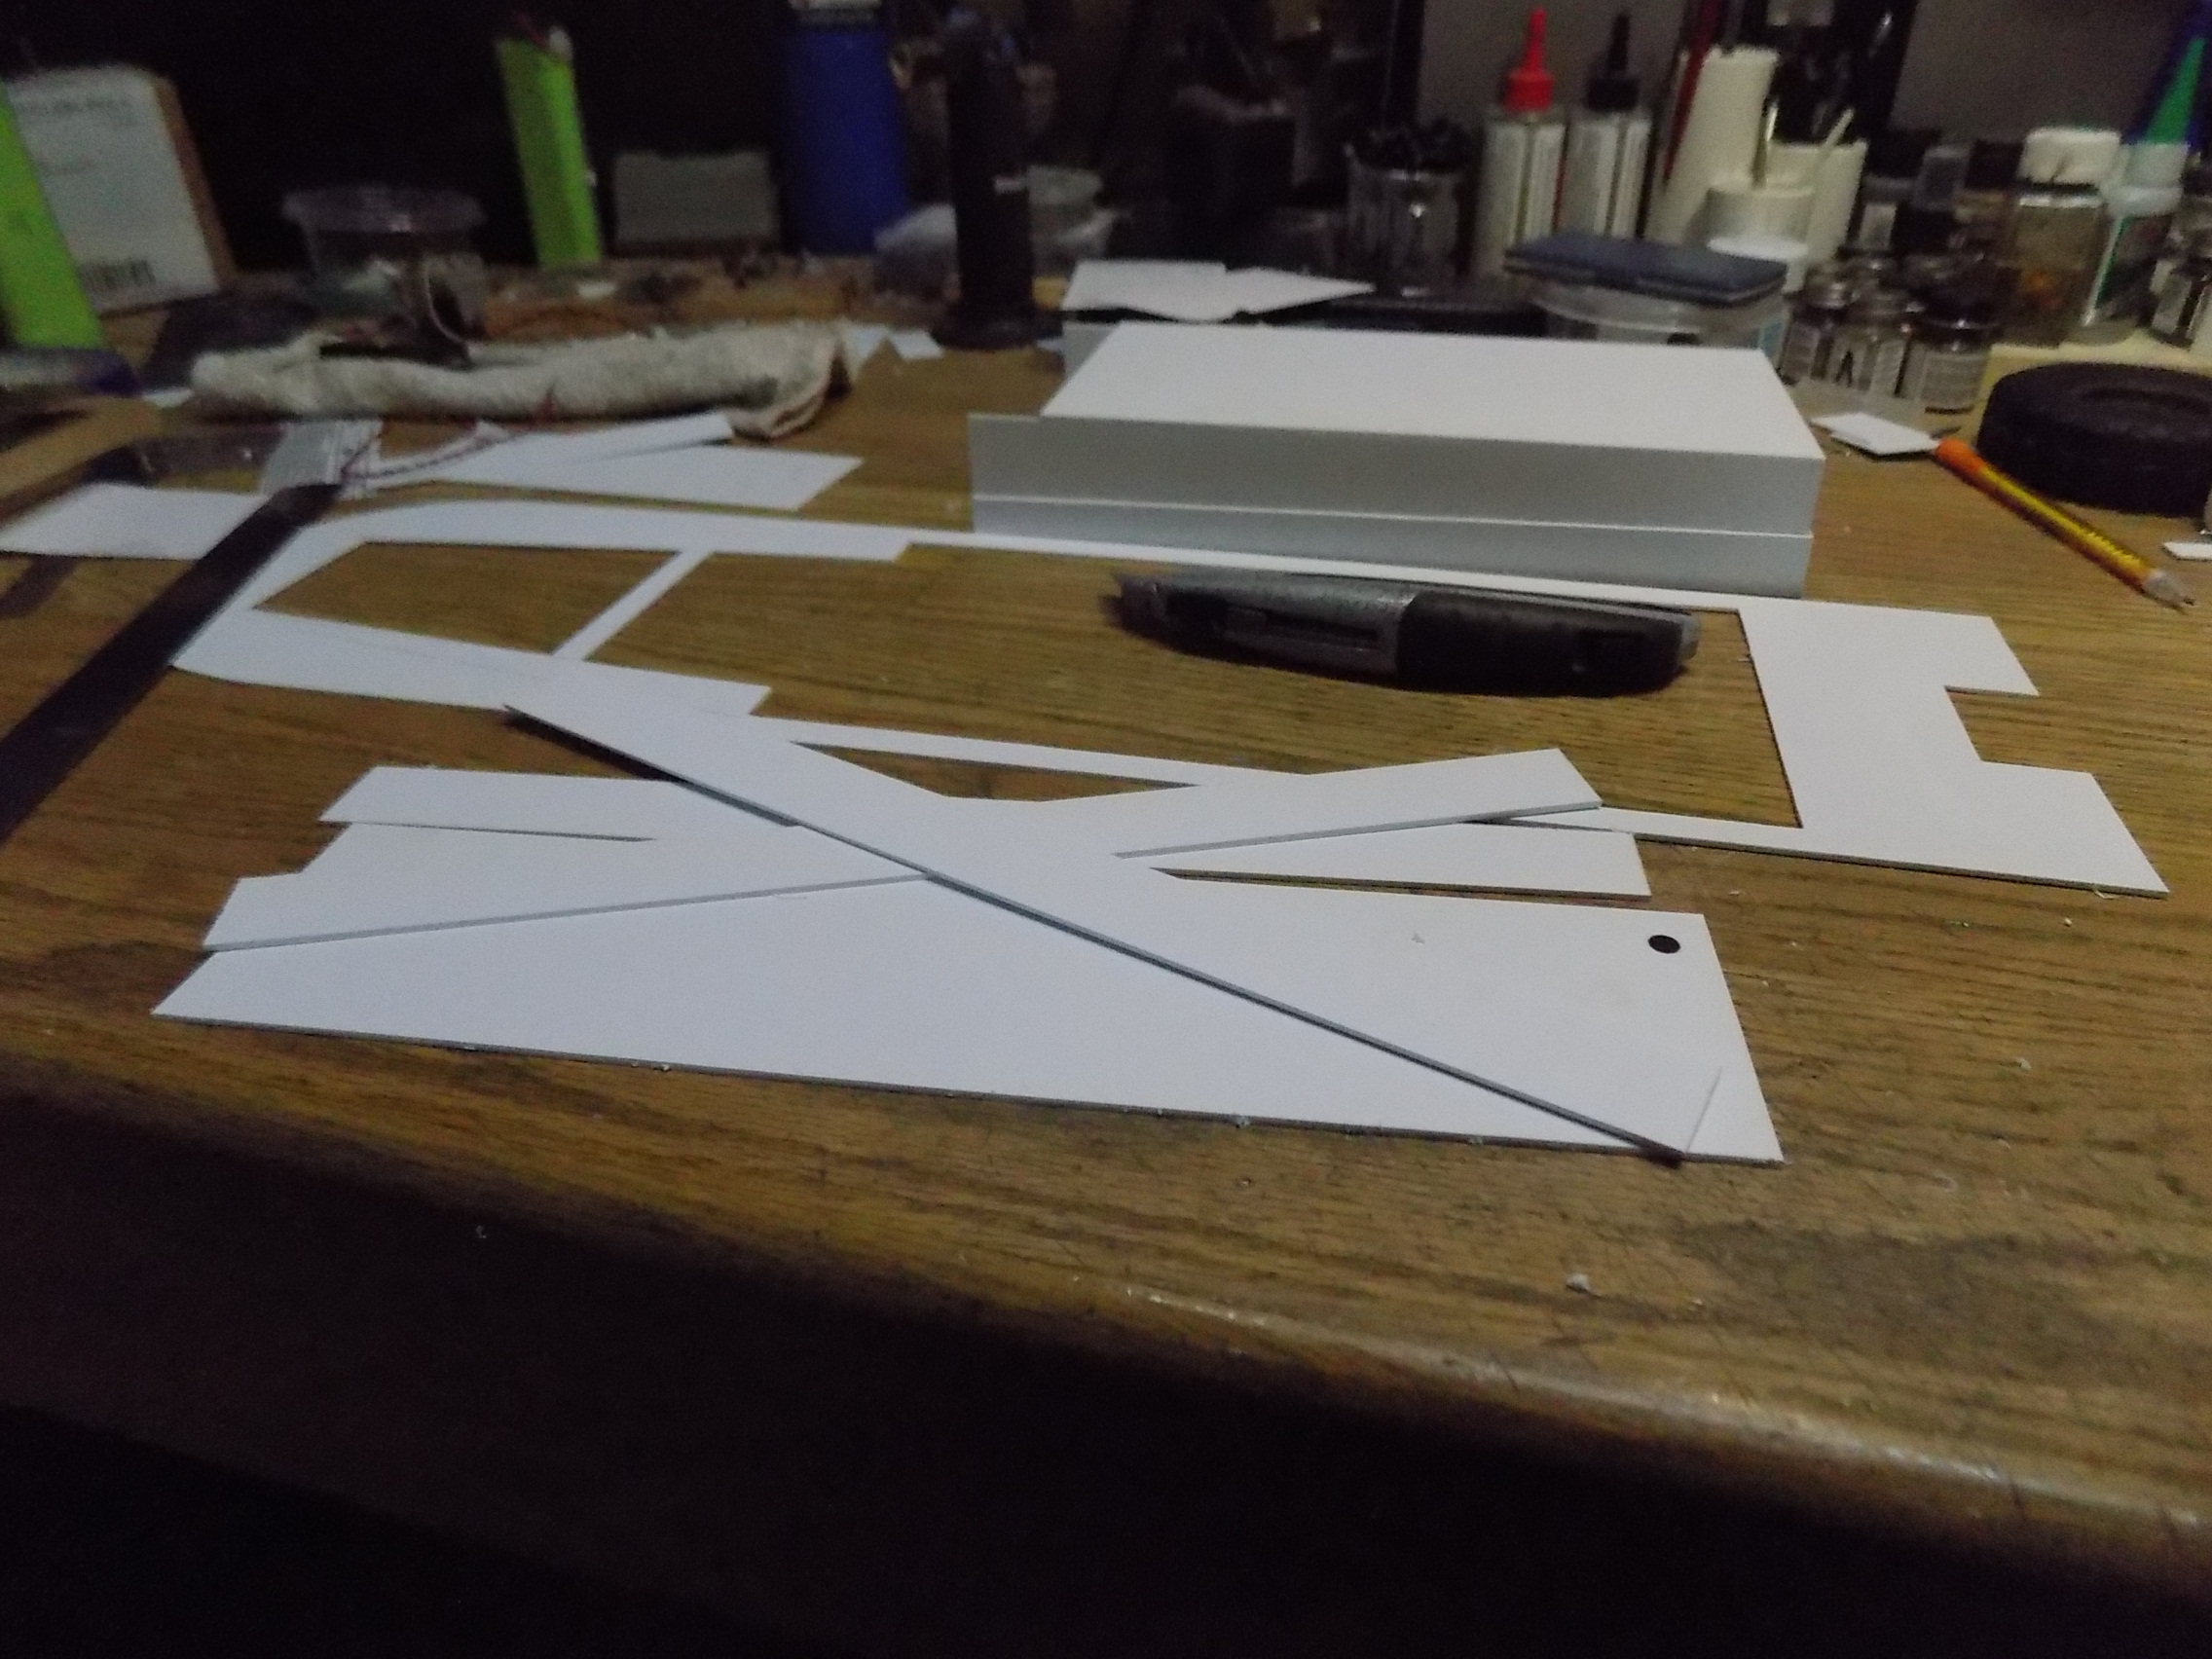
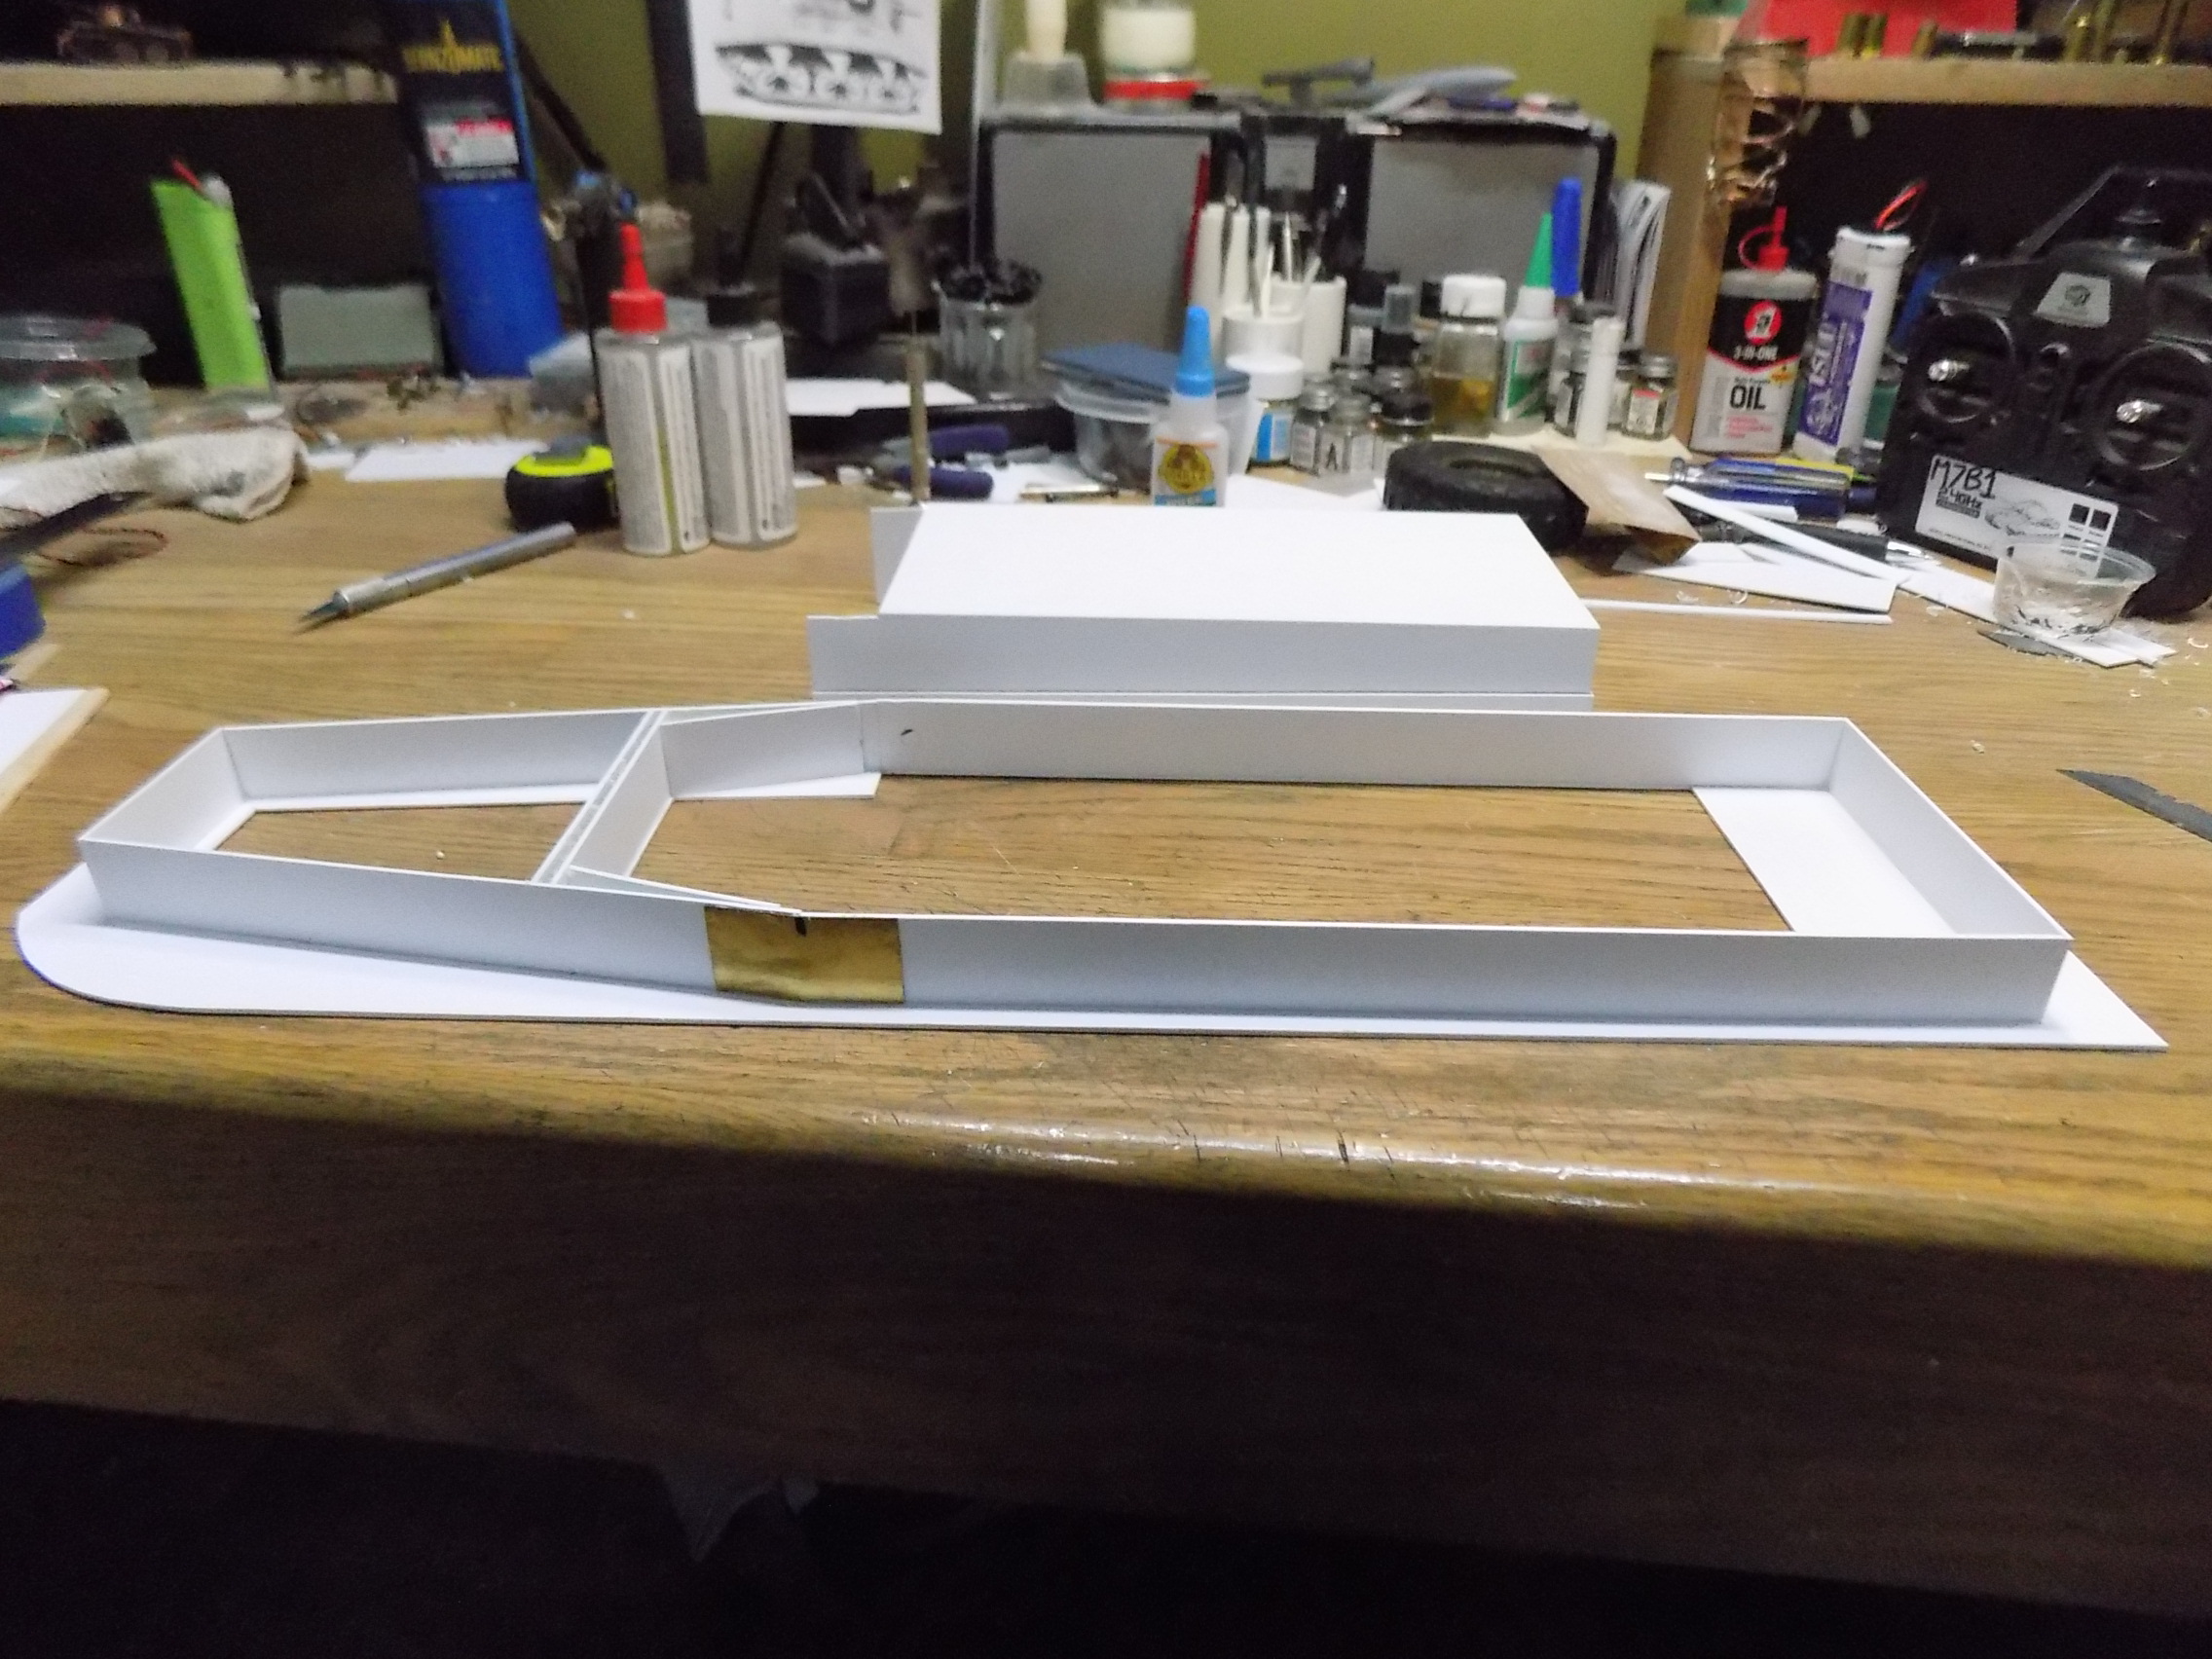
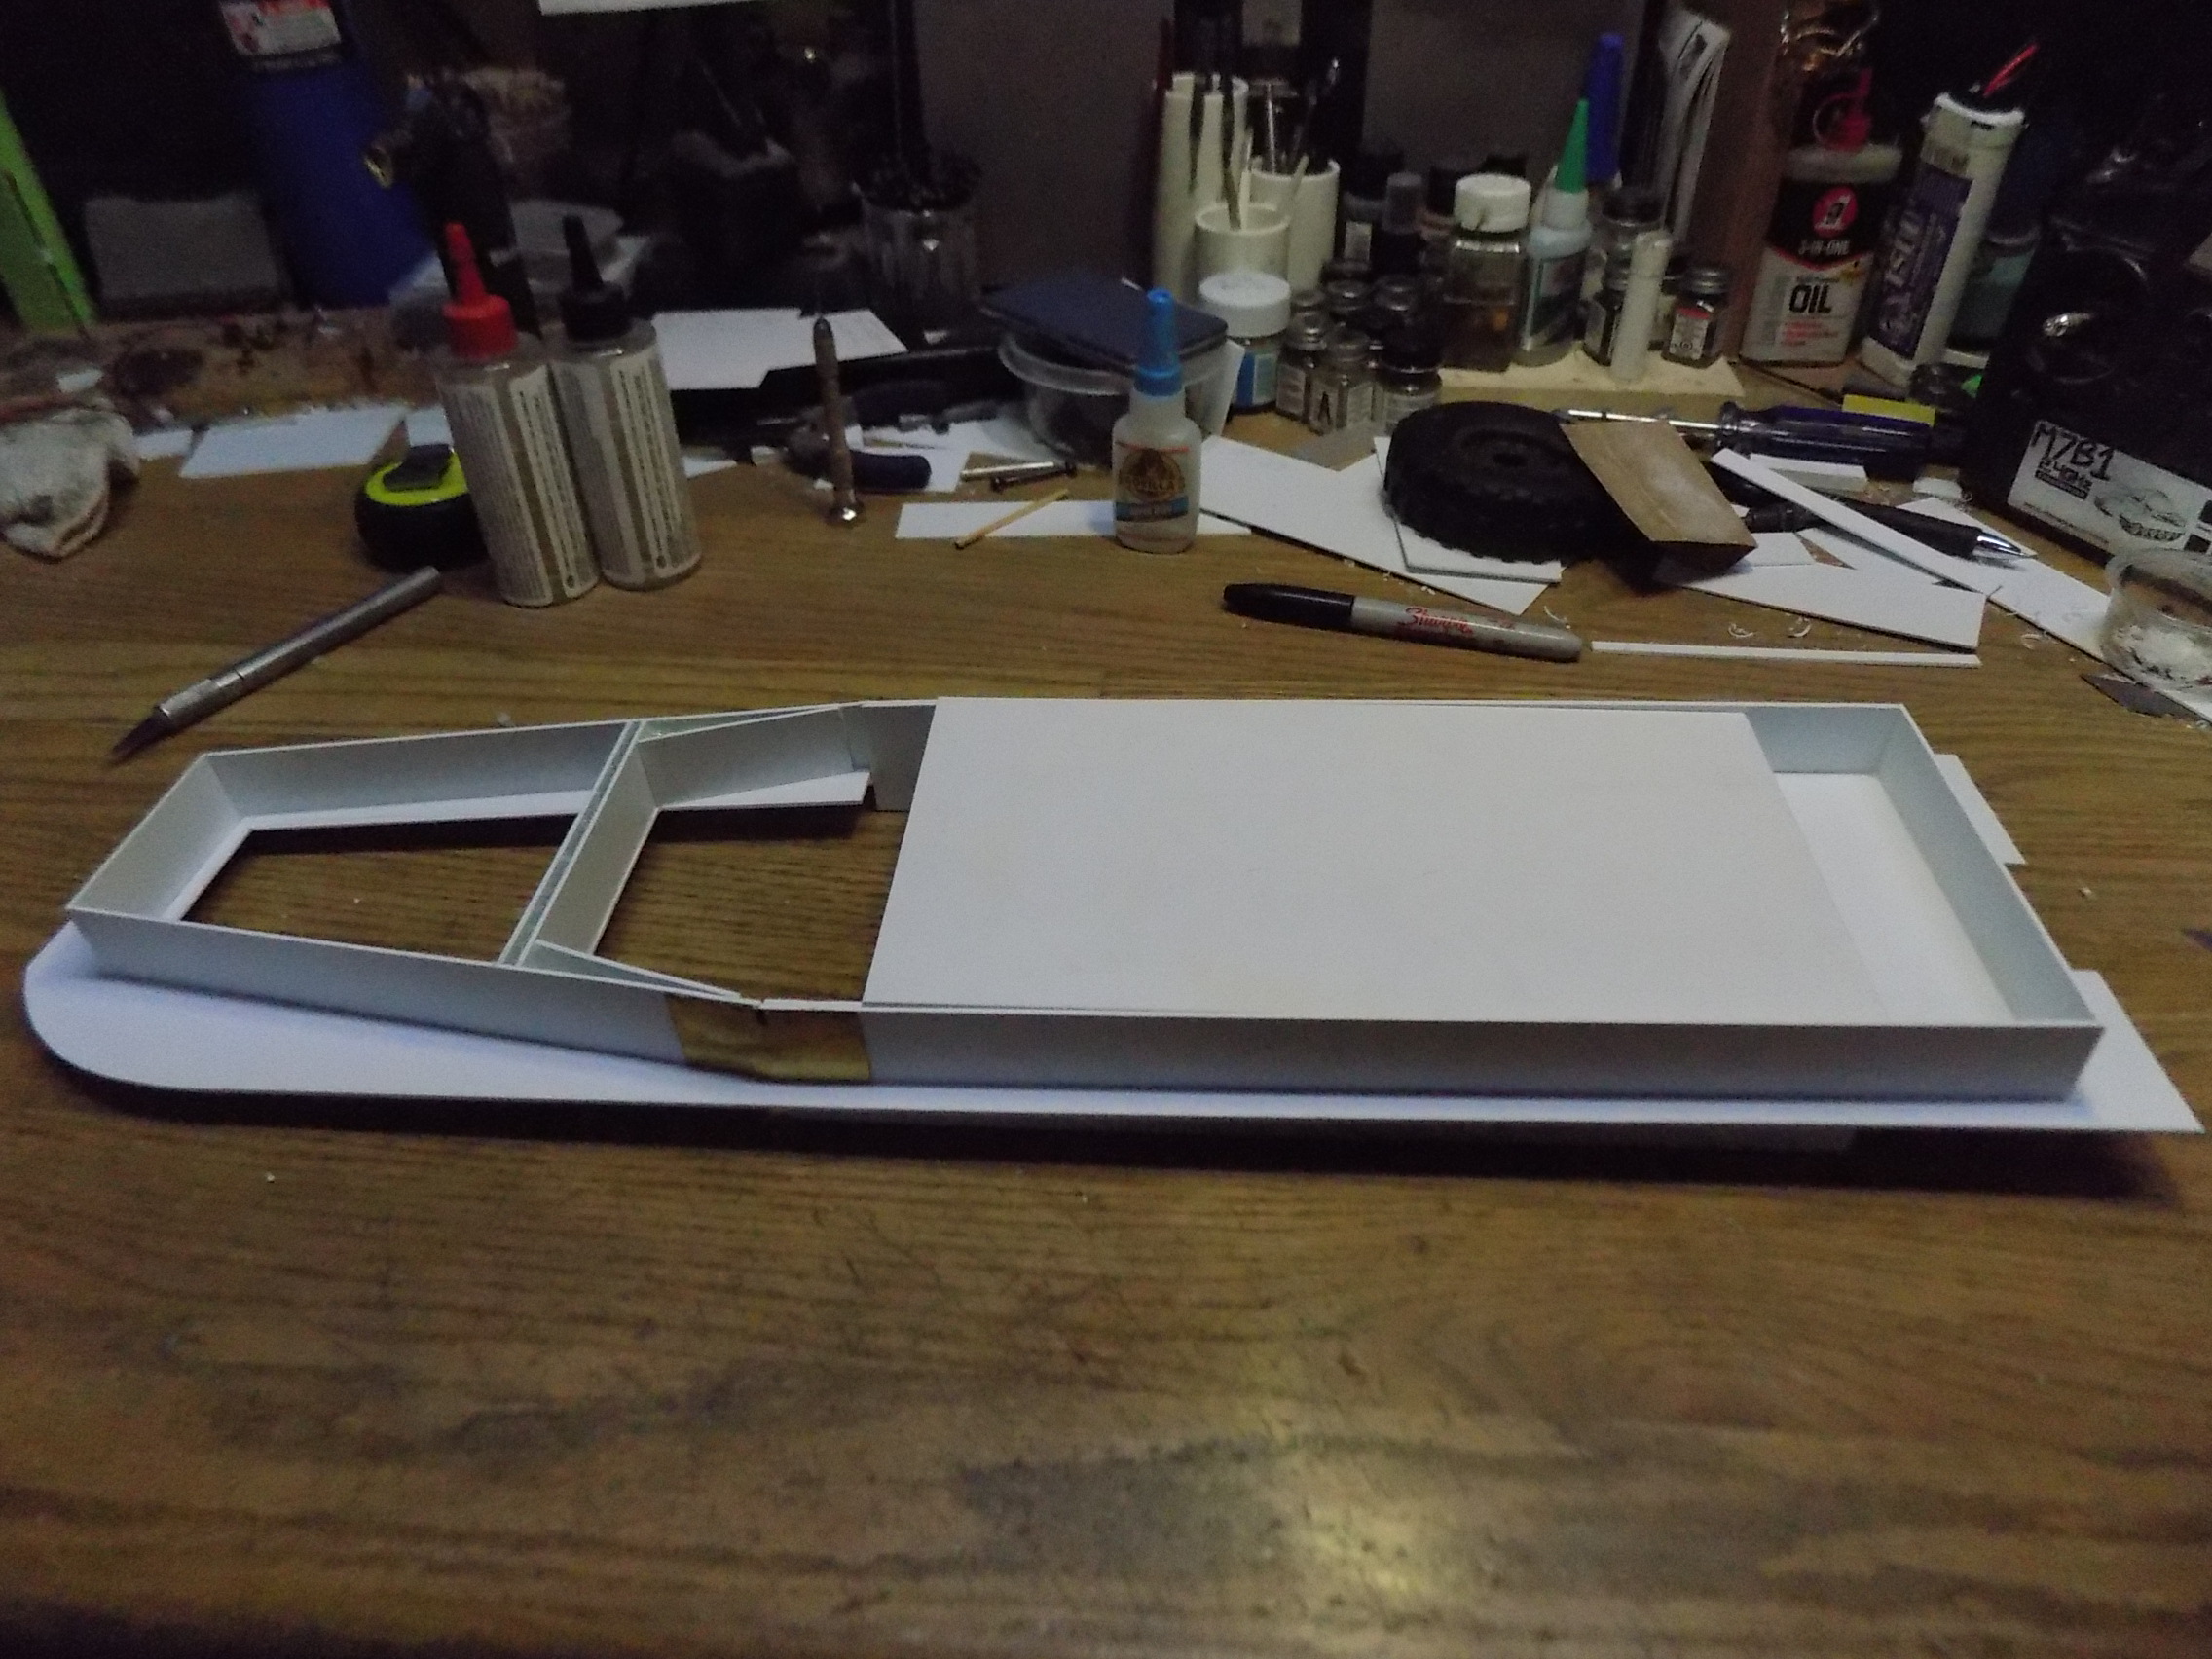
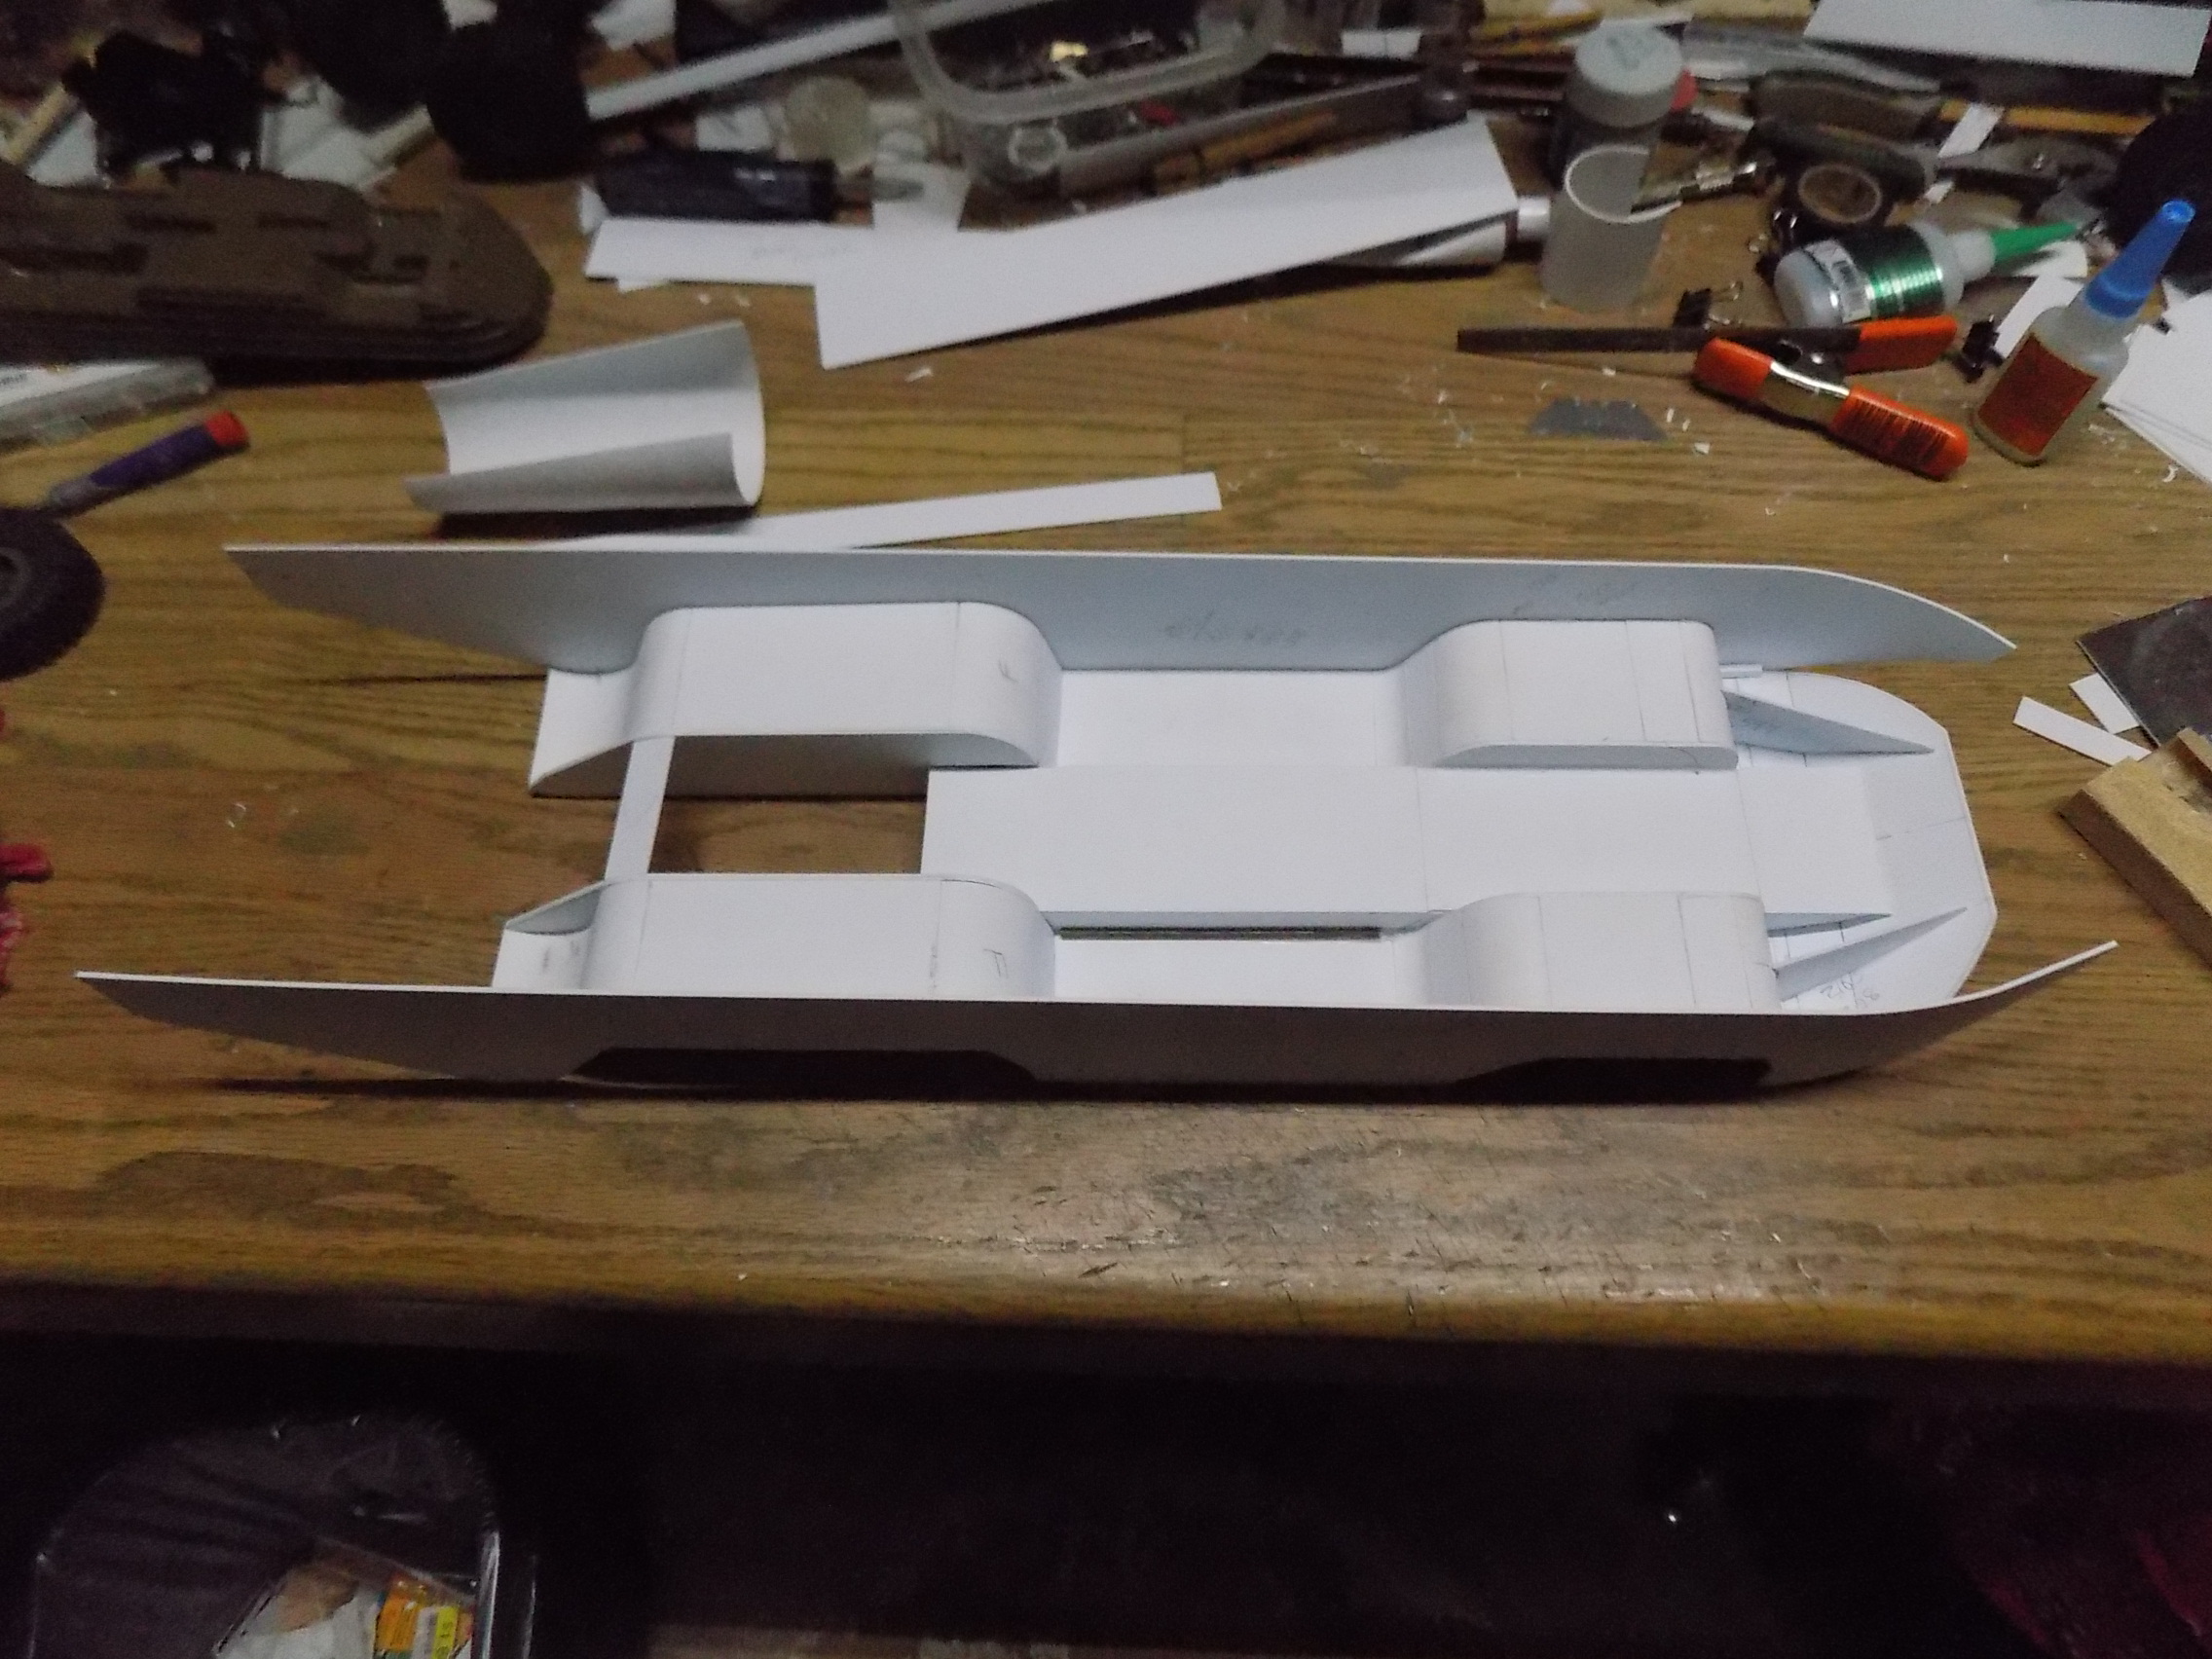
Eventually the hull top will be secured to the lower. So for access to the innards, the cargo deck, crew compartment and possibly the engine cover will be removable. This is all .060/1.5mm sheet, the ribbing underneath is simply for strength since most of the middle will be removeable. Some will need trimming as the lower and innards come together.
By the way, my 0.060 sheets (6x24") were remnants from a sign/graphics shop a friend gave to me. He said they usually end up in the trash can, so he saved me a couple weeks worth (around 50 of them). I have bought full sheets of styrene 4x8 feet at a plastic company/dist. in Denver. .080 was about $44 per sheet. So if you don't have a plastics distributor near you check with your local sign/graphics shop. FAR cheaper than the paper sized stuff available at the hobby shop.
I have used these styrene sheets for about seven years. It works with model, epoxy and super glues. I built a dash pod for a famous Honda S2000 here in the states known as the Big Bad Wolf. And a custom gauge pod for a custom truck (and to hide a hole in the top of the dash where the speaker used to be). Both have seen heat and the race car a bunch of abuse are are none the worse for wear.
- D6.JPG (978.16 KiB) Viewed 950 times
The triangles and double wall around the cab are filled with epoxy. Probably over kill, but one of the weaker parts of the hull when cab and cargo deck are out.
- D7.JPG (990.22 KiB) Viewed 950 times
- D8.JPG (959.36 KiB) Viewed 950 times
Re: DUKW Scratch Builds
Posted: Wed Mar 30, 2022 6:00 pm
by Ecam
Re: DUKW Scratch Builds
Posted: Thu Mar 31, 2022 6:51 am
by Kaczor
Looks great so far

Re: DUKW Scratch Builds
Posted: Sat Apr 02, 2022 6:57 pm
by Herr Dr. Professor
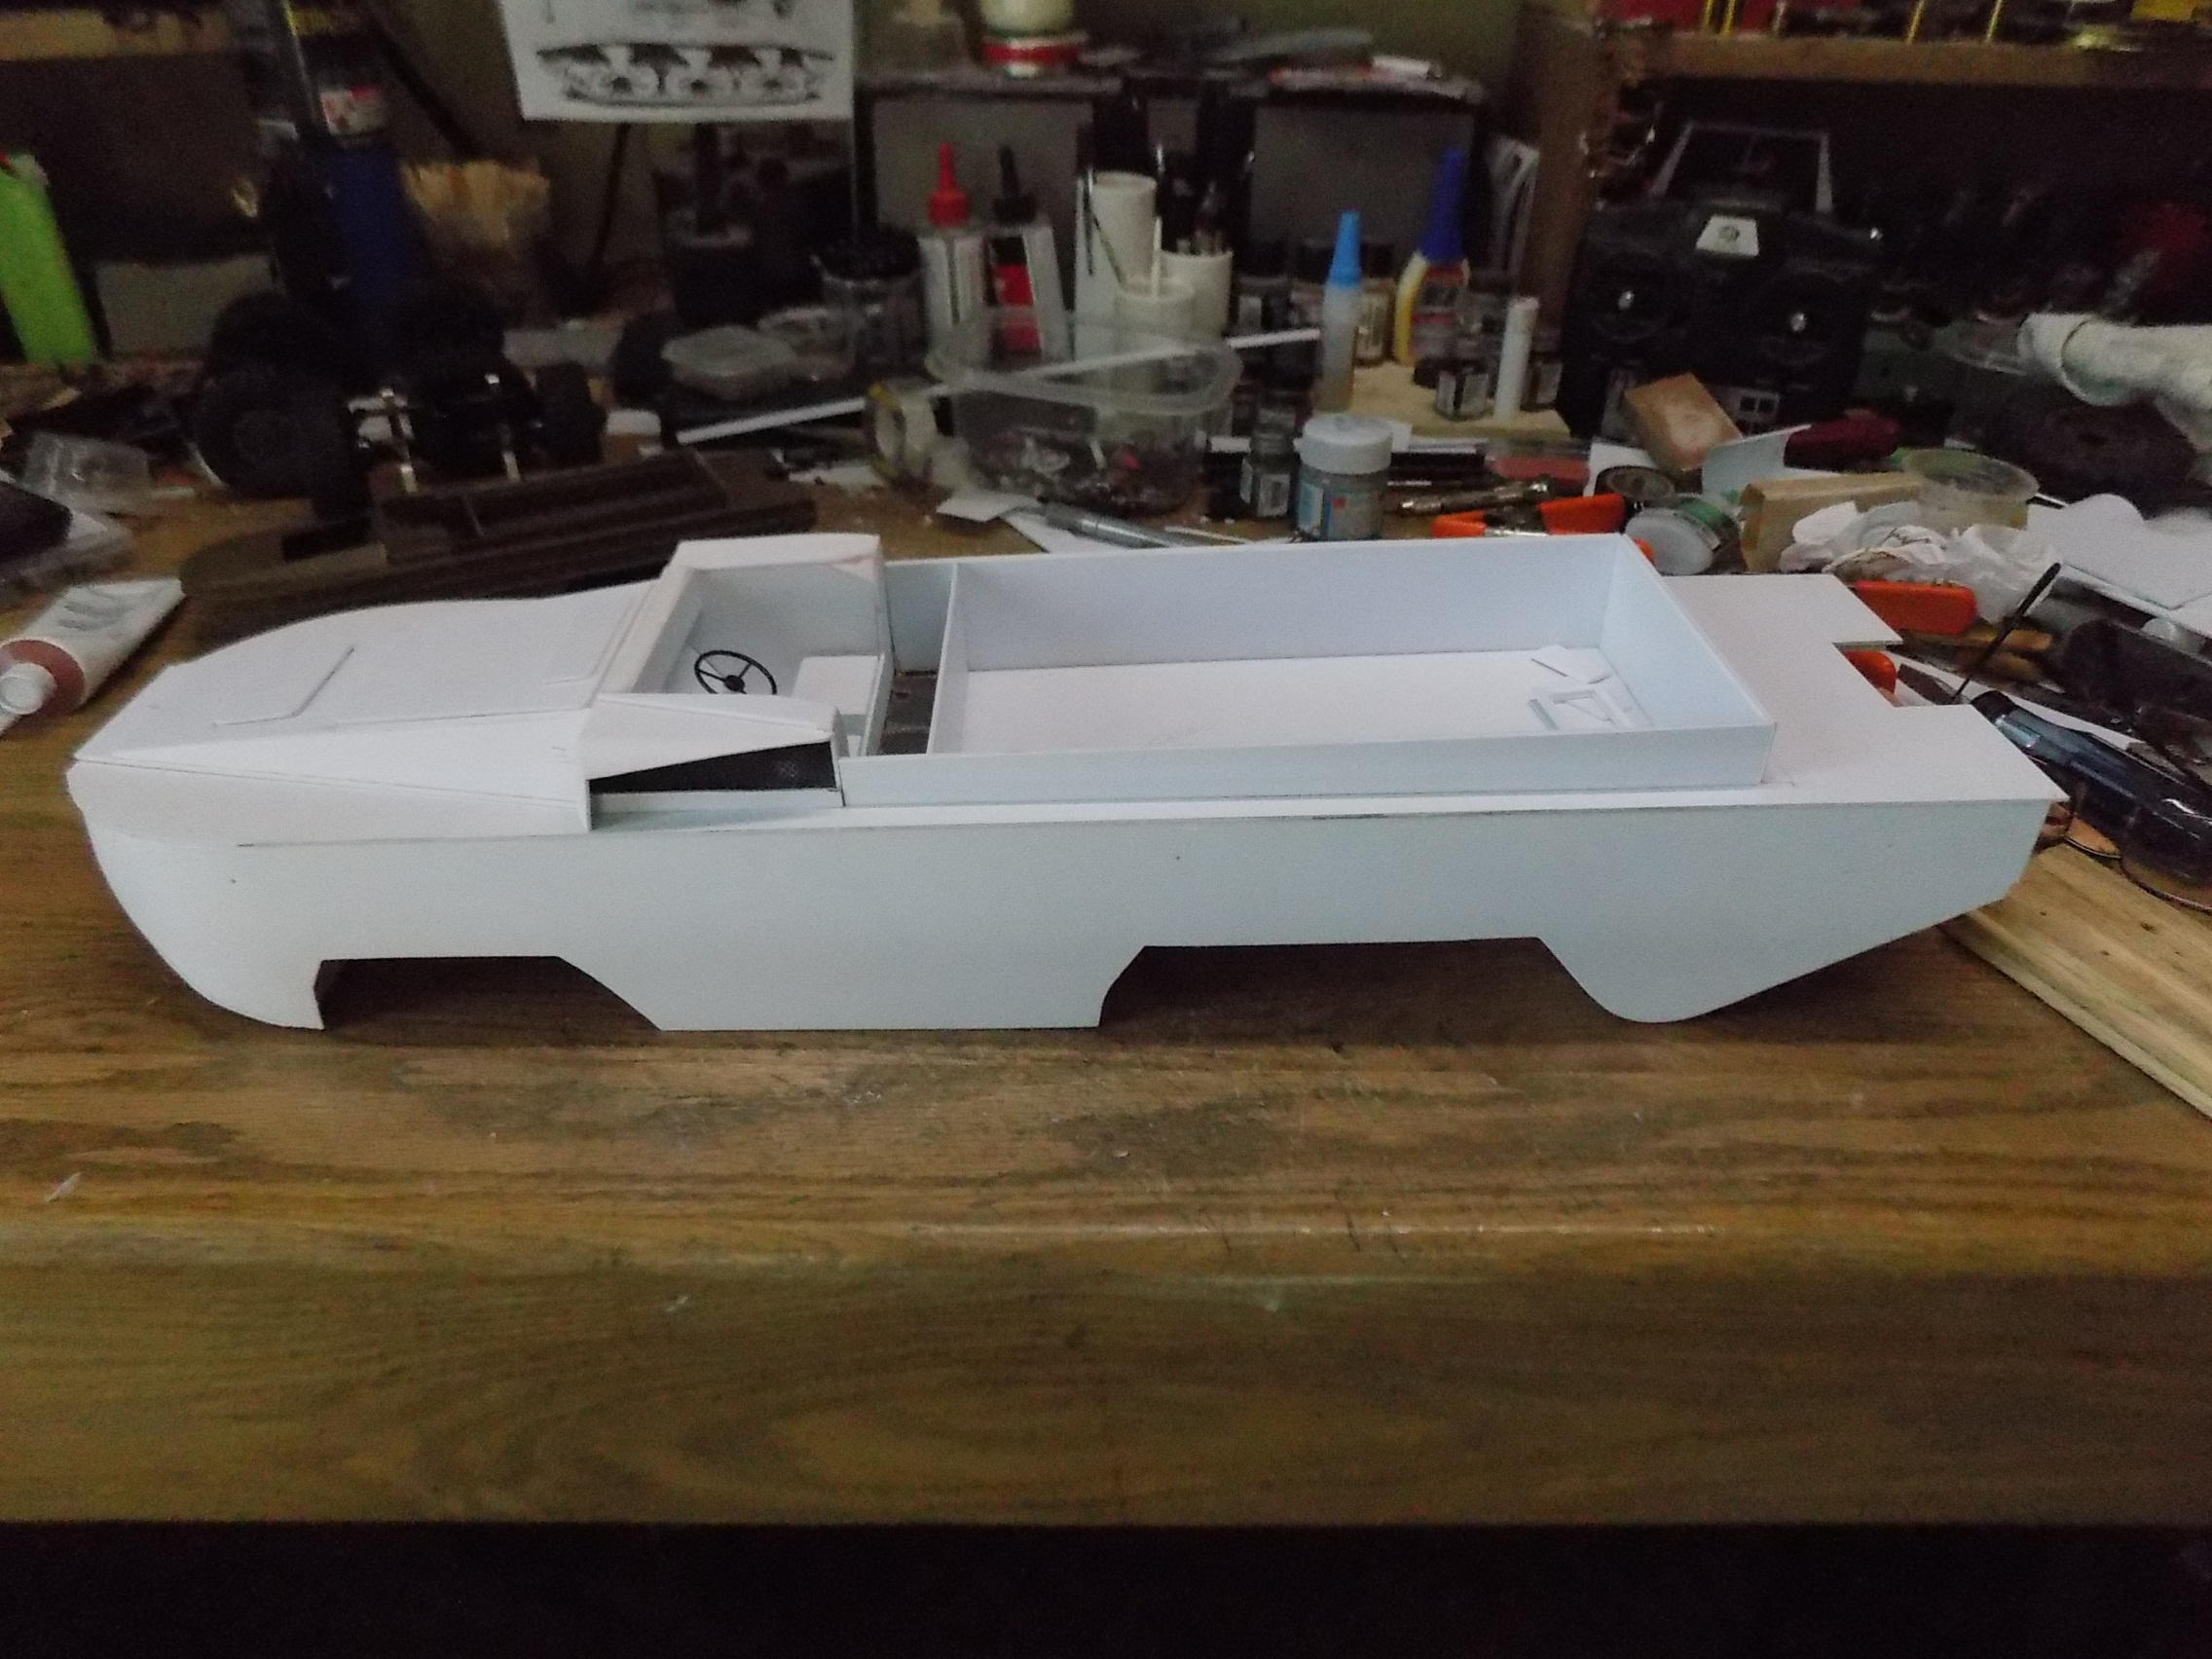
I applaud the pedals, levers, and steering wheel, too! Though small, those add so much, even if they aren't such a challenge to you. Then, too, I would bet the tour promoters at Wisconsin Dells would highly approve of your DUKW.

Re: DUKW Scratch Builds
Posted: Sat Apr 02, 2022 7:41 pm
by Ecam
The levers were really an experiment to see if I could make knobs. The black ones are melted sprue, the white is CA glue with a water spray mist to solidify and the clear ones are two part epoxy. The rods are from TIG welding wire that I have a bunch of. The levers shown are about a third (best) of the ones I made. Steering wheel is from a HL truck cab that donated the axles for this project.
Re: DUKW Scratch Builds
Posted: Tue Apr 05, 2022 4:30 pm
by Ecam
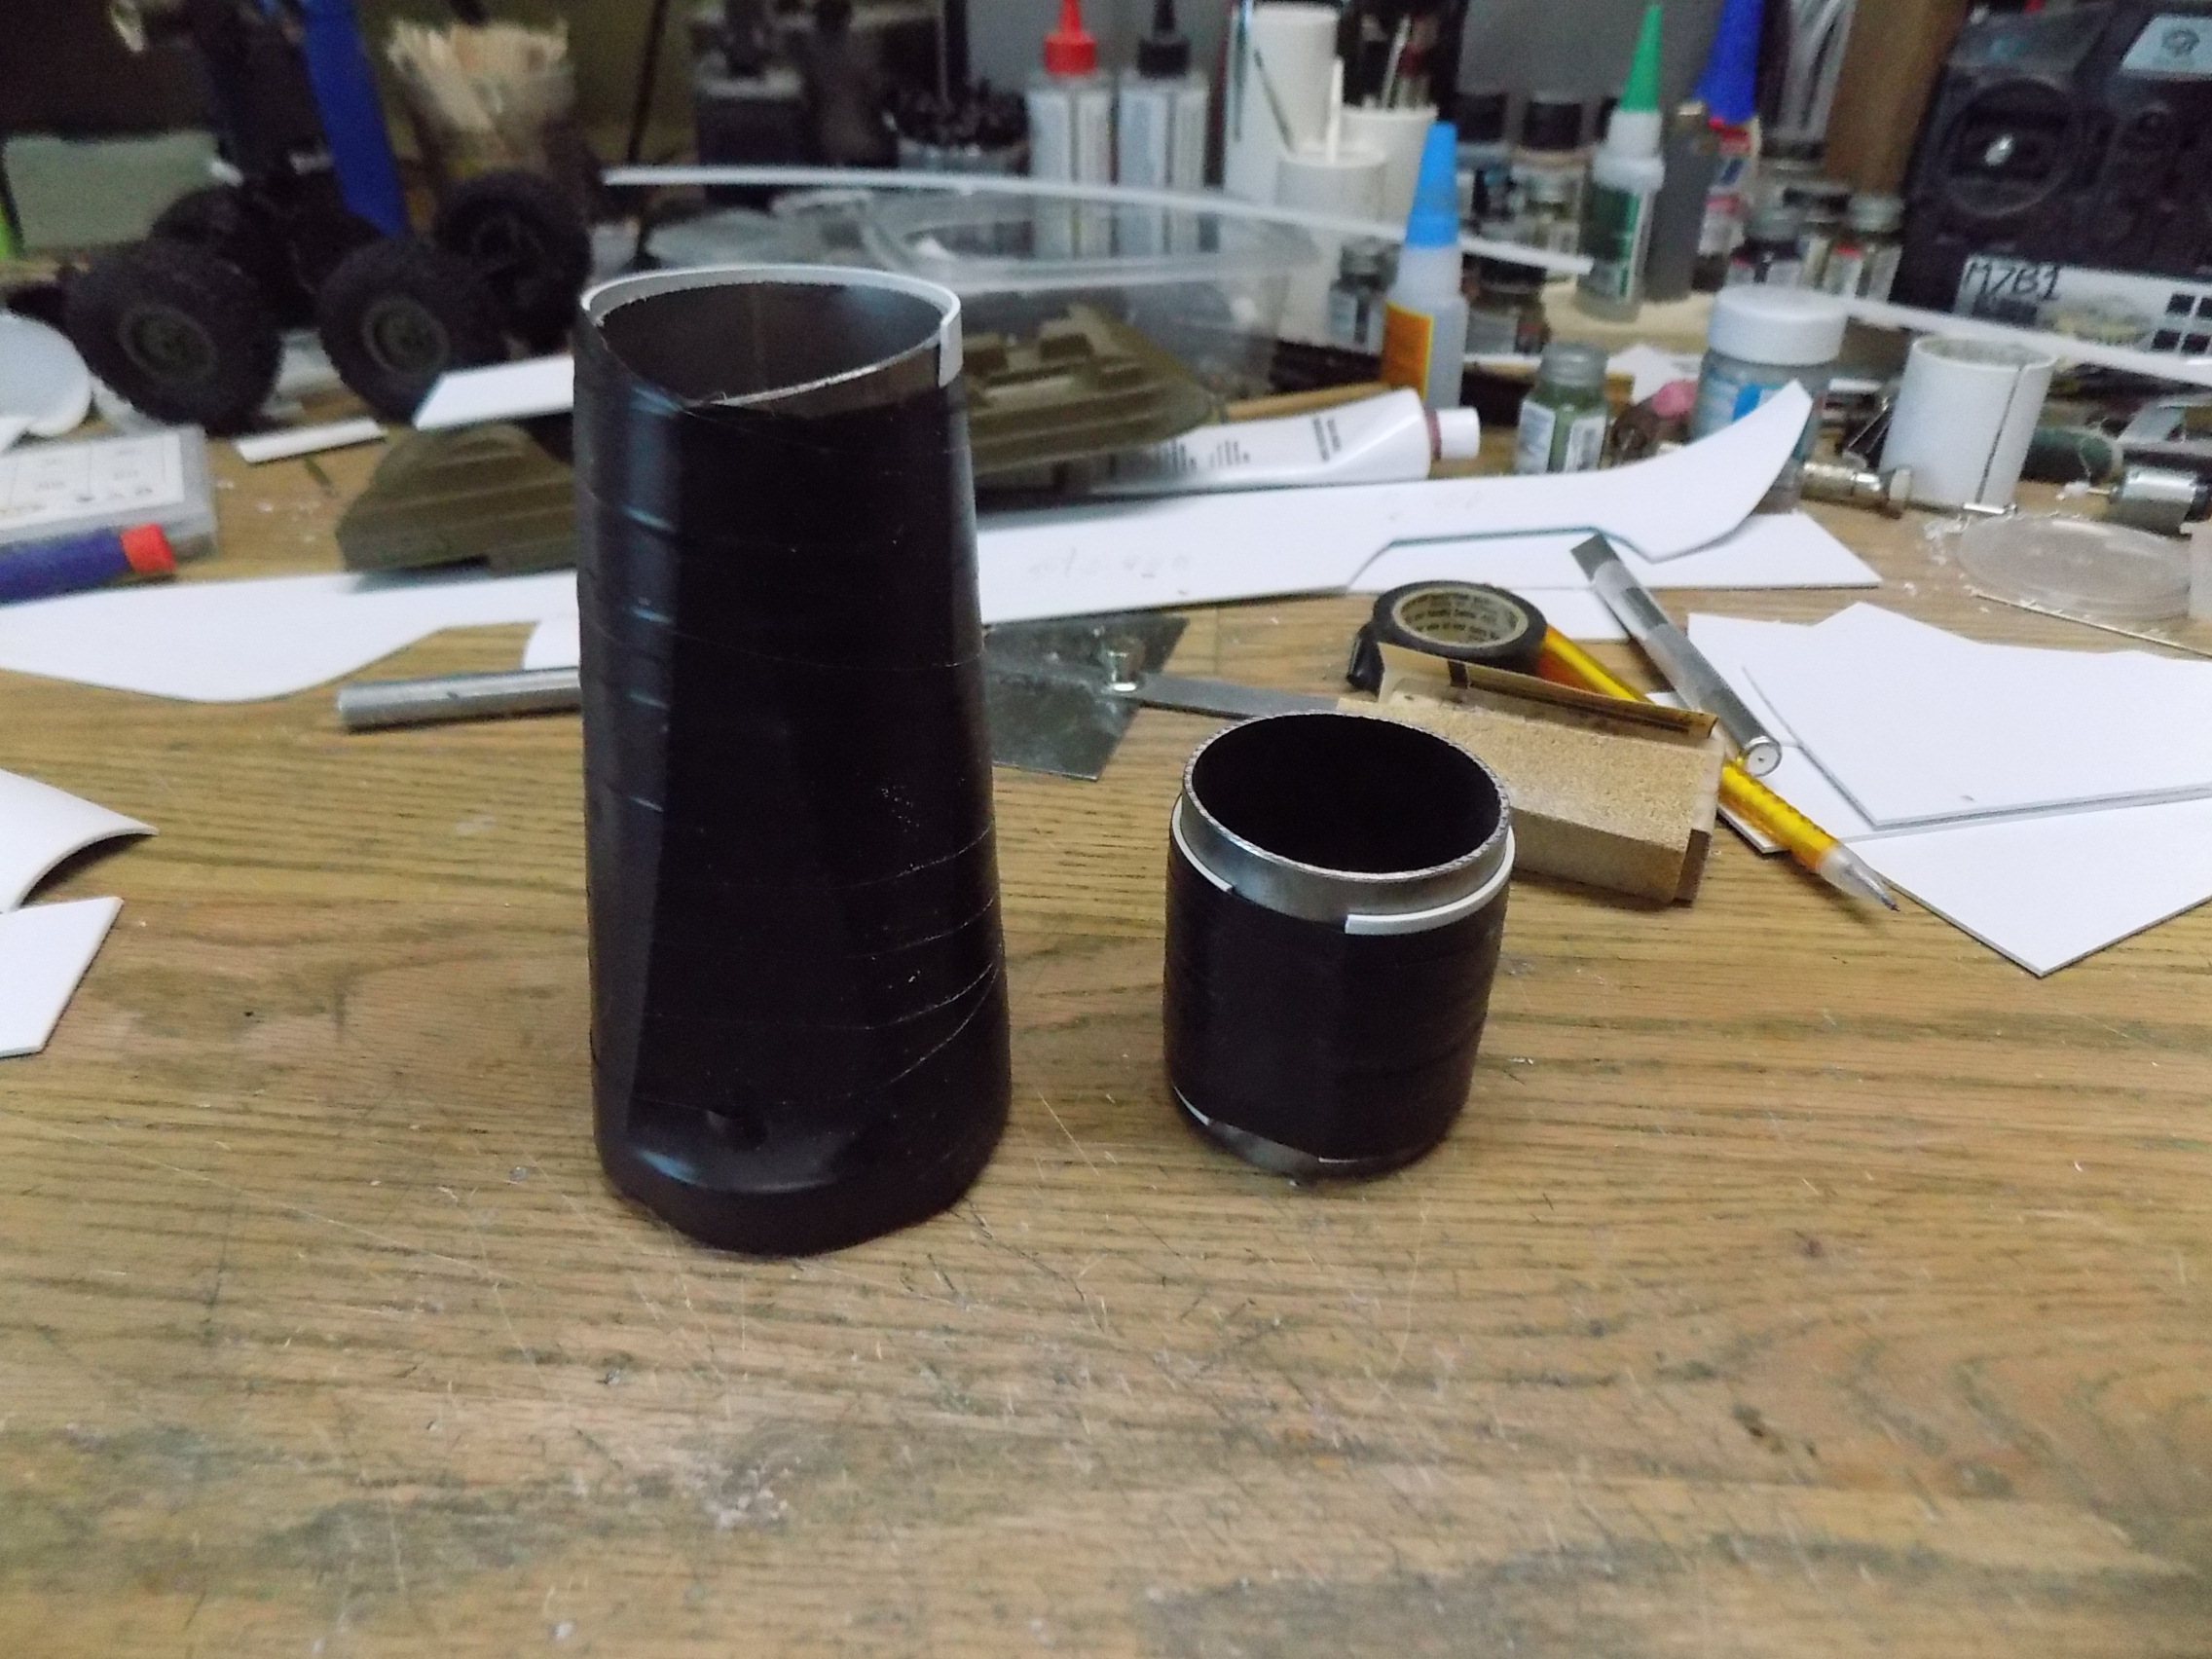
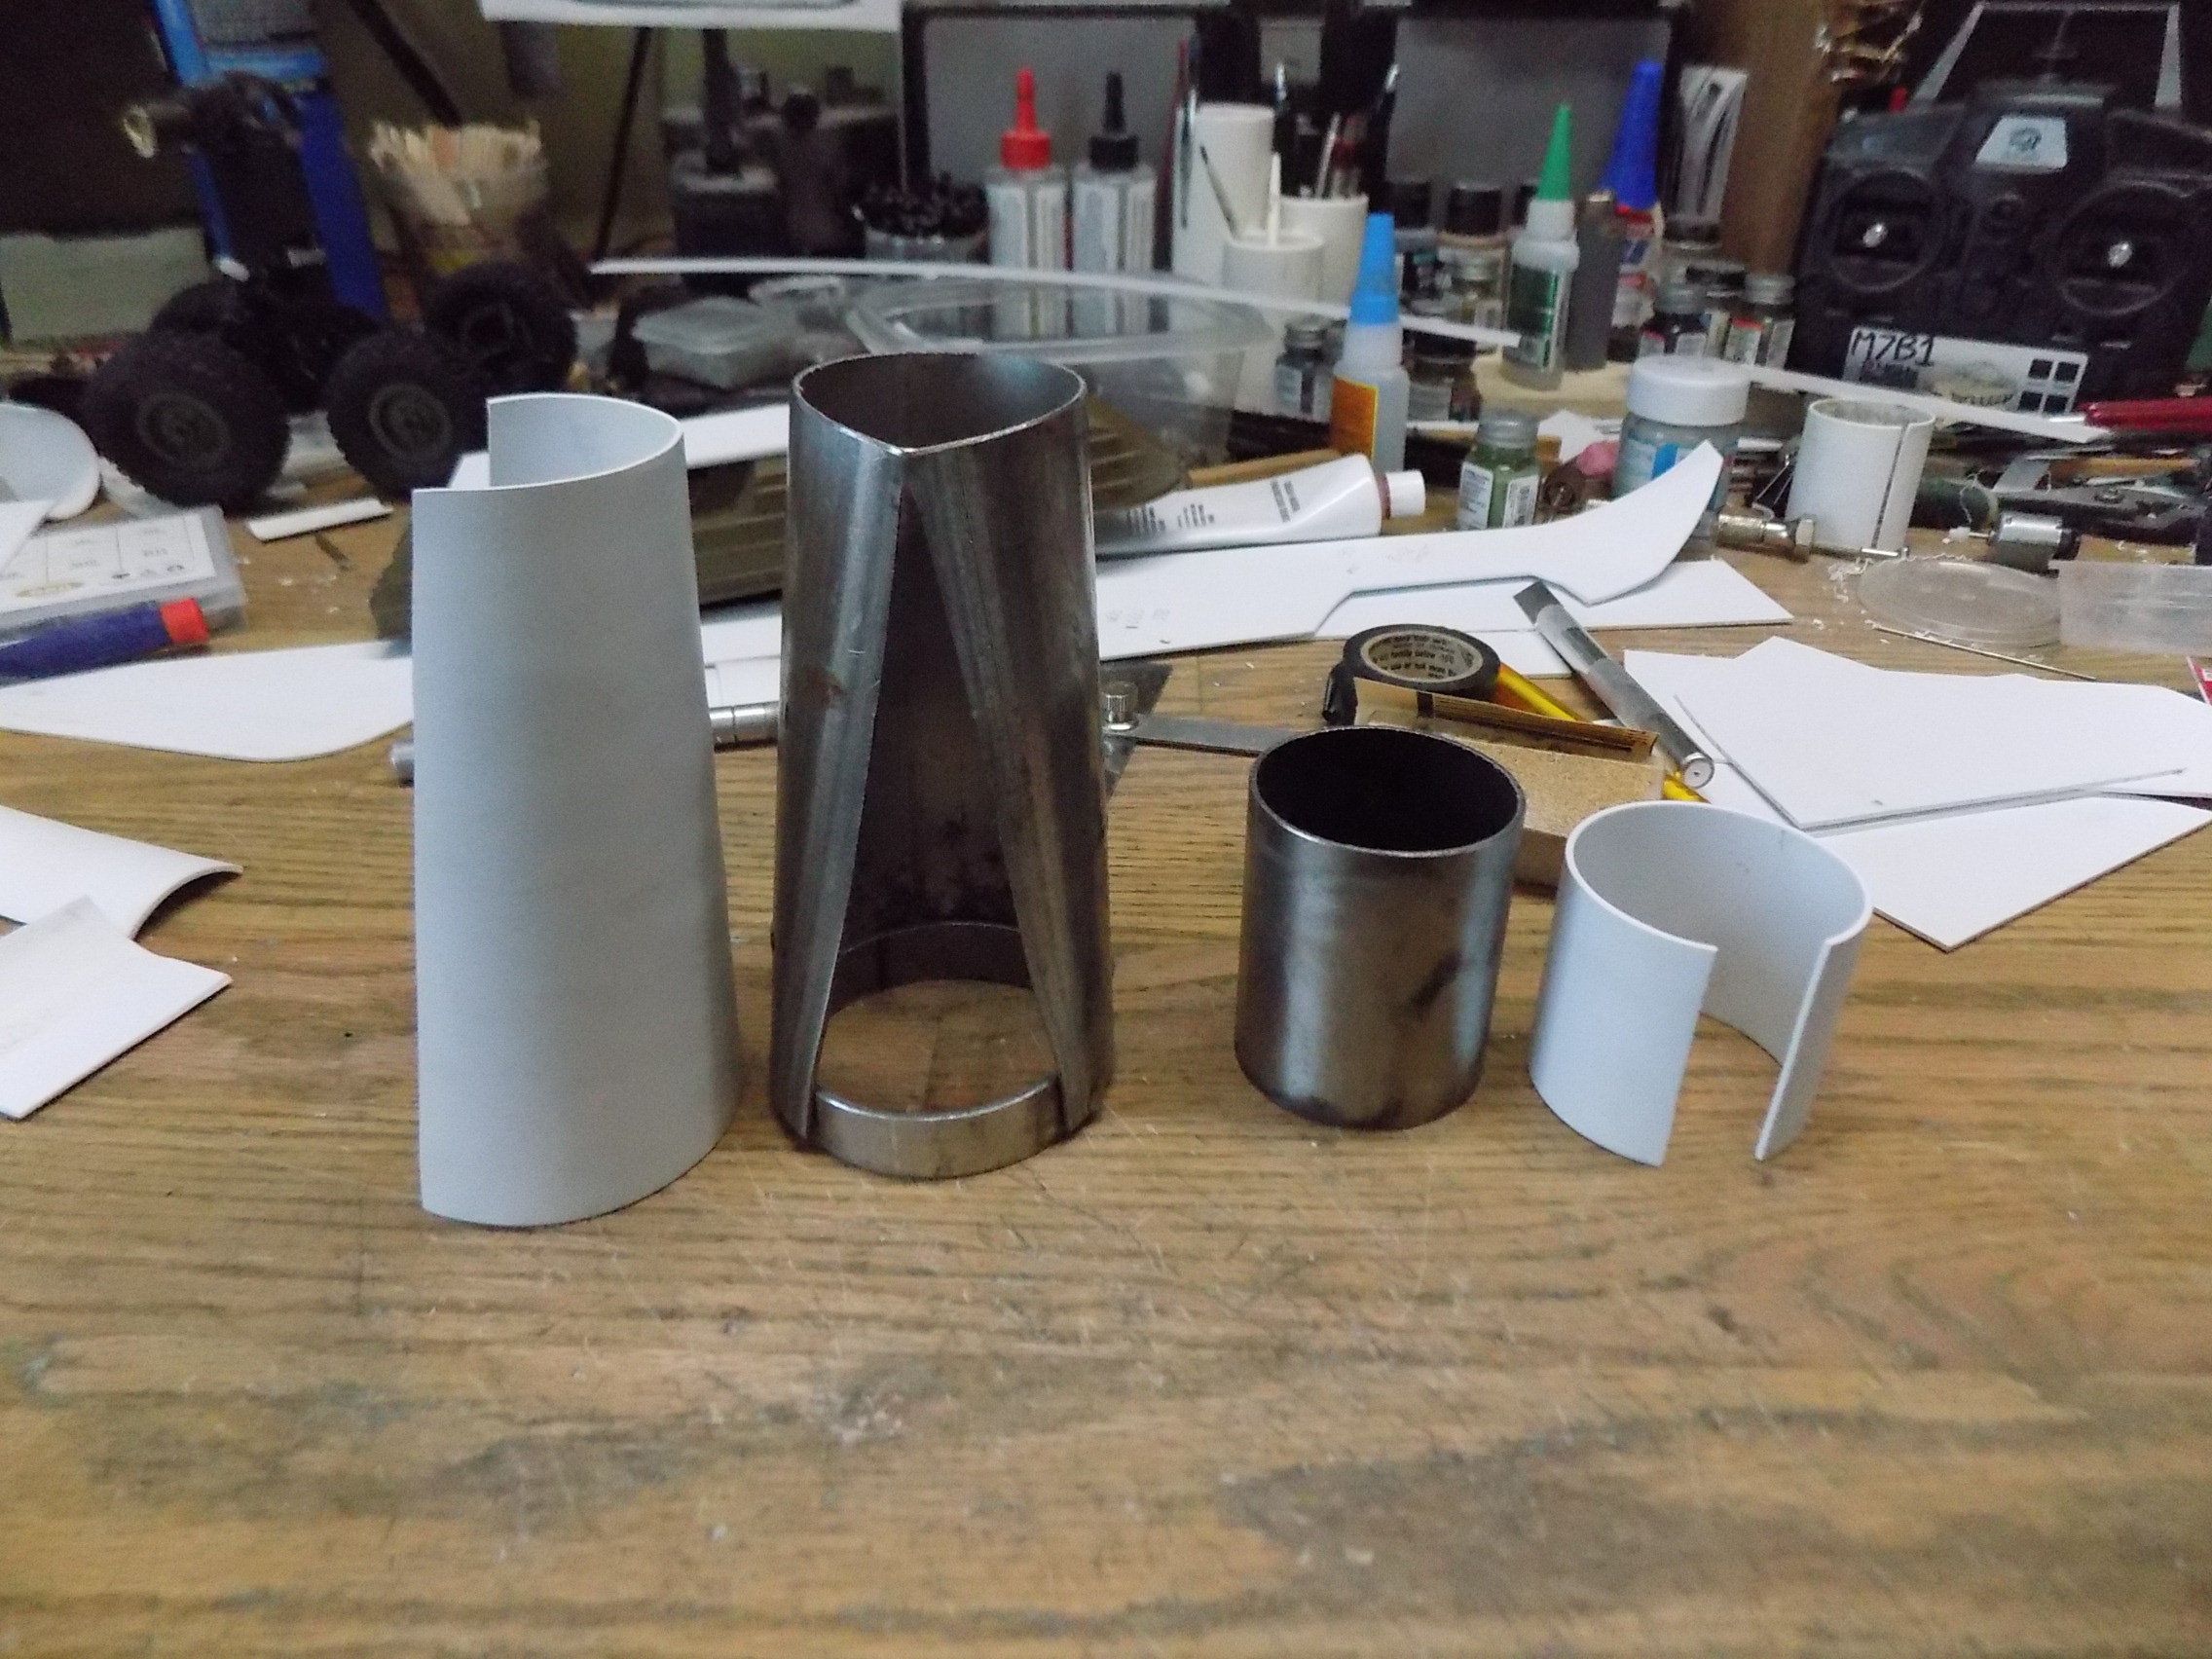
This was more complicated than I thought.
These are my exhaust pipe molds for the fender contours and propeller well.
- D15.JPG (970.11 KiB) Viewed 948 times
- D16.JPG (958.3 KiB) Viewed 948 times
The brace between rear fenders is temporary.
- D17.JPG (1017.7 KiB) Viewed 948 times
- D18.JPG (962.63 KiB) Viewed 948 times
I'm not pleased with the nose yet. Working with 2D plans to make a 3D model when there are curves and angles is proving tricky.
- D19.JPG (962.97 KiB) Viewed 948 times
- D20.JPG (1 MiB) Viewed 948 times
Re: DUKW Scratch Builds
Posted: Wed Apr 06, 2022 5:51 pm
by Ecam
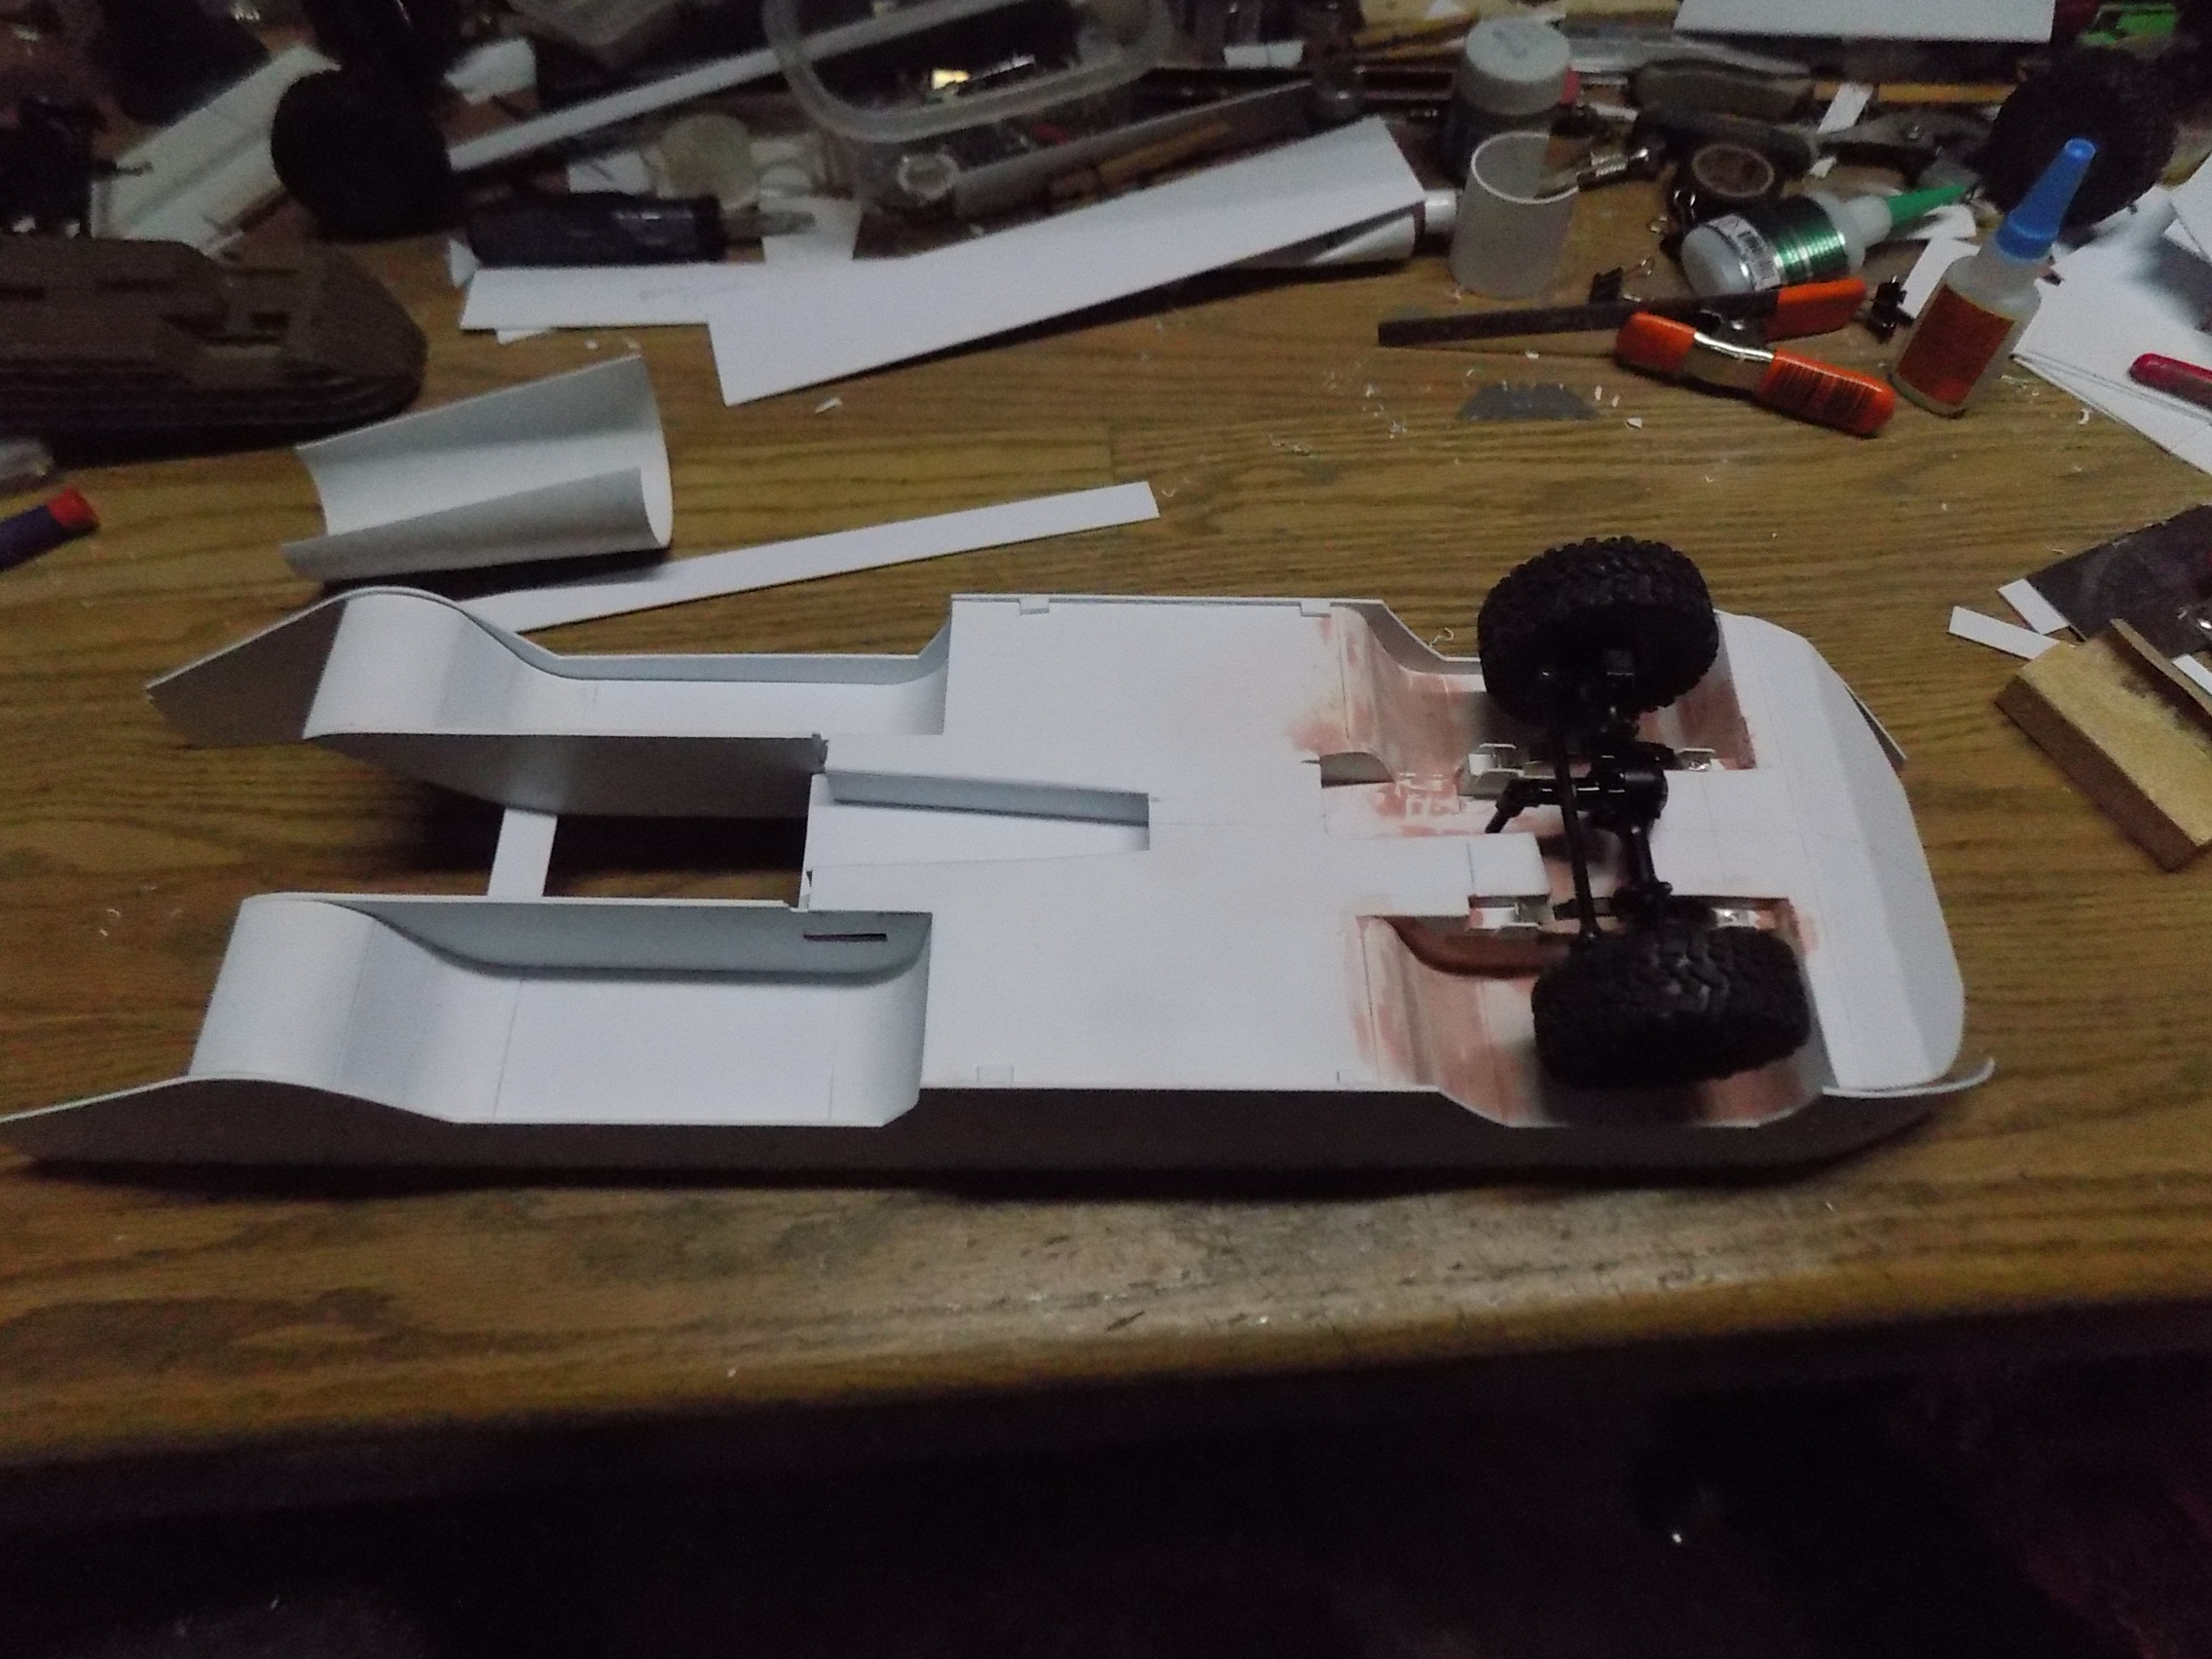
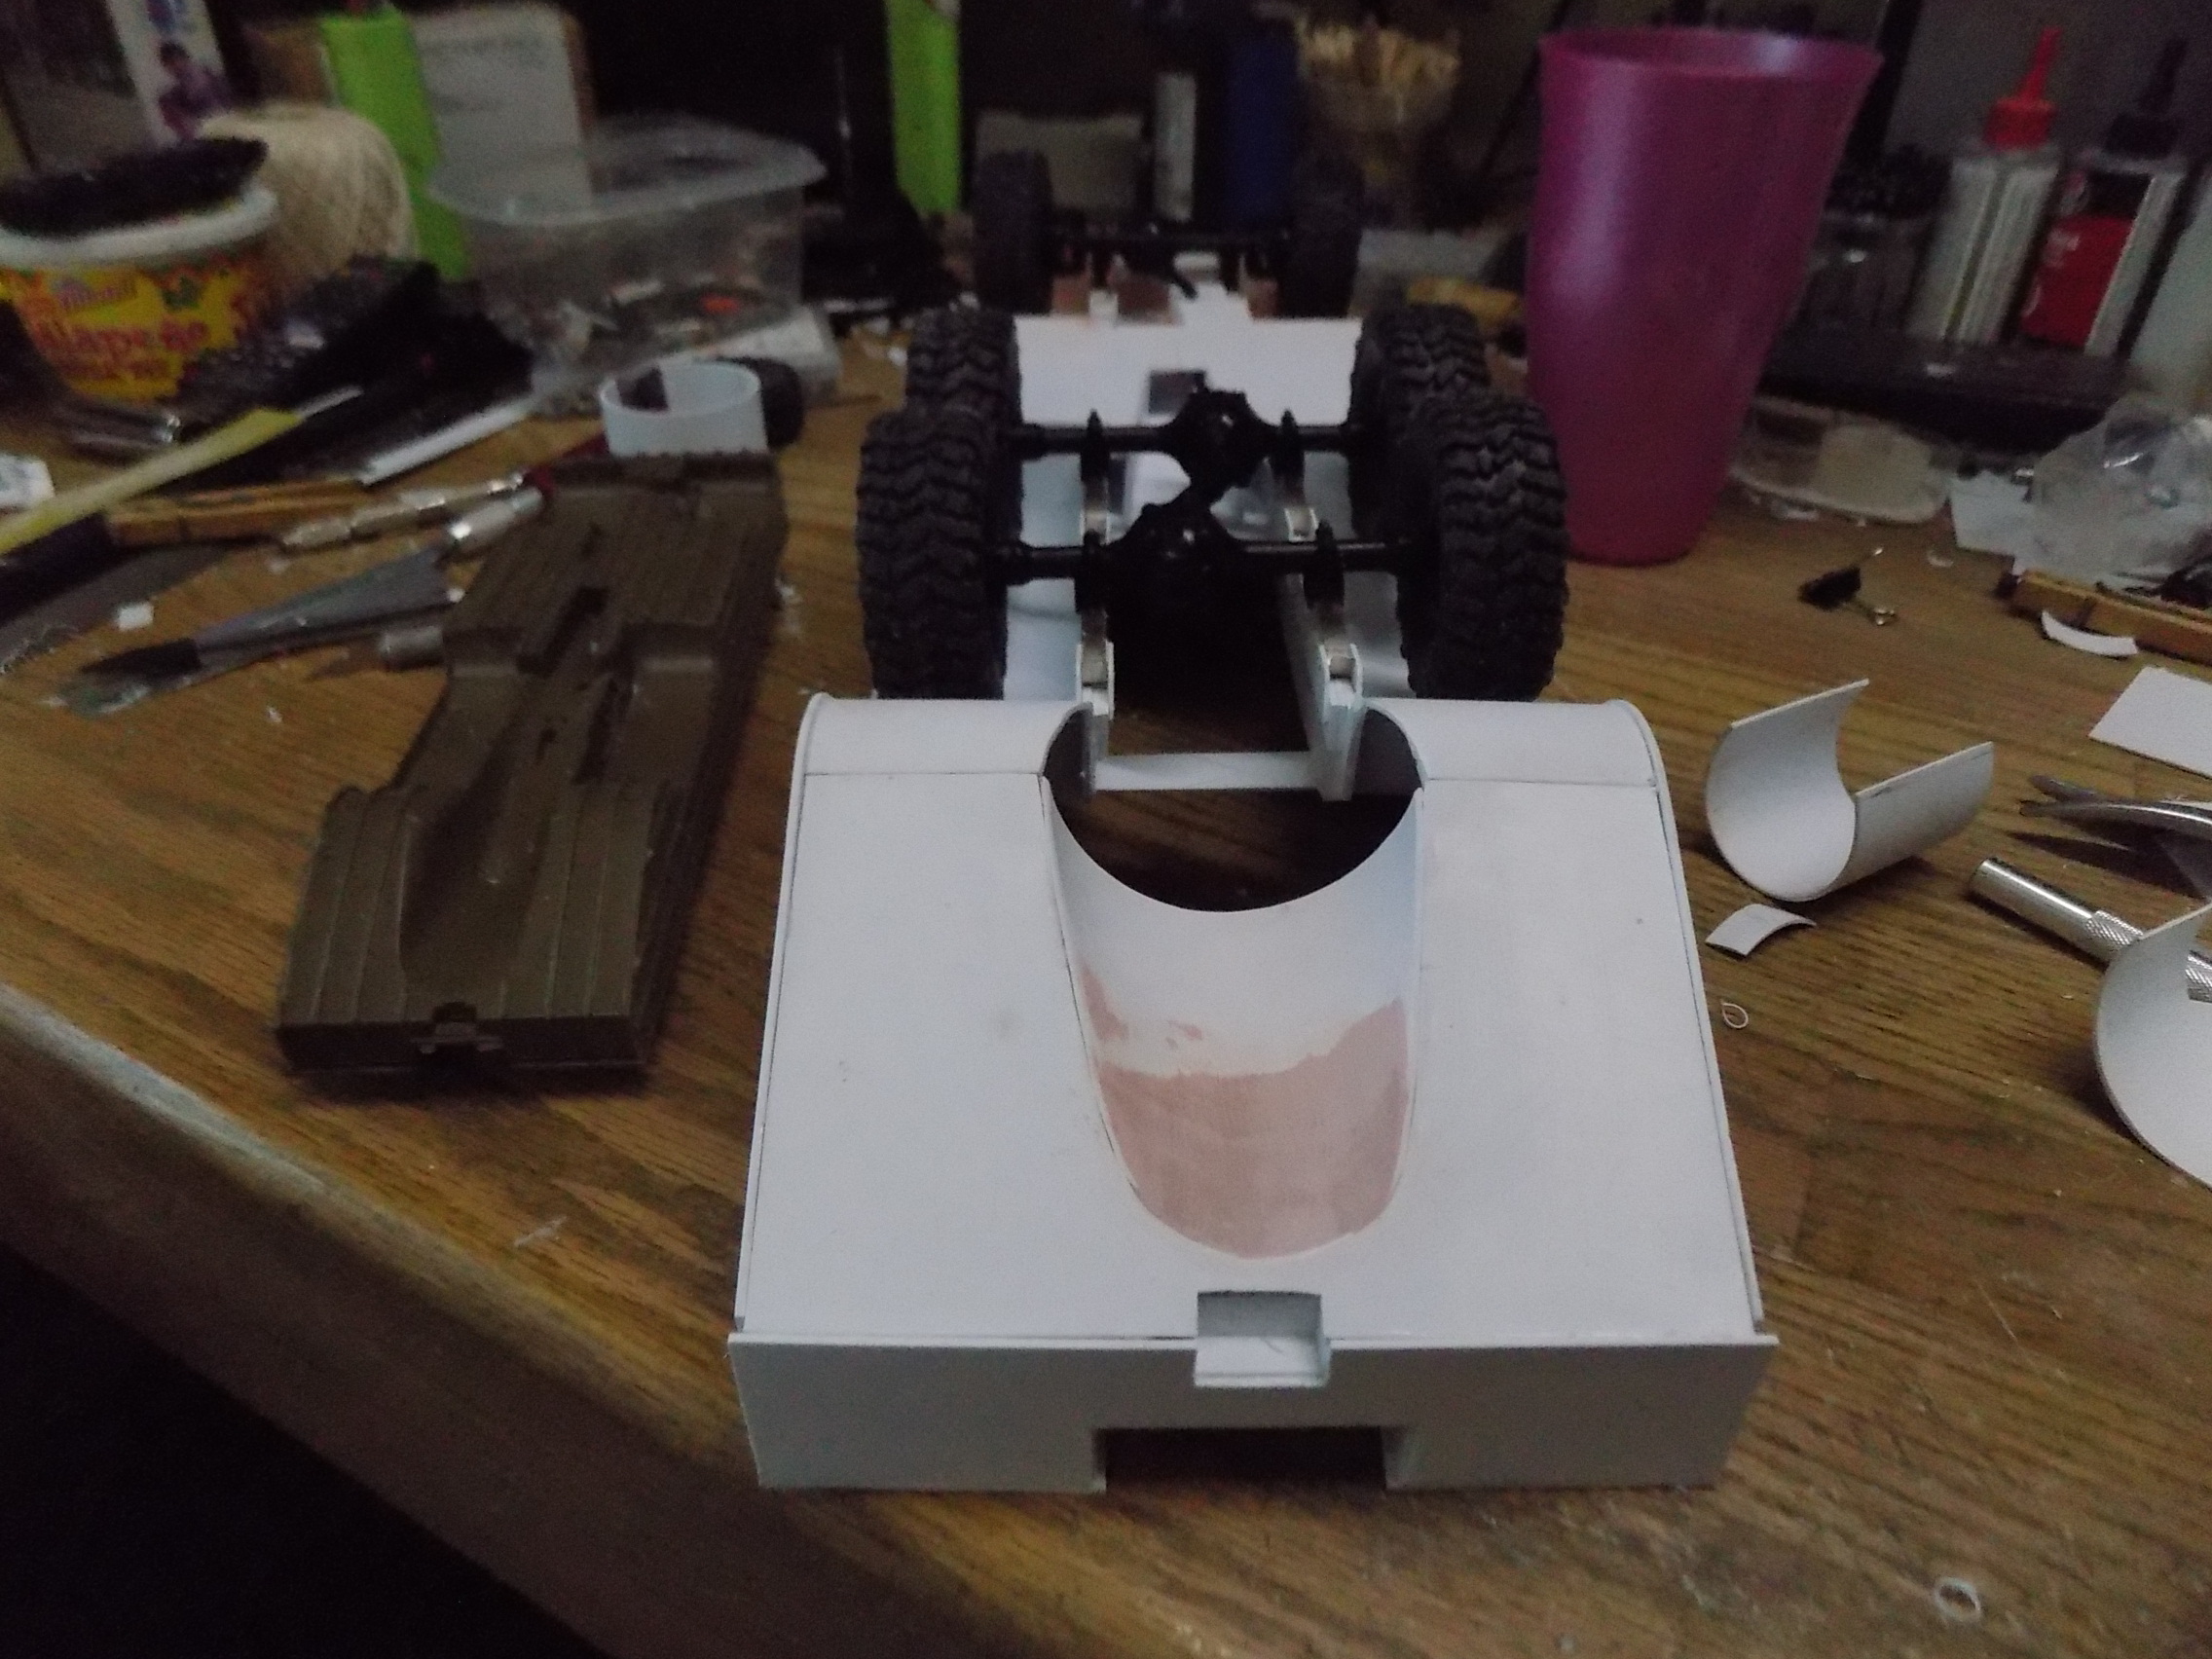
Got the rear suspension located and started on propeller well.
- D21.JPG (1 MiB) Viewed 947 times