Ardennes King Tiger - Jnewboy Customs
Posted: Mon Jun 28, 2021 8:57 pm
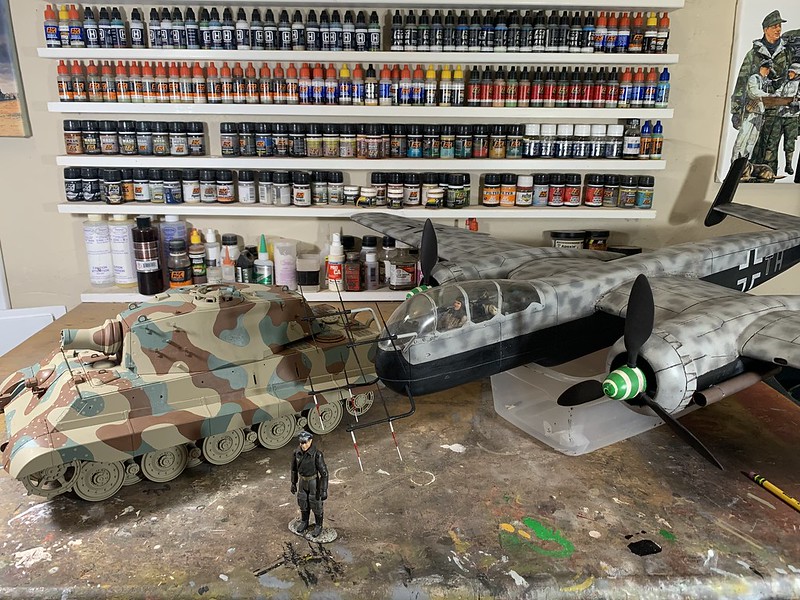
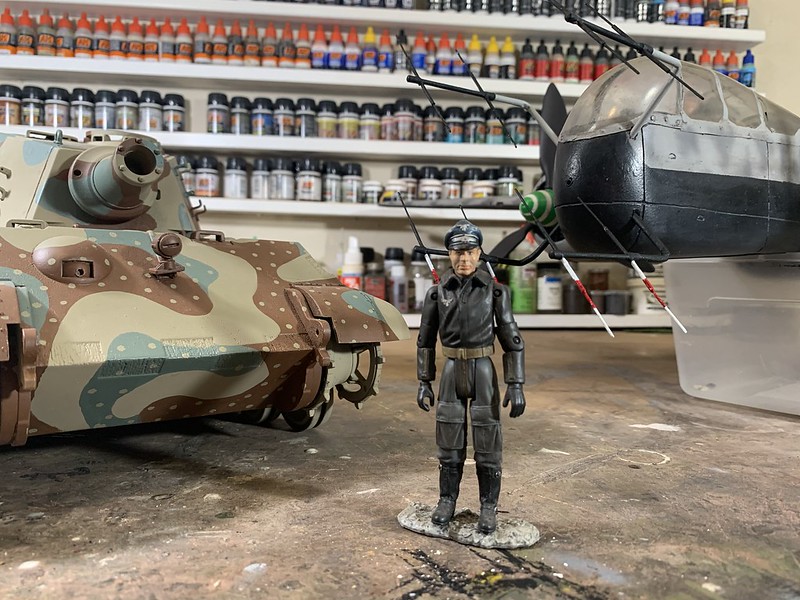
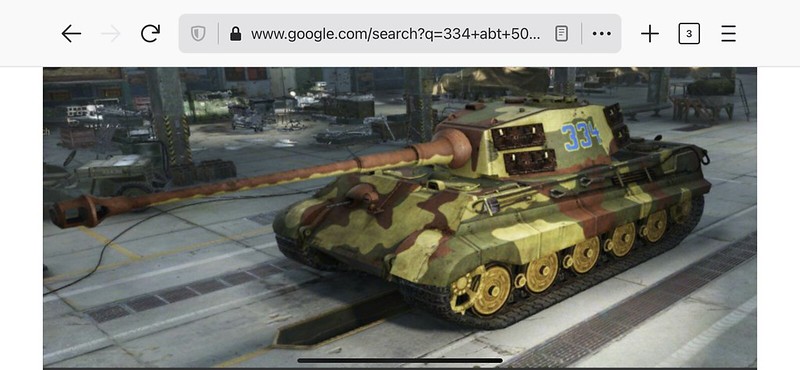
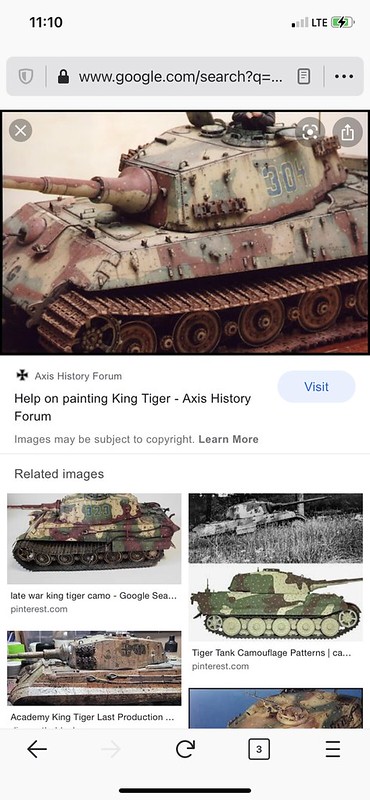
Around 2 years ago I started this and then stopped and am now finishing it. The chassis is Henglong and the Turret is Tamiya. I removed all the guts from the Henglong turret and fit them into the Tamiya. Got the turret rotating and then started the paint process. I like the blue numbers and the tri-color pea dot camo. I was tempted to do Piepers red 204 but I did not like the red numbers on the camo. Models are a blend of history and art and they really must be balanced, you cant or at least shouldn't change history to make something look "better" but you can cherry pick history until you find something that is appealing to the eye. The last thing you want is to do a model that is not appealing to look at. Here is some inspiration:
 Untitled by Jnewboy Customs, on Flickr
 Untitled by Jnewboy Customs, on Flickr
 Untitled by Jnewboy Customs, on Flickr
 Untitled by Jnewboy Customs, on Flickr
Like the KV-1 under construction right now I never intended to do a build thread on this as most of the time I only do them so that the customer can see the progress of their model in real time. So please excuse the lack of pics in the beginning. Most of this thread will deal with this paint job.
 Untitled by Jnewboy Customs, on Flickr
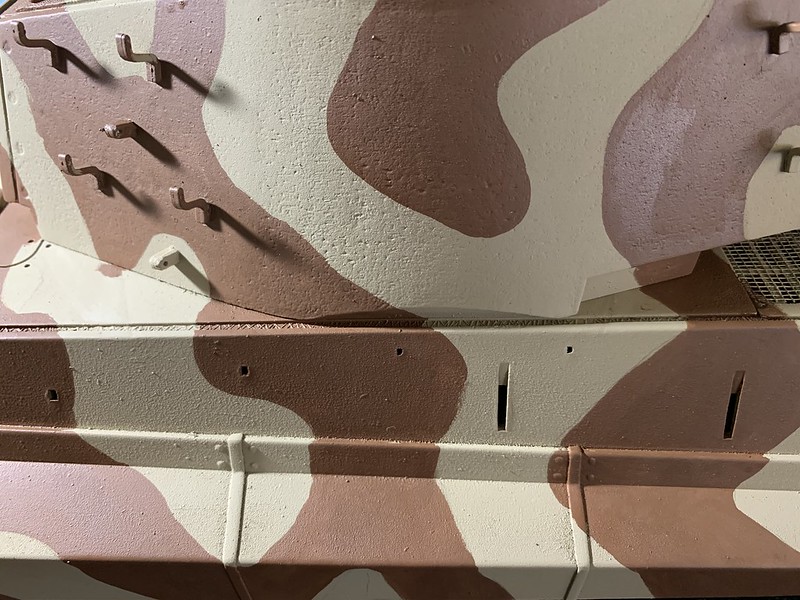
This pic shows the start of the camo, base is RAL 7028 aus DGIII, now hard edge RAL 8012 (lightened with a little pink)
 Untitled by Jnewboy Customs, on Flickr
Next RAL 6011 (lightened with blue) is cut into the pattern but not randomly, it must look like its own camo pattern.
 Untitled by Jnewboy Customs, on Flickr
You will make errors, see above, you see my pattern made an "eye" or "island", don't allow these to exist, after your first mock up of the brown (8012) you should go back over it and fix your spacing and errors like this with the base color. I airbrushed the base but after that, the whole thing is painted by brush due to the pattern being hard edged.
 Untitled by Jnewboy Customs, on Flickr
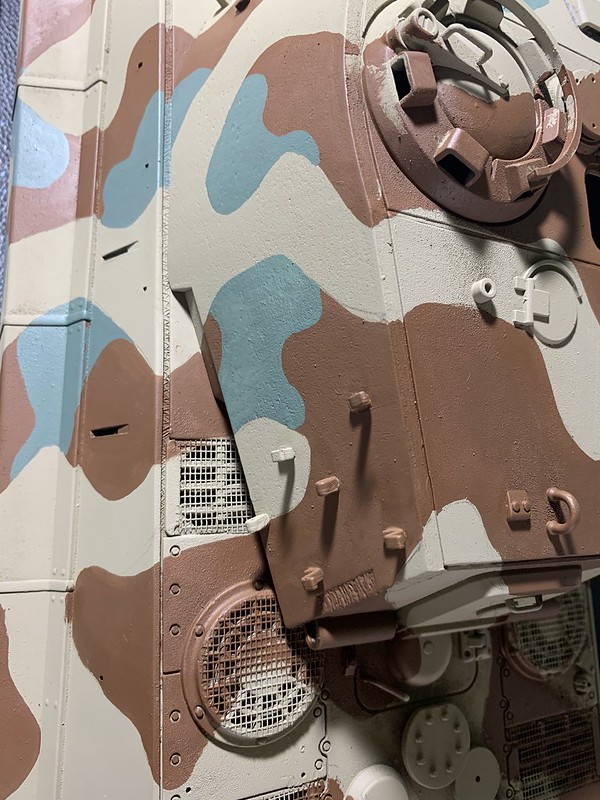
Notice that the base color "island" has been fixed on the turret and the RAL 6011 is on, please remember that this camo is a slow methodical process of switching between the three colors, adding some here and there balancing the three colors and pattern.
Also some of you may think already that the green is too blue and it does look bizarre right now but this is done to fade the tank evenly before the Magic Grime goes on, it will filter and change the hue of the colors, if the colors were richer now, latter they would be to dark. A good thing to know is what shade fades to what shade, for example the Dark Yellow would fade to a lighted off white tan color, the brown goes rust color and the green goes blue. So mixing in these colors with little white will give you the right shade. I play with the pallet (styrene sheet below the tank) until I get three shades that compliment each other and none over power the other.
 Untitled by Jnewboy Customs, on Flickr
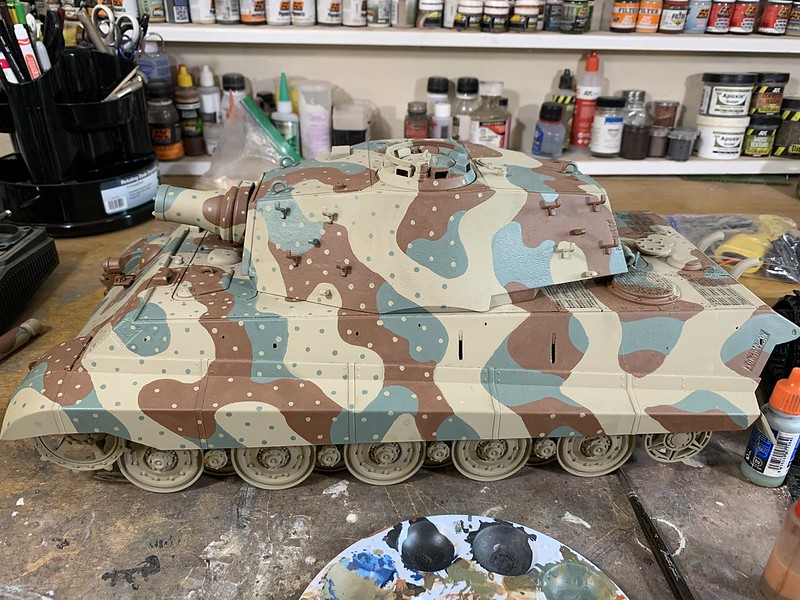
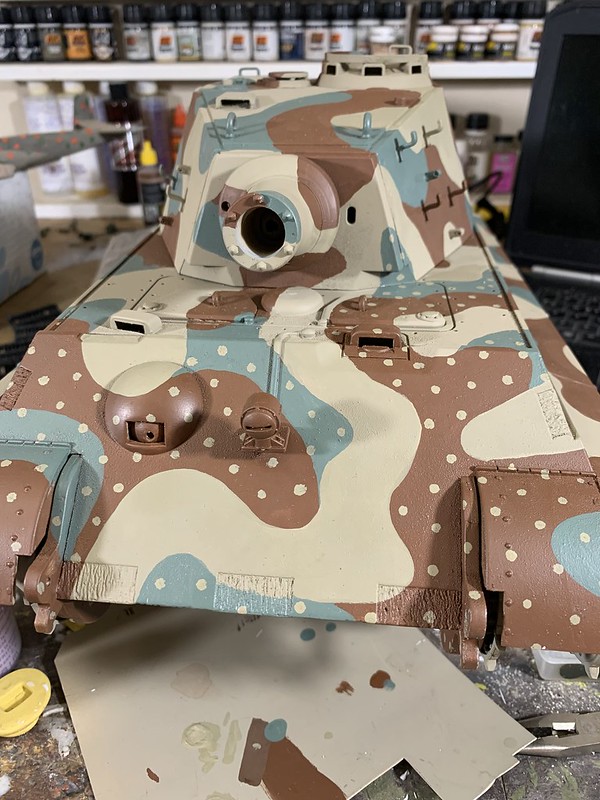
Next is the dots, less is more, the most important is the spacing, now I know that the Germans did not measure between dots and there are lots of examples of them looking sorta random - But - if you follow a rough pattern you will be happier with the end result. I start with three dots in a rough triangle, now I will try to copy this spacing through out the tank.
 Untitled by Jnewboy Customs, on Flickr
These dots will be shrunk in some cases as some are to big, I use a make-up applicator that is similar to a Que-tip and though it makes nice dots some are to big, some dots will be removed all together.
Lots more to come!
Untitled by Jnewboy Customs, on FlickrUntitled by Jnewboy Customs, on FlickrUntitled by Jnewboy Customs, on FlickrUntitled by Jnewboy Customs, on FlickrLike the KV-1 under construction right now I never intended to do a build thread on this as most of the time I only do them so that the customer can see the progress of their model in real time. So please excuse the lack of pics in the beginning. Most of this thread will deal with this paint job.
Untitled by Jnewboy Customs, on FlickrThis pic shows the start of the camo, base is RAL 7028 aus DGIII, now hard edge RAL 8012 (lightened with a little pink)
Untitled by Jnewboy Customs, on FlickrNext RAL 6011 (lightened with blue) is cut into the pattern but not randomly, it must look like its own camo pattern.
Untitled by Jnewboy Customs, on FlickrYou will make errors, see above, you see my pattern made an "eye" or "island", don't allow these to exist, after your first mock up of the brown (8012) you should go back over it and fix your spacing and errors like this with the base color. I airbrushed the base but after that, the whole thing is painted by brush due to the pattern being hard edged.
Untitled by Jnewboy Customs, on FlickrNotice that the base color "island" has been fixed on the turret and the RAL 6011 is on, please remember that this camo is a slow methodical process of switching between the three colors, adding some here and there balancing the three colors and pattern.
Also some of you may think already that the green is too blue and it does look bizarre right now but this is done to fade the tank evenly before the Magic Grime goes on, it will filter and change the hue of the colors, if the colors were richer now, latter they would be to dark. A good thing to know is what shade fades to what shade, for example the Dark Yellow would fade to a lighted off white tan color, the brown goes rust color and the green goes blue. So mixing in these colors with little white will give you the right shade. I play with the pallet (styrene sheet below the tank) until I get three shades that compliment each other and none over power the other.
Untitled by Jnewboy Customs, on FlickrNext is the dots, less is more, the most important is the spacing, now I know that the Germans did not measure between dots and there are lots of examples of them looking sorta random - But - if you follow a rough pattern you will be happier with the end result. I start with three dots in a rough triangle, now I will try to copy this spacing through out the tank.
Untitled by Jnewboy Customs, on FlickrThese dots will be shrunk in some cases as some are to big, I use a make-up applicator that is similar to a Que-tip and though it makes nice dots some are to big, some dots will be removed all together.
Lots more to come!